Jump to your step
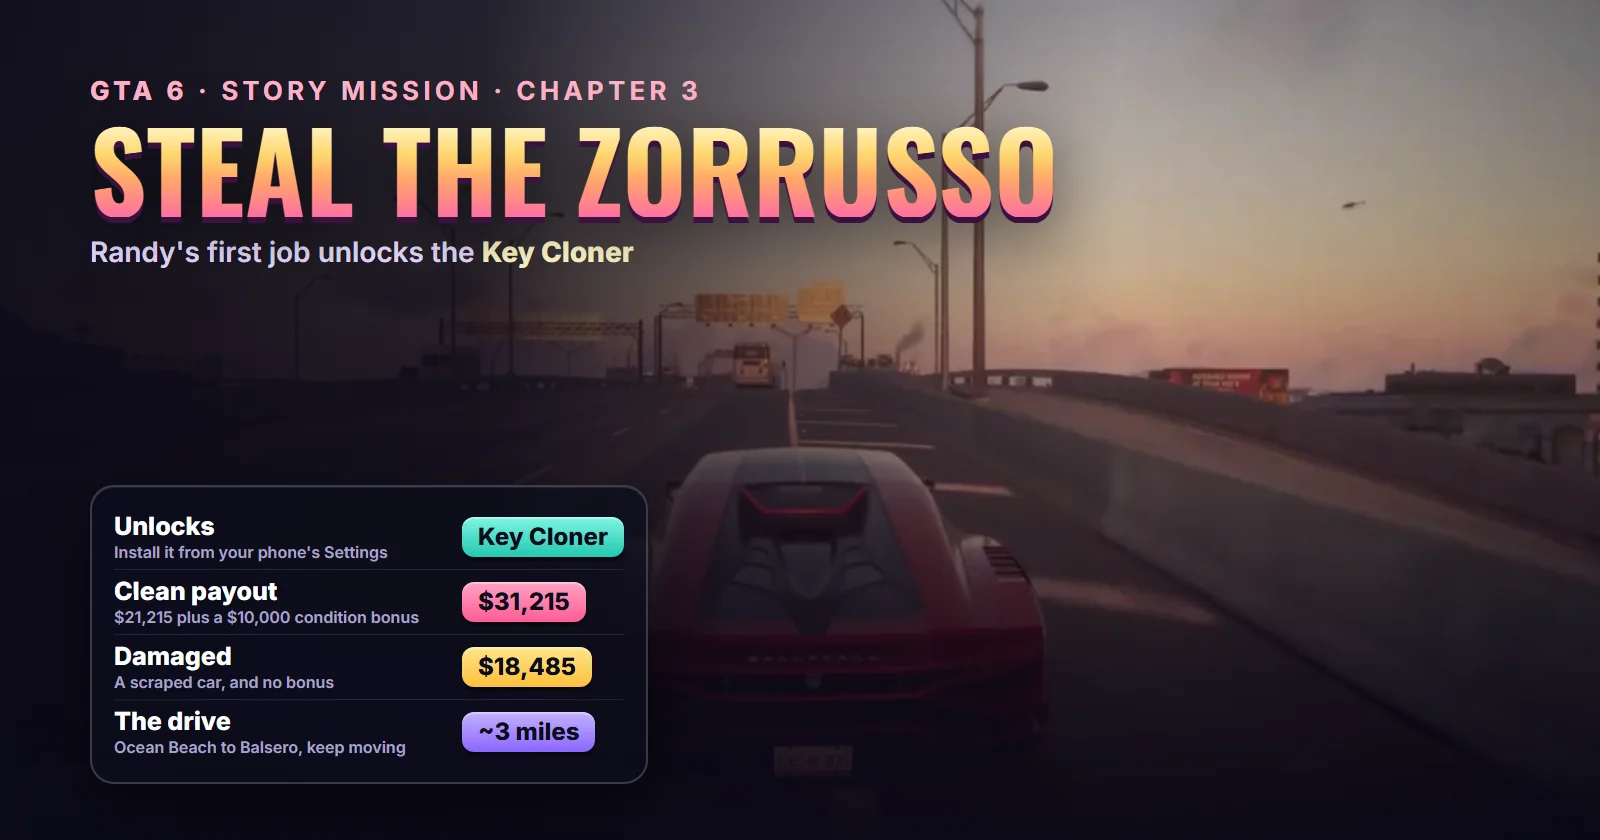
Steal the Zorrusso for Randy: quick facts
| Mission | Steal the Zorrusso for Randy, story mission #65 |
| Chapter | Chapter 3 |
| You play | Jason or Lucia, whoever you arrive as |
| Given by | Randy, on the phone, then in person at his showroom |
| Where it starts | A car blip at a parking garage in Ocean Beach, across the road from The Buckingham |
| Where it ends | Randy’s showroom and garage at Leonida Auto World, Balsero |
| Unlocks after | Credit Check (#64) in the story list |
| Unlocks next | Raul’s Next Job (#66), then Sinfrontera National Bank (#67) |
| Length | About 6 to 8 minutes, a drive of roughly 3 miles |
| Reward | Key Cloner, Randy’s wish list, about $18,500 to $21,200 plus a $10,000 condition bonus |
| Trophy | None |
| Required for 100% | Yes |
Mission briefing Who Randy is, how the mission unlocks, where it starts and what it's called. Contains spoilers.
How to unlock Steal the Zorrusso for Randy
You need Randy’s number first. Lucia gets it at the end of Car Service (#57), when she drops a stolen Schafter at his garage and he hints that his trade is “supply and demand”. This job is his first real order, and it sits after Credit Check (#64) in the story list.
Chapter 3’s order is loose, though. Sirloin’s full Chapter 3 run took it straight after Raul’s phone call about everyone’s cut of the bank job, and went to the Sinfrontera National Bank right after it. Fit it in whenever the blip is on your map.
If it won’t start: Vegivanite found the blip saying to come back later, even after he had finished several other missions. It began only after he saved, closed the game and returned to the garage. Both runs we checked started it in the early hours, one at night and one around dawn, so if a reload doesn’t help, try another time of day.
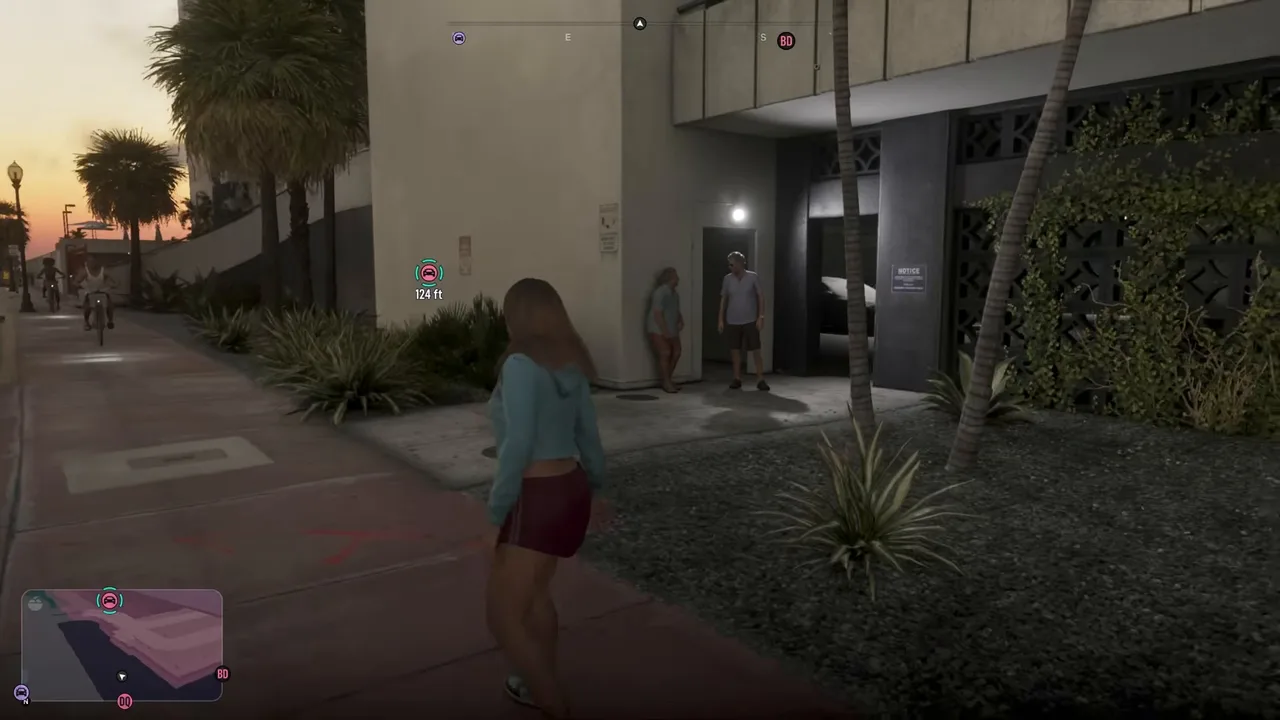 The mission blip, a car icon in a ring, hangs over the garage entrance. Footage: Trophygamers.
Where it starts
The start is a car blip at the entrance to a covered parking garage in Ocean Beach, Vice Beach. When you drive back out, the gate faces The Buckingham, a white art-deco building with its name in neon, and the street signs point you onto the Admiral Causeway. You can walk or ride in: Trophygamers arrived on foot, Vegivanite on a scooter.
Where it starts on the map: our map doesn’t have a pin for this mission yet. Show Randy on the live map for his showroom in Balsero, where the car goes, and his other mission spots.
Who Randy is
Randy runs the garage behind Leonida Auto World, an “on auction” used-car lot in Balsero. He’s an old friend of Raul, works out in his office, and keeps a whiteboard of high-end cars that one rich, impatient buyer wants. This Zorrusso is the first of them he hands you, and it needs a tool you don’t have yet. More on the cast in our characters guide.
What the mission is called
The video titles and the story list call it Steal the Zorrusso for Randy. The game shows no title card: the job opens on the phone call, and the first objectives are Install the Key Cloner plugin and Search the area for the Zorrusso. One vehicle round-up gives it the name “Clonin’ Keys, Makin’ G’s”, which no footage we checked shows on screen.
About this guide
This walkthrough follows Trophygamers’ run as Lucia at dawn and Vegivanite’s as Jason at night, checked against Sirloin’s full Chapter 3 run. Vegivanite’s is the clean delivery that earned the bonus.
Step 1: Walk into the garage and call Randy
Go through the doorway under the blip and into the garage. The game dials Randy for you. Your character tells him they’re about to take the Zorrusso, and Randy explains the catch: it’s a keyless car, so his guy is sending you a key cloner that will start it. The real problem is the advanced tracker, which alerts the police. You can’t switch it off, he says. Just keep the speed up.
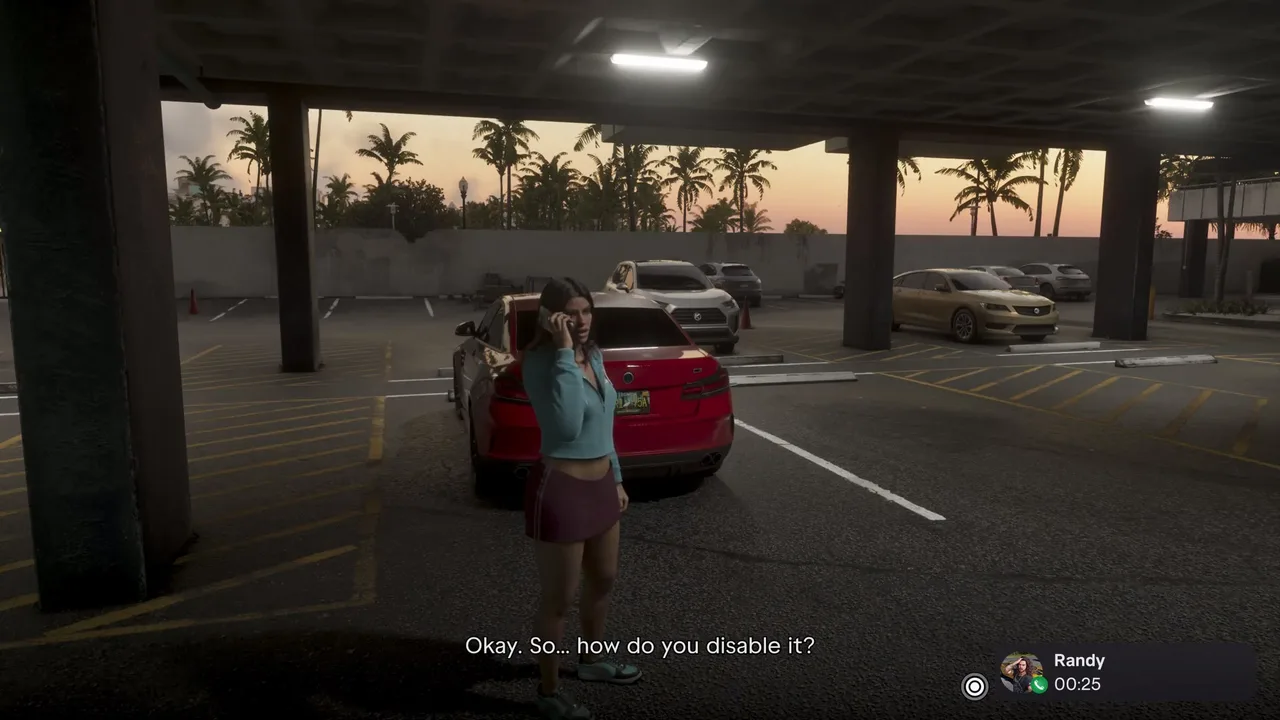 The call with Randy is automatic once you’re in the garage. Footage: Trophygamers.
Step 2: Install the Key Cloner plugin
When the call ends, the objective is Install the Key Cloner plugin and a prompt asks you to open your phone. Go into Settings. Under Third-Party Plugins you’ll see the cop scanner you already have and a new line, Install key_cloner_v1.6.9. Select it and wait for the install bar.
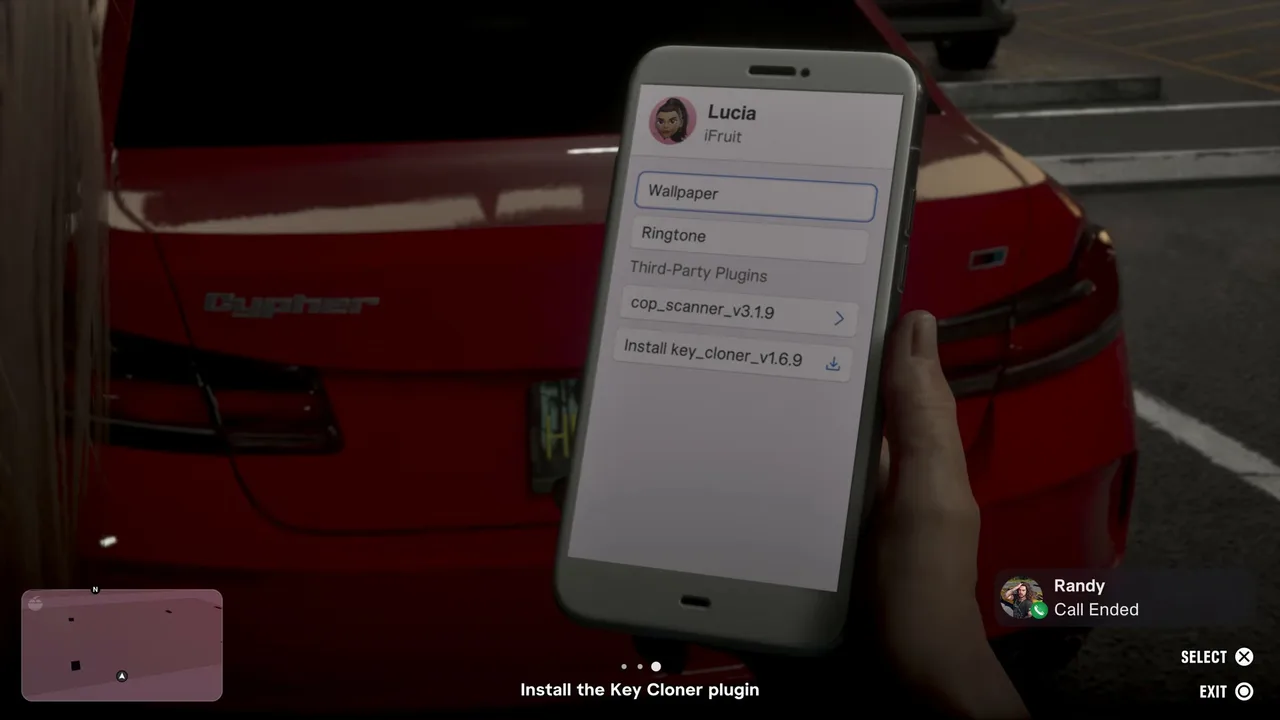 The plugin waits under Third-Party Plugins in the phone’s Settings. Footage: Trophygamers.
The plugin page describes it as a short-range cloner that copies a nearby car’s key fob in seconds. A tip confirms that keyless cars can now be stolen with it, and the objective becomes Search the area for the Zorrusso. This is the moment the Key Cloner unlocks for good, not just for this job.
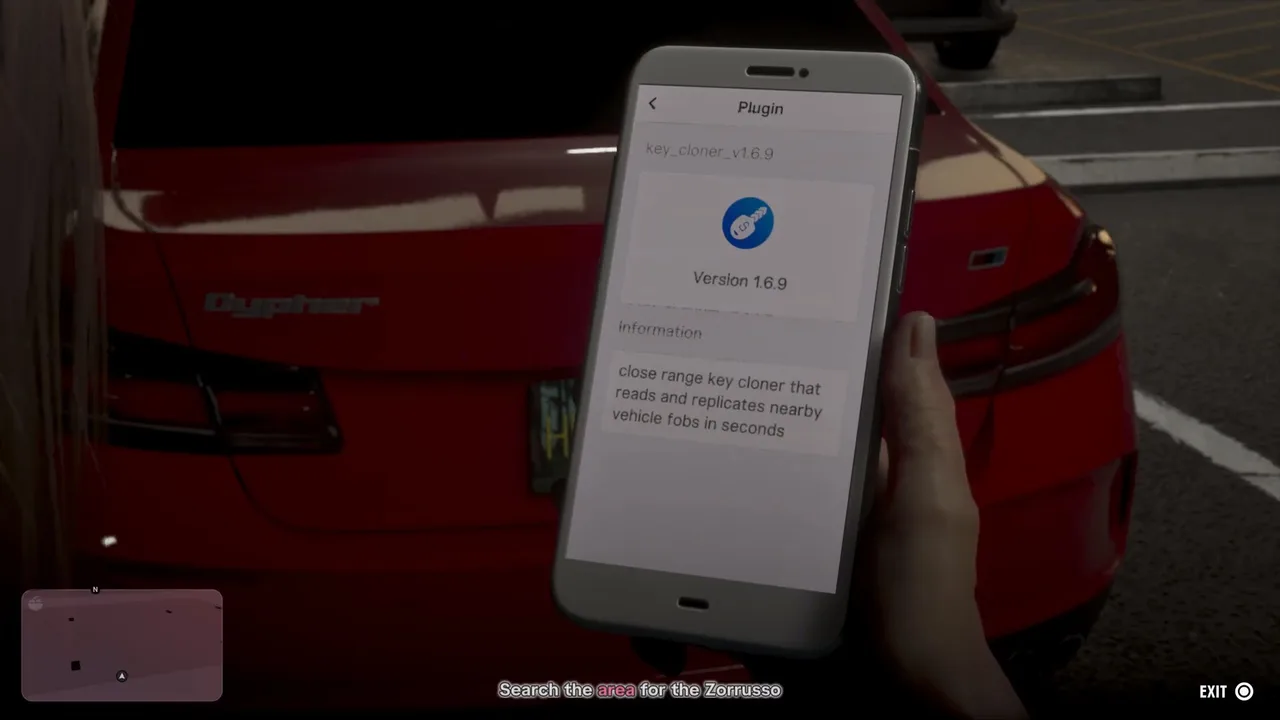 Installed. The objective switches to finding the car. Footage: Trophygamers.
Step 3: Find the Zorrusso and scan it
The Zorrusso is a low red supercar parked on the same level, near the back of the garage. Neither run had to search for long. If you can’t see it, open WAiNK, the car-scanner app, and sweep the bays. When you point it at the right car, the objective changes to Steal the Zorrusso.
Vegivanite’s scan shows why Randy needed the cloner:
| WAiNK row | Granforma Zorrusso | Bravado Gauntlet Hellfire (same garage) |
|---|---|---|
| Access | Key Cloner | Key Cloner |
| Security | Alarmed | Alarmed |
| Tracker | Advanced | Standard |
| Sell value | $21,250 (with Randy’s mark) | $9,200 |
| Cost to register | $87,400 | $28,400 |
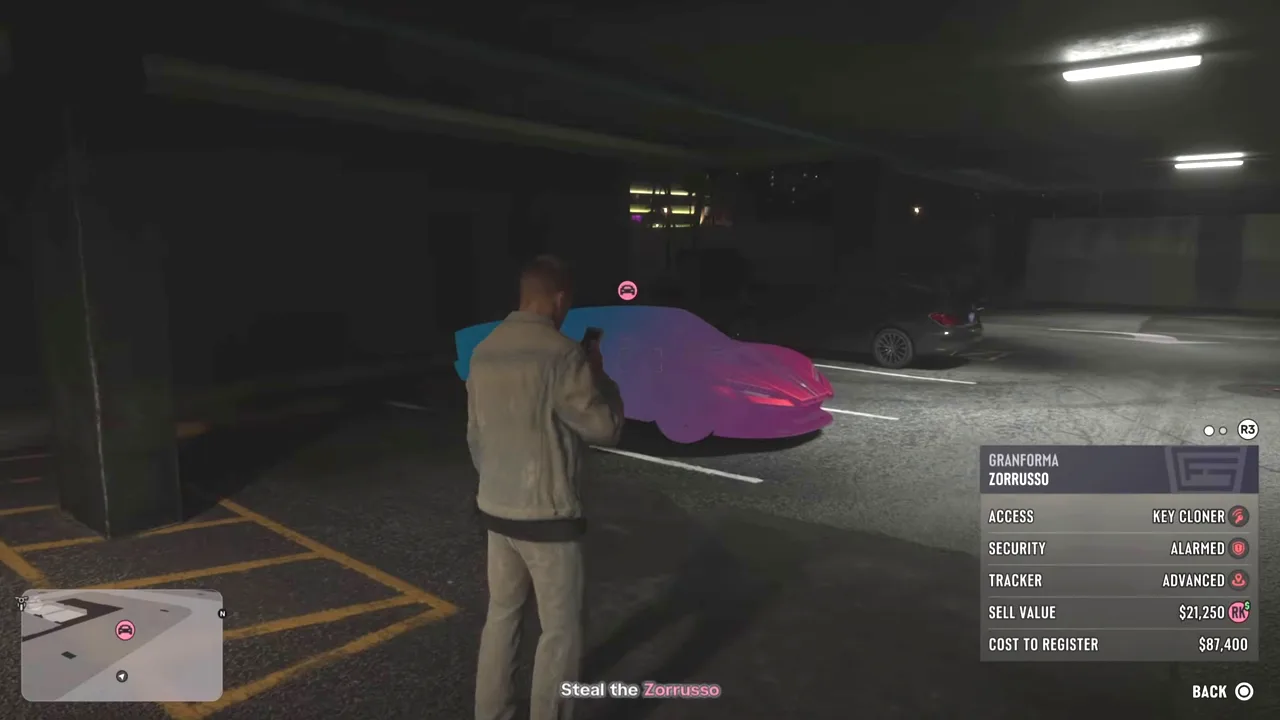 The scan that turns the objective into Steal the Zorrusso (brightened). Footage: Vegivanite.
The Gauntlet Hellfire in the next bay is also on Randy’s wish list. It isn’t part of this job, so leave it for later.
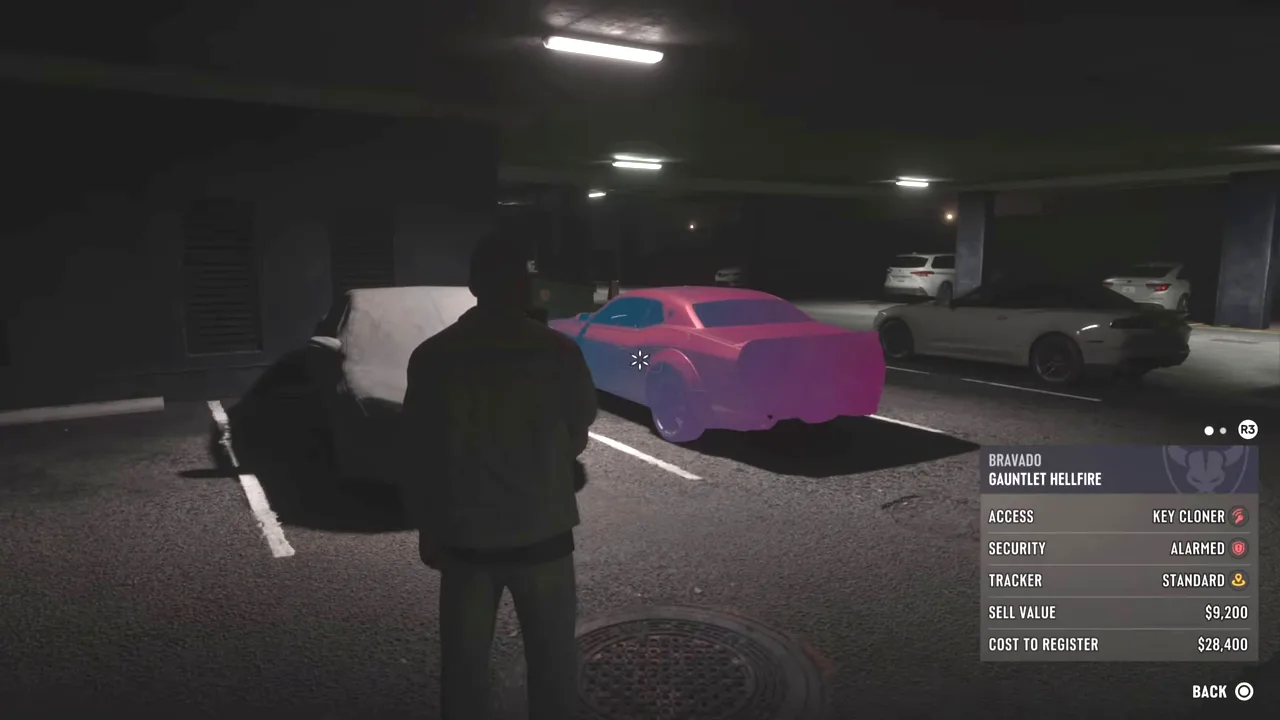 A Gauntlet Hellfire parked in the same garage, another car on Randy’s board (brightened). Footage: Vegivanite.
Optional practice: the cloner works on any keyless car, not just the Zorrusso. Walk up to one and you get two prompts, Break In and Clone Key. Trophygamers tried it on a red Übermacht Cypher first and found an H&L .38 revolver and SMG ammo in its trunk. It costs nothing and shows you the minigame before it matters.
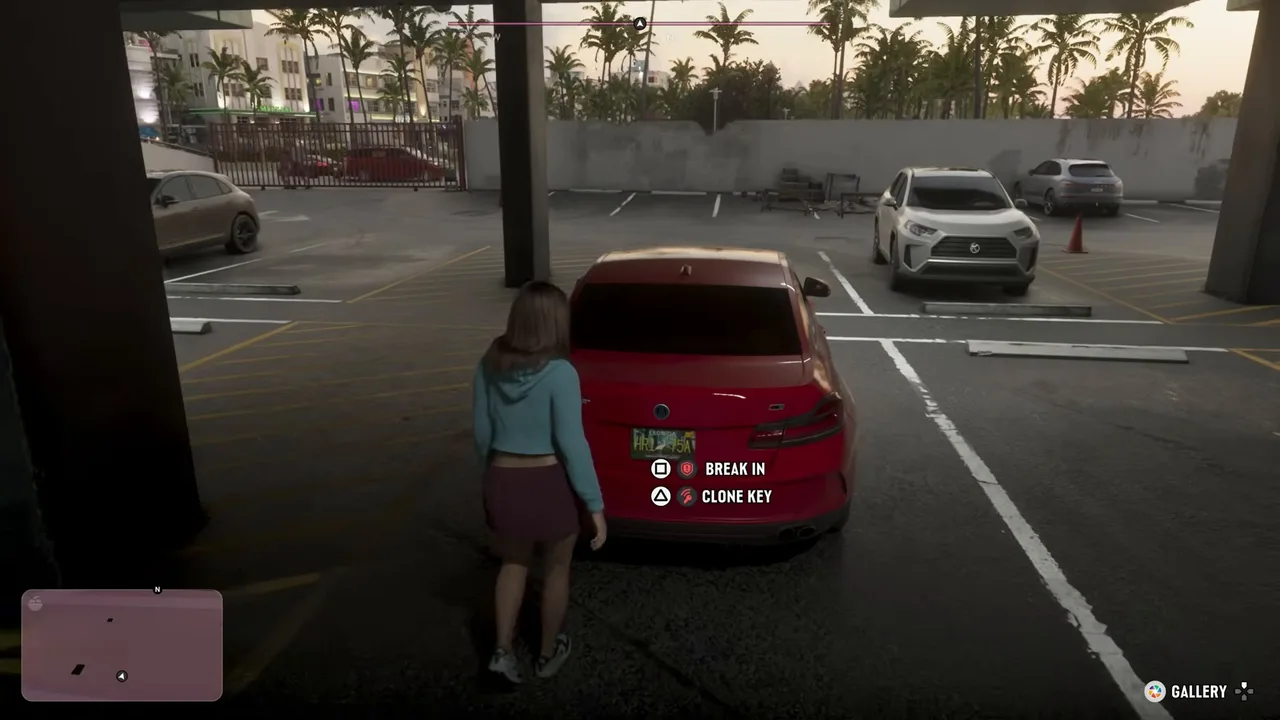 Any keyless car offers Break In or Clone Key now. Footage: Trophygamers.
Step 4: Clone the key
Stand by the Zorrusso’s door and choose Clone Key. A short minigame follows: the tip says to use the control shown to line up a marker and fill the circle. When it fills, the car unlocks and you’re in.
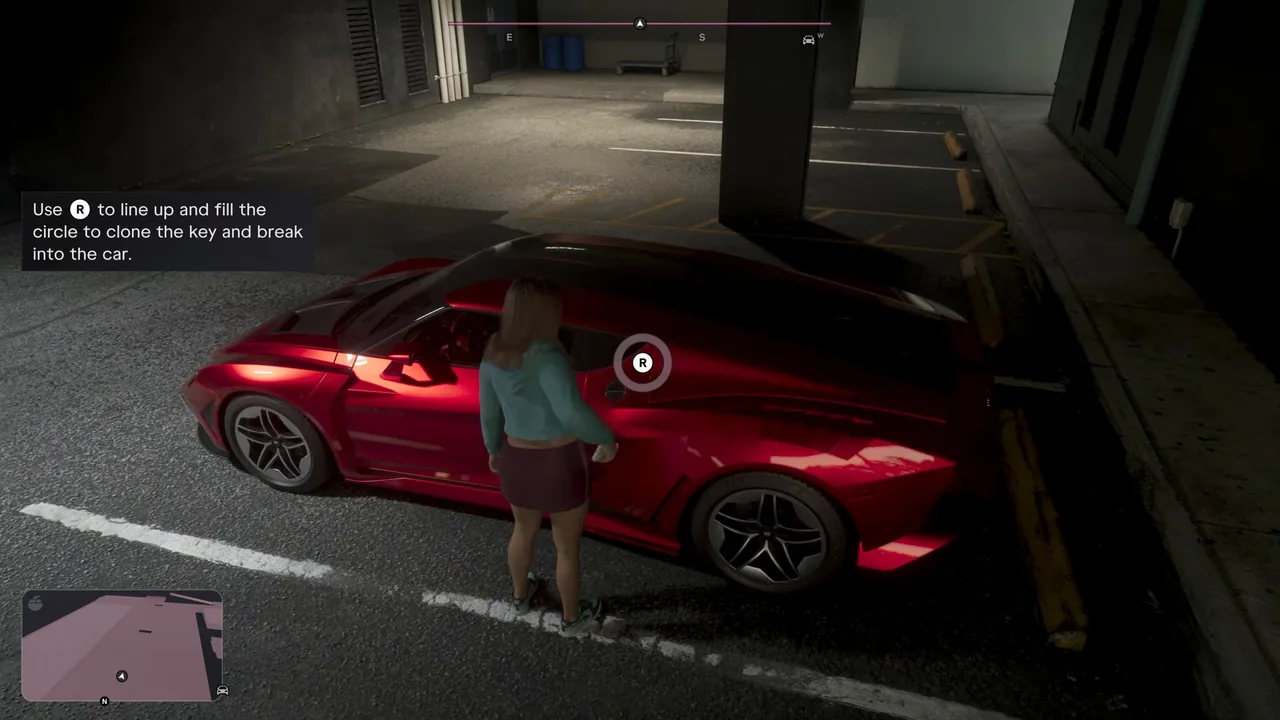 Fill the circle to copy the fob and break in. Footage: Trophygamers.
Your character remarks on how easy that was, and the objective becomes Deliver the Zorrusso to Randy. Randy texts straight away: drive fast, because going slow sets the tracker off and you’ll have to lose the police, and don’t damage the car, because damage costs you money.
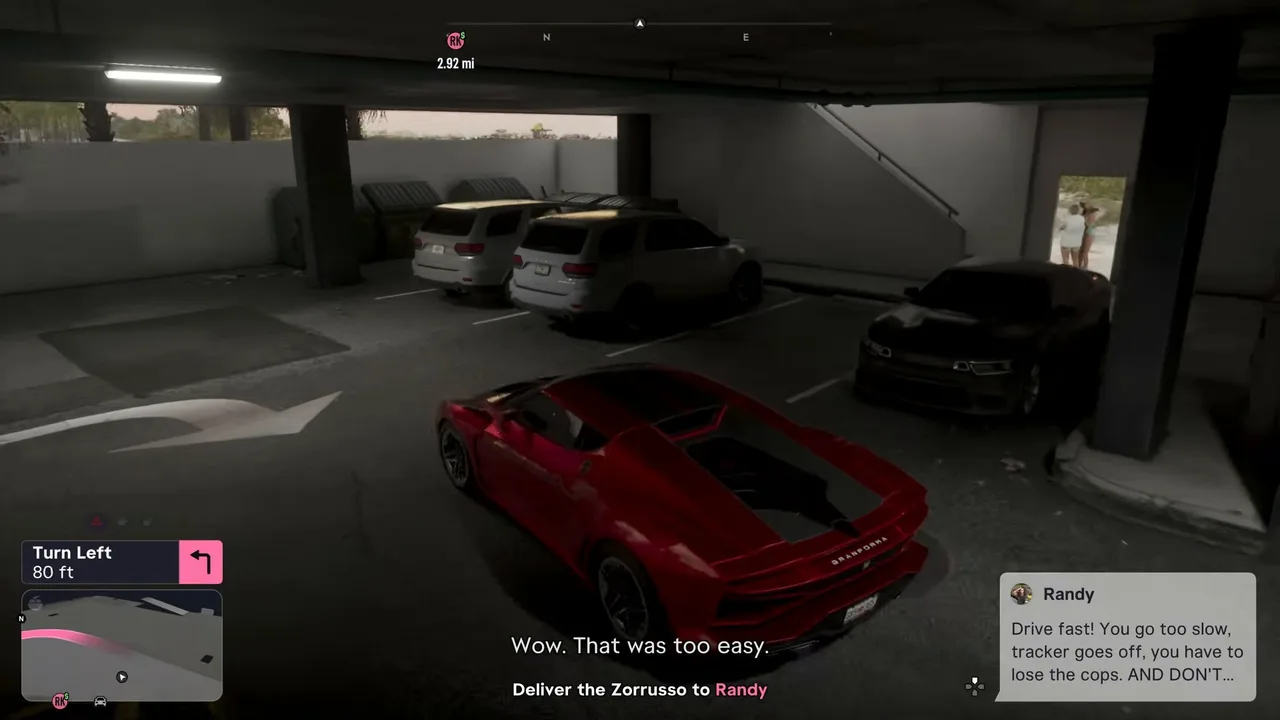 Randy’s two rules arrive by text as you pull out. Footage: Trophygamers.
Step 5: Drive fast to keep the advanced tracker quiet
The drive to Randy is about 3 miles: out of the garage past The Buckingham, west over the Admiral Causeway by Waxman Island, then along the highway past signs for Kelly County, Crosstown, Rockridge and Lake Leonida, and down into Balsero. Follow the GPS line.
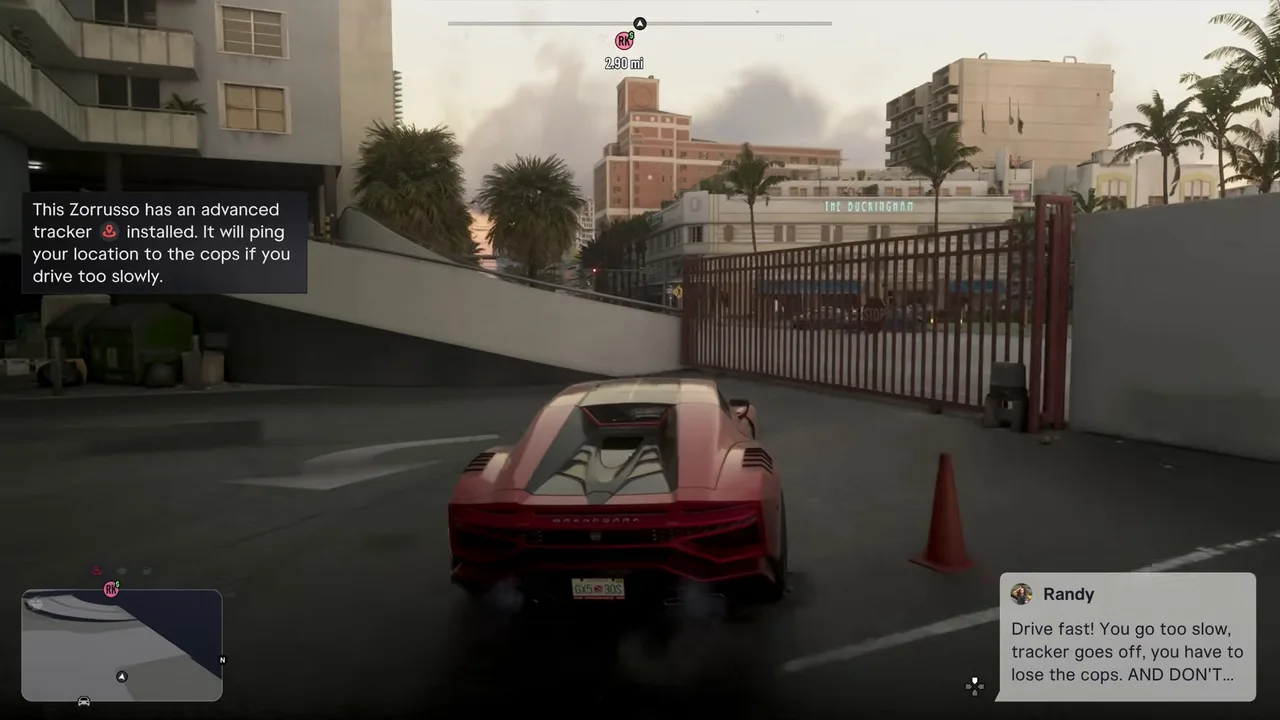 Out of the gate, the tracker tutorial starts. Footage: Trophygamers.
How the tracker works, from the in-game tips:
- It reports your position to the police if you drive too slowly.
- Its icon flashes just before it triggers. Speed up when you see that and you avoid the wanted level.
- Its signal is blocked once you’re close to Randy’s showroom, so the last stretch is safe.
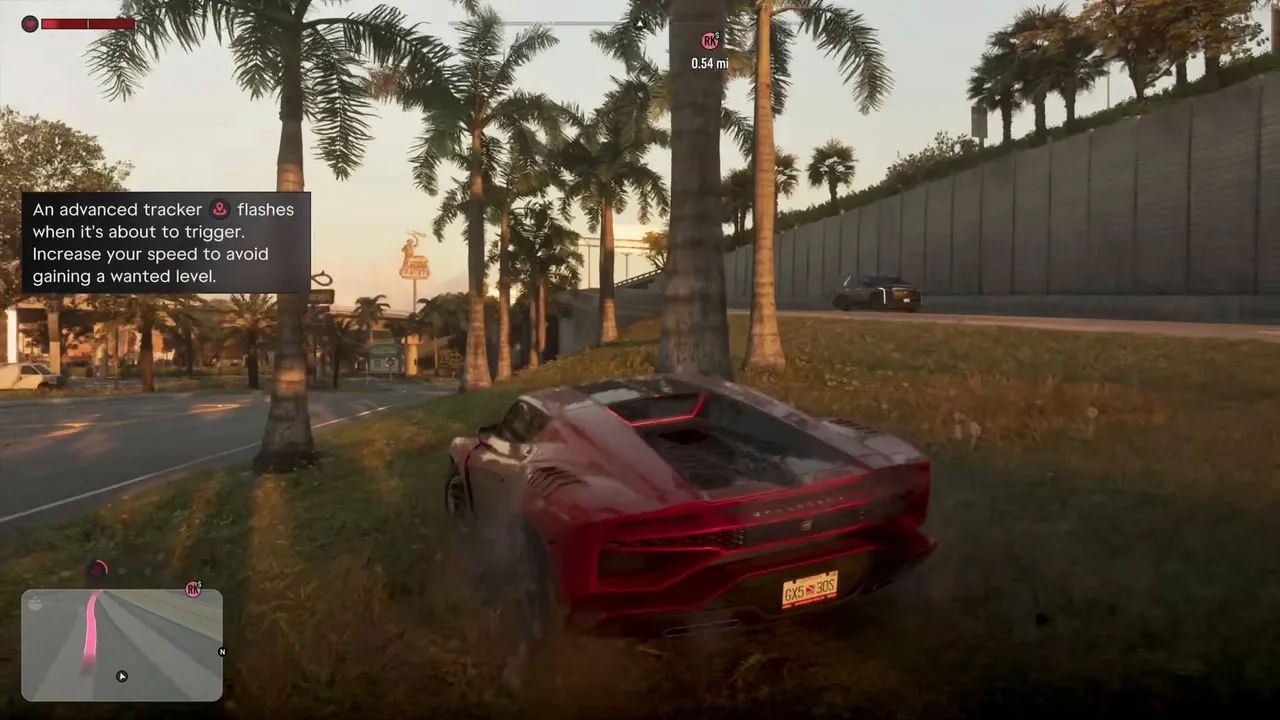 A flashing tracker icon is your last warning. Footage: Trophygamers.
You don’t need to drive like a maniac. MonkeyKingHero, who has since delivered several of Randy’s tracked cars, says the speed you have to hold is quite low, so there’s no need to weave through traffic flat out. The bigger risk is damage: every scrape lowers Randy’s payout, and he notes a tracked car can blow up after enough crashes.
If the police do get a report, it isn’t over. Vegivanite triggered a “Crime reported” notice soon after leaving the garage, picked up two stars and had to Lose the cops, yet still delivered the car in top condition. Trophygamers got a report in Balsero, just short of the showroom.
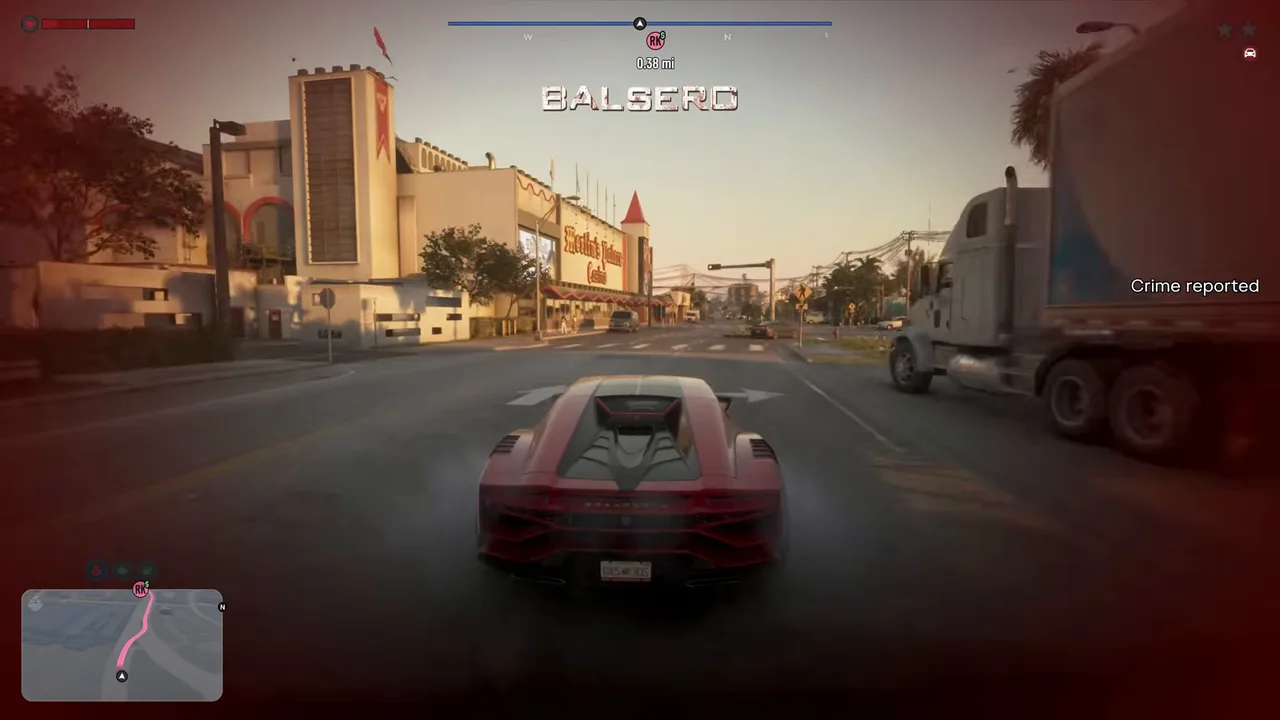 A late “Crime reported” in Balsero, a few blocks from Randy. Footage: Trophygamers.
Step 6: Deliver the Zorrusso to Randy’s showroom
As you near Leonida Auto World, a tip confirms that the tracker can’t reach you here. Pull through into the garage at the back, where Randy is mid-workout, counting his reps out loud in Russian.
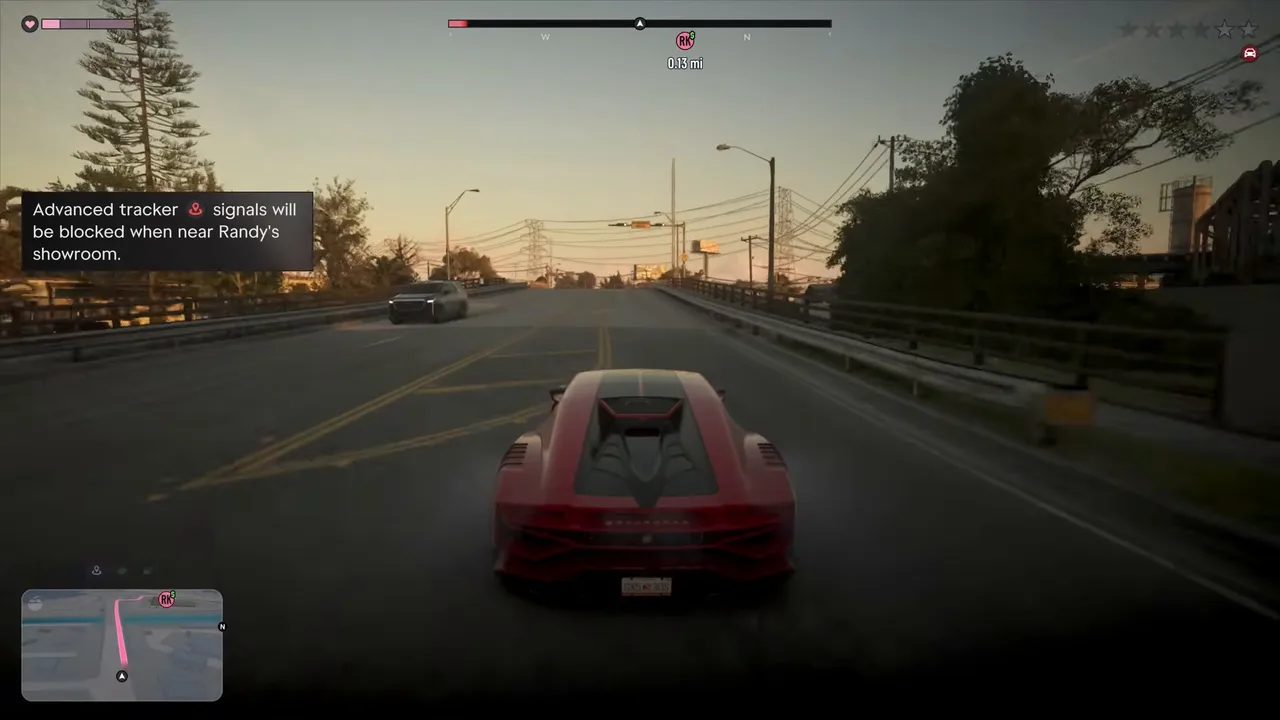 Close to the showroom, the tracker can’t report you. Footage: Trophygamers.
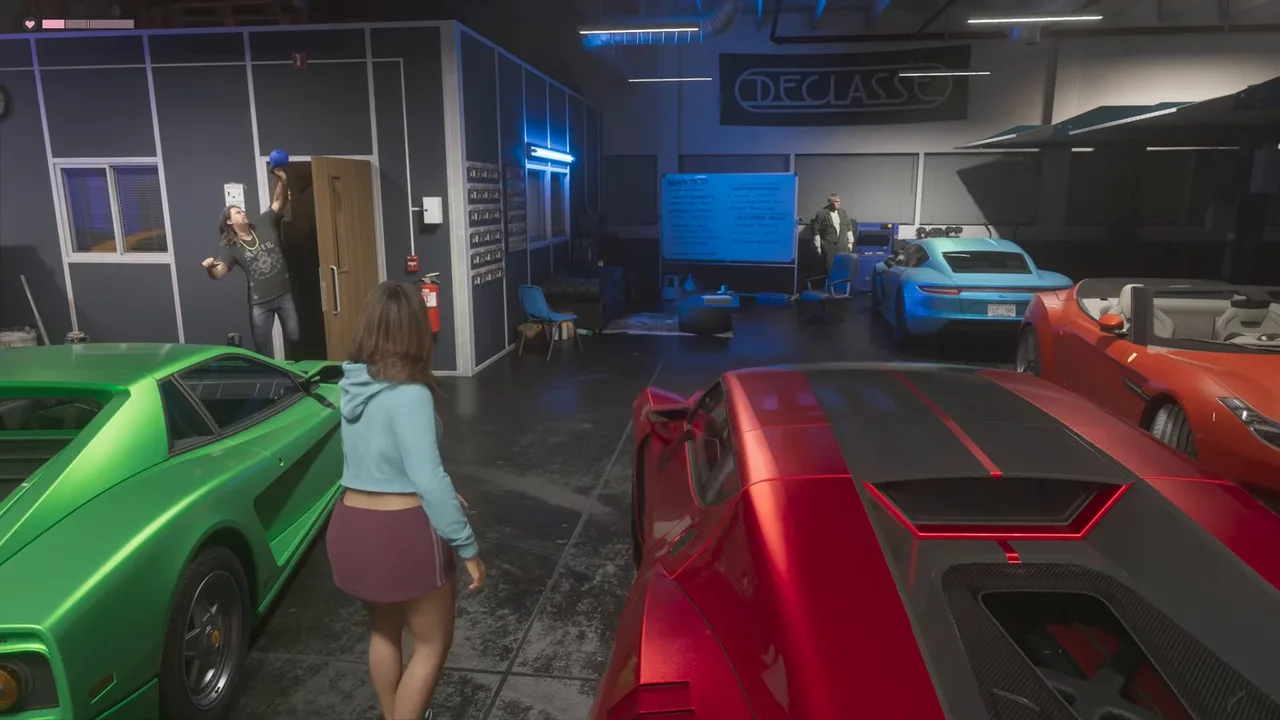 Randy is mid-workout when you pull in. Footage: Trophygamers.
Park on the Zorrusso → Randy drop marker and get out. Randy looks the car over and jokes that most small-time thieves wrap a car like this around a streetlight on the way. What he says next depends on the condition:
- Damaged: he says that’s exactly what you did, and your character shrugs that it got here, didn’t it? (Trophygamers)
- Clean: he praises you for keeping it in great condition, and your character puts it down to luck. (Vegivanite)
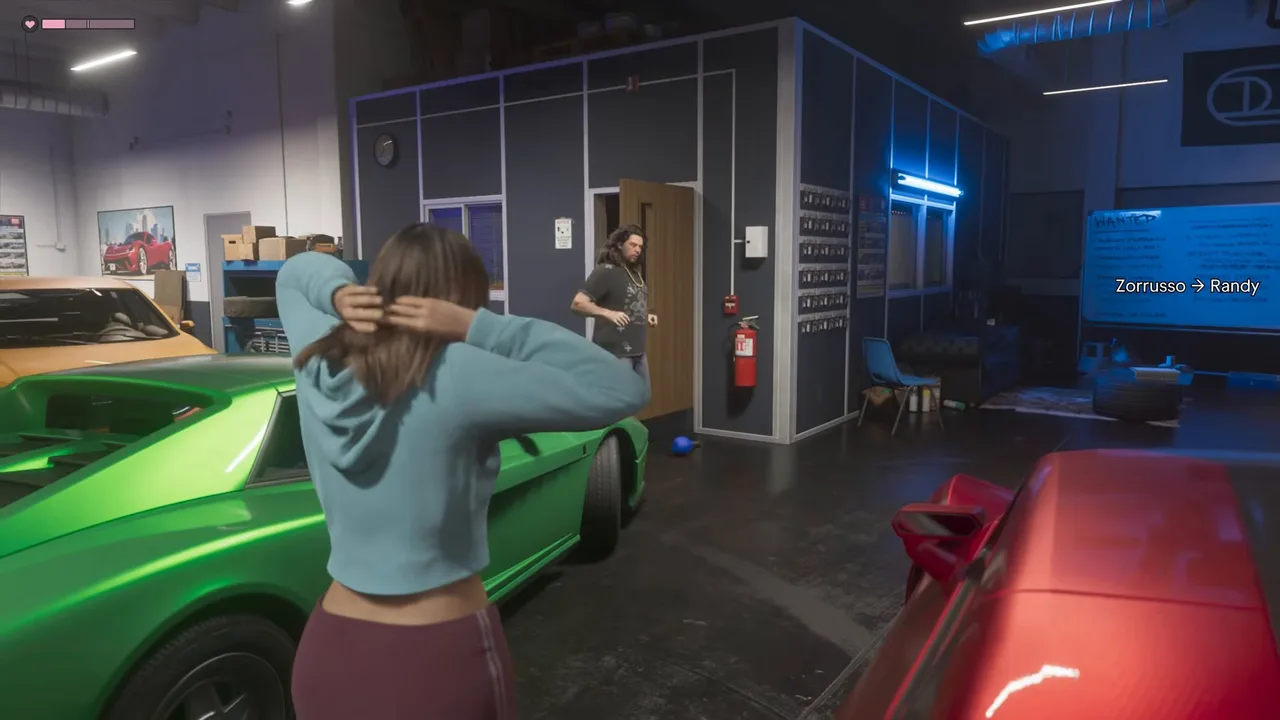 Randy’s garage, with the drop marker on the wall. Footage: Trophygamers.
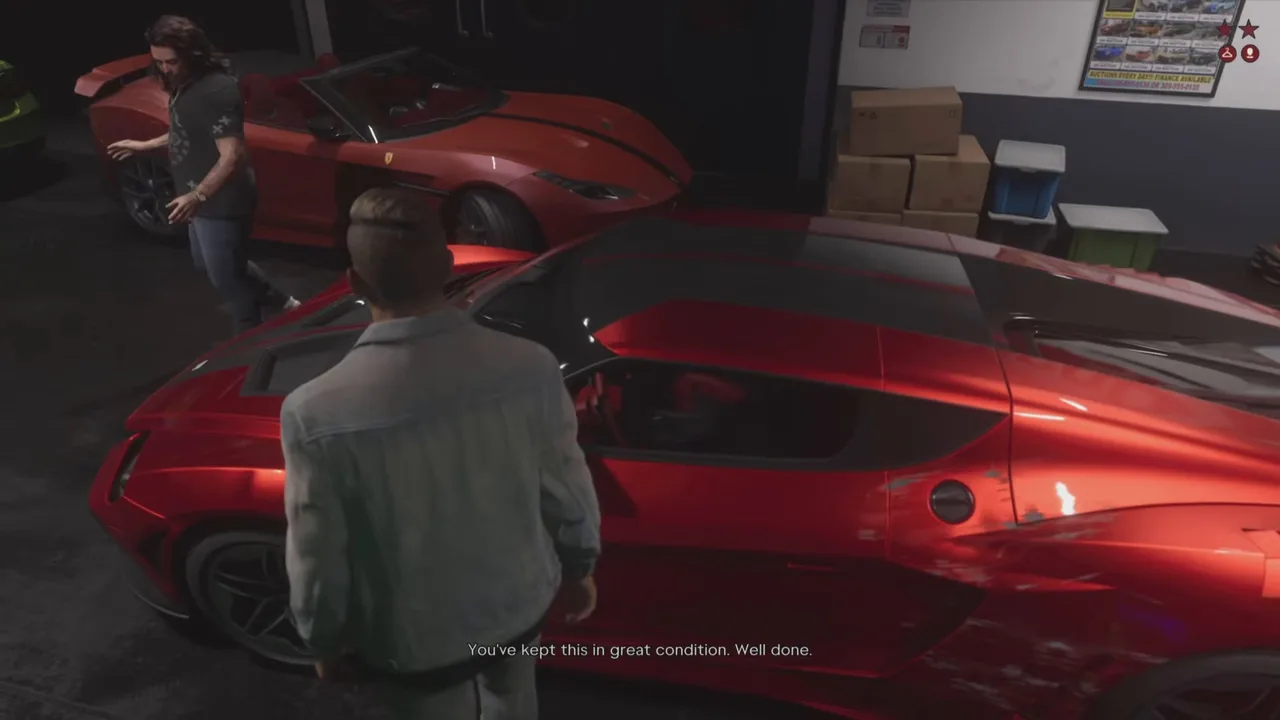 The line you want to hear: a clean car earns the bonus later. Footage: Vegivanite.
Step 7: Follow Randy to the wish-list board
The objective becomes Follow Randy. He leads you to a whiteboard headed WANTED and crosses off the Zorrusso, which is headed for a Saudi prince’s Snapmatic page. Every car on the board is for the same buyer: big money, no interest in paperwork, and no patience. Randy asks if you’ll find him more, you agree, and he adds that he hears about everything in town if you ever need information.
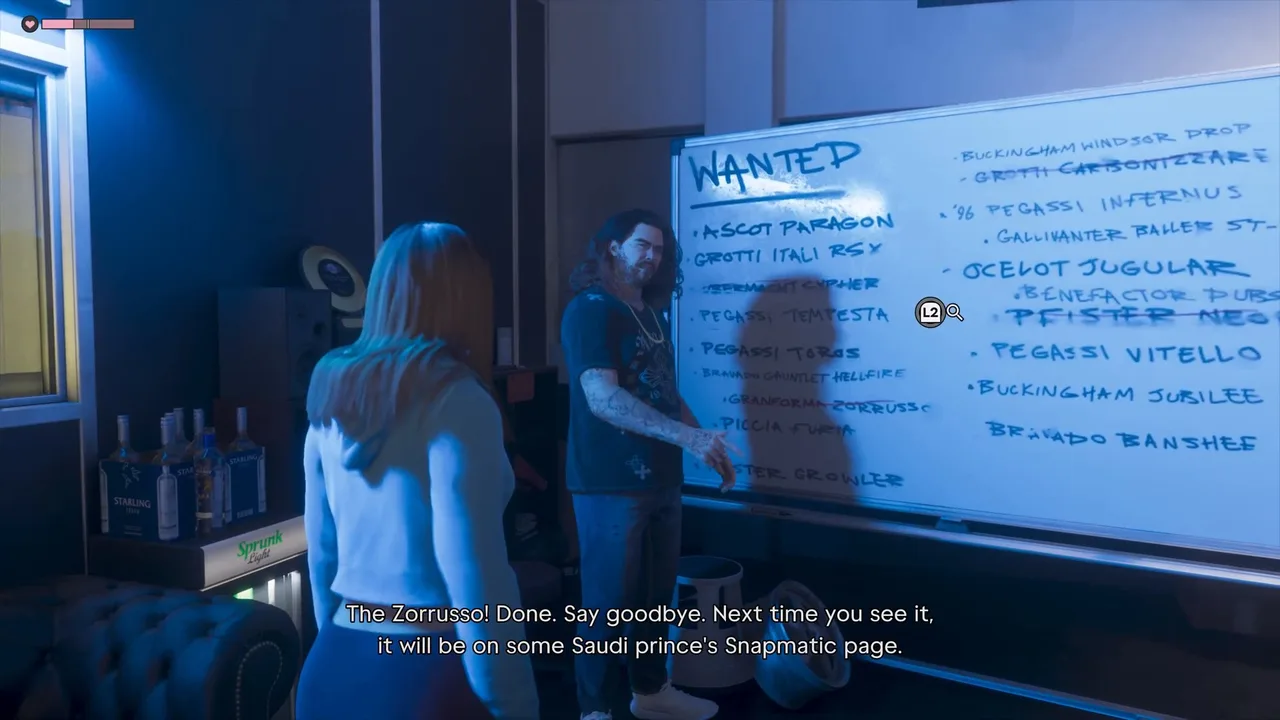 The Zorrusso comes off Randy’s board. Footage: Trophygamers.
You can zoom in on the board. About 20 cars are written on it, among them the Grotti Itali RSX, Pegassi Tempesta, Pegassi Toros, Bravado Gauntlet Hellfire, Piccia Furia, Pfister Growler, Buckingham Windsor Drop, ’96 Pegassi Infernus, Gallivanter Baller ST-D, Ocelot Jugular, Benefactor Dubsta, Pegassi Vitello, Buckingham Jubilee and Bravado Banshee. A few are already crossed out.
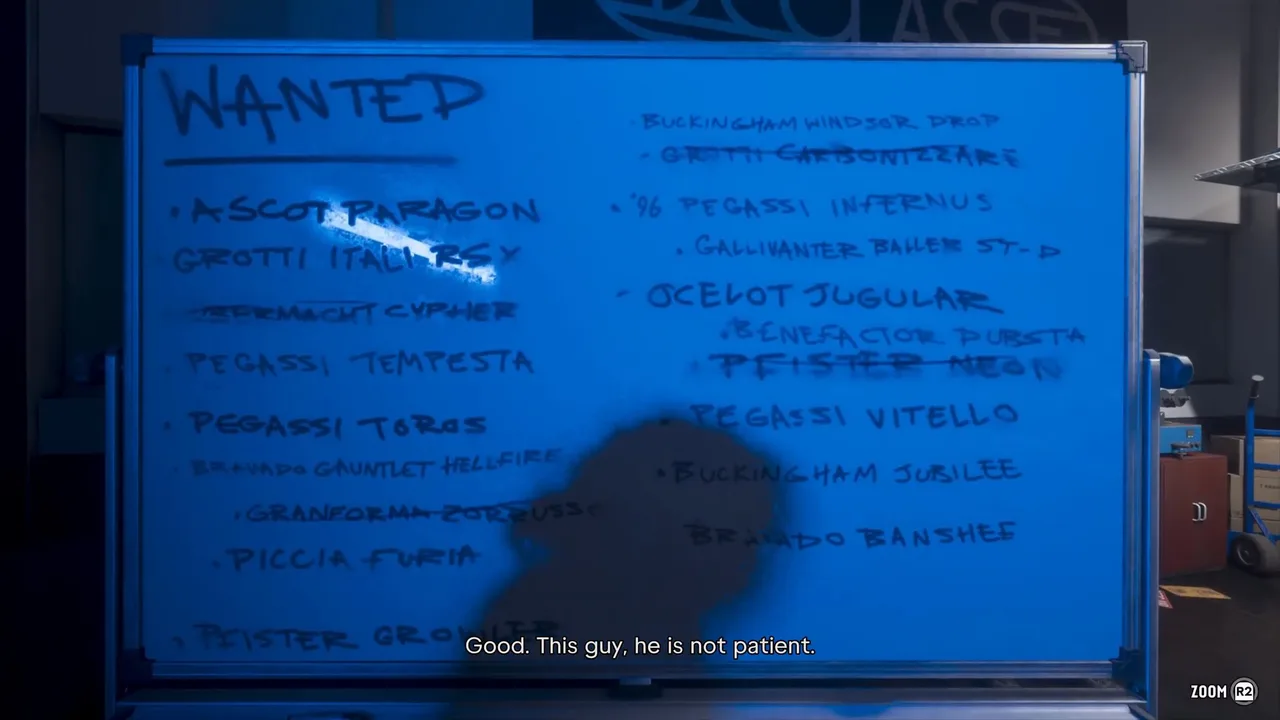 The full wish list. Zoom in on it in-game to read every name. Footage: Trophygamers.
Randy then sits down and pays you with a Bucked You transfer, a “Map updated” notice appears, and the mission ends. You can stay and chat: he offers to have his mechanics look at your cars.
Rewards
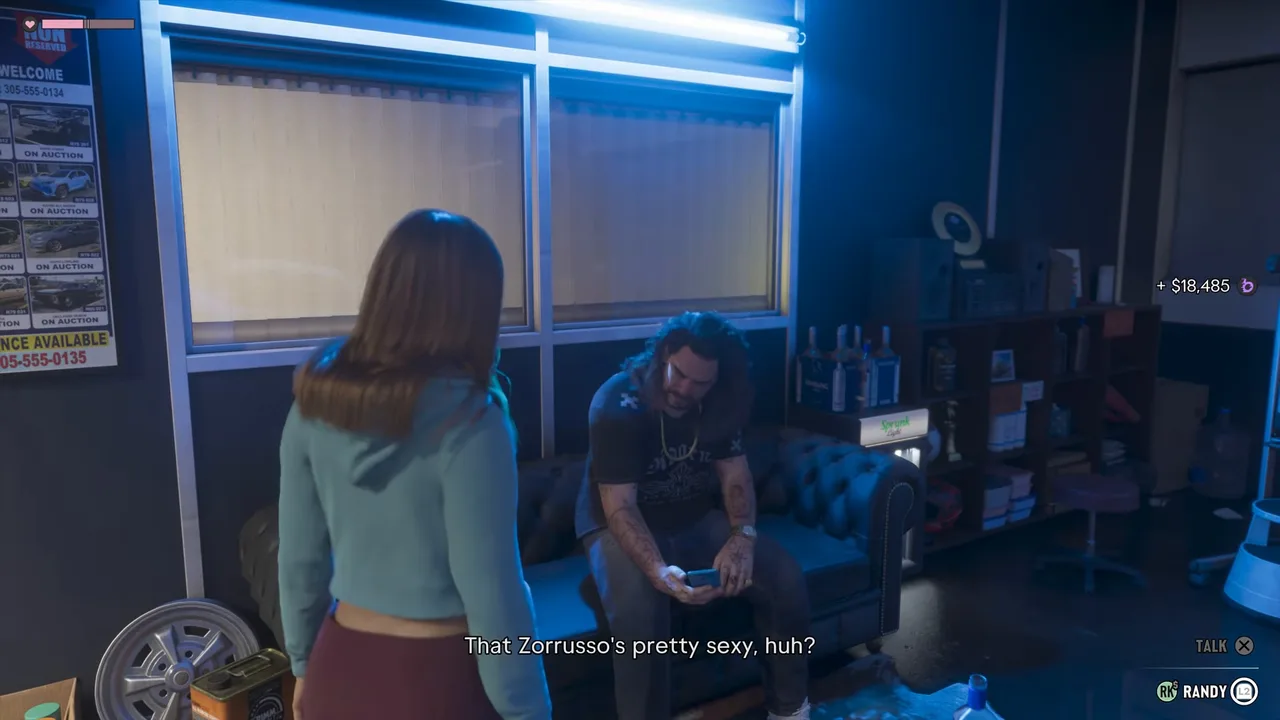 A scuffed Zorrusso paid $18,485 and no bonus. Footage: Trophygamers.
| Reward | Details |
|---|---|
| Key Cloner | Installed on your phone in Step 2. Opens premium keyless cars and most supercars from now on. |
| Randy’s payment | $21,215 for a clean car (Vegivanite), $18,485 for a damaged one (Trophygamers). The scan valued it at $21,250. |
| Condition bonus | +$10,000, sent by Randy in a text about a minute later, only for a car in top condition |
| Randy’s wish list | The board’s cars become Randy’s Wish List, his Strangers & Freaks jobs |
| Trophy | None for this mission. Finishing Randy’s last job earns Supply & Demand (hidden Bronze, 20G). |
The payment seems to follow the car’s value minus damage. Vegivanite’s clean car came within $35 of its scan value. Delivering it also wipes any wanted level: his payment notice read “Heat cleared”.
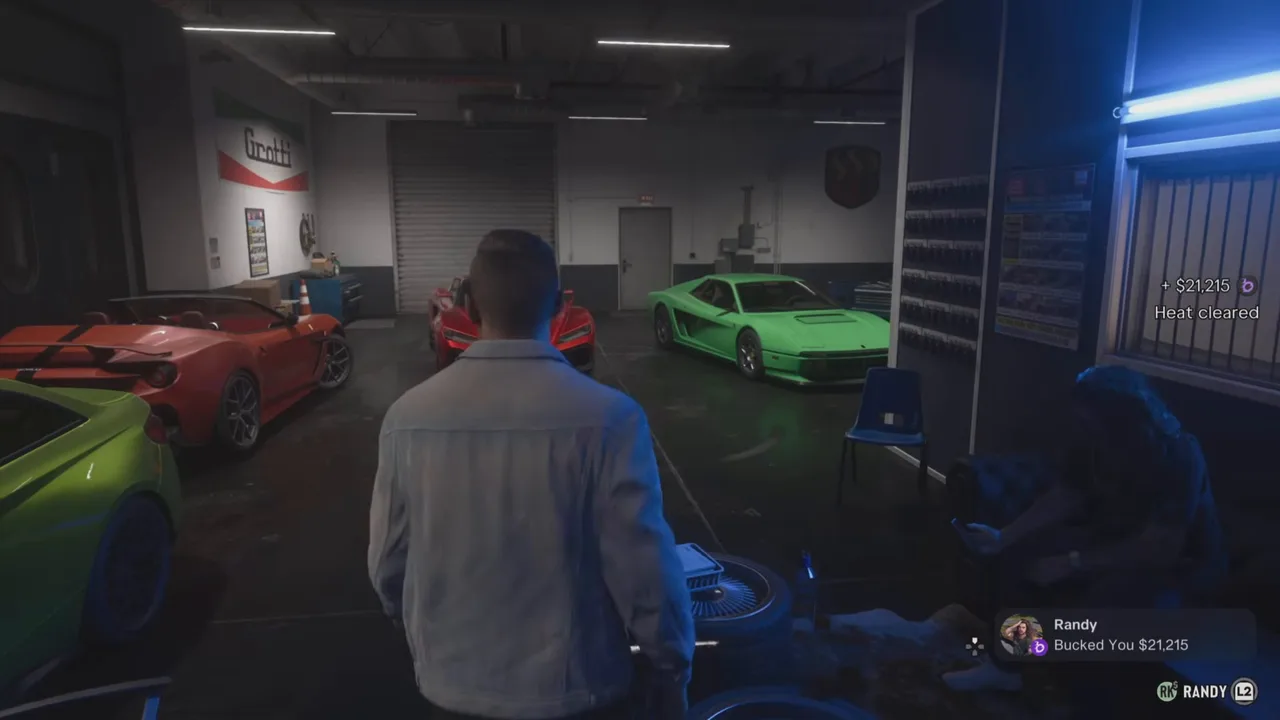 A clean car: $21,215, and the heat is cleared. Footage: Vegivanite.
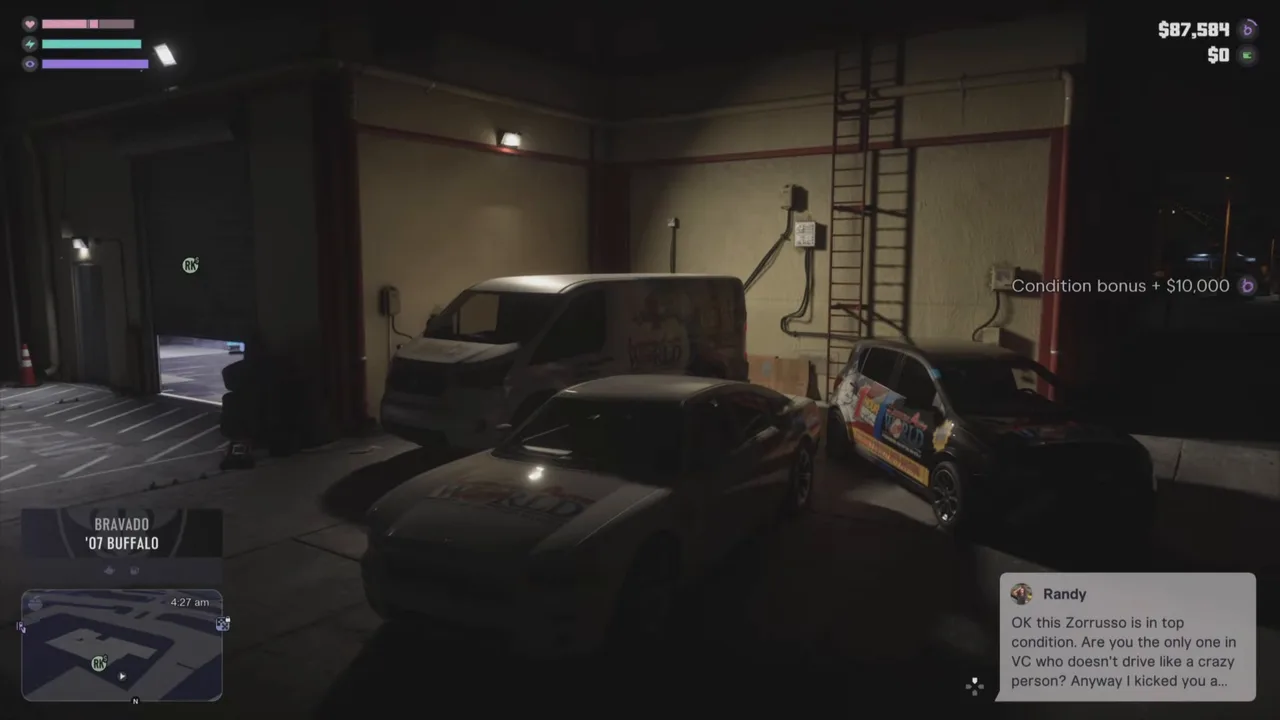 Randy’s follow-up text with the $10,000 condition bonus. Footage: Vegivanite.
That brings a clean run to $31,215, in line with the “$30,000 or more” Crown GTA 6 Tips quotes for each car on Randy’s list. For how this compares with Moses and Pay ‘n’ Spray, see our money guide.
Failing the mission
Neither run failed, and the rules on screen are mild. A slow car sets off the tracker and earns you a wanted level, but you can still deliver with stars showing. Damage only lowers the pay. The real danger is destroying the car: MonkeyKingHero had one of Randy’s later tracked cars blow up after a crash, and the footage we have doesn’t show what happens if the Zorrusso goes the same way, so treat it as a likely fail.
Tips
- Practise on another car first. Clone a parked keyless car in the garage to learn the minigame, and check its trunk while you’re there.
- Steady beats fast. You only need enough speed to stop the tracker flashing. Clean driving earns $10,000 more than a crash-heavy run.
- Watch the tracker icon. When it flashes, speed up before it reports you.
- Stars don’t stop the delivery. Vegivanite still had two stars when he parked at Randy’s, and the payment cleared them.
- Remember the Gauntlet Hellfire. It’s parked in the same garage and is on Randy’s board, so come back for it with the cloner.
Related guides
- Previous: Credit Check (#64), Raul’s base and crew. Next: Raul’s Next Job (#66), then Sinfrontera National Bank (#67). See all GTA 6 missions.
- Car Service: where Lucia meets Randy and gets his number
- Best cars to steal in GTA 6: WAiNK, trackers, the Key Cloner and what’s worth keeping
- Steal Vehicles for Moses: the untracked-car buyer in Port Gellhorn
- GTA 6 money guide: Randy, Moses and Pay ‘n’ Spray side by side
- Interactive map: Randy’s showroom and Ocean Beach
Frequently Asked Questions
How do you get the Key Cloner in GTA 6?
Play the Chapter 3 story mission Steal the Zorrusso for Randy. Randy's contact sends it to your phone at the start, and you install it yourself from the phone's Settings under Third-Party Plugins. From then on it opens keyless cars anywhere.
Why won't Steal the Zorrusso for Randy start?
If the blip tells you to return to this location later, the mission isn't ready yet. Vegivanite had that message across several other missions; it finally started after saving, closing the game and going back to the garage.
How much does Randy pay for the Zorrusso?
It depends on the car's condition. A clean delivery paid $21,215, and a text from Randy a minute later added a $10,000 condition bonus. A run that scraped the car up got $18,485 and no bonus.
How fast do you need to drive with an advanced tracker?
Not very. The tracker only reports you if you drive slowly for too long, and its icon flashes as a warning first. Normal fast driving keeps it quiet, and its signal is blocked once you're close to Randy's showroom.
Can you play Steal the Zorrusso for Randy as Jason?
Yes. Whoever you arrive as does the job: Trophygamers played it as Lucia and Vegivanite as Jason, with the same objectives and dialogue.
Sources & Credits
Researched from these videos and official material, among others. Screenshots credit the creator whose footage they come from.
- GTA 6 - Unlock Key Cloner - Steal Zorrusso for Randy - Walkthrough Part 74 · Trophygamers
- How to unlock Steal The Zorrusso Randy Mission - Key Cloner Misson 10K Bonus GTA 6 · Vegivanite
- GTA 6 - Full Chapter 3 Walkthrough (No Commentary) 4K · Sirloin
- How to Get The Pegassi Infernus for Randy's Wish List in GTA 6 · MonkeyKingHero
- GTA 6 Has 557 Vehicles — 15 Things You Must Know · Crown GTA 6 Tips