Jump to your step
 1
Sit in on the studio session
 2
Hear Boobie out
 3
Drive Dre’Quan to Tyrone’s spot in La Perle
 4
Meet Tyrone and choose the product
 5
Head to Crosstown
 6
Find the buyers and hand over the product
 7
Half price, or take it or leave it
 8
Shoot your way out and lose the cops (take it or leave it)
 9
The man who says your bag is his (half price)
 10
Drive Dre’Quan to Southside
 11
Back at the apartment
Dealer’s Choice: quick facts
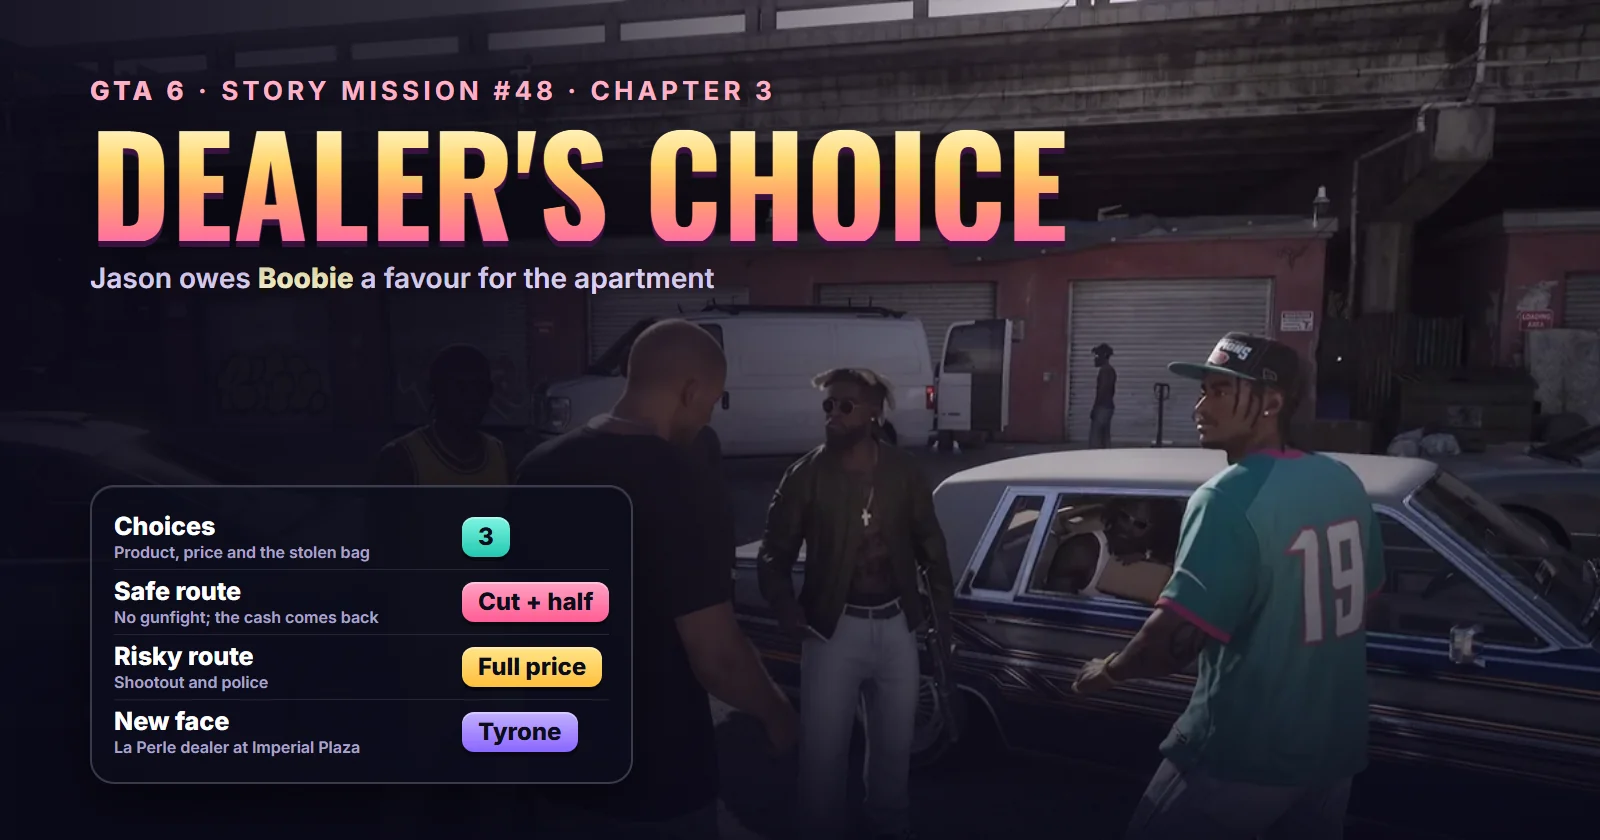
| Mission | Dealer’s Choice, story mission #48 |
| Chapter | Chapter 3, the second mission of the chapter |
| You play | Jason, with Dre’Quan beside him the whole way |
| Given by | Dre’Quan Priest, on Boobie Ike’s orders |
| Where it starts | The Only Raw Records studio inside the Jack of Hearts, Vice City |
| Main places | Tyrone’s spot at Imperial Plaza, La Perle; a deal in Crosstown off NE 4th Ave; Southside |
| Unlocks after | Welcome to Vice City (#47) |
| Next in the story list | Meet the Heders (#49) |
| Choices | Cut or pure product; half price or take it or leave it; what to tell a man who wants your bag |
| Length | About 20 to 25 minutes, cutscenes included |
| Reward | No payout shown; Tyrone as a new face, and the setup for Brian’s contact and the statue |
| Trophy | None |
| Required for 100% | Yes |
Mission briefing The story so far, how it unlocks, where it starts and who's who. Contains spoilers for the end of Chapter 1 and the end of Chapter 2.
The story so far (spoilers for the end of Chapter 1 and Chapter 2)
Spoiler for the end of Chapter 1: the job Mattia sent Jason and Lucia on was a setup. Jason took a bullet, and the couple got away with a bag holding a bronze statue and an encrypted hard drive they still can’t sell.
Spoiler for the end of Chapter 2: after weeks hiding at the Starlet Motel, armed men found them there in Checking Out. They escaped to Vice City, where Jason’s old school friend Dre’Quan got them apartment 201 at VC Heights Apts in Bayside. The flat belongs to Boobie Ike, owner of the Jack of Hearts strip club, and in Welcome to Vice City Boobie made it clear he doesn’t do favours for free.
How Dealer’s Choice unlocks
It follows straight on from Welcome to Vice City. On the couple’s first morning in Bayside, Dre’Quan texts that Boobie needs something and asks Jason to come to the studio. Lucia stays home to clean. Take the car from the apartment lot (Sirloin drove the red ’85 Sentinel) and head for the club.
Where it starts
At the Jack of Hearts, Boobie’s club. Walk in through the entrance with the cashier window; Sirloin’s run shows the “Jack of Hearts” place name and Jason texting Dre’Quan that he’s on his way in. Then head to the back, where Dre’Quan runs the club’s recording studio. The mission card, Dealer’s Choice, appears as the studio cutscene starts. See the Dealer’s Choice start on the live map · the Jack of Hearts, or show Boobie’s places.
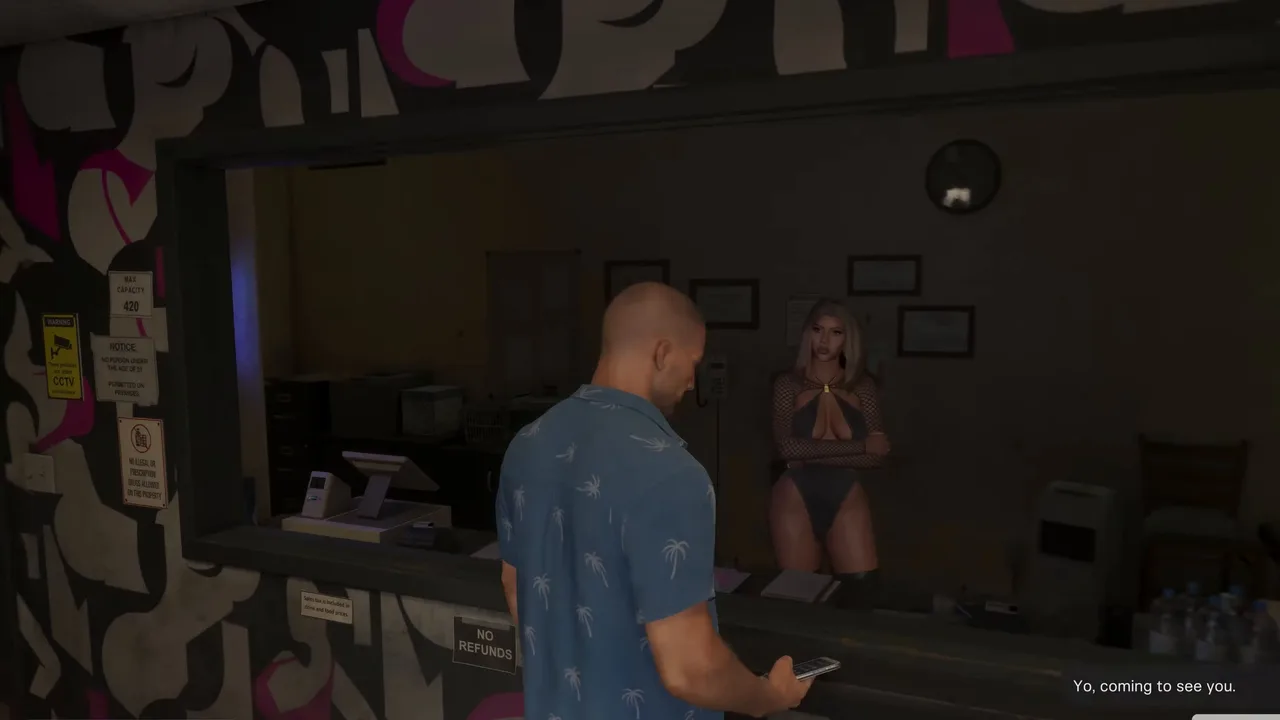 Walking into the Jack of Hearts on the way to the studio. Footage: Sirloin.
Who’s who
- Dre’Quan: Jason’s high-school friend, now trying to turn Only Raw Records into a real label. He drives you all mission.
- Boobie Ike: owns the Jack of Hearts and your apartment. Where to find Boobie: show Boobie on the live map.
- Roxy and Bae-Luxe: the duo Dre’Quan is recording (Real Dimez in our characters guide).
- Tyrone (“Ty”): a La Perle dealer who supplies the product. Tyrone’s places on the live map.
- Cal: only at the very end, back at the apartment.
This guide follows Aquish GTA’s mission video, which takes the peaceful route, and Sirloin’s full Chapter 3 run, which picked the other answer at the deal and shows the gunfight. Aquish played on Xbox and Sirloin on PlayStation, so you’ll see both sets of button prompts.
Step 1: Sit in on the studio session
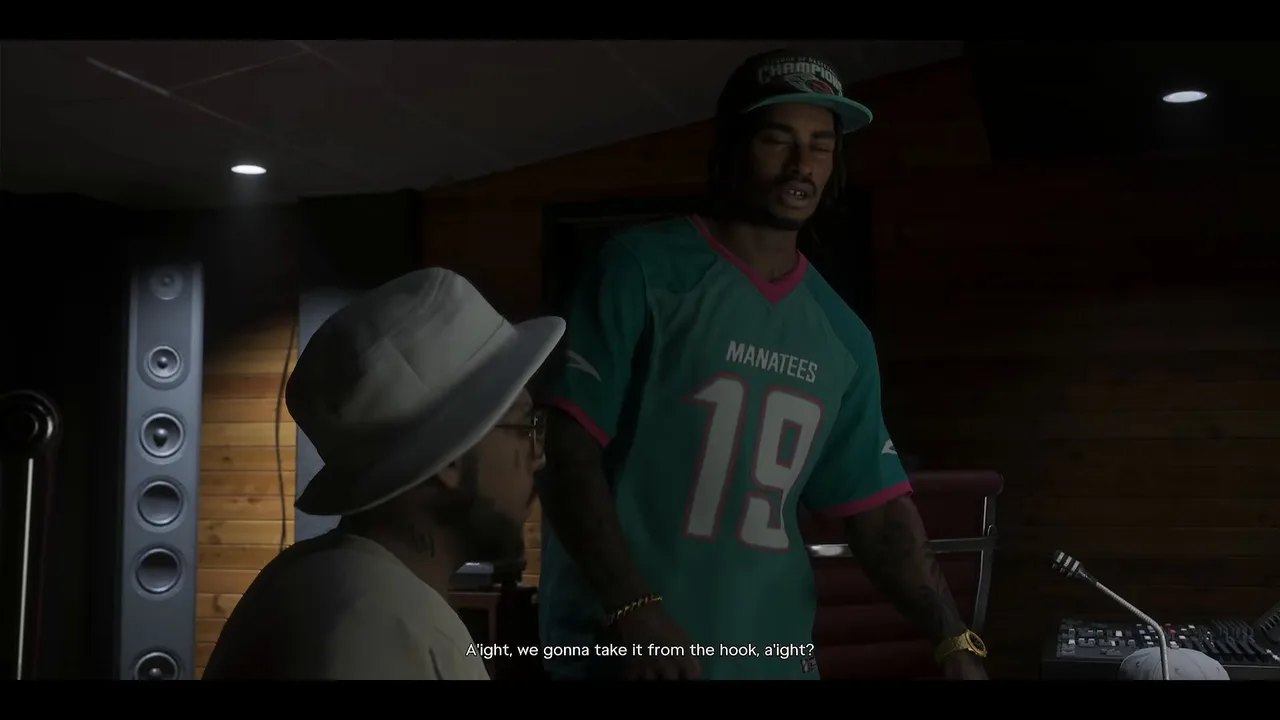
The opening cutscene drops you in the Only Raw studio while Roxy and Bae-Luxe lay down a very explicit hook. Dre’Quan coaches them on keeping the lyrics simple enough for anyone to rap along, introduces Jason, and asks which of two hooks hits harder before locking one in. Nothing to press here; it’s character set-up for the label.
Dre’Quan running the session at Only Raw. Footage: Aquish GTA.
On the walk to Boobie’s office Jason wonders whether they’re about to be thrown out of the apartment. Dre’Quan doubts it: the club is short-staffed, so it’s probably about a job.
Step 2: Hear Boobie out
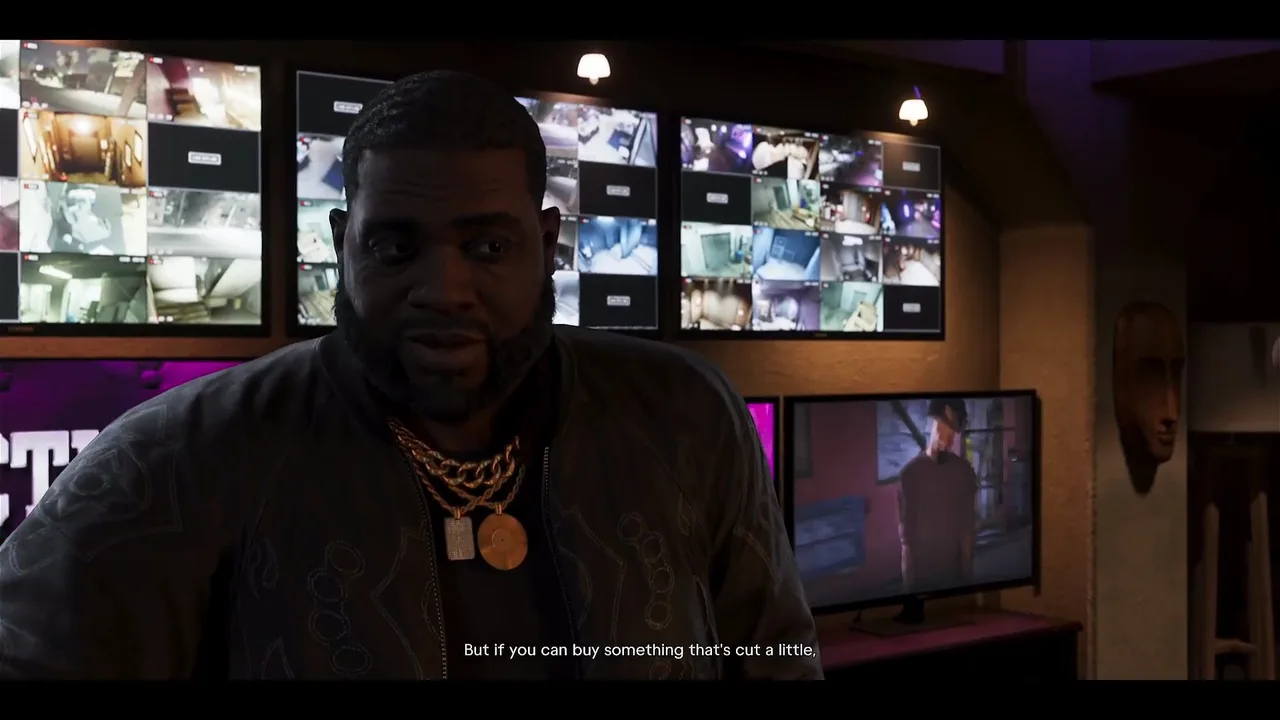
Boobie is waiting in his office in front of a wall of security monitors. When Jason offers to repay his hospitality, Boobie names the price: with Dre’Quan stepping back to focus on music, he needs someone to sell. He’s blunt about where the money comes from (the club pays for the studio, and drugs pay for everything), and he wants Jason to move product on the street.
Boobie’s terms: pass off cut product as the good stuff and there’s a bit extra for you. Footage: Aquish GTA.
The plan has two stops: pick up the product from Boobie’s supplier, then sell it to his contact. Then the twist that gives the mission its name: Boobie’s buyers expect top quality, but if Jason buys something cut and passes it off as pure, there’s something on top for him. Dre’Quan objects that Jason will get robbed the moment he steps out of the car in Crosstown, then comes along to keep him alive.
Step 3: Drive Dre’Quan to Tyrone’s spot in La Perle
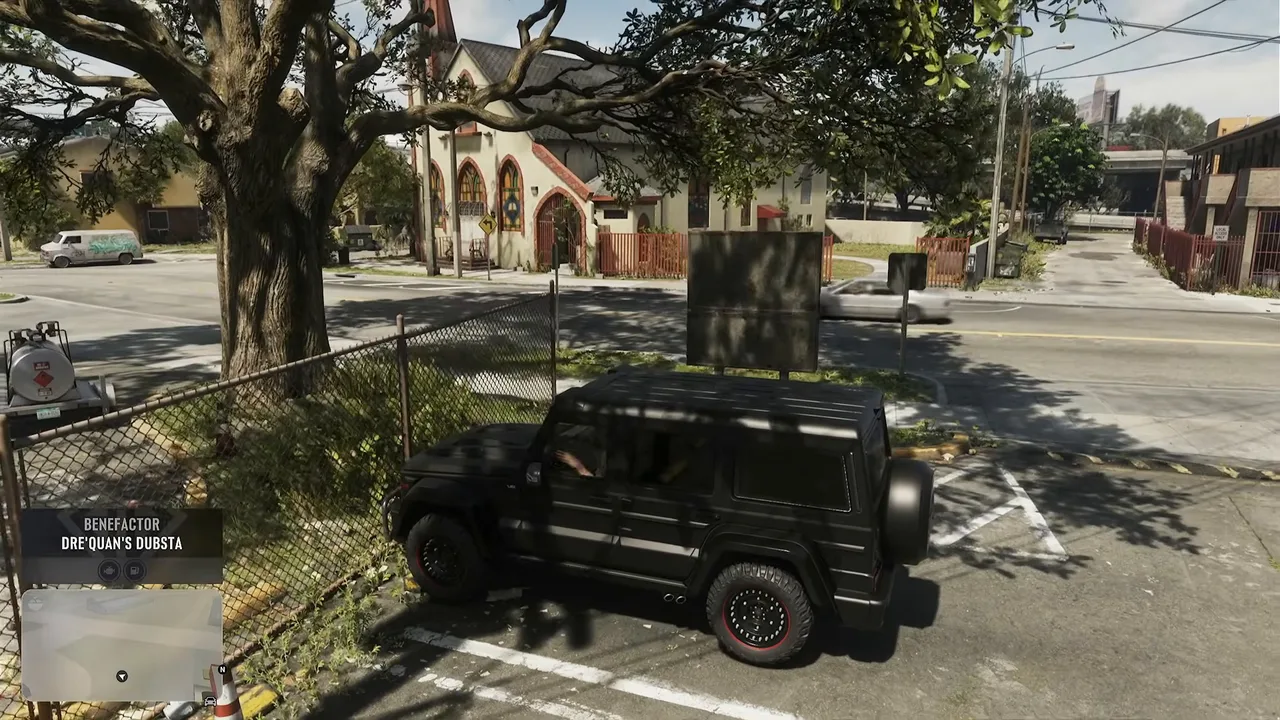
Out front, Dre’Quan’s black Benefactor Dubsta is waiting (he leases it through a friend at the dealership). Jason drives. The destination is Tyrone’s spot at Imperial Plaza in La Perle; follow the route while Dre’Quan messages Wax at the studio.
Dre’Quan’s Dubsta, your ride for the whole mission. Footage: Aquish GTA.
On the way, Jason floats the idea of cutting the product to widen the margin, and Dre’Quan insists he was never a dealer himself. Park where he tells you, then follow him on foot through the apartment block’s courtyard and up to Tyrone’s door.
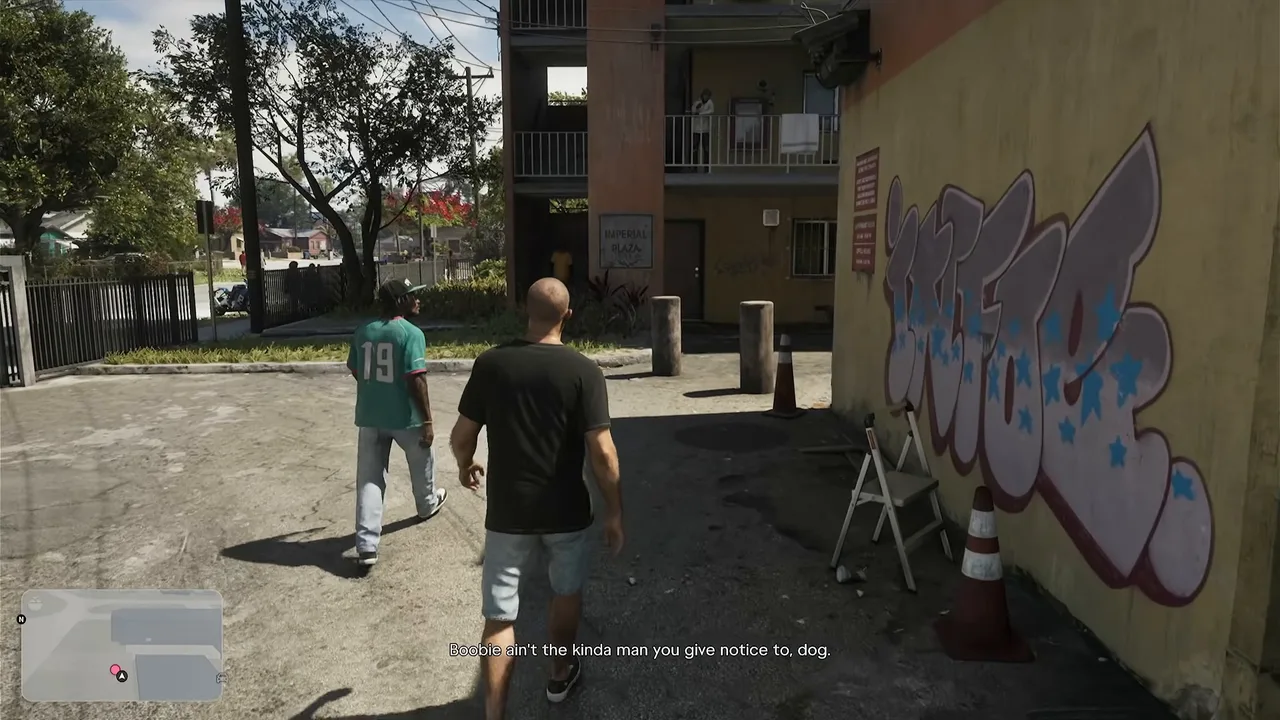 Into Imperial Plaza. On the way Dre’Quan explains that the apartment belonged to a dancer called Vanessa, who left in a hurry. Footage: Aquish GTA.
Step 4: Meet Tyrone and choose the product
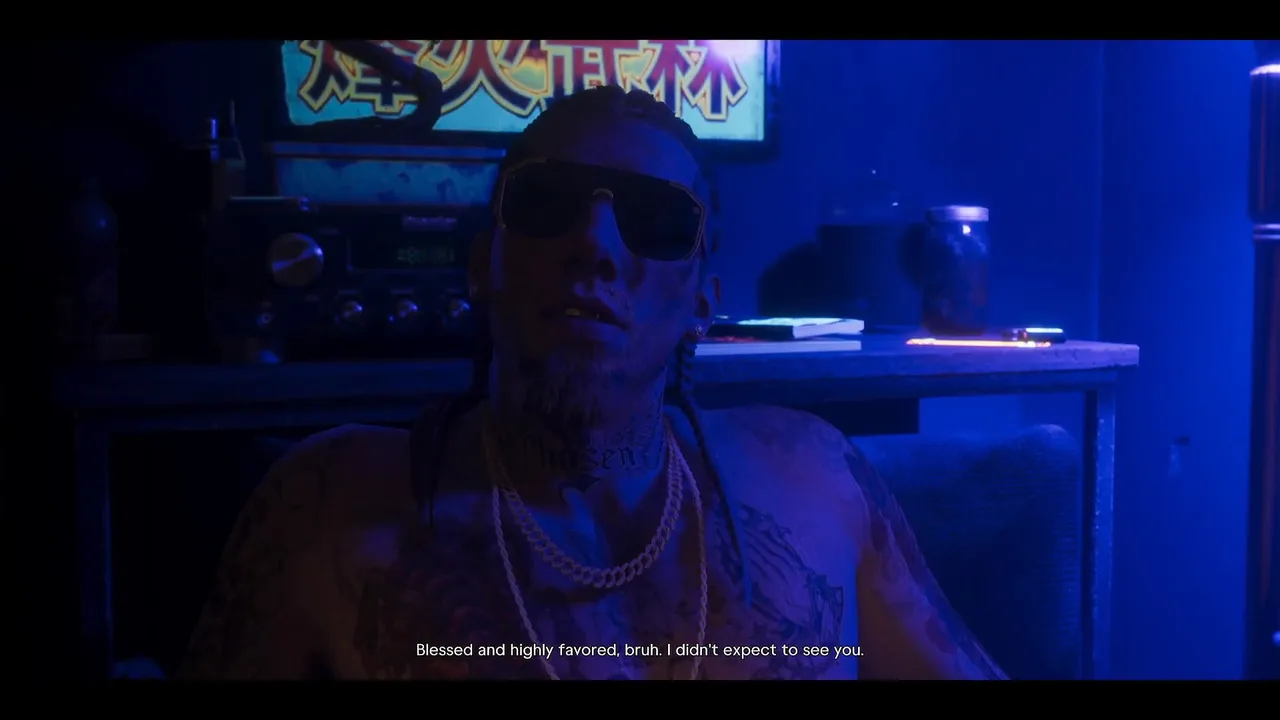
Roscoe on the door waves you through, and you pass a few of Tyrone’s regulars, including Dook, before reaching Tyrone himself in a blue-lit back room. He’s suspicious of Jason at first (he thinks Jason smells like a fed), until Dre’Quan vouches for him as Boobie’s new man, taking over Dre’Quan’s old spot. The two old acquaintances also talk music business: a rapper called Fly Boy the Ice God needs a video for his new song, with a finder’s fee for the introduction.
Tyrone, the La Perle supplier. You’ll be working for him later in Chapter 3. Footage: Aquish GTA.
Then Tyrone lays out two products on the kitchen counter, and the objective is Choose which product to take:
| Product | What Tyrone says | What the menu shows |
|---|---|---|
| Pure (one white brick) | So pure it’s worth more than he charges | Not shown in either run |
| Cut (two tan bricks) | His own baby-powder recipe; most buyers never notice | Profitability $$$$ |
Move between them with the left stick and confirm with the button shown next to Product. Both runs took the cut option, the one Boobie’s bonus is built around. Jason then carries it in a red backpack.
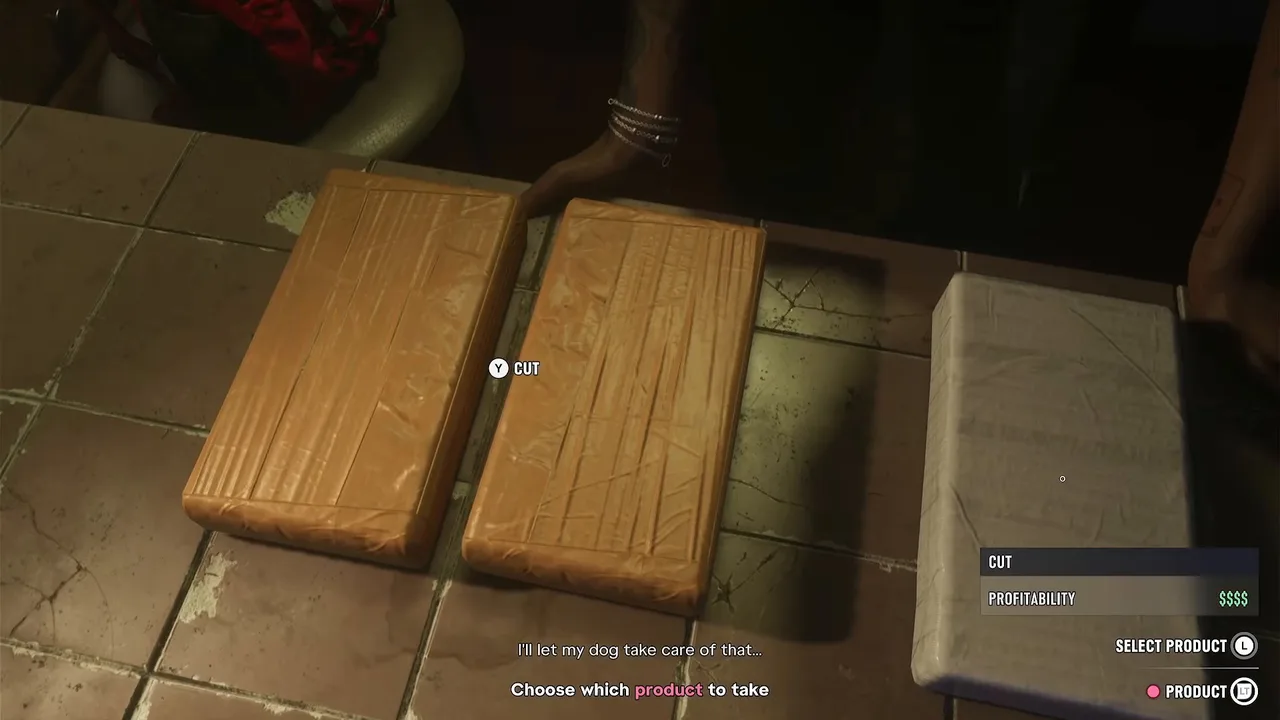 The choice that names the mission. Cut gets you two bricks. Footage: Aquish GTA (Xbox prompts).
We haven’t seen anyone take the pure brick, so we can’t tell you how the buyers react to it. Going by the dialogue, it should spare you the argument in Step 7, but it also skips the extra Boobie promised.
Step 5: Head to Crosstown
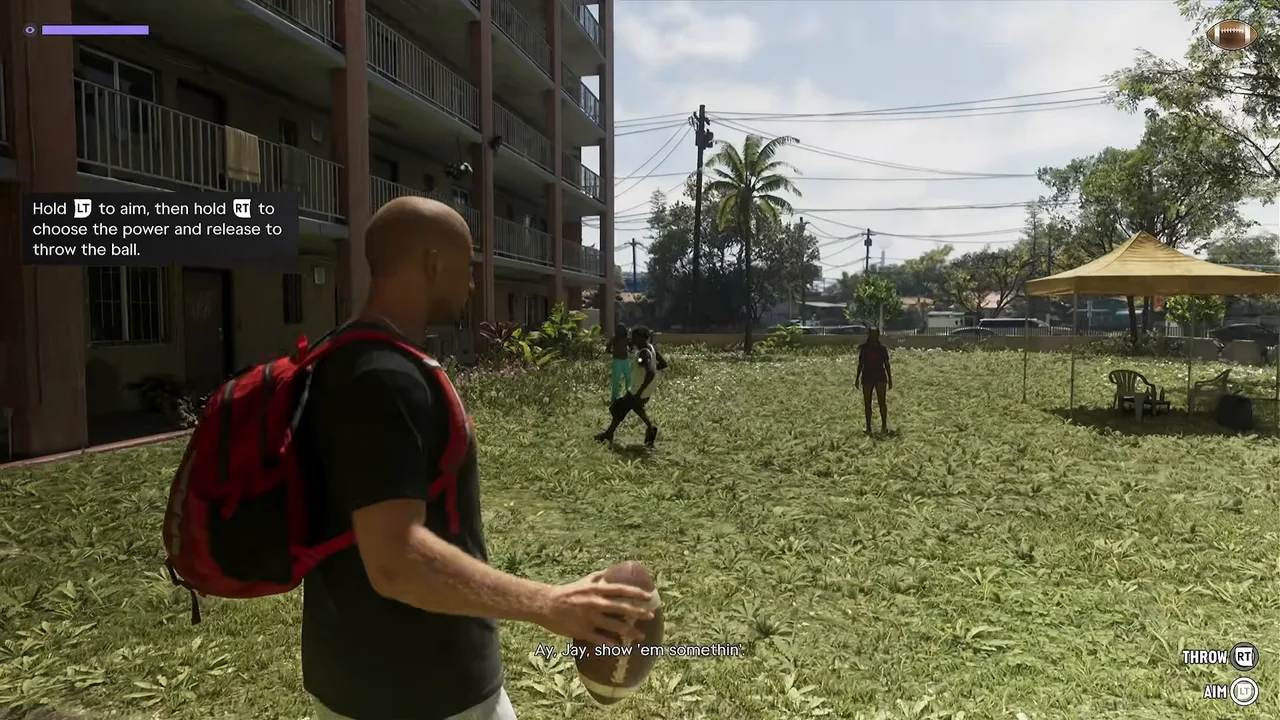
On the walk back to the car, Dre’Quan gets twitchy about a group on the grass he doesn’t know and wants to go another way: people here will rob anyone for clout. It’s nothing. Their football rolls over with an apology, and Dre’Quan tells Jason to show them something. Hold the aim button, hold the throw button to set the power, and release. It’s a one-off moment, not a score to beat.
Throw the football back. Footage: Aquish GTA.
Back in the Dubsta, Dre’Quan sends you to Crosstown, to a community center on NE 4th Ave. Near the end he steers you down an alleyway towards a row of houses; pull up outside and get out.
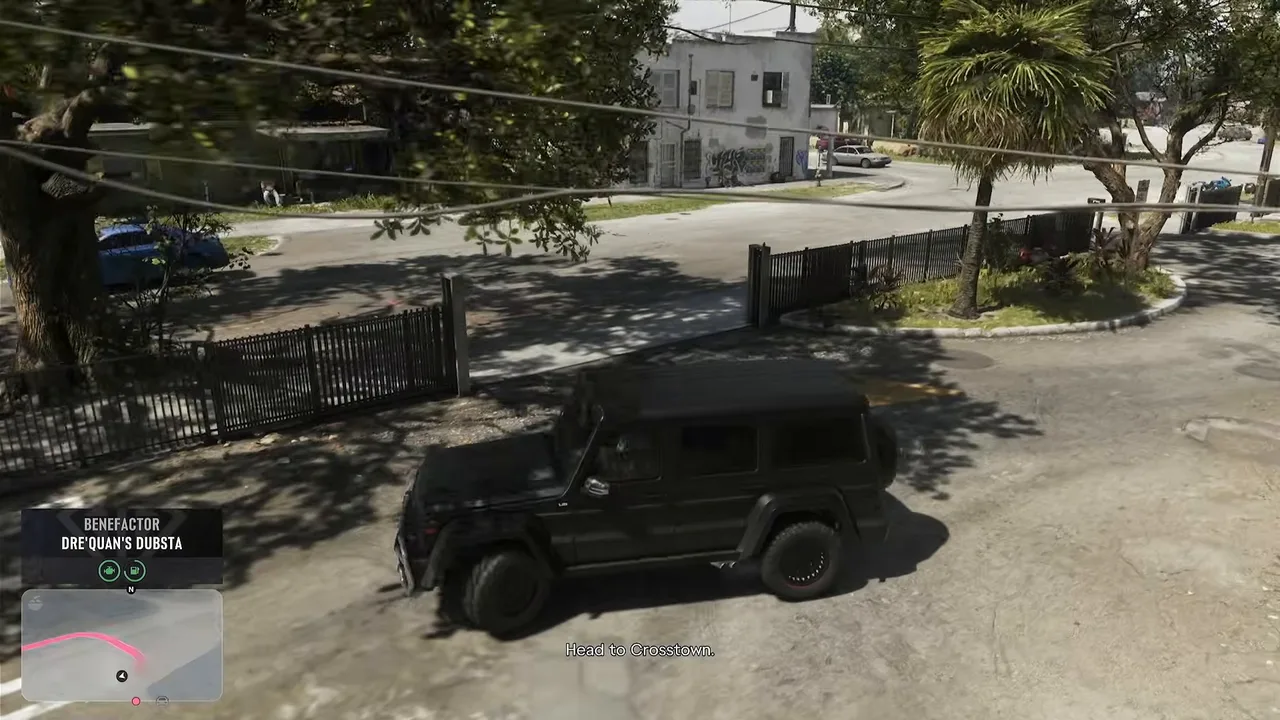 Next stop: Crosstown. Footage: Aquish GTA.
Step 6: Find the buyers and hand over the product
You finish on foot, because a flash car in somebody else’s neighbourhood marks you as a buyer, not a seller. On the walk it turns out Jason has forgotten the contact’s name, so Dre’Quan takes over. He warns that the Crosstown crews are trigger-happy and that this is a one-time deal.
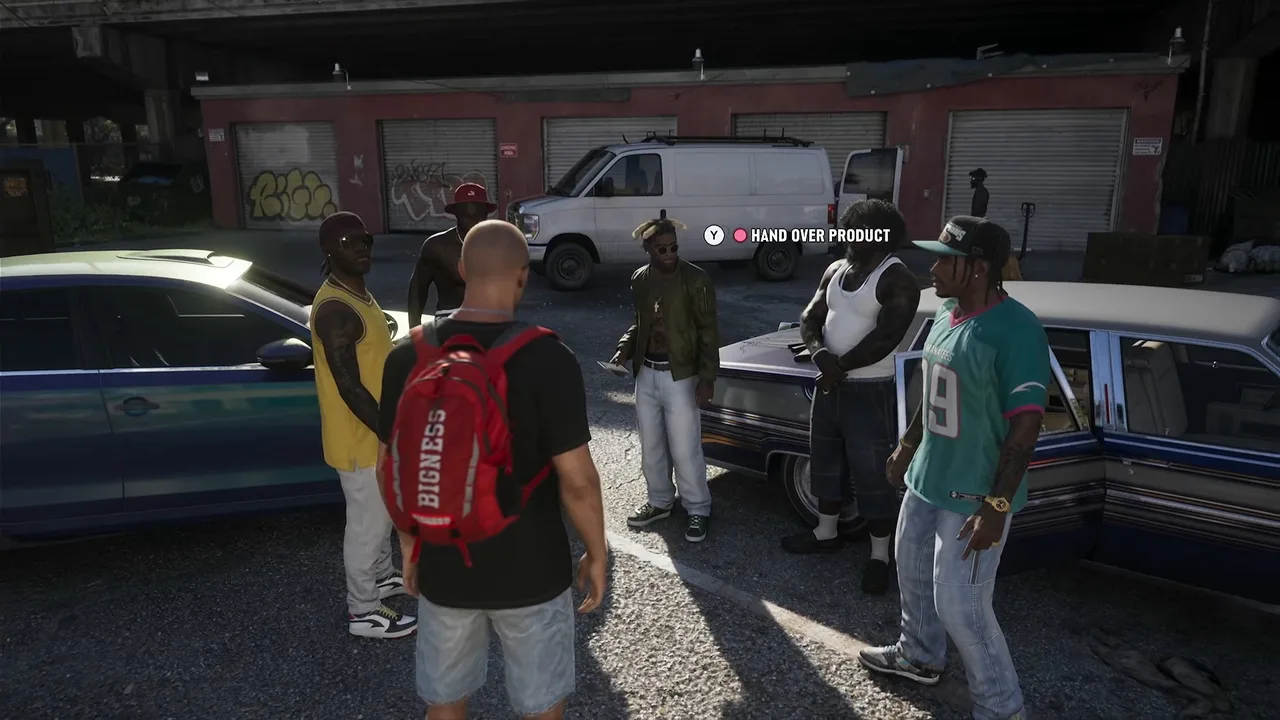
The buyers are waiting by a lowrider under the highway overpass. Dre’Quan reminds their leader that they met at the club, when he was after product from Boobie. When the prompt appears, hand over the product.
The hand-over under the overpass. Footage: Aquish GTA.
Step 7: Half price, or take it or leave it
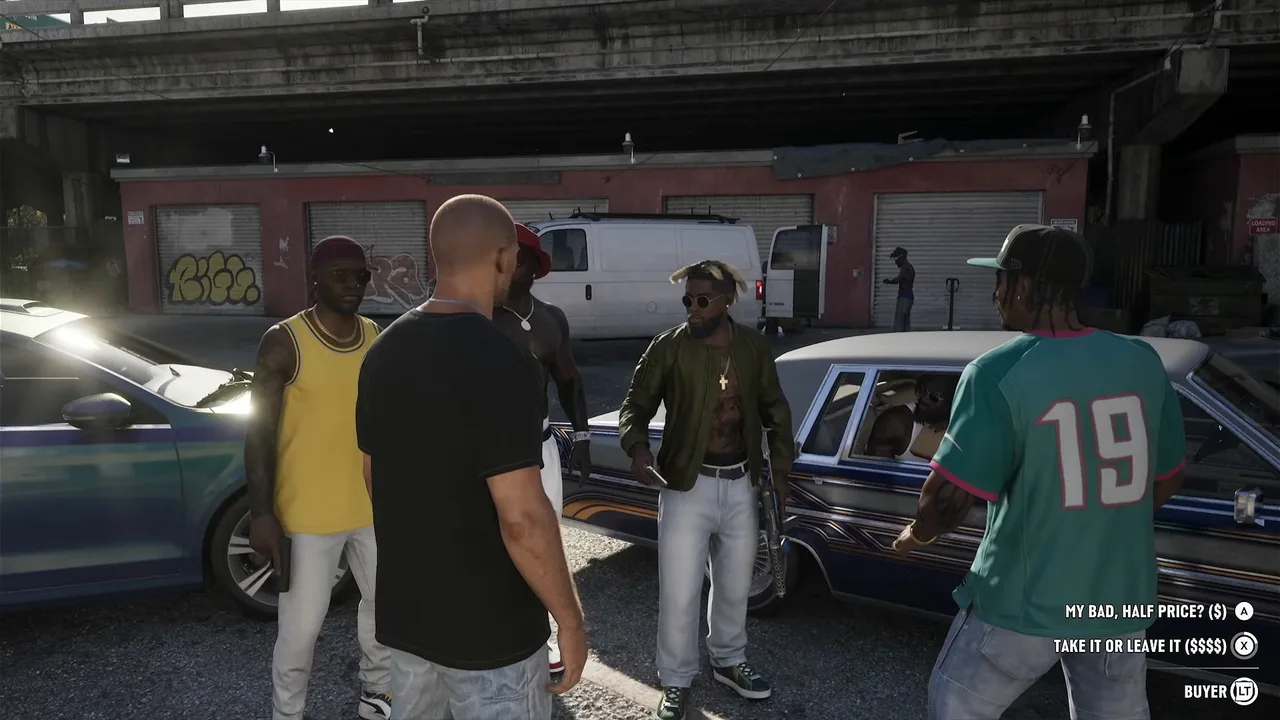
The buyer tests it, tastes the baby powder and the mood turns. Now you pick Jason’s answer:
- My bad, half price? ($): Jason admits the product is stepped on and offers two for the price of one.
- Take it or leave it ($$$$): Jason refuses to budge.
The second choice: the dollar signs hint at the payout, not the risk. Footage: Aquish GTA.
Half price is the safe answer. In Aquish GTA’s run the buyers laughed at Jason for being green but paid anyway. They stuffed the money into Jason’s backpack (they don’t want the bag), left it on their car seat and sent the pair on their way. Walk to the car and take the money; a Cash Retrieved notice confirms it.
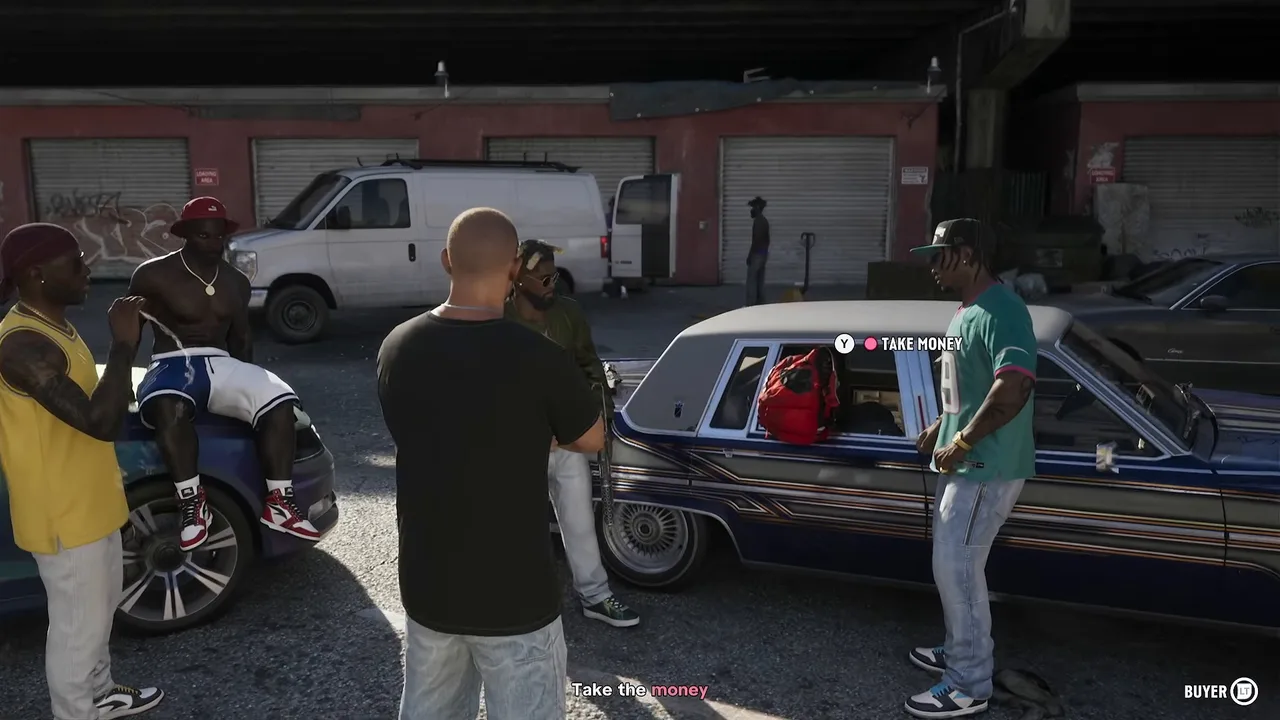 After the half-price deal, the cash is in the backpack on the seat. Footage: Aquish GTA.
If you pick half price, skip to Step 9. Pick take it or leave it and the deal falls apart, so go to Step 8.
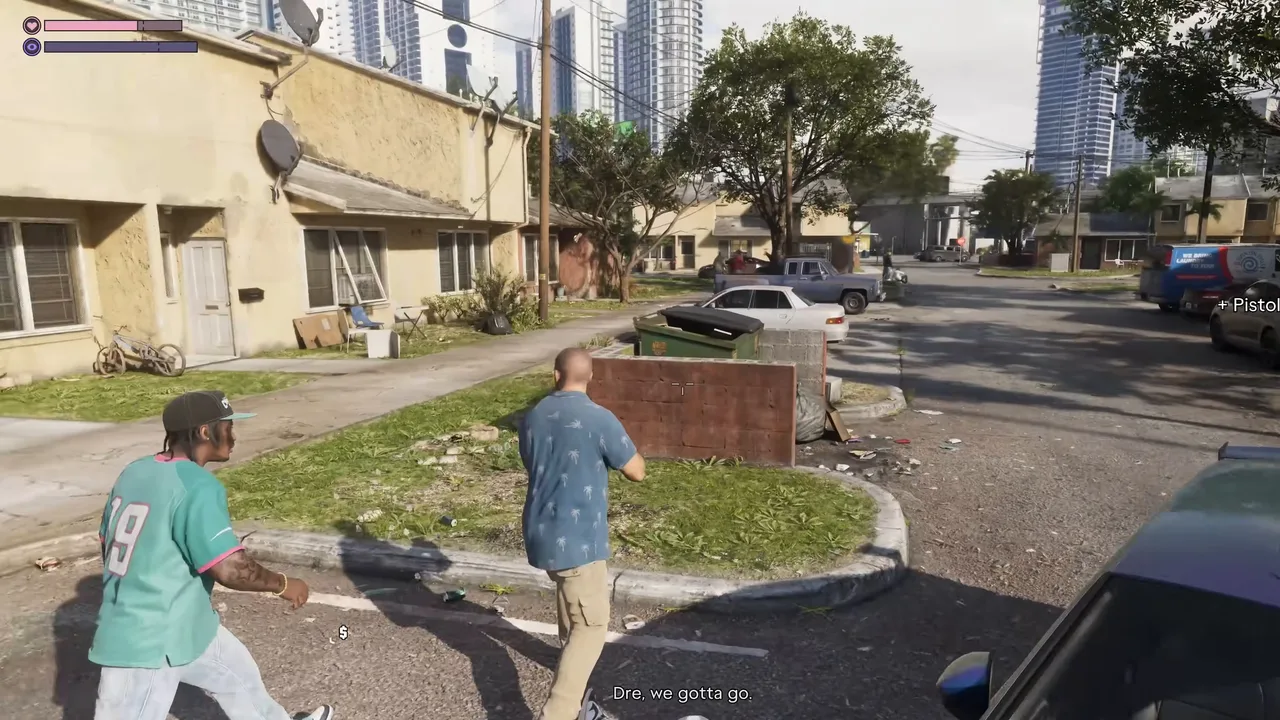
Step 8: Shoot your way out and lose the cops (take it or leave it)
In Sirloin’s run the buyers drew on Jason as soon as he held his price. Get into cover, take out the crew around the cars, then watch the windows: more of them shoot from the houses and turn up in a van. The objective sends you back to Dre’s car, but the way is blocked, so Dre’Quan leads you out through one of the houses and its open back door before you run for the Dubsta.
After take it or leave it. Note the dollar icon on the ground. Footage: Sirloin.
Grab the cash before you run. Dre’Quan shouts to grab the money, and a dollar icon shows on the ground near the buyers. Sirloin left it behind, and Dre’Quan complained about it on the drive afterwards.
The shooting brings the police, and you have to lose them before the story moves on. Sirloin did it by driving into a Pay ‘n’ Spray and respraying the Dubsta for $200. The police called off the search, and Dre’Quan was impressed he hadn’t thought of it himself. Every Pay ‘n’ Spray on the live map.
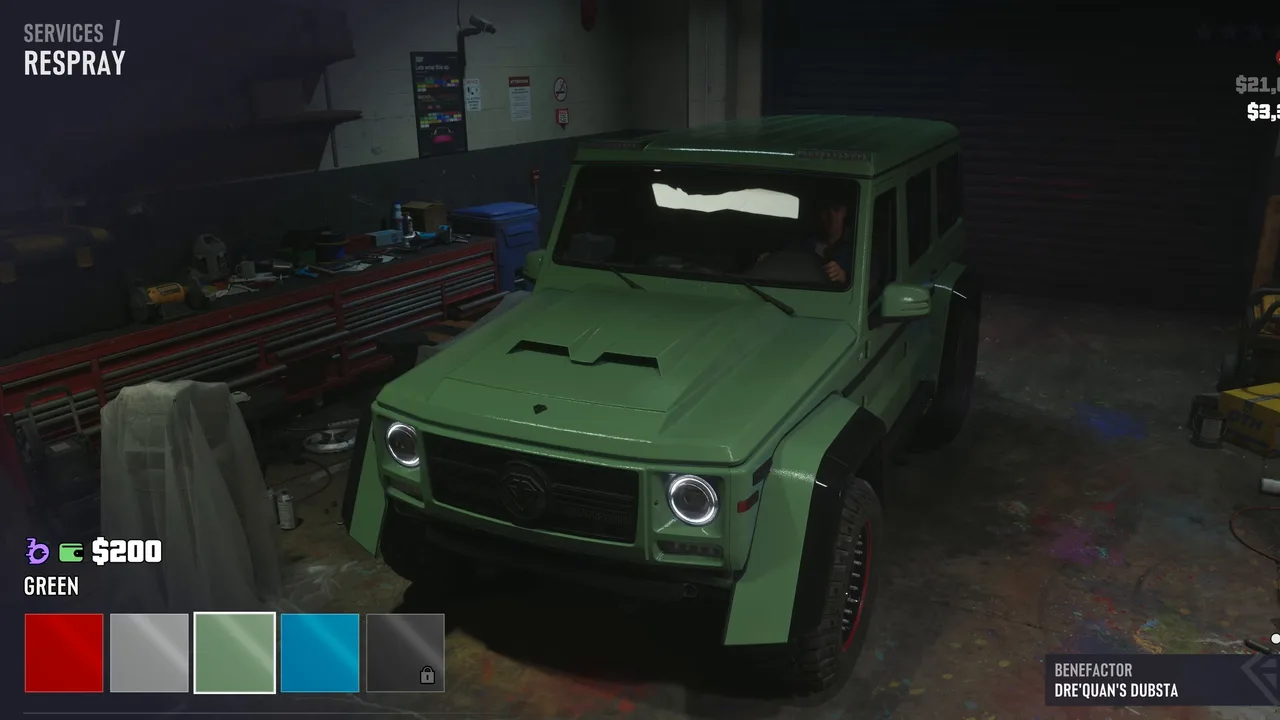 A $200 respray at a Pay ‘n’ Spray shakes off the police. Footage: Sirloin.
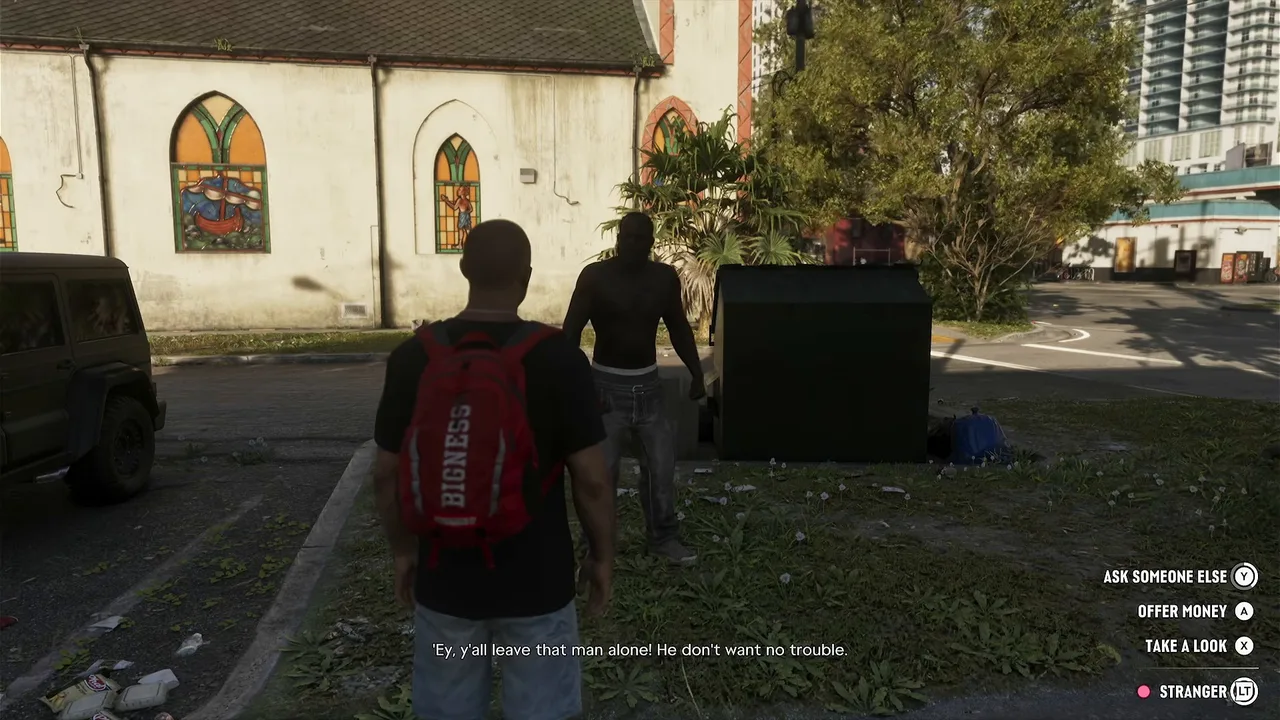
Step 9: The man who says your bag is his (half price)
On the peaceful route, a ragged man stops you near a church on the walk back and claims the backpack is his: he says it has his medication in it. You get three answers:
- Ask someone else
- Offer money
- Take a look
Don’t hand over a backpack full of Boobie’s cash. Footage: Aquish GTA (Xbox prompts).
Aquish GTA chose Ask someone else: Jason tells him some other men round the corner have the same bag. The man doesn’t buy it and keeps a wrench in hand, a neighbour who had already told you to leave him alone yells at you both to get out, and Dre’Quan steers Jason back to the car. There’s no fight. We haven’t seen Offer money or Take a look played; opening a bag of drug money in front of a stranger doesn’t sound like a good idea.
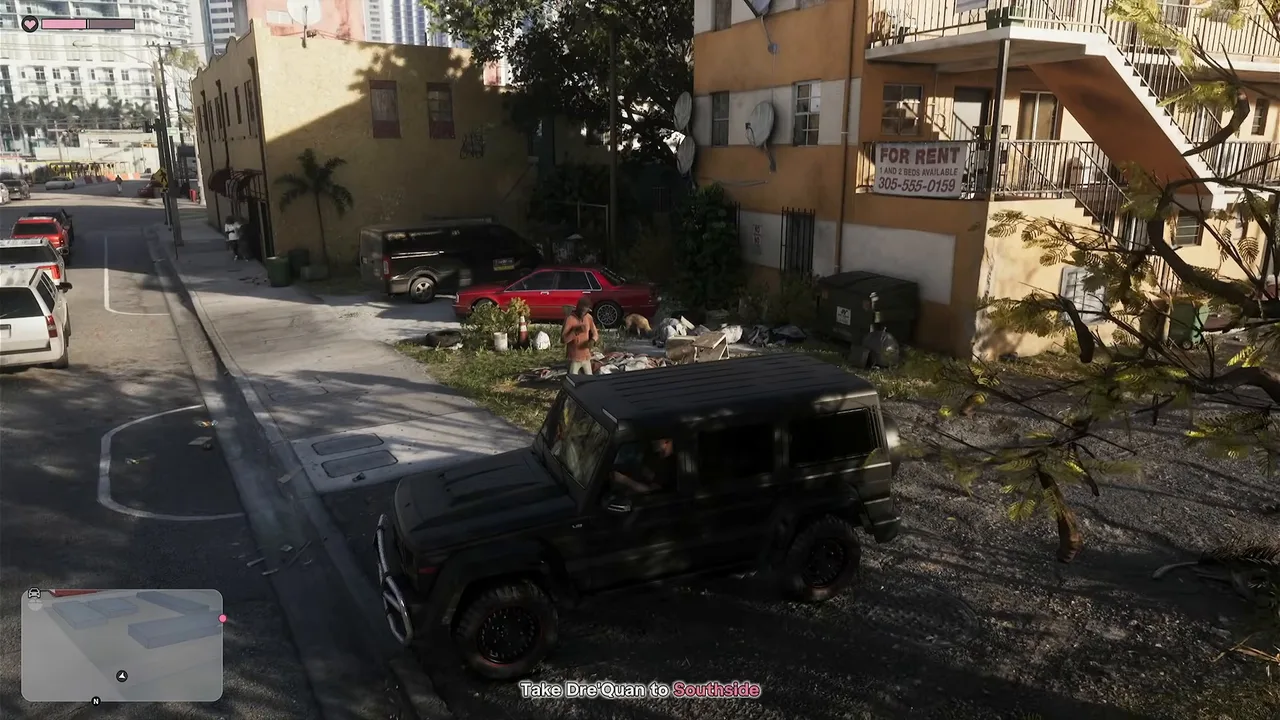
Step 10: Drive Dre’Quan to Southside
Back in the car, Jason asks if the cash is going to Boobie. Dre’Quan says he’ll handle it, then remembers he has to meet a Russian about a cheap watch, and asks to be dropped in Southside. The objective is Take Dre’Quan to Southside.
The last drive of the mission. Footage: Aquish GTA.
On the way Jason rings Lucia to say they’re fine; she’s bored stuck at home. Jason tells Dre’Quan she loves the place, and Dre’Quan admits he expected trouble today. In Sirloin’s run he also warned Jason that Boobie is the one to watch while they live under his roof. Drop him off and the mission moves into its closing scene.
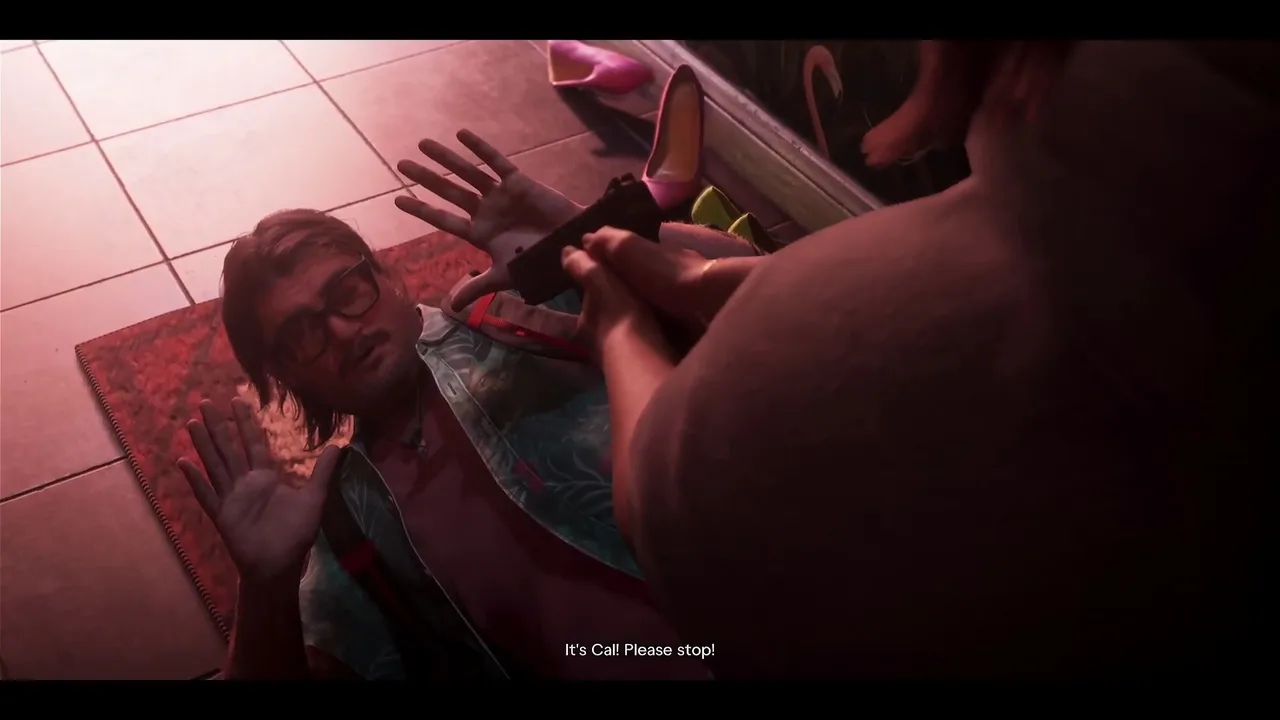
Step 11: Back at the apartment
The scene cuts to Lucia in the apartment. Someone barges in and she draws on him, but it’s Cal, whom Jason invited to look at the hard drive. Cal plugs it into his laptop and finds military-grade encryption he can’t crack. Jason walks in during the scene. Cal does have one lead: Brian knows someone he did time with, a man Cal calls a ghost. Jason asks Cal to get Brian to set up an introduction.
Cal’s surprise visit, as Lucia sees it. Footage: Aquish GTA.
After Cal leaves, Lucia shows off the flat she spent the day cleaning, control returns in the kitchen and a Map updated notice appears. Neither video shows a mission-passed screen. In Sirloin’s run the conversation carried straight on to the statue from the bag and an antique shop in Capri, which is where the next mission picks up.
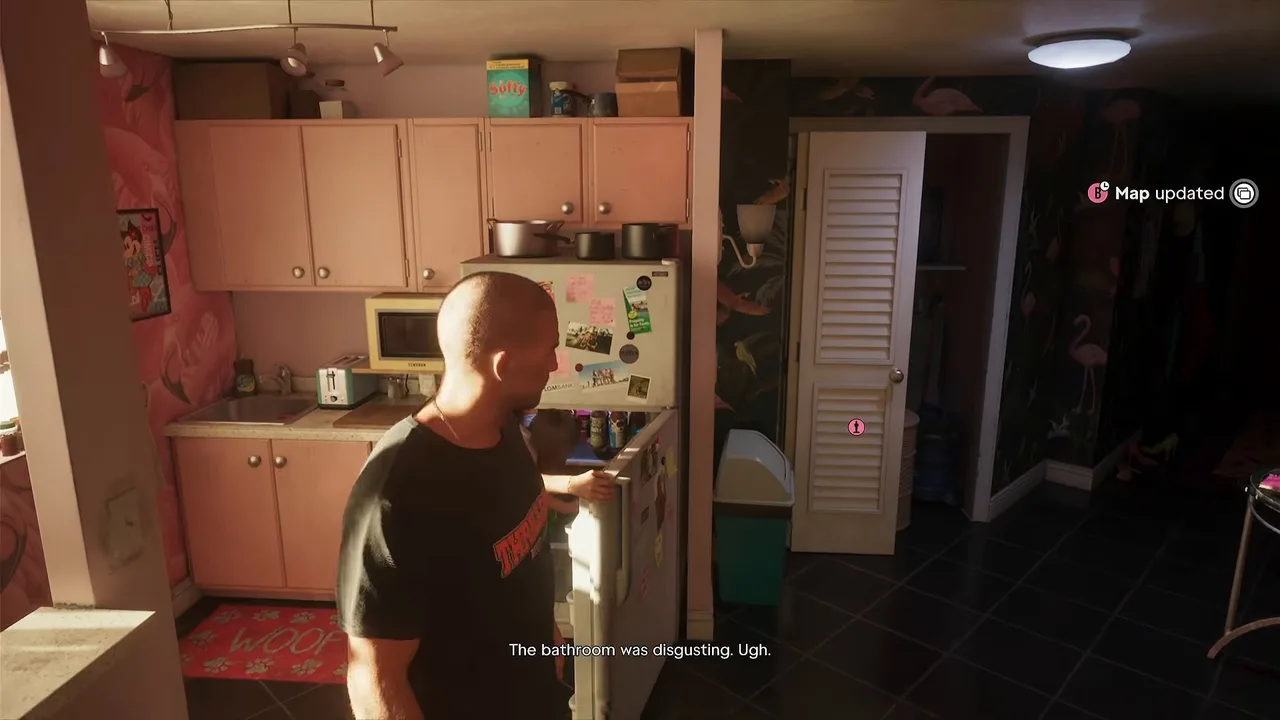 Map updated: the mission is done. Footage: Aquish GTA.
Rewards
- No payout on screen. Boobie’s bonus for passing off cut product is promised but never shown, and Dre’Quan keeps the deal money. If your cash or BuckMe balance goes up after the mission, tell us.
- No trophy. The mission database lists none for Dealer’s Choice.
- Tyrone as a contact. He’s the dealer behind the Chapter 3 story missions Tyrone (#53) and Here, Kitty Kitty (#54), and later the Kitty Litter lab jobs.
- Two story threads. Cal’s line about Brian’s contact leads to Meet the Heders, and the statue leads to Dubious Provenance (#50).
- A street racing offer. Dre’Quan offers to hook Jason up with the local street racers after the pickup. We haven’t confirmed whether that unlocks anything yet.
Tips
- Take the cut product and say half price for the quickest finish without combat. You still leave with the money.
- Want the fight? Pick up the cash first. After take it or leave it, look for the dollar icon on the ground before you follow Dre’Quan out.
- Remember the Pay ‘n’ Spray. Since Welcome to Vice City it buys standard-tracker cars, and here a $200 respray clears the police in seconds.
- Don’t open the stranger’s argument with your bag. Ask someone else got Aquish GTA out without a fight.
- Let Dre’Quan lead on foot. At Imperial Plaza and in Crosstown he knows the way, and the conversations that move the mission along wait for him.
Related guides
- Previous mission: Welcome to Vice City (#47). Next: Meet the Heders (#49), then Dubious Provenance (#50) and Mami Knows Best (#51). See all GTA 6 missions.
- Take Out Kitty Litter: Tyrone’s lab hunt later in Chapter 3.
- Characters guide: Dre’Quan, Boobie, Real Dimez and the Vice City cast.
- Map regions guide: La Perle, Crosstown and Southside.
- Money guide: how cash starts to flow in Chapter 3.
- Interactive map: the Jack of Hearts, where the mission starts.
Frequently Asked Questions
How do you start Dealer's Choice in GTA 6?
Finish Welcome to Vice City. The next morning Dre'Quan texts that Boobie needs something and asks Jason to come to the studio. Drive from the Bayside apartment to the Jack of Hearts and walk through the club to the Only Raw studio at the back; the mission starts there.
Should you take the cut or the pure product in Dealer's Choice?
Boobie pays for top-quality product but offers Jason a bonus if he passes off something cut, so the cut option (two bricks, rated $$$$ for profitability) is the one the mission pushes. Both runs we watched took it. We have not seen a run that took the single pure brick.
Should you say half price or take it or leave it in Dealer's Choice?
Say 'My bad, half price?' if you want a clean ending: the buyers mock you but pay, and you walk off with the cash. 'Take it or leave it' is the $$$$ option on the menu, but in Sirloin's run it started a gunfight, a police chase and the cash was left behind.
What do you do when a man says your backpack is his in Dealer's Choice?
You get three answers: Ask someone else, Offer money or Take a look. Aquish GTA picked Ask someone else; a neighbour shouted at the man, he backed off and nobody fought. We haven't seen the other two answers played.
Do you get paid for Dealer's Choice?
Not on screen. Dre'Quan keeps the cash to take back to Boobie (and to buy a watch on the way), no payout or mission-passed screen appears, and there is no trophy for this mission.
Who is Tyrone in Dealer's Choice?
The La Perle dealer who supplies the product, met at his spot in Imperial Plaza. He comes back later in Chapter 3 with his own story missions, Tyrone and Here, Kitty Kitty, and the Kitty Litter lab jobs.
Sources & Credits
Researched from these videos and official material, among others. Screenshots credit the creator whose footage they come from.