Jump to your step
Lab Fees: quick facts
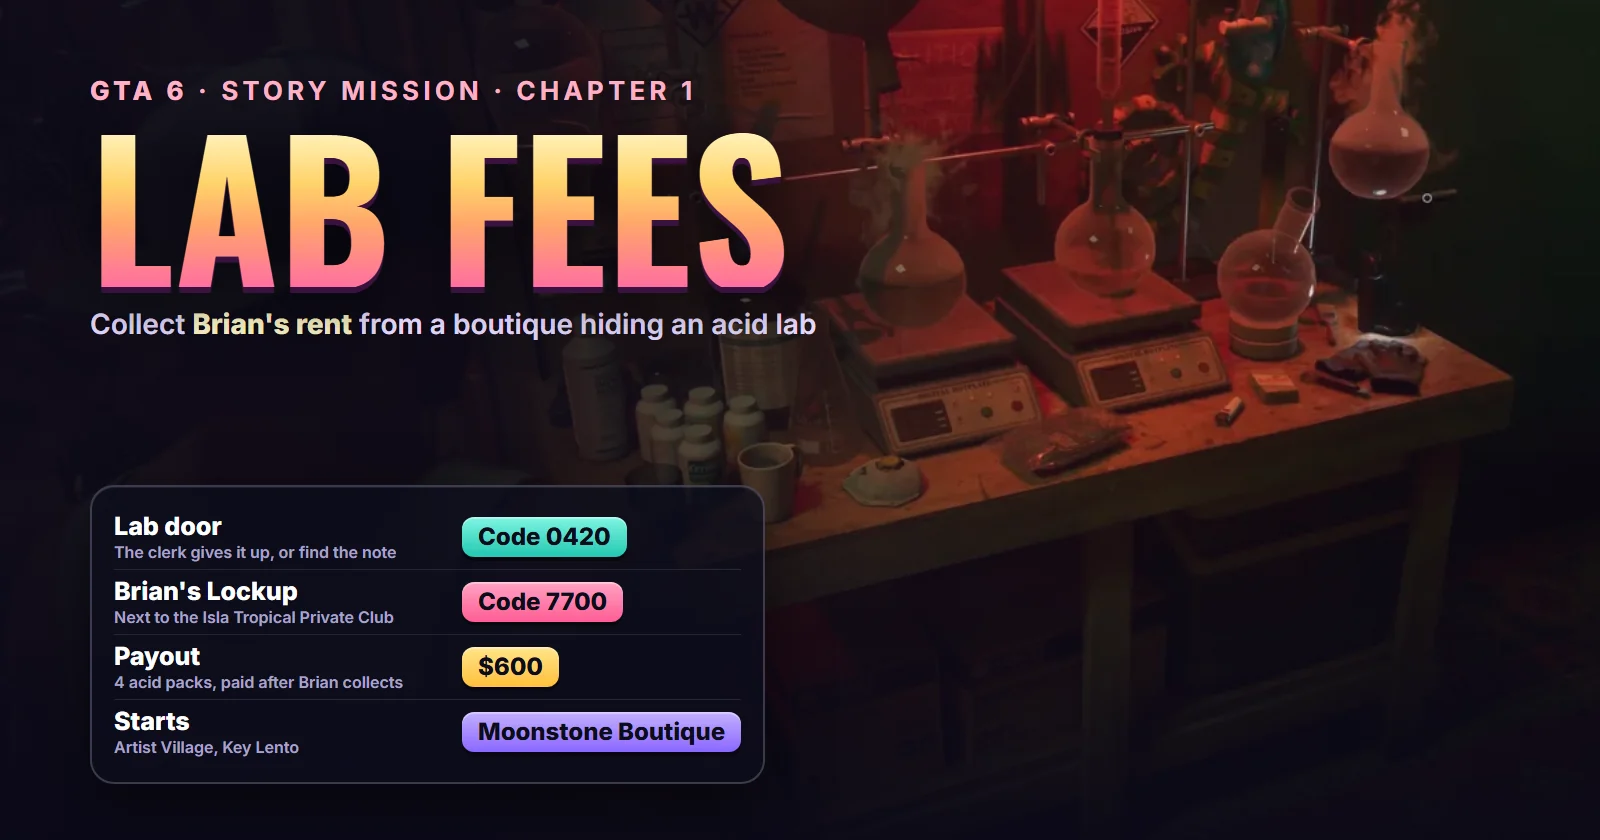
| Mission | Lab Fees, story mission #6 |
| Chapter | Chapter 1 |
| You play | Jason Duval |
| Given by | Brian Heder, by phone |
| Starts at | The Moonstone Boutique, Artist Village, Key Lento |
| Task name on the map | Collect Brian’s Rent |
| Unlocks after | Gone Fishing (#2) |
| Before / after in the story list | Pipework (#5) / Just a Scratch (#7) |
| Codes | Lab door 0420, Brian’s Lockup 7700 |
| Reward | $600 (four acid packs at $150), paid after Brian collects |
| Trophy | None |
| Required for 100% | Yes |
Mission briefing Story context, how to unlock it, where it starts and the mission numbering. Contains spoilers.
How to unlock Lab Fees
Lab Fees opens up the morning after Gone Fishing, when Brian turns up at Jason’s house and lines up the rent round. Once the house tutorial ends, three tasks sit in your list: Pick Up Another Gun (Gear Up), Go See Cal (Unwanted Attention) and Collect Brian’s Rent, which is this mission. theRadBrad’s run shows all three side by side. You can do them in any order, which is why channels number Lab Fees differently: GTA Series Videos calls it mission #4, Willzyyy played it straight after Gear Up, and the mission database lists it as #6, after Pipework (collecting from Mandy, another of Brian’s tenants).
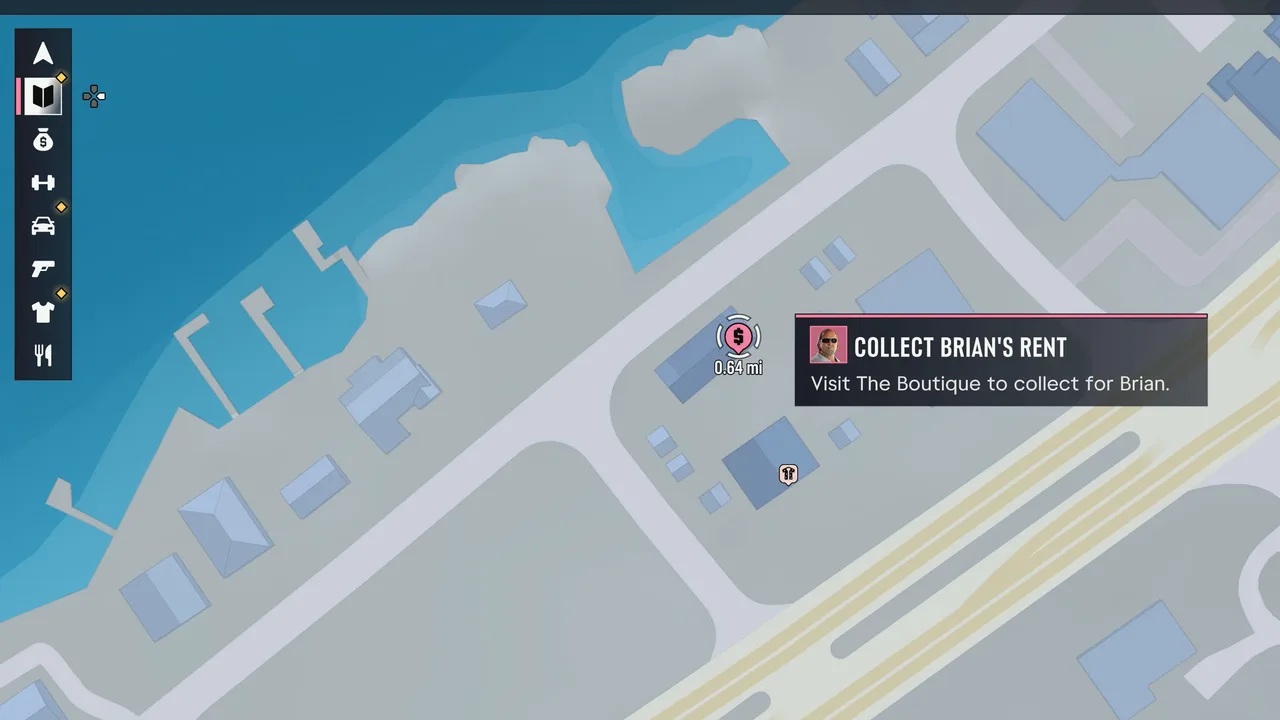 The task on the pause map: Collect Brian’s Rent, “Visit The Boutique to collect for Brian.” Footage: GTA Series Videos.
Where Lab Fees starts
The mission starts at the Moonstone Boutique, a tie-dye and wind-chime shop in the Artist Village strip of Key Lento (the minimap names the area as you pull in). It is a few minutes’ drive from Jason’s stilt house. There is no giver waiting there: Brian sets it up by phone once you arrive, and the mission title Lab Fees only shows up as you walk in. Show where Lab Fees starts on the live map.
The story so far
Brian Heder, the old Keys smuggler Jason works for, owns property all over Key Lento and expects his tenants to pay in person. The boutique’s tenants are behind. Brian has been covering for them, because the shop is a front: the back room is an acid lab. He wants his cut and he wants them gone. More on Brian, Donnie and the rest of the Chapter 1 cast in our characters guide.
This walkthrough follows GTA Series Videos’ and GosuNoob’s full runs, with Magical Gamer’s run for the alternate route through the shop and Willzyyy’s for a third take on the clerk.
Step 1: Drive to the Moonstone Boutique and call Brian
Set the Collect Brian’s Rent task as your destination and drive Jason’s ’70 Ganado to Artist Village. Park in the gravel lot by the colourful wooden shops. On the way in, a tip tells you a WAINK is nearby, the collectible sticker you scan with the phone app; it is optional.
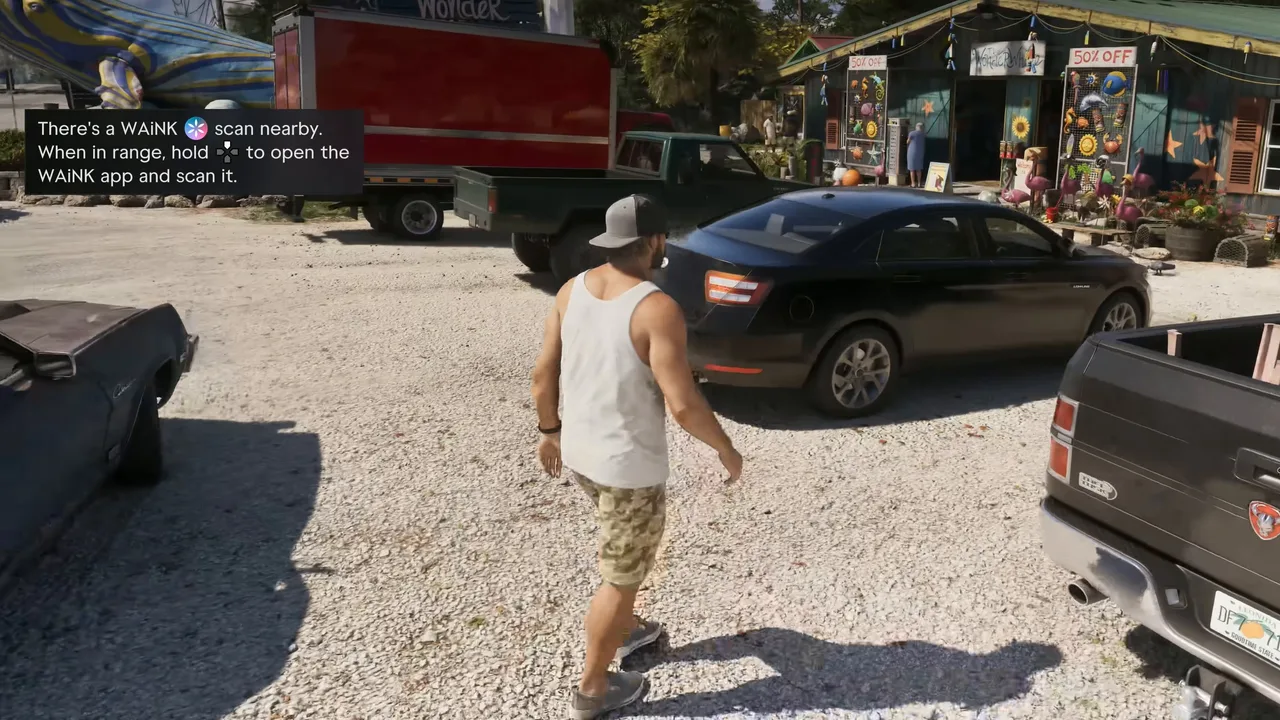 Artist Village, with the boutique among the painted shacks. Footage: GTA Series Videos.
The boutique’s double doors are shut when you get there. The game prompts you to open your phone: go to Contacts and call Brian. He tells Jason the shop is really an acid lab, says to handle it however he likes, and hangs up wanting his money.
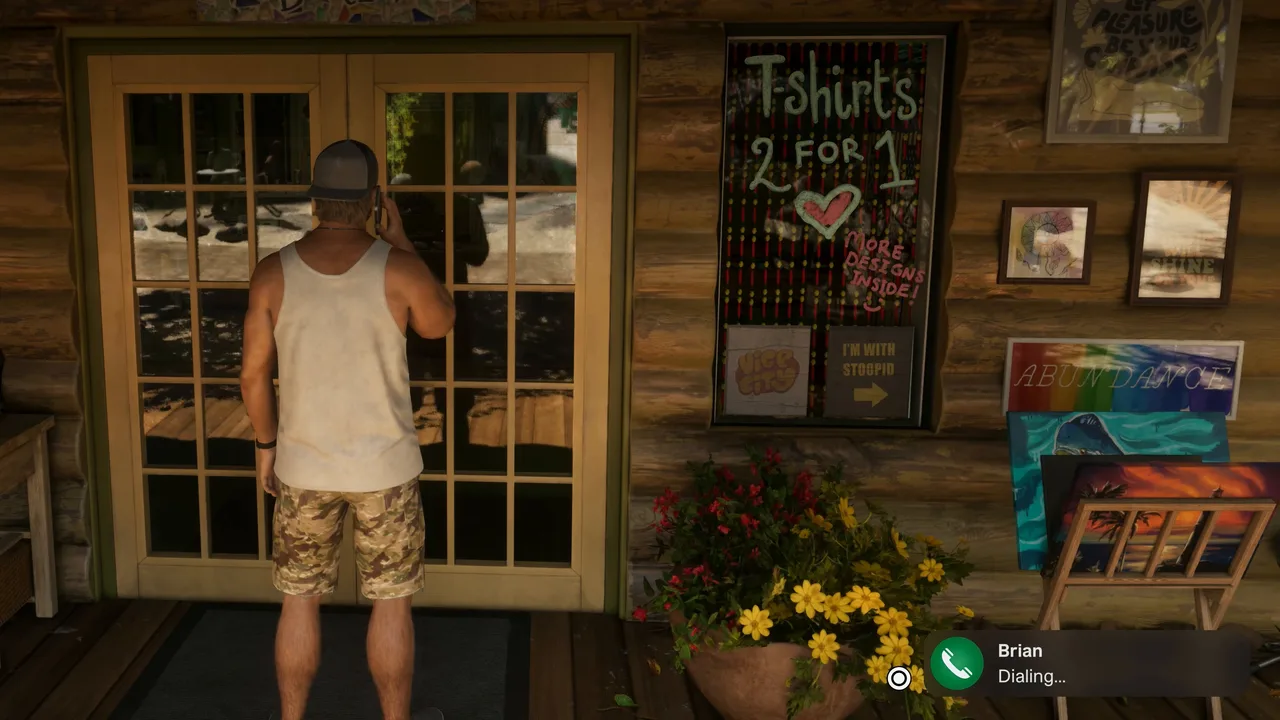 Calling Brian at the locked door is what starts the mission. Footage: GTA Series Videos.
Step 2: Enter the shop and talk to the clerk
The objective changes to Enter the shop. As you step inside, the Lab Fees title appears and a tip explains your criminal profile: what you do here can leave a lasting mark on it, and you can hold the touchpad (PlayStation) to check your current standing. Our beginner tips explain the profile tiers.
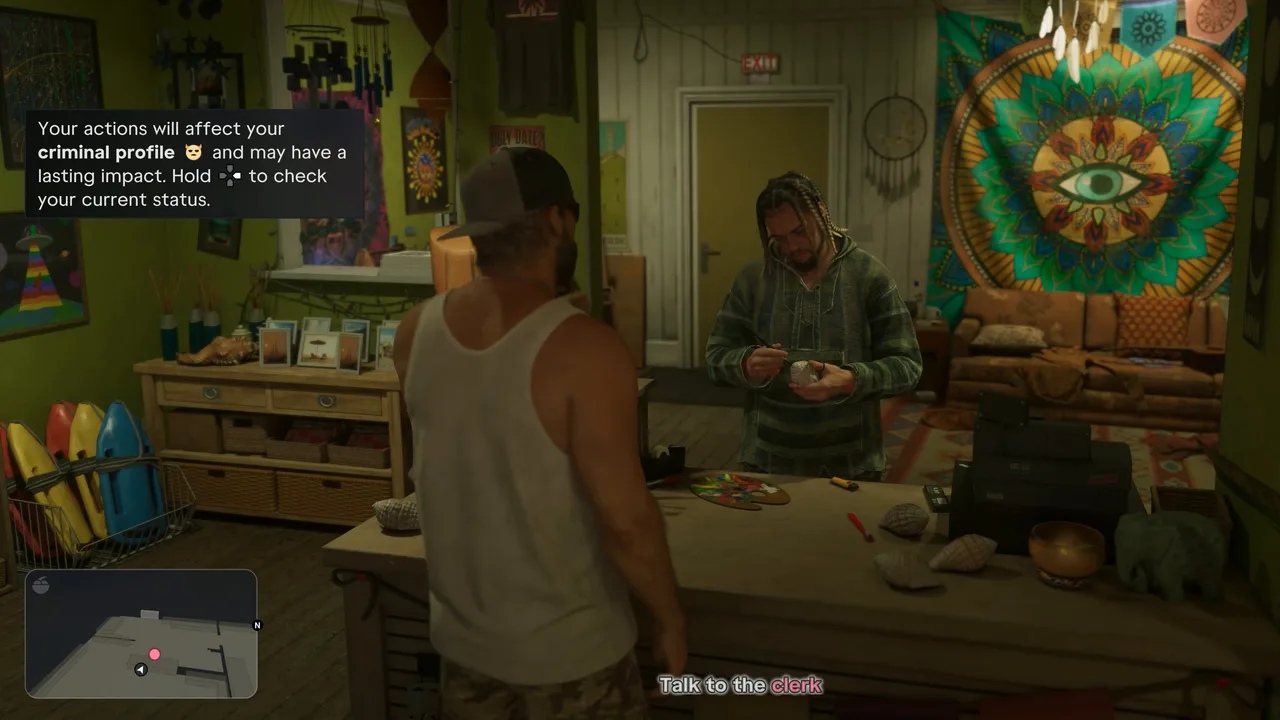 The clerk behind the counter, and the criminal profile tip. Footage: GTA Series Videos.
Walk up to the counter and hold L2 on the Clerk prompt for Talk to the clerk. Jason asks for the rent; the clerk says he does not have it, shrugs that rent is a made-up idea anyway and makes it clear what he thinks of Brian.
Step 3: Defuse or Threaten, then rough up the clerk
The objective becomes Collect Brian’s rent and two dialogue options appear at the bottom right: Defuse (X) and Threaten (Square).
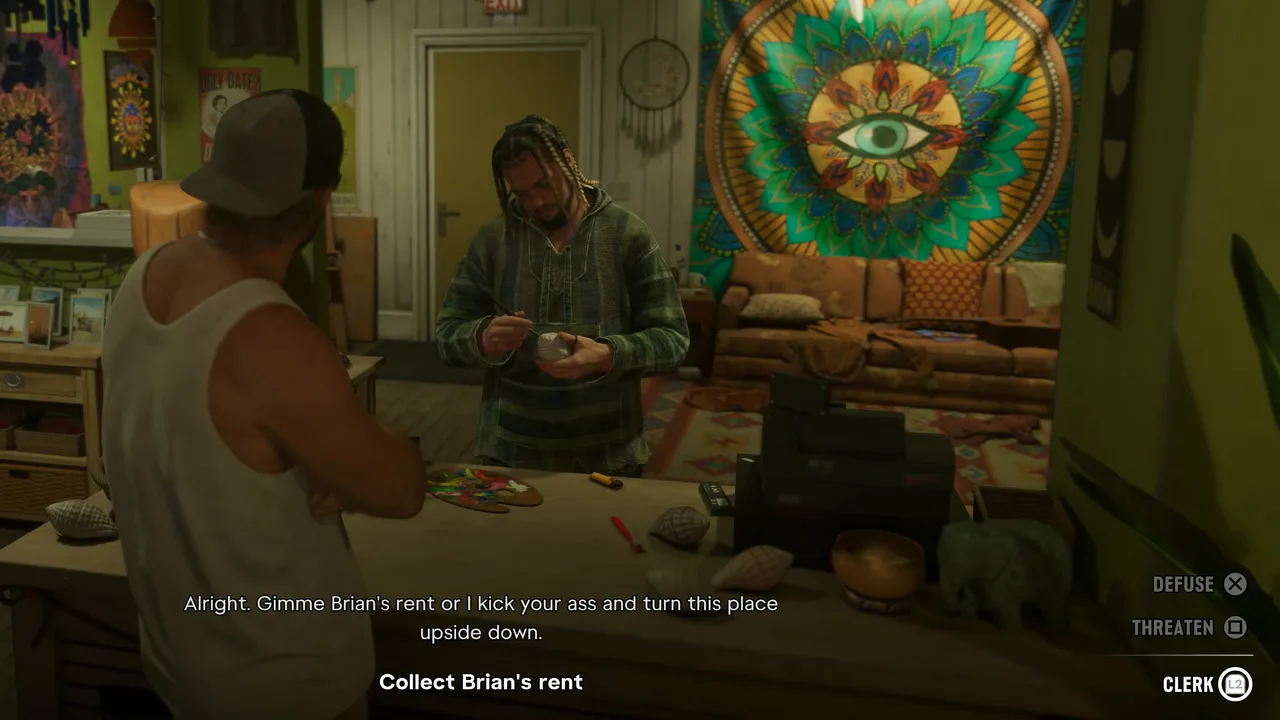 The choice: Defuse or Threaten. GTA Series Videos went with Threaten. Footage: GTA Series Videos.
In the three runs we compared, the choice changes the words, not the outcome:
| Run | What Jason did | What happened |
|---|---|---|
| GosuNoob | Defuse: asks to do it the easy way | The clerk still refuses and squares up |
| GTA Series Videos | Threaten: rent or he trashes the place | The clerk mocks him and squares up |
| Willzyyy | Went for him before the small talk, by the sound of it | The clerk caves just the same |
Either way a Grab prompt (Triangle on PlayStation) appears. Grab him and shove him around until he gives in. He offers the acid in the back room instead of the rent and gives you the lab code, 0420. Jason then sends him out of his own shop.
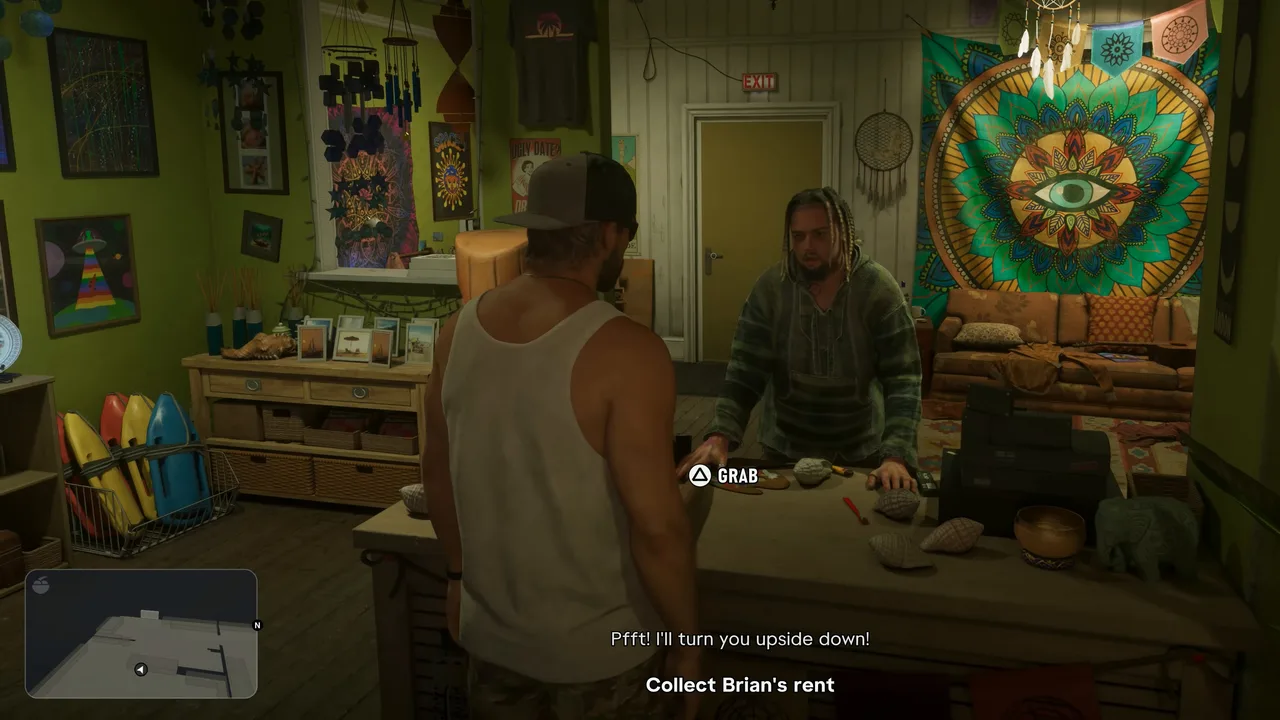 Grab him when the prompt shows. Footage: GTA Series Videos.
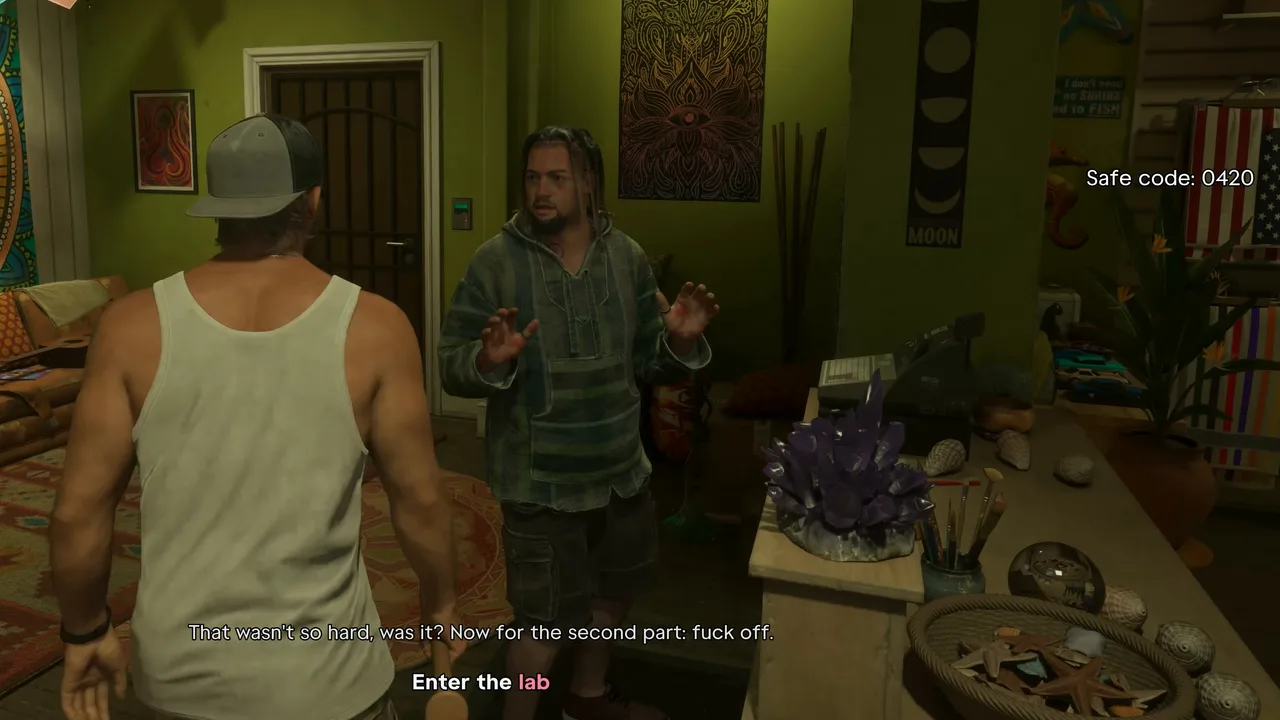 He folds and gives up the code. The game keeps it on screen as “Safe code: 0420”. Footage: GTA Series Videos.
The game’s tip a little later spells out the trade-off: clean jobs with limited aggression push you towards a Professional criminal profile. Grabbing the clerk is enough here, and we have not seen whether Defuse counts for more than Threaten.
If you knock the clerk out before he talks
Hit him too hard and he drops before handing over the code. Magical Gamer pressed Grab by accident and floored him, and the objective turned into Find Brian’s rent. You then have to search the shop yourself:
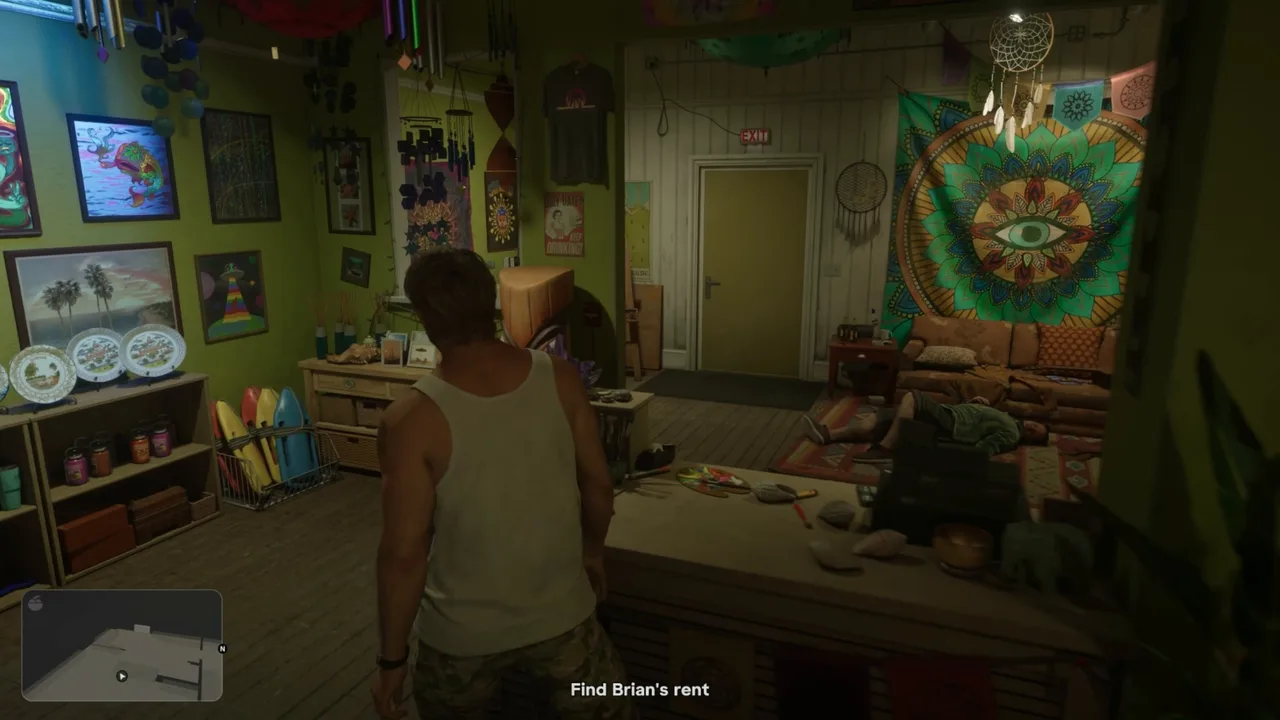 Knock him out early and the job becomes a search. Footage: Magical Gamer.
- The cash register on the counter holds only about $12. Jason grumbles that it won’t cover the rent.
- The clerk’s body has a few dollars and some pistol ammo.
- Pick up the small notepad by the back door, a shopping list of beakers and burners, and flip it: a sticky note on the back reads Code: 0420.
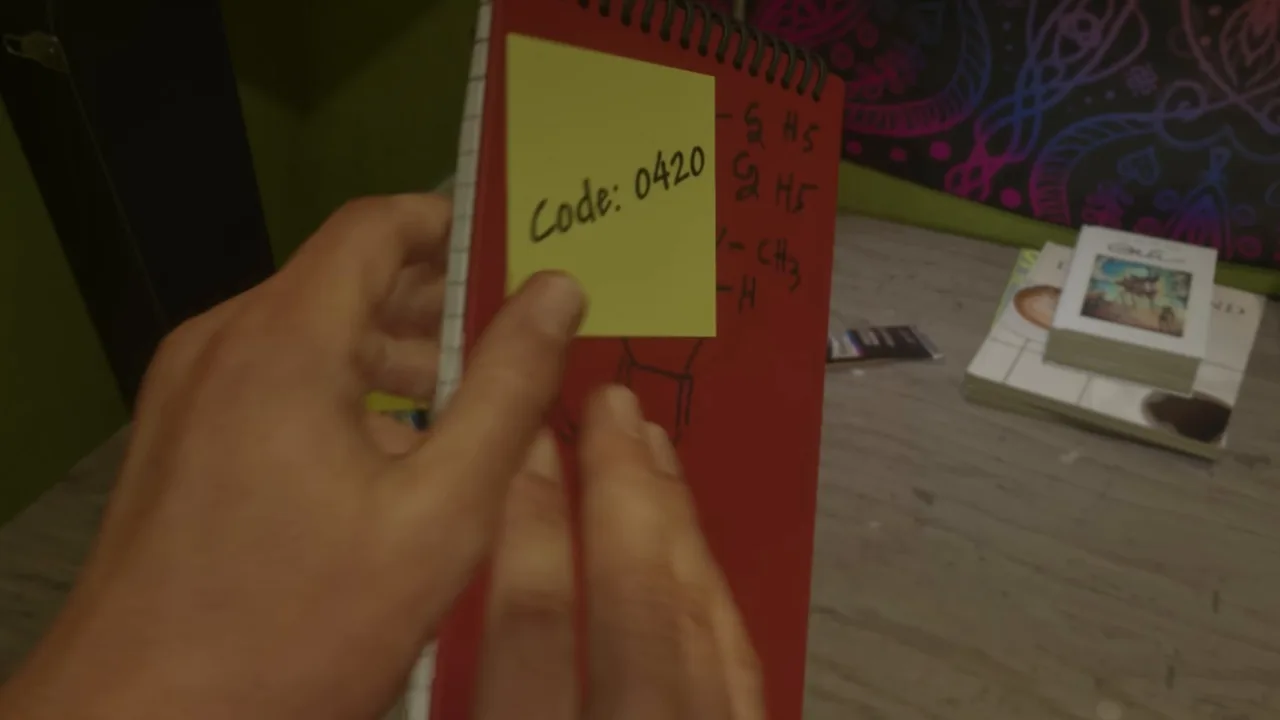 The fallback: the code is on a sticky note behind the notepad. Footage: Magical Gamer.
Step 4: Empty the register and grab the bat (optional)
Before you head into the back, the counter is worth a look. Hold Triangle on the Cash prompt at the register for a few dollars. A baseball bat also lies in the shop: GTA Series Videos and GosuNoob both picked it up, and it stayed in Jason’s loadout after the mission. It’s a handy melee weapon this early.
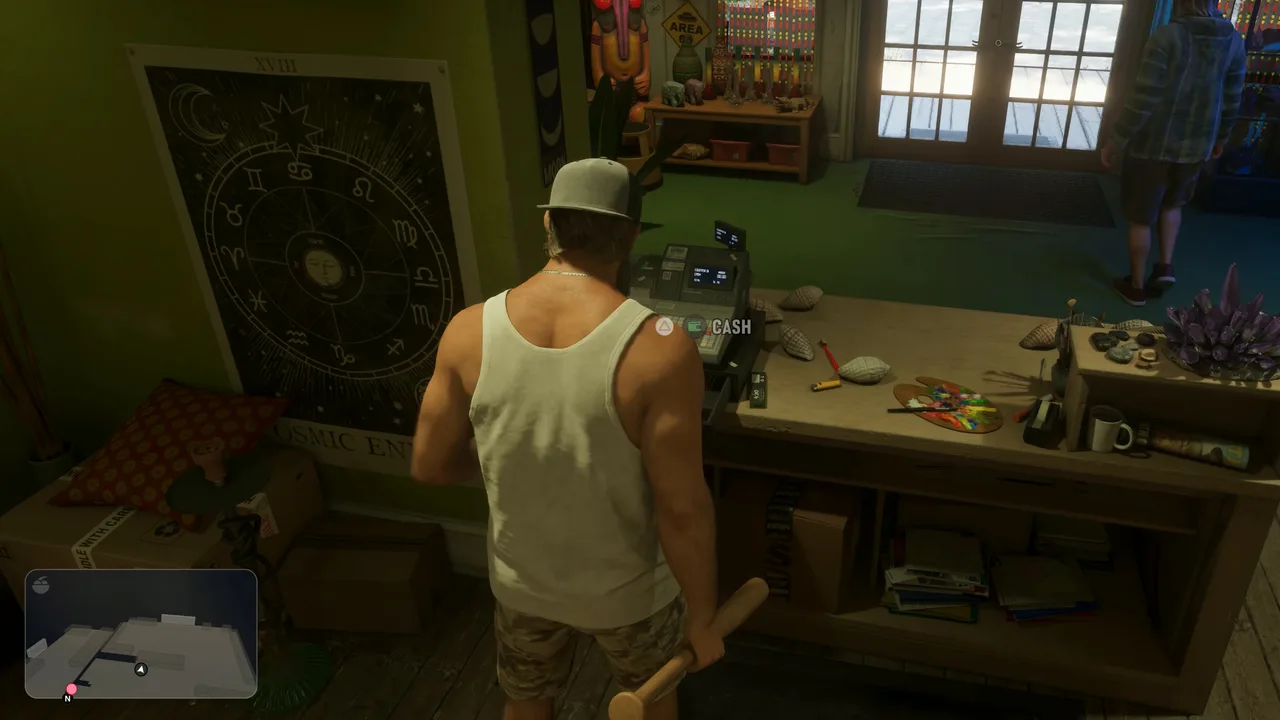 The register pays pocket change. The bat in Jason’s hand comes from the shop too. Footage: GTA Series Videos.
Step 5: Enter the lab with code 0420
The objective is Enter the lab. The lab door is the heavy door in the back corner of the shop, past the couch, with a keypad on the wall beside it. Interact with the keypad and type 0420. The game keeps the code in your Notes pop-up at the bottom right, so you do not need to remember it.
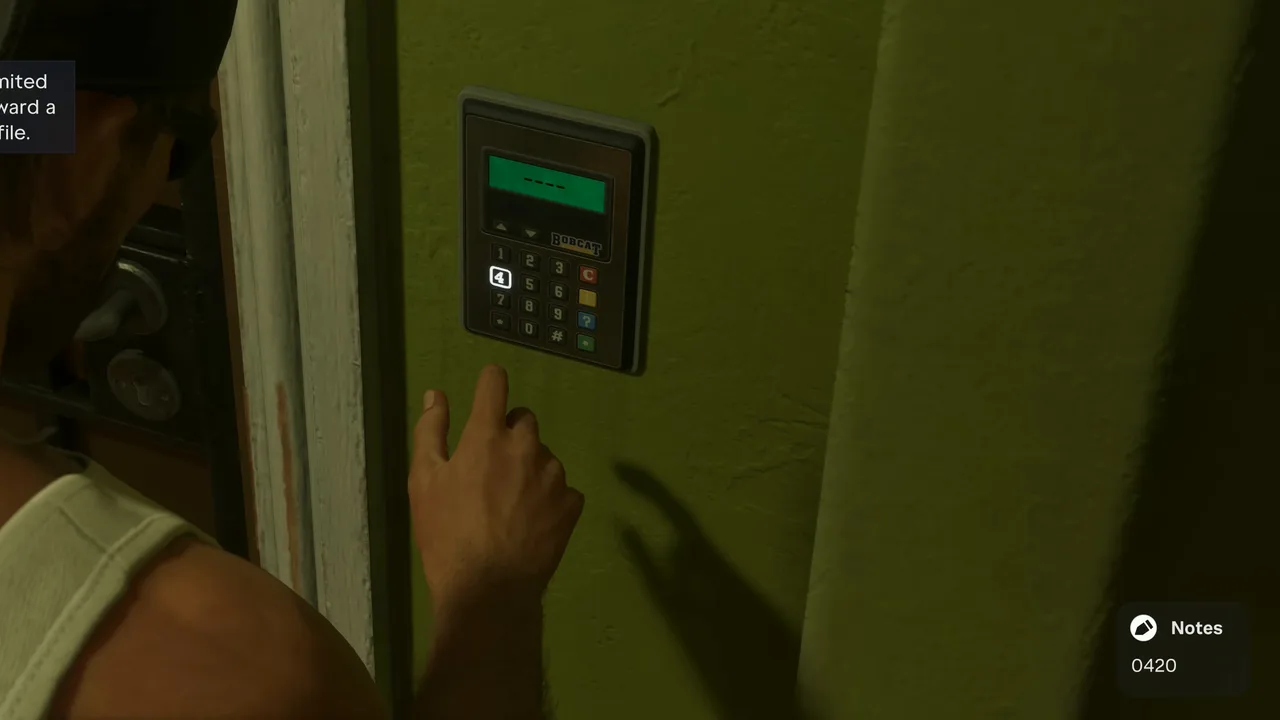 The lab keypad. Notes shows 0420. Footage: GTA Series Videos.
Step 6: Collect the acid
Inside is a cramped room lit red, full of flasks, beakers and hot plates. The objective is Collect the acid. Pick up every pack marked on the benches: each one goes into Jason’s stash bag at $150, and the stash counter under your cash ticks up to $600 once you have all four.
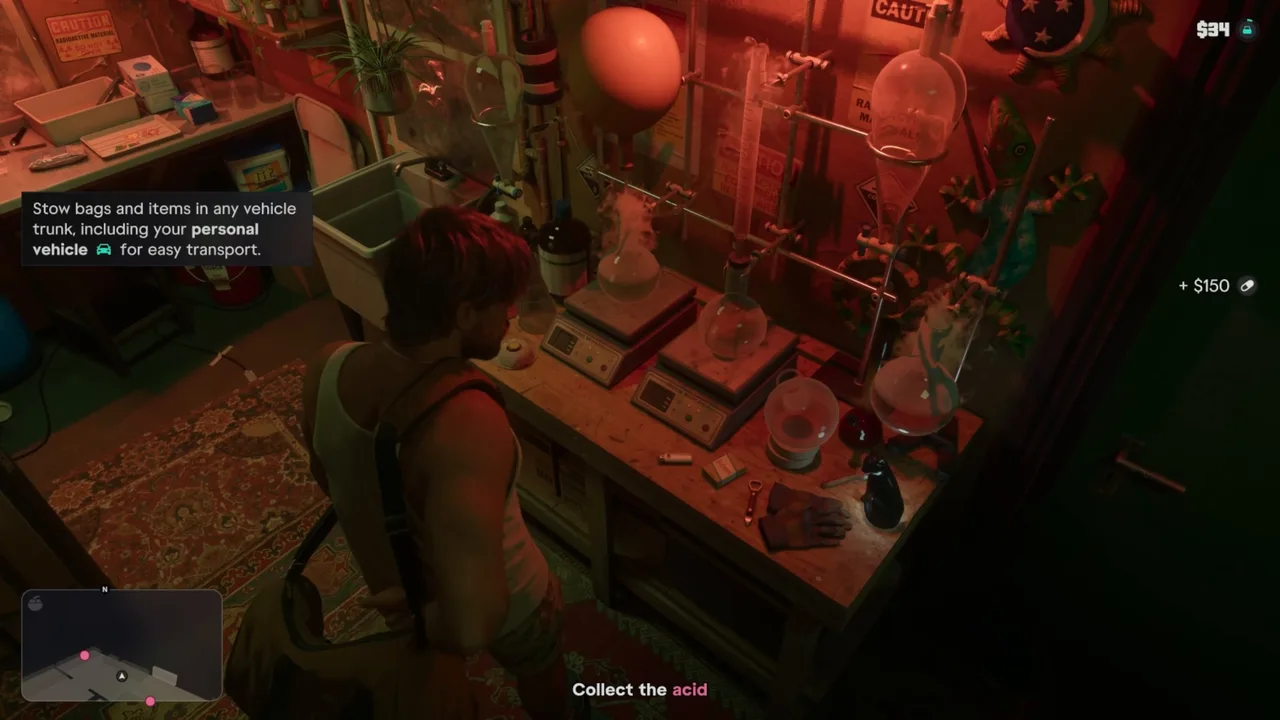 Each pack adds $150 to the stash bag. Footage: Magical Gamer.
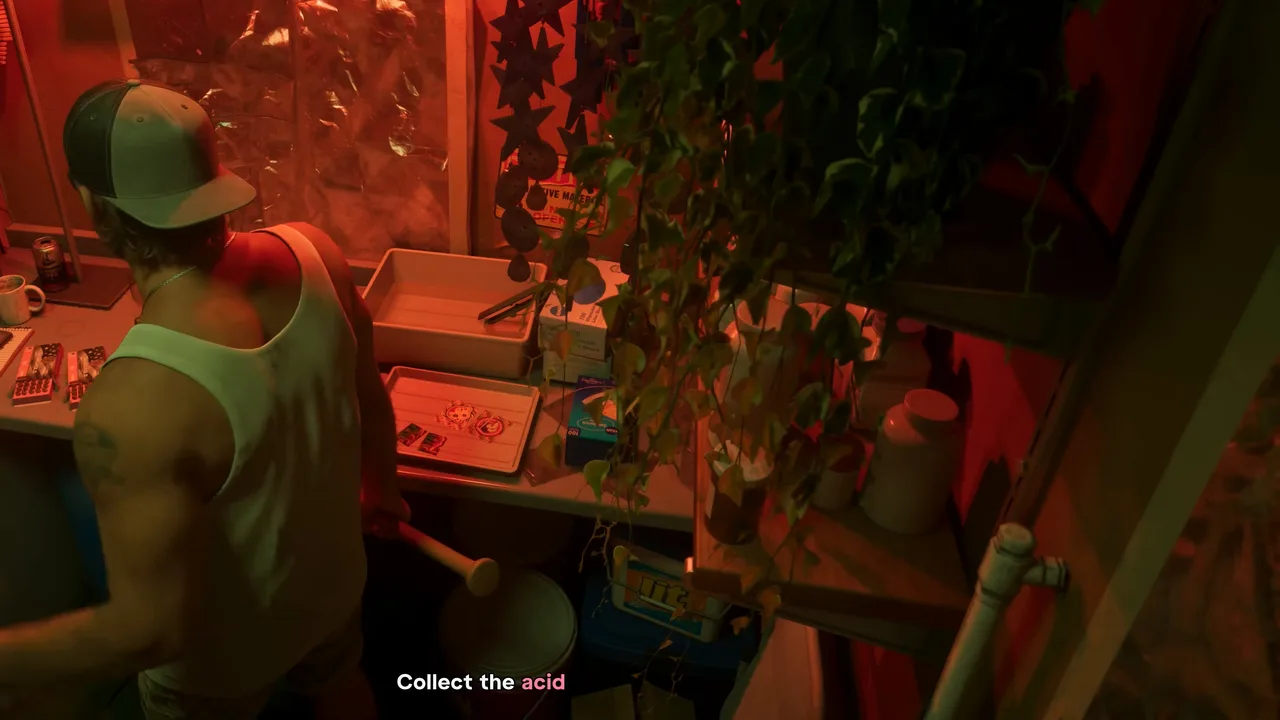 Check every bench: the packs are spread around the room. Footage: GTA Series Videos.
A tip explains that bags and items can be stowed in any vehicle’s trunk. There is also a little loose cash in the side room with the printer: GTA Series Videos and Magical Gamer both picked up $27 there.
Step 7: Call Brian
With the acid bagged, the objective switches to Call Brian. Walk out of the shop and phone him. Jason admits the clerk had no cash but says the acid should cover Brian’s cut. Brian takes it for now and sends him to his lockup next door to the Isla Tropical Private Club: put the haul in the strong box and Brian will come by later to settle up. When Jason asks how to get in, Brian remembers this is normally Donnie’s job and gives the code: 7700.
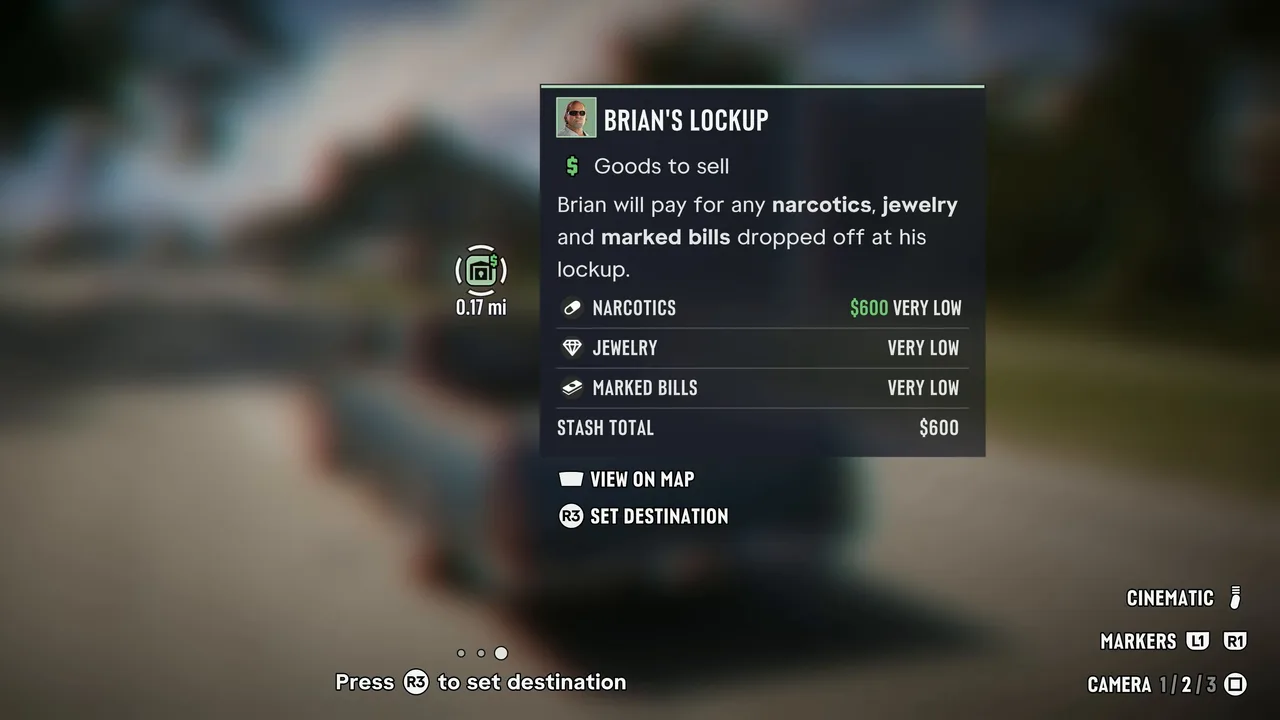 Brian’s Lockup on the map: your $600 of acid shows as narcotics, at a “very low” rate. Footage: GTA Series Videos.
The map now marks Brian’s Lockup with a green fence icon. Its card shows what he buys: narcotics, jewelry and marked bills, all at very low rates, with your stash total of $600.
Step 8: Stash the acid in Brian’s Lockup (code 7700)
The objective is Stash the acid in Brian’s lockup. It is a short drive. GosuNoob put the bag in the Ganado’s trunk first; GTA Series Videos simply drove with it on Jason’s shoulder. Look for the Isla Tropical Private Club sign with a marlin on it. Brian’s lockup is the plain blue door in the alley beside it, with a warning sign about an armed owner.
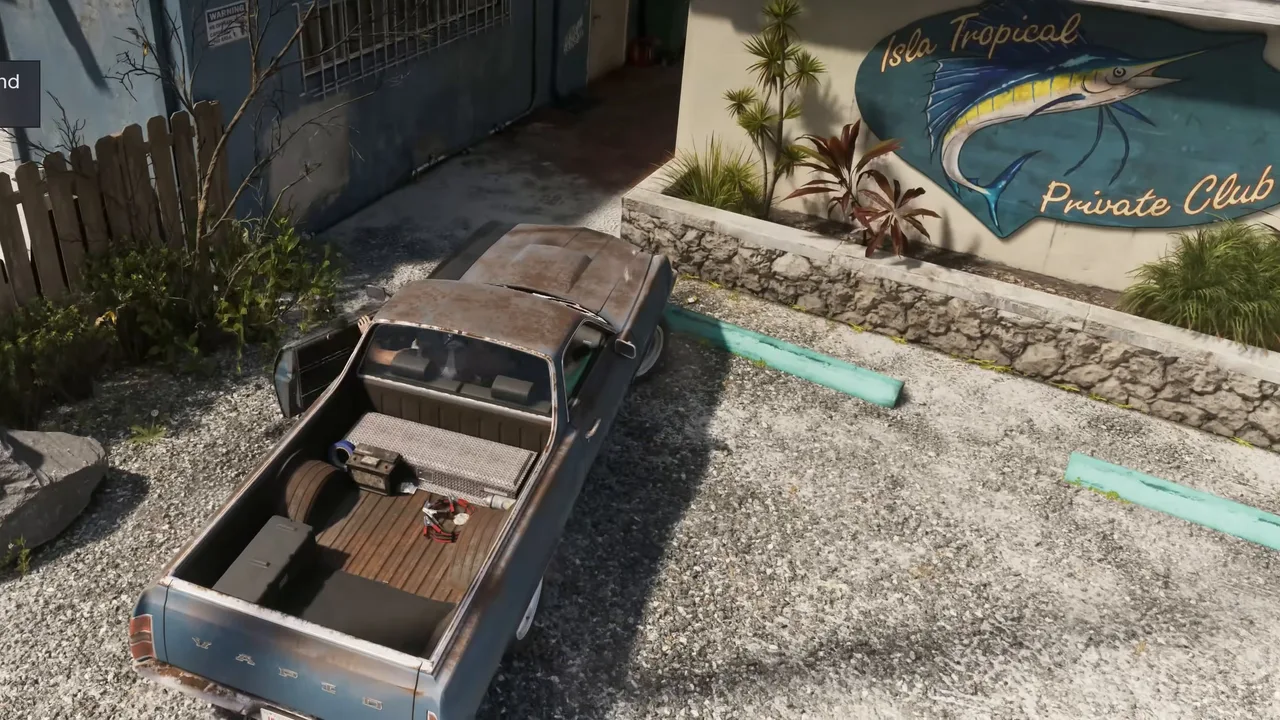 The Isla Tropical Private Club sign. The lockup is right next door. Footage: GTA Series Videos.
Enter 7700 on the keypad (your Notes show it again) and step inside.
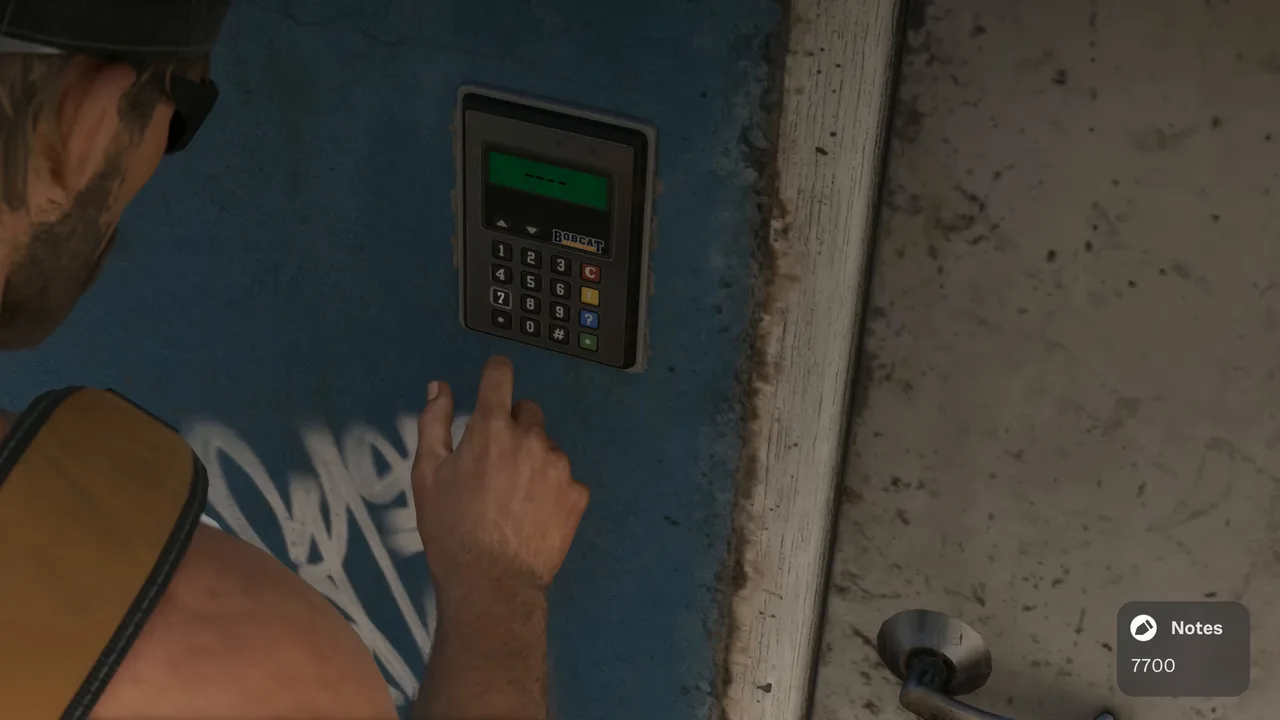 Brian’s Lockup keypad: 7700. Footage: GTA Series Videos.
Inside, interact with the strong box on the workbench. The tip says to leave the bag in Brian’s strong box for him to collect later, and the sale reads +$0 for now. That is normal: drop-off fences pay only once they pick the goods up.
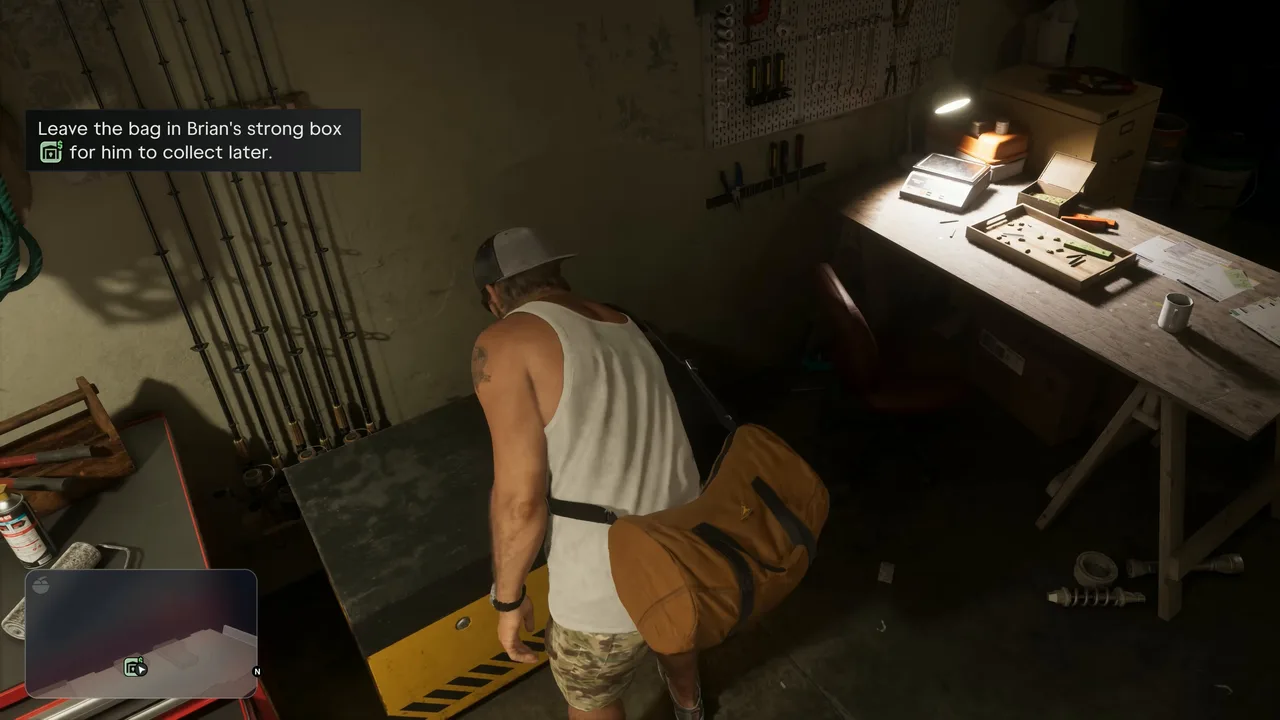 The strong box inside the lockup. Footage: GTA Series Videos.
Walk back out and the mission wraps up: a tip explains that stolen goods taken to drop-offs like Brian’s lockup are paid after they’re collected, Jason texts Brian that the boutique stuff is dropped off, and Brian replies that he will check it when he can. Neither main run shows a mission-passed screen.
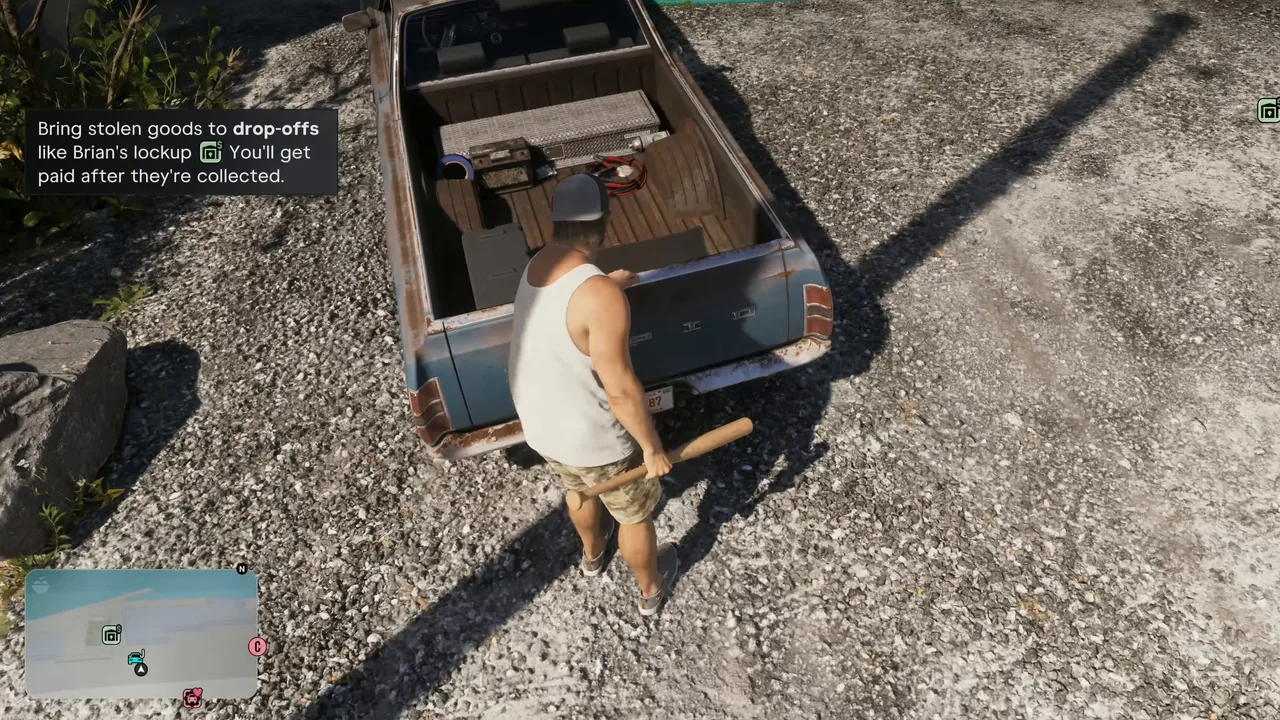 The drop-off rule, explained on the way out. Footage: GTA Series Videos.
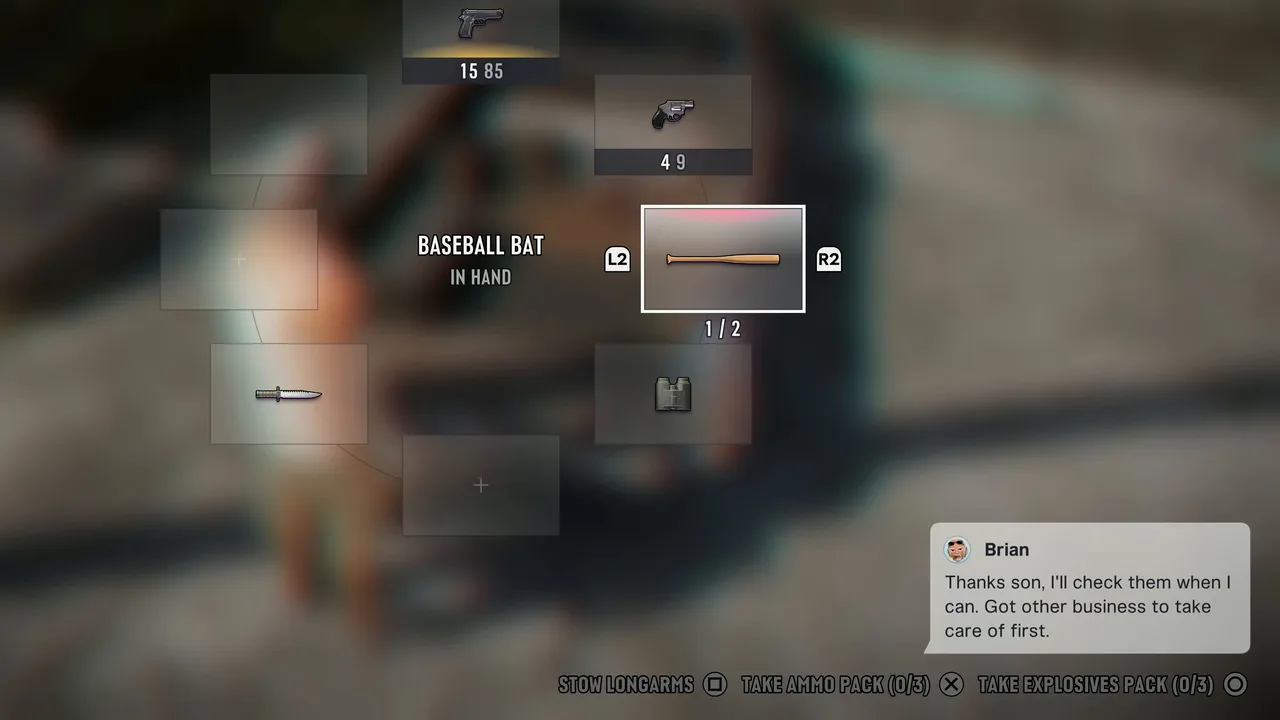 Brian’s reply closes the mission. The bat from the shop is still in the loadout. Footage: GTA Series Videos.
Rewards
- $600, the value of the four acid packs. You do not get it at the lockup: Brian collects the goods later and the payout follows. The mission data says the money lands in the mailbox outside Jason’s house, because Jason has no bank account yet. Our money guide covers how the mailbox payouts work.
- Loose cash from the shop: about $12 from the register, $27 from the side room and a few dollars from the clerk if you knock him out.
- A baseball bat, if you pick it up in the shop.
- Brian’s Lockup as a fence. For the rest of Chapter 1 you can drop narcotics, jewelry and marked bills here with code 7700. The rates are very low, and better fences open later in the story.
- No trophy.
Tips
- Write down 7700. The lockup code is the one you will reuse; 0420 only matters for this mission.
- Grab, don’t beat. One grab is enough to make the clerk talk. Knock him out early and you have to hunt for the code on the notepad.
- Sweep the lab and the side room. All four acid packs count towards the $600, and the $27 by the printer is easy to miss.
- Check the mailbox at Jason’s house after the next mission or two. That is where Brian’s money turns up.
- Keep the bat. It is the best melee option you will find this early.
Related guides
- Before it in the story list: Pipework (#5), Mandy’s rent. After it: Just a Scratch (#7), the Ganado’s repair at Coastal Auto Care. See the full missions list.
- Gear Up: the other Chapter 1 errand in Key Lento, Jason’s first longarm at Chuck’s.
- Gone Fishing: the mission that unlocks Lab Fees.
- GTA 6 money guide: fences, Brian’s Lockup rates and mailbox payouts.
- GTA 6 characters: Brian, Donnie and Jason.
- Interactive map: Key Lento and Brian’s places.
Frequently Asked Questions
What is the code for the lab door in Lab Fees?
0420. The clerk gives it up once you have roughed him up, the game pins it to your Notes, and it is also written on a sticky note tucked into a notepad in the shop if you knock him out before he talks.
What is the code for Brian's Lockup in GTA 6?
7700. Brian gives it to you on the phone at the end of Lab Fees. The lockup sits next to the Isla Tropical Private Club in Key Lento, and the same code opens it every time you come back to sell stolen goods.
Should I pick Defuse or Threaten in Lab Fees?
It does not change the outcome in any run we watched. GosuNoob tried Defuse and GTA Series Videos chose Threaten; in both the clerk refused, a scuffle followed and he handed over the code. What the choice does to your criminal profile is not shown.
How much does Lab Fees pay?
$600. The four acid packs are worth $150 each in your stash bag, but the lockup pays $0 on the spot. Brian collects them later and the money is paid out afterwards, by the mission data to the mailbox outside Jason's house.
Where is the boutique in Lab Fees?
The Moonstone Boutique, a hippie gift shop in the Artist Village strip of Key Lento, a short drive from Jason's house. The map calls the task Collect Brian's Rent and the marker says to visit The Boutique.
Sources & Credits
Researched from these videos and official material, among others. Screenshots credit the creator whose footage they come from.
- GTA 6 Mission #4 - Lab Fees (Chapter 1) [Full Walkthrough - PS5 4K] · GTA Series Videos
- GTA 6 Collect Brian's Rent - Lab Fees Mission - What's the Code for Brian's Rent · GosuNoob
- GTA 6 How to Make Money FAST & EASY! (Best Early Game Money Methods) · Magical Gamer
- GTA 6 - Missions 2, 3 & 4 - Gear Up, Lab Fees & Just a Scratch (4K) · Willzyyy
- GTA 6 Walkthrough Gameplay Part 1 - INTRO (GRAND THEFT AUTO 6) · theRadBrad