Jump to your step
 1
Meet Vinny and sit through the briefing · Lucia
 2
Plant the charges on the West Bridge · Lucia
 3
Clear the cargo ship from the helicopter · Jason
 4
Follow Rocco to Olaf’s cocaine · Jason
 5
Board the helicopter and blow the ship · Jason
 6
Raise the bridge and wreck the controls · Lucia
 7
Mine the boats and swim into the base · Lucia
 8
Find the seized cocaine and let the Balkans in · Lucia
 9
Hold the base while the truck loads (Jason and Lucia)
 10
Attach the winch · Lucia
 11
Ride the net and blow the boats · Lucia
 12
Deliver the cocaine and return to Giorgio
Operation Savage Glory: quick facts
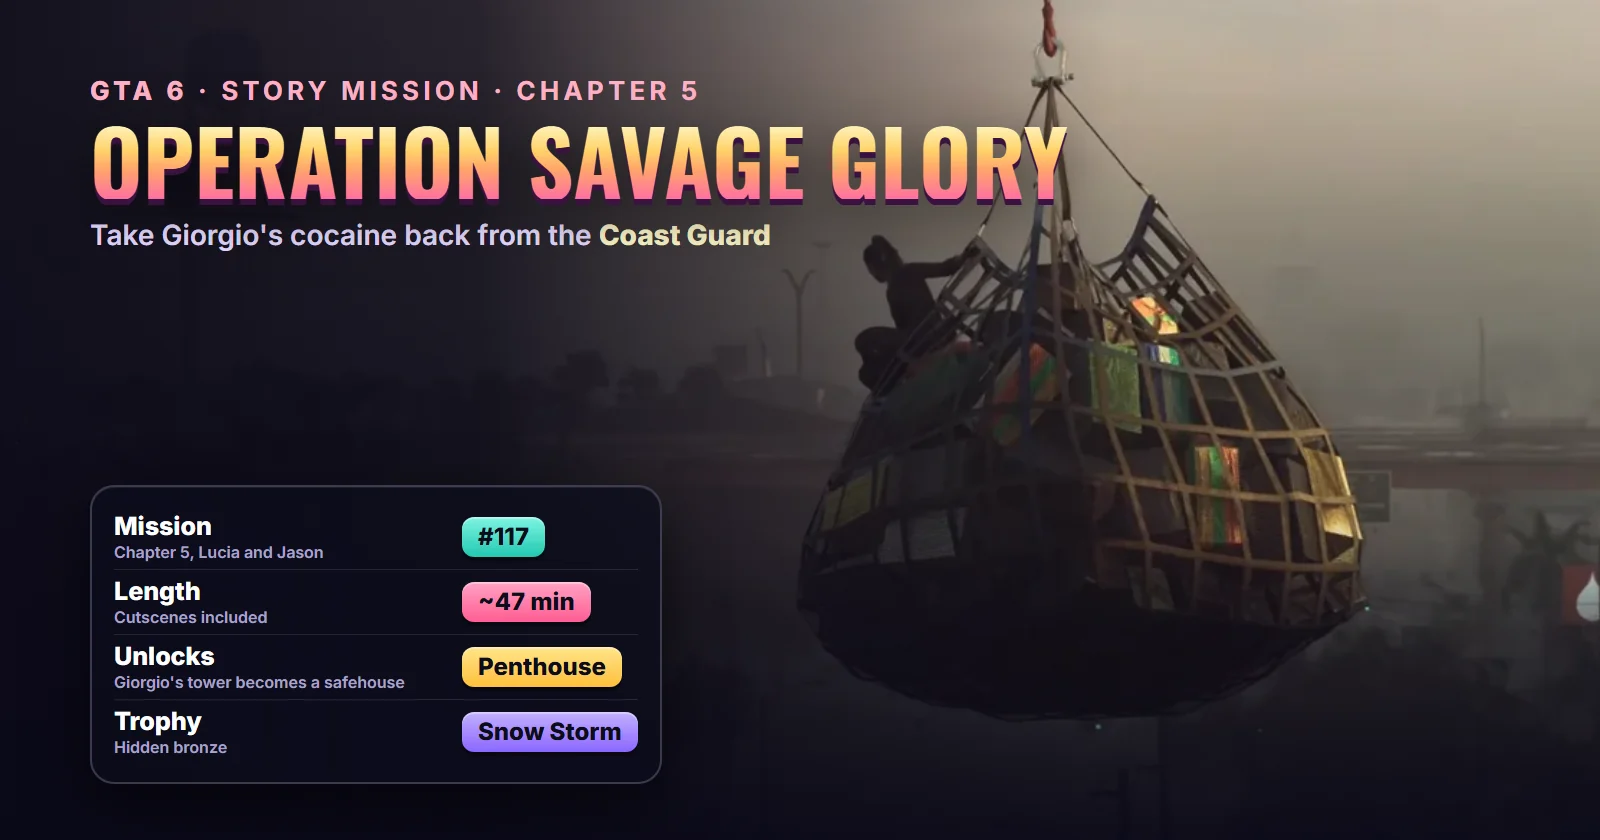
| Mission | Operation Savage Glory, story mission #117 |
| Chapter | Chapter 5 |
| You play | Lucia (Team Alpha) and Jason (Team Bravo), switching back and forth |
| Given by | Vinny, the Orcas’ planner, for Giorgio |
| Starts at | Giorgio’s tower (Pegassi Towers) on Gloriana Key, by text |
| Unlocks after | Doggie Bag (#116) and VC Baby (#115), both needed |
| Unlocks next | Honest Abe (#118) |
| Length | About 47 minutes in Sirloin’s run, cutscenes included |
| Reward | Giorgio’s penthouse as a safehouse, Sky Garage, wider tower access |
| Trophy | Snow Storm (hidden, Bronze) |
| Required for 100% | Yes |
Mission briefing How it unlocks, where it starts, the plan and how the story lands. Contains big Chapter 5 spoilers.
How to unlock Operation Savage Glory
Two missions open in Giorgio’s tower after Taking Liberties: Vinny’s Doggie Bag, where the crew snatches a trained sniffer dog called Rocco, and Mattia’s VC Baby. Operation Savage Glory only arrives once both are done, in either order. In Sirloin’s run, Doggie Bag came first and the text from Vinny landed the moment VC Baby ended: meet him outside GG’s office, because it’s time for Operation Savage Glory.
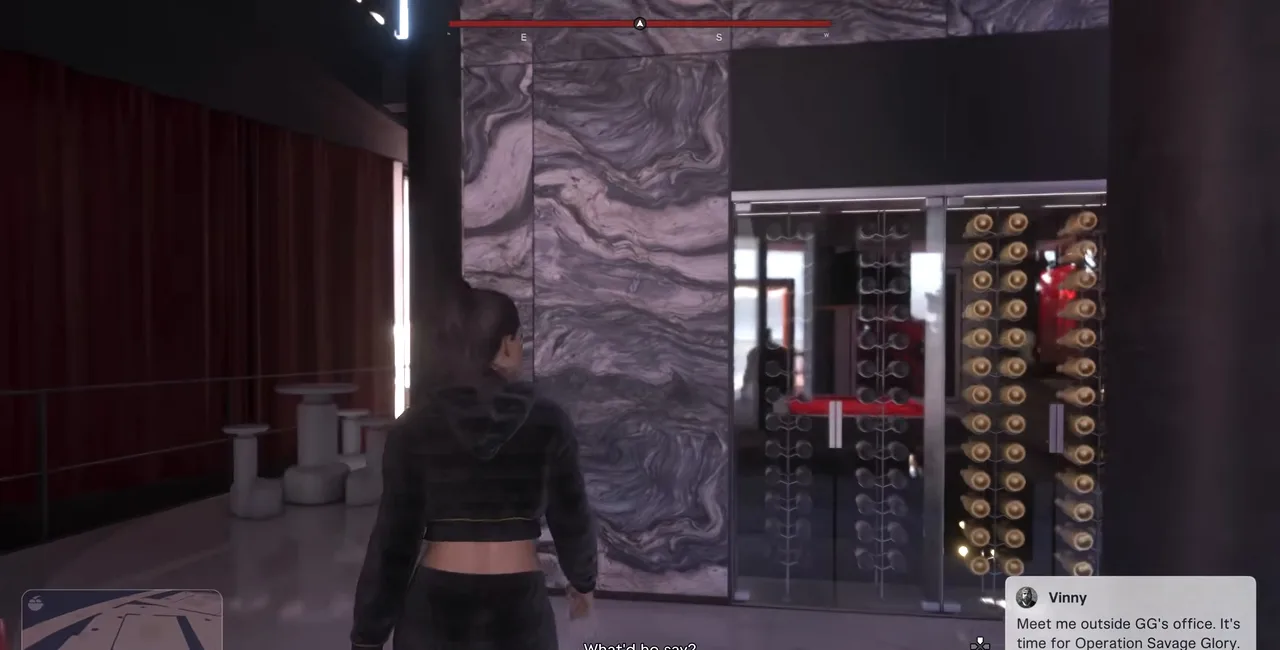 The start: Vinny’s text and the objective Meet up with Vinny. Footage: Sirloin.
Where Operation Savage Glory starts
Inside Giorgio’s tower on Gloriana Key, the building the game’s tips call Pegassi Towers. Follow the pink blip through the lounge to Vinny, who waits outside Giorgio’s office and leads you downstairs to the crew’s armoury. There’s no blip to drive to: the whole start happens indoors. See the Operation Savage Glory start on the live map, Vinny’s places or Giorgio’s.
The plan
Giorgio owes his Balkan partners 20 tons of cocaine that the authorities seized, and it now sits inside the National Coast Guard base. A rival, Olaf, has a shipment of his own on a cargo ship coming through that night. Vinny’s plan, laid out in the armoury with the Orcas crew:
- Team Alpha (Lucia, Vinny and Orcas operators) rigs the bridges around the base so the police can’t get in, then swims in and finds Giorgio’s cocaine.
- Team Bravo (Jason, Rocco and the helicopter crew, flown by Kevin) hits Olaf’s cargo ship from a helicopter, finds his cocaine with the dog and blows it up, which pulls the Coast Guard out of the base.
- The Balkans’ truck drives the cocaine out, Bravo’s helicopter lifts it away in a cargo net, and everyone heads for the drop.
Not everyone in the crew comes home, and two of the Orcas die during the escape in cutscenes you can’t change. The job works: Giorgio uses the result to put pressure on a powerful politician, hands Jason and Lucia his penthouse, and sends them to their lawyer, Abe Gonzalez, to start working out a deal.
About this guide: the steps follow Sirloin’s no-commentary Chapter 5 run, which shows the whole mission from Vinny’s text to the penthouse handover. Objective names for the middle of the ship section were cross-checked against a second recording. Neither shows a mission-passed card; the run ends on the safehouse tips.
Step 1: Meet Vinny and sit through the briefing (Lucia)
You start as Lucia with the objective Meet up with Vinny. Jason walks with you, and a Hold Hands prompt appears if you want it. Vinny meets you by the stairs and takes the two of you down to the armoury, where the rest of the crew is already waiting.
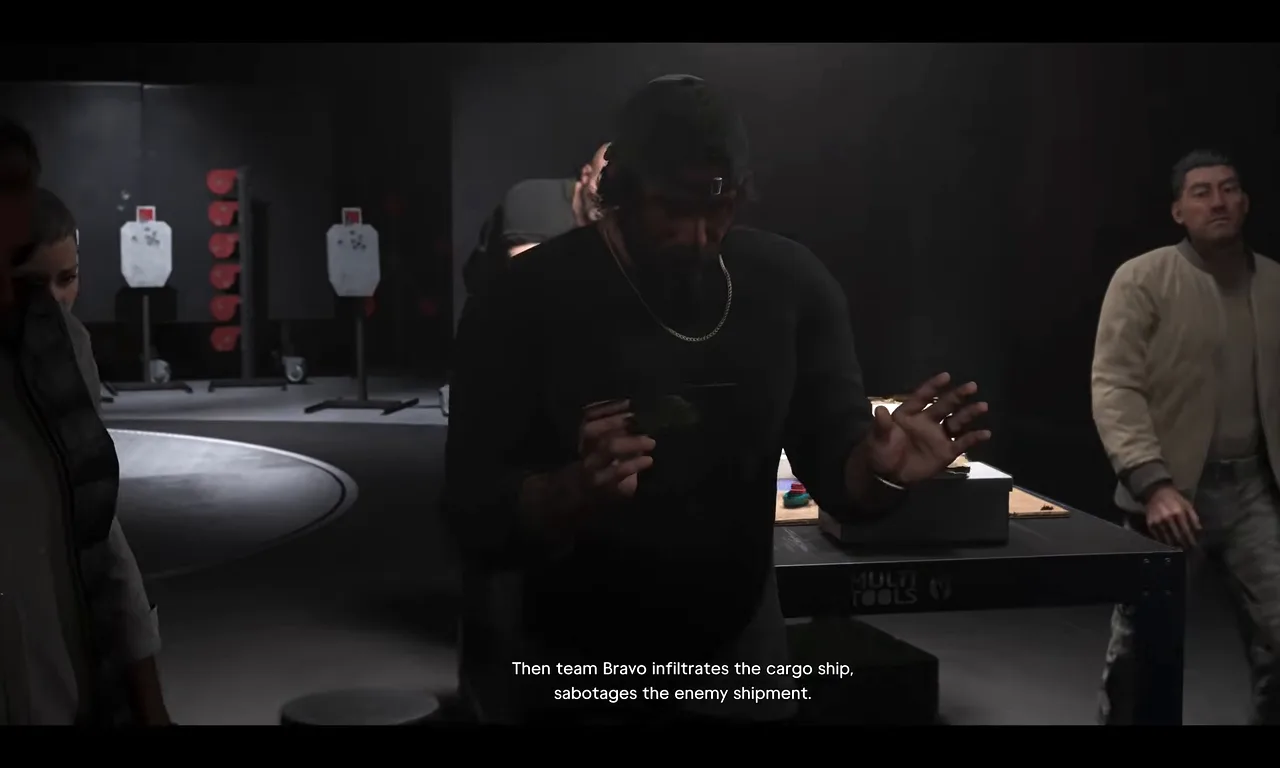
Vinny splits the crew into Alpha and Bravo. Footage: Sirloin.
The briefing is a long cutscene (about three minutes). Giorgio drops by to wish you luck in his own way, then the two teams gear up and split: Lucia goes with Alpha to the water, Jason with Bravo to the helicopter.
Step 2: Plant the charges on the West Bridge (Lucia)
Alpha leaves from a dock behind the tower. The objective is Go to the bridge: take the boat across the bay at night, past the downtown towers, to the West Bridge. Once you’re under it, the objective changes to Plant explosives on the pillar.
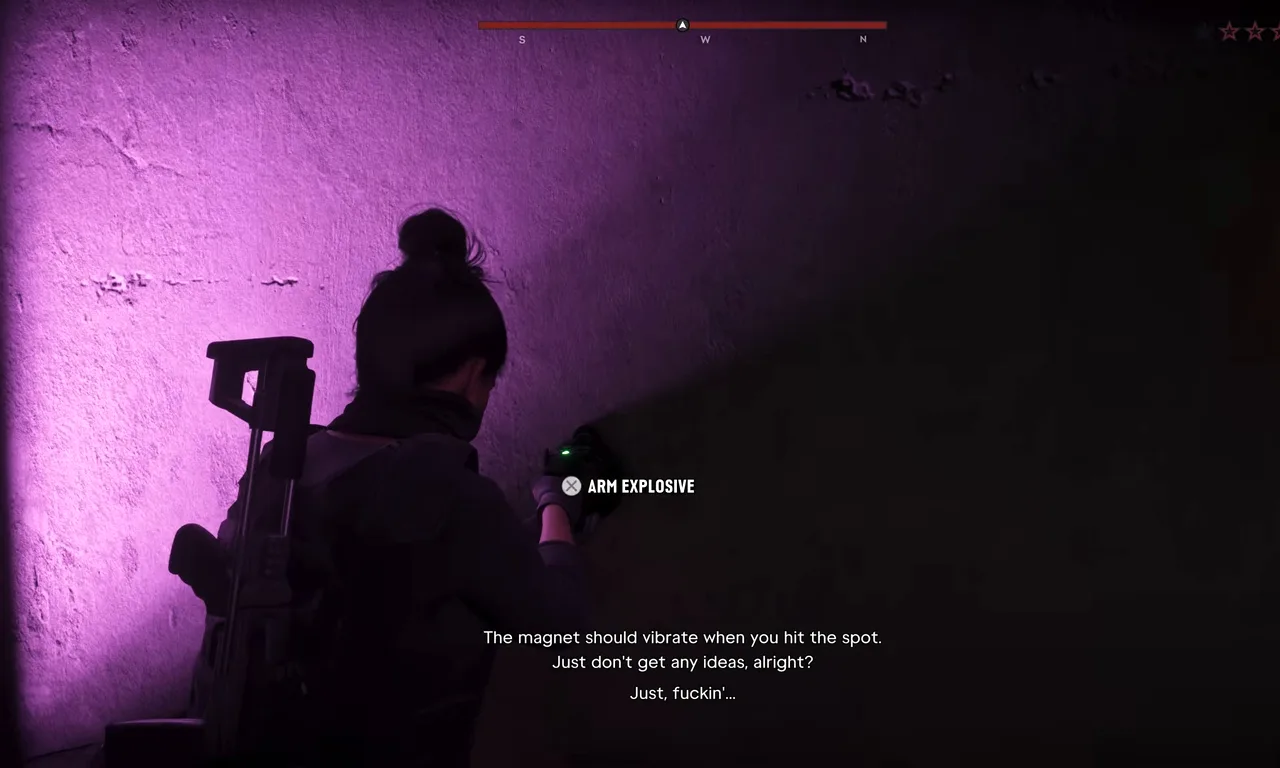
Slide the charge along the beam until the controller buzzes, then arm it. Footage: Sirloin.
Each charge works the same way. Hold it against the column and move it slowly: the magnet vibrates when it finds the rebar, and an Arm Explosive prompt appears. Vinny takes the other side of the bridge while you climb from site to site; the next one is always right above the last.
Halfway through, a Coast Guard boat comes by and the objective becomes Hide from the coast guard. Stay crouched behind the pillar until it passes. You can hold R3 to look at it, which is only for show. Then find the ladder, climb to the last site and arm it. Lucia reports “Last one’s armed”, and you regroup on the bridge and Get in the van with Vinny.
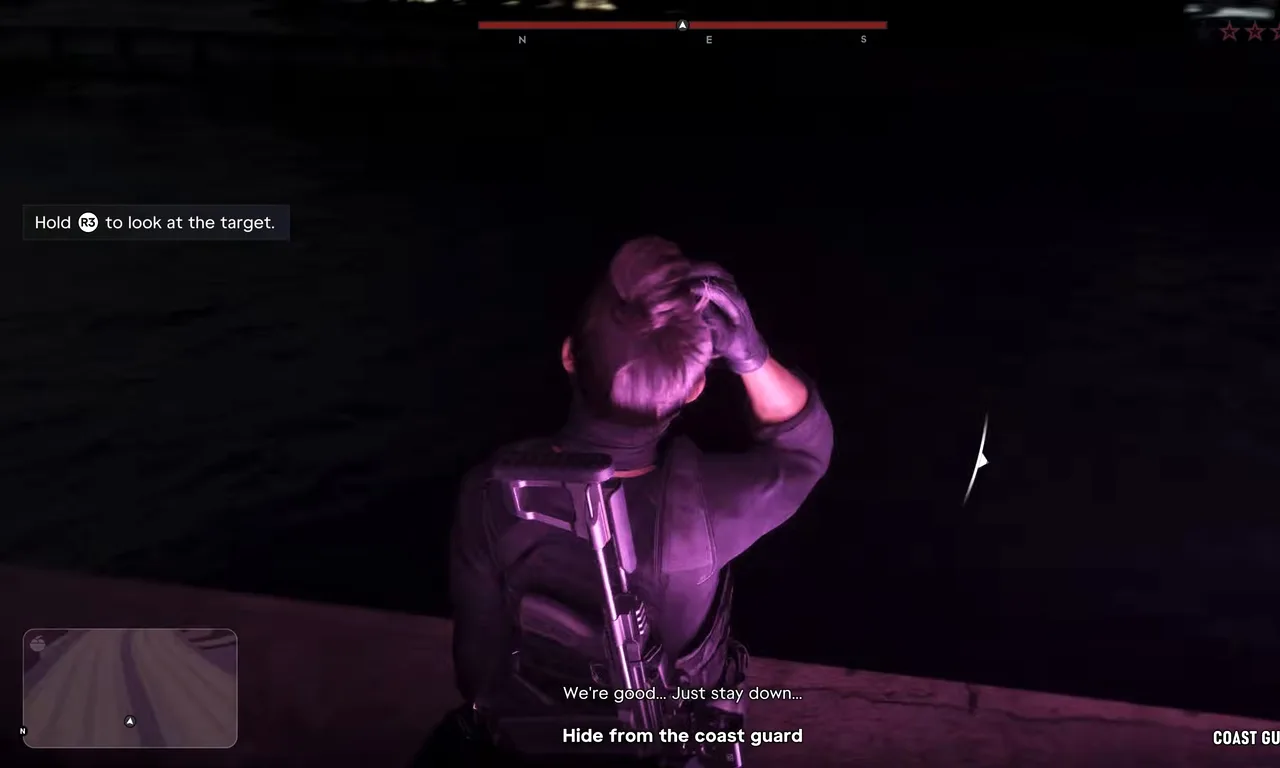 Stay low until the patrol boat has gone. Footage: Sirloin.
Step 3: Clear the cargo ship from the helicopter (Jason)
Vinny radios Bravo that the West Bridge is live, and the game switches to Jason in the back of Kevin’s helicopter. The objective is Clear the cargo ship, and you start with a scoped rifle.
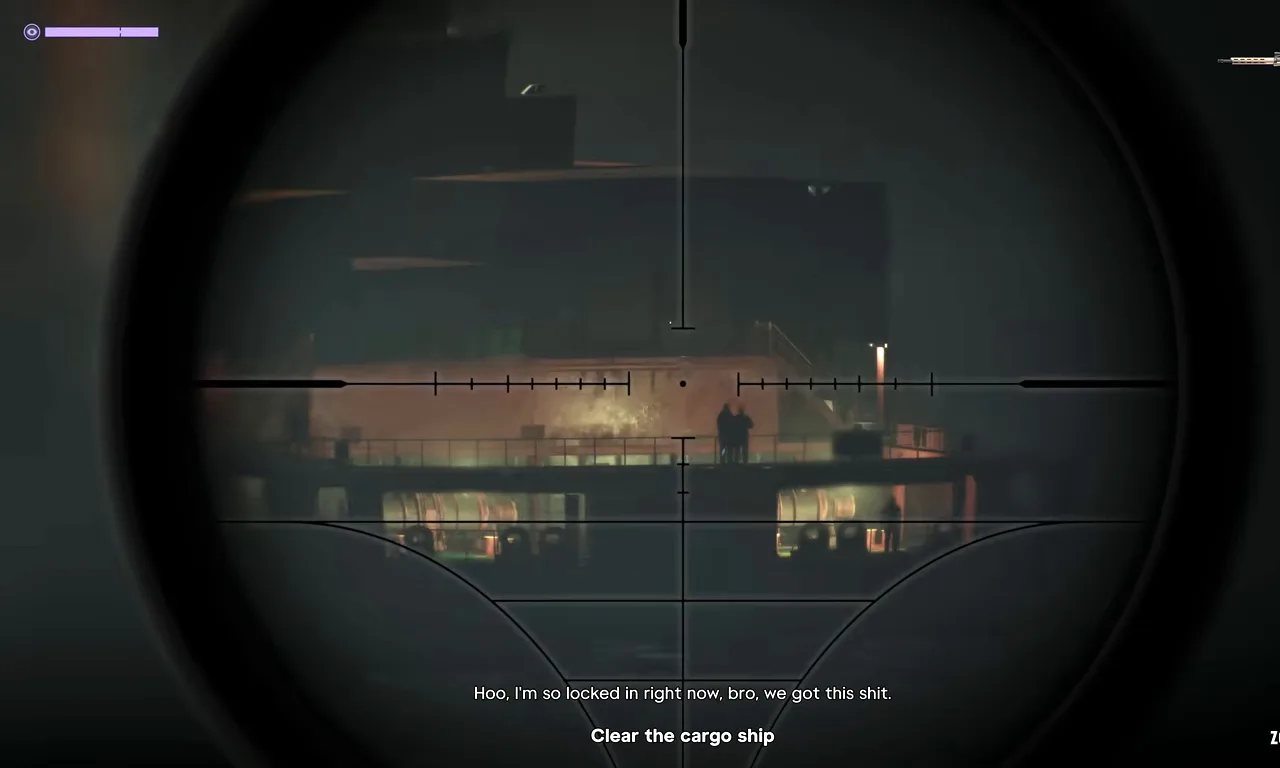
The opening shots: guards on the ship’s bridge deck. Footage: Sirloin.
The guards are cartel gunmen, not sailors. Work from the top down: the walkways around the ship’s bridge first, then the main deck between the container stacks. Kevin circles the ship, so wait for him to steady before taking long shots, and use the searchlights on the deck to spot movement. When the main deck is clear, Kevin sets you down on top of a crane, and you pick off the last gunmen from there before you climb down.
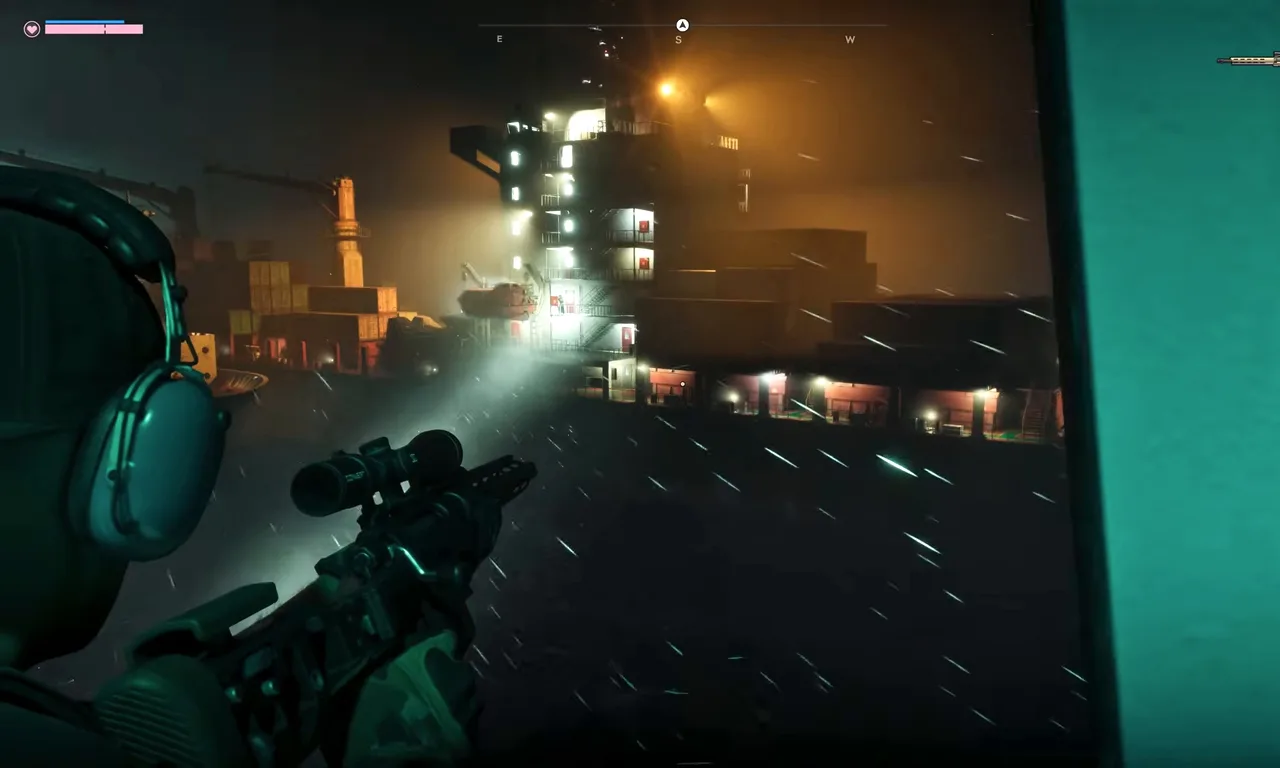 Kevin circles the ship while Jason snipes. Footage: Sirloin.
Step 4: Follow Rocco to Olaf’s cocaine (Jason)
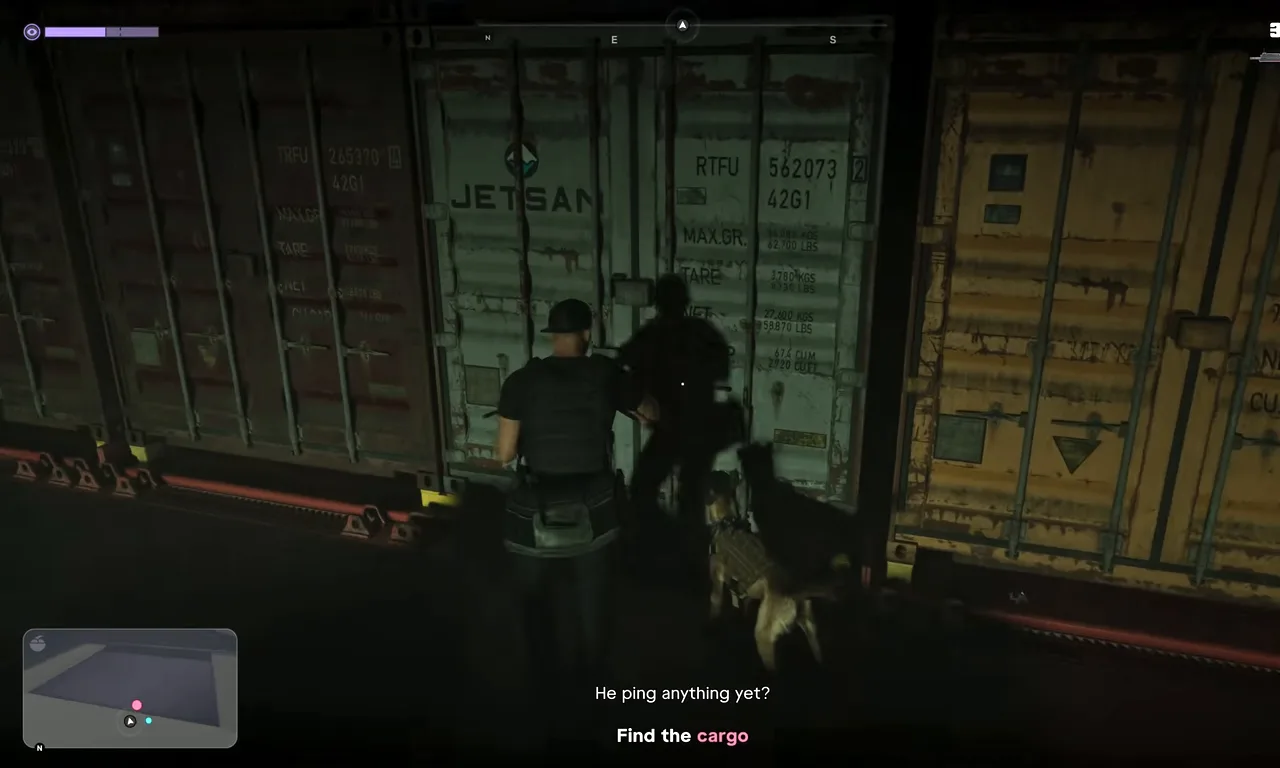
On deck you switch to an assault rifle, and the objective becomes Follow Rocco. The dog runs ahead through the containers and stops at the right one, which turns the objective into Find the cargo. Open the doors: the cocaine is hidden in containers full of bananas. Plant a charge, and send Rocco to the next one.
Rocco stops at the container you need. Footage: Sirloin.
Expect a fight at every stop:
- Gunmen keep coming along the walkways and down the stairs. Kevin calls them out, usually “on the stairs” or “on the container”.
- A helicopter of reinforcements arrives partway through (“Eyes up, Helo inbound”). In Sirloin’s run the helicopter’s rockets took it down, so stay in cover until it’s gone.
- If a gunman tackles Jason, Rocco jumps in and takes him down. Sirloin got saved this way once.
- The deck is a good place to collect better guns. Enemies drop the Kozlov KVGA-12 auto shotgun, among others.
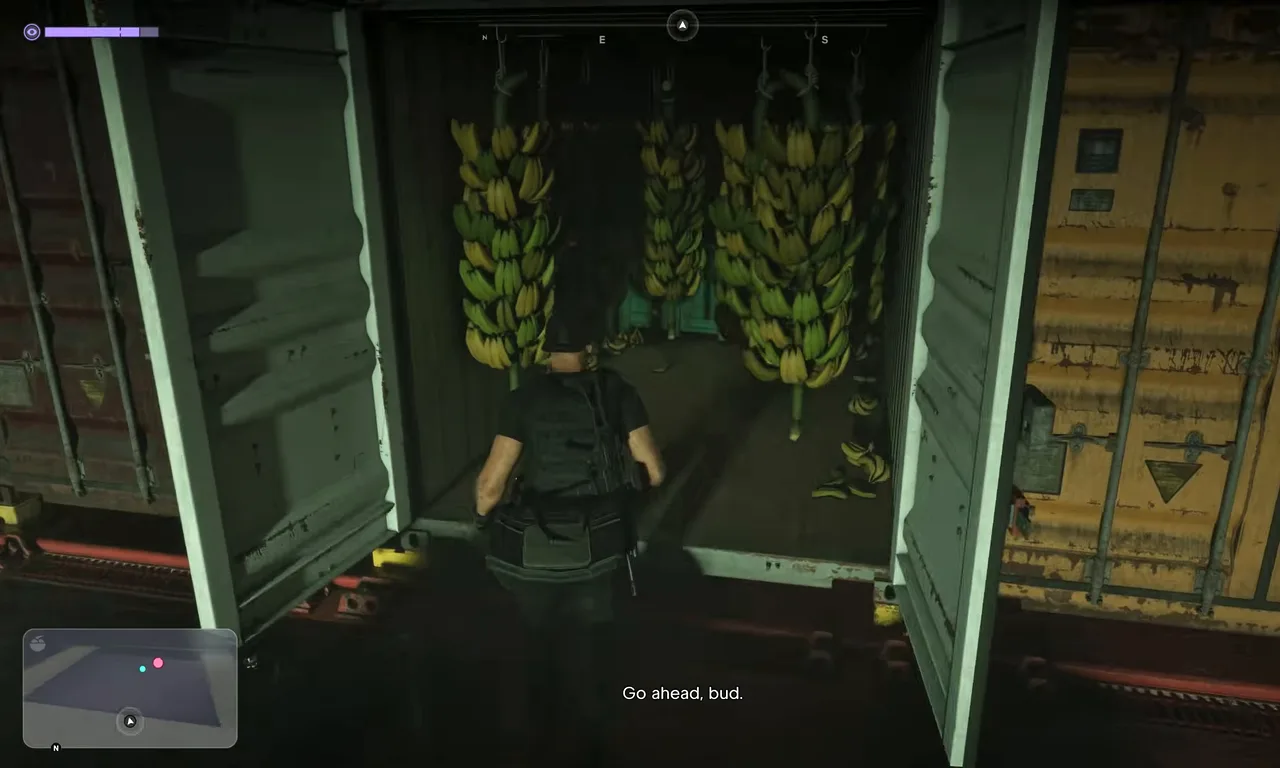 The cocaine is hidden in the banana containers. Footage: Sirloin.
The final container is locked, so the objective changes to Break into the container. The crew’s answer is to throw the whole bag of explosives in, and that’s what Jason does. On this stretch the game also introduces Adrenaline from your loadout, which cuts the damage you take for a short time. Save it for the run back to the helicopter.
Step 5: Board the helicopter and blow the ship (Jason)
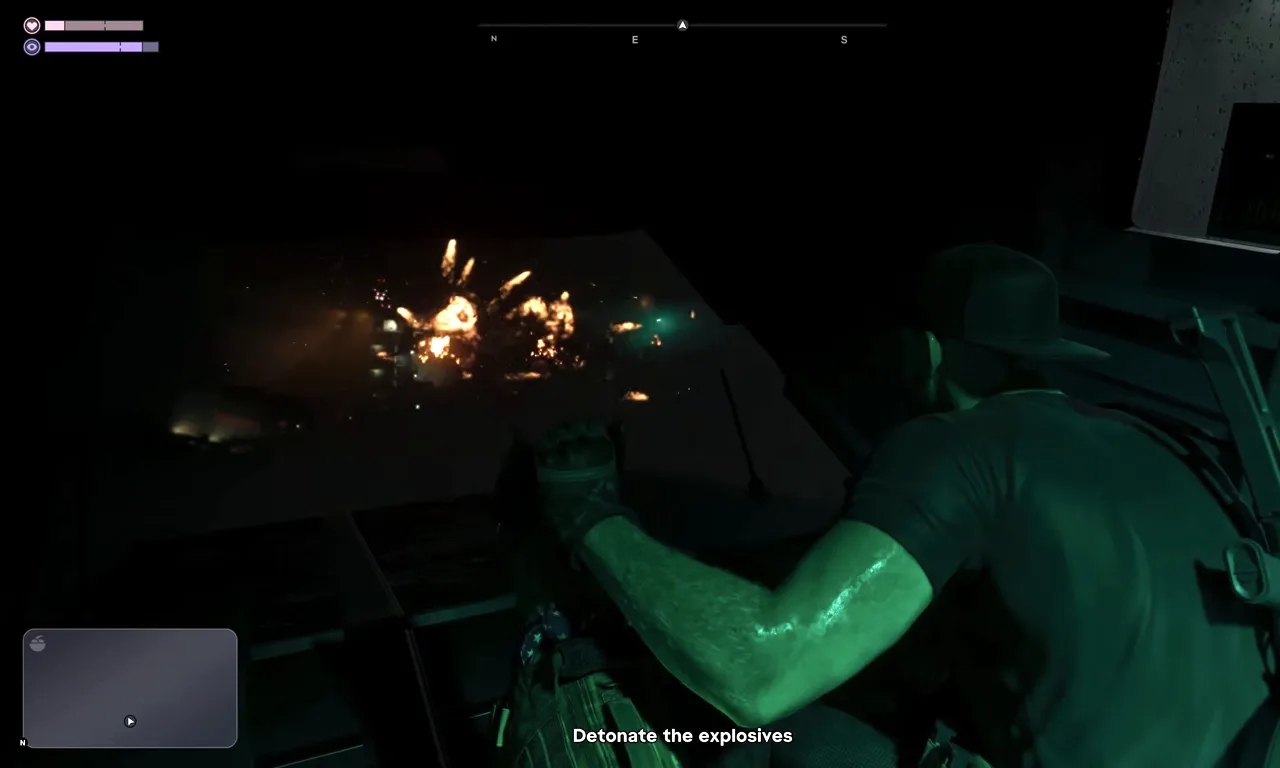
With the charges set, Wait for the helicopter to arrive, then Board the helicopter when Kevin swings in and the crew shouts that the door is open. More gunmen appear on the upper deck as you run, so sprint and don’t stop to fight. Once you’re aboard and clear, the prompt Detonate the explosives appears.
Detonate from a safe range. Footage: Sirloin.
The containers go up, and the crew enjoys picturing Olaf’s reaction. The point of the blast is the distraction: the map now tells Alpha to get into the Coast Guard HQ while the Coast Guard is busy with the burning ship.
Step 6: Raise the bridge and wreck the controls (Lucia)
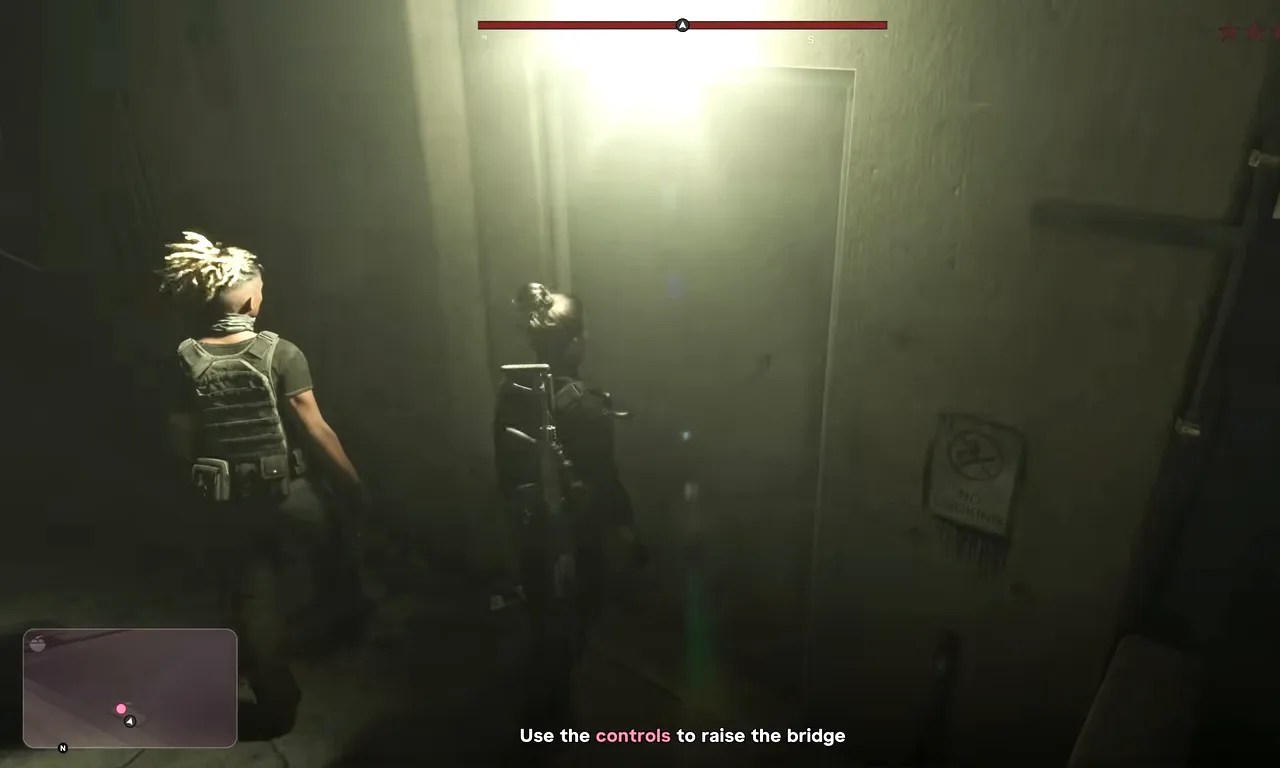
Back with Alpha on the East Bridge, the objective is Use the controls to raise the bridge. Lucia goes into the bridge-keeper’s building alone.
Into the bridge house. The operator is upstairs. Footage: Sirloin.
Vinny warns you that an operator is upstairs. Take the stairs, deal with him, and use the console to open the bridge. When the bridge is up, Vinny tells you to wreck the console so nobody can lower it again. You’ll find out later whether it worked.
Step 7: Mine the boats and swim into the base (Lucia)
Vinny hands out diving gear and explains the way in: a flooded tunnel into the base, then a swim to the checkpoint. The objective is Dive off the bridge.
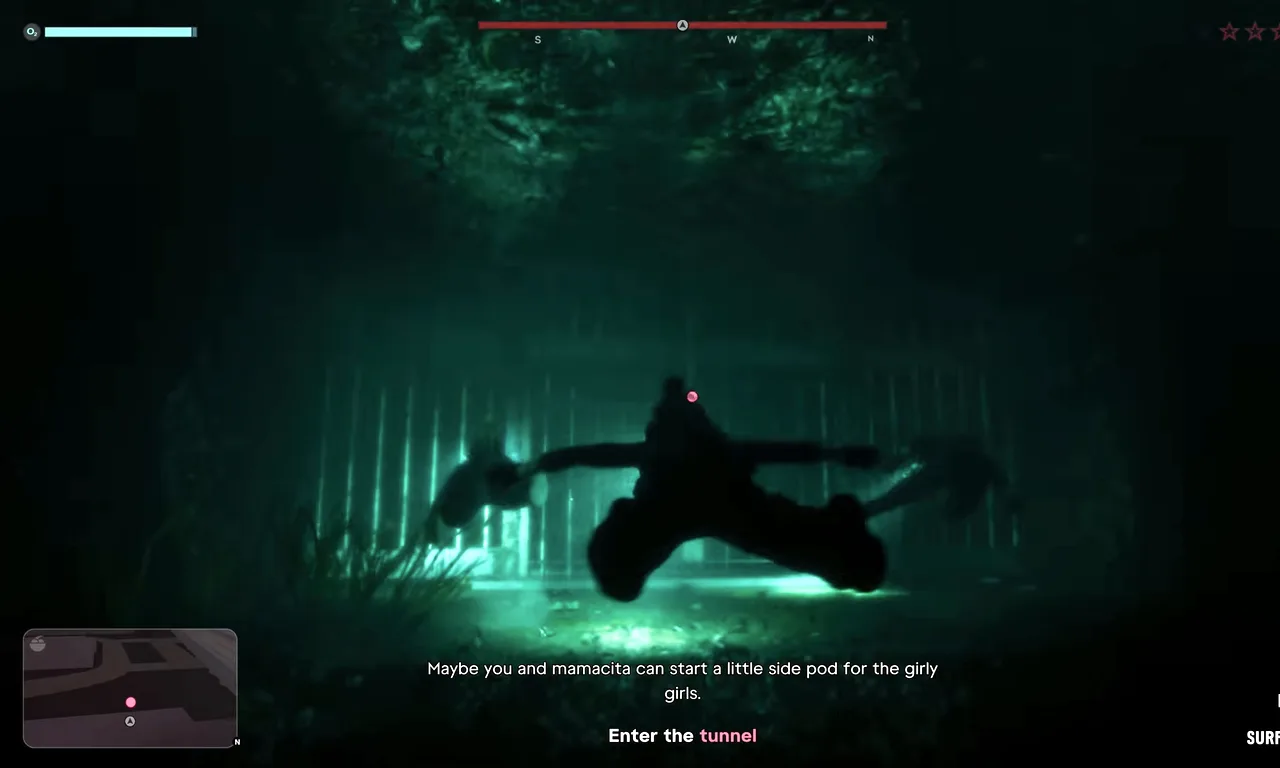
Underwater, follow Vinny. Before the tunnel, the team stops under the Coast Guard’s moored boats with the objective Plant explosives on the boat: these limpet charges are your insurance against being chased later, so plant them all. Then head for the service pipe: Enter the tunnel, swim along it, and cut through the grate at the end (hold R2 on PlayStation).
The subsurface entry into the base. Footage: Sirloin.
While Alpha regroups, Bravo radios that most of the Coast Guard have left for the cargo ship, so the base is lightly held when you surface.
Step 8: Find the seized cocaine and let the Balkans in (Lucia)
Inside the base, the crew stays quiet at first. Then someone spots that the East Bridge is back down (“What did I tell you about those controls?”), the alarm goes up and it turns into a gunfight across the yard.
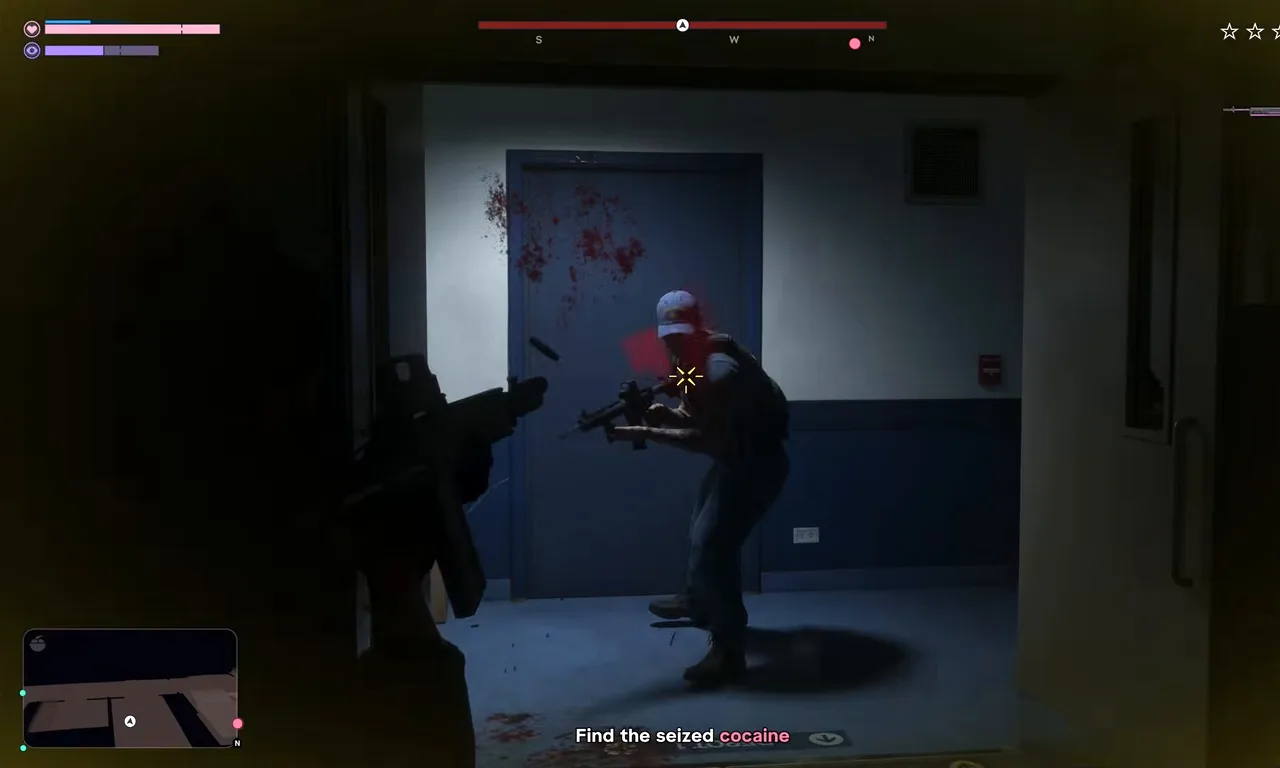
Clear the building to reach the evidence store. Footage: Sirloin.
Push through the yard with the Orcas. The fight is heavy, so use the containers and parked trucks as cover and let the crew draw fire. Inside the main building the objective is Find the seized cocaine: follow the corridors and stairs down to the storeroom. With the room clear, Open the shutter door so the Balkans can bring their truck in.
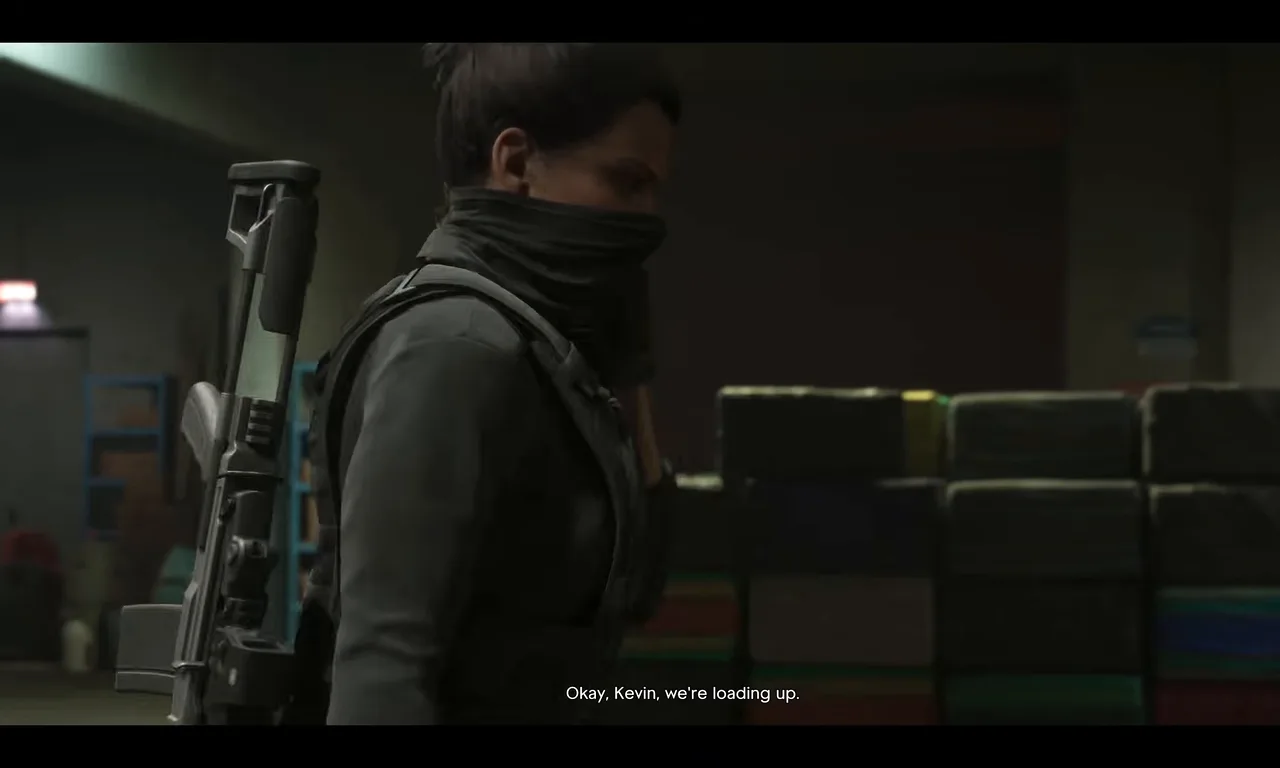 Giorgio’s cocaine, ready to load. Footage: Sirloin.
Step 9: Hold the base while the truck loads (Jason and Lucia)
The mission now switches back and forth quickly.
Jason is in the helicopter with a sniper rifle again. Alpha blows the West Bridge, but police and NOOSE units still pour over the East Bridge. Shoot the units coming over the bridge and into the base to slow them down.
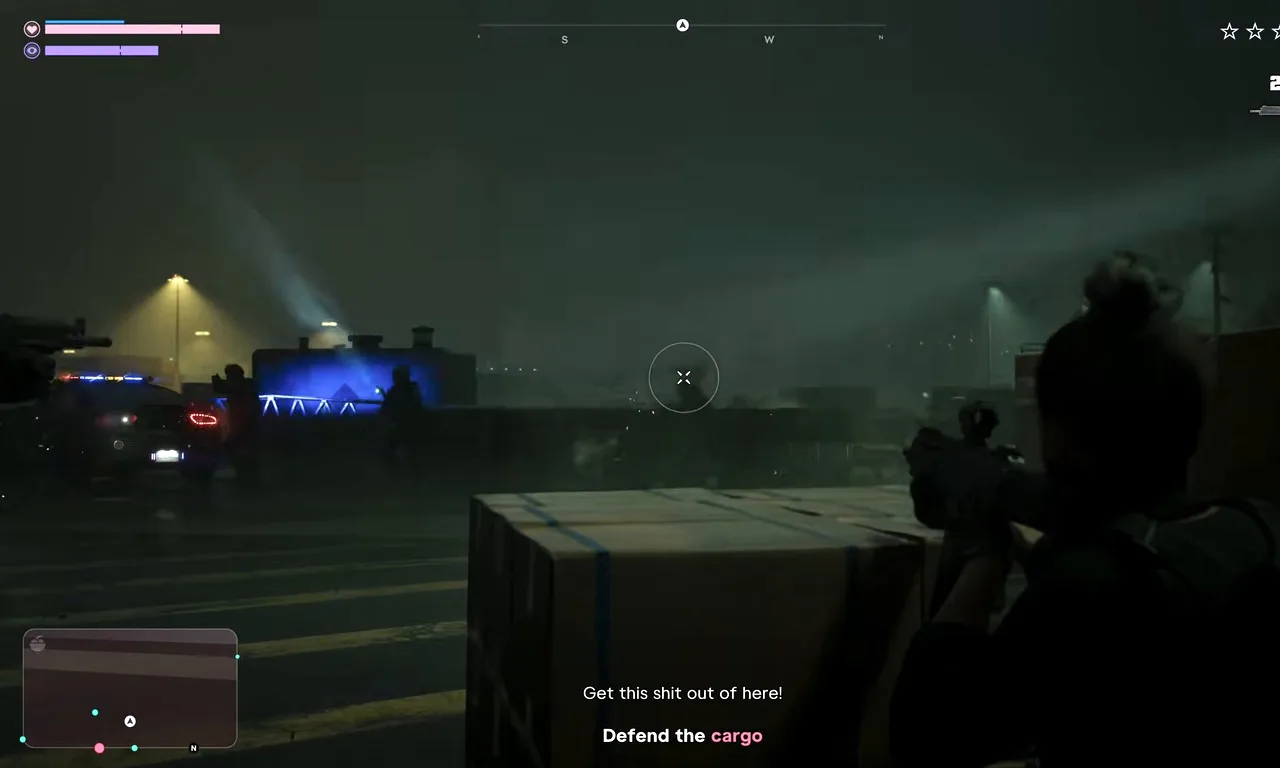
Lucia gets the objective Defend the cargo. Hold the yard while the Balkans load the truck, then cover it as it moves out. Police SUVs and armoured trucks keep arriving from the gates, so stay behind cover and use any explosives you have on the vehicles.
Hold the yard while the cocaine is loaded. Footage: Sirloin.
Back as Jason, the objective becomes Protect Kevin from the RPG operator: someone in the base is aiming a rocket launcher at your helicopter. Find him fast (the crew points him out) and take him down before he fires.
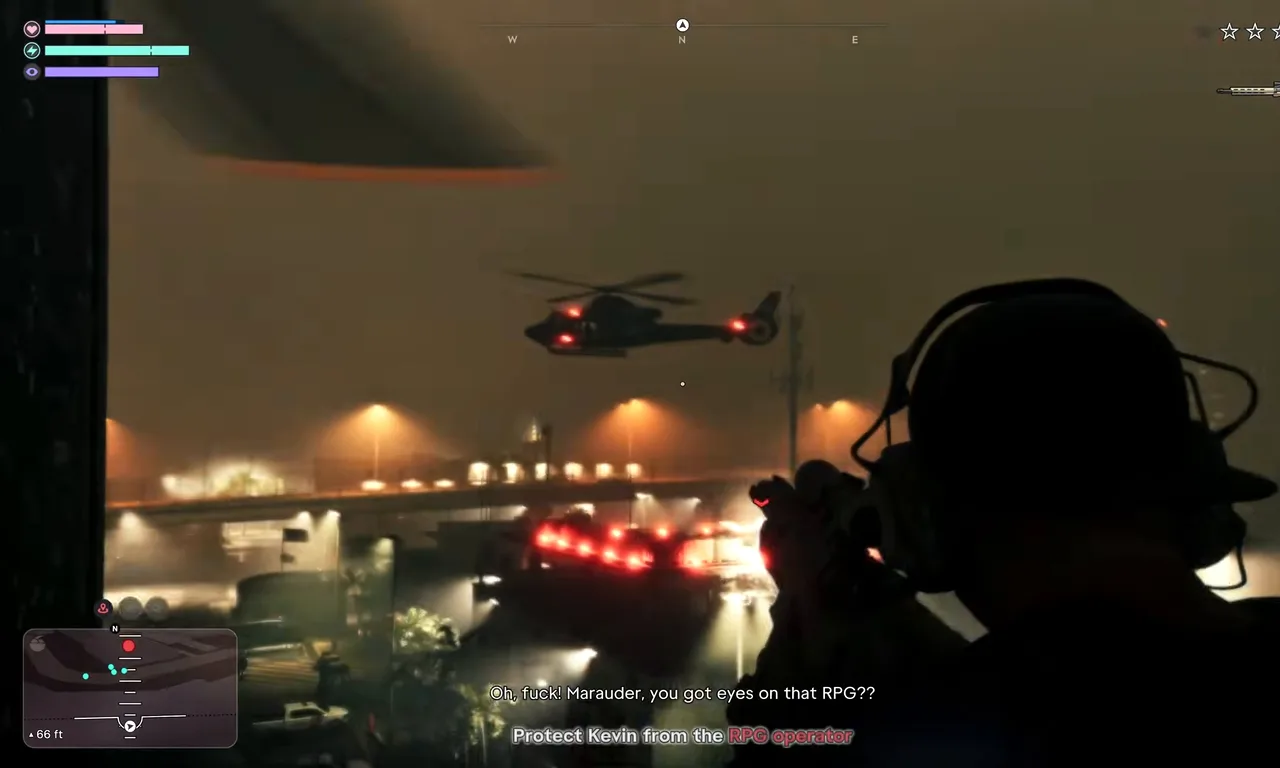 Find the rocket launcher before it finds Kevin. Footage: Sirloin.
Step 10: Attach the winch (Lucia)
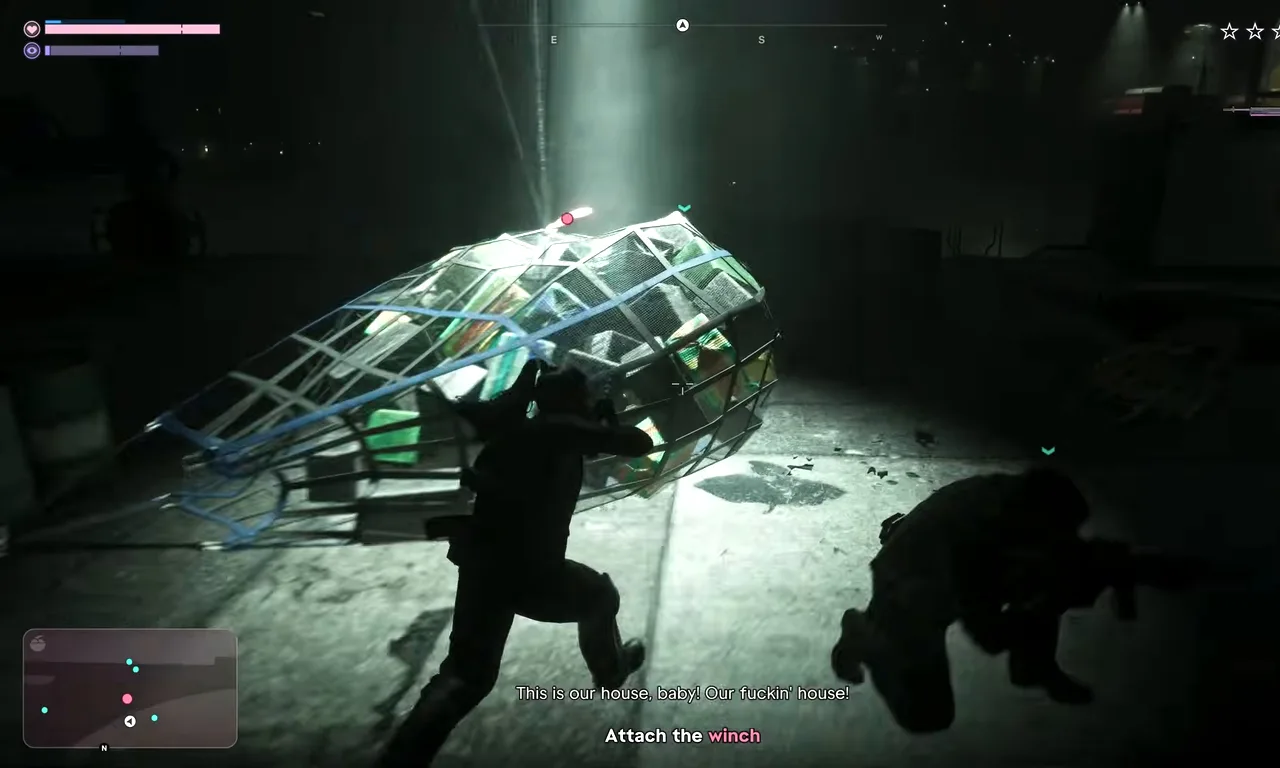
As planned, Bravo lifts the cocaine out by air. Fight your way to the landing zone, where the cargo net sits on the ground. More units arrive from the side of the base and on the containers, so clear them first. Then Attach the winch to hook the net to Kevin’s helicopter.
Hook the net to the helicopter. Footage: Sirloin.
A cutscene follows. When it ends, the objective is Defend the helicopter and you have five stars.
Step 11: Ride the net and blow the boats (Lucia)
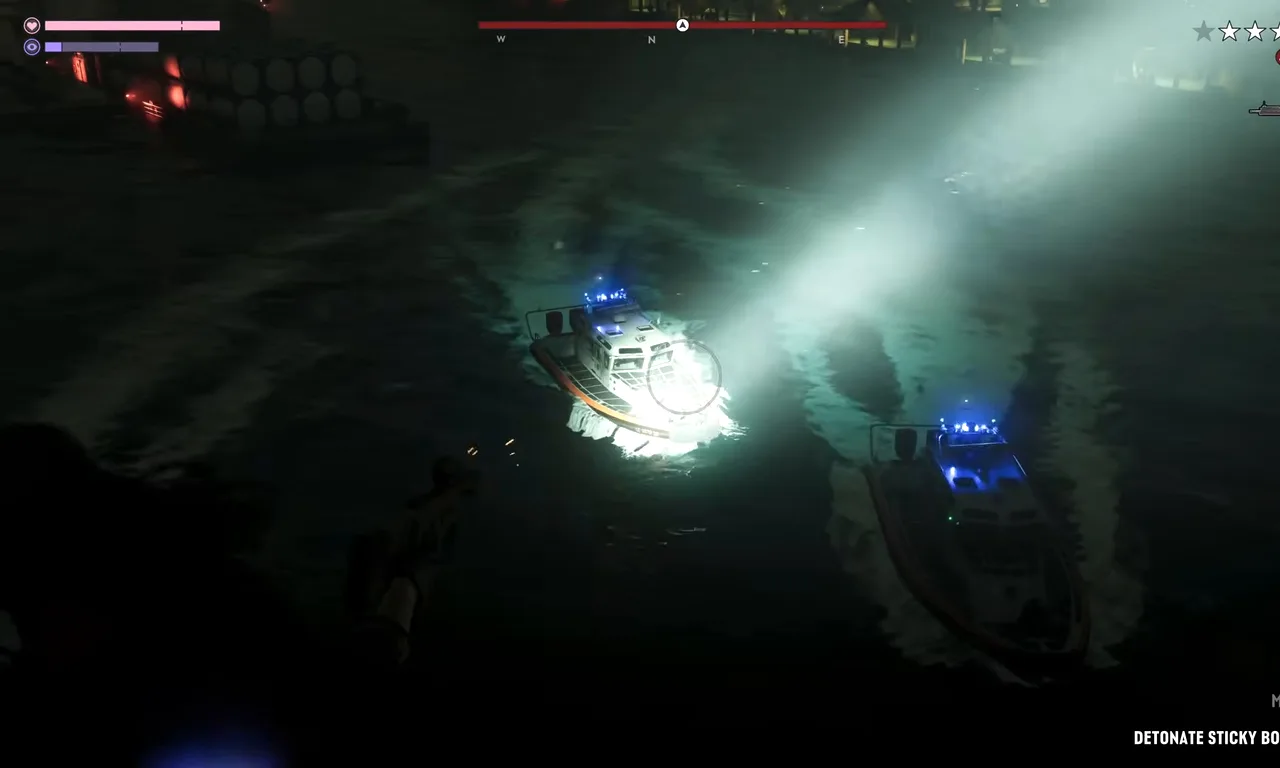
Lucia rides out on top of the net, hanging under the helicopter, with a grenade launcher. Coast Guard combat boats come after you, and this is what the limpets from Step 7 were for: use Detonate sticky bombs to blow up the boats you mined.
Set off the limpets from Step 7 when the boats give chase. Footage: Sirloin.
After that it’s a long defensive ride across the city, with Jason in the helicopter and Lucia on the net:
- More boats chase you into the docks and up the canals. Shoot the pilots or use the launcher.
- Police helicopters (the crew calls them “Hilos”) come from the side. They’re the biggest threat, so deal with them first.
- Kevin flies low between buildings and under bridges to stay out of the worst fire, so the net swings close to towers and containers. Those moments are scripted; just keep shooting.
- Police cars line the elevated highways near the end. A train crosses one of the bridges, so watch out when the crew says so.
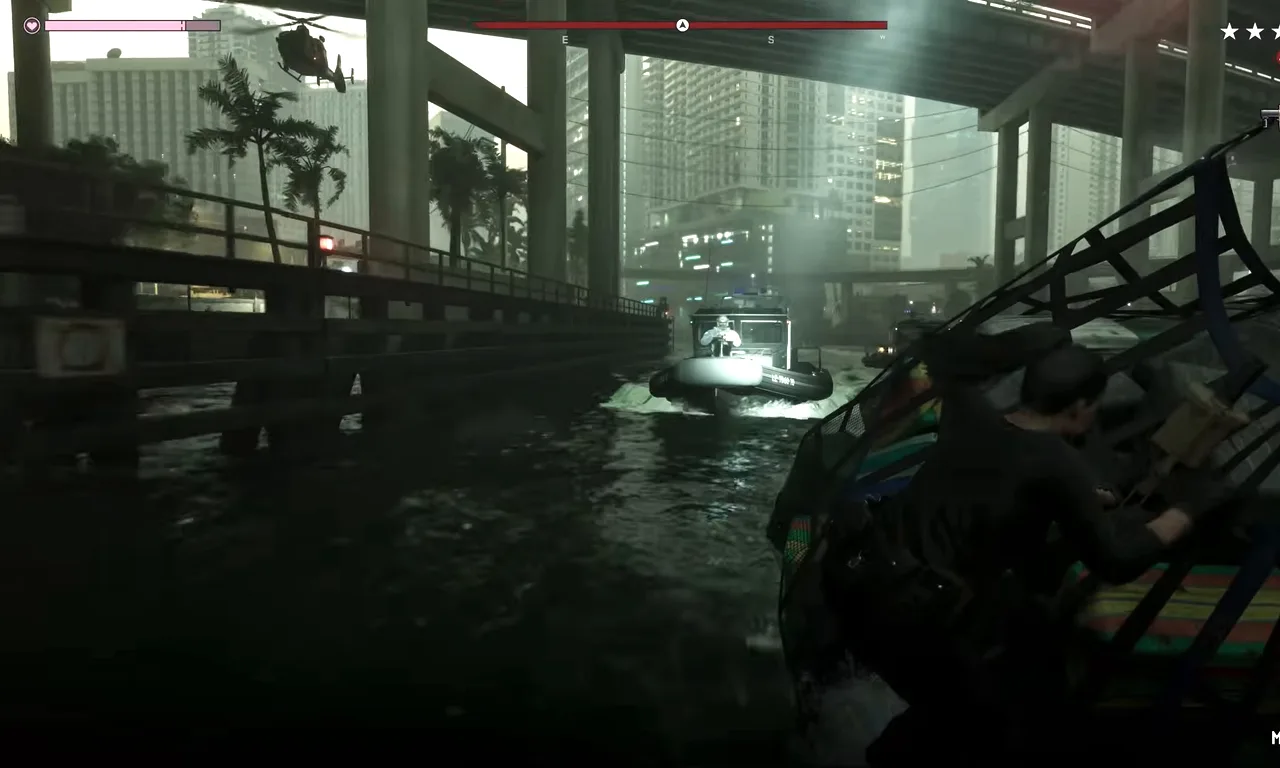 Kevin keeps low through the canals. Footage: Sirloin.
The chase ends when the last helicopter is down and Kevin reports all clear.
Step 12: Deliver the cocaine and return to Giorgio
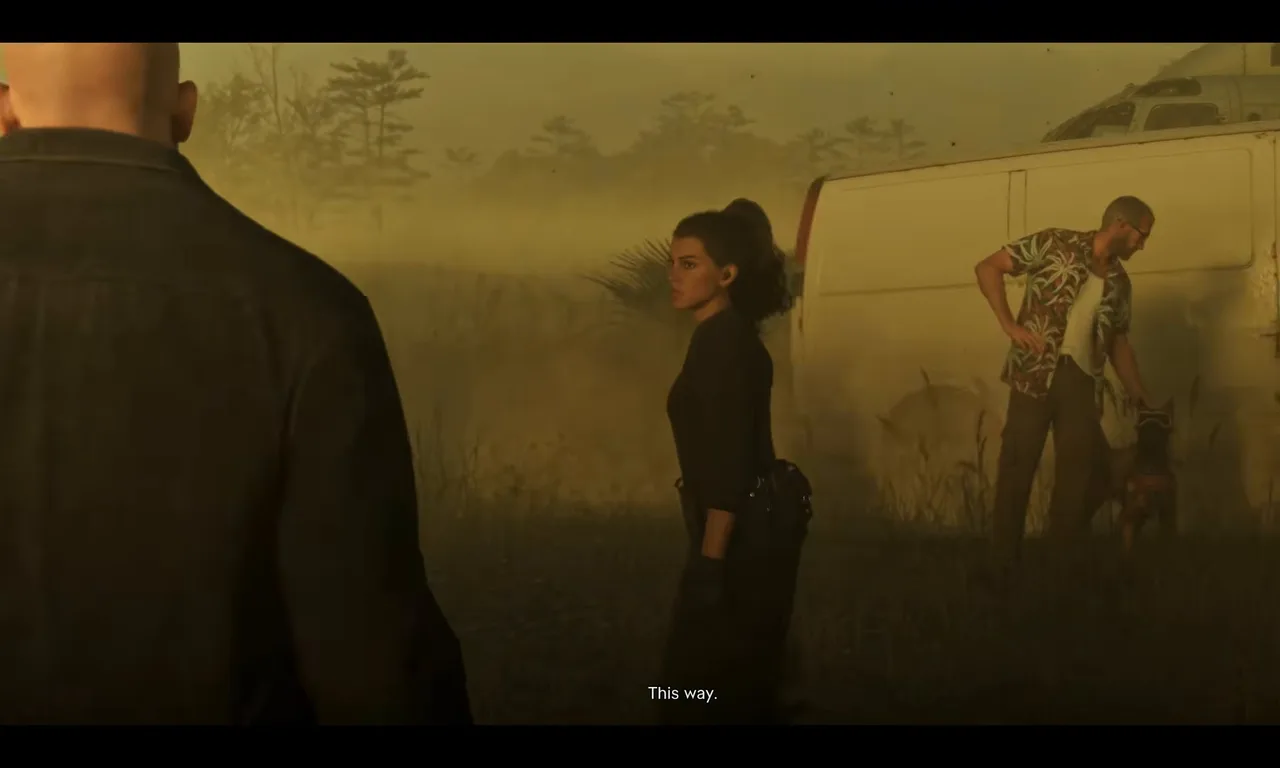
Kevin flies the net to the drop, a field outside town at dawn, where a van is waiting. A long cutscene follows: the crew argue about what went wrong, the Orcas are sent home, and Jason and Lucia head back to the tower.
The drop. Rocco makes it home. Footage: Sirloin.
Back in Giorgio’s office, Giorgio makes a video call that shows why he needed the cocaine back so badly. He then hands Jason and Lucia his penthouse and leaves the tower in the elevator. The game then shows the safehouse tips. That’s the end of the mission.
Rewards
- Giorgio’s penthouse becomes your safehouse. The tip says you can go to most areas of the tower.
- The Sky Garage. You can drive Giorgio’s cars, and there is extra space to store your own.
- The elevator now takes you to the garage, the helipad and other floors of Pegassi Towers.
- Snow Storm, a hidden Bronze trophy (25 Gamerscore on Xbox), for completing the mission.
- No cash payout shown. The Orcas are told their checks will come in the mail, but no money is added to Jason and Lucia’s balance on screen.
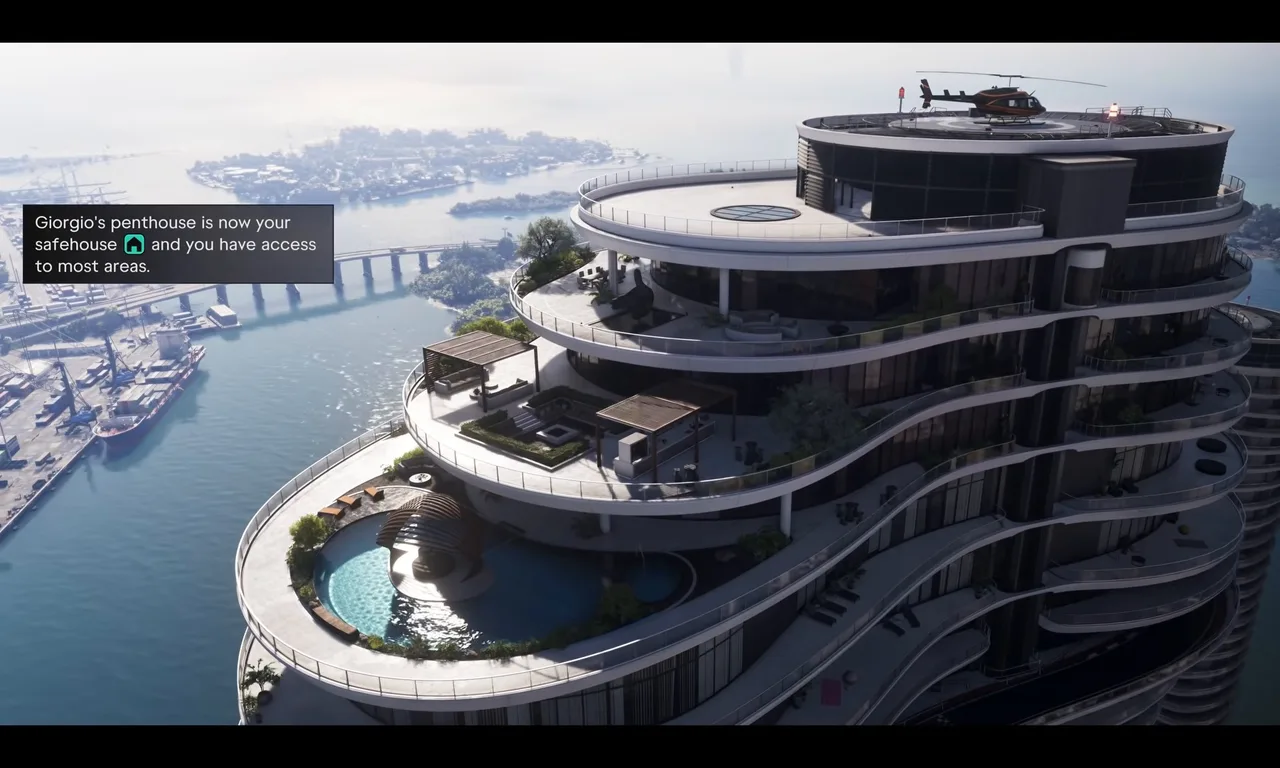 The penthouse is yours when the mission ends. Footage: Sirloin.
Jason and Lucia’s first stop afterwards is their lawyer, which starts Honest Abe (#118). Abe Gonzalez first appeared in Lawyer Up.
Tips
- Spend time sniping in Step 3. The fewer gunmen left on deck, the easier the container run in Step 4.
- Plant every limpet in Step 7. They pay off in Step 11, when the boats chase the net.
- Pick up the heavy guns on the ship. The KVGA-12 auto shotgun and assault rifles dropped there make the base fight easier.
- Use Adrenaline in the yard fights. Taking less damage for a few seconds is often enough to reach the next cover.
- Use Retry Checkpoint. Checkpoints are frequent, so dying on the escape doesn’t cost you the whole mission.
Related guides
- Previous missions: Doggie Bag (#116) and VC Baby (#115). Next: Honest Abe (#118). See the full missions list.
- Taking Liberties (#114): where Giorgio’s cocaine problem starts.
- GTA 6 weapons guide: every gun you’ll use on the ship and in the base.
- GTA 6 characters: Jason, Lucia, Giorgio and the rest.
- Interactive map: where the operation starts, in Vinny’s and Giorgio’s tower on Gloriana Key.
Frequently Asked Questions
How do you start Operation Savage Glory in GTA 6?
Finish both Doggie Bag and VC Baby. Vinny then texts you to meet him outside GG's office, and the objective Meet up with Vinny appears inside Giorgio's tower on Gloriana Key. Walk there and the briefing starts.
How long is Operation Savage Glory?
It's one of the longest missions in the story. Sirloin's run took about 47 minutes from Vinny's text to the penthouse handover, including several long cutscenes and the briefing.
What does Rocco do in Operation Savage Glory?
Rocco is the sniffer dog from Doggie Bag. On the cargo ship he runs ahead and stops at the containers with cocaine inside, so you follow him, open the container and plant a charge. He also attacks enemies who get close to Jason.
What trophy do you get for Operation Savage Glory?
Snow Storm, a hidden Bronze trophy (25 Gamerscore on Xbox) for completing the mission. It can't be missed on a normal playthrough.
What do you unlock after Operation Savage Glory?
Giorgio's penthouse becomes your safehouse, you can drive the cars in his Sky Garage and store your own there, and the tower elevator opens up to the garage, the helipad and other floors. The next story mission is Honest Abe (#118).
Can you retry a part of Operation Savage Glory?
Yes. The pause menu offers Retry Checkpoint as well as Restart Mission, and the mission is split into many checkpoints, so a death on the escape doesn't send you back to the bridge.
Sources & Credits
Researched from these videos and official material, among others. Screenshots credit the creator whose footage they come from.