Jump to your step
 1
Meet Dre’Quan at The Borough Condos · Jason
 2
Climb to the helipad
 3
Photograph the Dimez · Lucia
 4
Direct the shoot and answer Dre’Quan’s call · Lucia
 5
Chase Dre’Quan’s car in the helicopter · Jason
 6
Chase on the motorbike · Lucia
 7
Land near the junkyard · Jason
 8
Fight through the junkyard · Jason
 9
Free Dre’Quan and wrap up (cutscene)
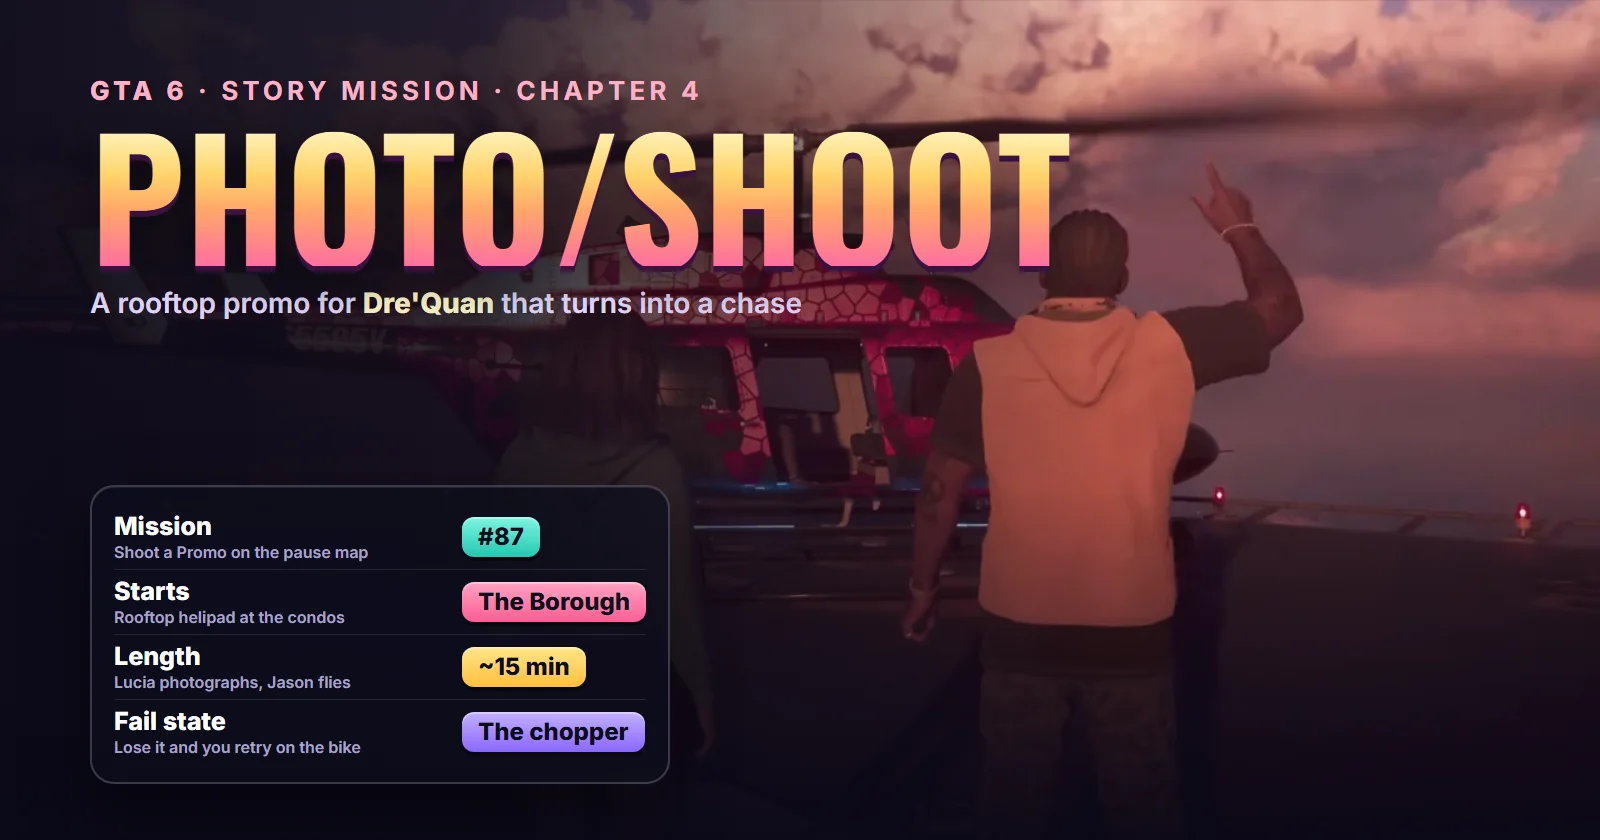
Photo/Shoot: quick facts
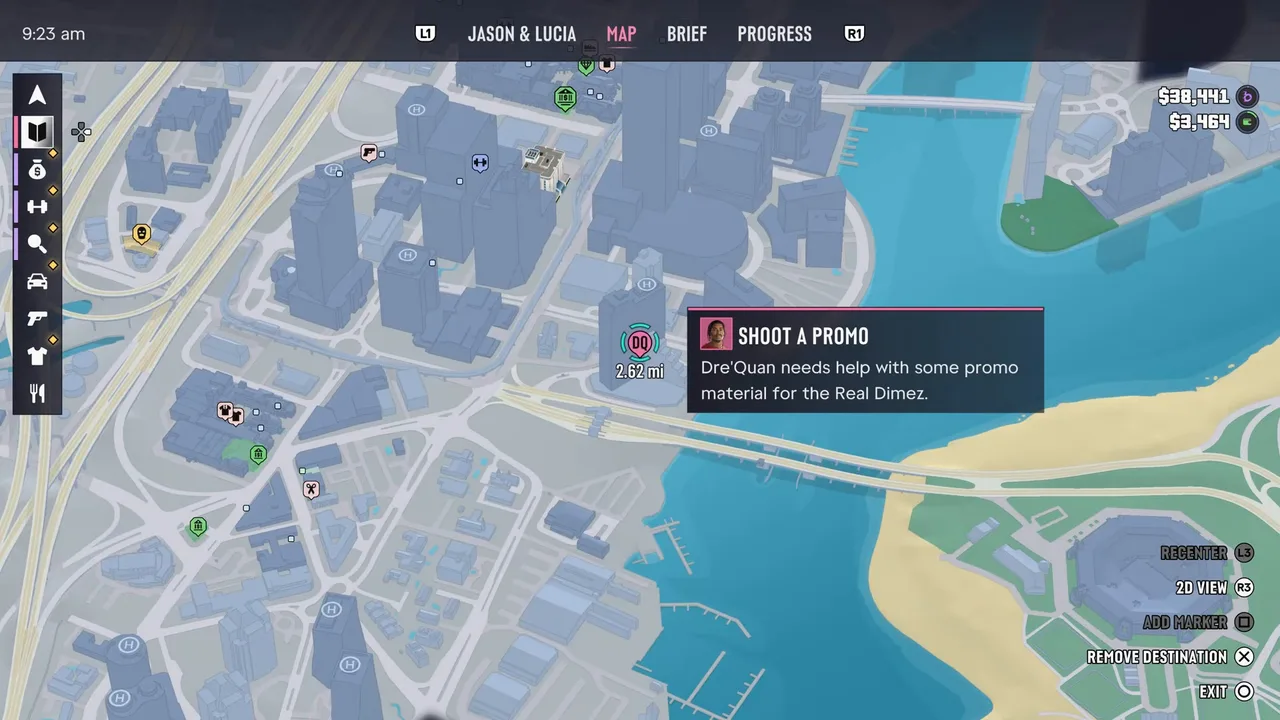 On the pause map the mission is listed as Shoot a Promo. Footage: Trophygamers.
| Mission | Photo/Shoot, story mission #87 (Shoot a Promo on the pause map) |
| Chapter | Chapter 4 |
| You play as | Jason and Lucia; the game switches between them during the chase |
| Given by | Dre’Quan Priest, for his duo the Real Dimez (Roxy and Bae-Luxe) |
| Where it starts | The Borough Condos, a high-rise with a rooftop helipad |
| Main places | The condos’ helipad, a chase across downtown, a junkyard under the highway by the Rockridge / Fleeca Field exit |
| Unlocks after | Pay Abe’s Fee (#86) by our list; Heavy Lifting (#85) before that |
| Unlocks next | Making Gainz (#88) by number; Dre’Quan’s own story picks up again in Watch It (#90) |
| Reward | No cash shown |
| Trophy | None |
| Length | About 15 minutes, cutscenes included |
| Required for 100% | Yes |
Mission briefing How it unlocks, where it starts, the story so far and who's who. Contains spoilers.
How to unlock Photo/Shoot
Photo/Shoot is a Chapter 4 story mission. On the pause map it shows as Shoot a Promo, with Dre’Quan’s portrait and a one-line brief: he needs promo material for the Real Dimez. Our mission list puts it at #87, after Pay Abe’s Fee and before Making Gainz, but the Chapter 4 jobs sit side by side on the map, so you can take it whenever the card is there. Sirloin played it a little over two hours into his Chapter 4 run. In Trophygamers’ series it’s part 90, three videos after Heavy Lifting.
You start as Jason, and the pause menu header reads Jason & Lucia: both are on this one.
Where Photo/Shoot starts
The DQ blip sits on a tower among the high-rises at the end of a causeway. When Jason walks through the glass doors, the location card reads The Borough Condos. Sirloin arrived at night and Trophygamers in daylight; either way, park at the drop-off loop out front and go in. See the Photo/Shoot start on the live map, at The Borough (our map files it under Gloriana Key). The same tower has a base jump off its roof.
The story so far
Dre’Quan Priest, Jason’s old friend from school, runs Only Raw Records with Boobie Ike, and his act is the Real Dimez, Roxy and Bae-Luxe. In Chapter 3 the Dimez’s big night was hijacked by the rapper DWNPLY (Top Billing), Jason stole DWNPLY’s convertible (Ride or Die), and Lucia drove it through a livestreamed music video before it was wrecked (Cooties). DWNPLY has every reason to hold a grudge, and that hangs over this mission.
Who’s who
- Dre’Quan Priest: the Dimez’s manager, calling himself the “creative director”. He has a borrowed helicopter, a briefcase of cash and some guns as props.
- Roxy and Bae-Luxe: the Real Dimez, unimpressed that their photographer is Lucia with a phone camera.
- The pilot: the helicopter’s real pilot. Dre’Quan sends him off for a coffee in the lobby and tells him to keep the tail number out of shot.
- The promoter: a club promoter Dre’Quan has invited to the shoot to meet the girls. He’s never named in either run.
- Royce Jones: only mentioned, but he matters later. More on the cast in our characters guide.
This walkthrough follows Trophygamers’ run, checked against Sirloin’s Chapter 4 playthrough.
Step 1: Meet Dre’Quan at The Borough Condos (Jason)
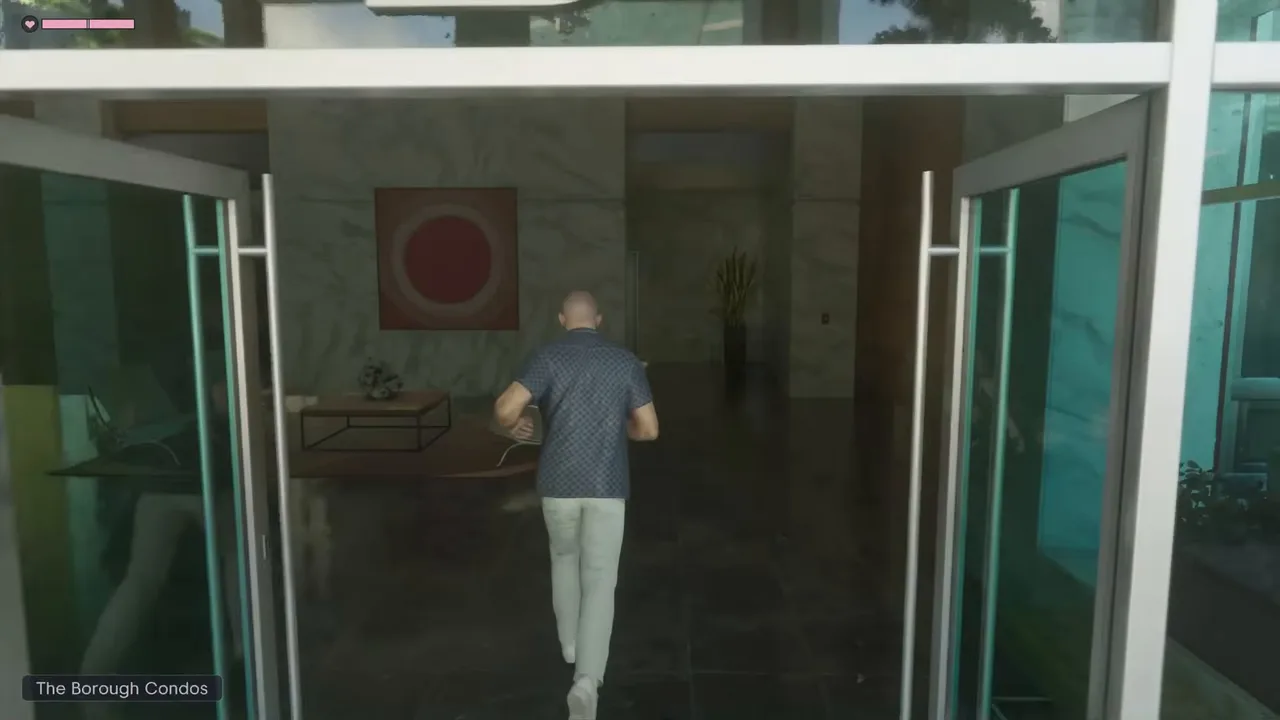
Walk into the lobby. Dre’Quan is at the front desk, finishing a quiet word with a man in a blue jacket. That’s the pilot, and the chopper upstairs is his. Dre’Quan sends him off for a coffee, promises him a free table at the club, and hurries Jason and Lucia along.
The location card appears as you walk in. Footage: Trophygamers.
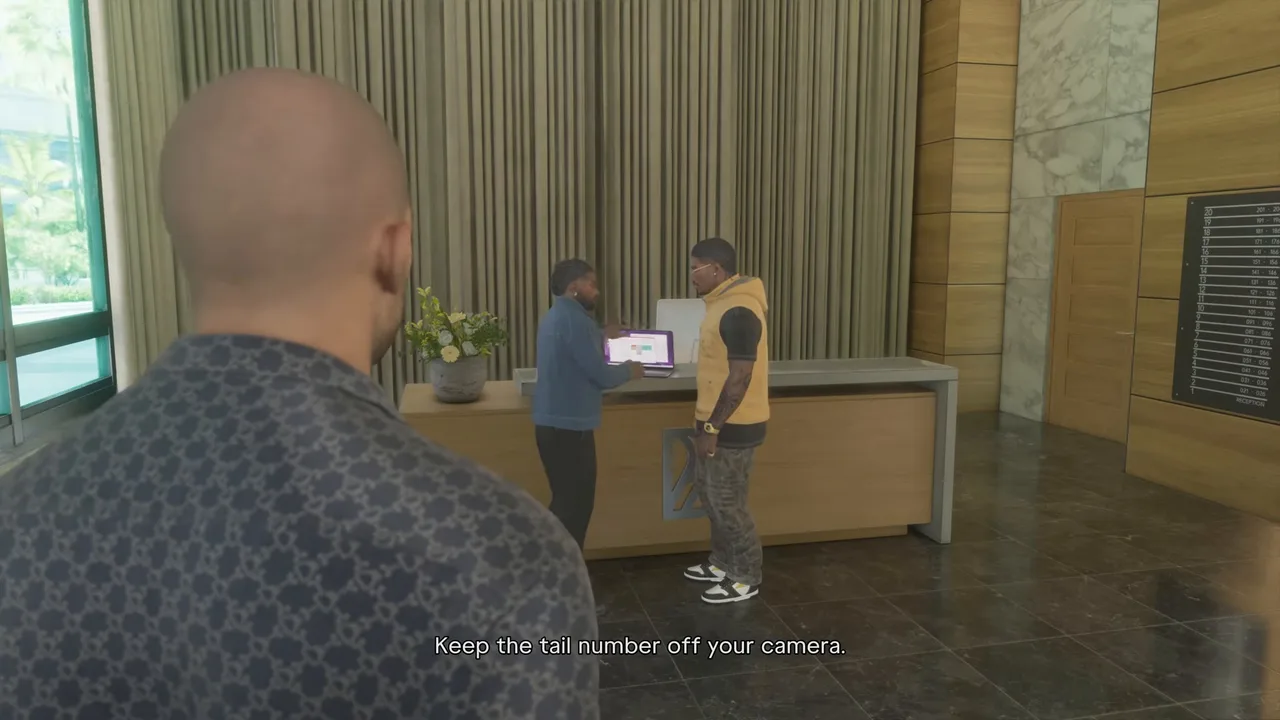 Dre’Quan gets the pilot out of the way. Footage: Trophygamers.
There’s nothing to do here but follow. In the lift Dre’Quan explains the job: photos of the Dimez for social media, shot on the roof. Lucia is the photographer, and Jason is the pilot. Dre’Quan assumes the Army taught him to fly, and Jason isn’t so sure.
Step 2: Climb to the helipad
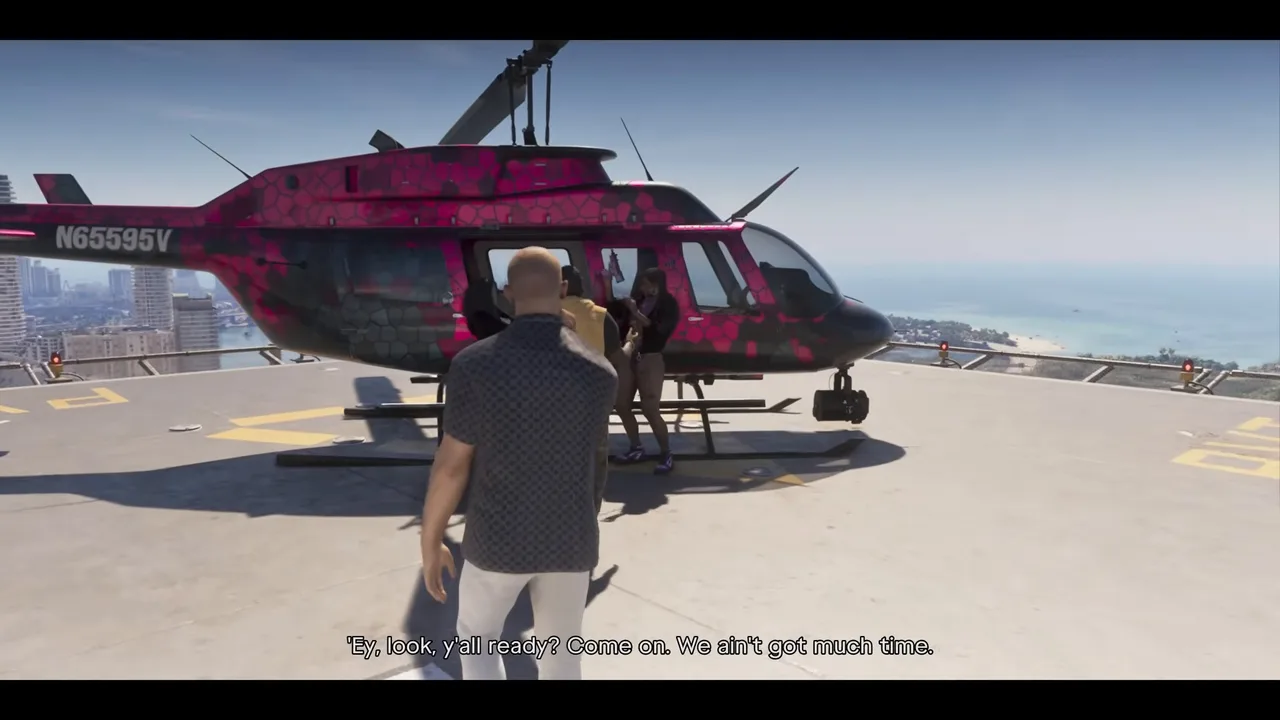
Follow Dre’Quan up the stairs and along the rooftop walkway. On the way he explains the plan: he has invited a club promoter to come and meet the girls, and a helicopter shoot should impress him. The Dimez are waiting by a pink and black helicopter, tail number N65595V, joking about who gets the briefcase of cash.
The helipad and the borrowed chopper. Footage: Trophygamers.
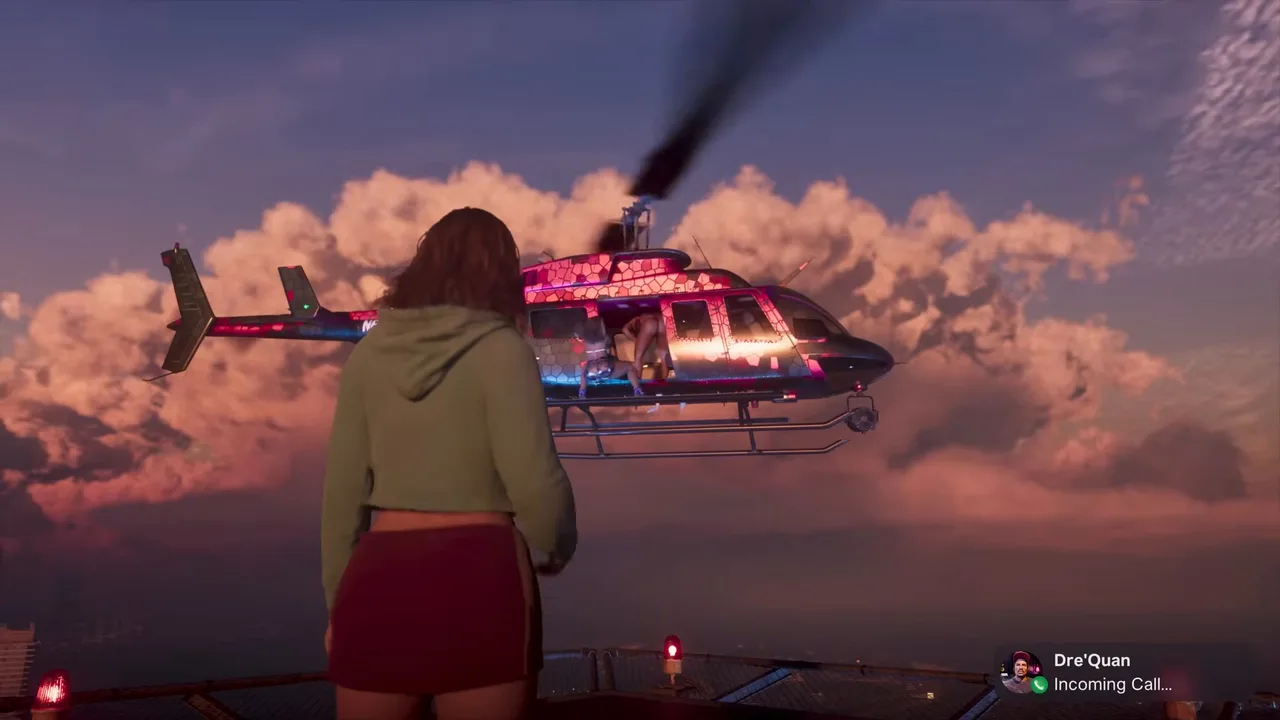
A short cutscene follows. The Dimez aren’t happy that there’s no real photographer, and Dre’Quan tells them to wait for the light. The scene skips to sunset: Jason takes the Dimez up, and Lucia and Dre’Quan stay on the pad.
Step 3: Photograph the Dimez (Lucia)
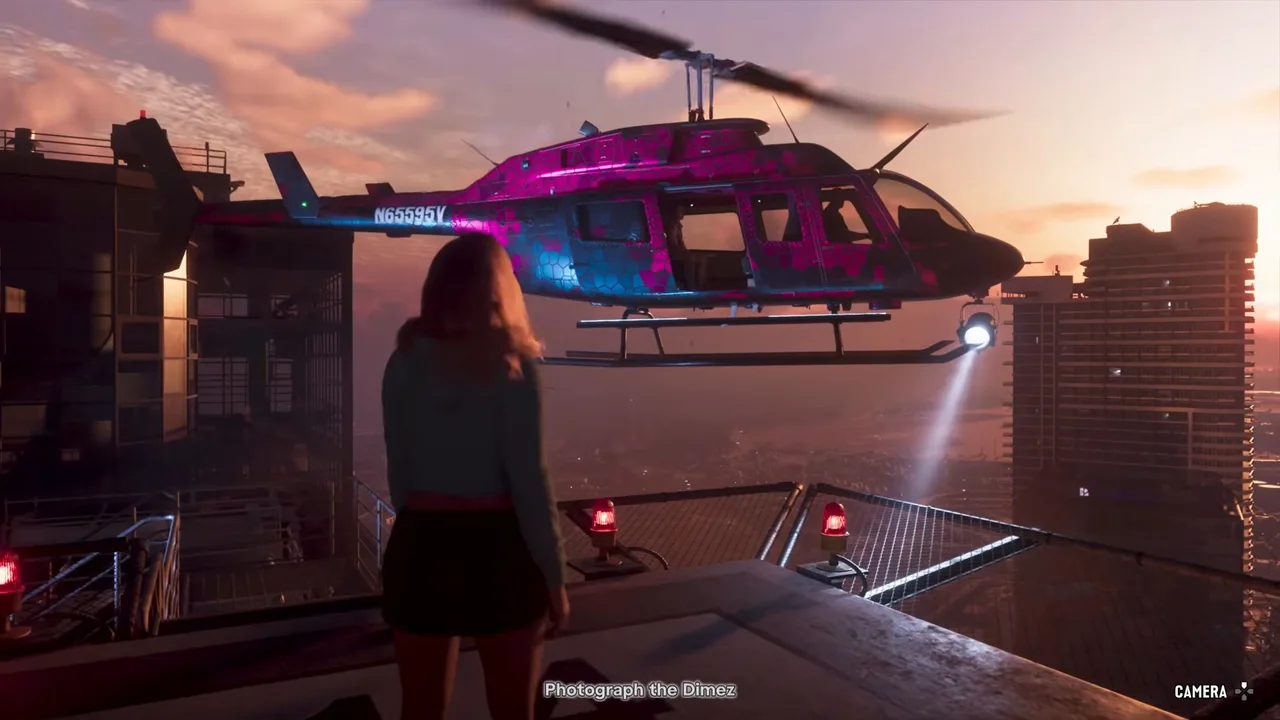
Control passes to Lucia, and the objective is Photograph the Dimez. The helicopter hangs in the air just off the edge of the helipad. You don’t fly it; Dre’Quan shouts at Jason until the height is right.
Photograph the Dimez: the chopper hovers next to the pad. Footage: Trophygamers.
Lucia’s phone camera opens. The controls (PlayStation) are listed on the right: R2 takes a photo, L1 turns the light off, L3 shows a grid, R3 flips to selfie, the D-pad zooms (up to x4) and switches between 17 filters, and Circle exits. Frame the open door with the focus brackets and take a shot each time Dre’Quan calls a new pose:
- The briefcase. One of the Dimez holds up the case of money.
- The guns. Dre’Quan wants them aiming like someone owes them money.
- The twerk. His big idea is the first rappers to twerk on a chopper.
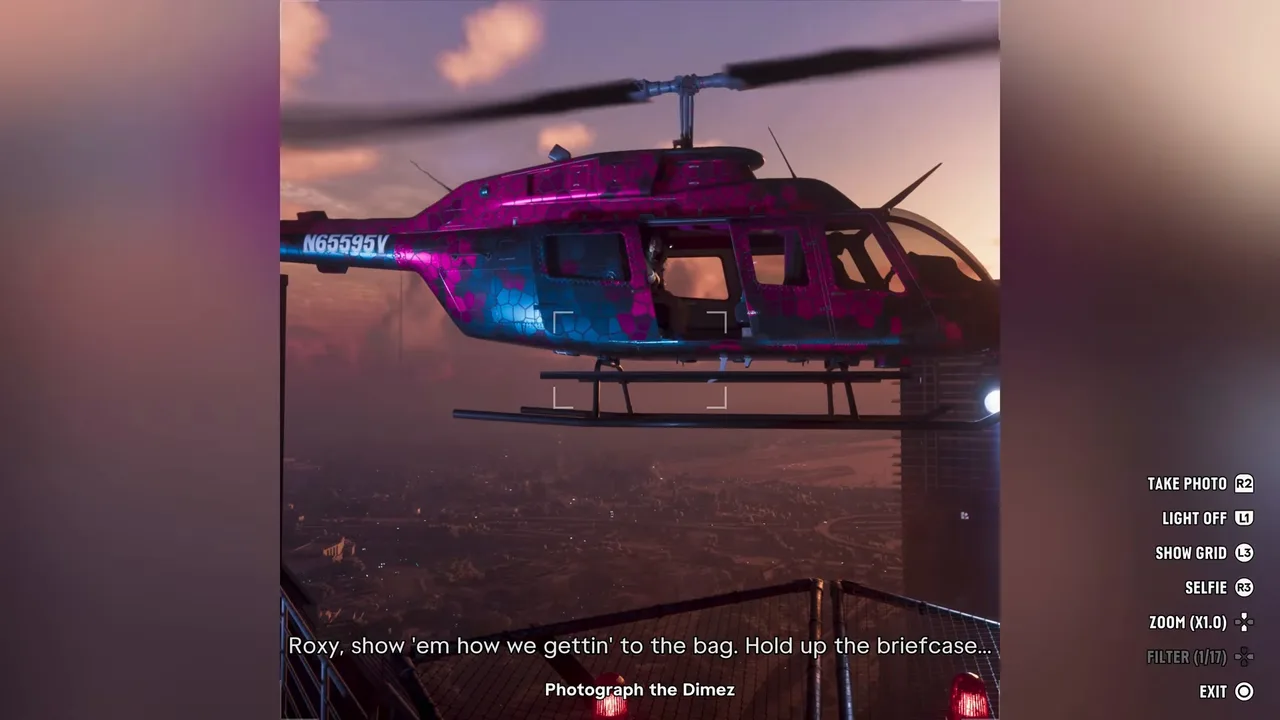 The camera controls. Keep the open door inside the brackets. Footage: Trophygamers.
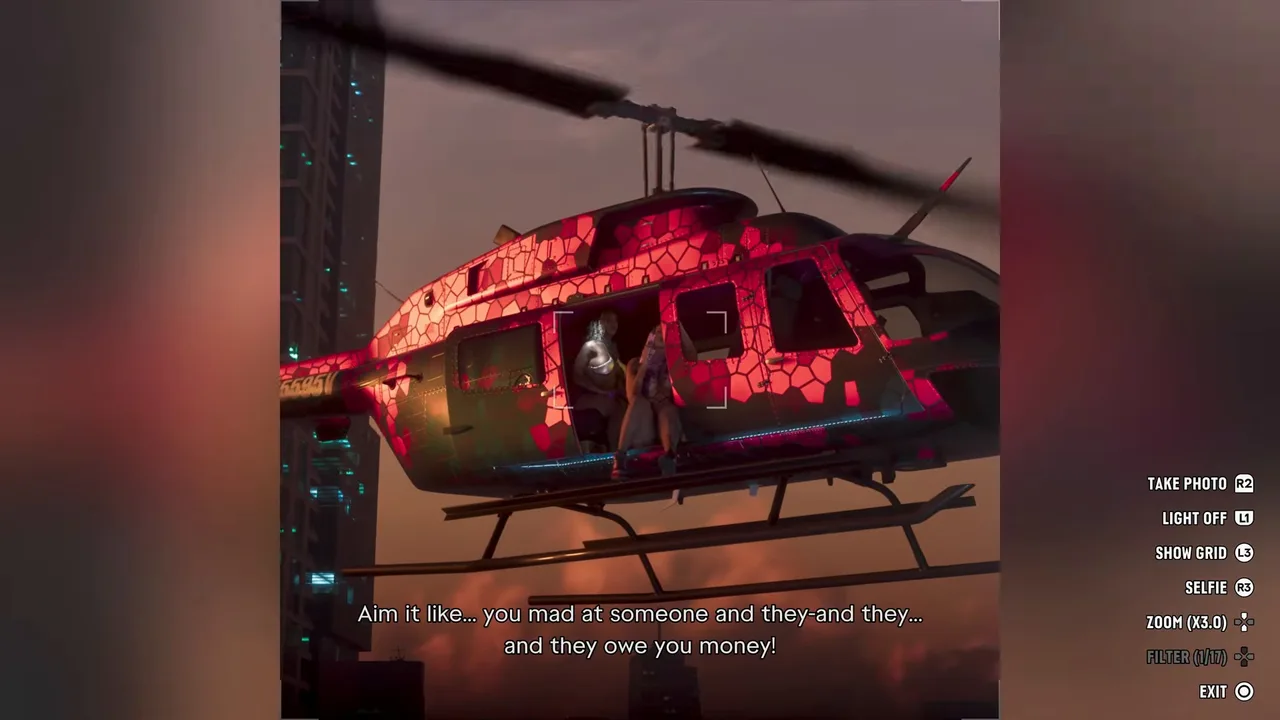 The gun pose. Remember these guns. Footage: Trophygamers.
Zoom in for the poses. The doorway is small at x1 and the shots look better at x3 or so. Neither run shows a score or a minimum number of photos: the scene moves on as Dre’Quan runs through his list.
Step 4: Direct the shoot and answer Dre’Quan’s call (Lucia)
Dre’Quan spots the promoter arriving and heads down to bring him up, telling Lucia to keep the girls working. Keep shooting through the twerk round. Then the phone rings: Dre’Quan, Incoming Call.
Dre’Quan calls from the lobby. Footage: Trophygamers.
It’s a panicked video call. Dre’Quan has run back into the lobby after someone tried to put him in a car boot, and while he’s still on the line they grab him. Lucia tells Jason that Dre’Quan has been taken. The Dimez stay aboard with Jason, and Lucia heads down to the street.
Step 5: Chase Dre’Quan’s car in the helicopter (Jason)
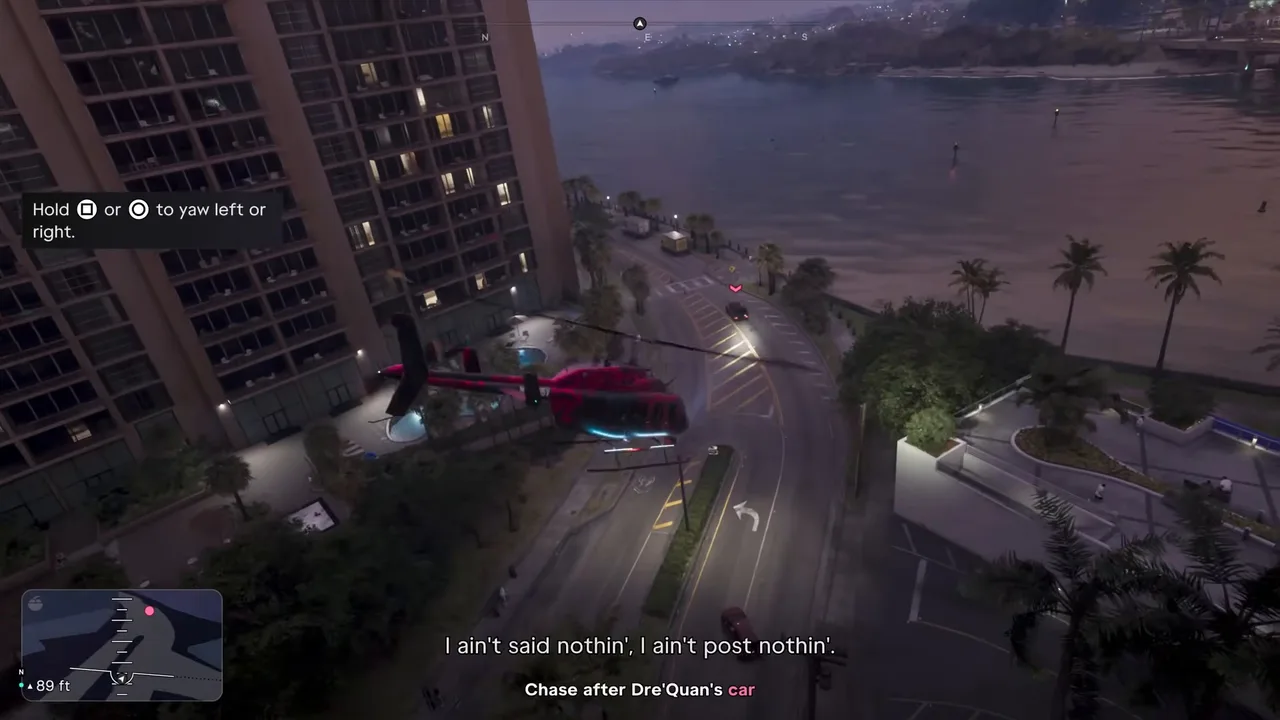
You’re back with Jason at the controls. The objective is Chase after Dre’Quan’s car: the kidnappers have taken him in his own dark SUV, which pulls out of the condos and heads along the waterfront. A tip explains the yaw controls (hold Square or Circle to turn left or right).
Jason follows the SUV from above. Footage: Trophygamers.
Stay high enough to clear the towers and keep the red marker in view. The Dimez spend the ride heckling the kidnappers and wondering whether the promoter set Dre’Quan up. They also tease Dre’Quan for letting himself get grabbed. One of them suggests shooting missiles at the car. Jason has to remind her that it’s not that kind of helicopter, and that Dre’Quan is inside.
This is where you can fail. Trophygamers clipped a tower and got Failed: The helicopter was destroyed. The checkpoint put him back in the chase on Lucia’s bike, not on the roof.
 Crash the chopper and the mission fails. Footage: Trophygamers.
Step 6: Chase on the motorbike (Lucia)
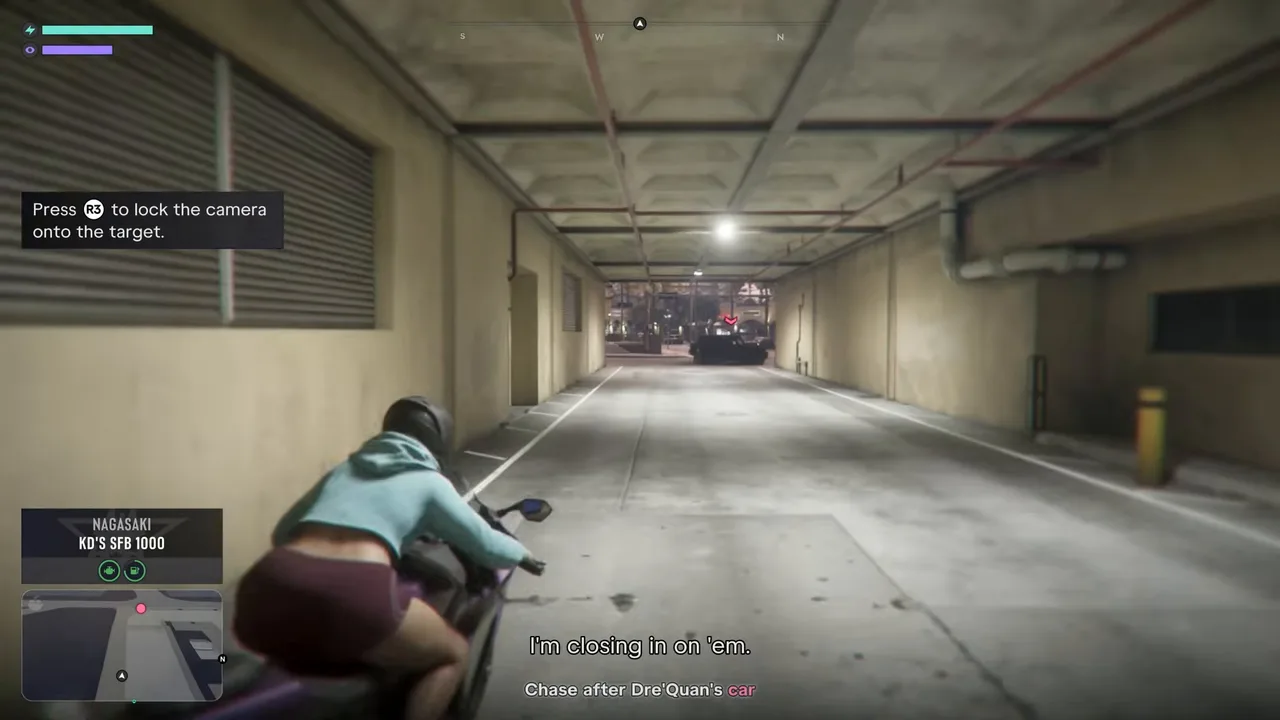
The game switches to Lucia, who has grabbed a sports bike (a Nagasaki in Trophygamers’ run) and is coming out of a garage. The objective is the same, Chase after Dre’Quan’s car. A tip says R3 locks the camera onto the target, which helps on the tight turns.
Lucia joins the chase on a bike. Press R3 to lock the camera on the car. Footage: Trophygamers.
The route runs along the river walk under the elevated train, past restaurant terraces and onto the main roads. Jason keeps up overhead and warns you away from the river. More of the kidnappers’ crew join in.
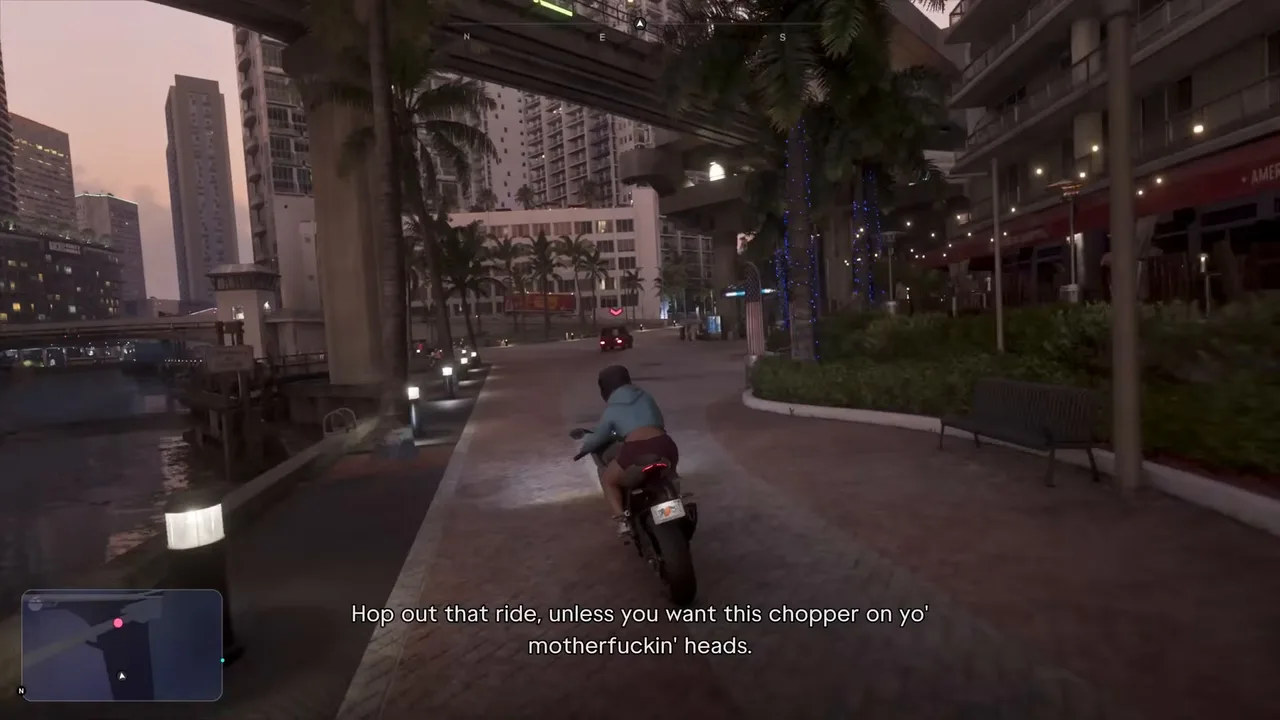 The river walk under the elevated tracks. Footage: Trophygamers.
In both runs Lucia’s ride ended with her thrown onto the road, and the game handed the chase back to Jason as the SUV ducked under an art gallery. Neither run shows whether a clean ride keeps you on the bike longer. Lucia still turns up at the junkyard, so going down costs you nothing.
Step 7: Land near the junkyard (Jason)
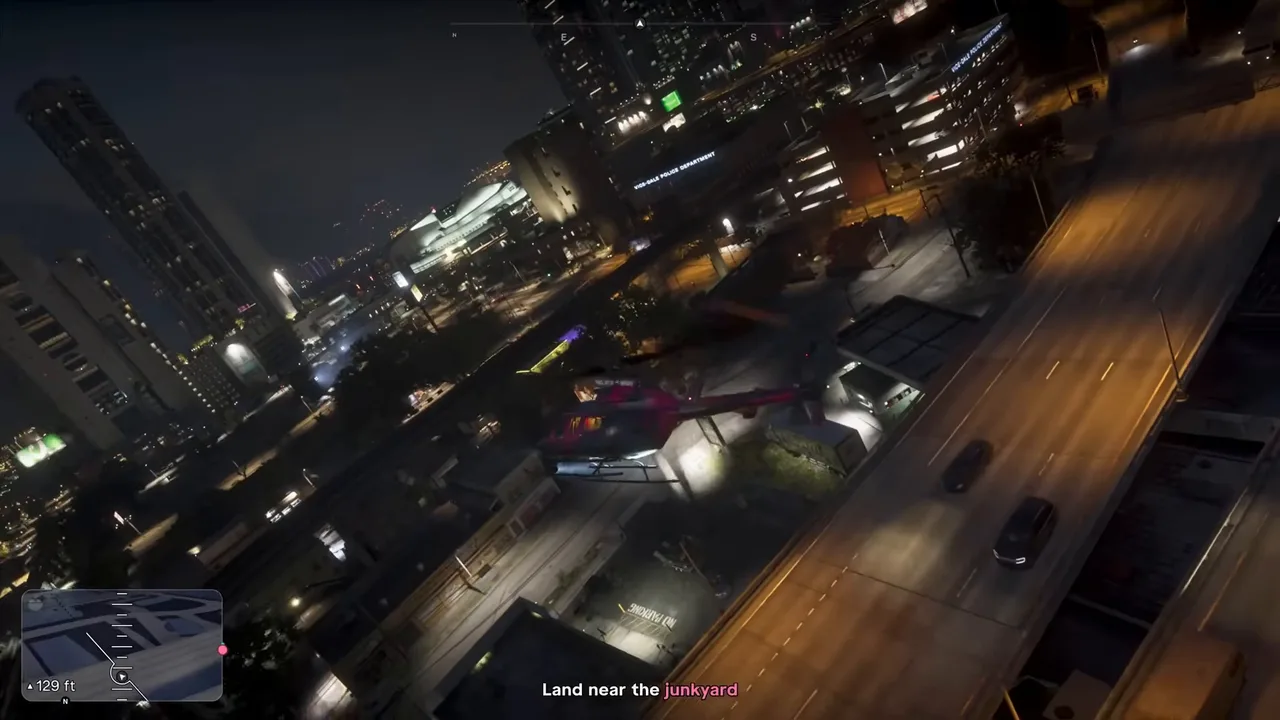
Back in the chopper, follow the car over the city until Lucia reports that it has pulled into a junkyard. The objective becomes Land near the junkyard: a patch of road beside the highway interchange, with green signs for Rockridge and Fleeca Field and a NW 2nd Ave street sign. Bring it down gently on the open road.
Land near the junkyard. Footage: Trophygamers.
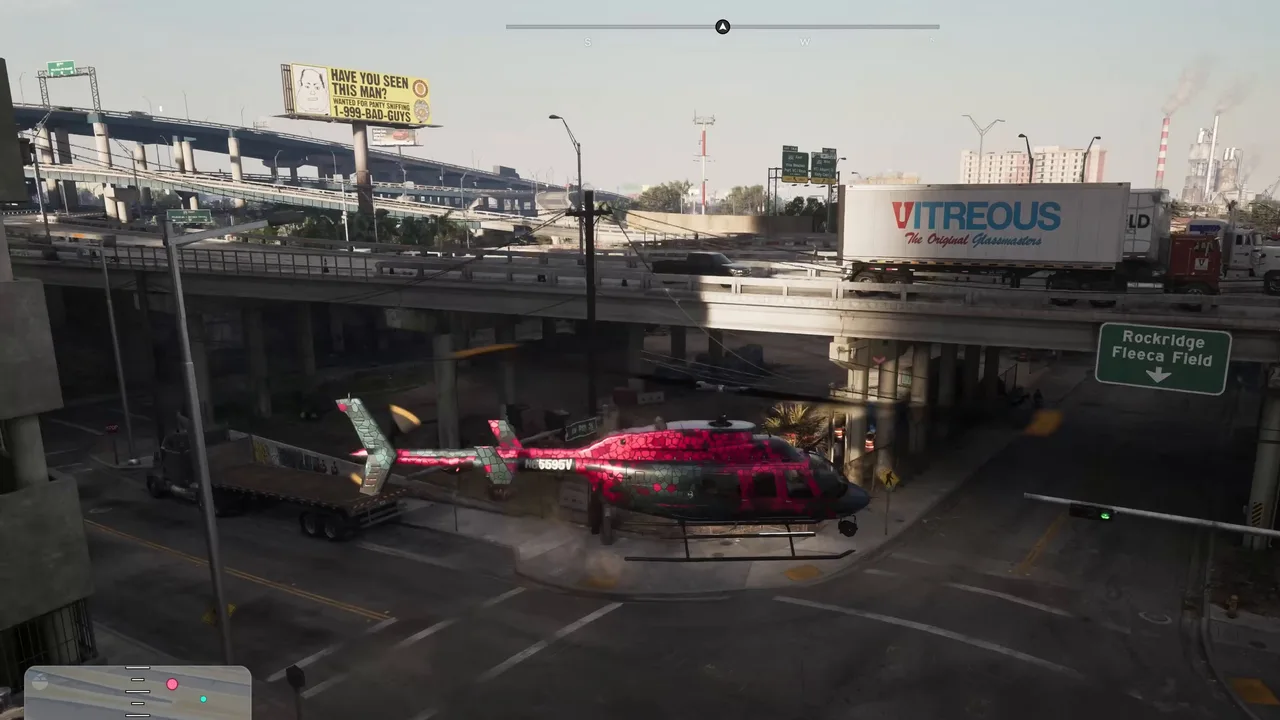 Sirloin’s landing spot, under the Rockridge / Fleeca Field exit. Footage: Sirloin.
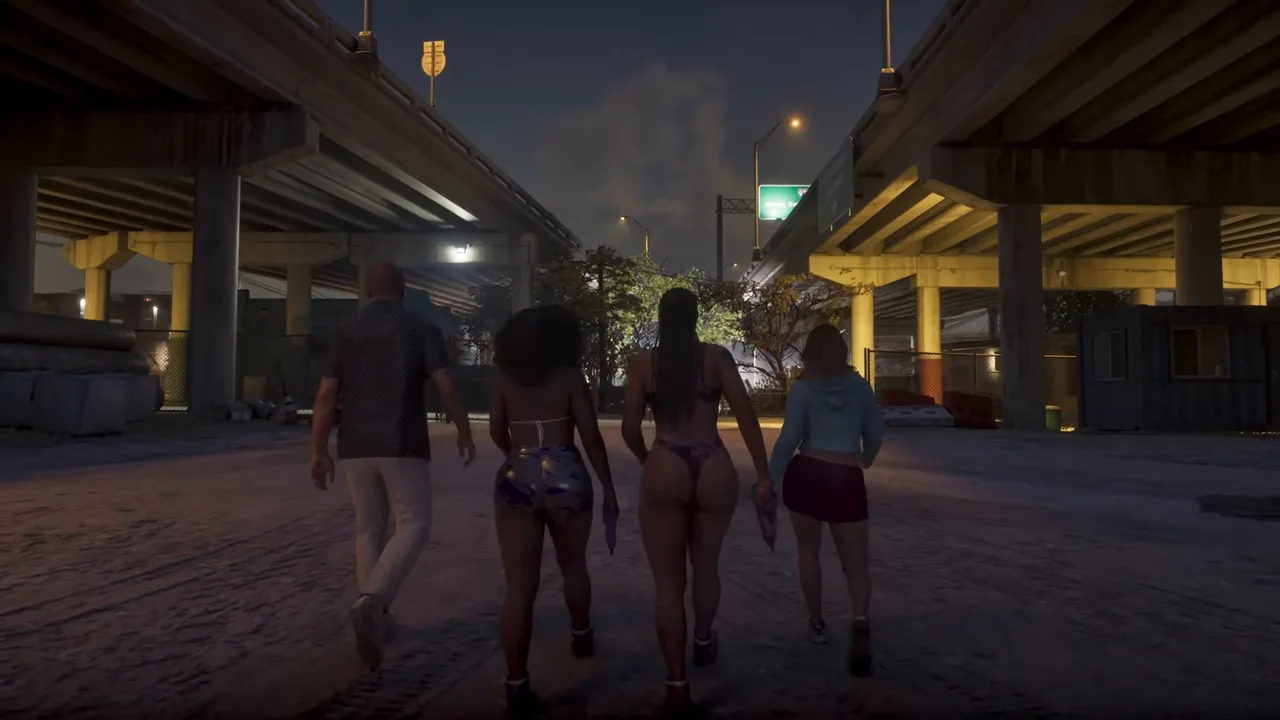
The Dimez climb out with their pistols. Jason wants them to stay back and let him do the talking. They refuse: they know these men better than he does. In the end all four walk in together, with Lucia beside them.
Step 8: Fight through the junkyard (Jason)
Walk with the group under the overpasses into the junkyard. The kidnappers are waiting among the wrecked cars, and Jason tells them to hand Dre’Quan over. Within seconds the shooting starts, and one of the Dimez learns her “prop” pistol is real (“I didn’t know it was real!”).
Walking in under the overpasses. Footage: Trophygamers.
Take cover behind the cars and clear the yard. You can switch between Jason and Lucia (the weapon wheel shows the prompt). Your partner calls out enemies:
- A car pulls in by the gas pumps with more men.
- One shooter is up high on your left.
- More arrive on bikes near the end.
Push forward when Lucia offers to cover you. Keep moving down the alley at the back of the yard. When Jason says that’s all of them, the fight is over.
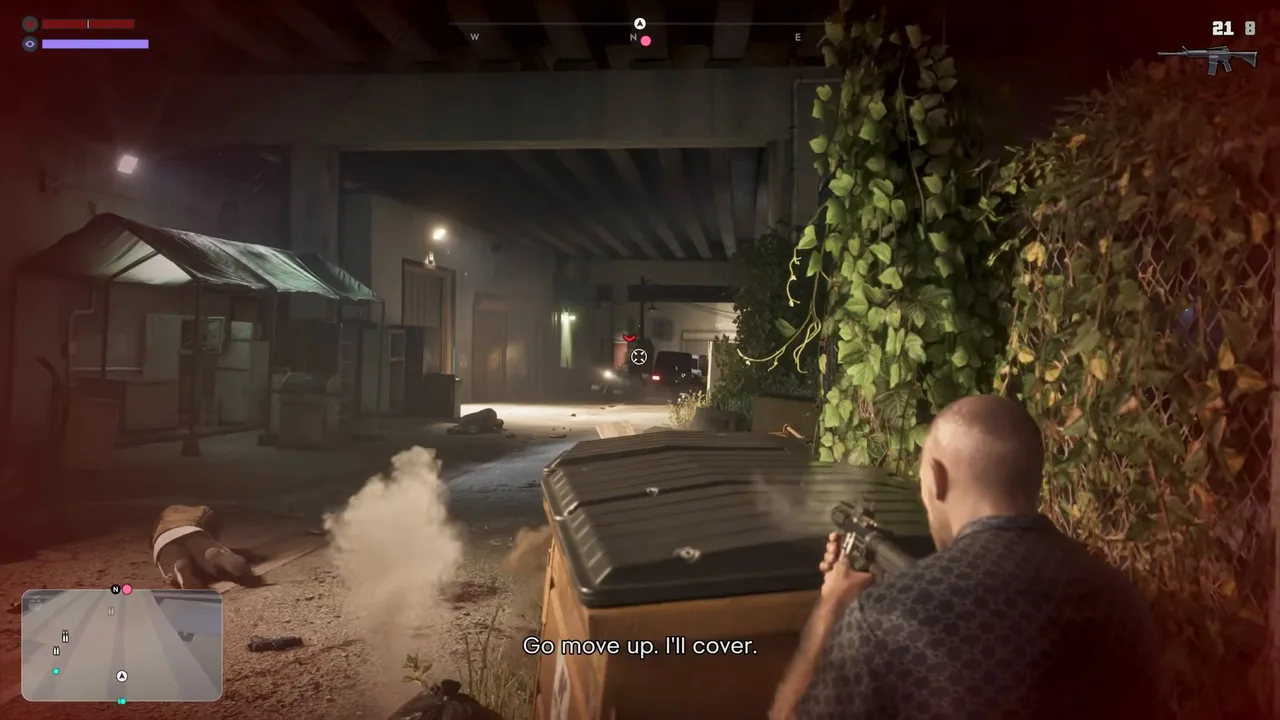 Move up on Lucia’s cover fire. Footage: Trophygamers.
Step 9: Free Dre’Quan and wrap up (cutscene)
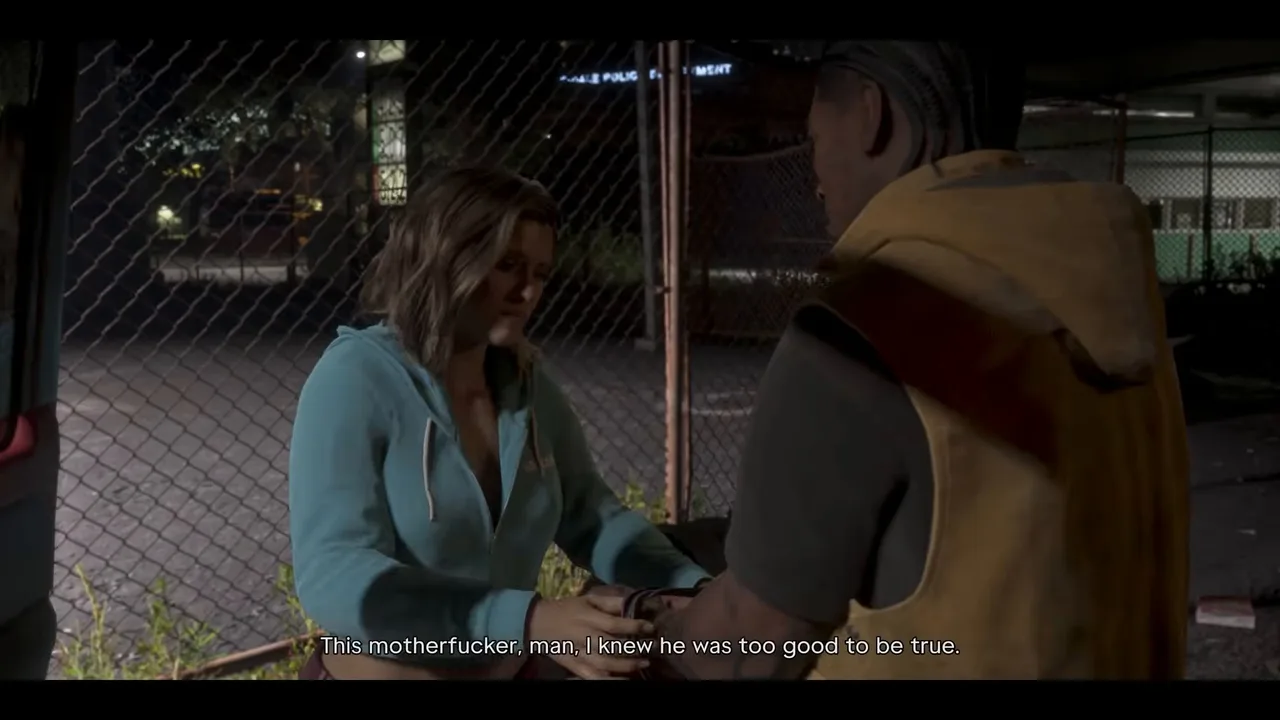
Dre’Quan shouts from his parked SUV. Lucia unties his wrists. The promoter is there too. Dre’Quan is furious with him, but the promoter swears he knew nothing. He says he took the crew for DWNPLY’s people, who had been asking him about the Dimez, and thought it was just business. To make it up to Dre’Quan, he offers a meeting with Royce Jones, his “big brother” in the business.
Lucia cuts Dre’Quan loose. Footage: Trophygamers.
Dre’Quan doesn’t believe a word of it, but he puts the promoter in the front seat anyway, thanks Jason and Lucia, and drives off with the Dimez. On the way out one of the Dimez asks why he never told them the guns were real, since she pointed hers at her friend. Watching them leave, Jason and Lucia agree that something is going on between Dre’Quan and Bae-Luxe.
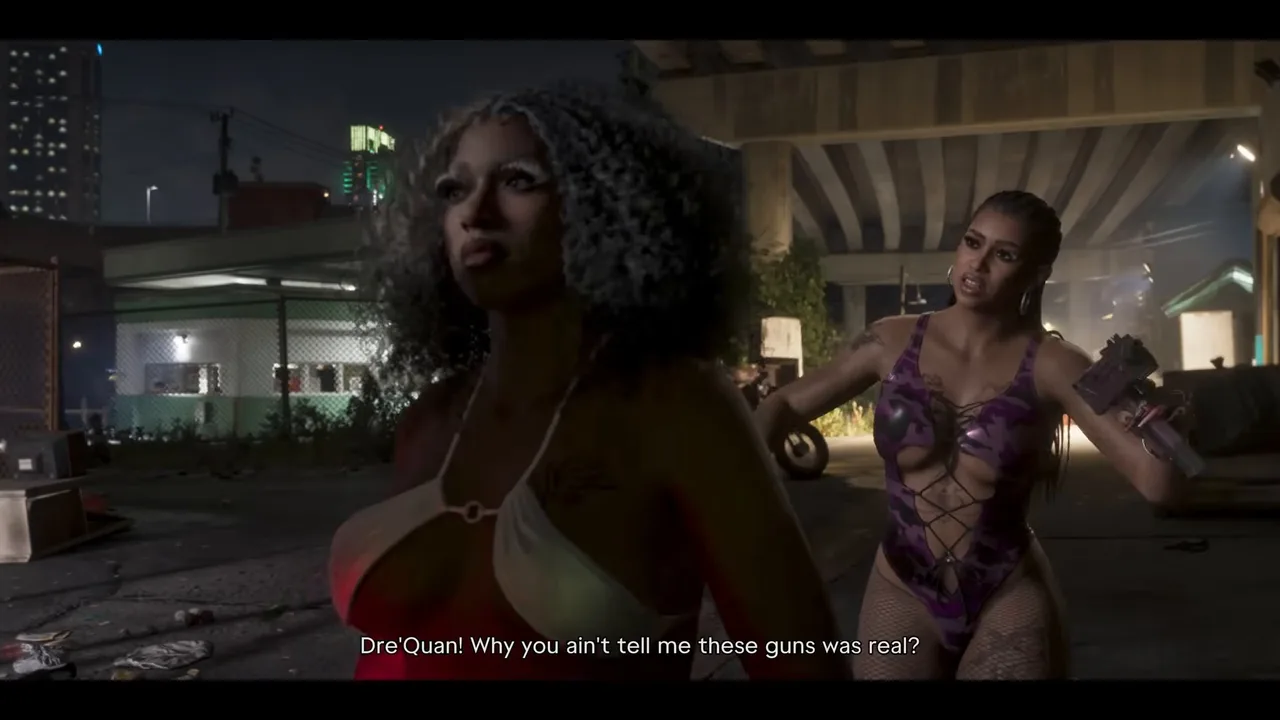 The props were real all along. Footage: Trophygamers.
Jason and Lucia agree it’s best not to stay. The mission ends there in free roam beside the junkyard. There’s no mission-passed card in either run.
Rewards
- No cash payout appears in either run, and there’s no trophy.
- Story progress: Dre’Quan comes away with a lead on Royce Jones, the promoter who decides who plays at Vibe. Later in Sirloin’s run, Dre’Quan wants a new watch before that meeting, which looks like the setup for Watch It (#90, “Jason and Dre’Quan meet a club owner”).
- The photos made it out. Seconds after the mission, Sirloin got a social post from Dre’Quan, apparently showing off the shoot.
Tips
- Zoom in for the photos. The helicopter door is a small target at x1. At x3 or so the Dimez fill the brackets.
- Fly high over downtown. Losing the SUV for a moment is better than clipping a tower: a crash fails the mission.
- Lock the camera on the bike. R3 keeps the car in view through the turns along the river walk.
- Don’t worry if Lucia comes off the bike. Both runs lost her on the road, and the chase carried on from the helicopter.
- Use cover in the junkyard. Enemies come from the gas pumps, from up high on the left and on bikes, so don’t rush down the middle.
Related guides
- Before it: Heavy Lifting (#85), Raul’s hard drive and the Ajax Gym job, then Pay Abe’s Fee (#86). Next by number: Making Gainz (#88). See all GTA 6 missions.
- Dre’Quan and the Dimez so far: Top Billing, Ride or Die and Cooties, the DWNPLY feud behind this mission
- GTA 6 characters: Dre’Quan Priest and the Real Dimez
- GTA 6 map regions: downtown Vice City, Rockridge and the neighbourhoods the chase crosses
- Interactive map: The Borough Condos, where the mission starts
Frequently Asked Questions
How do you start Photo/Shoot in GTA 6?
In Chapter 4, open the pause map and pick Shoot a Promo, the card with Dre'Quan's portrait. Its DQ blip sits on a high-rise called The Borough Condos. Drive there as Jason and walk into the lobby.
Do you fly the helicopter in Photo/Shoot?
Only in the chase. During the photo shoot the helicopter hovers by the helipad on its own while you work Lucia's camera. Once Dre'Quan is taken, you fly it as Jason, follow the kidnappers' car and land near a junkyard.
Can you fail Photo/Shoot?
Yes. Trophygamers clipped a building during the chase and got Failed: The helicopter was destroyed. The retry picked up mid-chase with Lucia on a motorbike, so you don't lose the photo shoot.
Who kidnaps Dre'Quan in GTA 6?
The game never names them. They grab Dre'Quan just as the club promoter he invited arrives, and the promoter, who had been talking to them, swears he took them for DWNPLY's people and thought it was only business about the Dimez. Jason and Lucia shoot their way through them at a junkyard.
Are the Real Dimez's guns real in Photo/Shoot?
Yes, although the Dimez think they're props. One of them finds out in the junkyard shootout, and afterwards she asks Dre'Quan why he never told them.
Who is Royce Jones in GTA 6?
The promoter's 'big brother' and mentor, the man who decides who gets to play at Vibe. The promoter offers Dre'Quan a meeting with him to make up for the kidnapping, which sets up Dre'Quan's next job with Jason.
Sources & Credits
Researched from these videos and official material, among others. Screenshots credit the creator whose footage they come from.