Jump to your step
The Cartel Heist: quick facts
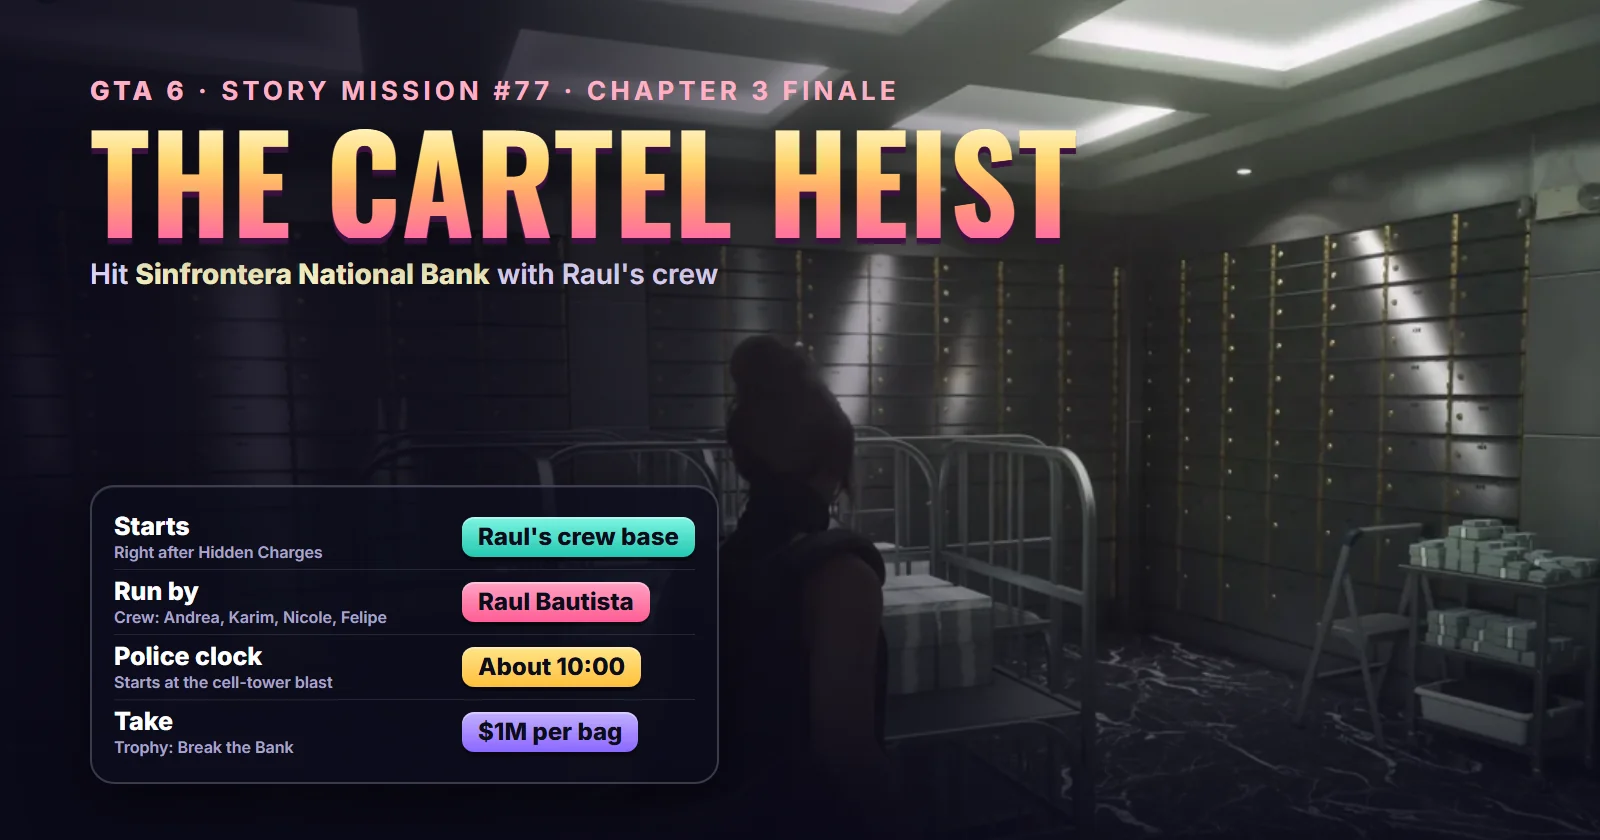
| Mission | The Cartel Heist, story mission #77 |
| Chapter | Chapter 3 (final mission of the chapter) |
| Characters | Jason and Lucia, switching between them |
| Run by | Raul Bautista and his crew |
| Target | Sinfrontera National Bank, downtown Vice City |
| Unlocks after | Hidden Charges (#76) |
| Time limit | About 10 minutes from the cell-tower blast until police arrive |
| Take | $1,000,000 per bag; $4,000,000 bagged in Shirrako’s run |
| Trophy | Break the Bank (Bronze, hidden, 25G) |
| Next mission | Ocean Beach (#78), first mission of Chapter 4 |
Mission briefing How to unlock it, every prep mission, where it starts, the story so far and the crew. Contains spoilers.
How to unlock The Cartel Heist: every prep mission
The heist closes a run of Chapter 3 story missions. The database’s chronological list puts the relevant ones in this order:
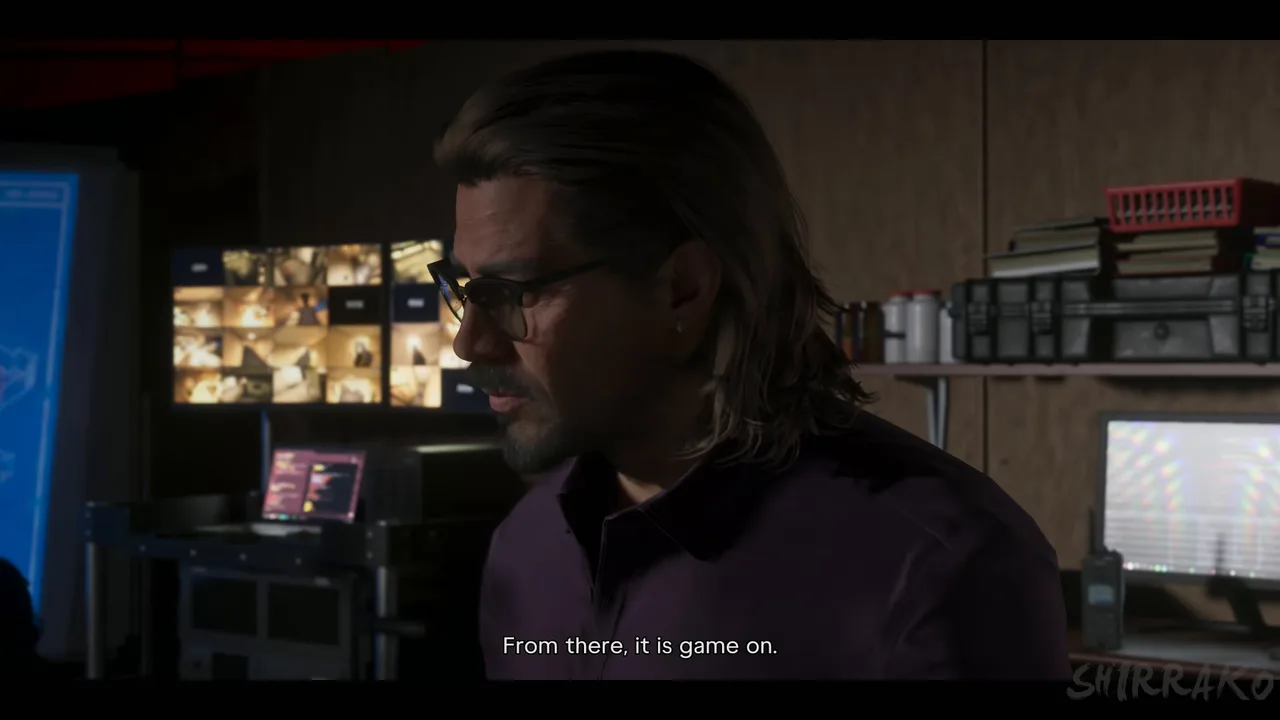 Raul Bautista runs the job and the briefing. Footage: Shirrako.
| # | Mission | What it adds to the heist |
|---|---|---|
| 61 | First Impressions | First contact with Raul |
| 63 | Crosstown Traffic | Introduces Karim, later on tech and comms |
| 64 | Credit Check | The crew’s base and the rest of the team |
| 66 | Raul’s Next Job | Raul pitches the bank job |
| 67 | Sinfrontera National Bank | A recon visit to the target |
| 68 | Security Expert | The inside expert on the bank’s systems |
| 69 | Heist Planning | The plan and everyone’s role |
| 72 | The Missing Link | Lucia’s introduction to Andrea |
| 73 | Safe Word | A practice safe for Lucia to train on |
| 76 | Hidden Charges | The explosives used on heist day |
| 77 | The Cartel Heist | The job itself |
This is the job Rockstar teased before launch: the Extended Look trailer closes with Raul casually telling Jason and Lucia to pencil in a Friday-morning bank robbery.
Missions #70, #71, #74 and #75 (Ride or Die, Company Property, Cooties and Bricked Up) are other story threads that fall in between, and the database marks all of them as mandatory, so you play them before the heist either way.
Two of the prep missions pay off directly inside the bank. The charges from Hidden Charges are the ones you set off at the start of the heist, and the vault drill and cable routine is something the crew says they “practised”, which lines up with Safe Word. We have not seen footage of either prep mission yet, so treat those links as our reading of the dialogue rather than confirmed.
Where The Cartel Heist starts
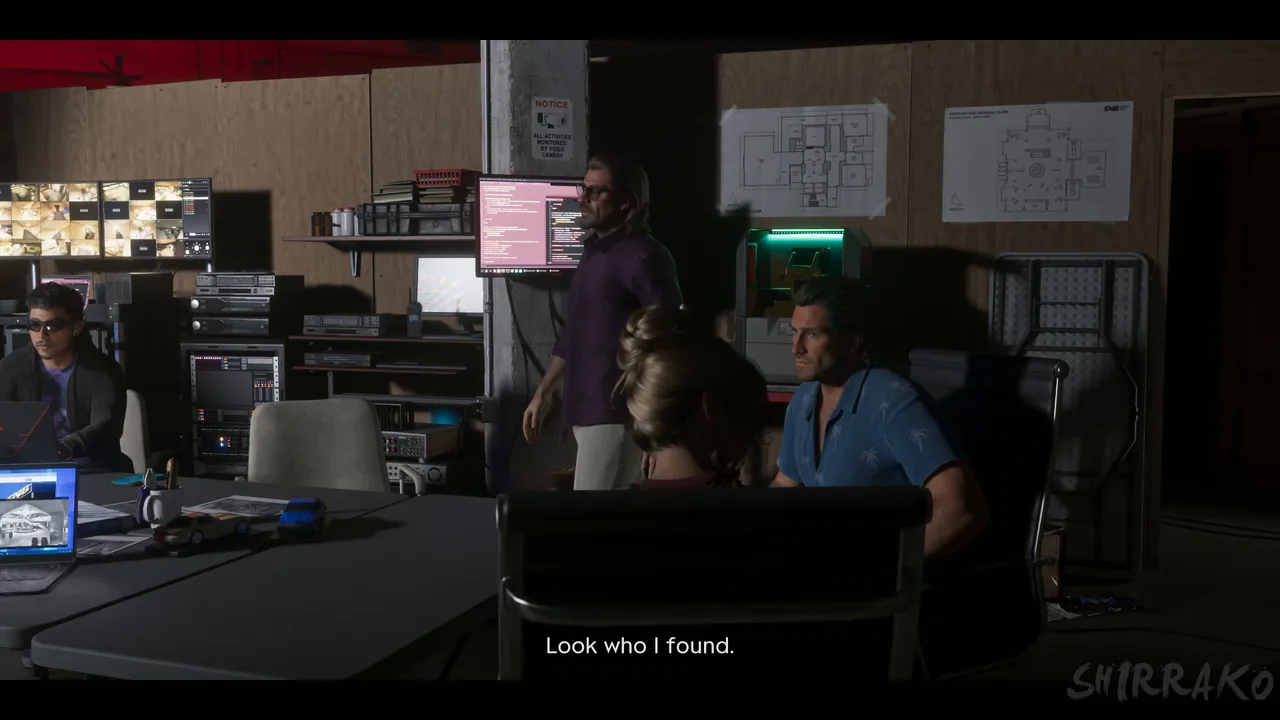 The crew base, with the floor plans of the bank on the wall. Footage: Shirrako.
Show where The Cartel Heist starts on the live map, or all of Raul’s places (four, all in Vice City).
Shirrako’s video opens inside the crew’s base, a converted warehouse with a briefing table, monitors and floor plans of the bank pinned to the wall. That fits the database’s description of Credit Check, where Raul first brings Jason and Lucia to his base, so the mission blip should sit there. The footage starts after the blip, but Raul’s mission starts are on our map now (link below). Check our interactive map and the Vice City section of the regions guide for the downtown area where the bank stands.
Story context: what this heist is
The Cartel Heist is the bank job Chapter 3 has been building towards since Jason and Lucia first met Raul Bautista. It is a long, scripted mission, around half an hour in Shirrako’s uncut 4K recording, and the game switches you between Jason and Lucia as the crew splits up. Everything runs against a police clock, so knowing what each phase asks of you before you start saves a lot of restarts.
This walkthrough follows Shirrako’s full run, checked against the mission database for numbering, prep order and the trophy. Where the footage stops short, mainly the payout screen, we say so.
The crew and who does what
Raul runs the briefing and names six people: Andrea, Karim, Nicole, Jason, Lucia and Felipe. Their jobs, as he lays them out:
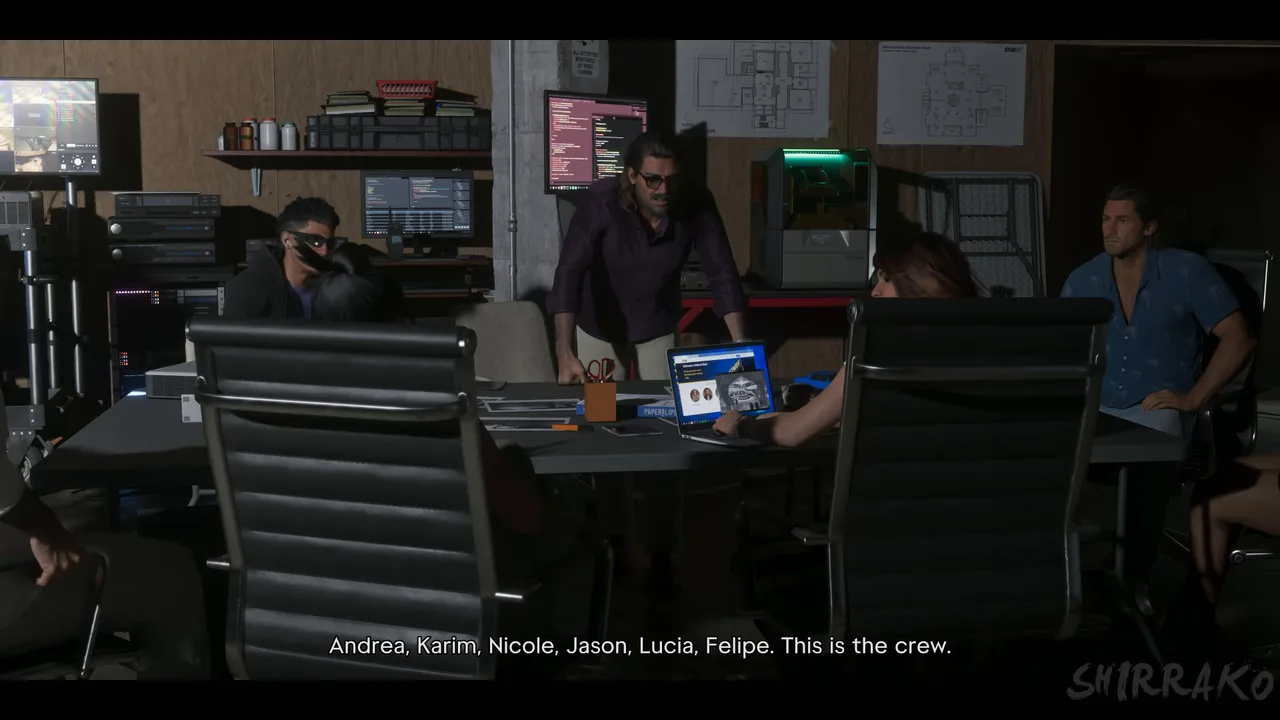 Raul’s last briefing: Andrea, Karim, Nicole, Jason, Lucia and Felipe. Footage: Shirrako.
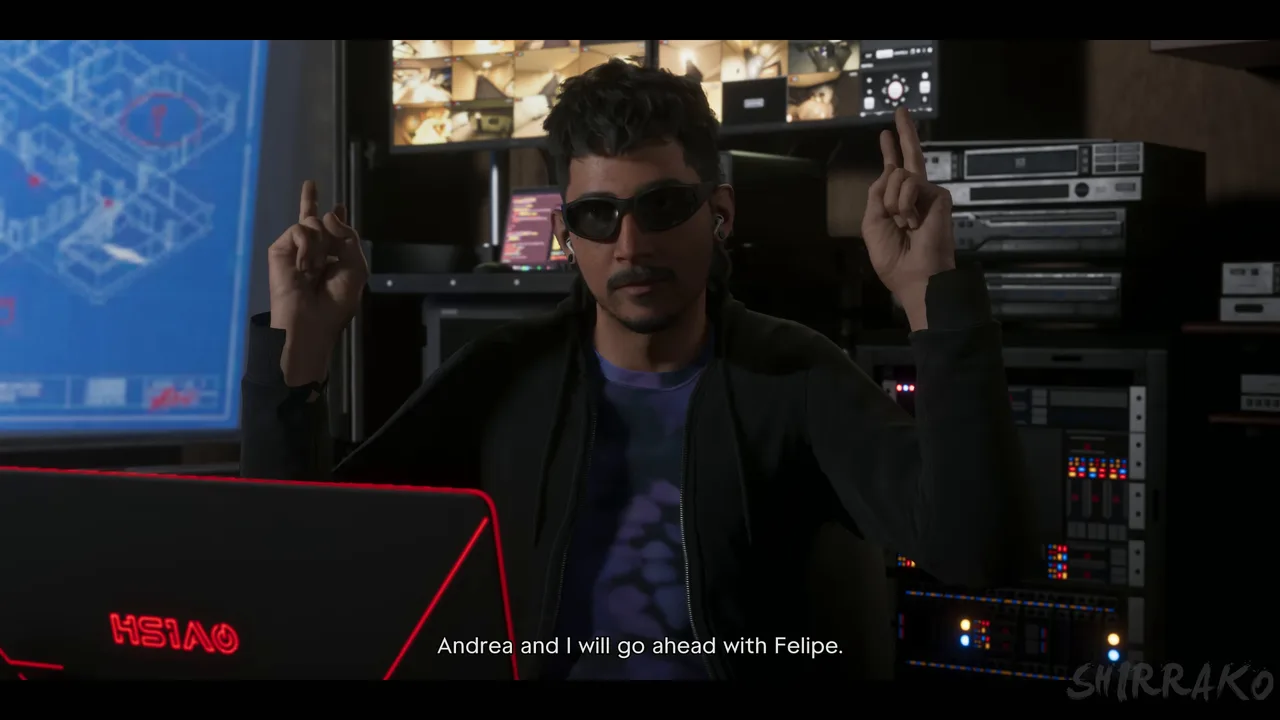 Karim stays behind on tech and comms. Footage: Shirrako.
- Karim stays at the base on tech and comms and overrides the bank’s cameras.
- Raul and Andrea walk in ahead with the cartel’s money man, the only person in the bank with access to the vault floor.
- Felipe waits outside in an armoured truck and drives it into the basement once the gate opens.
- Nicole rides with Jason and Lucia. Raul mentions that the bank used to be her workplace, and one of the staff recognises her, which explains why she knows the building.
- Jason and Andrea are the lobby team: crowd control upstairs.
- Lucia, Nicole and Raul are the vault team.
Raul also says there will be no real names inside the bank, and that there is a backup escape plan he and Karim will only use if things get bad. Both details matter later.
You change into your heist outfits upstairs, check your gear, then head out. In the footage both leads carry submachine guns, and Lucia pulls a revolver when the lobby goes loud. You will pick up more weapons inside, so do not worry about the loadout. Our weapons guide covers what to buy if you want something better beforehand.
Step 1: Blow the cell towers and start the clock
Jason, Lucia and Nicole take a plain dark sedan towards the cell towers (just over a mile from the base in the footage). The charge is set off by phone: you call a contact named “Detonate” and the explosion takes one tower down, which pulls the police away from downtown.
The moment it goes off, a countdown appears in the bottom-right corner, starting at about 10 minutes. This is the core of the whole mission. Raul’s warning over the radio is that once the towers go down you are on the clock, and that the police downtown respond fast and are close to the cartel.
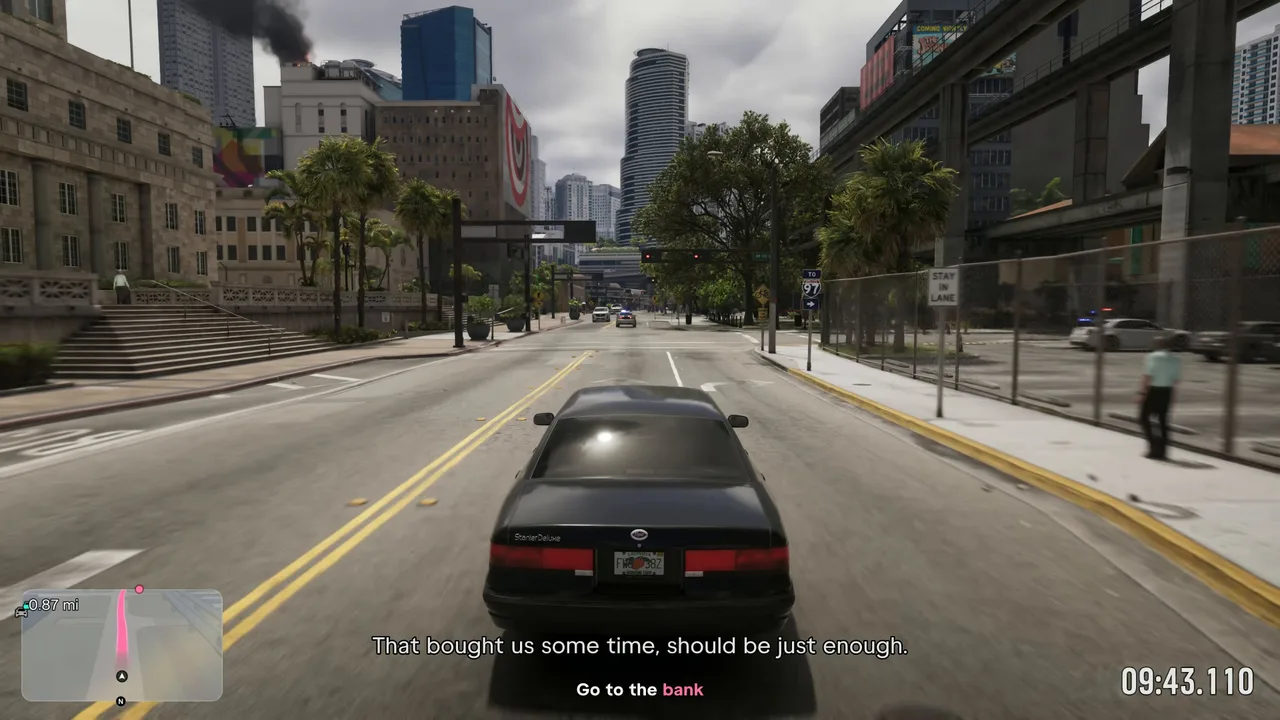 Smoke from the tower on the left, the police countdown at 9:43 on the right, and less than a mile to the bank. Footage: Shirrako.
Drive to the bank without wasting time. Every second you spend here comes off your vault time later.
Step 2: Take the lobby (Jason)
Jason and Lucia walk in as ordinary customers. Raul and Andrea arrive with the money man (introduced under a false name), and Karim tells you to stand near the guards and wait. Once he confirms the cameras are covered, your objective switches to Knock out a security guard.
Then the lobby goes loud. As Jason, aim at the customers and staff and use the Threaten prompt to herd them into the centre of the room. Raul’s advice in the briefing is the rule to follow: keep everyone in the middle where you can see them, because the lobby has a lot of corners, and if one hostage reaches an alarm, the job is blown.
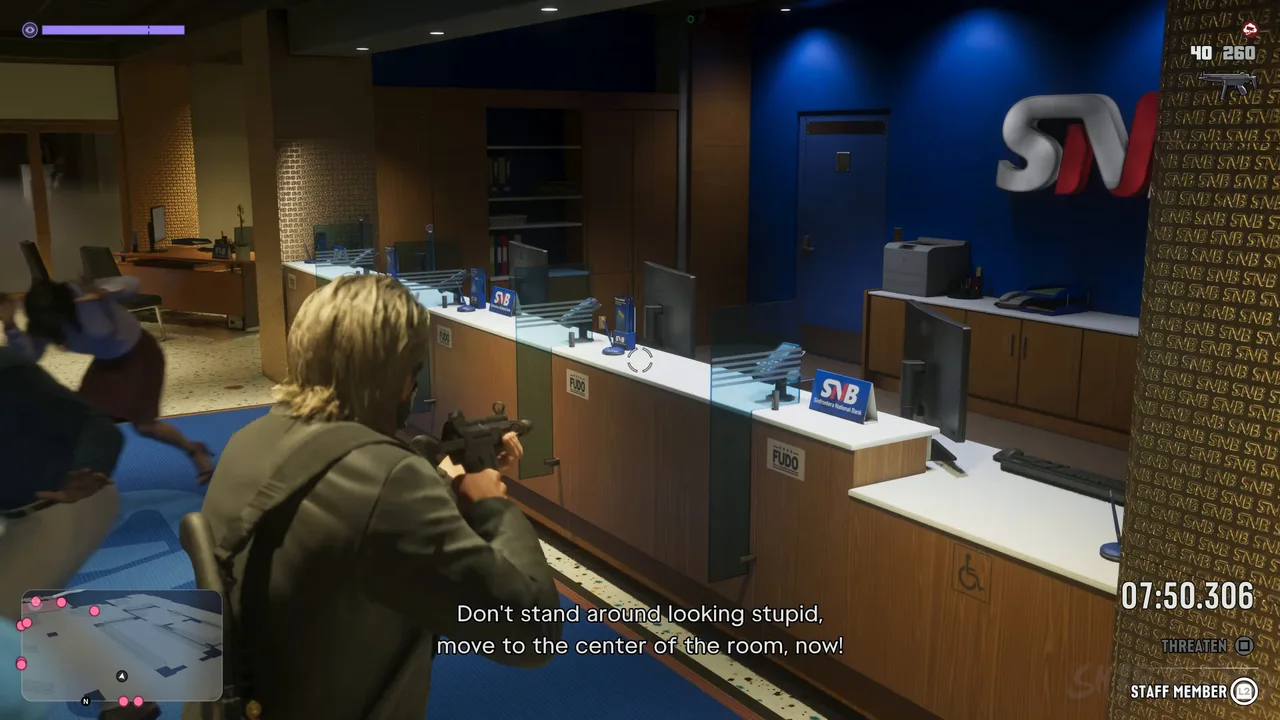 Herding staff away from the counters. The prompts at bottom right let you threaten individual people. Footage: Shirrako.
Do not shoot hostages: Raul names it as the kind of mistake that slows the crew down. When the crowd is secure, the lobby team zip-ties the doors and the vault team heads downstairs.
Step 3: Deal with Lex and open the basement gate (Lucia)
The game switches you to Lucia. On the vault floor there is a guard called Lex who has, in Karim’s words, a bad attitude. He does not cooperate: in the footage he goes for the crew and gets put on the floor. You then march him at gunpoint to the security room and make him log into his computer and accept a remote connection, so Karim can raise the basement gate for Felipe’s armoured truck.
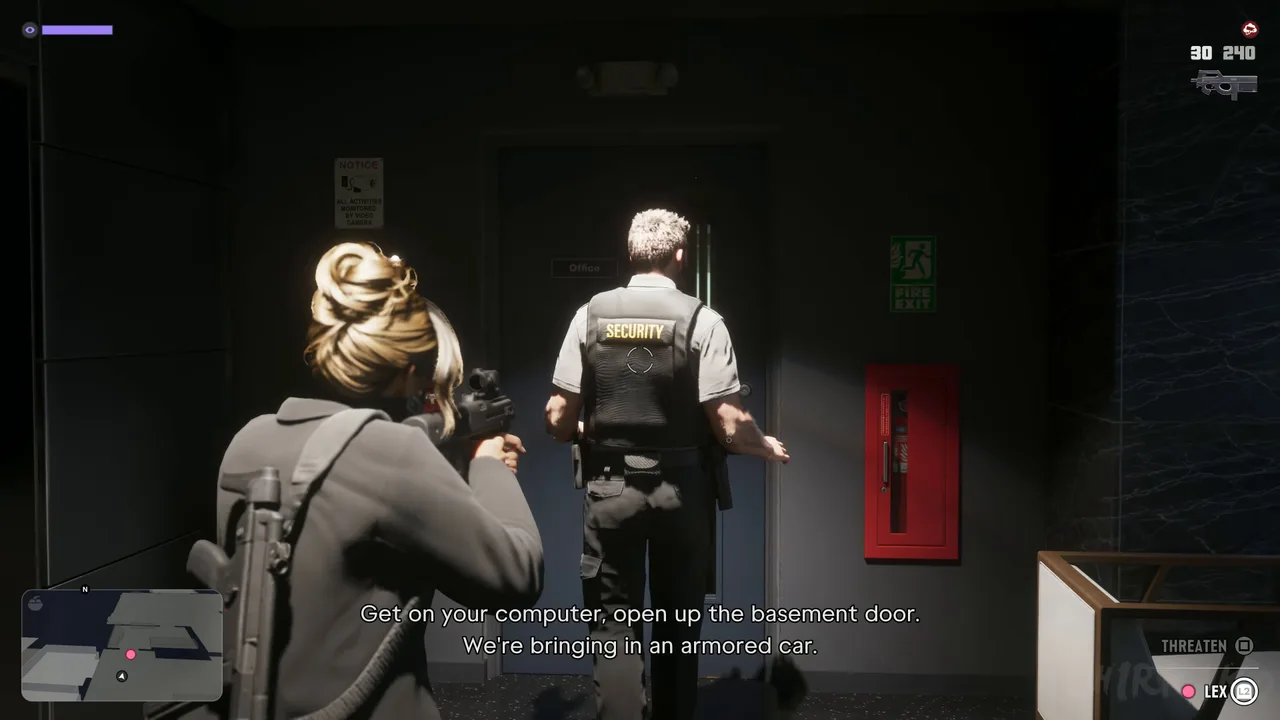 Keep Lex moving with the threaten prompt. Footage: Shirrako.
Keep your aim on Lex as he walks. He stalls on the way, and the threaten prompt is there to keep him moving.
Step 4: Secure the rooftop terminal (Jason)
This is the twist in the middle of the job. A cartel security team comes down the elevator towards the lobby, and Karim spots more cartel guards landing on the roof. Nicole explains there is an emergency terminal up there that connects to the bank’s main network. If the guards reach it, they can trigger the alarm and lock everyone inside.
Back as Jason, your objective is Secure the rooftop. Head up the stairwell and out onto the roof. Karim’s directions:
- the terminal is at the highest point on the roof, next to the communications tower;
- it sits inside a glass-block room at the top of a set of metal stairs;
- there are at least two teams of guards up there, and some stay in cover rather than rushing you.
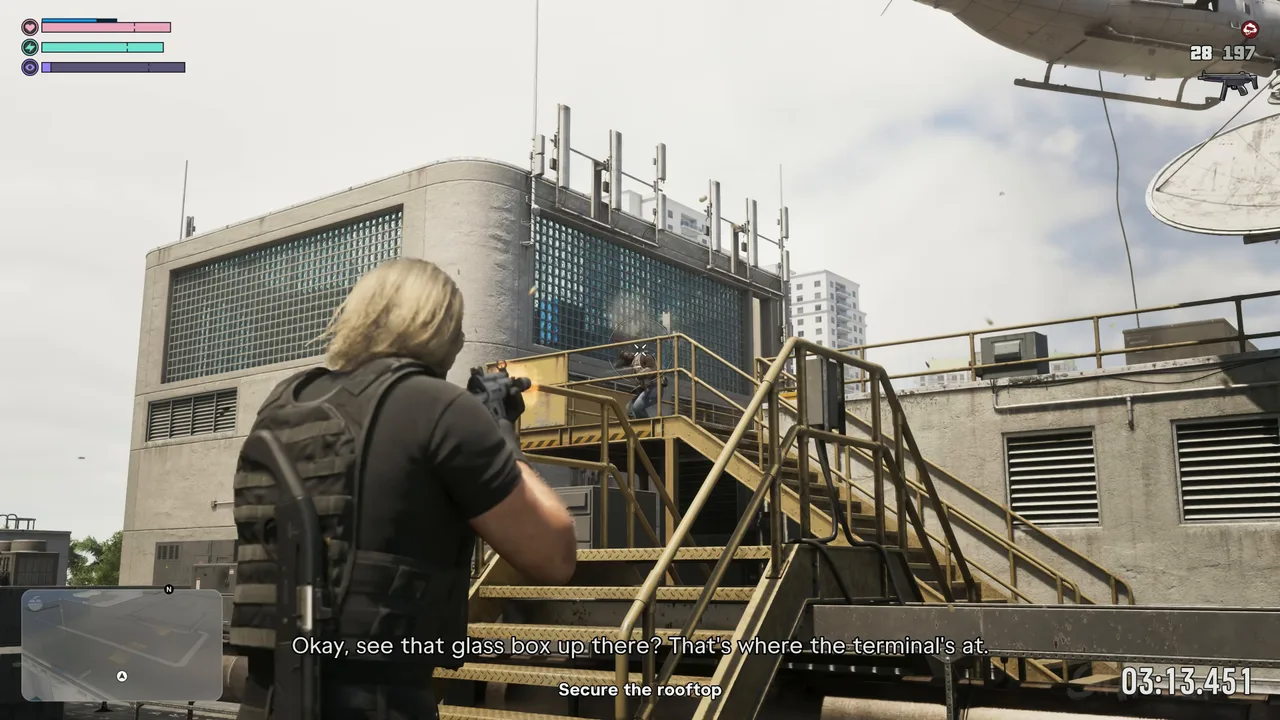 The terminal is in the glass-block room at the top of these stairs. Note the clock: just over three minutes left. Footage: Shirrako.
Clear the guards on the way up, push into the glass room and clear the terminal. Shirrako reached the stairs with about 3:28 on the clock, which shows how much time the rooftop fight costs. Mop up any stragglers and get back down. You can loot ammo off the guards you drop.
Step 5: Drill and open the vault (Lucia)
Back to Lucia, now at the vault door with Nicole. The door opens in two stages.
The drill. Hold both triggers (L2 and R2 in the PlayStation footage) to run the drill. Two ring gauges show the pressure. Go hard at first, then back off as the gauge climbs, because the drill overheats if it reaches red. Nicole’s coaching boils down to “push, then ease off” until the drill is through.
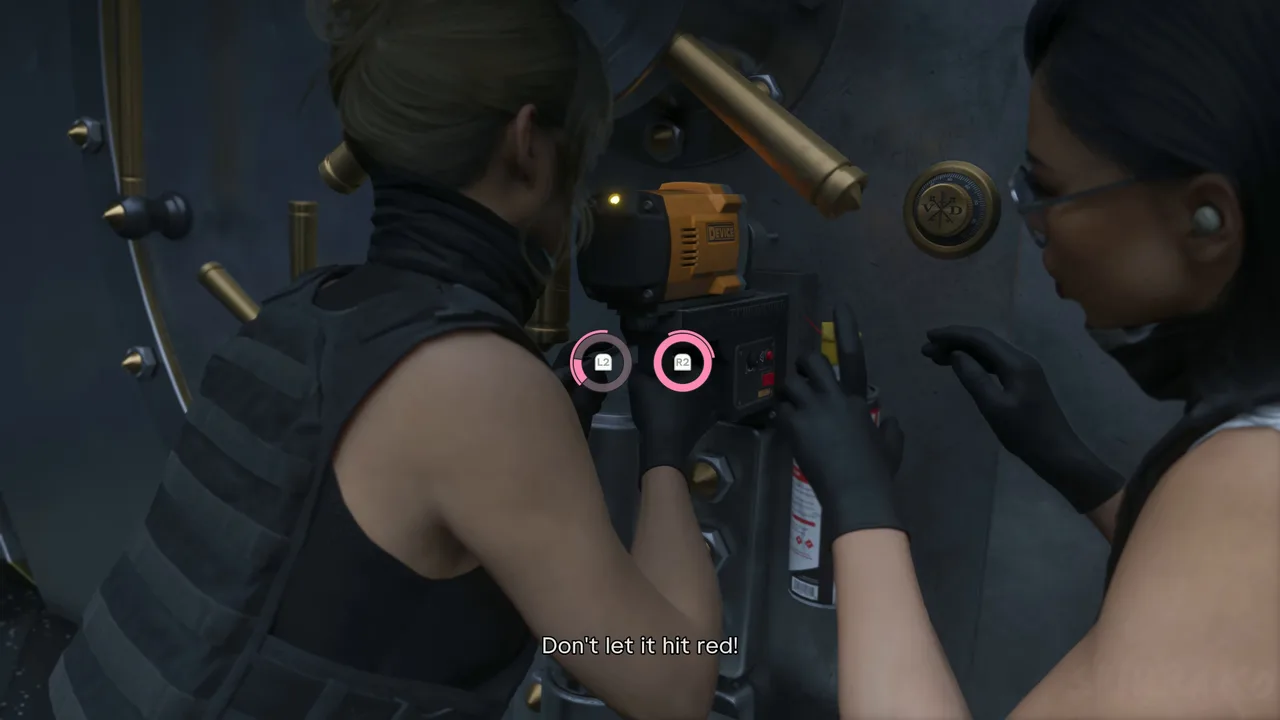 The drill stage. Watch the two rings and ease off before they hit red. Footage: Shirrako.
The cable. Next you feed a camera cable through the hole into the lock mechanism. The view switches to the cable’s camera, with controls for push/pull, bend and reset. Find the end of the cable inside the mechanism without bumping into anything, get right up to it, and hook it. Then keep it taut while Lucia works the door. If you lose your way inside the mechanism, reset rather than scraping along the walls.
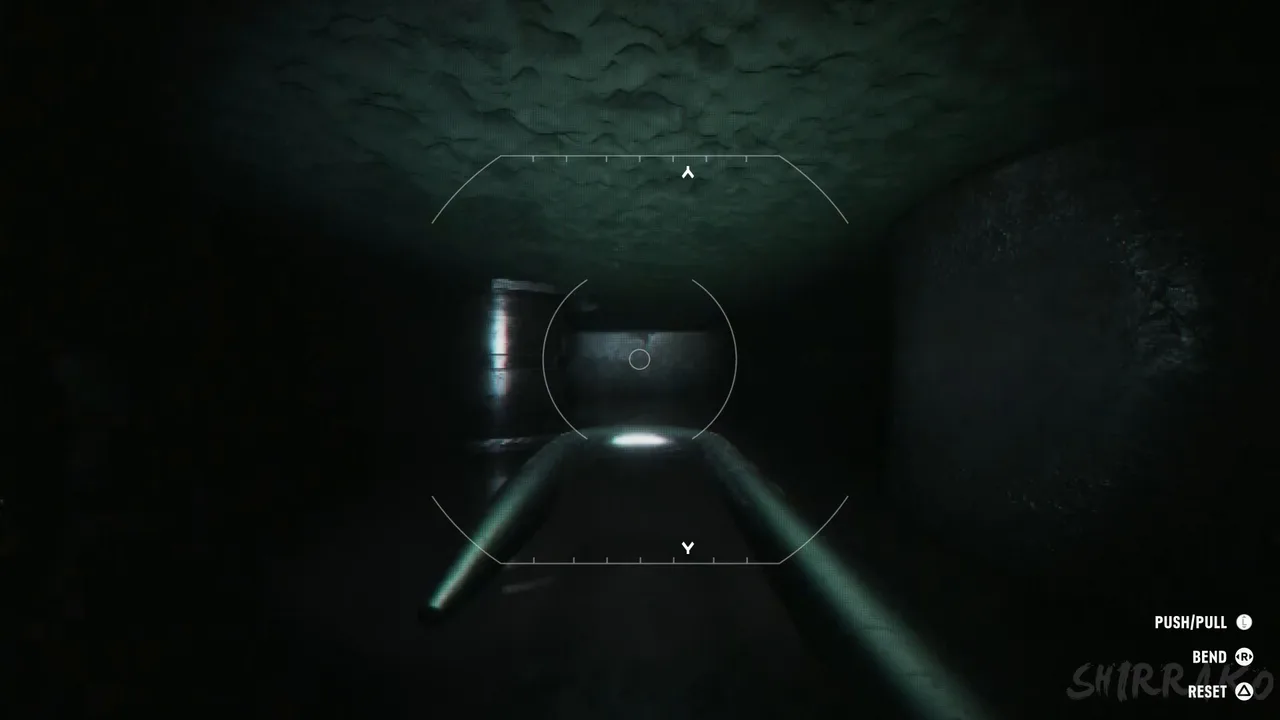 The cable camera. Push/Pull, Bend and Reset are the only controls you need. Footage: Shirrako.
When the door swings open, a “Vault Cracked” notice appears. In Shirrako’s run there were only about 25 seconds left on the police clock at this point, which tells you how tight the timer is if you lose time upstairs.
Step 6: Loot the vault
The objective is Loot the vault. Nicole goes for the safe-deposit boxes (the crew expects diamonds and bearer bonds in them), and Lucia packs the cash from the carts into duffel bags and throws each full bag to the door. A take counter appears at the top right, and each bag adds $1,000,000.
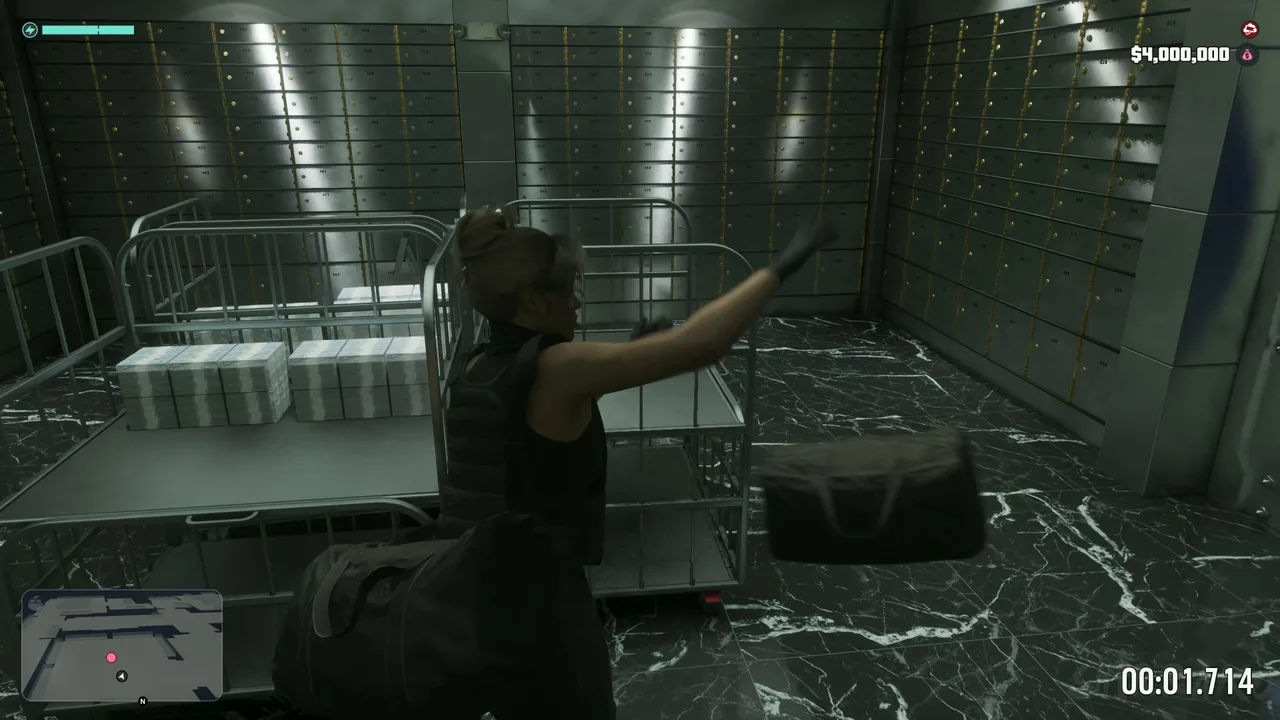 Fourth bag out with under two seconds on the clock: $4,000,000 bagged. Footage: Shirrako.
Shirrako had $1,000,000 bagged at 16 seconds left, $3,000,000 at about 10 seconds and $4,000,000 just before the clock hit zero. That puts the realistic haul at four bags or so if you arrive with only half a minute to spare. We have not seen a run that reaches the vault with more time, so we cannot confirm whether a faster lobby and roof let you fill more bags.
Step 7: The police arrive early
When the clock runs out, things fall apart quickly. The crew loses its driver, so Felipe’s armoured truck is no longer a way out, and the police reach the front of the bank sooner than the crew planned for. Raul’s order is to get the bags into the elevator and head up to the lobby, where Jason and Andrea are already fighting off a SWAT assault.
The lobby turns into a long gunfight. A few things help:
- Pick up a shotgun. A Moreland 850 is lying on the lobby floor, and it is a big step up at close range.
- Search the SWAT truck. When the objective changes to Search the SWAT truck, check the armoured police vehicle in the lobby entrance. It holds smoke grenades and a launcher.
- Lay smoke out front. Karim and Raul’s backup plan is a getaway ride, and you cover it by filling the street outside with smoke.
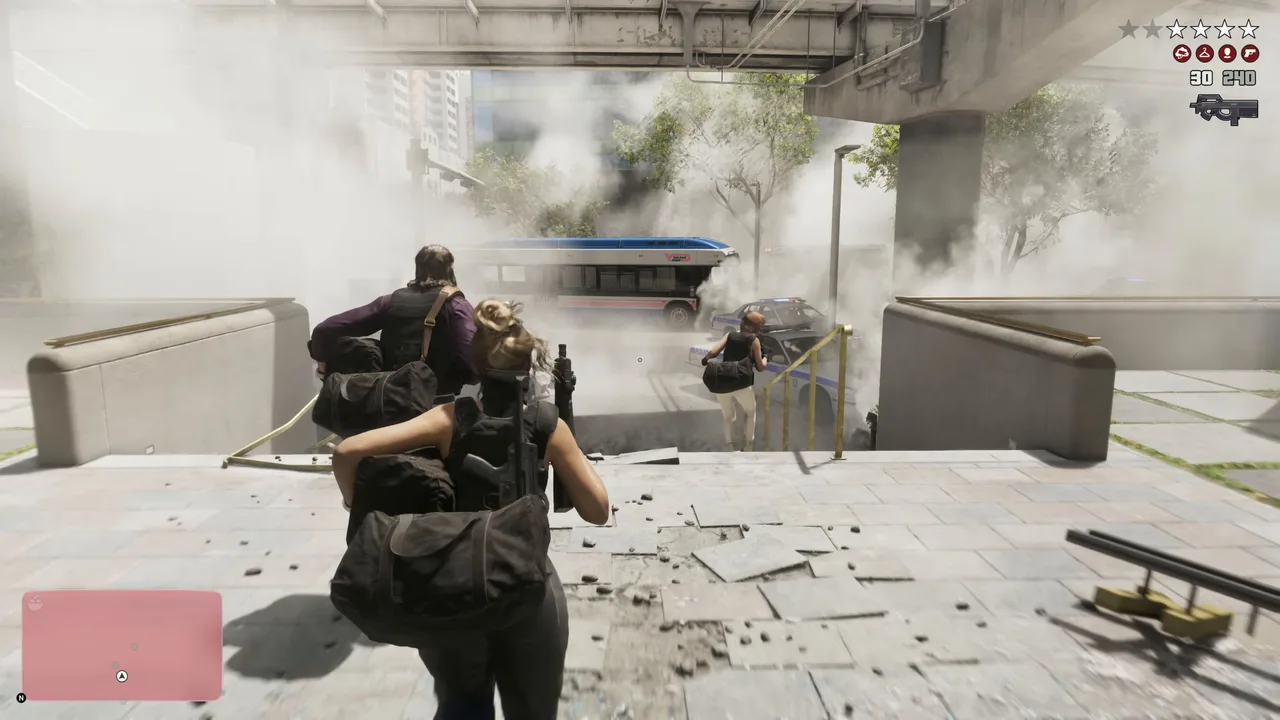 Breaking out under smoke cover with the bags. The wanted level is already at four stars. Footage: Shirrako.
Step 8: Escape in the Brigade and catch the bus
Once outside, the crew splits. One group gets away in Raul and Karim’s backup ride. Lucia and Nicole are cut off, so you get new objectives: Find a way down to the basement, then Steal the Brigade, the Hauners SWAT armoured truck parked on the ramp. Clear the officers around it and take it.
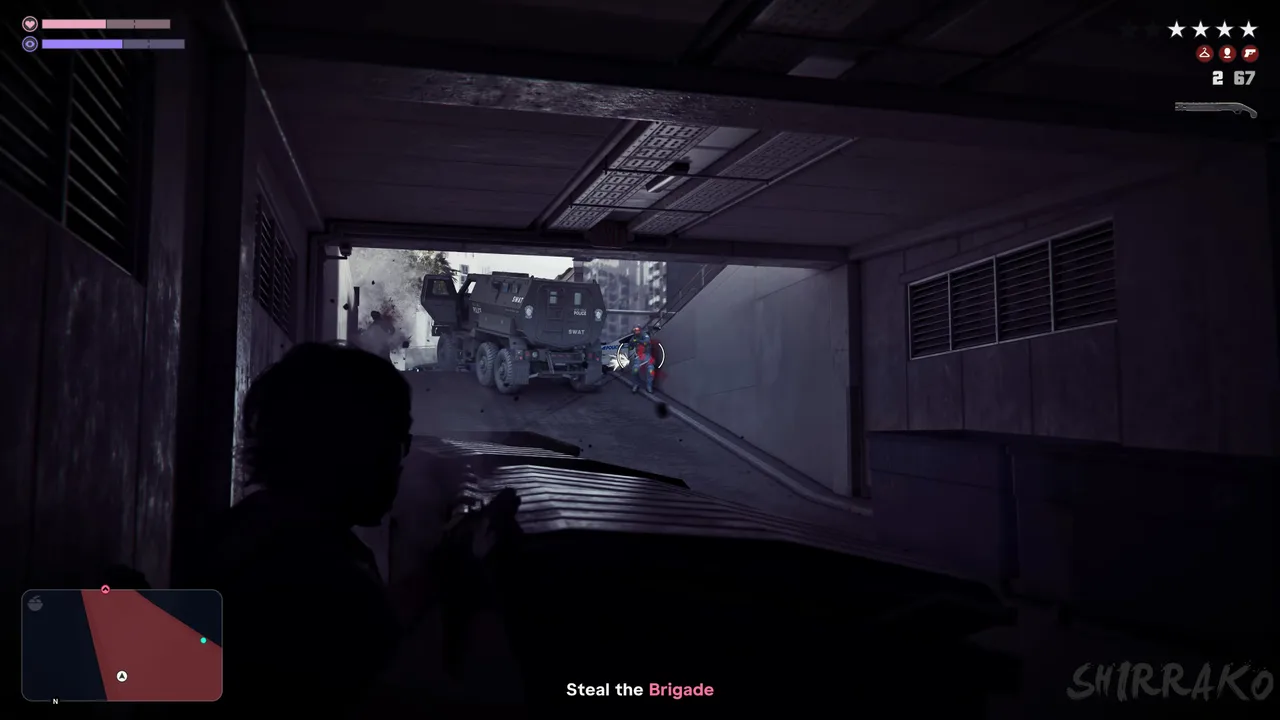 The Brigade on the basement ramp. Clear the officers first, then take it. Footage: Shirrako.
The rest is a running chase out of downtown with Escape the area on screen. The wanted level climbs to five stars on the highway, with motorcycle units, Highway Patrol, more SWAT and a police helicopter after you. The chase switches between driving the armoured truck and shooting from it, so keep moving and do not stop to fight.
The final objective is Pull alongside the bus: drive the Brigade next to the crew’s hijacked bus so Lucia and Nicole can jump across. After that, the bus limps to a hideout and the crew carries the bags inside, which is where the mission ends.
Rewards, payout and the Break the Bank trophy
- Trophy: Break the Bank, a hidden Bronze trophy worth 25 Gamerscore for completing The Cartel Heist. It cannot be missed on a story playthrough.
- Money: the vault counter shows $1,000,000 per bag, and $4,000,000 was bagged in Shirrako’s run. Shirrako’s video ends in the closing cutscene, before any mission-passed screen, so the cut Jason and Lucia actually take home is still unconfirmed. We will add it when a recording with the results screen is indexed.
- Story: the next mission, Ocean Beach (#78), opens Chapter 4 and carries the Vice City, Baby! trophy for finishing Chapter 3.
Vice City Dispatch’s money ranking notes that the biggest paydays in GTA 6 are still tied to the story, heists included, and this is the first one on that scale. Where it fits next to robberies, fences and the BuckMe savings targets is in our money guide.
The Cartel Heist is separate from the 22 repeatable bank robberies on the map. Those use the Dye Pack Jammer from Credit Check, and the vault versions only open near the end of Chapter 4. They count toward a different trophy, Maximum Withdrawal (rob five bank vaults and escape).
What happens if you fail The Cartel Heist
We have not seen a failed attempt of this mission on video, so this section is based on the crew’s warnings and on how the run plays out:
- A hostage hits the alarm. Raul says that if anyone reaches it, the crew is finished. Expect a fail or a forced restart from the lobby checkpoint.
- The cartel guards reach the rooftop terminal. Karim’s warning is that they will set off the alarm and lock everyone in. This is the obvious fail condition for the roof section.
- The drill overheats. The crew stresses keeping it out of the red. Whether that fails the mission or just costs time is not shown.
- The clock runs out. This does not fail the mission. In Shirrako’s run the timer hit zero during the looting and the mission carried straight on into the police assault. Arriving late seems to cost you bags rather than the mission, but we cannot confirm that more time in the vault means more money.
- Lucia or Jason dies. Standard story-mission rules should apply: a restart from the last checkpoint. The heist has clear checkpoints at each phase (lobby, roof, vault, lobby fight, escape), though we have not seen the retry screen.
- The escape goes off route. Before launch, BreeZe GTA passed on Rob Nelson’s comments that Raul’s getaways are loose: miss the suggested route and the mission turns into an ordinary police chase rather than a fail. That was said about an earlier Raul mission, so it is a hint, not confirmation for this one.
Tips for The Cartel Heist
- Save time early. The 10-minute clock covers the drive, the lobby and the roof, so a quick drive and a fast knock-out on the guard are what get you to the vault with time left.
- Watch the edges of the lobby. Hostages drift to the corners. Threaten anyone who strays.
- On the roof, go up, not around. The terminal is at the highest point. Fight up the stairs to the glass room rather than clearing every guard on the lower roof.
- Grab the Moreland 850 in the lobby and the smoke launcher from the SWAT truck before the street fight.
- Stock up before the mission. Body armour and a full SMG load make the lobby fight and the highway chase easier. Our beginner tips cover where to buy both.
Related guides
- GTA 6 characters: Raul Bautista and how the Chapter 3 crew comes together
- GTA 6 money guide: story paydays next to robberies, fences and BuckMe
- GTA 6 weapons guide: what to carry into the bank
- GTA 6 map regions and the interactive map: downtown Vice City and the bank district
Frequently Asked Questions
How do you unlock The Cartel Heist in GTA 6?
Play through Chapter 3. It is story mission #77 and comes straight after Hidden Charges, where Jason and Lucia set up the explosives. Before that you scope the bank in Sinfrontera National Bank (#67), meet the security expert, plan the job and practise on a safe.
How long do you have in the bank?
About ten minutes. A police countdown appears in the bottom-right corner once the cell-tower charge goes off, and it keeps running through the lobby, the roof and the vault. In Shirrako's run it hit zero while the fourth bag of cash was being packed.
How much money do you get from The Cartel Heist?
Each bag you fill in the vault adds $1,000,000 to the on-screen take, and Shirrako's run had $4,000,000 bagged when the clock ran out. The footage ends before the mission-passed screen, so the cut that lands in Jason and Lucia's account is not confirmed yet.
What trophy do you get for The Cartel Heist?
Break the Bank, a hidden Bronze trophy (25 Gamerscore on Xbox) for completing the mission. You cannot miss it on a normal story playthrough.
How do you do the vault drill in GTA 6?
Hold both triggers (L2 and R2 on PlayStation) to drive the drill, then ease off before the gauge reaches red so it does not overheat. After that you feed a camera cable through the hole with push, pull and bend controls, hook the end, and keep it taut until the door opens.
Is The Cartel Heist the last mission of Chapter 3?
Yes. The next mission, Ocean Beach (#78), already opens Chapter 4, and the Vice City, Baby! trophy for finishing Chapter 3 is tied to that transition.
Sources & Credits
Researched from these videos and official material, among others. Screenshots credit the creator whose footage they come from.
- GTA 6 - Cartel Bank Heist Mission (4K ULTRA HD) · Shirrako
- Everything You Need To Know Before DAY 1 of GTA 6 · BreeZe GTA
- 15 Ways to Make Money in GTA 6, Ranked Worst to Best · Vice City Dispatch
- Grand Theft Auto VI: An Extended Look · Rockstar Games