Jump to your step
 1
Choose your weapons at Brian’s boatyard · Jason
 2
Attack the penthouse from the helicopter · Lucia
 3
Find a way to Giorgio’s office · Jason
 4
Use the computer · Jason
 5
Distract the helicopter · Lucia
 6
Go back for the hard drive · Jason
 7
Escape from the helicopter · Lucia
 8
Reach Lucia in the garage and find a way out
 9
Evade the helicopter in a car
 10
Get in the elevator and slip away
 11
Drive to Cal’s house · Jason
 12
Go to Fleming Key and make the final choice
Spoiler warning: The End of the Road is the last mission of GTA 6. The steps below say what you do, not how the story ends. The story outcomes and the final scenes are in folded sections marked as spoilers, so open them only when you want to know.
The End of the Road: quick facts
| Mission | The End of the Road, story mission #122 (the last one) |
| Chapter | Chapter 5 finale |
| You play | Jason and Lucia, switching between them |
| Set up by | Jason and Lucia, with help from Brian and Cal |
| Starts at | Brian’s Boat Works & Marina, Key Lento |
| Unlocks after | Protective Custody (#121) |
| Unlocks next | The credits, then a Story Complete screen |
| Length | About 25 minutes |
| Trophy | You Gotta Know When to Get Off (Gold, hidden) |
| Required for 100% | Yes |
Mission briefing Story context, how to unlock it, where it starts and the footage we used. Contains spoilers.
How to unlock The End of the Road
The finale follows Protective Custody (#121), the last mission with Abe. By then Jason and Lucia no longer have the hard drive everyone has been chasing, and Lucia admits that the statewide prosecutor floated a deal that would only have covered one of them. Their way out is the copy of the files on Giorgio Gallo’s office computer in his tower on Gloriana Key. Jason phones Cal for help, and in Sirloin’s run the briefing cutscene follows straight on from that call.
Cal brings a little program of his own that downloads and decrypts the files once the drive is plugged in, and Brian lends the crew his helicopter, which has a door turret. The exit plan is a go-fast boat from Cal’s contact so the pair can be far offshore before anyone notices.
Where The End of the Road starts
The briefing takes place in the workshop at Brian’s Boat Works & Marina in Key Lento. The cutscene opens on the “Welcome to The Keys” sign and the docks before cutting inside. Neither video shows a start blip or a drive to the boatyard: in Sirloin’s edit the scene follows straight on from the call to Cal, so the mission may start by itself or the drive may simply have been cut. See the final mission’s start on the live map at Brian’s Boat Works & Marina, or see all of Brian’s places.
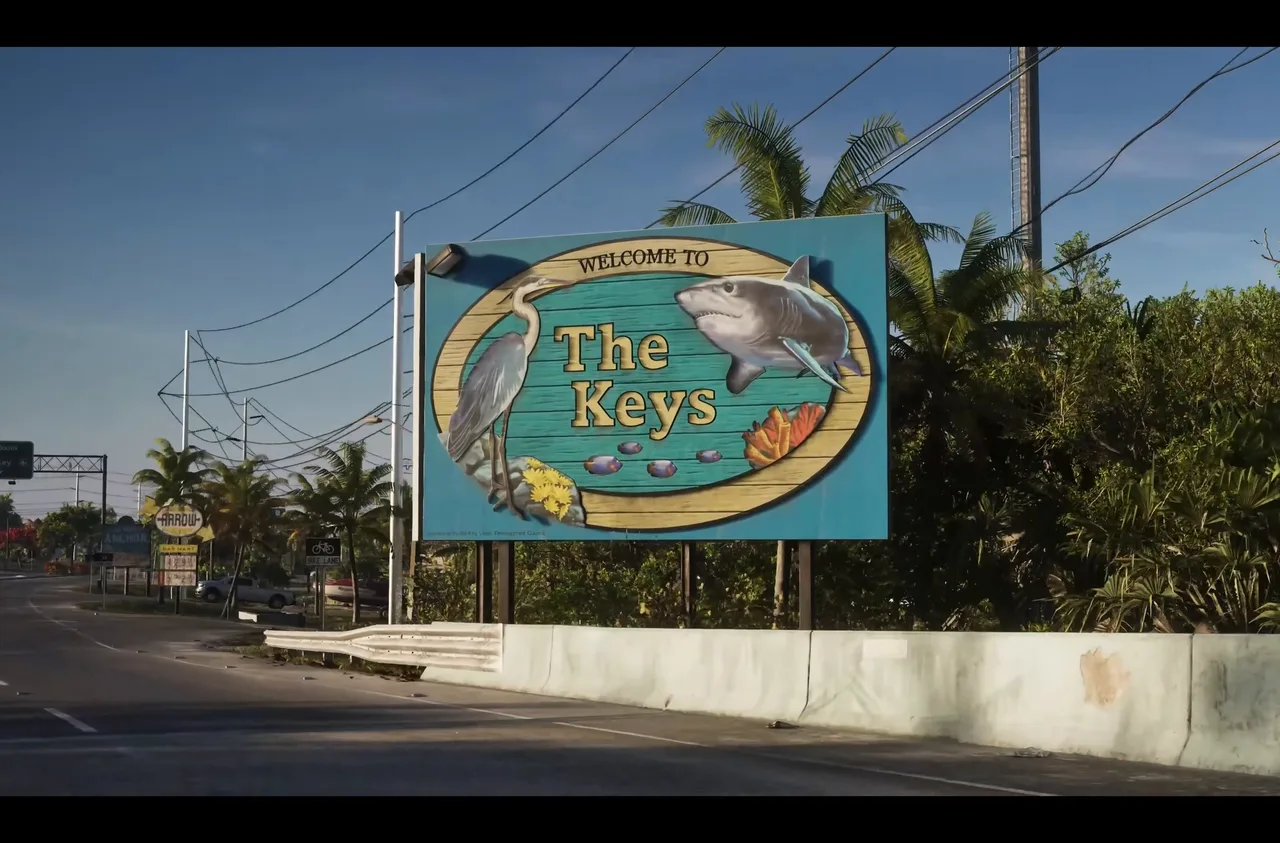 The finale opens in the Keys, at Brian’s boatyard. Footage: Sirloin.
About this guide
The walkthrough follows Incredilags’ full run, which has no facecam and keeps the on-screen objectives, and checks it against Sirloin’s no-commentary Chapter 5 video. The two runs play the same mission up to the last choice, then pick different options, so between them they show both endings we know of.
Step 1: Choose your weapons at Brian’s boatyard (Jason)
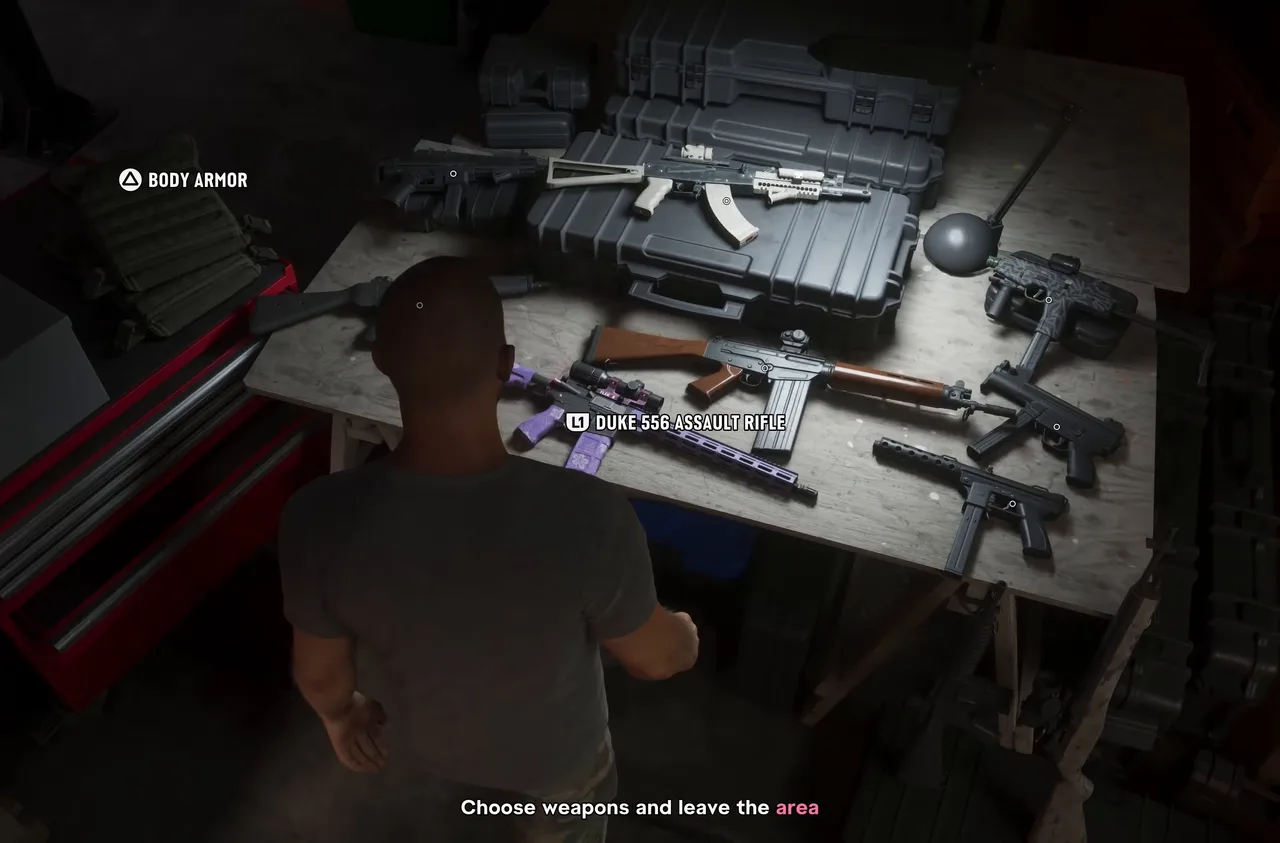
The briefing ends in the workshop with the objective Choose weapons and leave the area. A table is laid out with more than the usual loadout: the Duke 556 assault rifle, an FRA assault rifle, the Kozlov KZ-59 assault rifle, the Goodwin Comshot 12 combat shotgun, the Moreland 850 pump shotgun, Type 9 and VF5 SMGs, a Klose K17 pistol, brass knuckles, frag grenades and body armor.
Take the armor and at least one rifle. Footage: Sirloin.
You can carry two longarms, so the choice matters. Incredilags swapped an assault rifle for the combat shotgun and later said it wasn’t doing the job; most of the fighting is at medium range on terraces and in a big garage. Take two rifles, the grenades and the armor. He credited the armor for keeping him alive later on.
Walk out to the helipad. Brian hands over his helicopter and says he never wants to see it again, and Cal promises the boat will be ready.
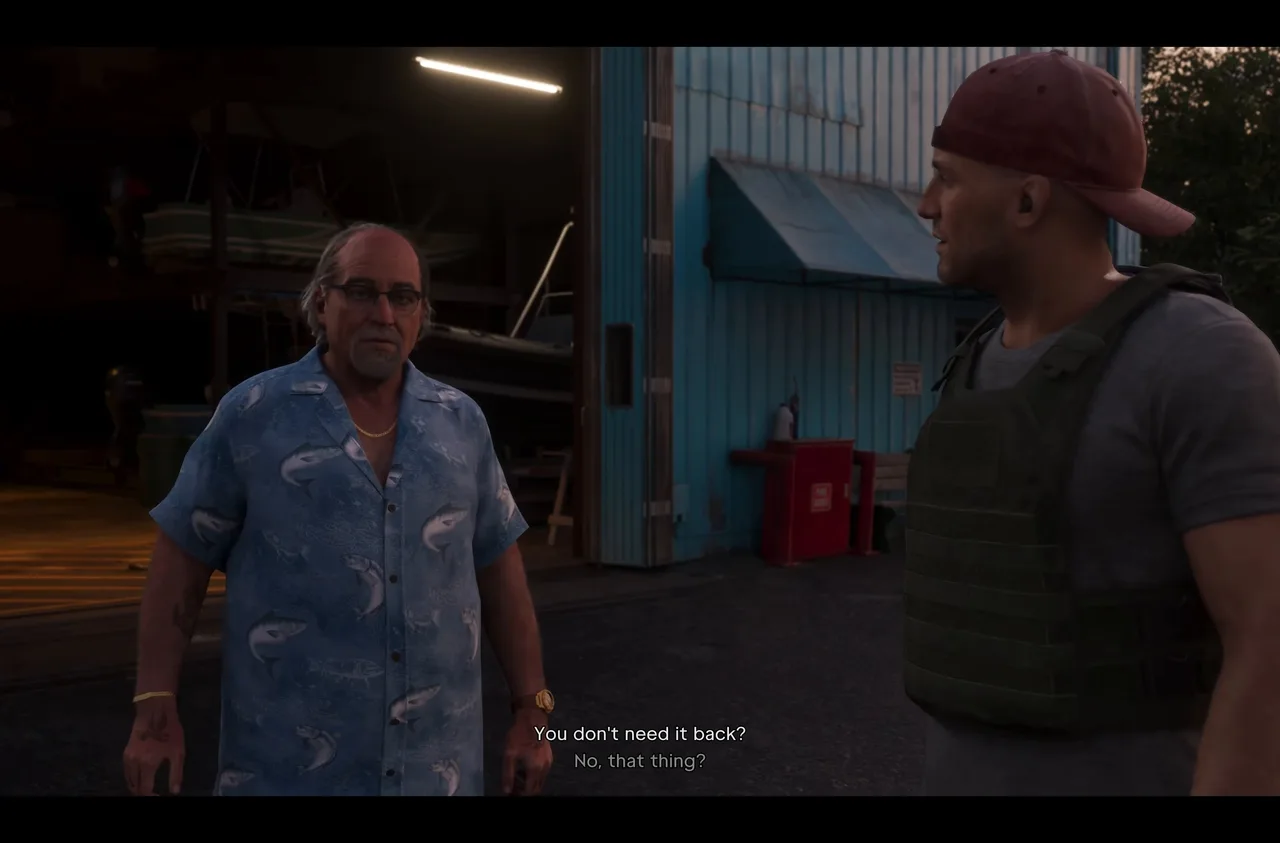 Brian lends you the helicopter. Footage: Sirloin.
Step 2: Attack the penthouse from the helicopter (Lucia)
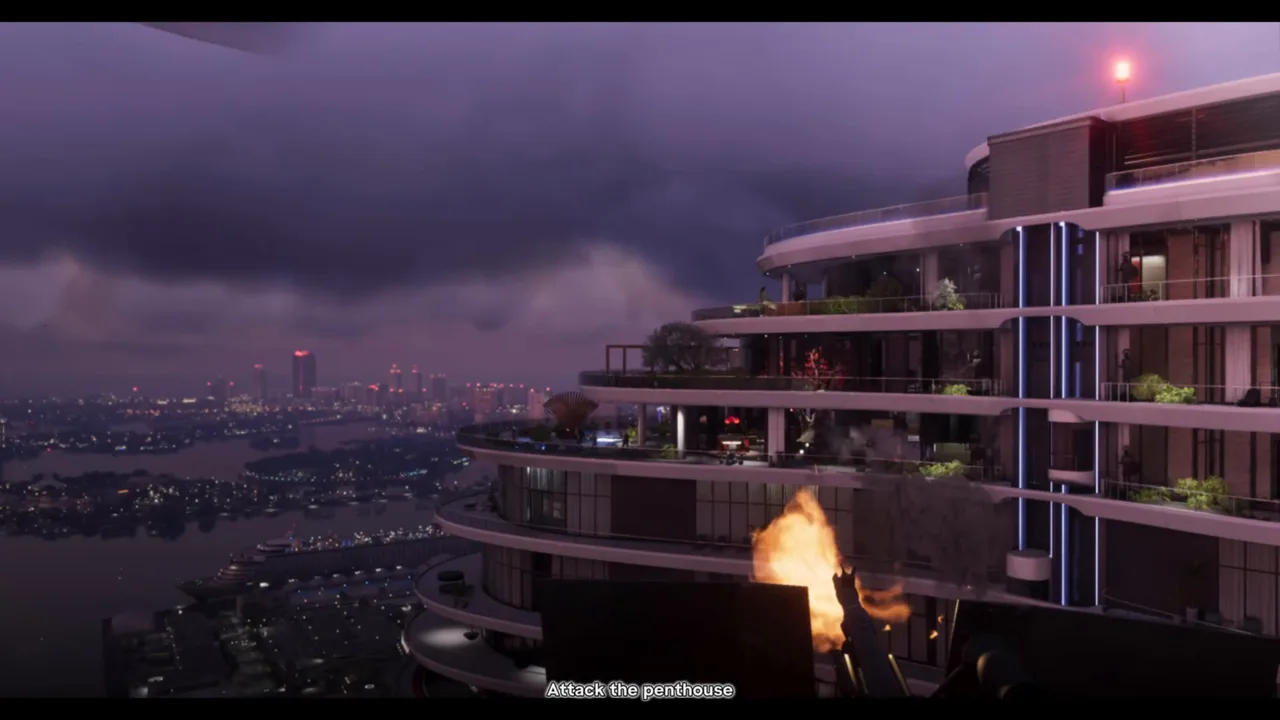
Jason flies and you play Lucia on the side turret. When the tower comes into view, the objective is Attack the penthouse. Rake the curved terraces and break the glass to get at Giorgio’s men.
The turret run on Giorgio’s tower. Footage: Incredilags.
Two things to watch. First, a gunman on a terrace carries an RPG; Jason calls him out, and he is the first target. Second, don’t shoot the office: Jason snaps at Lucia when her fire nearly blows up the room with the files in it. Jason moves the helicopter to the north side and then to the back of the building, so keep firing as the angle changes.
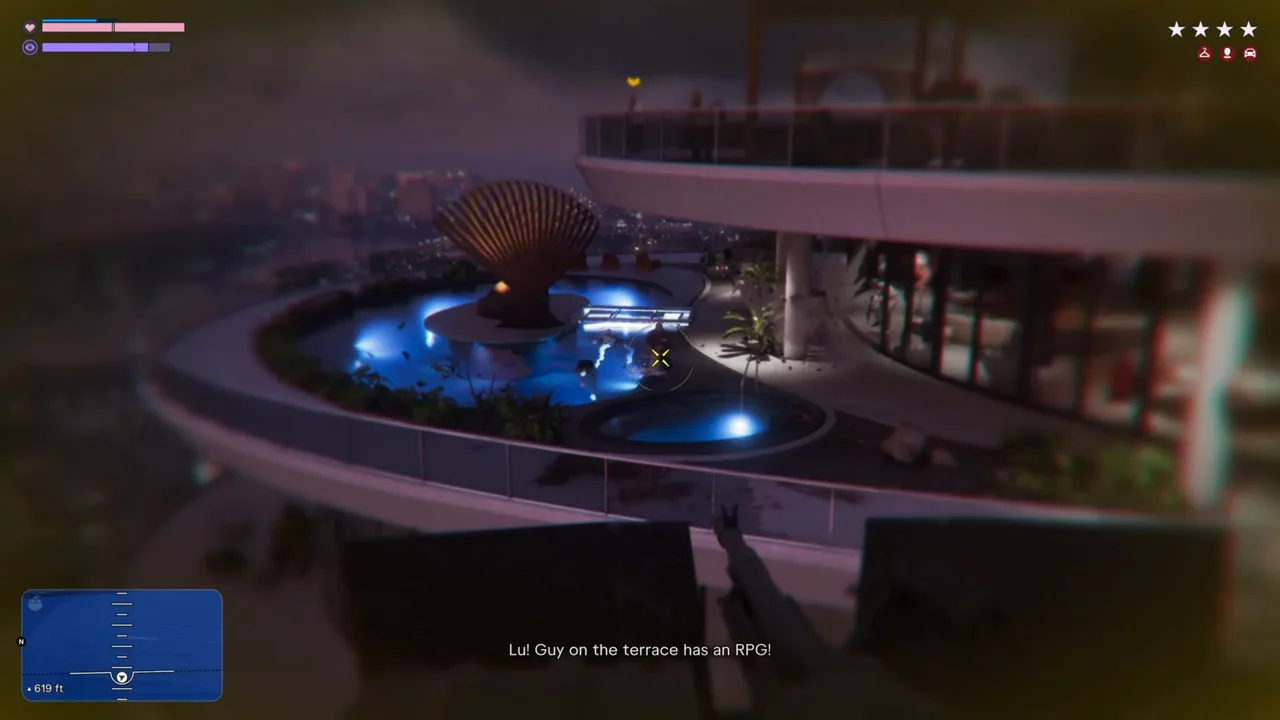 Kill the RPG gunner first. Footage: Incredilags.
When the terraces are mostly clear, Jason hands Lucia the controls and jumps down onto the penthouse.
Step 3: Find a way to Giorgio’s office (Jason)
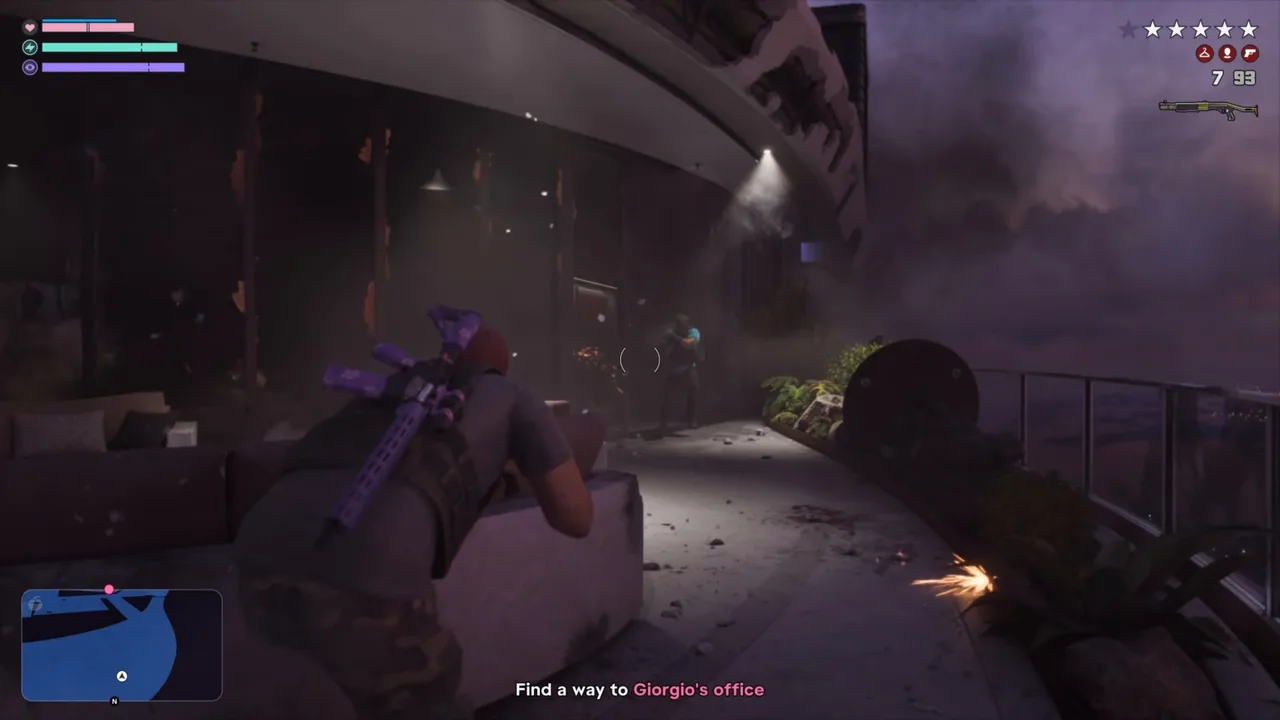
You switch to Jason on the terrace with the objective Find a way to Giorgio’s office. The most direct door doesn’t open; work your way round the outside of the floor, using the planters and pillars as cover. Your wanted level is already four stars or more, but the police don’t matter until later.
Go round the outside of the floor. Footage: Incredilags.
Step 4: Use the computer (Jason)
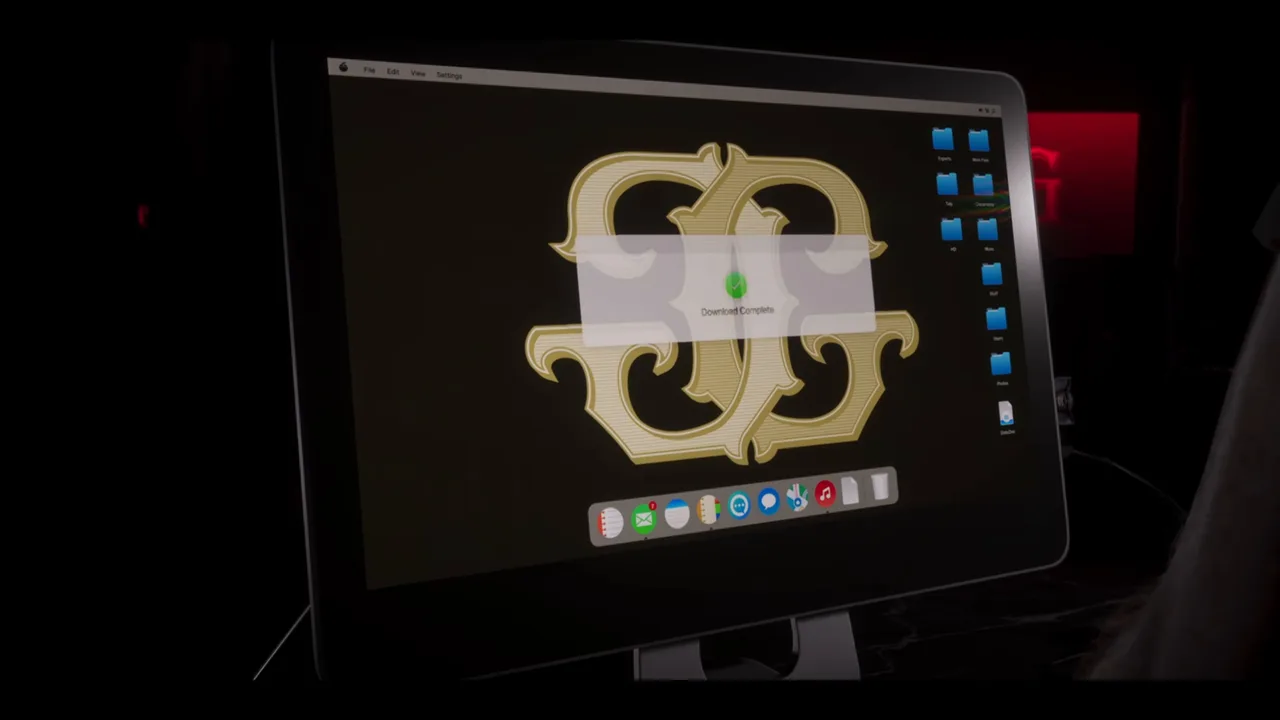
In the office the objective changes to Use the computer. Jason plugs in the drive and a transfer window starts sending the files to Cal’s server. It takes a while, and Incredilags joked about the slow transfer.
The files go to Cal’s server. Footage: Incredilags.
A “Low Casualties” note appeared at the top right as the office scene started in Incredilags’ run. Neither video explains what it tracks, so treat it as a curiosity, not a goal.
Step 5: Distract the helicopter (Lucia)
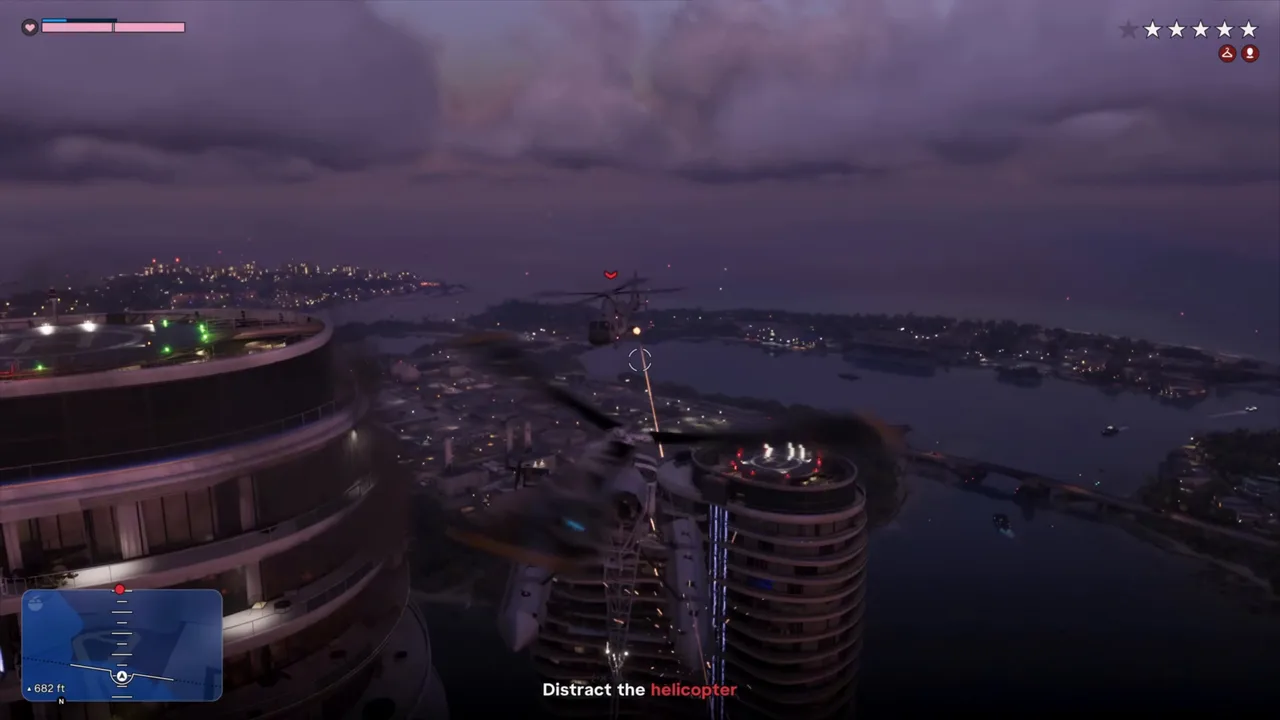
Before the transfer finishes, Giorgio’s own helicopter turns up. You switch back to Lucia, who is now flying Brian’s helicopter, with the objective Distract the helicopter. Keep it busy and away from the office, and stay off the tower walls.
Draw Giorgio’s helicopter off. Footage: Incredilags.
Giorgio gets aboard his helicopter during this part, and Jason is knocked flat in the office. Lucia keeps the attackers off him until he gets up and thanks her.
Step 6: Go back for the hard drive (Jason)
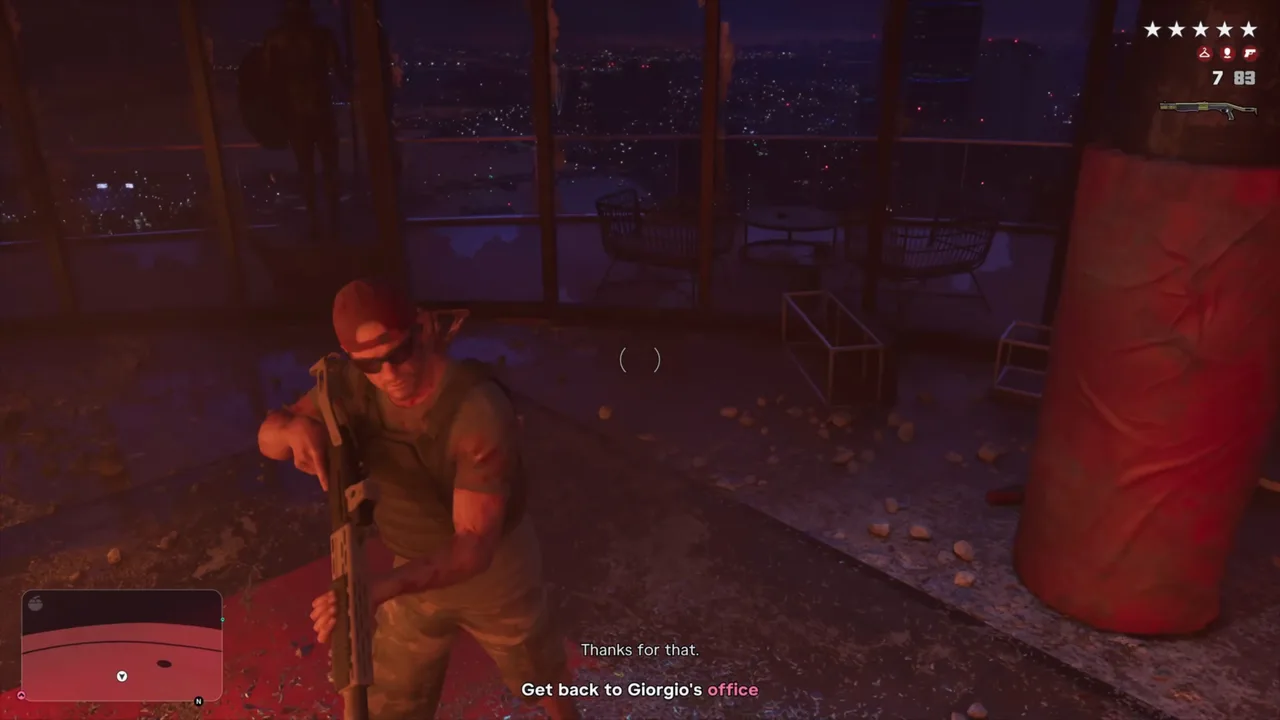
Jason left the drive behind, so the objective becomes Get back to Giorgio’s office and then Retrieve the hard drive. Fight back across the floor and up the stairs. Ammo and armor lie around on the way. Incredilags lost his bearings here; the route is back across the floor and up the stairs, following the marker.
Back up to the office for the drive. Footage: Incredilags.
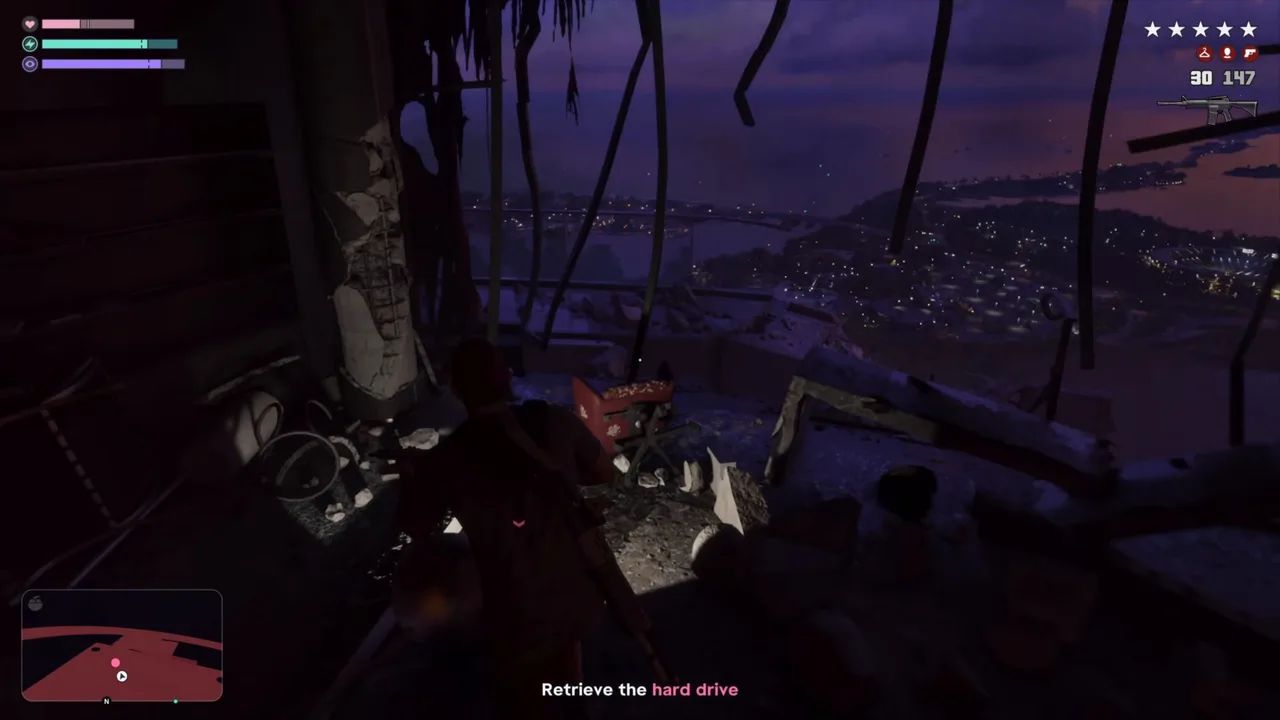 Pick up the drive from the wrecked office. Footage: Incredilags.
Step 7: Escape from the helicopter (Lucia)
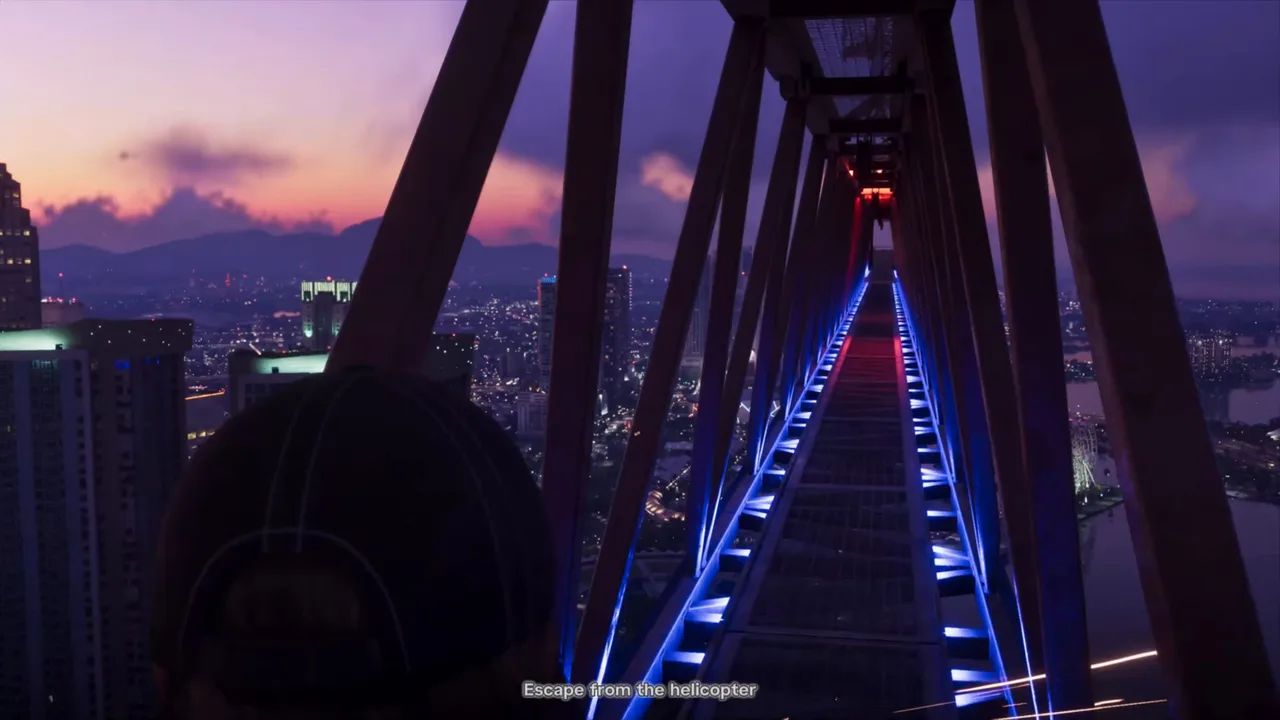
As soon as Jason has the drive, he warns Lucia that the enemy helicopter is coming for her. The objective is Escape from the helicopter: fly away from it among the towers. This chase ends in a scripted crash among the cranes, and you can’t avoid it; Lucia ends up in the tower’s garage.
The escape ends among the cranes. Footage: Incredilags.
Step 8: Reach Lucia in the garage and find a way out
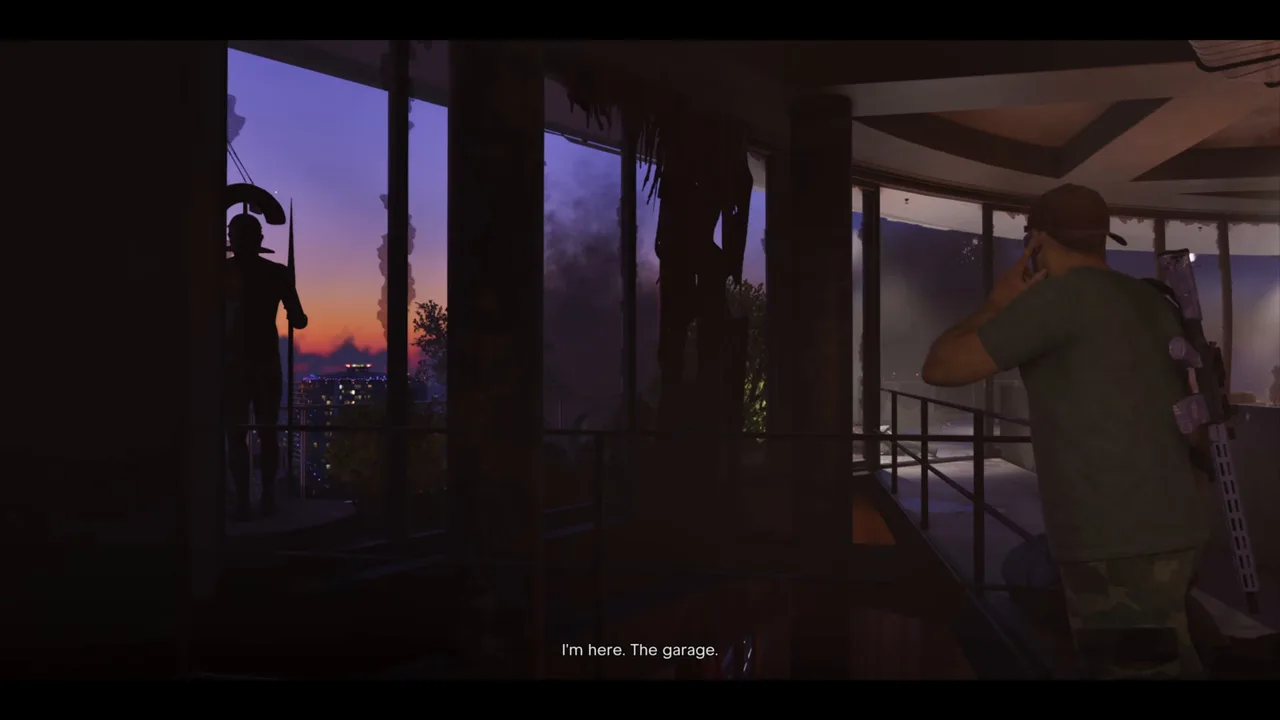
Lucia radios that she is stuck in the garage; Jason tells her to stay put and heads down. The trip down is slow and scripted. Lucia stays hidden while Giorgio’s men search for her, but they find her just before Jason gets there.
Lucia is stuck in the garage. Footage: Incredilags.
In the garage, grab the body armor near the entrance, clear the men around Lucia and hold the two buttons on screen to help her up. The objective becomes Find a way out, and you can now swap between them: hold the direction on the D-pad and press the button shown. Giorgio’s men come at you from several sides and the helicopter strafes the floor, so stay in cover.
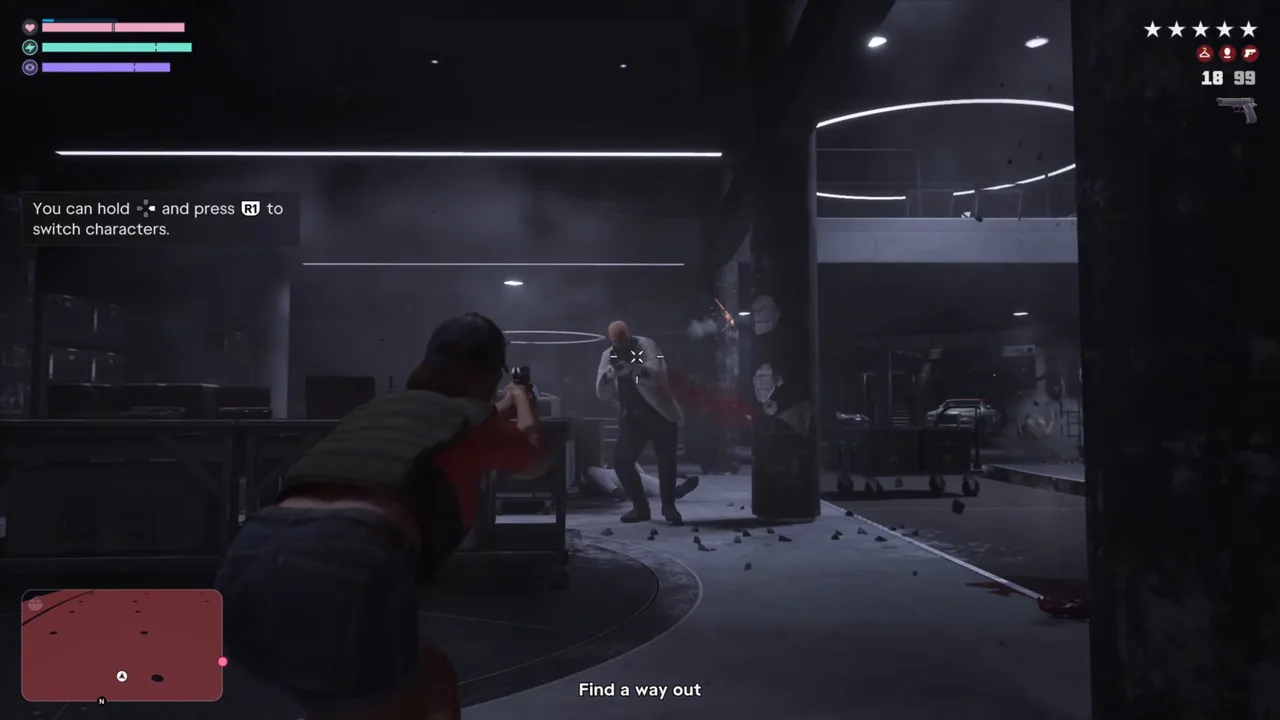 Both characters are playable from here. Footage: Incredilags.
The elevator is wrecked, so head upstairs with Lucia.
Step 9: Evade the helicopter in a car
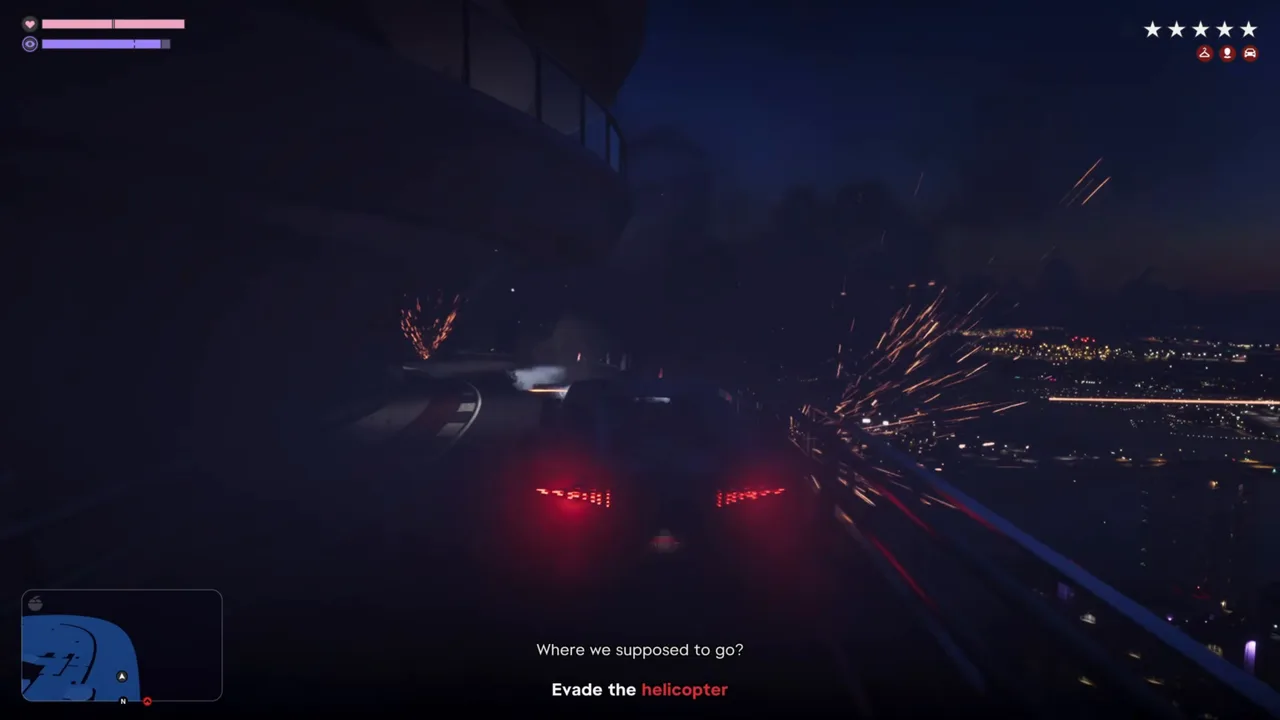
With no way down, Jason decides to drive out. Get into the car and the objective becomes Evade the helicopter: race along the garage level with the helicopter firing at you, then off the edge.
Drive out while the helicopter shoots at you. Footage: Incredilags.
This is where Incredilags failed: Jason says to keep your foot on the gas, he did exactly that, and went off the wrong edge. On his second try he drove more carefully, let the railings guide him and found the jump. Full throttle on the straights, ease off in the turns, and hit the jump square.
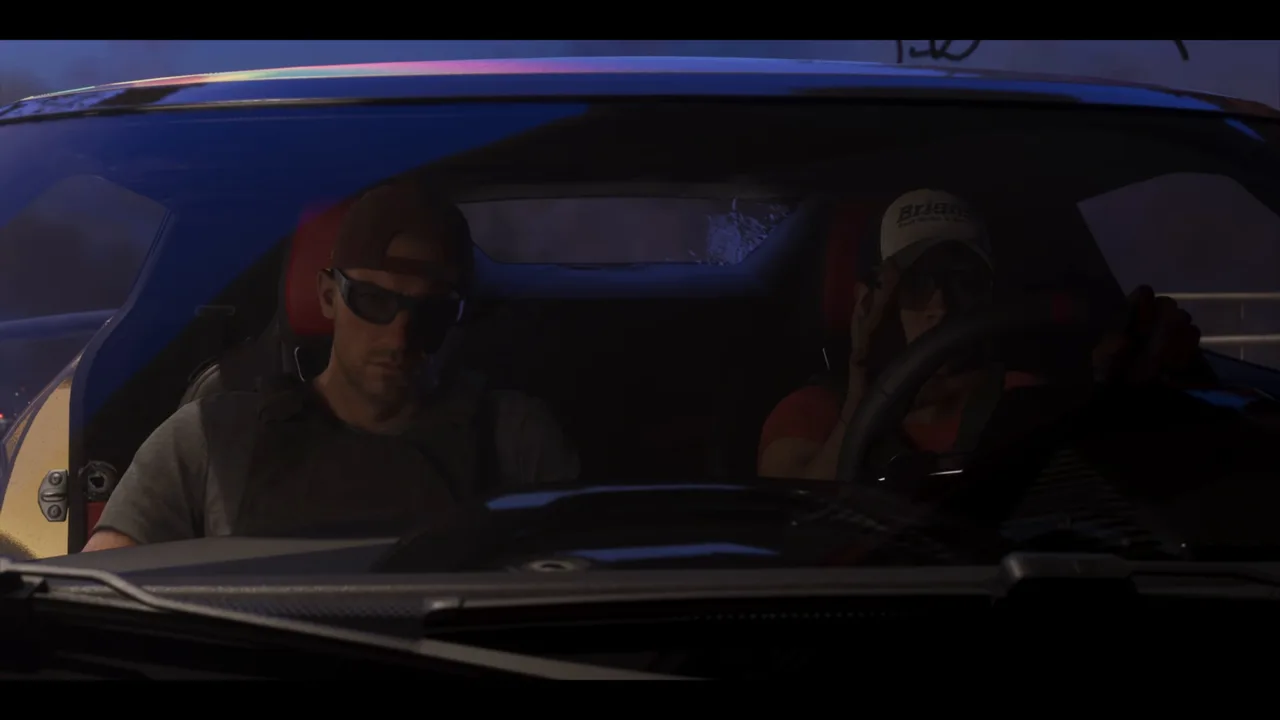 The jump. Footage: Incredilags.
The car lands in the unfinished tower next door, and Jason still has the drive. Lucia tells him their pursuers are dead, and the two of them look for a way down.
Step 10: Get in the elevator and slip away
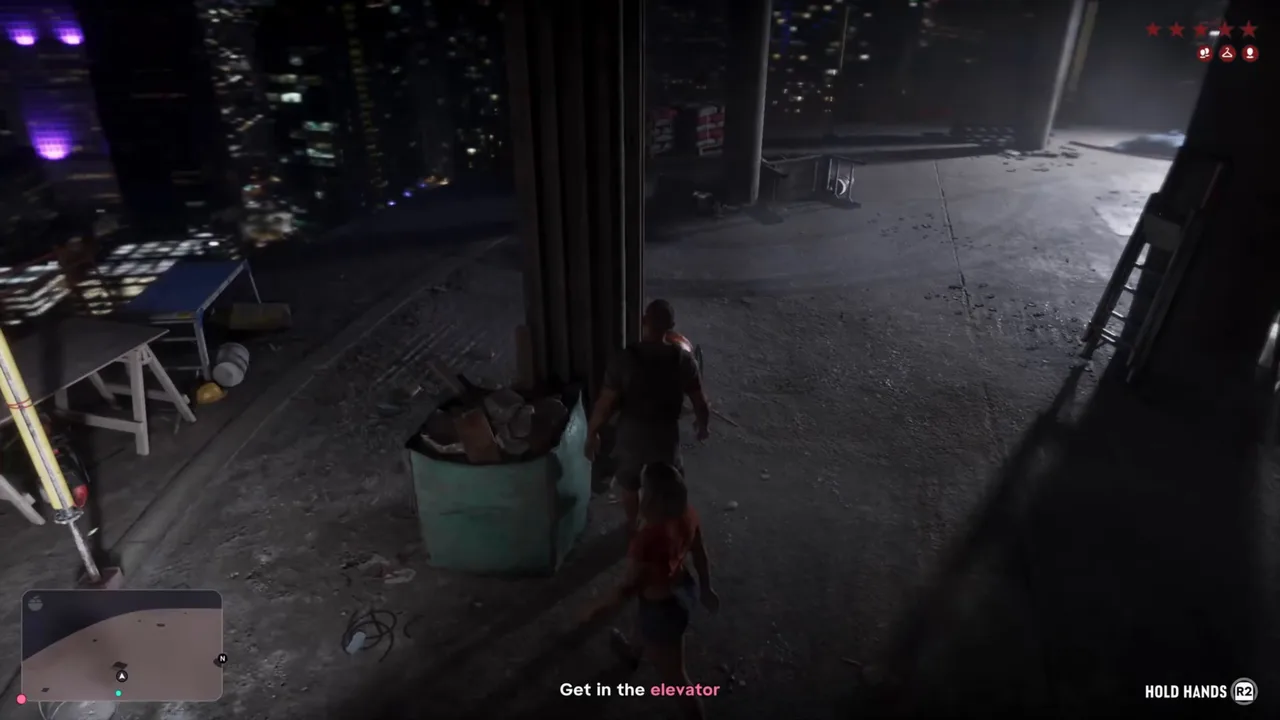
The objective is Get in the elevator, the builders’ lift on the construction site. A “Hold hands” prompt comes up on the way; it’s optional. The police reach the site as you ride down and start searching it, but they don’t spot the pair.
The builders’ lift is the way down. Footage: Incredilags.
At street level you walk out through a crowd of onlookers and take a car.
Step 11: Drive to Cal’s house (Jason)
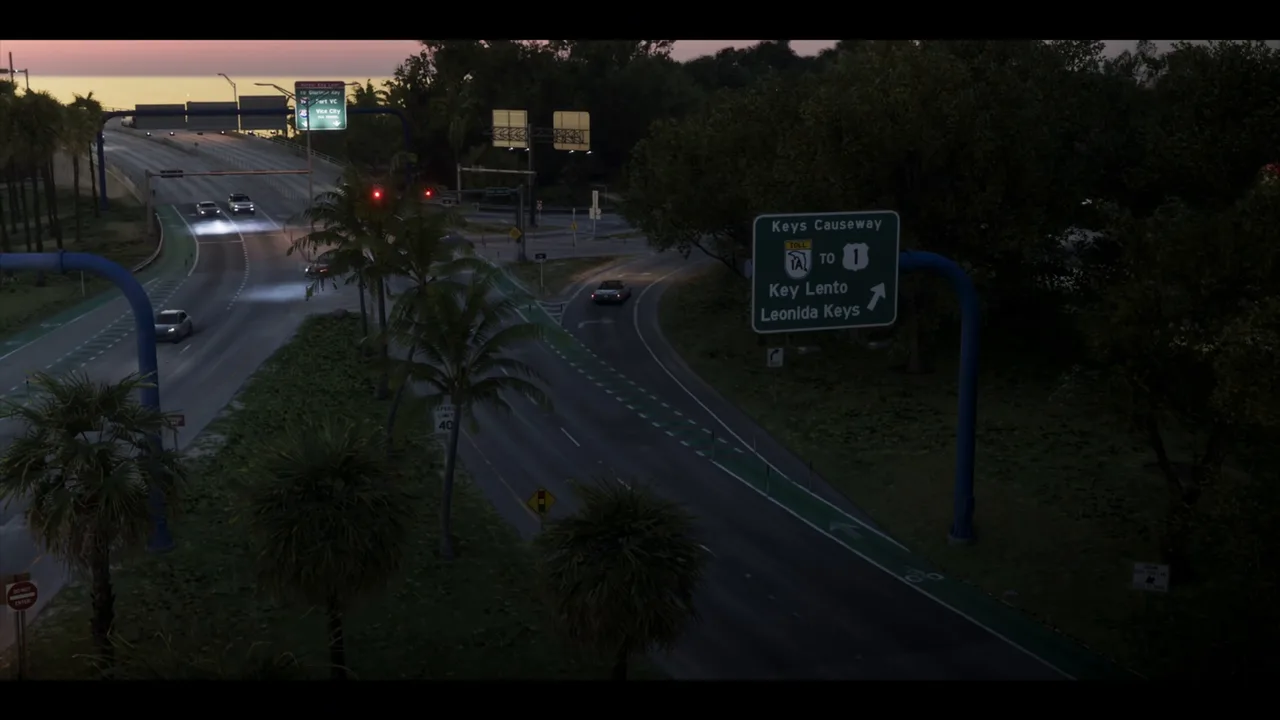
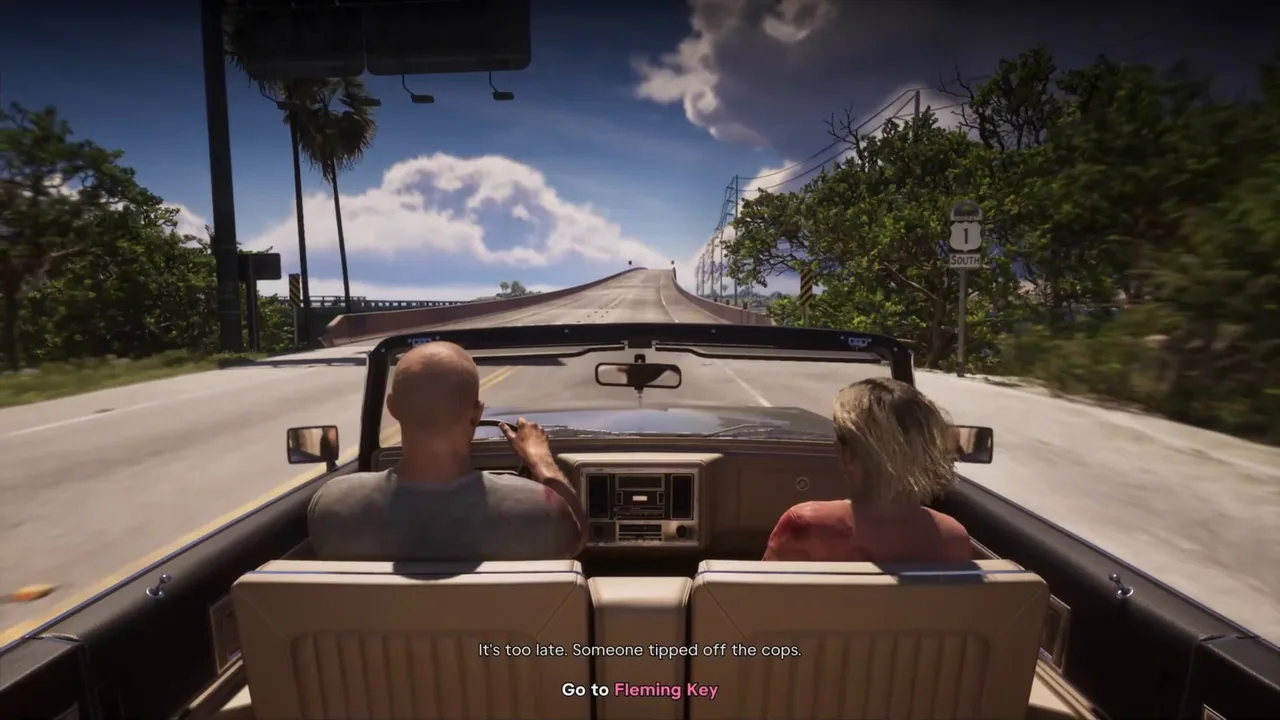
By dawn you’re on the Keys Causeway, heading south to Key Lento, and the objective is Drive to Cal’s house. Nobody follows you. On the way, Jason and Lucia talk about getting on Cal’s boat and staying out of reach until the files buy them a deal.
Onto the Keys Causeway. Footage: Incredilags.
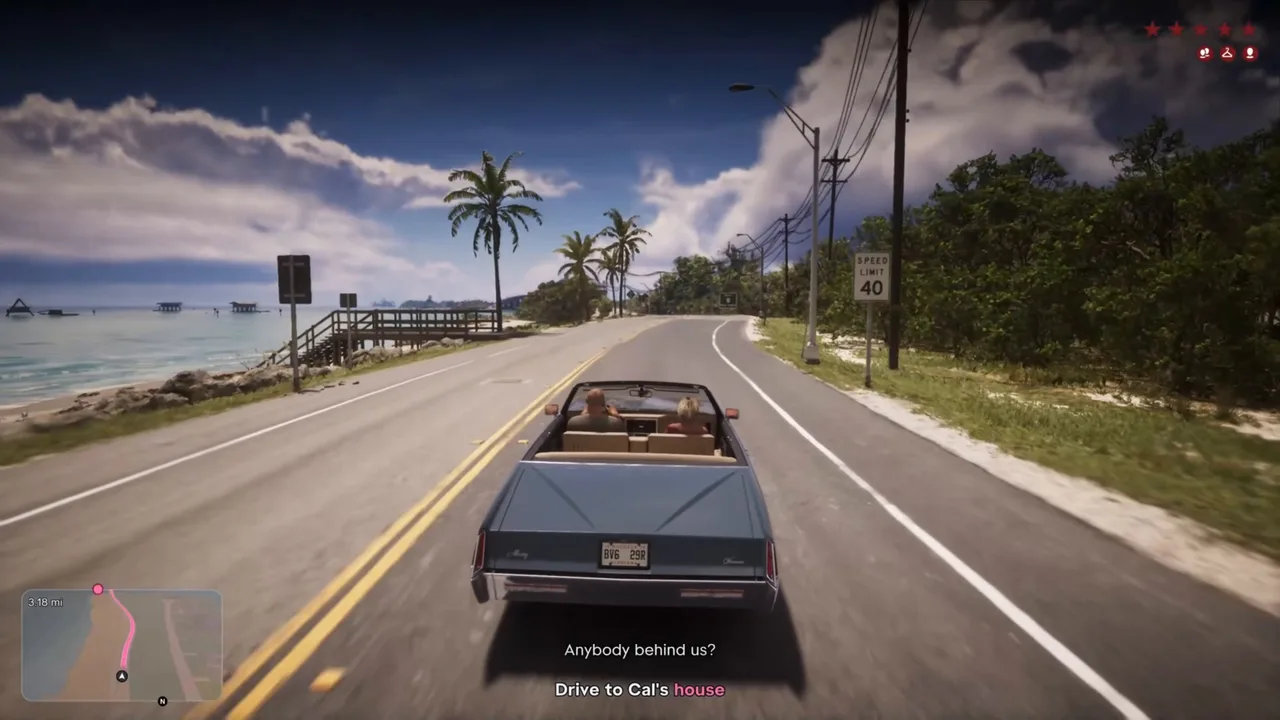 The drive to Cal’s place in Key Lento. Footage: Incredilags.
Step 12: Go to Fleming Key and make the final choice
The plan falls apart at Cal’s house: the police got there first. Back in the car, the objective changes to Go to Fleming Key. Jason remembers an airfield down there where Brian used to send the Dodo for repairs, which always has planes lying around.
New plan: Fleming Key. Footage: Incredilags.
Drive the marked route. A cutscene takes over on the way, and the mission ends on a choice with two buttons: Swim for it (Triangle on PlayStation) or No surrender (R2). Whichever you press plays out the ending, and the credits follow. What each one leads to is in the spoiler section below.
The endings (spoilers)
Show both endings What happens after each choice, the post-credits scene and the "other endings" question. Contains major spoilers.
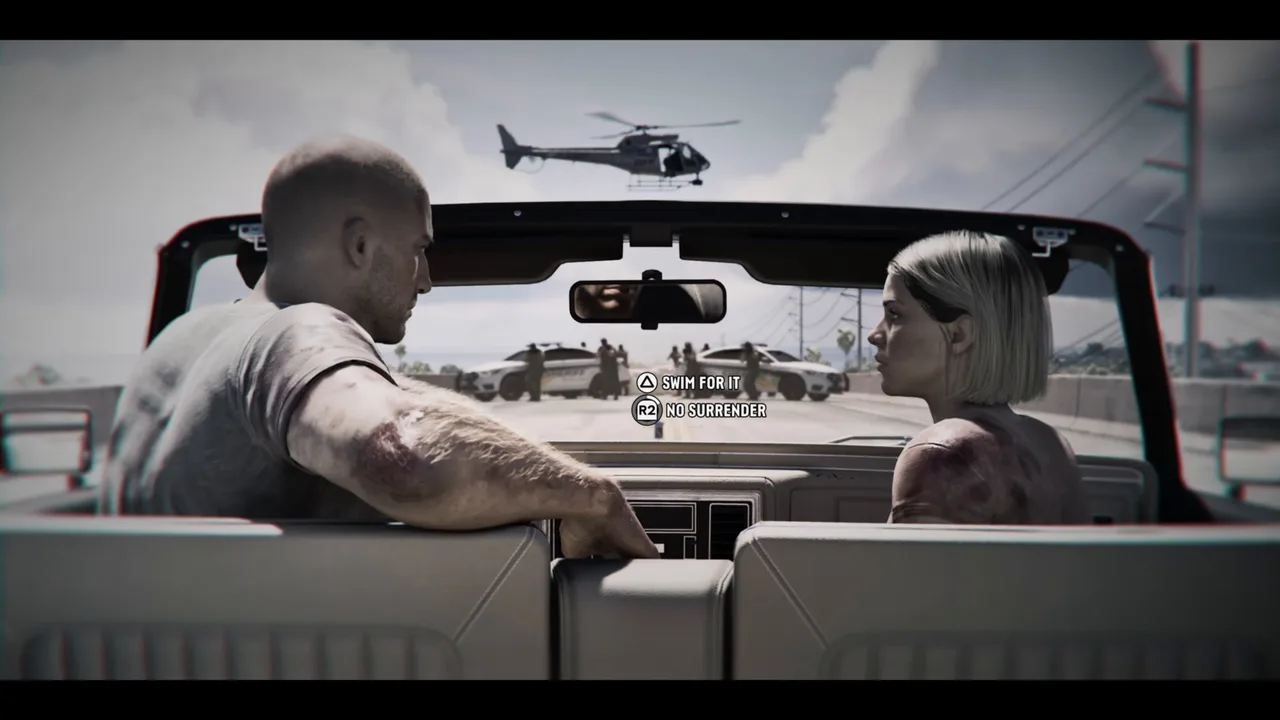 The last choice of the story. Footage: Incredilags.
What leads up to it. At Cal’s house a police team is already on the porch, so Jason turns around. On the bridge to Fleming Key the car runs into a roadblock with a police helicopter overhead. Lucia reminds Jason that the prosecutor’s deal was only ever for her; Jason tells her to take it so at least one of them gets out. She refuses: they are in this together. Jason’s alternative is to get into the water and let the current carry them to a sandbar and a boat, “Cuba” being the joke. They kiss, and the prompt appears.
Swim for it (Incredilags’ choice). Jason gets out of the car to make a run for the water. A deputy shouts that he has a weapon and the police open fire. Jason dies on the road, and an officer says “he’s gone.” Lucia is shot in the passenger seat and left slumped and bleeding as officers reach her. The footage doesn’t settle whether she survives.
No surrender (Sirloin’s choice). Jason floors it at the roadblock instead. A short slow-motion shootout follows, with Lucia firing from the car at the deputies and the helicopter, before the car is shot up and comes to rest off the road. Both of them are killed, and an officer confirms “they’re gone.”
After the credits. Both runs show the same post-credits scene: Cal, somewhere under neon lights at night, opens the downloaded files on his laptop and can’t believe what he sees. So the files Jason sent from Giorgio’s office did get through.
Are there other endings? Both runs offer only these two buttons, and we have not seen a third ending or a button to take Lucia’s deal. Incredilags said afterwards he had heard that the ending depends on your stats, with Family Savings as his guess, but neither video shows that, so treat it as unconfirmed.
The world you go back to. After the Story Complete screen, Incredilags’ save put him back in the days before the last job, with Jason and Lucia together and talking about waiting on Abe and the pardon. That is the open world the game leaves you in.
Rewards
- Trophy: You Gotta Know When to Get Off (Gold, hidden), for completing the final mission. It popped on the Story Complete screen in Incredilags’ run.
- No cash payout shows up in either run. After returning to the world, Incredilags got a Family Savings notice: $100,000 interest on his balance. That is interest on what you have saved, not a mission reward.
- The world back. The Story Complete screen says you go back to the game as it was before the finale, with the chance to wrap up loose ends and work towards 100% completion. A tip on screen points to the Stats section of Progress for tracking it and says cheats can also be unlocked.
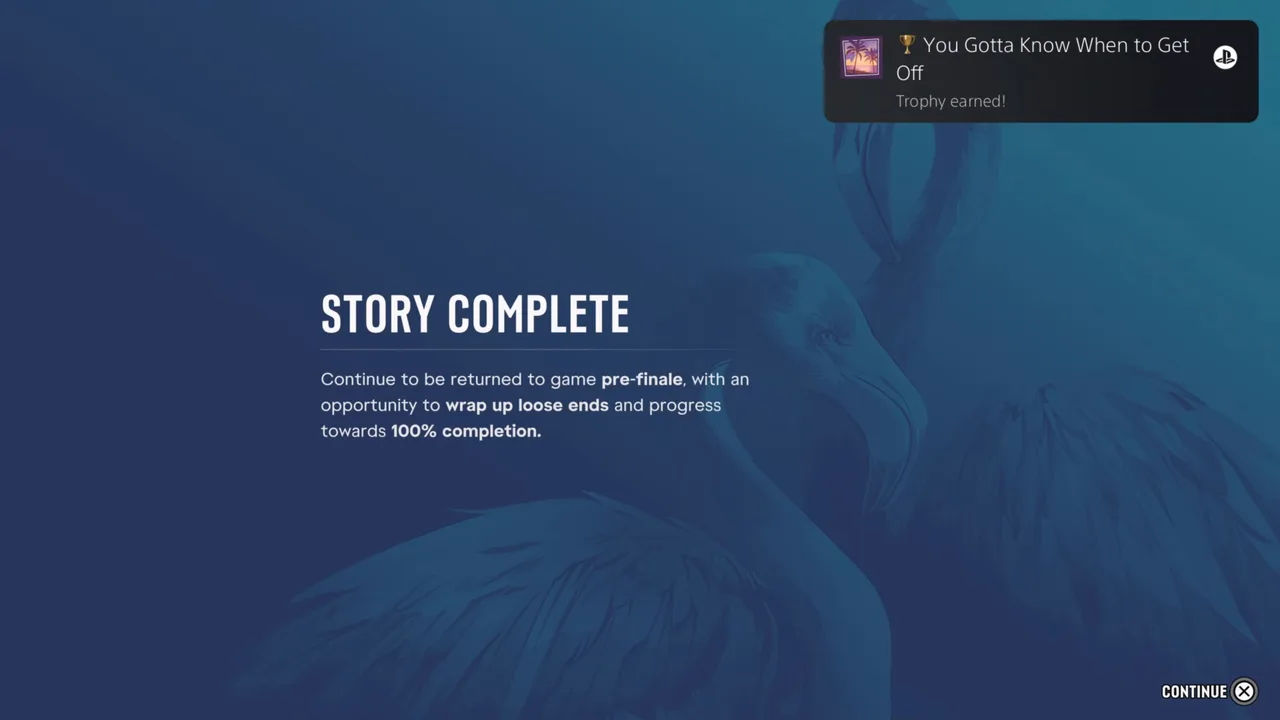 Story Complete and the trophy. Footage: Incredilags.
Tips
- Pack for range. Two rifles beat a shotgun here; the terraces and the garage are long sightlines.
- Take the armor and grenades on the table, and pick up the extra armor in the garage.
- Shoot the RPG gunner first in the turret section, and keep your fire away from the office.
- Don’t just floor it in the car. Follow the railings to the jump; that’s where Incredilags lost a life.
- Want both endings? The game returns you to the world before the finale, which should let you start it again and press the other button. Neither video shows a replay, so keep a manual save from before the mission to be safe.
Related guides
- Previous mission: Protective Custody (#121). This is the last story mission; see the full missions list.
- Earlier in Chapter 5: Taking Liberties, the spa meeting in Giorgio’s tower.
- The hard drive story starts in Heavy Lifting.
- GTA 6 characters: Jason, Lucia, Brian and Cal.
- GTA 6 weapons guide: every rifle on Brian’s table and where to buy them.
- GTA 6 money guide: Family Savings and what to do with your cash after the story.
- Interactive map: where the finale starts in Key Lento, and everything left to find.
Frequently Asked Questions
How do you start The End of the Road in GTA 6?
Finish Protective Custody (#121). The finale opens with a briefing at Brian's Boat Works & Marina in Key Lento, where you pick your weapons before the helicopter takes off.
How long is the final mission in GTA 6?
About 25 minutes from the briefing to the credits in both runs we watched, including cutscenes. Add a few minutes if you fail the car jump, which is the one checkpoint most likely to send you back.
Does GTA 6 have more than one ending?
The last mission ends on a two-button choice, Swim for it or No surrender, and each one plays a different final scene. Those are the only two we have seen; claims that your stats change the ending are not confirmed in any footage we have.
Can you keep playing after The End of the Road?
Yes. After the credits a Story Complete screen returns you to the world as it was before the finale, so you can finish side content and work towards 100%.
What trophy do you get for the last mission?
You Gotta Know When to Get Off, a hidden Gold trophy for completing the final mission. In Incredilags' run it popped on the Story Complete screen after the credits.
Sources & Credits
Researched from these videos and official material, among others. Screenshots credit the creator whose footage they come from.