Jump to your step
 1
Ring Pete from the hangar · Jason
 2
Get into the back office · Jason
 3
Open the safe with code 3718 · Jason
 4
Get to Pete’s plane through the police raid · Jason
 5
Lose the cops in the air · Jason
 6
First drop: the wetlands · Jason
 7
Second drop: Big Pine · Jason
 8
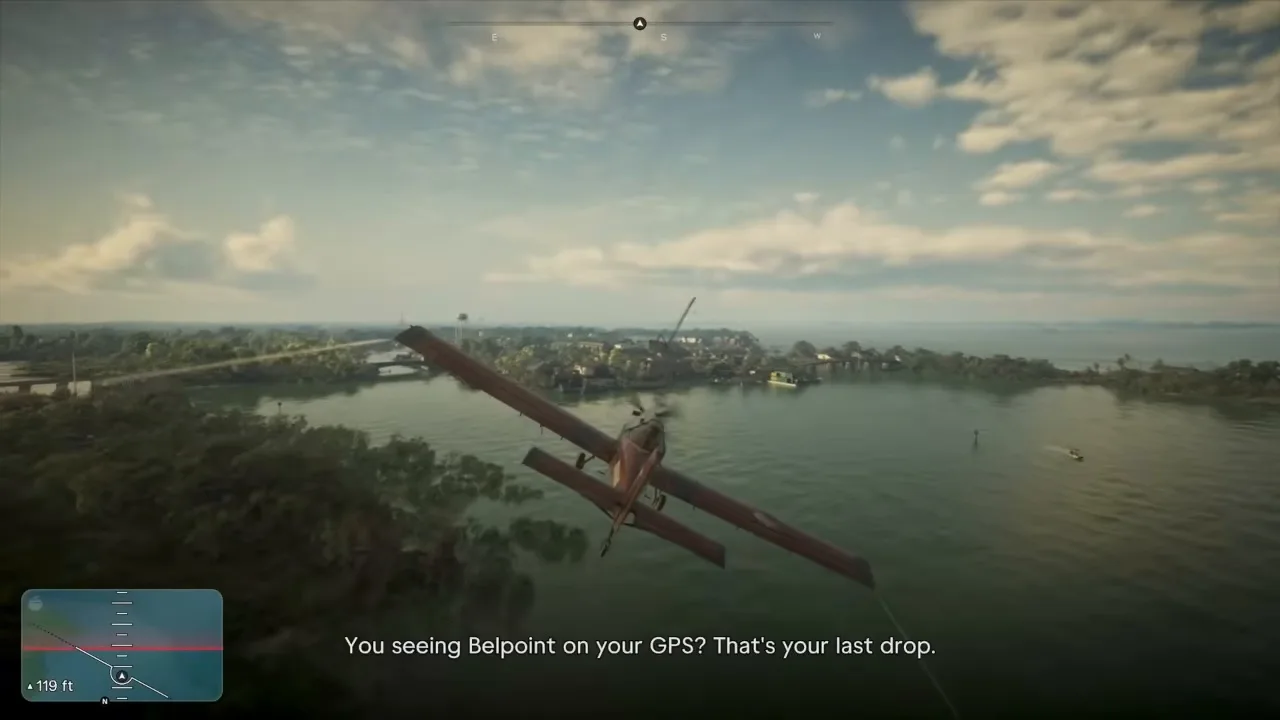
Third drop: Belpoint, around the coast guard · Jason
 9
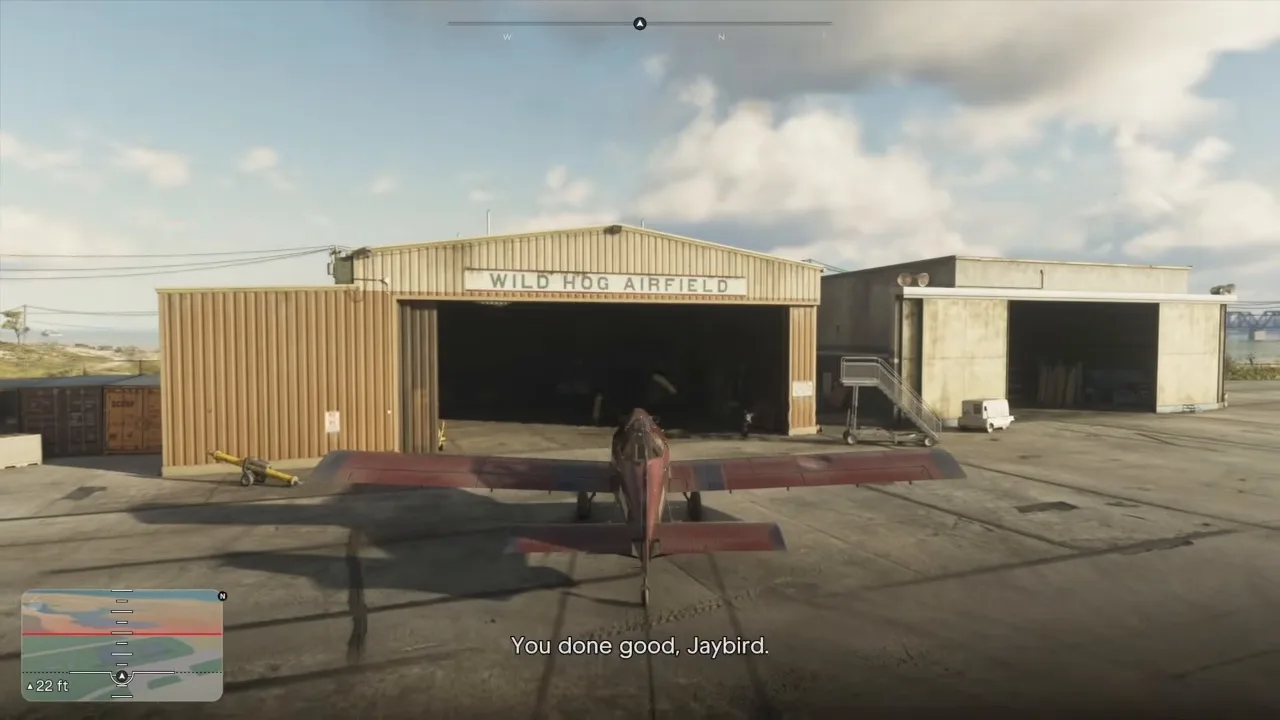
Return the plane to Wild Hog Airfield · Jason
The Last Mile: Passing the Torch: quick facts
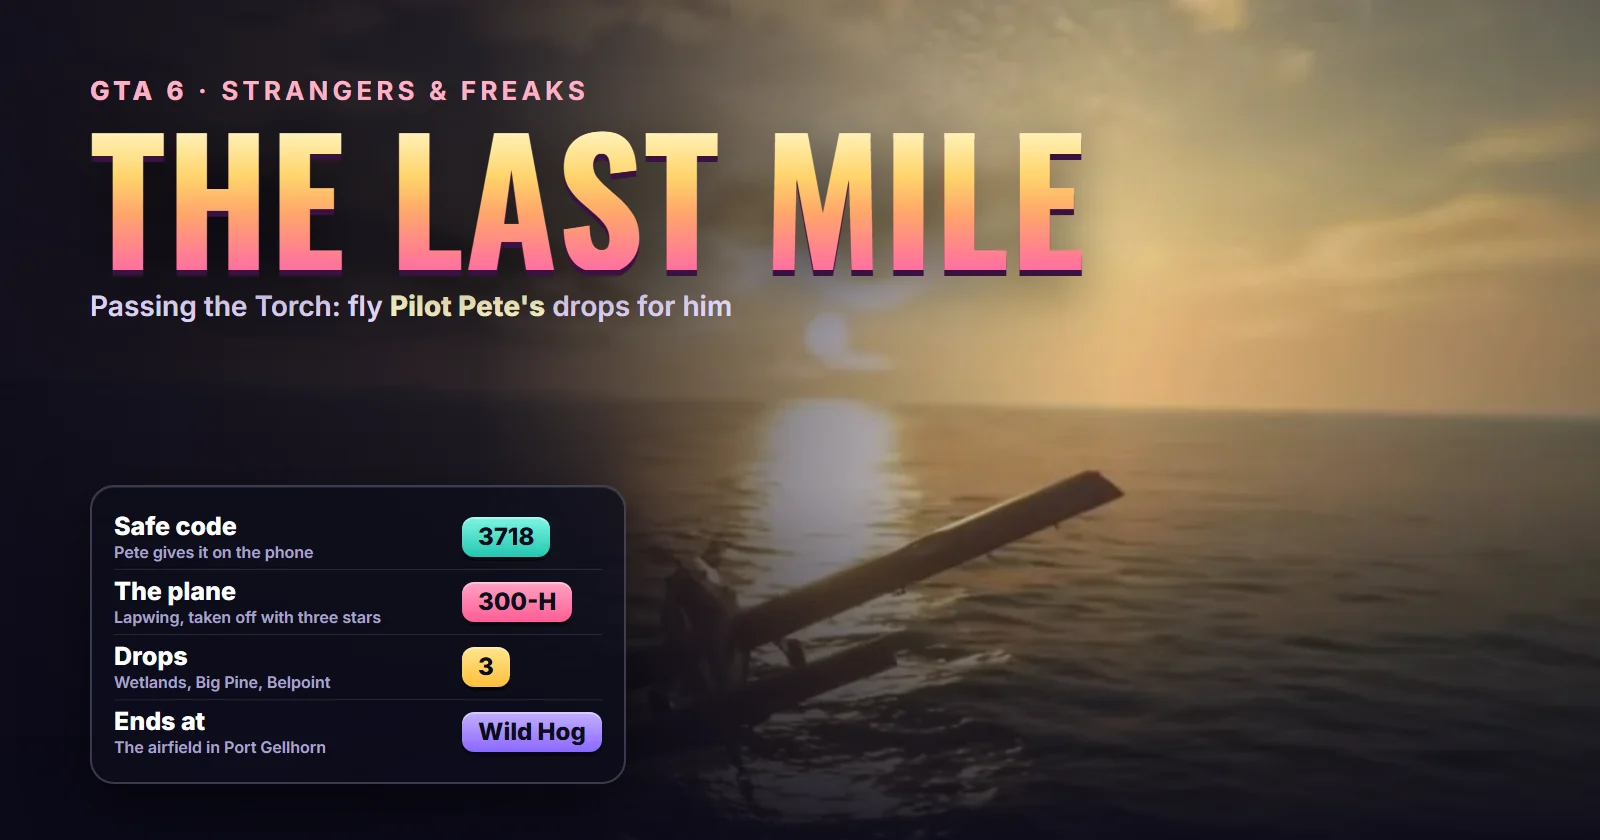
| Mission | The Last Mile: Passing the Torch, Strangers & Freaks side mission (Pilot Pete’s first of five) |
| Name in the task list | Recover Pete’s Plane |
| Chapter | Chapter 4 |
| You play as | Jason only |
| Given by | Pilot Pete, over the phone and the plane radio. He never shows up in person |
| Where it starts | Hangar 3 at Sundown Private Airfield, Waning Sands (Leonard County) |
| Where it ends | The hangar at Wild Hog Airfield, Port Gellhorn |
| Unlocks after | Pete’s call early in Chapter 4 |
| Unlocks next | The Last Mile: Backseat Pilot, about half an in-game day later |
| Length | About 15 minutes, nearly all of it in the air |
| Reward | $12,000 pilot’s fee (mission database), $1,200 from the safe, Pete’s KZ-59 |
| Trophy | None for this mission. Pete’s strand counts toward Strangers & Freaks |
| Required for 100% | Yes |
Mission briefing Who Pilot Pete is, his call, how to unlock the mission and where it starts. Contains spoilers.
Who Pilot Pete is
Pete is the old smuggling pilot from Brian Heder’s circle. Jason first flew alongside him in Clear Skies, sitting on top of his plane so air traffic control saw a single aircraft. He came back in Company Property with a hold full of weapons crates, just before a government hit squad stormed his airstrip. By his own telling he used to fly for the IAA, and the agency has not forgotten him.
Where to find Pilot Pete: you never meet him in this strand, but the places where he hands out jobs are on the map: Pilot Pete on the live map.
How to unlock Passing the Torch
Pete calls Jason early in Chapter 4. In Sirloin’s Chapter 4 run the call came out of the blue, right after Jason and Lucia had been grumbling about how much their new lawyer is costing them. Another database ties it to the story mission Pool Day (#80). Either way it comes in the first stretch of the chapter.
On the phone Pete explains that “Bri” sent him. A Colombian former business partner still has a shipment sitting at Sundown Airfield, and buyers in Leonida are waiting for it. With the agency watching him, Pete is grounded for good, so he is handing the route, and the money, to Jason. That handover is the “passing the torch” in the title. Afterwards Lucia asks whether Jason trusts Pete. His answer: Brian does, so he supposes he does too.
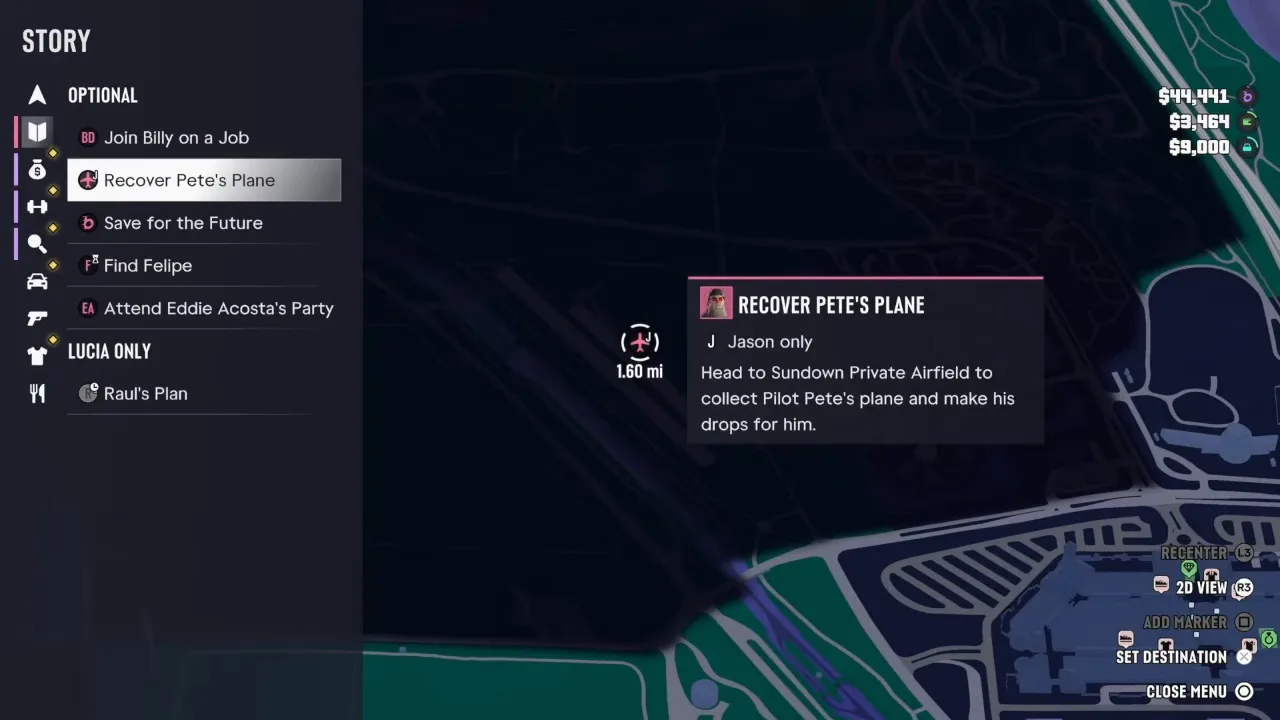 The task as it appears in the map index: Recover Pete’s Plane, Jason only. Footage: Trophygamers.
After the call, Recover Pete’s Plane goes into the Optional section of the Story tab. In Trophygamers’ list it sat next to Join Billy on a Job, Save for the Future, Find Felipe and Attend Eddie Acosta’s Party, so there is no rush. You can take it whenever Jason is free.
Where Passing the Torch starts
The mission starts at Sundown Private Airfield, which our map places in Waning Sands, on the Leonard County coast. The blip is a small plane icon on the runway. Pete’s plane waits in the hangar with a big 3 painted inside. See the mission start at Sundown Private Airfield on the live map, or all of Pilot Pete’s spots. The mission doesn’t have its own pin there yet.
This walkthrough follows Trophygamers’ full run of the mission, with the unlock call from Sirloin’s no-commentary Chapter 4 playthrough.
Step 1: Ring Pete from the hangar (Jason)
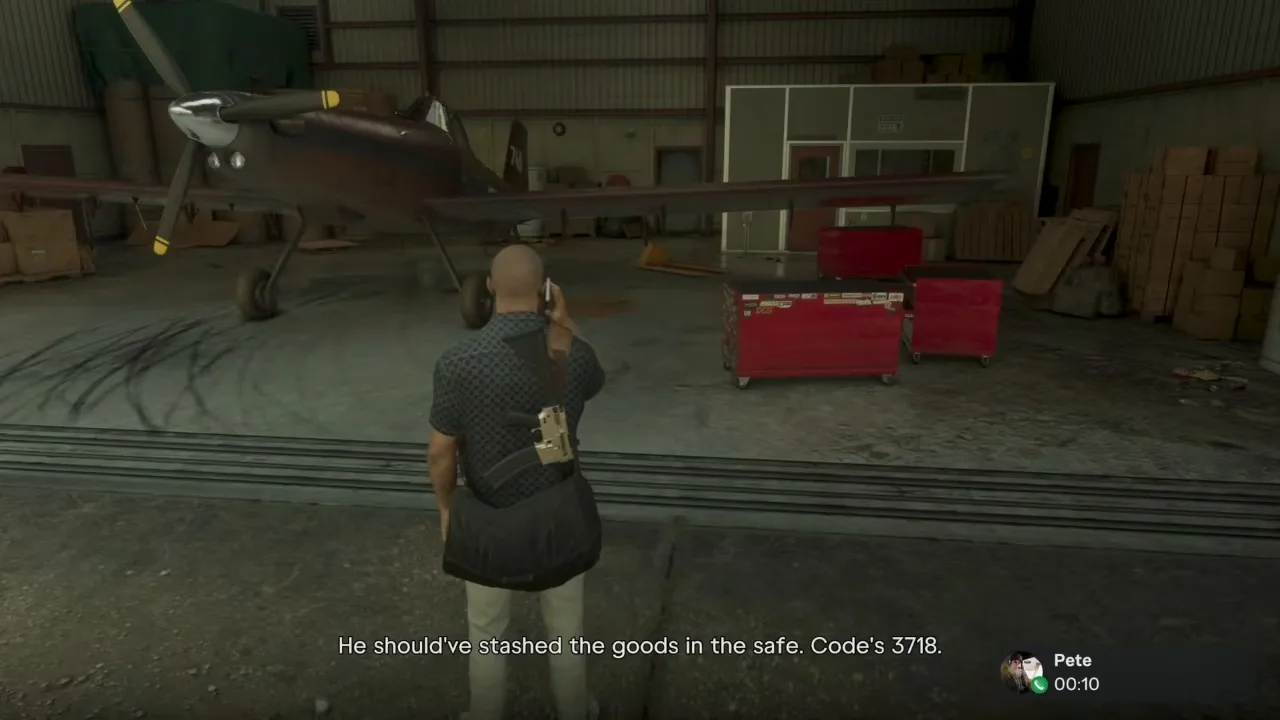
Walk into the hangar and Jason phones Pete to say he’s arrived. Pete explains that the hangar belongs to a friend who asks no questions, and that the goods should be in the safe. He reads out the code, 3718, and tells you to radio him once you’re airborne.
Pete gives you the safe code before you’ve even seen the office. Footage: Trophygamers.
He also lets slip that the feds have been watching the place. He waves it off: they’re looking for a dirty old man, not you. Remember that line, because Step 4 proves him wrong. When the call ends, the title card appears and the objective is Search the hangar for Pete’s stash.
Step 2: Get into the back office (Jason)
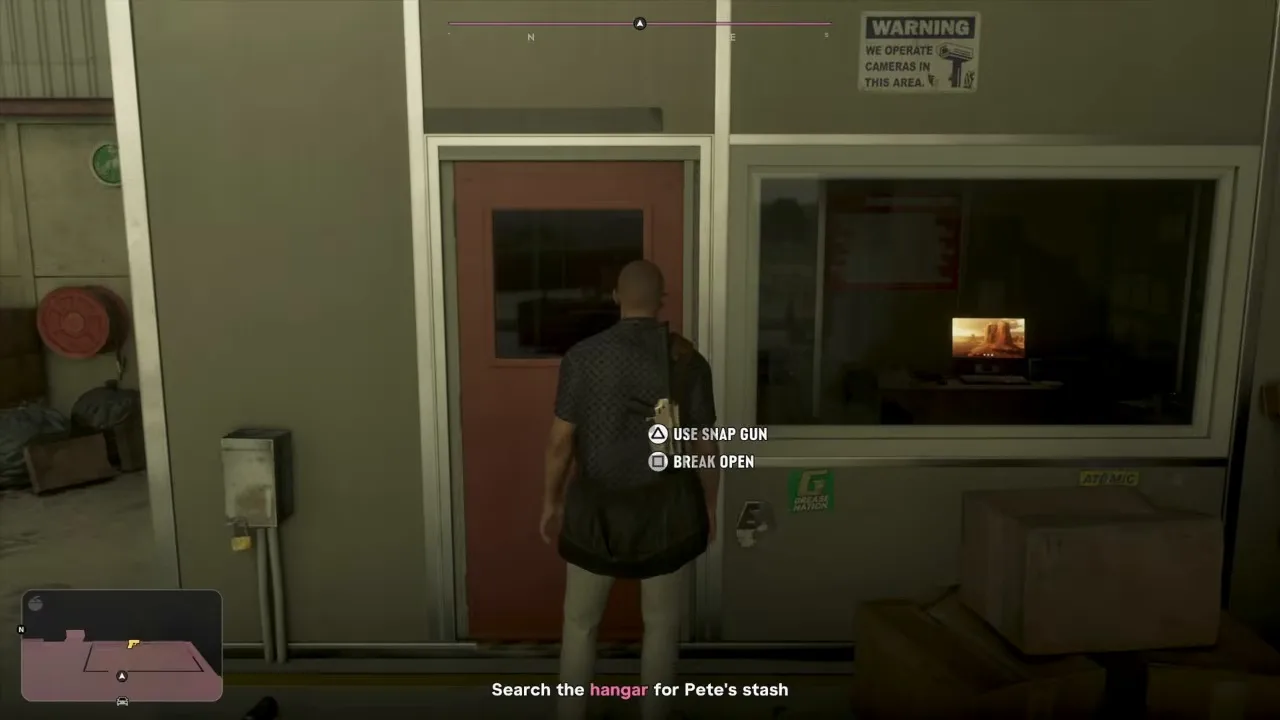
The stash is in the office built into the side of the hangar, behind a red door under a “we operate cameras in this area” sign. It’s locked. Walk up and you get two prompts: use the snap gun (Triangle on PlayStation) or break it open (Square). Either one gets you in.
The red door to the back office: pick it or force it. Footage: Trophygamers.
Inside, Pete’s KZ-59 Assault Rifle lies by the desk with the glowing monitor. Pick it up and you get the gun plus assault rifle ammo. It’s a named version of the Kozlov KZ-59, the AK-style rifle that costs $1,250 in shops (see our weapons guide). The objective changes to Recover Pete’s stash.
Step 3: Open the safe with code 3718 (Jason)
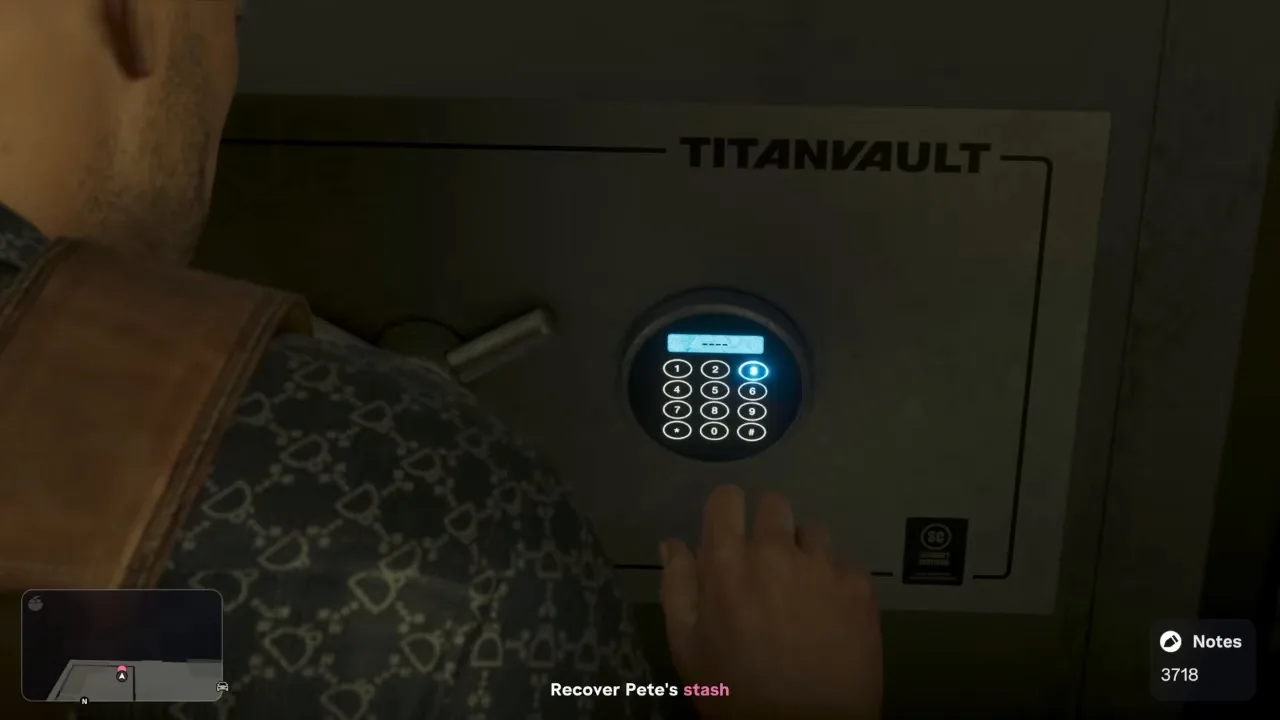
The safe is a TitanVault floor safe in the corner of the office. You don’t need to remember the code: Jason has it in his notes, and 3718 shows bottom right while you enter it on the keypad.
The code sits in Jason’s notes in the corner. Footage: Trophygamers.
Inside is the cocaine you’re about to deliver and $1,200 in cash, which goes straight into Jason’s wallet. That’s when the objective switches to Get in Pete’s plane.
Before you leave the office, look around. There’s a Zombix (the healing item) in the office too, and a prompt for an M350 LMG comes up on a green crate. Grab the Zombix at least: you’re about to need it.
Step 4: Get to Pete’s plane through the police raid (Jason)
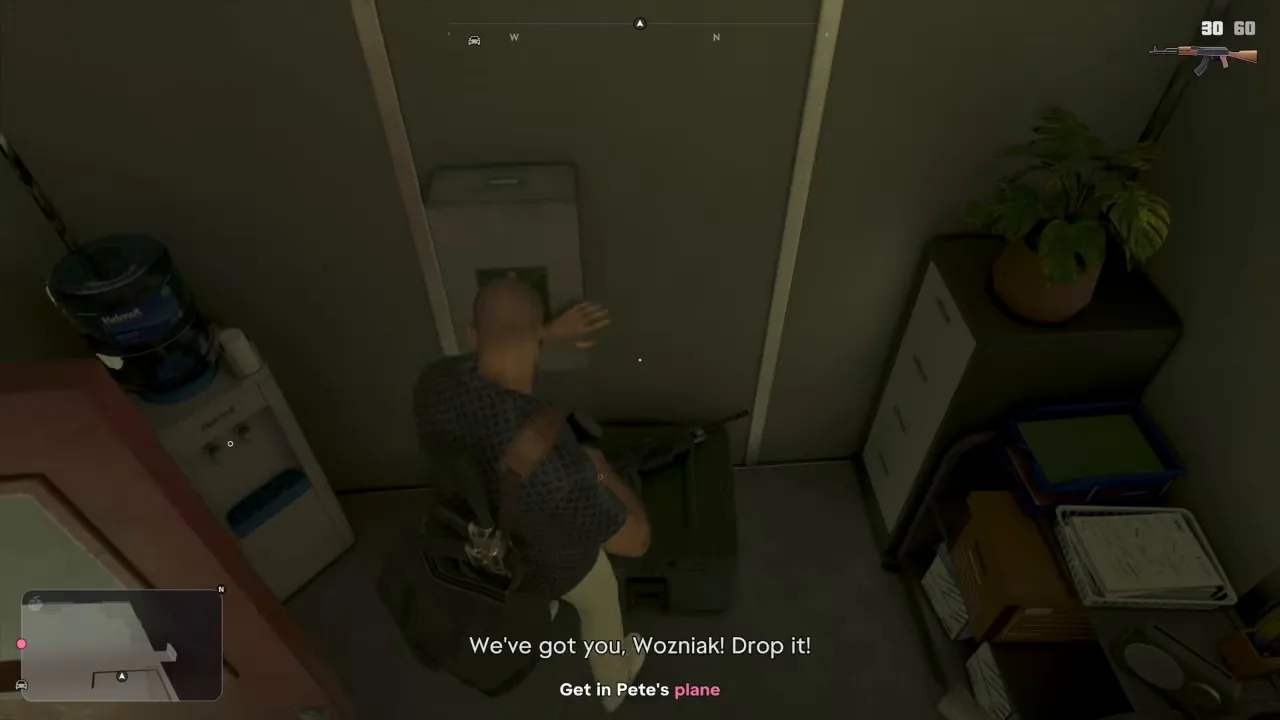
As you head out, officers storm the hangar shouting “We’ve got you, Wozniak!” and order him to drop the bag. They were waiting for Pete, and the name they shout seems to be his. Moments later one of them realises the bald man in the patterned shirt isn’t the old pilot they wanted. Too late: you now have three stars and the HUD reports a crime.
The raid starts as you head for the door. Footage: Trophygamers.
Don’t stop to fight. Run straight back into the hangar and climb into the plane. Its side carries the registration N04346N, with 745 on the tail.
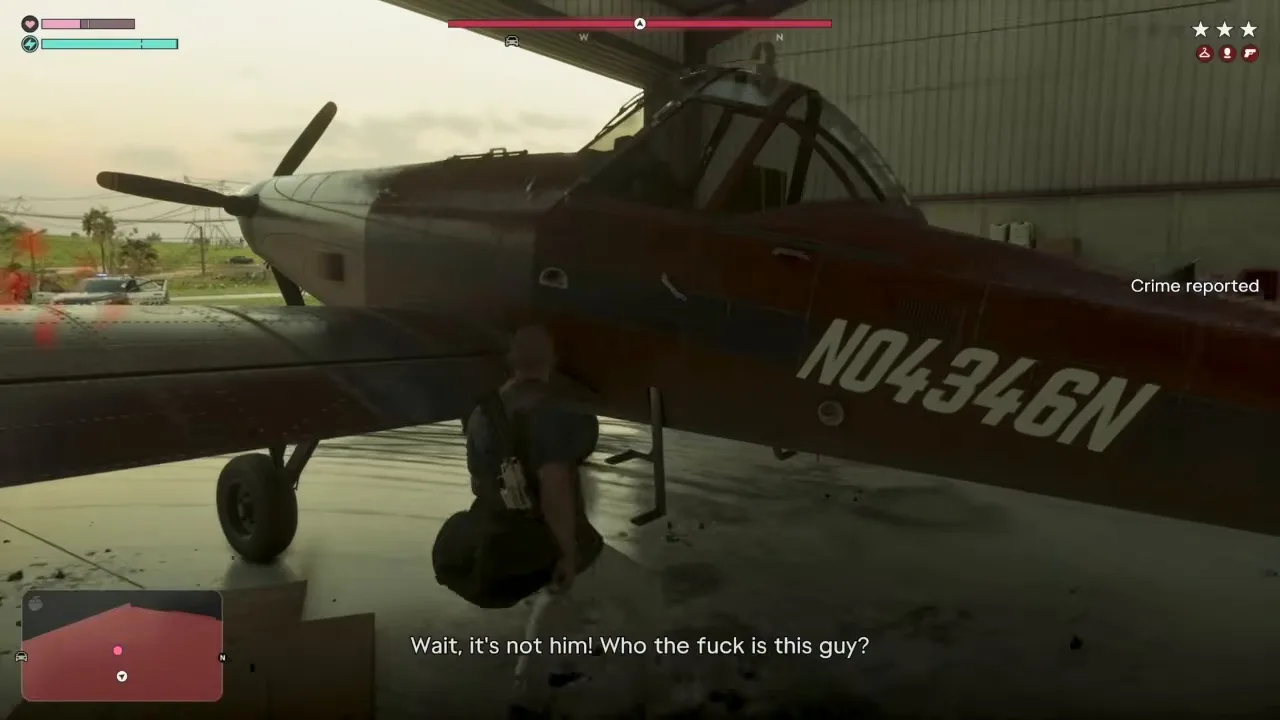 The officers work out they’ve got the wrong man. Footage: Trophygamers.
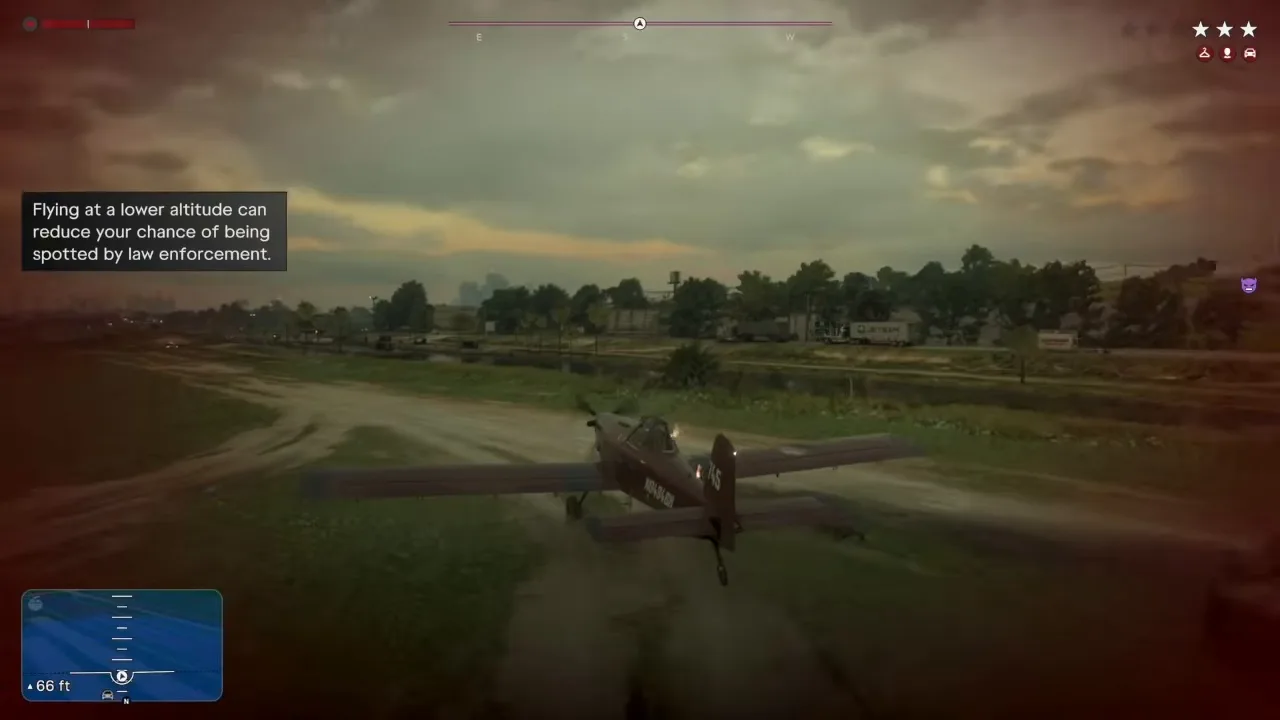
The HUD names the plane the Lapwing 300-H: a single-engine taildragger with a bubble canopy, the same make as Kyle’s Mallard from Check Out McKittrick Farm. Two police cruisers and a pickup sit on the grass outside the hangar, and the objective is now Lose the cops. Taxi out and get airborne. Trophygamers was in the air within seconds of leaving the hangar, skimming the dirt track outside.
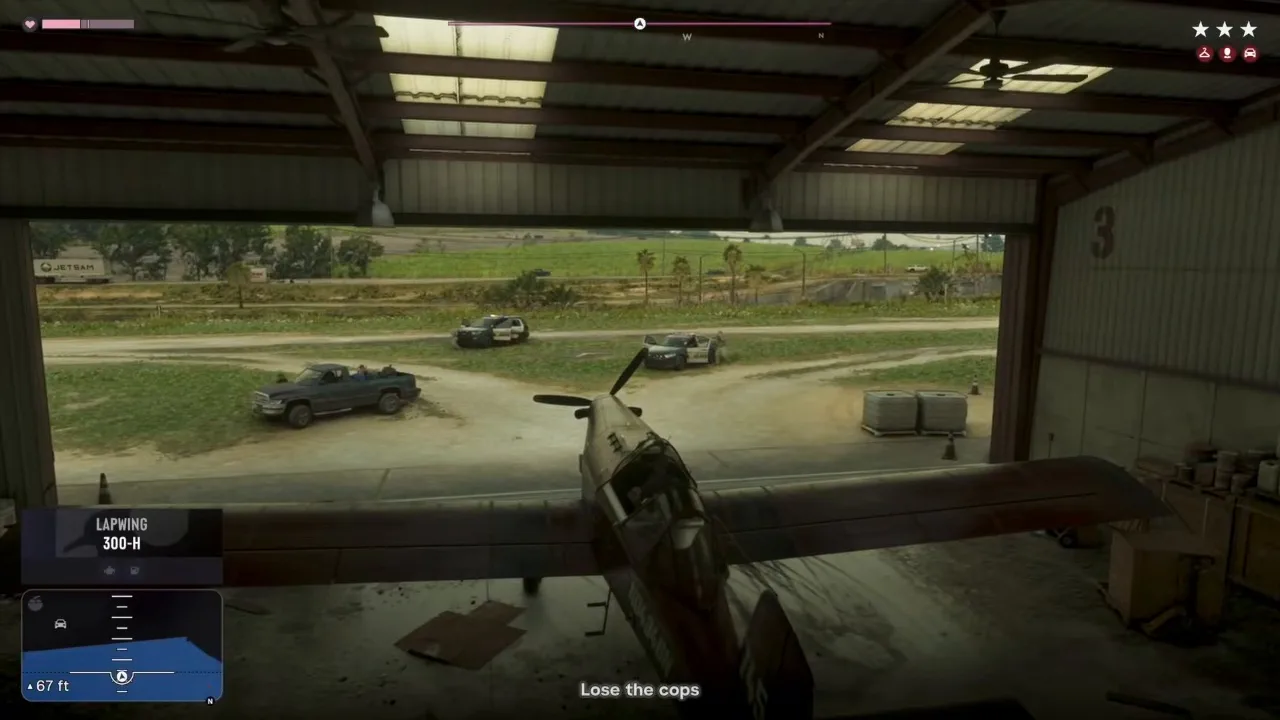 Pete’s plane is a Lapwing 300-H. The police are parked right outside. Footage: Trophygamers.
Step 5: Lose the cops in the air (Jason)
As soon as you’re off the ground, a tip explains how this works: flying lower makes you harder for law enforcement to spot. Pete radios in, calls Jason “Jaybird”, apologises for the welcome party and swears he hardly deals in this stuff anymore. These days he’s “mainly a munitions fella”. He tells you there are three drops and reminds you to stay low so radar can’t pick you up.
The tip appears the moment you’re airborne. Take it literally. Footage: Trophygamers.
Trophygamers did the opposite at first: he flew over Vice City and climbed on to around 2,600 feet. The three stars stayed put for about five minutes.
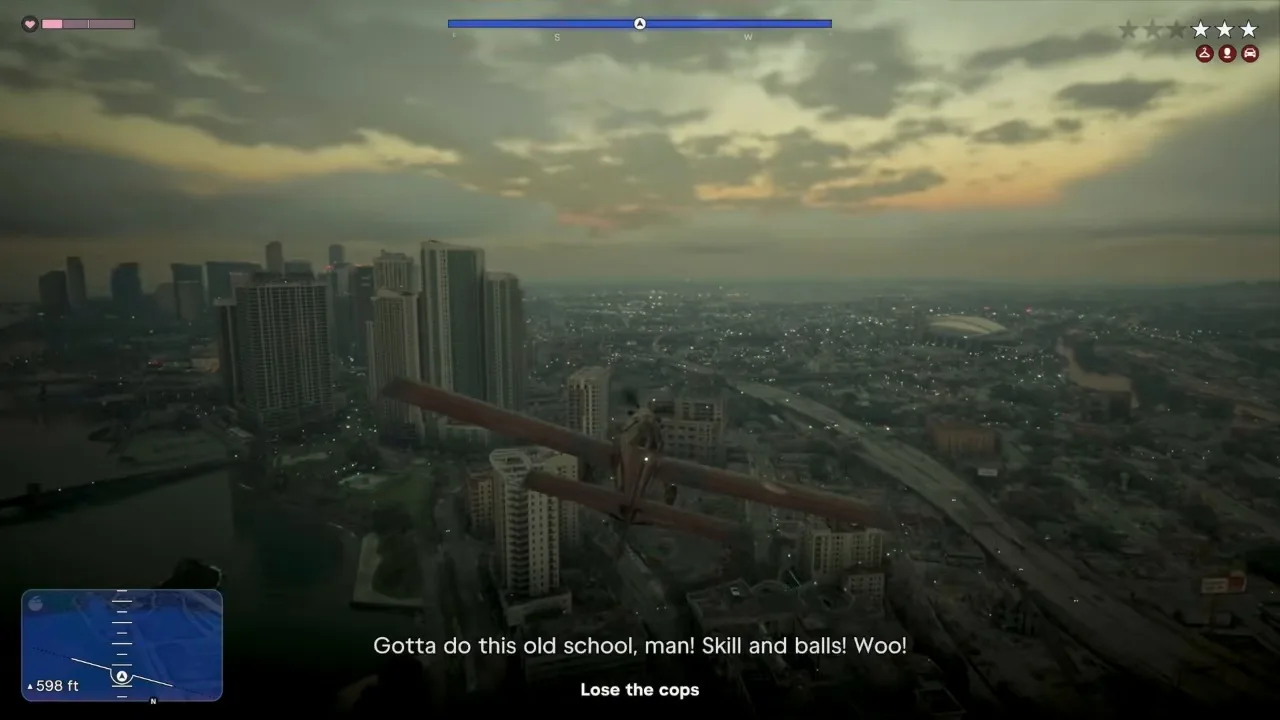 Climbing over the city didn’t shake the police. Footage: Trophygamers.
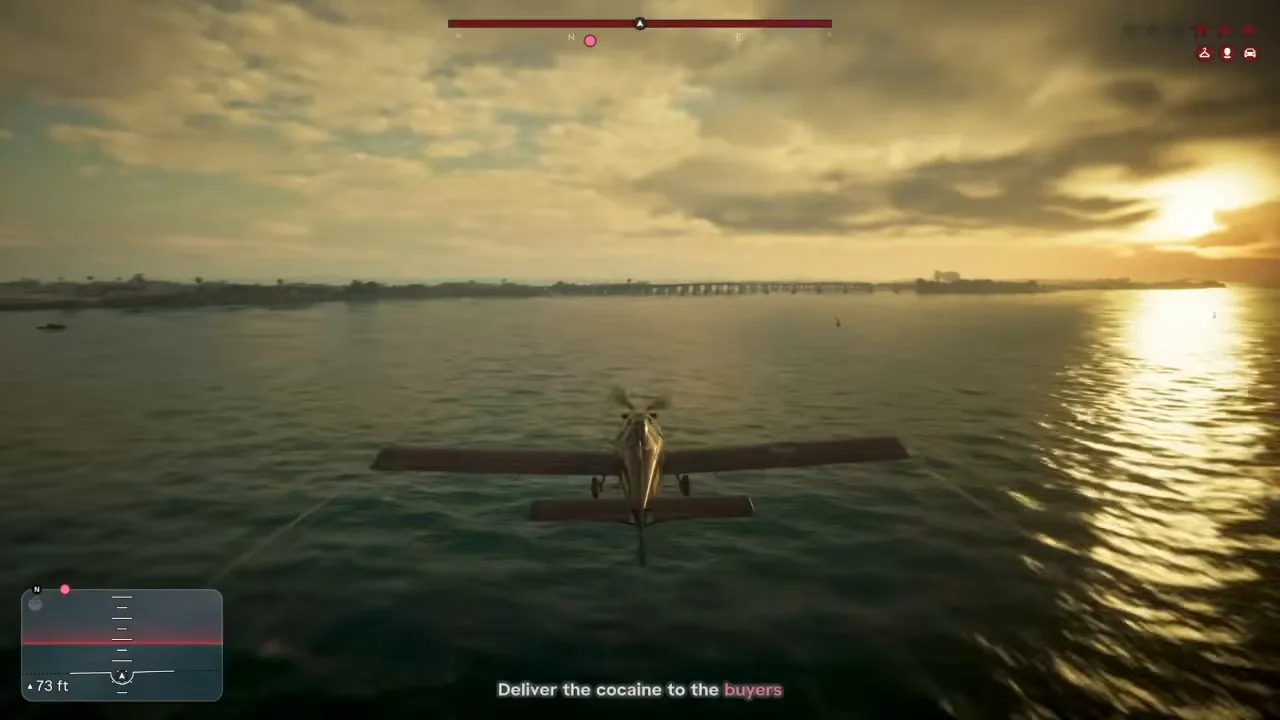
What finally worked was heading out over open sea south-west of the Keys, past Mile Zero Air Station, and dropping to about 50 feet above the water. The stars started flashing grey, and a short while later they were gone.
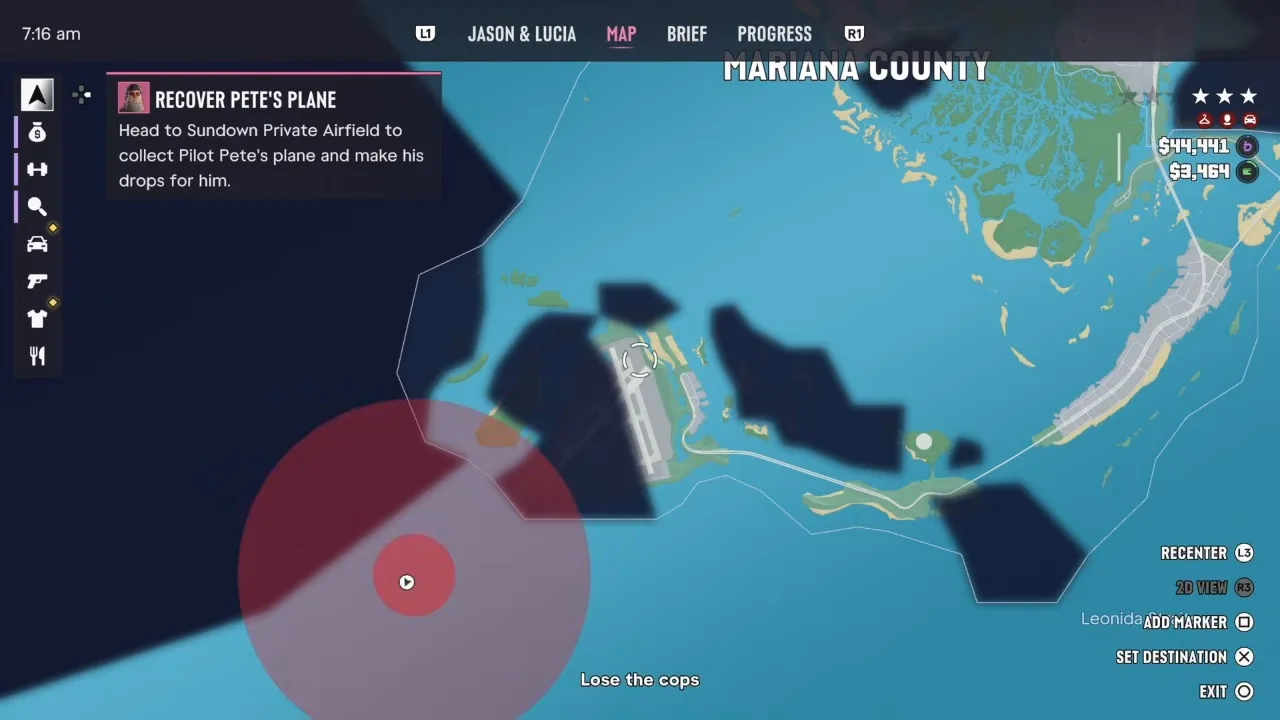 Out over the sea, low down, the search circle finally slid off. Footage: Trophygamers.
There is no clock on this delivery, so taking the long way round costs nothing. In Trophygamers’ run the in-game clock read 5:52 am before the mission and was past 7:16 am when the search was still going. Go low straight after take-off and you should be clean far sooner.
Step 6: First drop: the wetlands (Jason)
With the police gone, the objective becomes Deliver the cocaine to the buyers. The first drop-off shows as a pink blip on the compass and minimap. Head inland towards it while staying low.
Clean at last: on to the buyers. Footage: Trophygamers.
Pete calls the first one a “classic wetlands drop”: the buyers wait in the swamp channels and pick up by boat. As you close in, the game explains the drop. Fly low over the drop-off point and press X (PlayStation) to release a package. A Drop Package prompt appears bottom right when you’re in range.
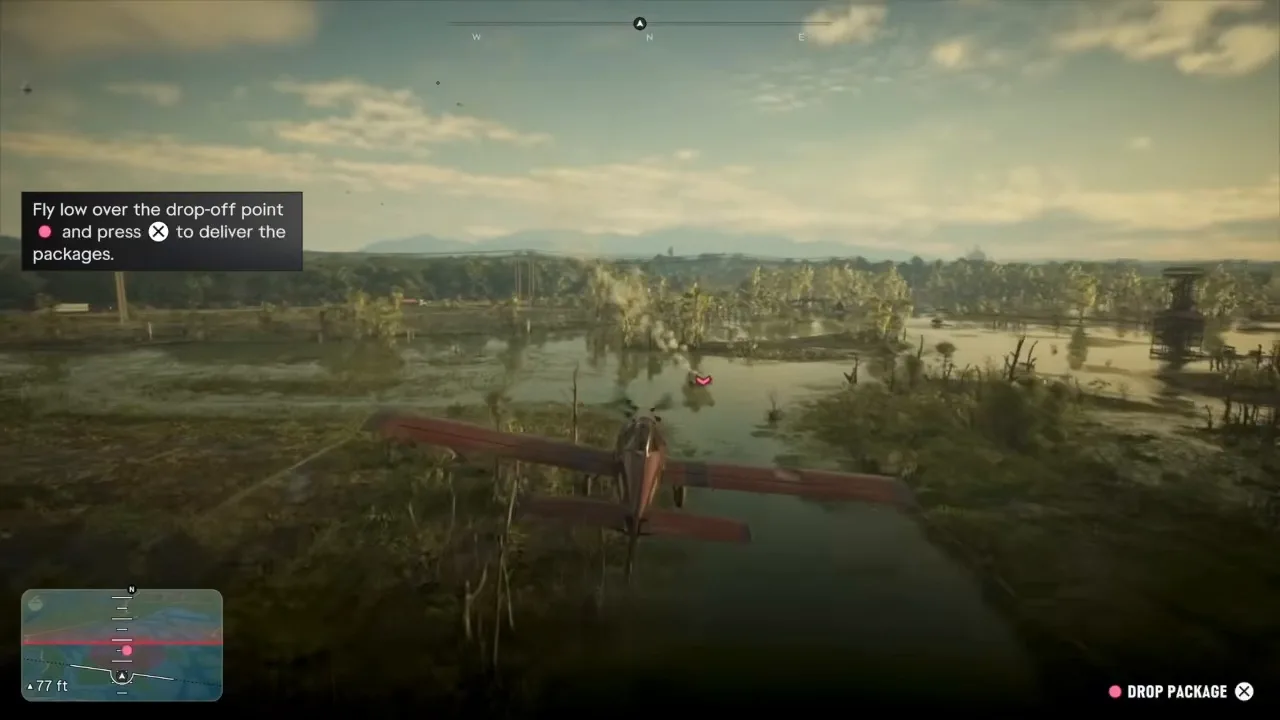 Wait for the Drop Package prompt, then press. Trophygamers dropped this one at about 76 feet. Footage: Trophygamers.
The package falls trailing white smoke, and Jason confirms the delivery over the radio.
Step 7: Second drop: Big Pine (Jason)
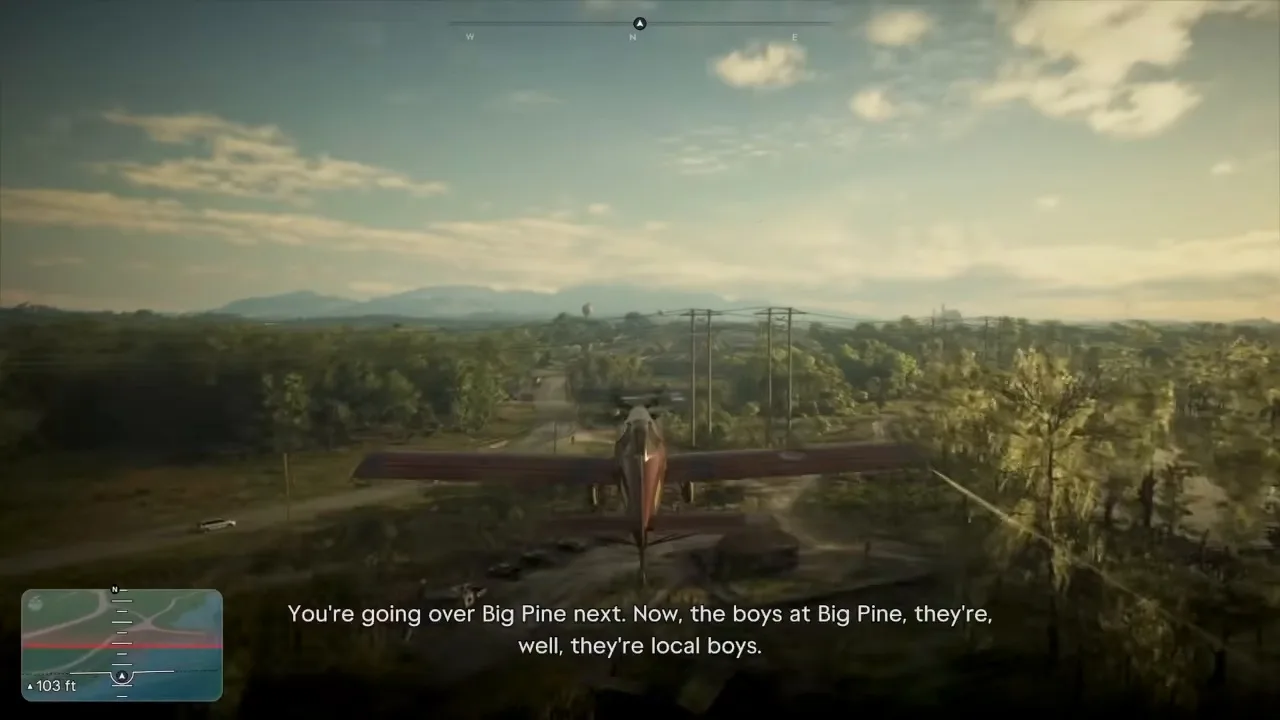
Next up is Big Pine. Pete warns that the locals there like to shoot at passing planes for target practice on quiet days. He insists it’s all in good fun and that their aim is terrible anyway. Don’t hang around over the drop.
Pete’s warning about the Big Pine locals. Footage: Trophygamers.
The route crosses a highway with truck traffic before the marker, which sits over a stretch of lakes and reed islands. Trophygamers banked in at about 140 feet and released the package mid-turn without any trouble.
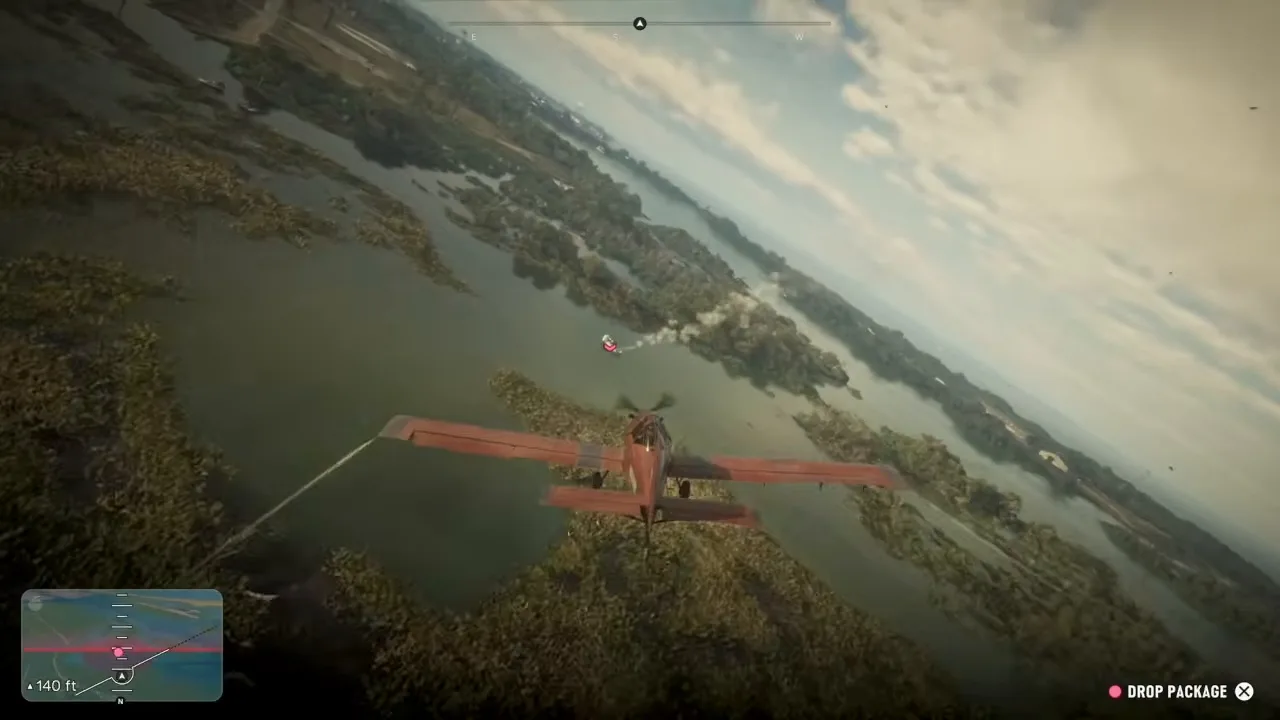 The second package on its way down over the Big Pine lakes. Footage: Trophygamers.
When Jason reports the second drop, Pete is slow to answer: he was busy practising his cha-cha, which tells you all you need to know about his retirement.
Step 8: Third drop: Belpoint, around the coast guard (Jason)
The last drop is at Belpoint, which Pete tells you to look for on your GPS. The town sits on a bay with a water tower and a dockside crane, and the drop point lies out over the water beyond it.
Belpoint, the last stop. Footage: Trophygamers.
Pete warns that the coast guard patrols these waters. A tip follows: avoid being spotted on the radar by the coast guard. Their radar areas show as red zones on the minimap. Fly around them, not through them, and keep low over the water.
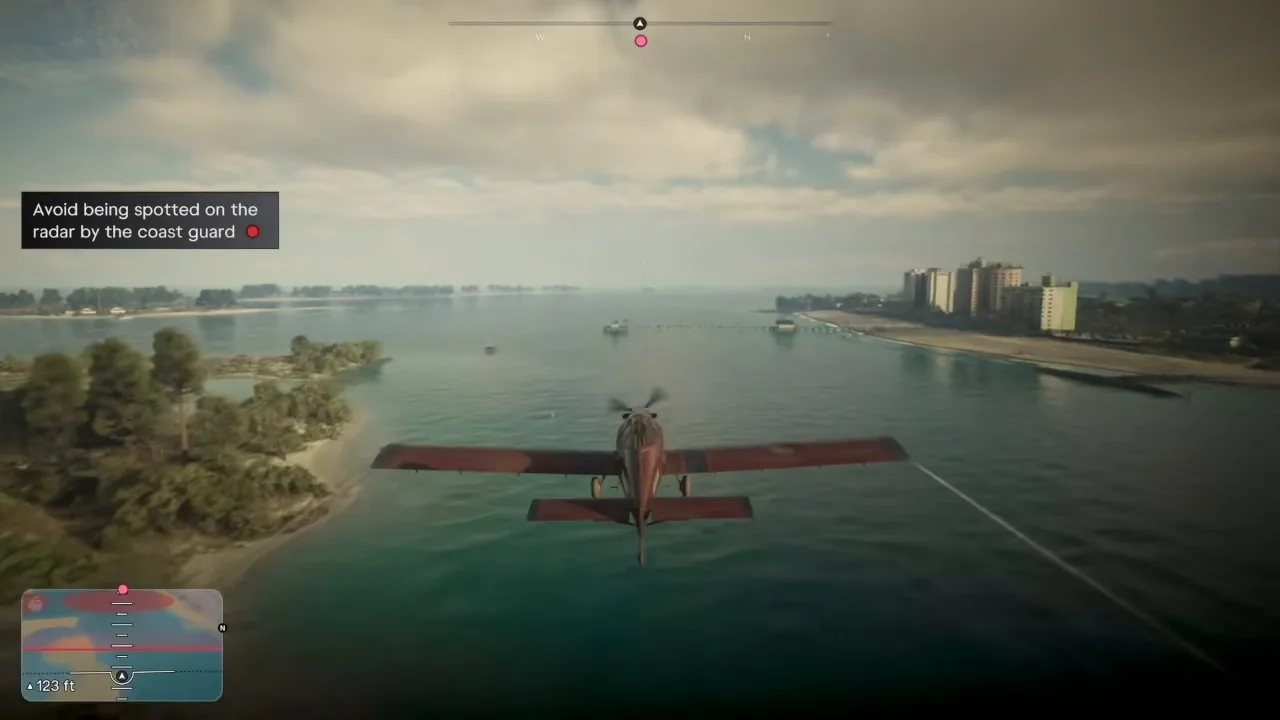 The red patch at the top of the minimap is coast guard radar. Steer round it. Footage: Trophygamers.
The drop point itself is over open water near a small sandy island with palm trees. Come in low (Trophygamers was at about 80 feet), wait for the prompt and release.
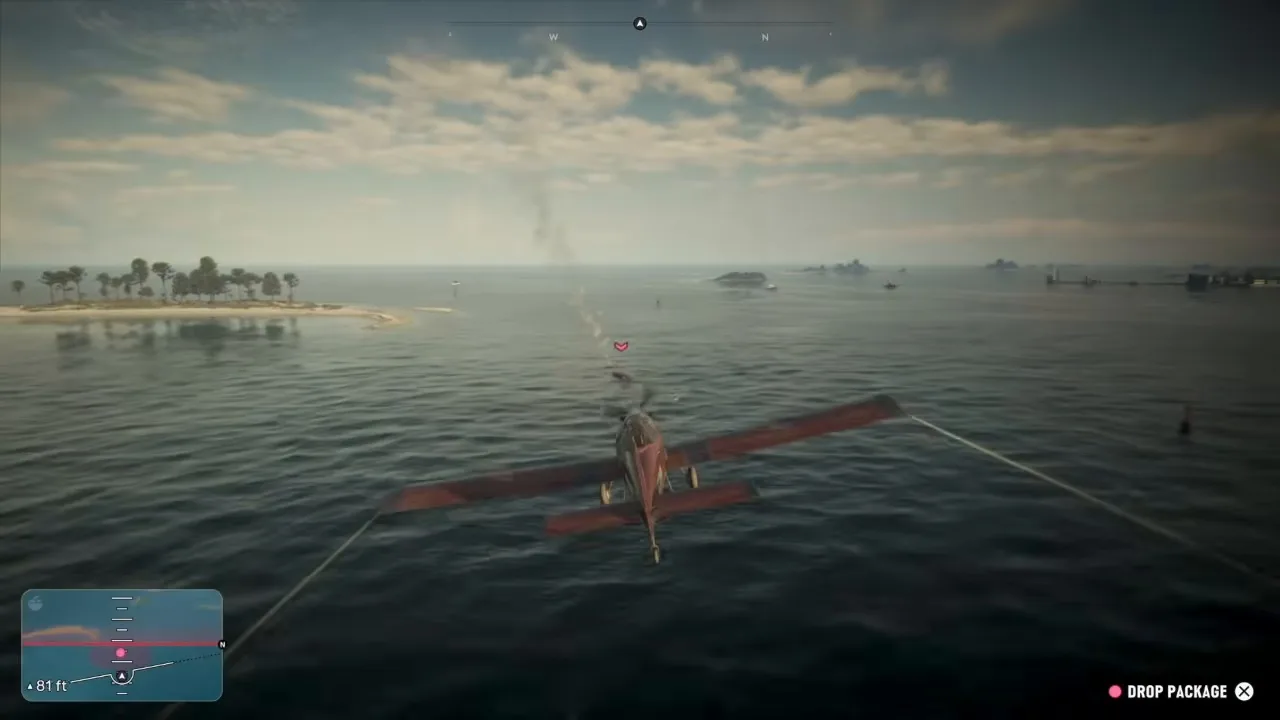 The third and final package goes into the sea off Belpoint. Footage: Trophygamers.
Pete calls it the easiest money Jason has ever made, admits he’s jealous, and says his backside has done its time in that seat. Then he gives the last instruction: set her down in Port Gellhorn and he’ll send a pilot’s fee.
Step 9: Return the plane to Wild Hog Airfield (Jason)
The objective changes to Return the plane to the hangar. The hangar is at Wild Hog Airfield in Port Gellhorn. Follow the route back along the coast, line up with the runway and land. The strip runs beside marshy fields, with a control tower on the left as you come in.
Taxi up to the Wild Hog Airfield hangar and Pete signs off. Footage: Trophygamers.
Taxi to the pink marker at the hangar door. Pete calls it a wrap and promises to send more work Jason’s way. Get out of the plane and you’re done. The plane stays at Wild Hog, and that’s where Pete’s next job starts.
Rewards
- $12,000 pilot’s fee. The mission database says Pete sends it through BuckMe as soon as the plane is back. Trophygamers’ video ends as Jason climbs out, so we haven’t seen the payment or a mission-passed screen on video.
- $1,200 in cash from the hangar safe, collected in Step 3.
- Pete’s KZ-59 Assault Rifle, a named copy of the Kozlov KZ-59, from the back office desk.
- Pete’s strand opens up. About half an in-game day later he texts about The Last Mile: Backseat Pilot, a seven-package run out of the Port Gellhorn airstrip with a two-hour limit. After that come Pete’s Deliveries: Southpoint Airfield and Pete’s Deliveries: Avery Allen & Co. (in either order) and finally Deliver Packages. Each pays $20,000 if you finish in time.
- No trophy for this mission on its own. Pete’s strand counts toward the Strangers & Freaks trophy.
Tips
- Stay low from the moment you take off. Climbing over Vice City kept Trophygamers’ three stars for minutes. Dropping to about 50 feet over open water cleared them.
- Grab the Zombix in the office before the raid. In Trophygamers’ run the screen edges were still glowing red as he took off.
- Wait for the Drop Package prompt. It only appears when you’re low and close enough. Drops worked anywhere from about 75 to 140 feet in this run.
- Watch the minimap near Belpoint. The red patches are coast guard radar. Fly round them, not through them.
- No timer this time. Take a wide route if you need one. Pete’s later runs are against the clock, so treat this one as practice.
Related guides
- Pete’s earlier appearances: Clear Skies, where Jason escorts him past air traffic control, and Company Property, Pete’s weapons drop and the raid on his strip. Next in his strand: The Last Mile: Backseat Pilot. See all GTA 6 missions.
- Gone Fishing: the other side of an airdrop, with Jason in the boat fishing Donnie’s packages out of the water.
- Check Out McKittrick Farm: another low-flying side job in a Lapwing.
- Lawyer Up: the Chapter 4 lawyer whose bill Jason and Lucia are worrying about when Pete calls.
- GTA 6 weapons guide: what the regular KZ-59 costs in shops.
- GTA 6 money guide: other ways to earn alongside Pete’s $12,000 and $20,000 runs.
- Interactive map: where the mission starts at Sundown, and Wild Hog Airfield in Port Gellhorn, where it ends.
Frequently Asked Questions
How do you start The Last Mile: Passing the Torch in GTA 6?
Wait for Pilot Pete's phone call early in Chapter 4. Afterwards Recover Pete's Plane appears in the Story tab of the pause map as a Jason-only task. Fly or drive to Sundown Private Airfield and walk into the hangar to start it.
What is the safe code in Passing the Torch?
3718. Pete gives it to you on the phone and Jason saves it to his notes, so it shows in the corner while you punch it into the TitanVault safe in the hangar's back office.
How do you lose the cops in Pete's plane?
Fly low. The game's own tip says a lower altitude makes you harder for law enforcement to spot. In Trophygamers' run, climbing to over 2,000 feet kept all three stars for about five minutes. They only cleared after he dropped to about 50 feet over open sea.
Where do you take Pete's plane after the drops?
To the hangar at Wild Hog Airfield in Port Gellhorn. Land on the runway, taxi to the marker at the hangar door and the mission wraps up over the radio.
How much does Passing the Torch pay?
The mission database lists $12,000, sent through BuckMe straight after you return the plane. On top of that you keep the $1,200 from the safe and Pete's KZ-59 assault rifle. The payment itself isn't shown in the footage we used.
What comes after Passing the Torch?
The Last Mile: Backseat Pilot, after Pete texts you about half an in-game day later. After that come two Pete's Deliveries runs and a final Deliver Packages job, each paying $20,000 if you finish in time.
Sources & Credits
Researched from these videos and official material, among others. Screenshots credit the creator whose footage they come from.