Jump to your step
Unwanted Attention: quick facts
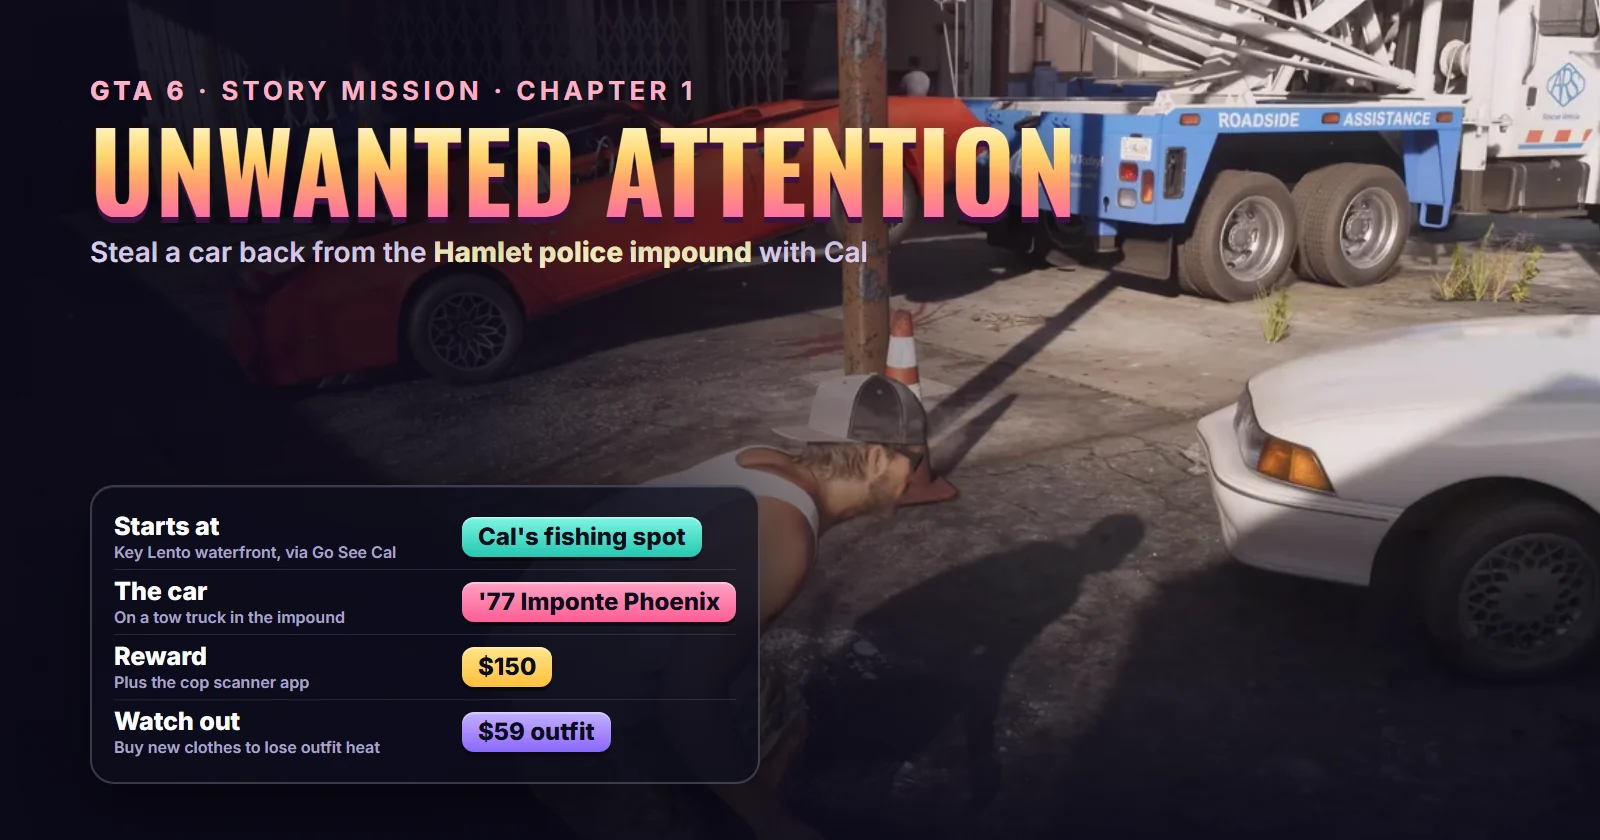
| Mission | Unwanted Attention, story mission #4 in the mission database (GTA Series Videos labels it #6) |
| Chapter | Chapter 1 |
| You play as | Jason Duval |
| Given by | Cal Hampton, for Brian Heder |
| Where it starts | Cal’s fishing spot, a waterfront parking lot in Key Lento (the C blip) |
| Unlocks after | Gone Fishing (#2), as the Go See Cal task |
| Unlocks next | Hey Arnold! (Brian’s call about meeting Arnold) |
| Reward | $150 and the cop scanner app |
| Trophy | None |
| Required for 100% | Yes |
Mission briefing How it unlocks, where Cal is, and what the job is about. Contains spoilers.
How to unlock Unwanted Attention
Finish Gone Fishing. Back in Key Lento, Jason’s task list fills up with three jobs you can take in any order: Pick Up Another Gun (Gear Up), Collect Brian’s Rent (Lab Fees) and Go See Cal, whose note reads that Brian wants something handled and Cal knows what. Pick Go See Cal and the C blip becomes your destination.
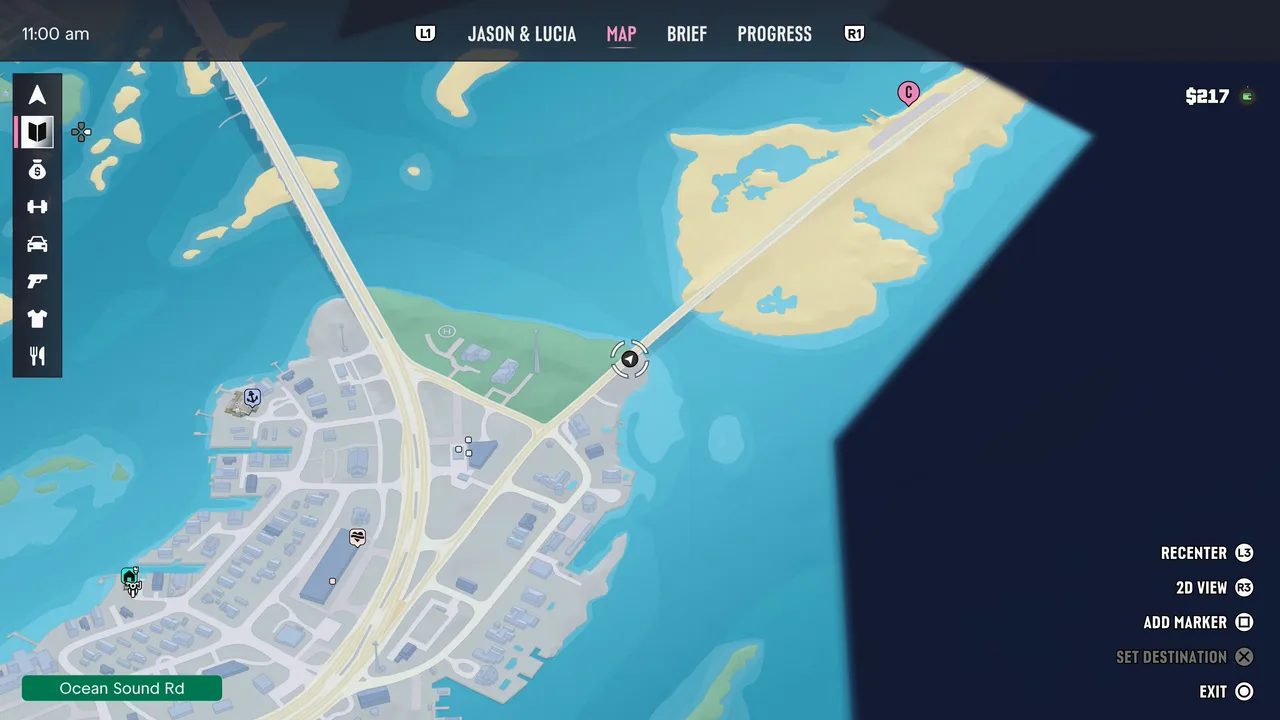 Go See Cal: the C blip sits at the north end of a causeway in Key Lento. Footage: theRadBrad.
In theRadBrad’s run the task came right after Gear Up’s phone call to Donnie. The two full Chapter 1 walkthroughs we checked (Sirloin, Perfect Score) play Lab Fees, Gear Up, Pipework and Just a Scratch first, which is why GTA Series Videos numbers it #6 while the mission database calls it #4. Nothing locks you into that order.
Where it starts: Cal fishes from a waterfront parking lot beside the water in Key Lento, his folding chair against the guard rail and his tan Bison parked behind him. The phone lists the place as “Cal’s fishing spot”. Show where Unwanted Attention starts on the live map.
The story so far
Brian Heder runs Jason’s life in the Keys: the house, the rent jobs, the smuggling. Cal is Brian’s other errand boy and Jason’s best friend, a jumpy, paranoid type who had a rough night at the Kingfishers camp in Gone Fishing. This time the problem is his own: a grower who pays Brian in weed left about 20 pounds of it in the trunk of his car, Cal was meant to collect the car, got distracted, and the next morning it had been towed to the police impound in Hamlet. The cops apparently haven’t looked in the trunk yet. More on the cast in our characters guide.
The mission is the game’s first lesson in police heat: what the cops know about you, and how to make them forget. This walkthrough follows GTA Series Videos’ and theRadBrad’s full runs, checked against GameRiot’s.
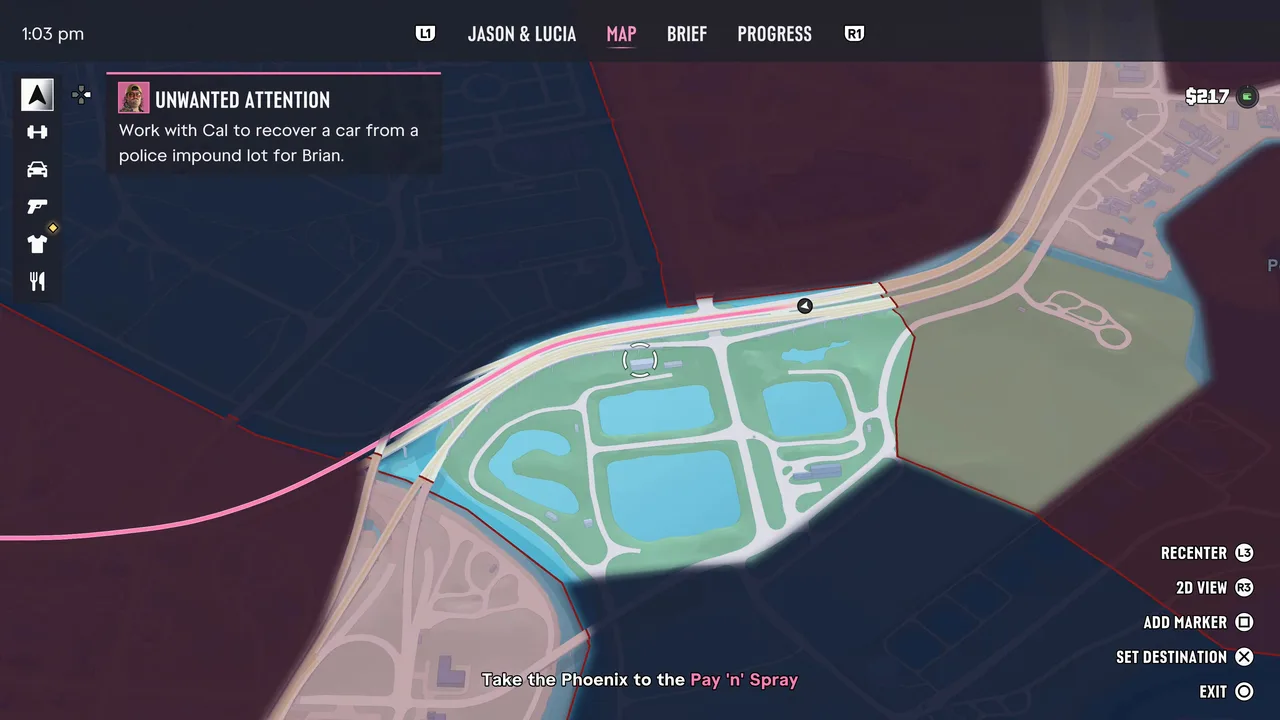 The mission card in the pause map. Footage: theRadBrad.
Step 1: Meet Cal at his fishing spot
Drive to the C blip and walk up to Cal. Jason sneaks up on him by accident and Cal jumps out of his skin, then remembers why he called: Brian’s payment. The objective becomes Get in Cal’s truck, a tan ’95 Bravado Bison 900, and Cal makes you drive because his heart is still racing.
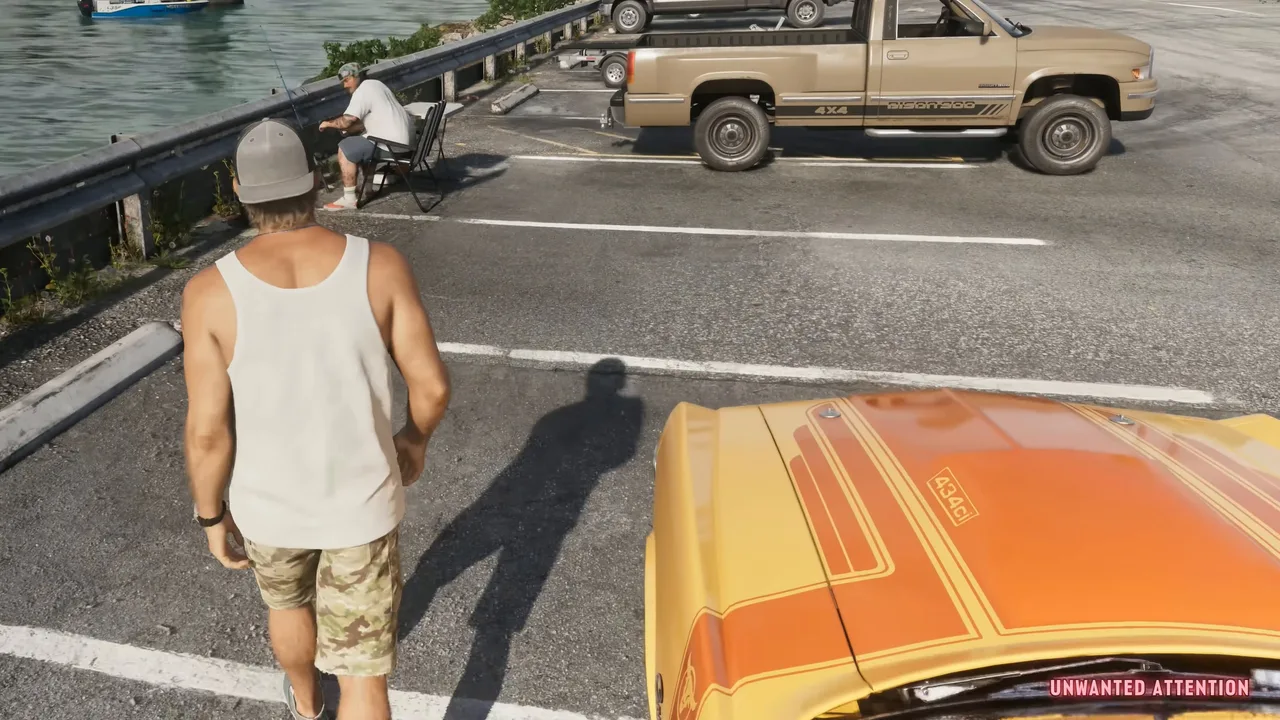 Cal’s fishing spot, with the mission title in the corner. Footage: GTA Series Videos.
Step 2: Drive to Hamlet with Cal
The objective is Drive to Hamlet with Cal; the car is on Penny Bun Street. It’s a long, scenic drive north up the highway out of the Keys, with Vice City’s skyline on the horizon. Cal explains the job on the way, then needles Jason about whether he worked for Merryweather. Jason’s answer gives you a bit of his army-contractor backstory; let it play out.
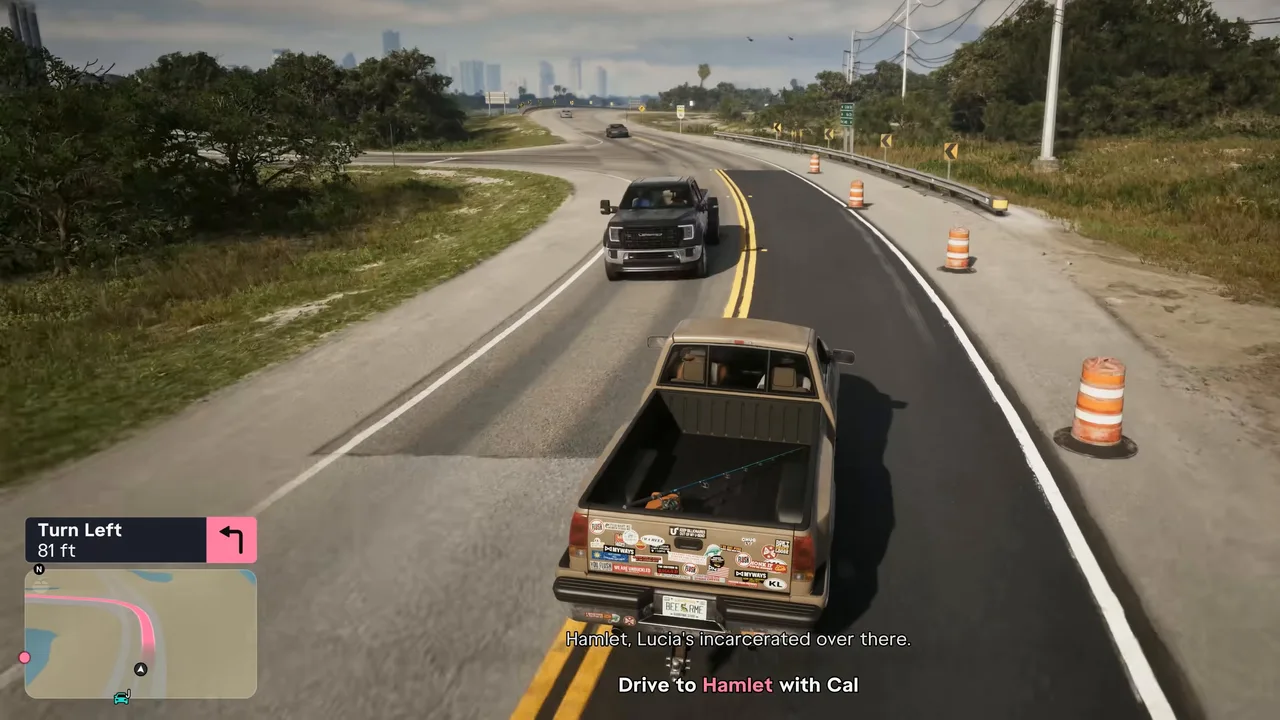 The drive north to Hamlet. Footage: GTA Series Videos.
Just before the impound, Cal takes Jason’s phone and installs a “cop scanner” plugin. A Cop Scanner Installed notice confirms it: from now on Jason hears police radio and gets told where units are being sent. Cal then describes the target (a red Imponte Phoenix) and goes off to find something less risky to do. You’re on your own from here.
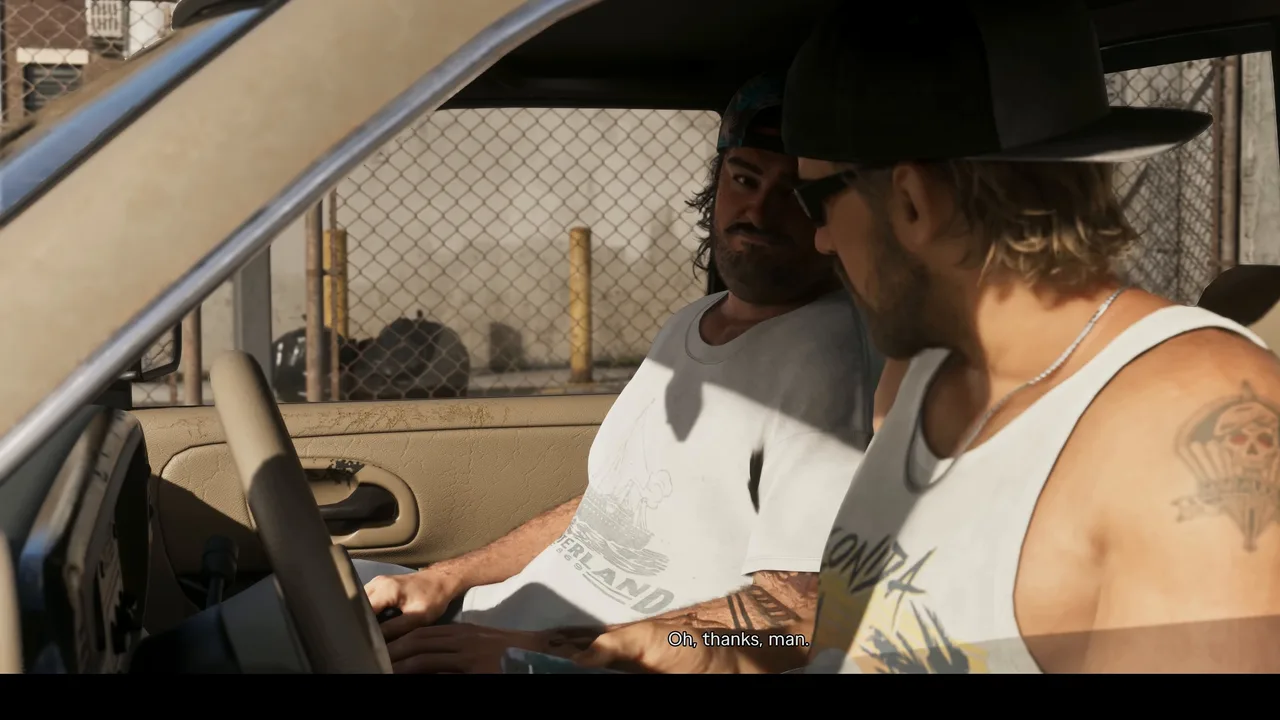 Cal installs the cop scanner outside the impound. Footage: GTA Series Videos.
Step 3: Get into the Hamlet impound unseen
The objective is Search the impound for the Phoenix, and a tip tells you to move quietly and stay out of sight. The front gate has an “Impound, do not enter” sign and guards inside, so don’t walk in that way.
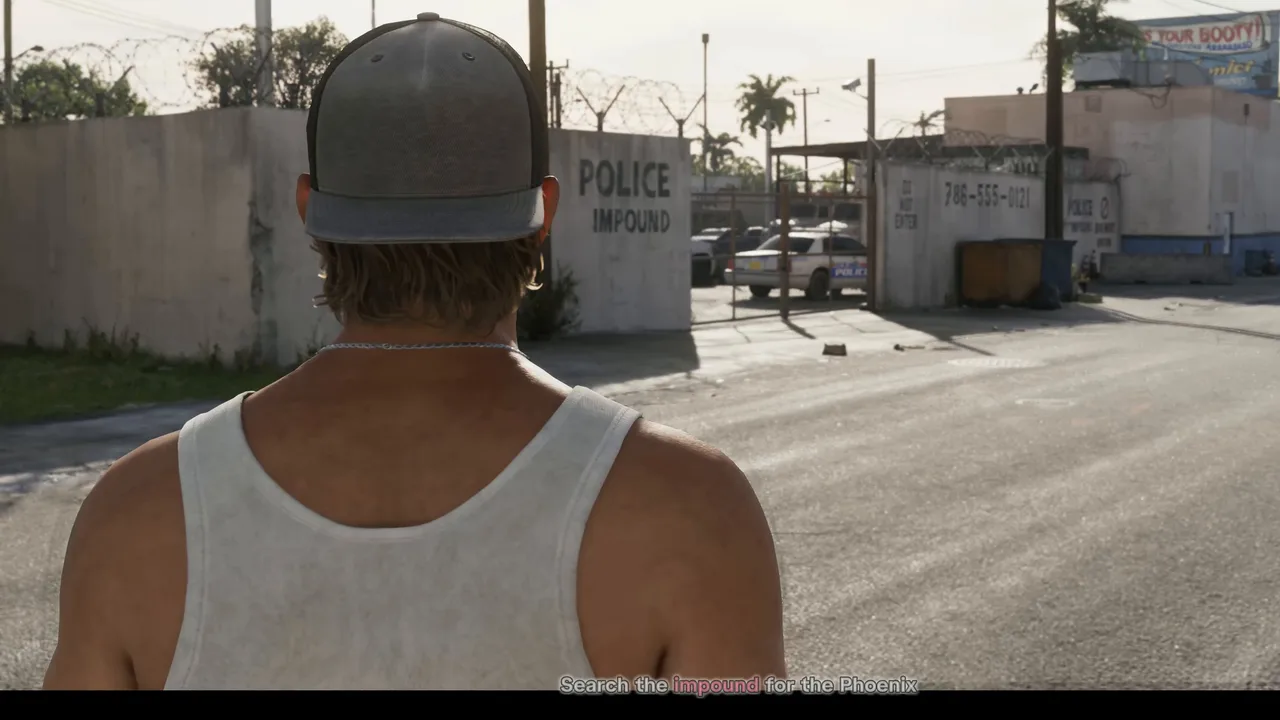 The Hamlet police impound from the street. Footage: GTA Series Videos.
There are at least two ways over the wall:
- The rooftop route (GTA Series Videos): walk round the side, climb a yellow scissor lift parked against the wall, cross the flat roof and drop into the lot.
- The container route (theRadBrad): go round the back and climb the stacked shipping containers, then drop down past the inner fence.
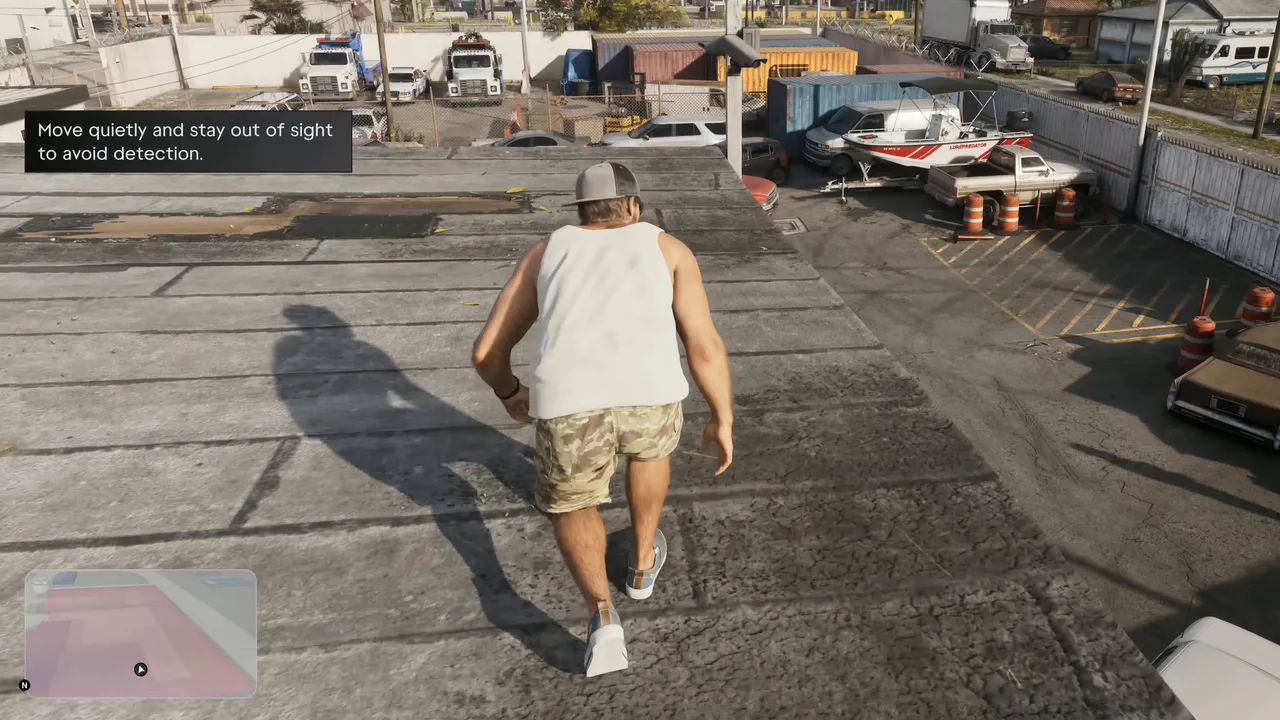 Crossing the roof into the lot. Footage: GTA Series Videos.
From up high, hold the WAiNK button (up on the D-pad) and point the phone at cars. It shows each car’s model, locks, alarm and tracker, which is how you confirm the red car you’re looking at is the ’77 Phoenix and not one of the other red cars in the lot. Every scan also counts towards WAiNK’s car list, so it’s free progress.
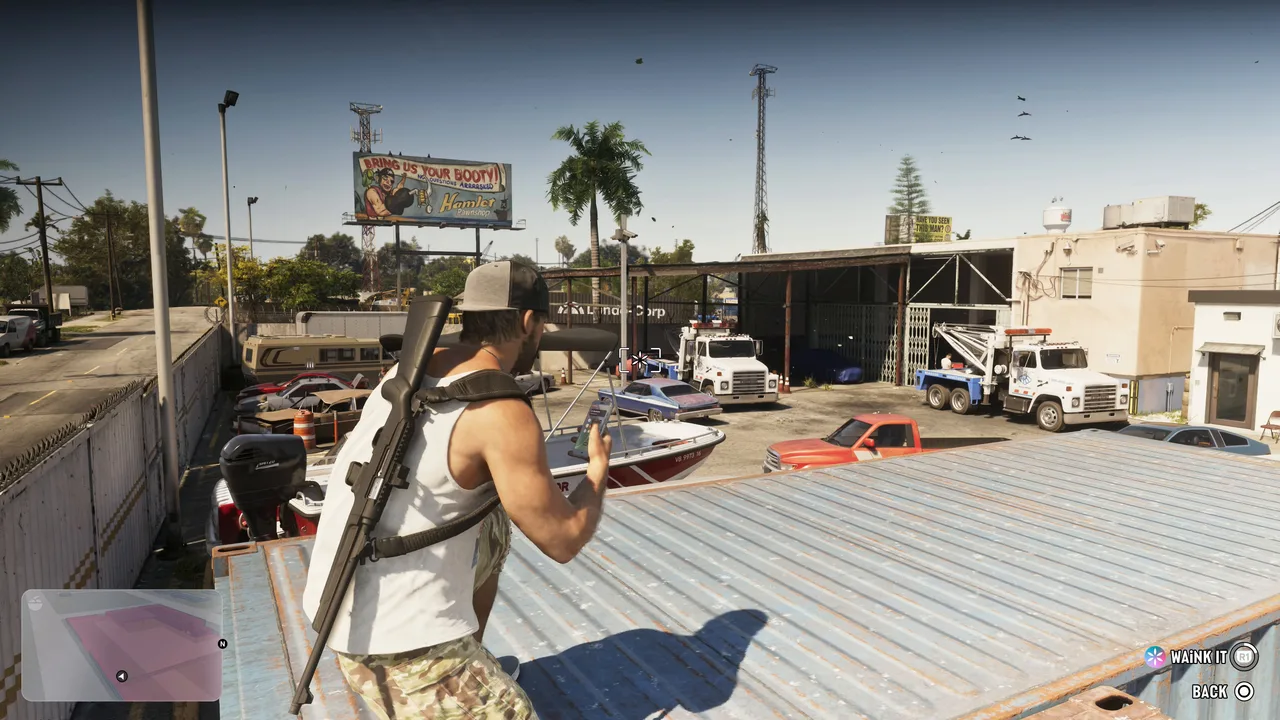 Scanning the lot with WAiNK from the containers at the back. Footage: theRadBrad.
Guards walk the lot. You can sneak past them or take them down from behind. GTA Series Videos knocked one out and carried the body behind a parked RV to hide it.
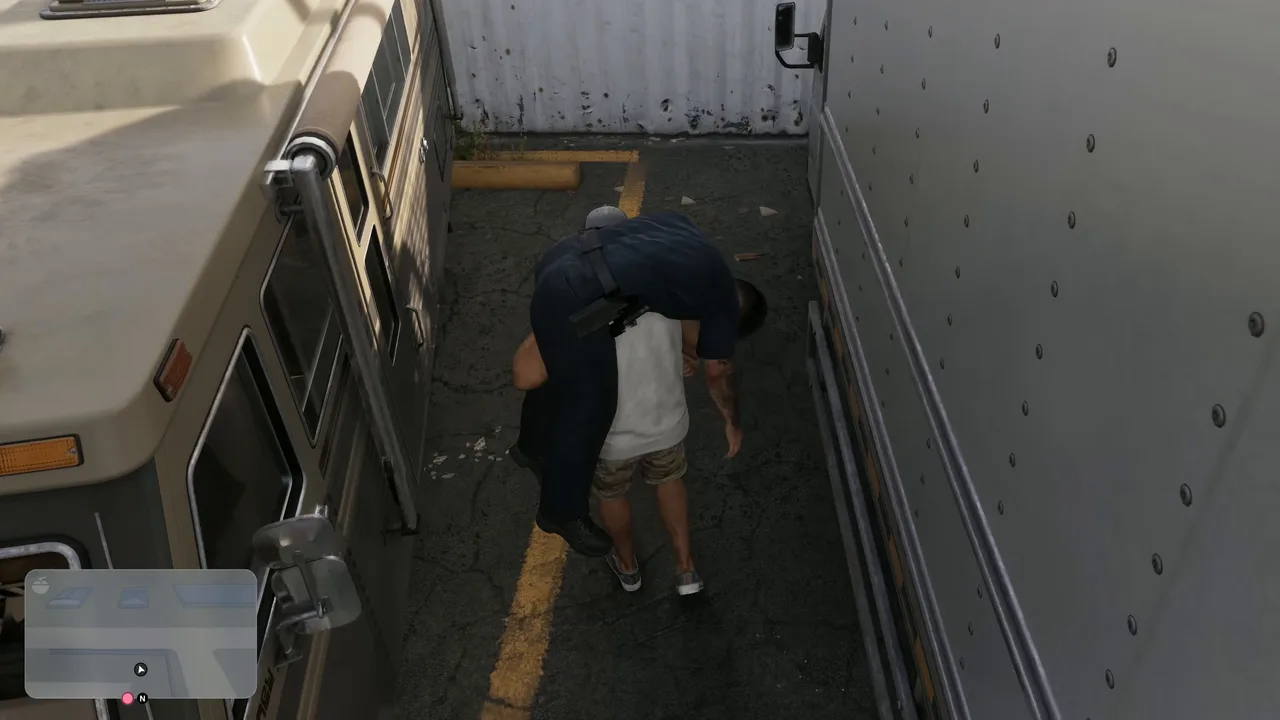 Hiding a knocked-out guard. Footage: GTA Series Videos.
Takedowns have a catch. A minute later the scanner crackles with dispatch asking the guard to respond, and in GameRiot’s run it announced that an officer had gone silent. A silent guard draws attention, so if you knock someone out, move fast.
Step 4: Release the Phoenix and hotwire it
The Phoenix is at the back of the lot, hooked to a white and blue Roadside Assistance tow truck. The objective changes to Steal the Phoenix.
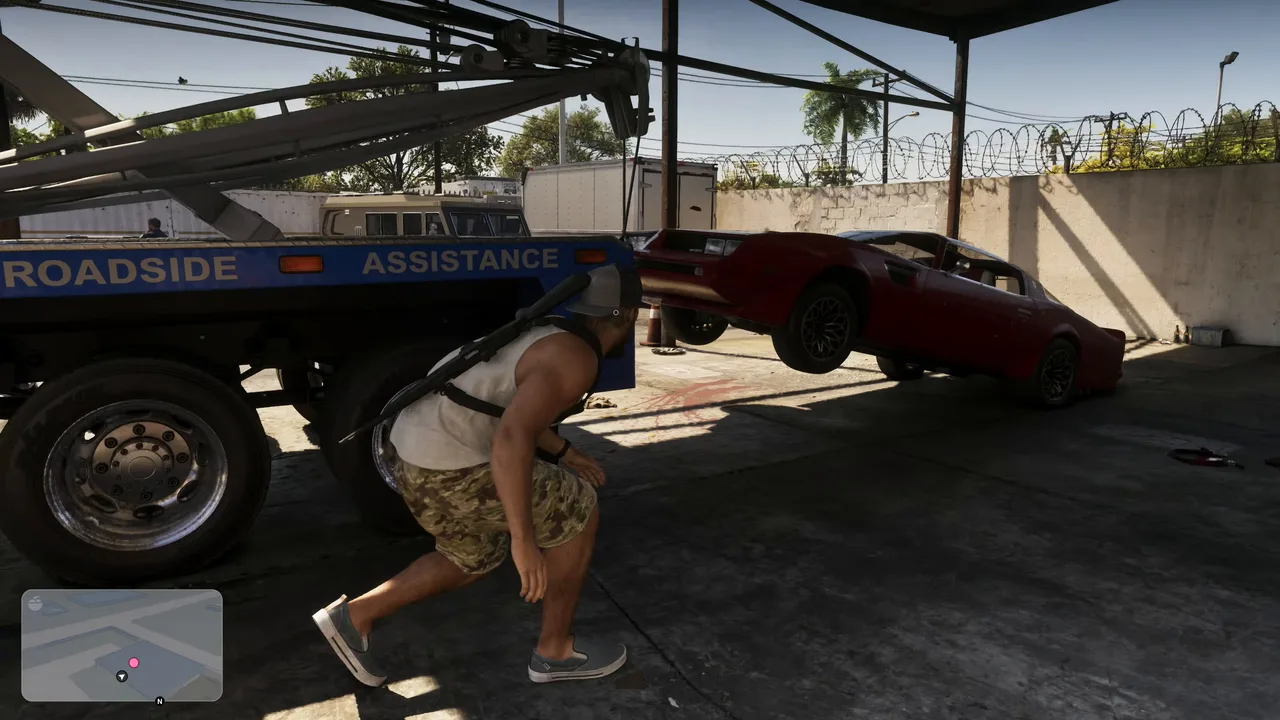 Release Tow Hook drops the Phoenix. It’s loud, so check the guards first. Footage: theRadBrad.
Go to the tow truck’s controls and use Release Tow Hook to drop the car. It’s noisy, so check where the guards are first. The Phoenix is locked but has no alarm, so get in and follow the hotwire prompt: line the two marks up in the right spots to fill both semicircles.
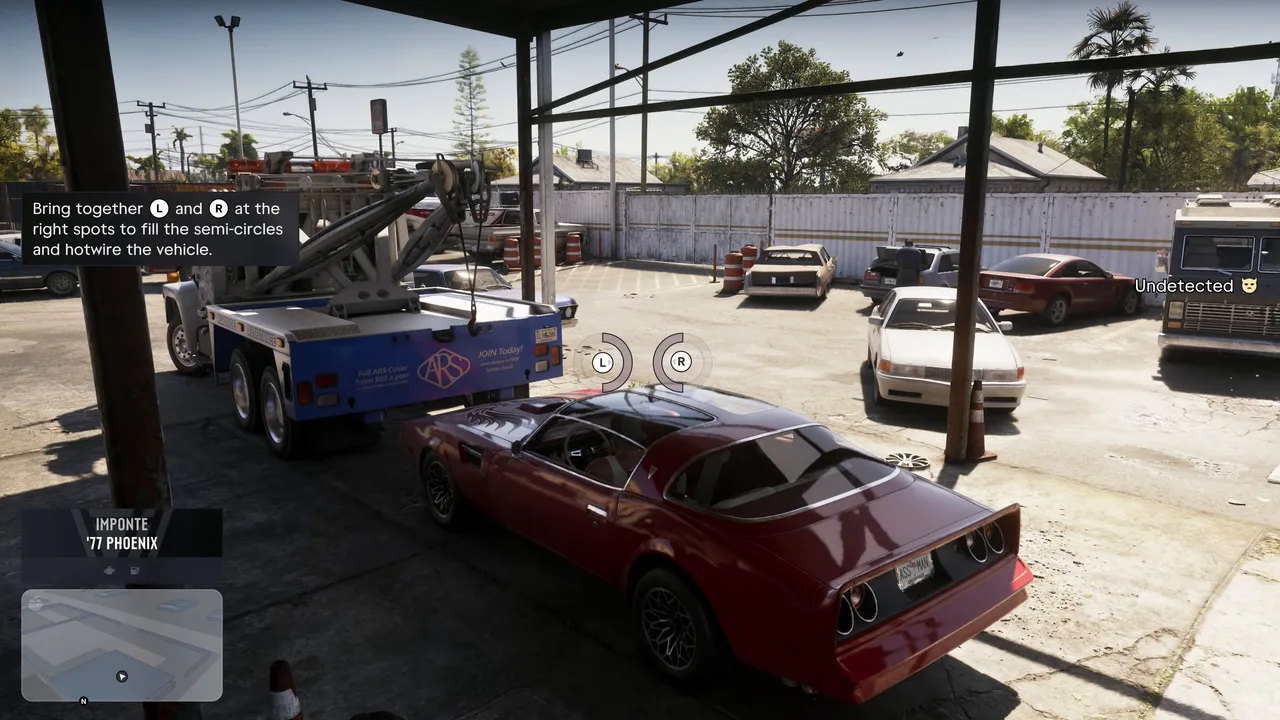 The hotwire minigame: line up both marks to fill the semicircles. Footage: theRadBrad.
Step 5: Break out and lose the cops
This part is scripted: however quietly you got in, the police find out as you leave. Drive to the gate. It opens on its own if you wait, but a tip points out you can shoot the gate’s button controls to open it faster. In theRadBrad’s run Crime reported came up at the gate with two stars, and the patrols opened fire and shattered the Phoenix’s back window. The mission database adds that a guard may try to drag Jason out of the car; mash the prompt to shake him off.
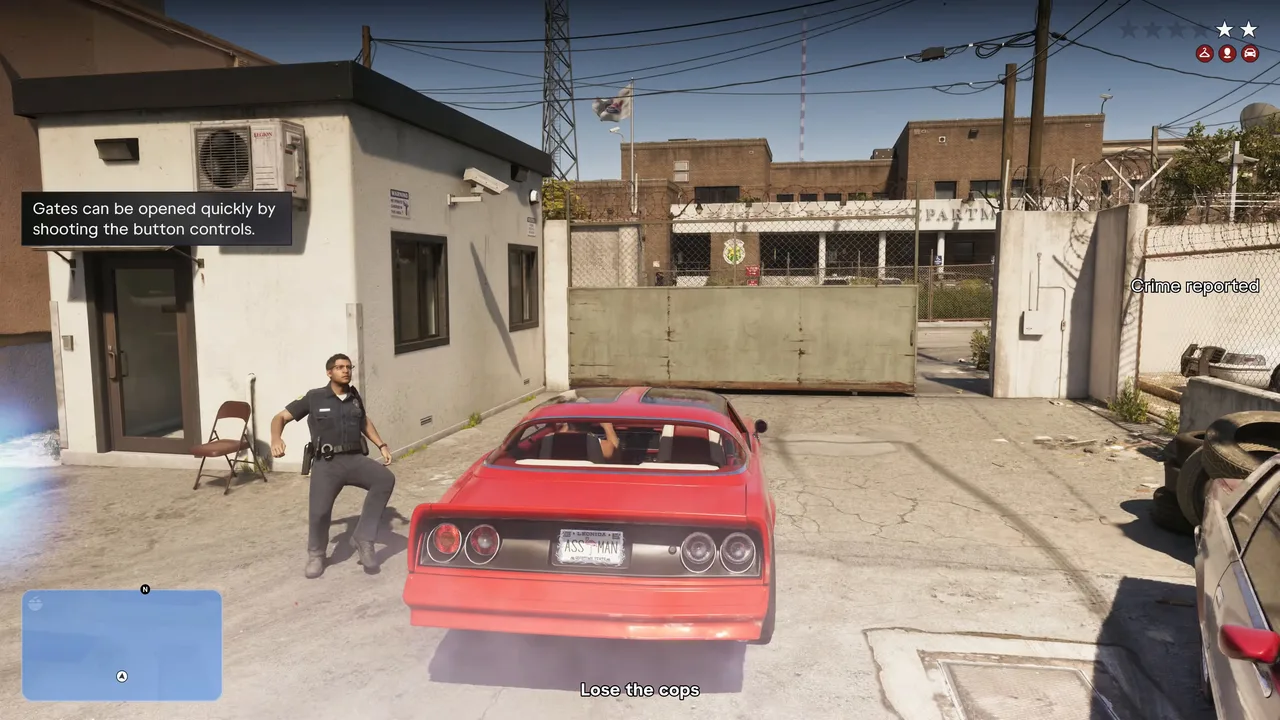 At the gate: shoot the button controls to open it faster. Footage: theRadBrad.
The objective is Lose the cops. In GTA 6 that means getting out of the flashing search area on the minimap and staying out of sight until it fades, not just outrunning the cars. The game’s own tips: hide, or head off-road and down back streets. Don’t wreck the Phoenix; it’s the whole point of the job.
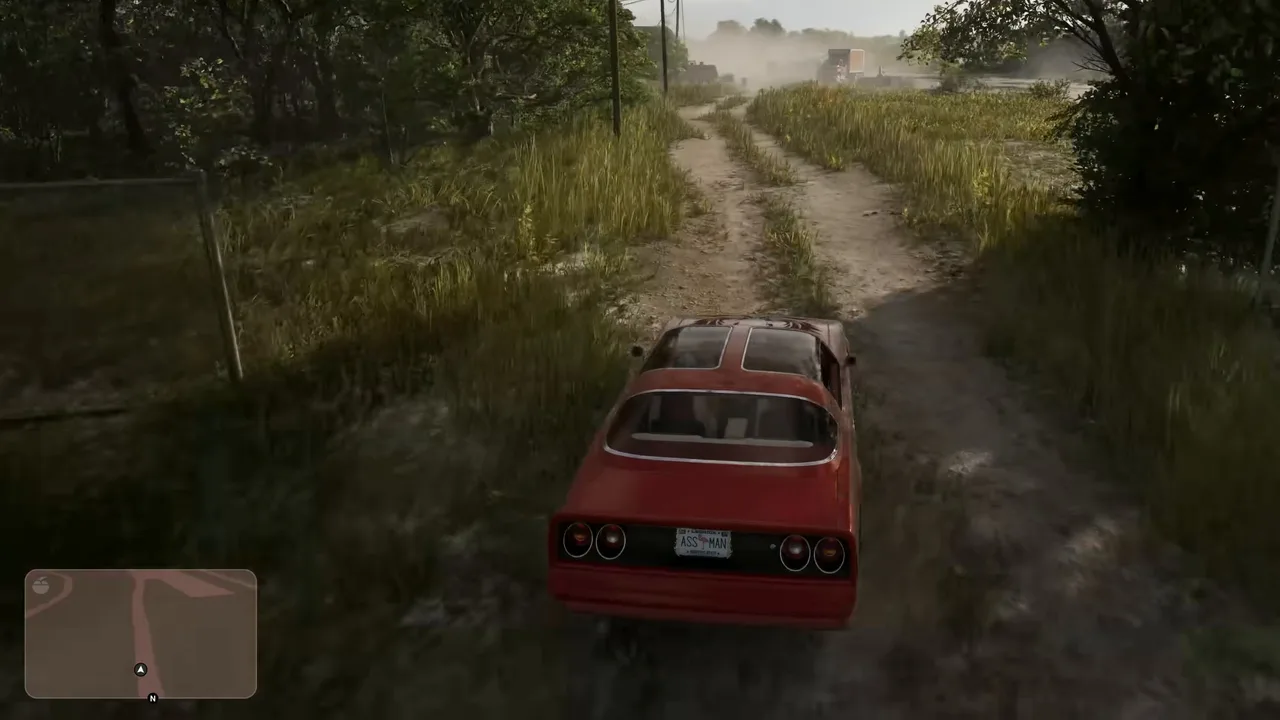 GTA Series Videos shook the two-star search by leaving the road. Footage: GTA Series Videos.
Once they lose you, the stars grey out but the cops still have your description. The heat panel under the stars shows what they know: your car, your clothes, your face. The next steps deal with each of those.
Step 6: Respray the Phoenix at the Pay ‘n’ Spray
Jason calls Brian to ask where to bring the car. Brian wants nothing to do with a car the cops are looking for. He sends Jason to the Pay ‘n’ Spray in Hamlet (the subtitles name it Peyton’s Scrapyard), then to a garage he keeps behind an air-conditioning business on Palmetto.
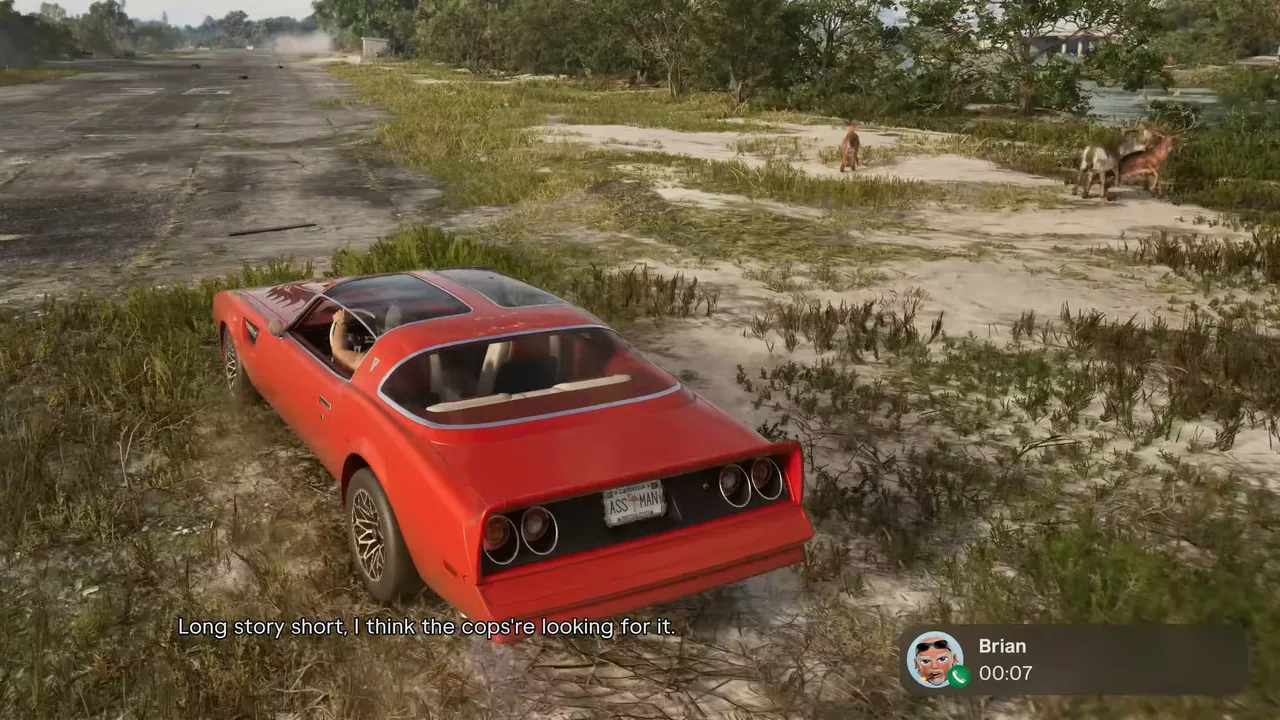 Jason calls Brian once the chase is over. Footage: GTA Series Videos.
The objective is Take the Phoenix to the Pay ‘n’ Spray. A tip explains that a respray means the cops can’t recognize the car. The catch is the route: the shop sits inside an area where the cops are still searching, so drive normally, stay off main roads where you can and don’t get spotted on the way in. theRadBrad was sure he’d be spotted on the way in and still made it by driving slowly.
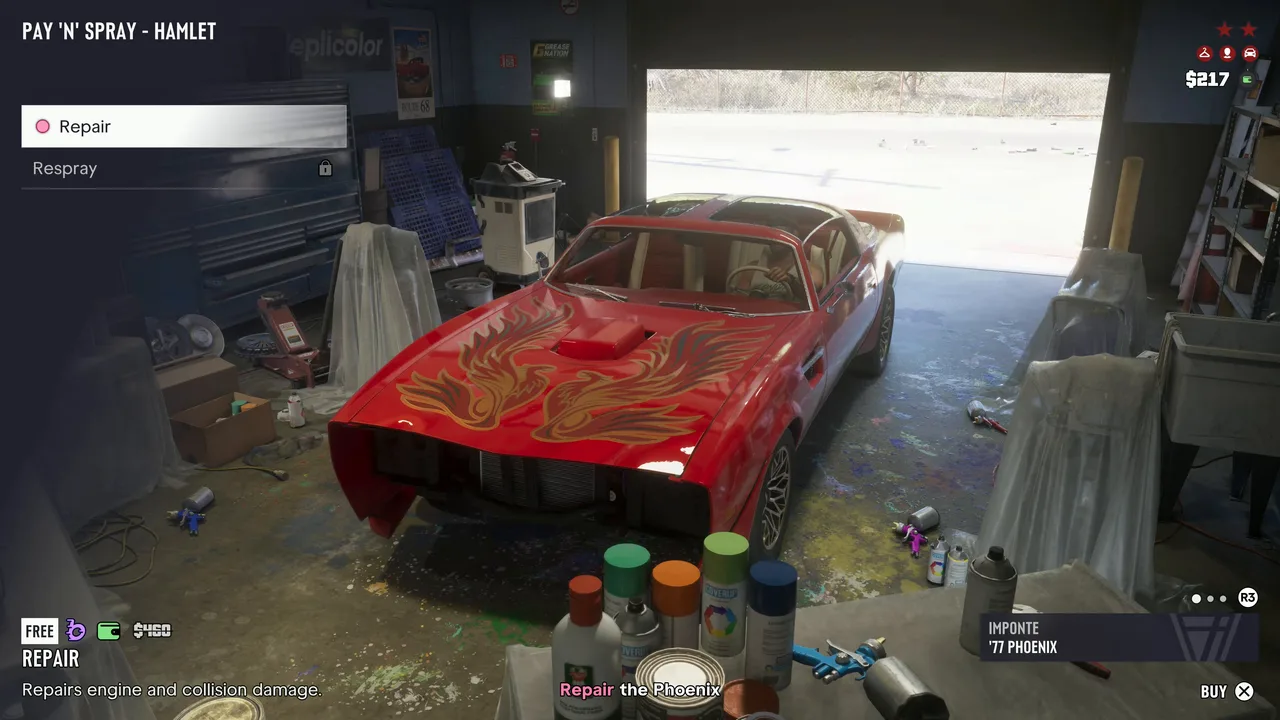 Pay ‘n’ Spray - Hamlet: repair and respray, both free in theRadBrad’s run. Footage: theRadBrad.
Drive into the bay to open the shop menu: Repair fixes engine and collision damage, and Respray the Phoenix picks a new colour from five swatches (red, silver, green, blue, grey). Both were free in theRadBrad’s run. Find Pay ‘n’ Spray - Hamlet on the live map. Red is refused as too similar to the current colour. GTA Series Videos, GameRiot and theRadBrad all went for blue.
Step 7: Deliver the Phoenix to Brian’s garage
Next is Deliver the Phoenix to Brian’s garage, a short drive away off Palmetto Ave, as Brian described it. Pull into the marked garage and the car is done. Jason texts Brian that it’s there, and Brian replies that there’s cash in the back for him and that he should get himself something new to wear.
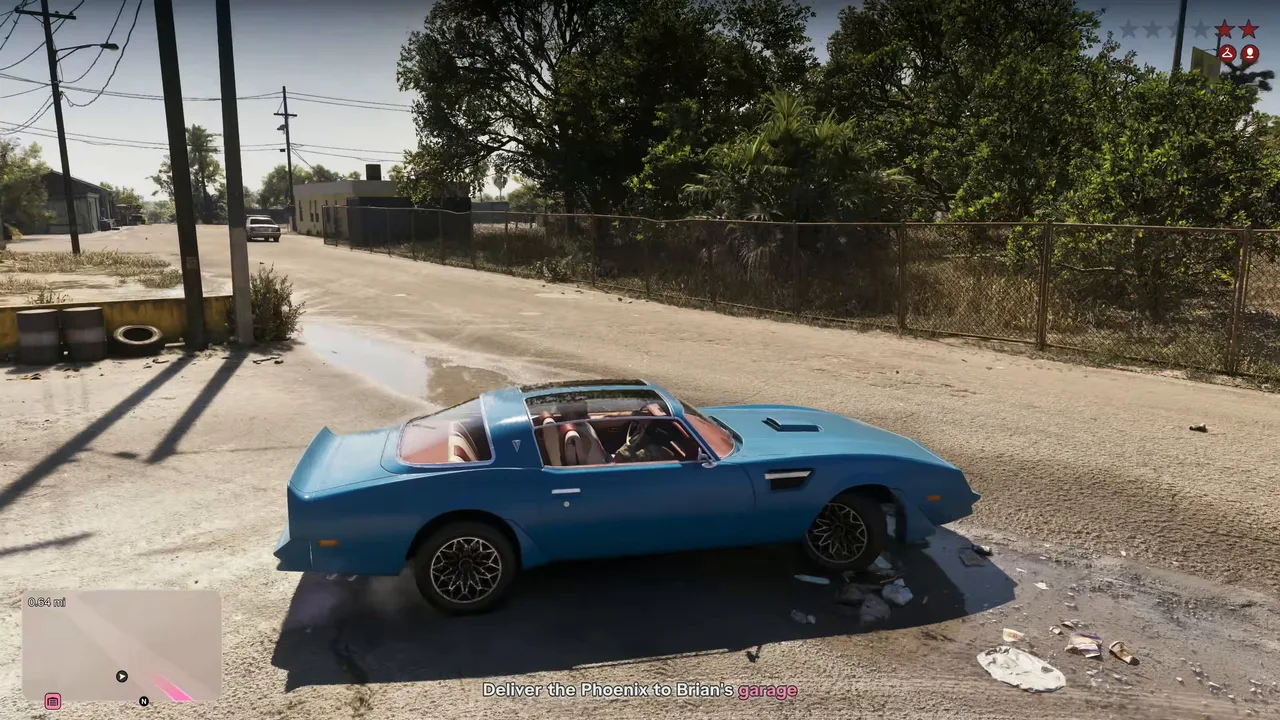 Blue now, and on its way to Brian’s garage. Footage: theRadBrad.
Collect the cash: walk into the back room and pick up $150. There’s also a first aid kit with a Zombix on the wall, worth taking.
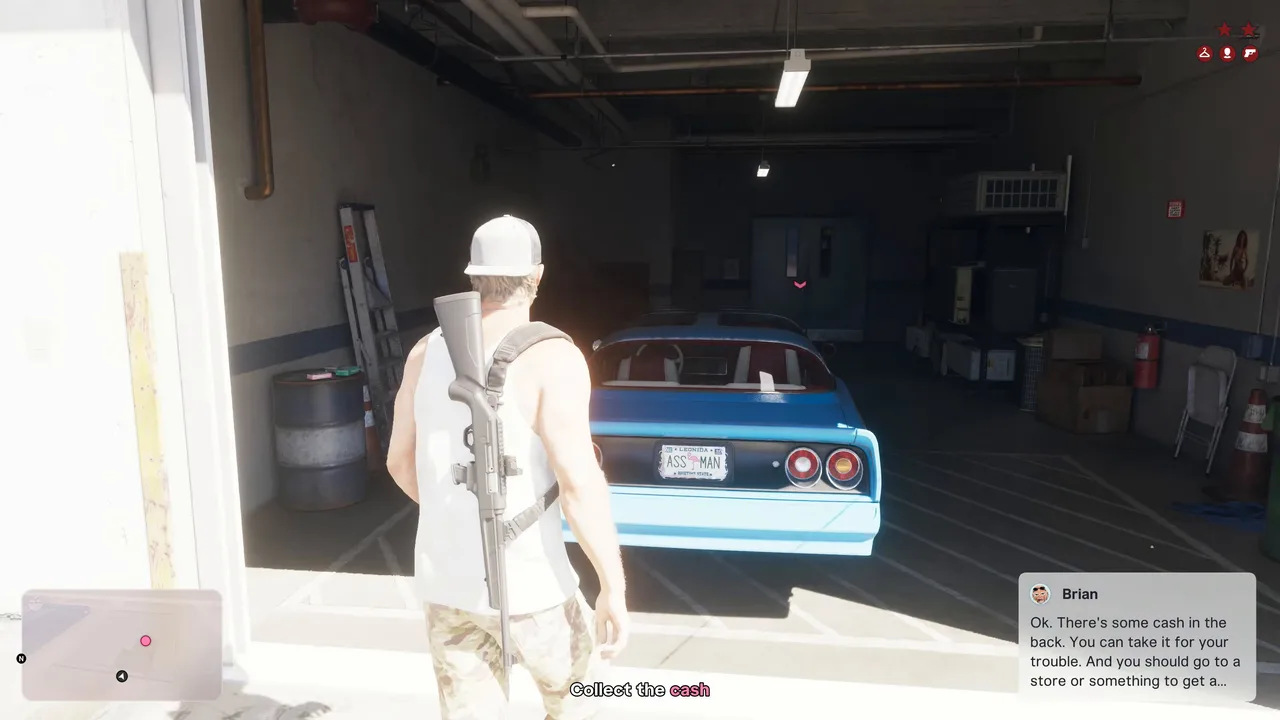 Brian’s text points you to the cash in the back room. Footage: theRadBrad.
Step 8: Change your look and buy an outfit
The cops still know Jason’s look. First the game teaches the quick fix: hold L1 to open your loadout and adjust your hat and glasses. Their icons turn white when the police don’t know that look. MrDalekJD’s tip: put a hat and glasses on before you do anything risky, so you always have something to take off.
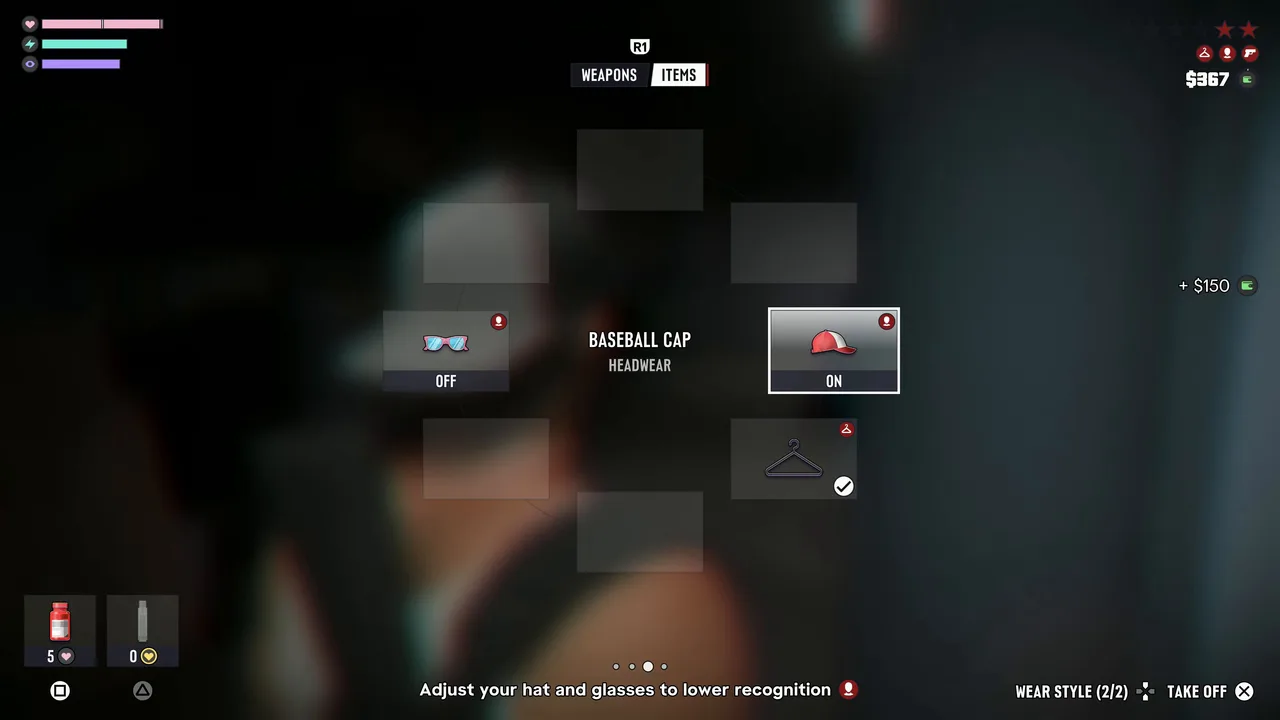 The items page of the loadout: hat and glasses on or off. Footage: theRadBrad.
Then Buy an outfit at the gun store. It’s Big Shots, the Ammu-Nation a few steps from Brian’s garage, which also sells workwear (Big Shots on the live map). theRadBrad bought the Hinterland Tee & Cargos for $59 (Buy & Wear), which is marked “Will remove outfit heat”. Your $150 from the garage covers it.
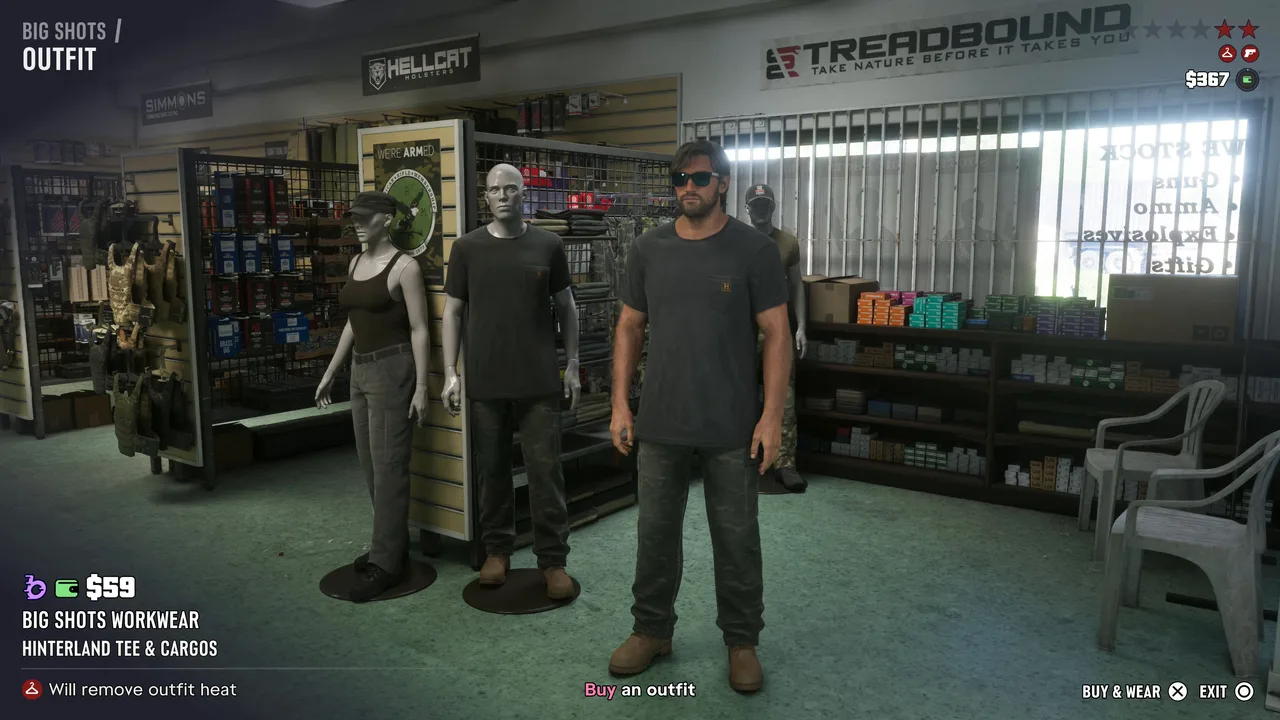 Big Shots Workwear: the $59 Hinterland Tee & Cargos removes outfit heat. Footage: theRadBrad.
With your outfit changed, a tip confirms the cops can’t identify you, and Leave when ready ends the shopping. One more tip explains that heat dies down over time and the map shows the areas where you’re still hot. That’s the end of the mission. Soon after, a text (Cal, by the tone of it) says there’s money in Jason’s mailbox for bailing him out again.
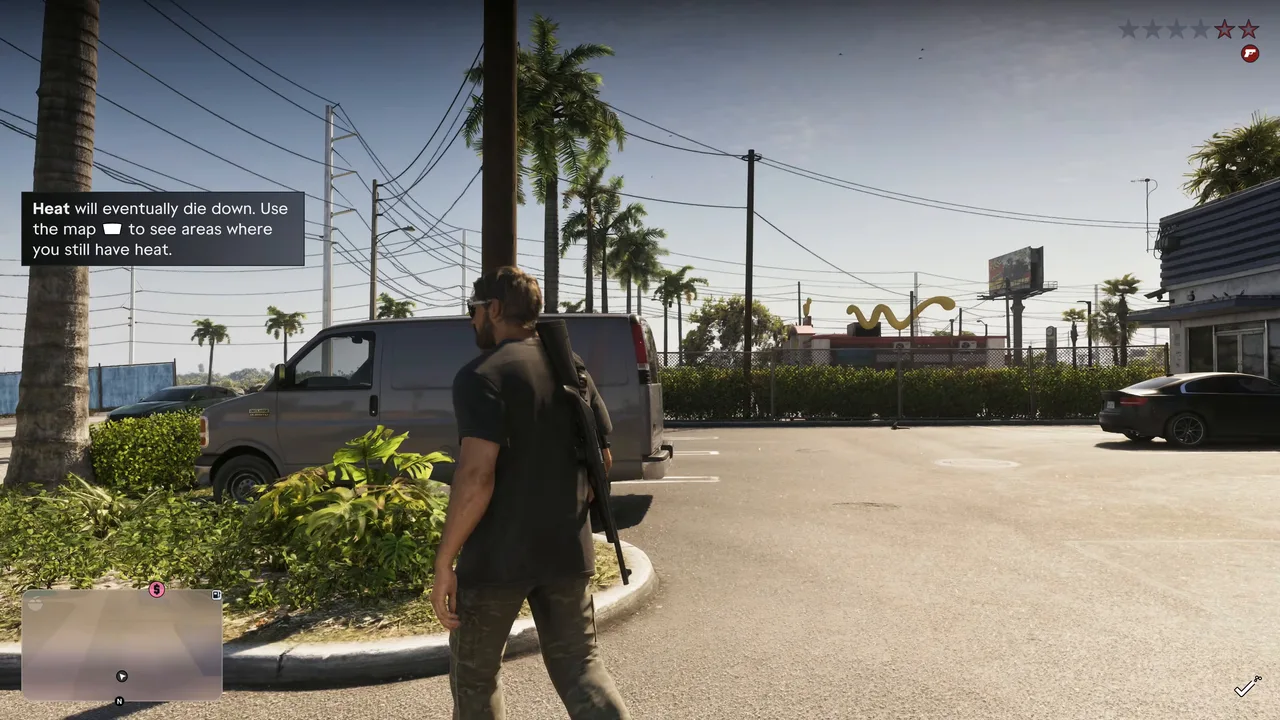 The last tip: heat fades on its own, and the map shows where it lingers. Footage: theRadBrad.
Rewards
- $150 cash from the back room of Brian’s garage.
- The cop scanner, a permanent phone plugin: police radio chatter and dispatch areas whenever you’re wanted.
- Cal’s thank-you in Jason’s mailbox. His text mentions money, but none of the runs we watched shows the amount.
- No trophy. The mission database lists none for this mission.
The outfit isn’t a reward: you pay for it, though the mission forces the purchase.
Tips
- Scan before you steal. WAiNK tells you which red car is the Phoenix and shows its locks and tracker.
- Take down guards only if you can move fast. A silent guard sets off a radio check.
- Shoot the gate button if the gate is slow and the guards are on you.
- Let the stars go grey before you head for the Pay ‘n’ Spray. The shop sits inside the area the cops are still watching.
- Carry a hat and glasses. Swapping them is the quickest way to drop outfit heat in later missions.
Related guides
- Previous: Gear Up, Jason’s first longarm at Chuck’s. Before that: Gone Fishing. Next: Hey Arnold!, when Brian asks Jason to come armed to a meeting with Arnold. See all GTA 6 missions.
- GTA 6 beginner tips: heat, WAiNK and criminal profile explained
- Best cars to steal in GTA 6: when you can actually keep a stolen car
- GTA 6 characters: Cal and Brian
- GTA 6 map regions: Key Lento and Hamlet
- Interactive map: every Pay ‘n’ Spray, including the Hamlet one
Frequently Asked Questions
How do you start Unwanted Attention in GTA 6?
After Gone Fishing a task called Go See Cal appears in your list: Brian wants something taken care of. Drive to the C blip, where Cal is fishing from a waterfront parking lot in Key Lento, and walk up to him.
Where is the Phoenix in the Unwanted Attention impound?
At the back of the Hamlet police impound, hooked to a white and blue Roadside Assistance tow truck. Climb in over the shipping containers at the back rather than the front gate, release the car from the tow truck, then hotwire it.
Can you steal the Phoenix without getting a wanted level?
No. Every run we watched ended in a chase at the gate, whether the player stayed hidden or knocked out the guards. Plan to lose the cops rather than avoid them: get out of the flashing search area, then respray the car.
What is the reward for Unwanted Attention?
$150 in cash, picked up in the back room of Brian's garage, and the police scanner app Cal installs on Jason's phone. The outfit at the end costs you money: theRadBrad's Hinterland Tee & Cargos was $59.
What does the police scanner do in GTA 6?
It lets Jason listen in on police radio and marks the areas the cops are being dispatched to. It runs in the background from this mission on, so you hear dispatch whenever you are wanted.
Sources & Credits
Researched from these videos and official material, among others. Screenshots credit the creator whose footage they come from.
- GTA 6 Mission #6 - Unwanted Attention (Chapter 1) [Full Walkthrough - PS5 4K] · GTA Series Videos
- GTA 6 Walkthrough Gameplay Part 1 - INTRO (GRAND THEFT AUTO 6) · theRadBrad
- GTA 6 Gameplay Walkthrough Part 3 - GO SEE CAL & HEY ARNOLD (PS5 PRO 4K) · GameRiot
- GTA 6 ULTIMATE BEGINNERS GUIDE! 32 Tips You NEED to Know (Don't Make These Mistakes) · MrDalekJD