Jump to your step
 1
Answer Jason’s call and check on him · Lucia
 2
Watch Jason get back on his feet
 3
Drive to Hank’s Waffles · Lucia
 4
Rob the diner and grab a getaway car · Lucia
 5
Rob the liquor store · Lucia
 6
Rob the thrift store · Jason
 7
Rob the gas station · Lucia
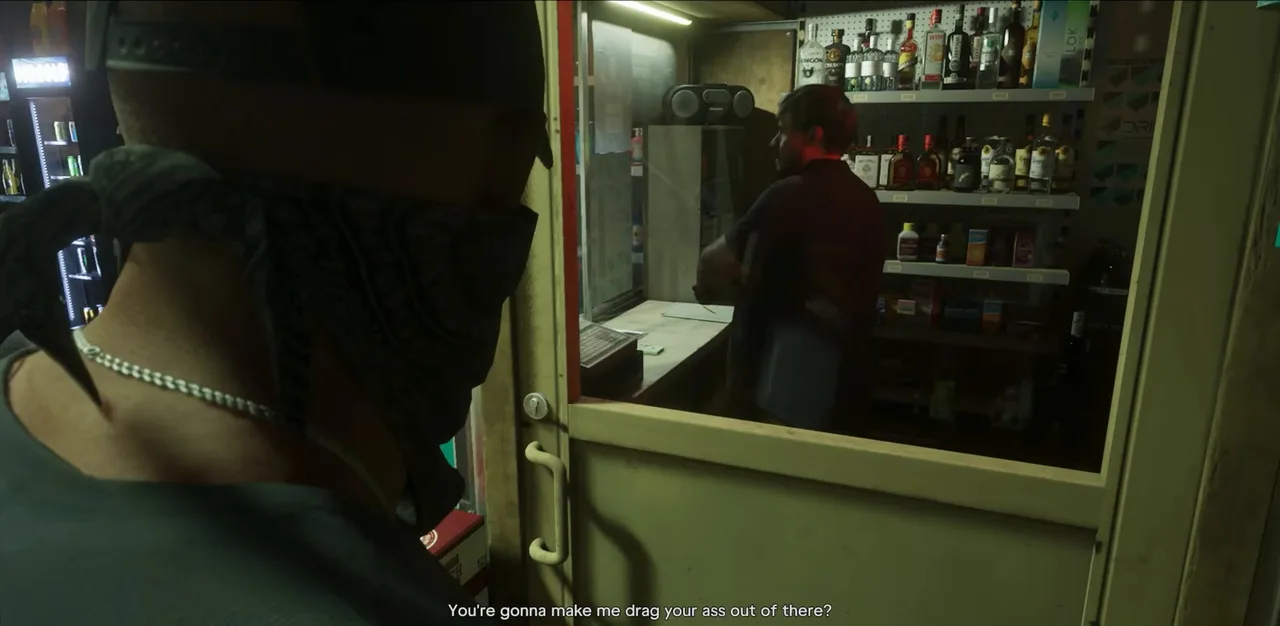 8
Hit the last liquor store · Jason
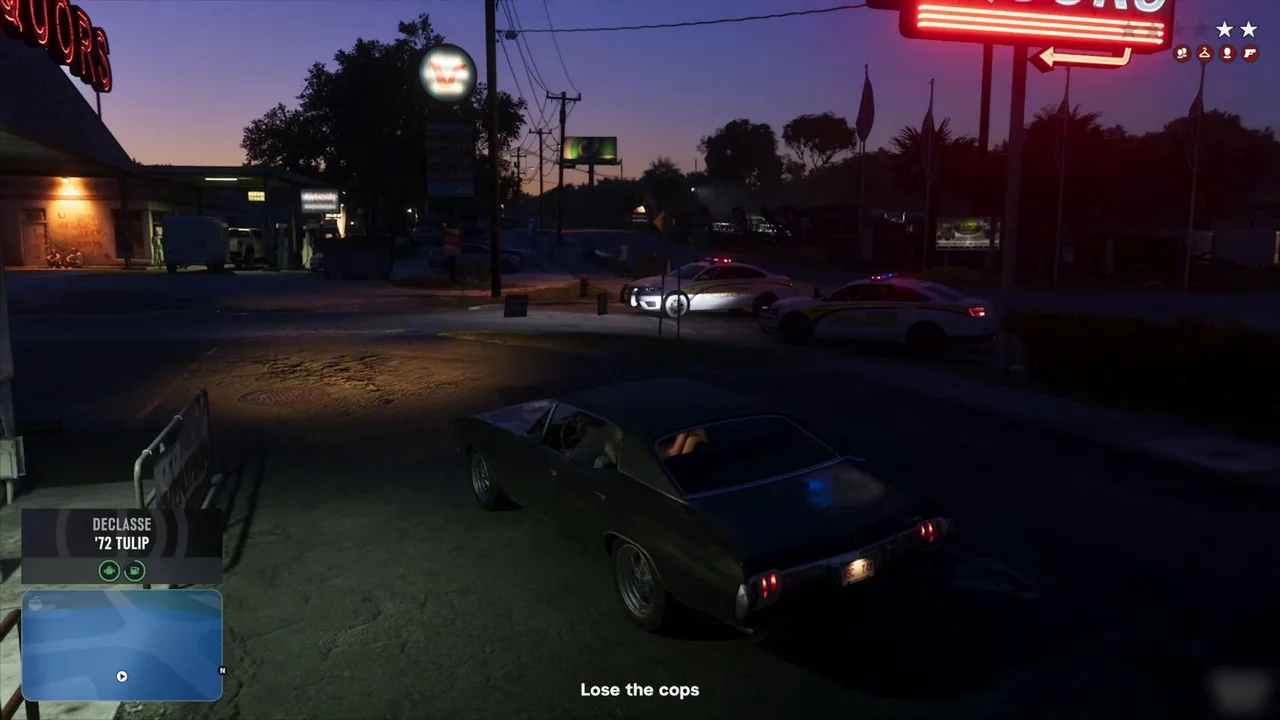 9
Lose the cops · Jason
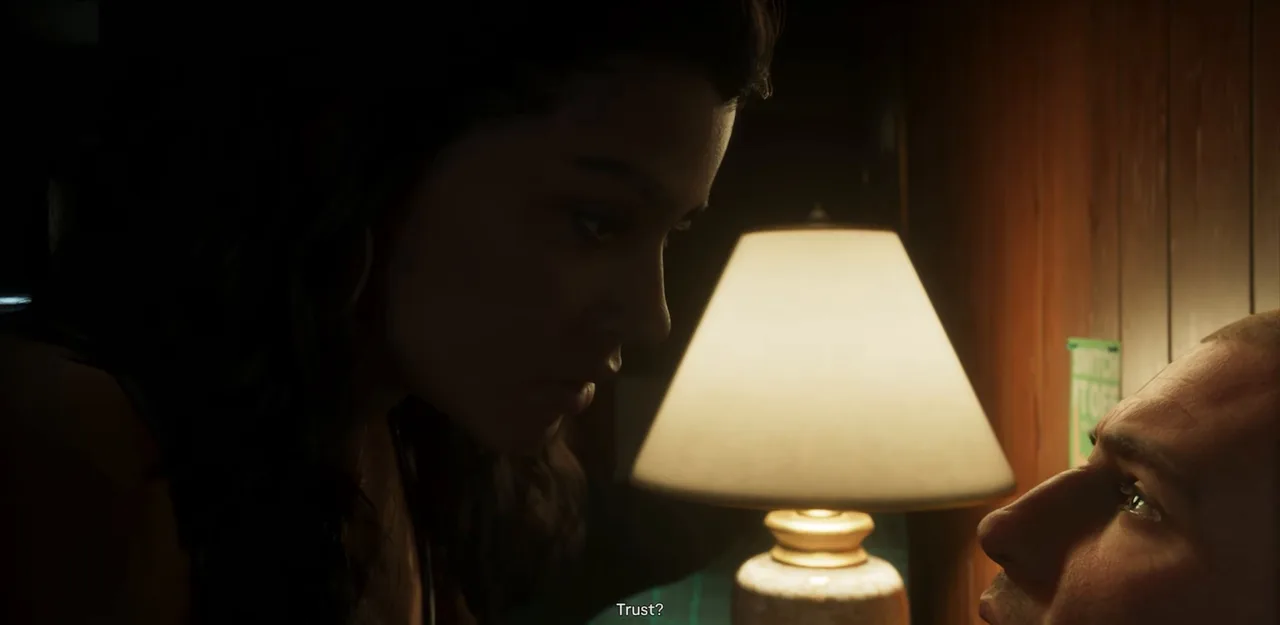 10
Back to the motel: Trust
Breakfast Run: quick facts
| Mission | Breakfast Run, story mission #42 |
| Chapter | Chapter 2 (Paradise Lost) |
| You play | Lucia, with Jason taking over for two of the stores and the getaway |
| Given by | Jason and Lucia, according to the mission list |
| Map task | Check on Jason |
| Where it starts | Room 06 of the Starlet Motel, Port Gellhorn |
| Unlocks after | Slam Dunk (#41), then a phone call from Jason |
| Unlocks next | Coffee Break (#43), which starts straight away |
| Completes | Take Care of Jason (#31) |
| Reward | Personal vehicles for Jason and Lucia, plus whatever the registers hold |
| Trophy | Trust (hidden, bronze / 10G) |
| Length | About 14 minutes in Perfect Score’s run, cutscenes included |
| Required for 100% | Yes |
Mission briefing The story so far, how to unlock it, where it starts and how this guide was made. Contains spoilers for the end of Chapter 1 and the first half of Chapter 2.
The story so far (spoilers for the end of Chapter 1)
Jason took a bullet in the job that closed Chapter 1, and Lucia got him out of Vice City Hospital in a stolen ambulance. Since then they’ve been hiding in room 06 of the Starlet Motel in Port Gellhorn with almost no money, and Lucia has carried the whole chapter alone: rent for Linda, cars for Moses, and a long hunt for proper painkillers that ended with Dunk and Doctor Bill in Slam Dunk.
Breakfast Run is the payoff. Jason is finally up, the two of them are a team again, and their first idea for making money together is to hold up every till they can find. It also closes the running motel task Take Care of Jason, which pays its reward through this mission.
How to unlock Breakfast Run
Finish Slam Dunk (#41), the job that ends with Lucia handing Jason the real pills. Then wait for Jason to phone. The mission database puts the gap at about half an in-game day and says finishing any other open story missions helps (at this point that usually means Daily Driver and Behind on Payments). Trophy Tom’s video opens with the same advice: play a few missions and side hustles and Jason will ring.
On the call Jason says he’s okay and has his phone back. Lucia tells him she’ll need his help once he’s better. After that the map shows a Check on Jason task asking you to head back to the motel and see how he’s doing.
Where Breakfast Run starts
It starts in room 06 of the Starlet Motel, Port Gellhorn, the couple’s safehouse for Chapter 2. The motel’s house icon is highlighted while the task is up, so it’s easy to pick out from anywhere in town. See the Breakfast Run start on the live map; Take Care of Jason and Coffee Break start in the same spot.
About this guide
The steps and screenshots follow Perfect Score’s no-commentary run of the whole of Chapter 2, where Breakfast Run sits between 1:40:13 and 1:54:34. Trophy Tom’s mission video and Aquish GTA’s 4K playthrough play the same scenes with the same dialogue and the same order of stores, so none of this depends on choices. Cash figures are from Perfect Score’s HUD and will differ in your game.
Step 1: Answer Jason’s call and check on him (Lucia)
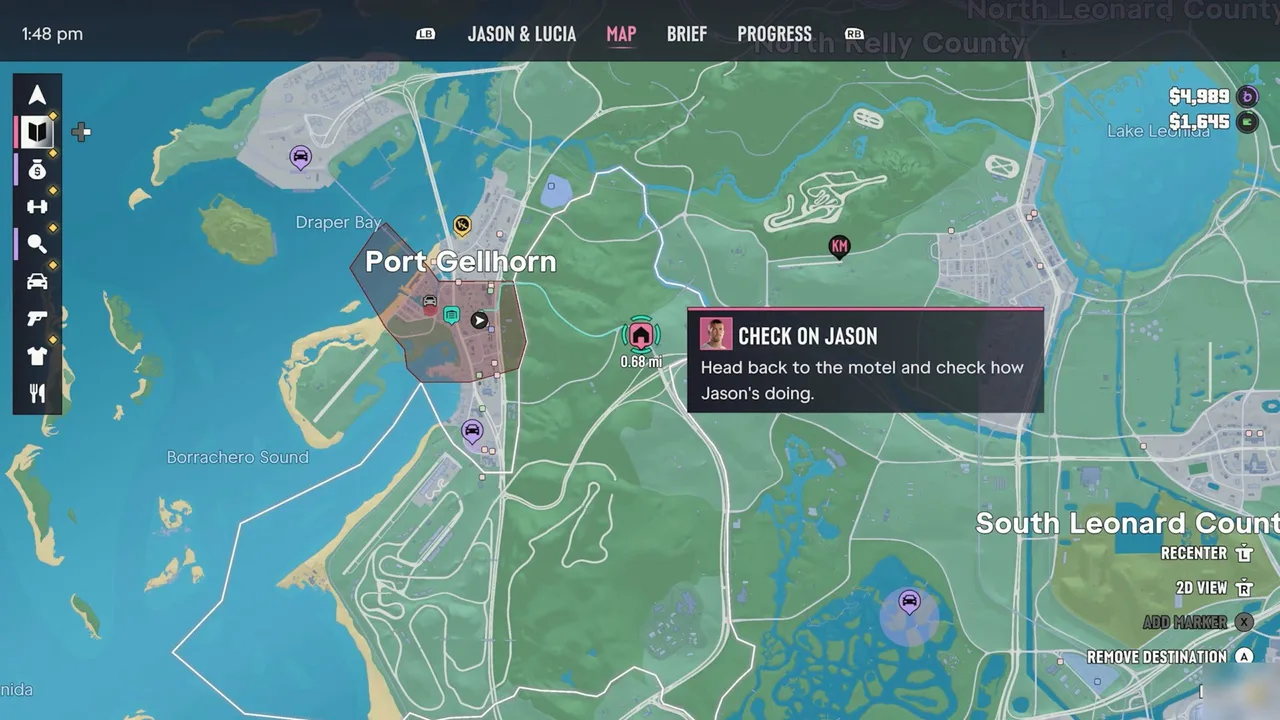
Once Jason has called, open the map. Check on Jason sits next to the highlighted motel icon with a card telling Lucia to go back and see how he is. In Perfect Score’s run Lucia was 0.68 miles away when she opened the map.
The Check on Jason task on the map. Footage: Perfect Score.
Walk into room 06. The lights are off and the bed is empty, so Lucia draws her pistol and creeps towards the bathroom. It’s Jason, on his feet for the first time in the chapter. She tells him he’s lucky she didn’t shoot.
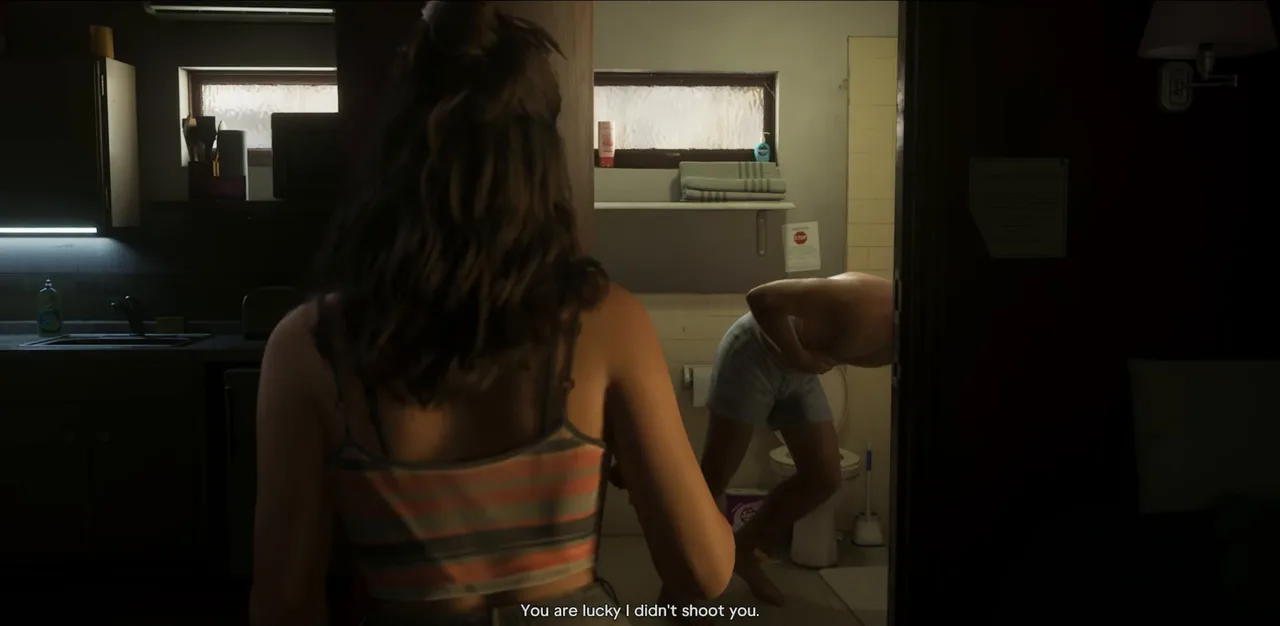 Lucia finds Jason up in the bathroom. Footage: Perfect Score.
She walks him back to bed, lifts the dressing and decides the wound is healing. This is the same scene our Take Care of Jason guide ends on: the last check-in of that task and the opening of this mission.
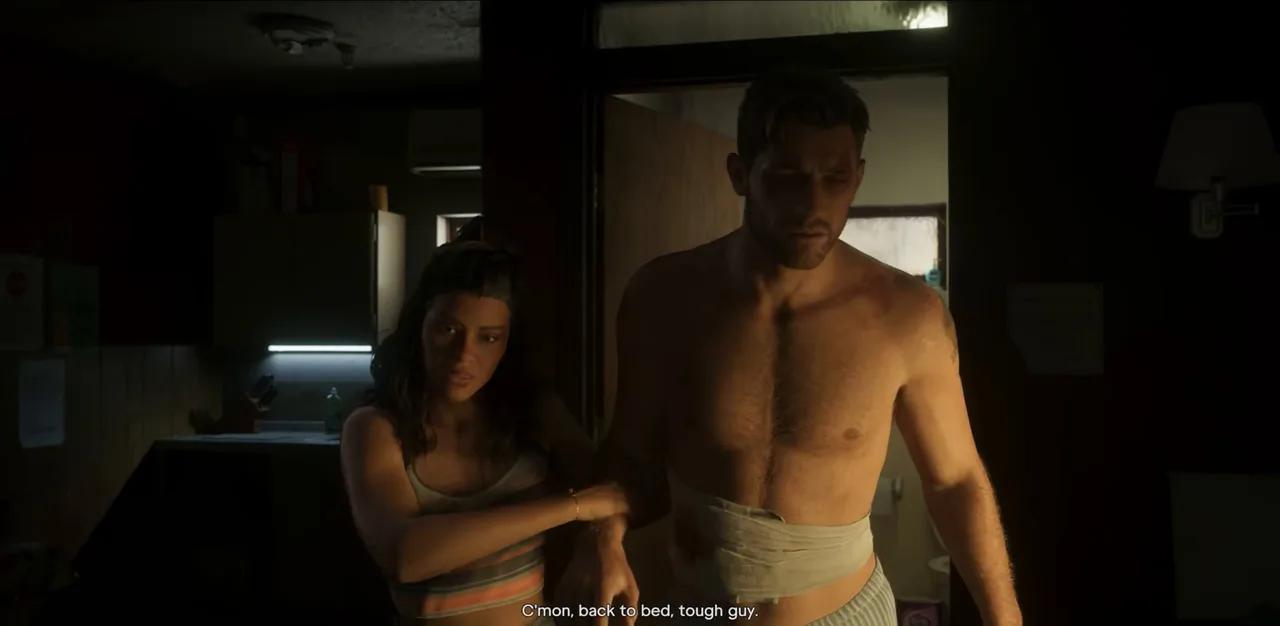 Back to bed for one last check of the wound. Footage: Perfect Score.
Step 2: Watch Jason get back on his feet
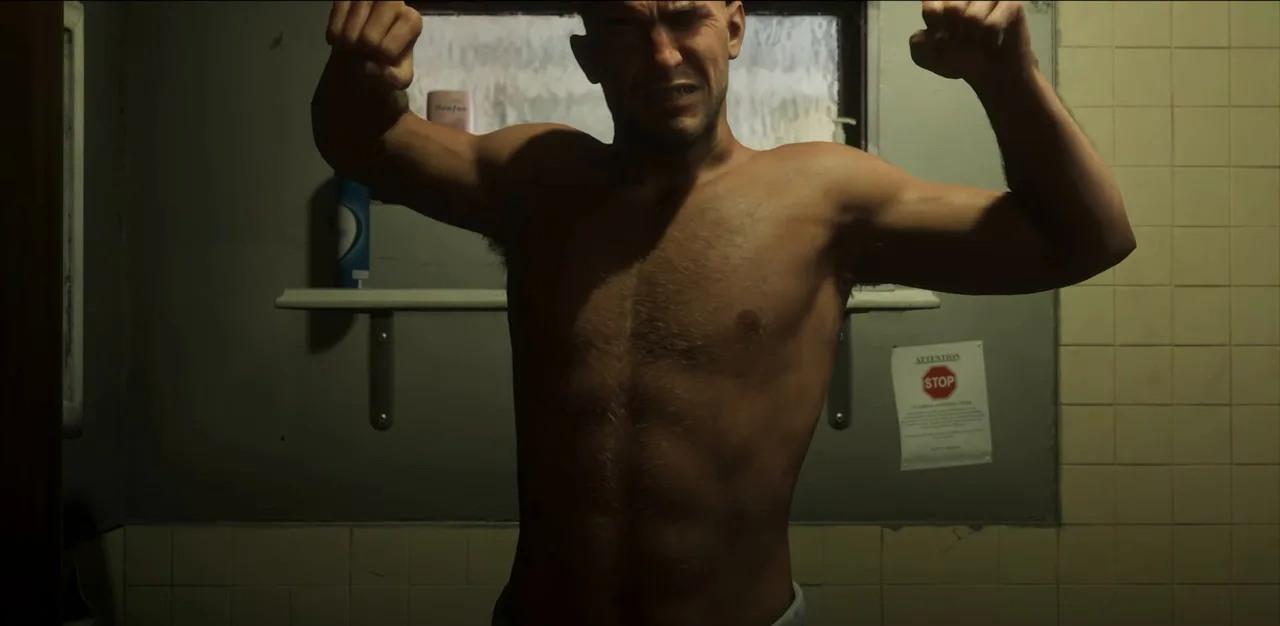
No controls for a while. A short montage skips ahead through his recovery: Jason testing himself in the bathroom mirror, the bandage gone, a T-shirt back on.
Time passes and the pills do their job. Footage: Perfect Score.
Then the hard drive from the bag comes out. They plug it into a laptop Lucia has borrowed from Vicki and find it’s encrypted. Neither knows how to crack it, but they agree that whatever is on it must be worth a lot, given how many people tried to kill them for it. Lucia decides Jason has been shut in long enough and offers to buy him breakfast. He votes for waffles.
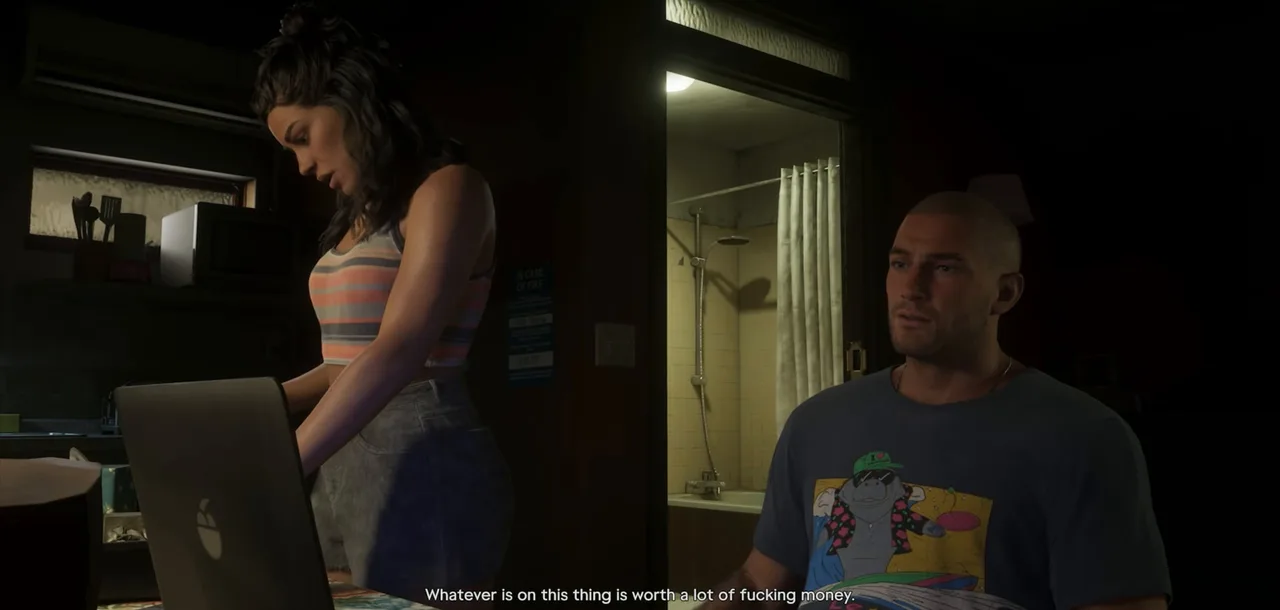 The encrypted drive. Its contents drive the rest of the chapter. Footage: Perfect Score.
Step 3: Drive to Hank’s Waffles (Lucia)
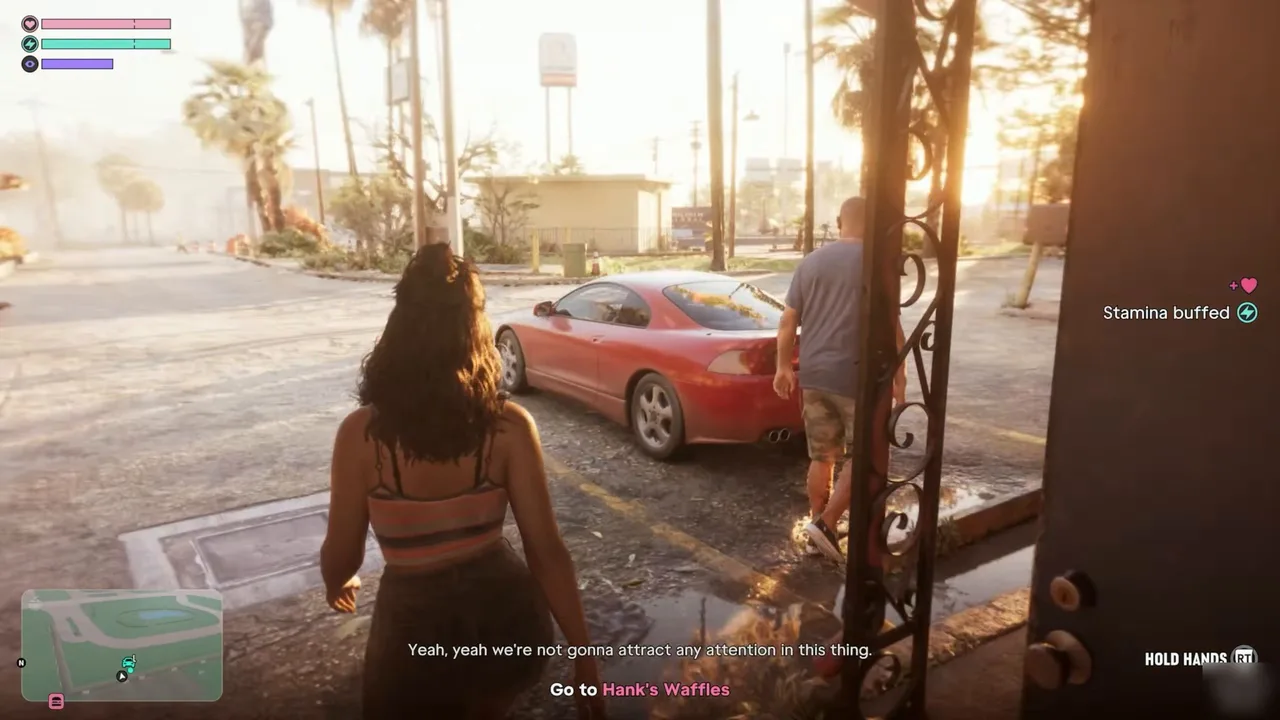
You get control outside room 06 with the objective Go to Hank’s Waffles. A pink heart and a Stamina buffed notice flash on the right, and a Hold Hands prompt appears while Jason walks beside you: small relationship touches from the time Lucia spent looking after him.
Go to Hank’s Waffles. Footage: Perfect Score.
Take whichever car you have; the pair joke about it either way (Perfect Score drove Lucia’s red Penumbra, Trophy Tom a pale green Karin saloon). The diner is a short drive from the motel. Hank’s Waffles is on our map.
On the way they talk over the contacts Lucia has made, Dunk among them, and a gun store in town. Jason has a simpler plan: take what they’ve got and stick up every small place with a till, then move on to the next small town. Lucia points out it’s low risk and low reward, so they’d need to hit a lot of them. That’s settled before you park.
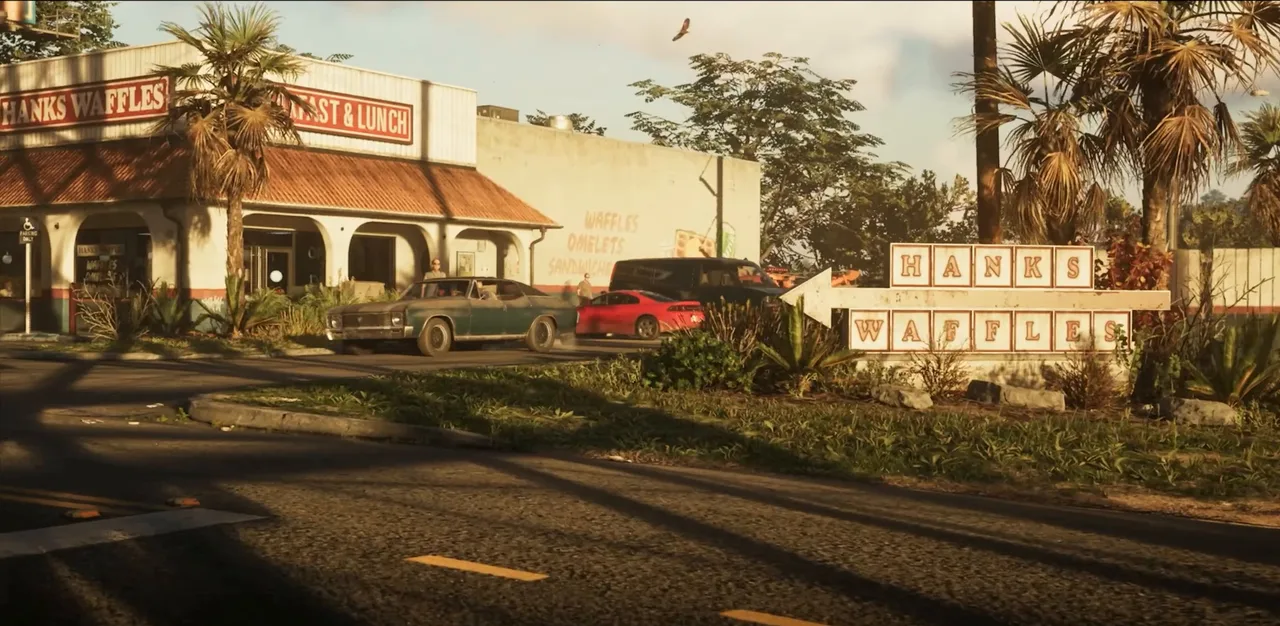 Hank’s Waffles, the first stop. Footage: Perfect Score.
In the car park Jason hands Lucia a bandana, and she realises breakfast was never the point. He lays out the rules: in and out, one of them keeps the room under control, the other clears the registers, and anyone who tries something gets dealt with fast.
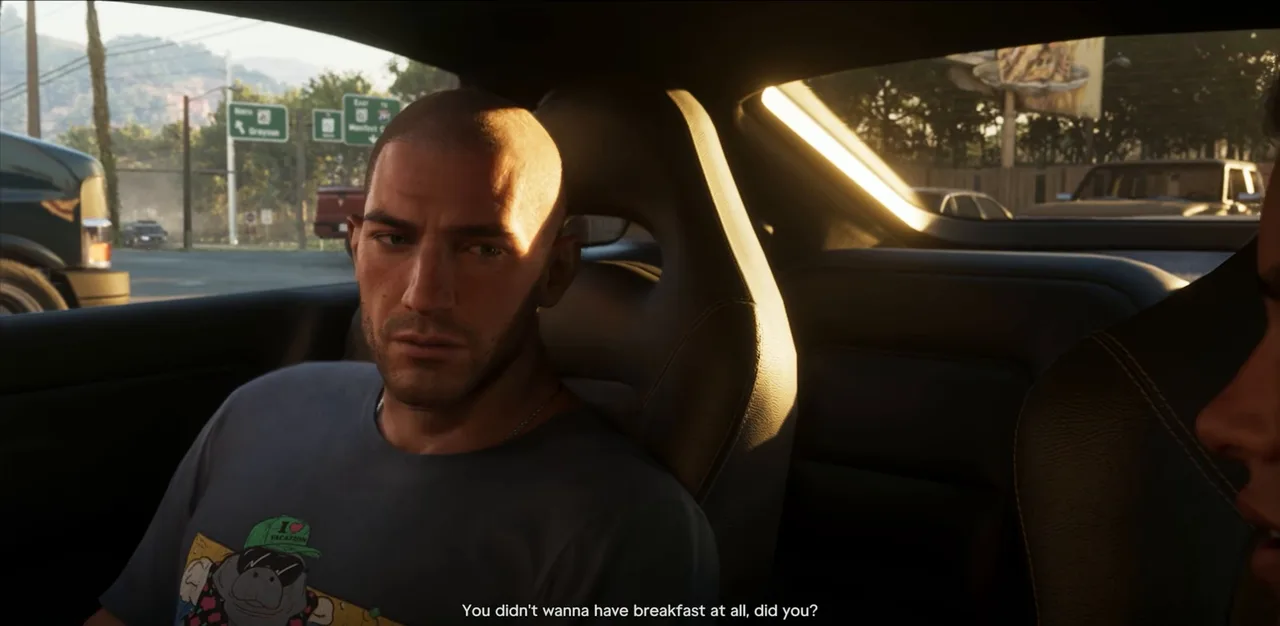 Breakfast was a cover story. Footage: Perfect Score.
Step 4: Rob the diner and grab a getaway car (Lucia)
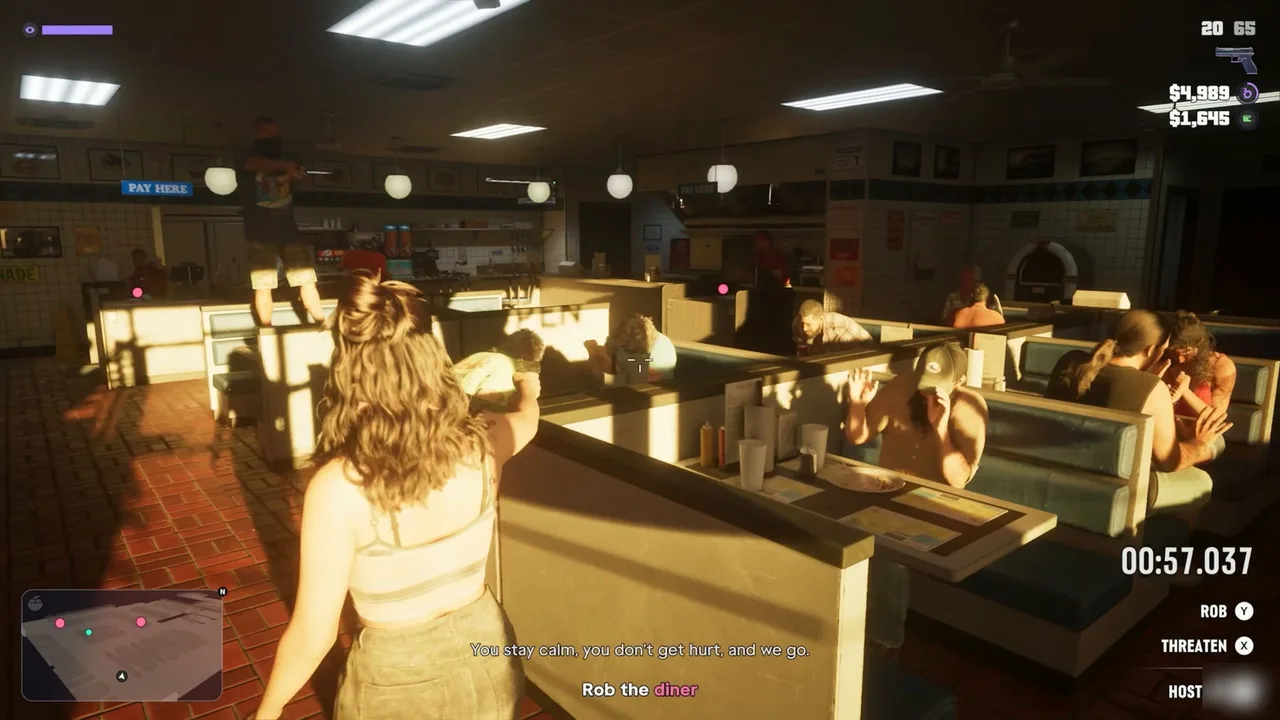
The two of them walk in with guns out, and the objective becomes Rob the diner. A one-minute timer starts at the bottom right and keeps running until you’re back in a car, with three prompts beneath it: Rob, Threaten and Hostage.
Rob the diner, with the timer already running. Footage: Perfect Score.
Aim at the customers to threaten them, then go to the counter and aim at the staff member until they open the register. A Cash prompt appears over the money: hold it to take it. One of the diners tries to talk tough and backs down, and Jason handles the room while you work. Perfect Score’s cash went from $1,645 to $2,298 here, and that was with about 30 seconds to spare.
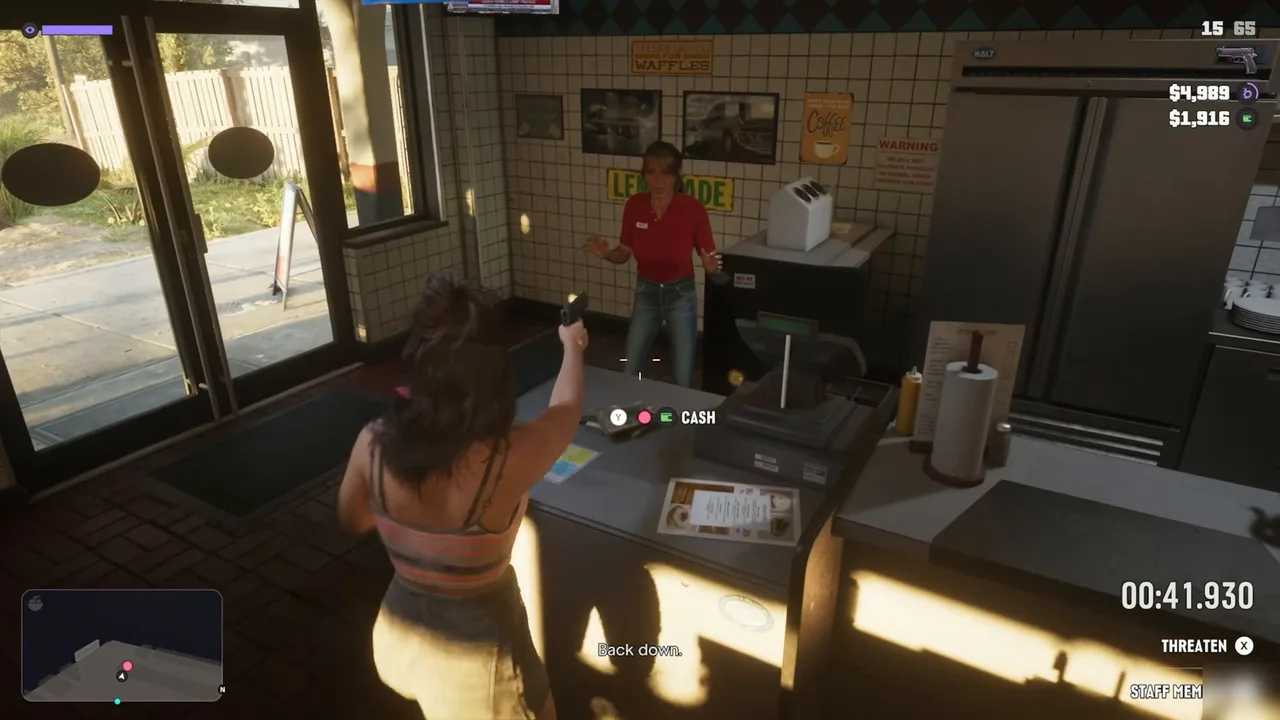 Hold the Cash prompt at the register. Footage: Perfect Score.
When the objective changes to Escape with Jason, head out the front. A cutscene takes over in the car park: Lucia pulls a driver out of his dark muscle car, a Declasse ’72 Tulip, and that’s your getaway car for the rest of the day.
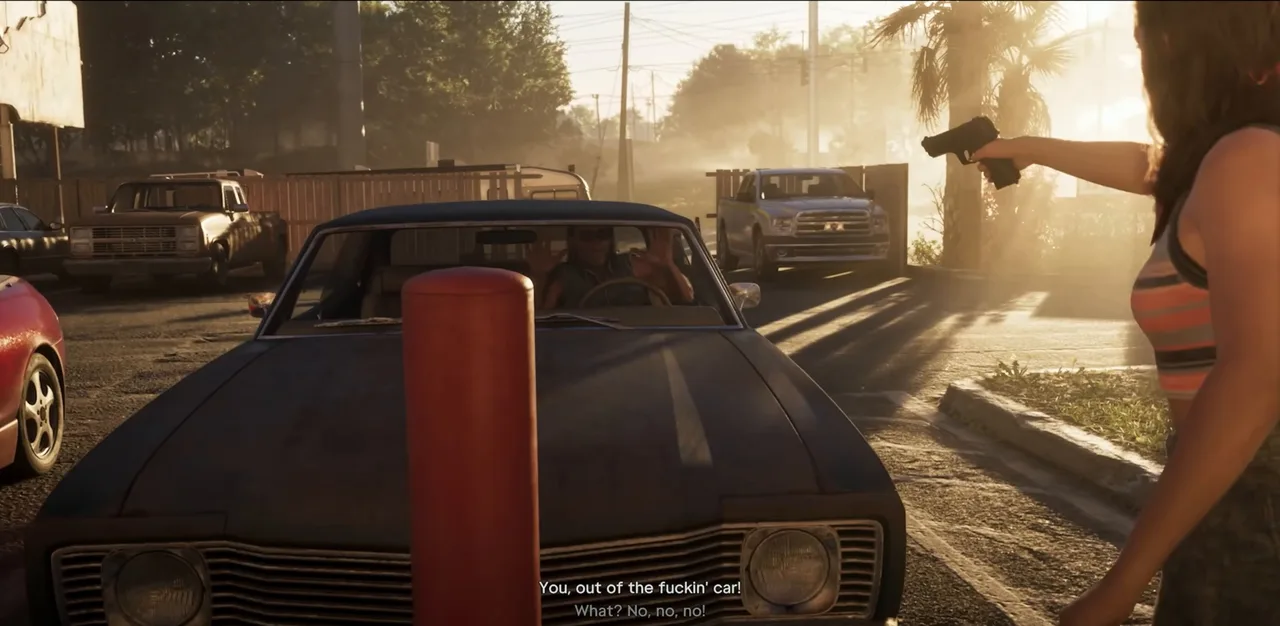 Swapping your own car for a stolen one. Footage: Perfect Score.
Step 5: Rob the liquor store (Lucia)
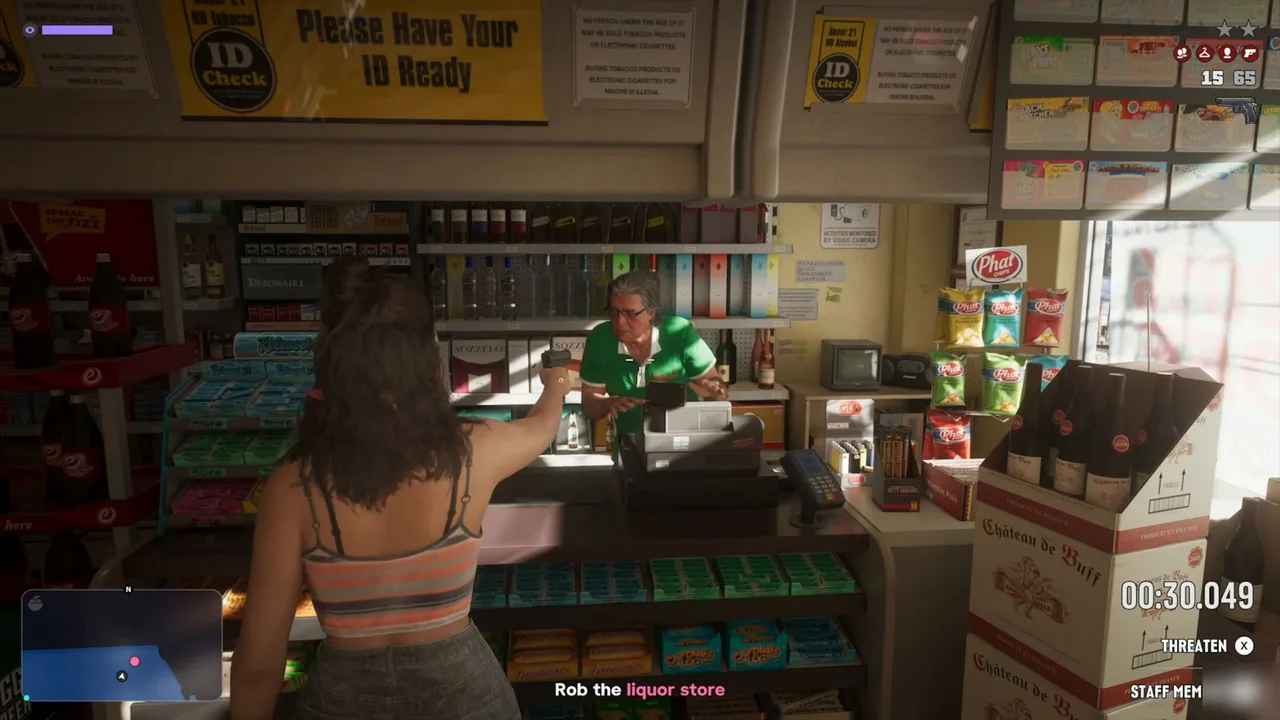
Jason thinks one diner is plenty. Lucia doesn’t, and says she’ll choose the next place. After a short drive it’s Rob the liquor store. Do the same again: threaten, take the till, get back in the car. Perfect Score took two handfuls of $130 and $140 here.
The second stop, Lucia’s pick. Footage: Perfect Score.
The timer still applies after you have the money: the objective switches to Get in the car, and the clock doesn’t stop until you’re inside.
Step 6: Rob the thrift store (Jason)
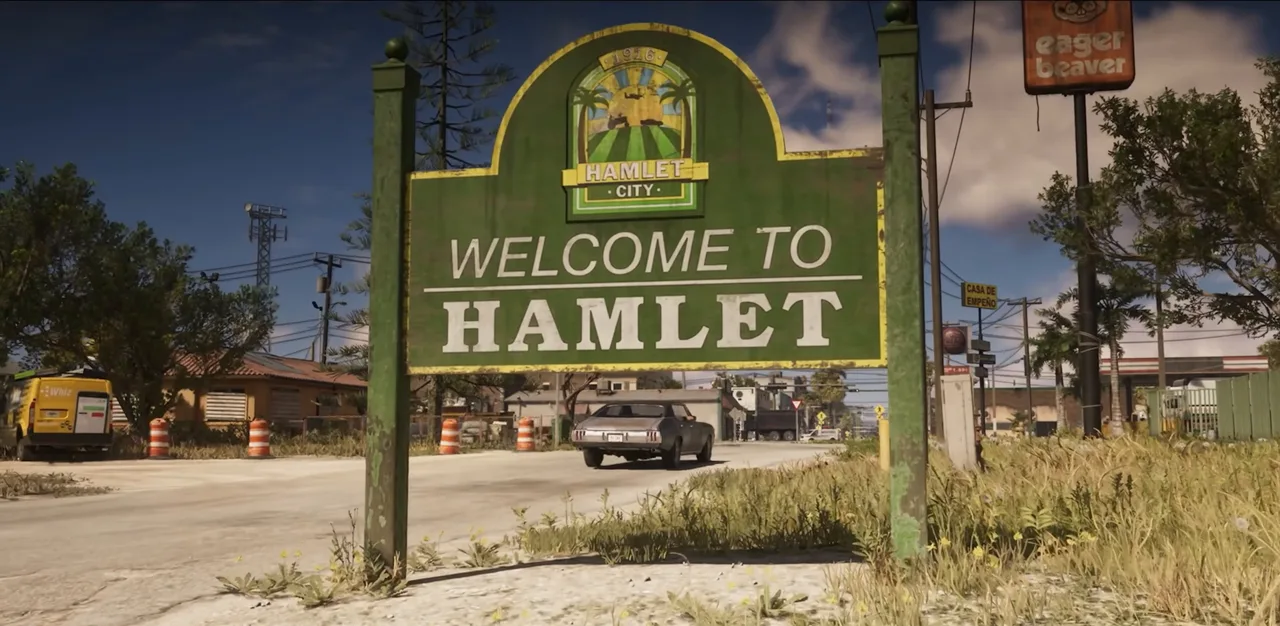
A driving montage carries the pair past the Welcome to Hamlet sign, and here the game hands you Jason for the first time since Chapter 1. The objective is Rob the thrift store.
Crossing into Hamlet. Footage: Perfect Score.
This stop adds a wrinkle: the clerk has dropped to the floor away from the till, so the objective becomes Force the clerk to the cash register. Keep your gun on him and walk him back to the counter, then take the cash as before. Trophy Tom’s run plays this store as Jason too.
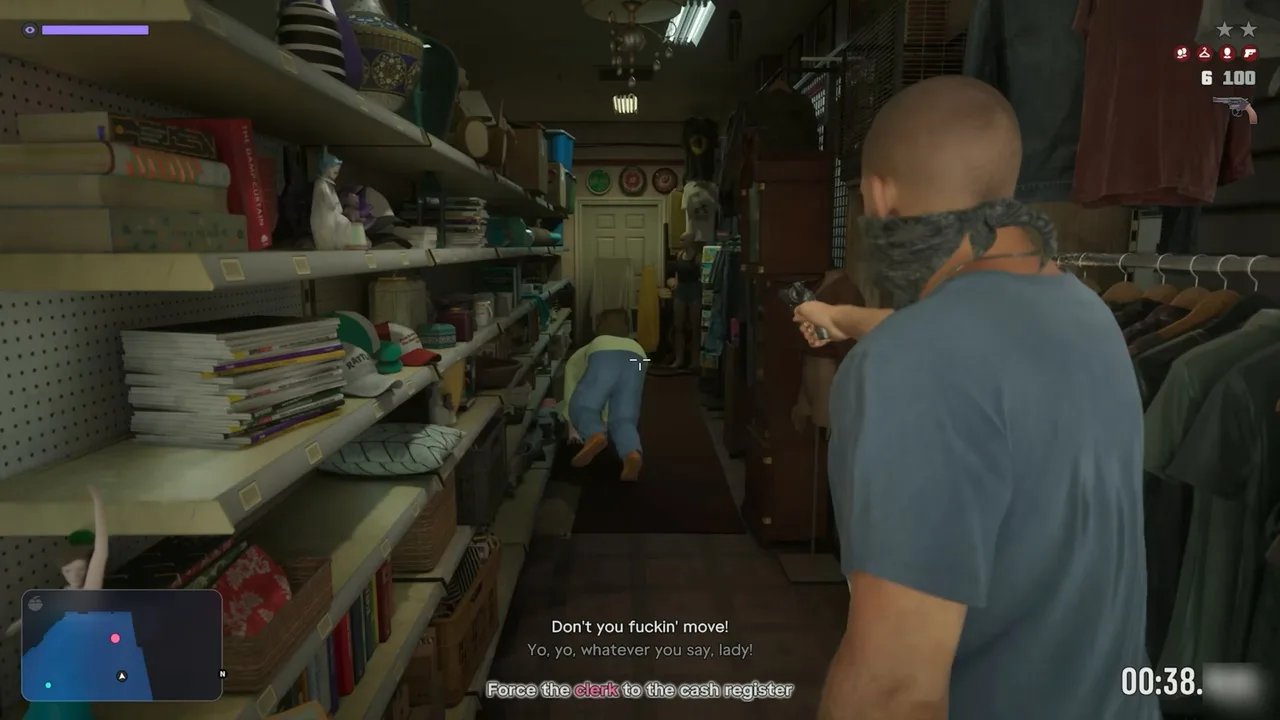 Jason walks the clerk back to the till. Footage: Perfect Score.
Step 7: Rob the gas station (Lucia)
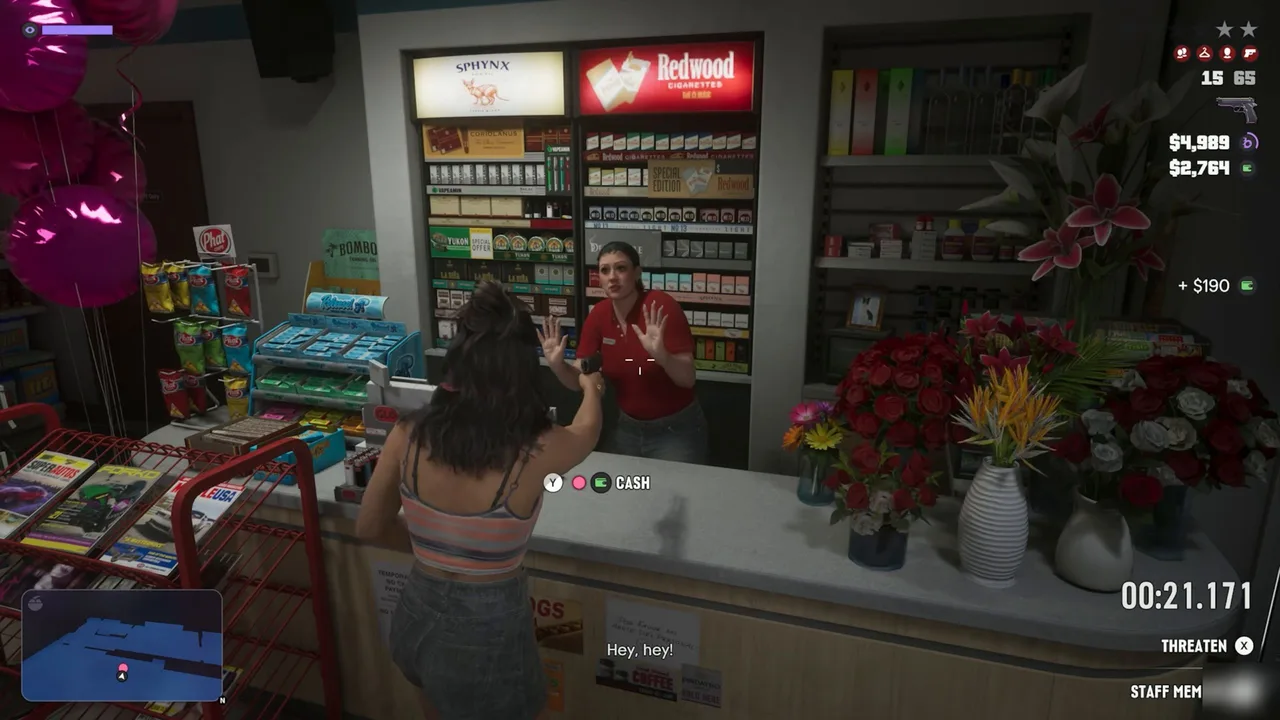
Back to Lucia for a gas station shop. Nothing new here: threaten the cashier, wait for the till to open, hold Cash. Perfect Score picked up $190, which took Lucia to $2,764.
The gas station register. Footage: Perfect Score.
Step 8: Hit the last liquor store (Jason)
The final store is played as Jason again, and it fights back. The clerk has locked himself into a booth behind a glass door. Jason threatens to drag him out, and someone starts shooting with a shotgun. In both full runs Jason covers Lucia as they back out, and the objective goes to Get in the car with about 20 seconds left.
The clerk in the booth. Expect a shotgun. Footage: Perfect Score.
Have your weapon out when you walk in and stay low near the door. A cutscene then shows one more frightened clerk handing over the cash before Lucia hears sirens and they run.
Step 9: Lose the cops (Jason)
It’s dusk when you get back to the Tulip, and you have a two-star wanted level with the objective Lose the cops. Patrol cars are already arriving and the police radio is talking about a robbery in progress in Ambrosia.
Two stars and a stolen muscle car. Footage: Perfect Score.
The quickest escape is off-road. Perfect Score turned off the main road almost straight away, ran along dirt tracks and across fields with the lights on, and the cops lost the trail. The mission database gives the same tip. While you drive, Jason and Lucia relax into the chat: they’re good at this together.
Step 10: Back to the motel: Trust
Once the stars are gone, a cutscene takes the pair back to room 06. It ends with the Trust? exchange from Rockstar’s first trailer in December 2023: the line about getting through this only by sticking together, and the one-word answer.
The Trust scene, straight from the first trailer. Footage: Perfect Score.
The next morning Vicki knocks to collect her laptop. She’s looking for a new job because her boss Frankie is giving her a hard time, has heard about all the stick-ups, and makes a pointed suggestion: Delights would be a good target for someone with help on the inside. That plants Afternoon Delight (#45), which comes later in the chapter.
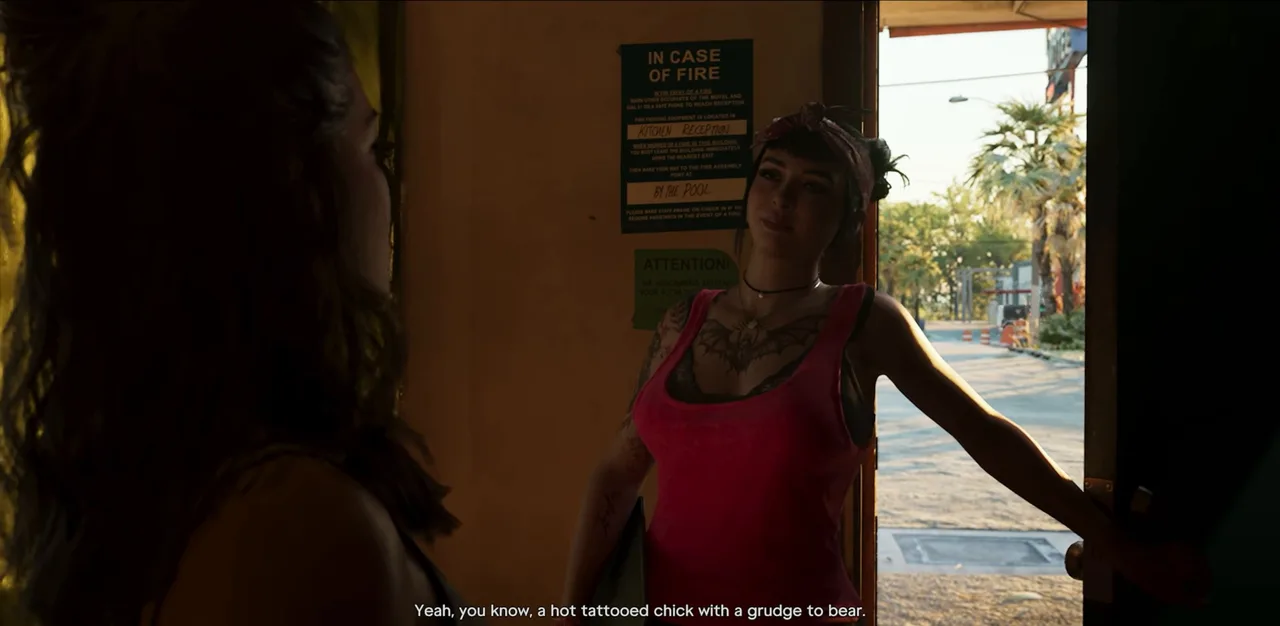 Vicki wants her laptop back, and a job. Footage: Perfect Score.
As Jason and Lucia step outside, two notices arrive: they now have their own personal vehicles, and the Trust achievement unlocks, its description reading Complete Breakfast Run. Coffee Break starts on the spot, with you as Jason, so there’s nothing to drive to.
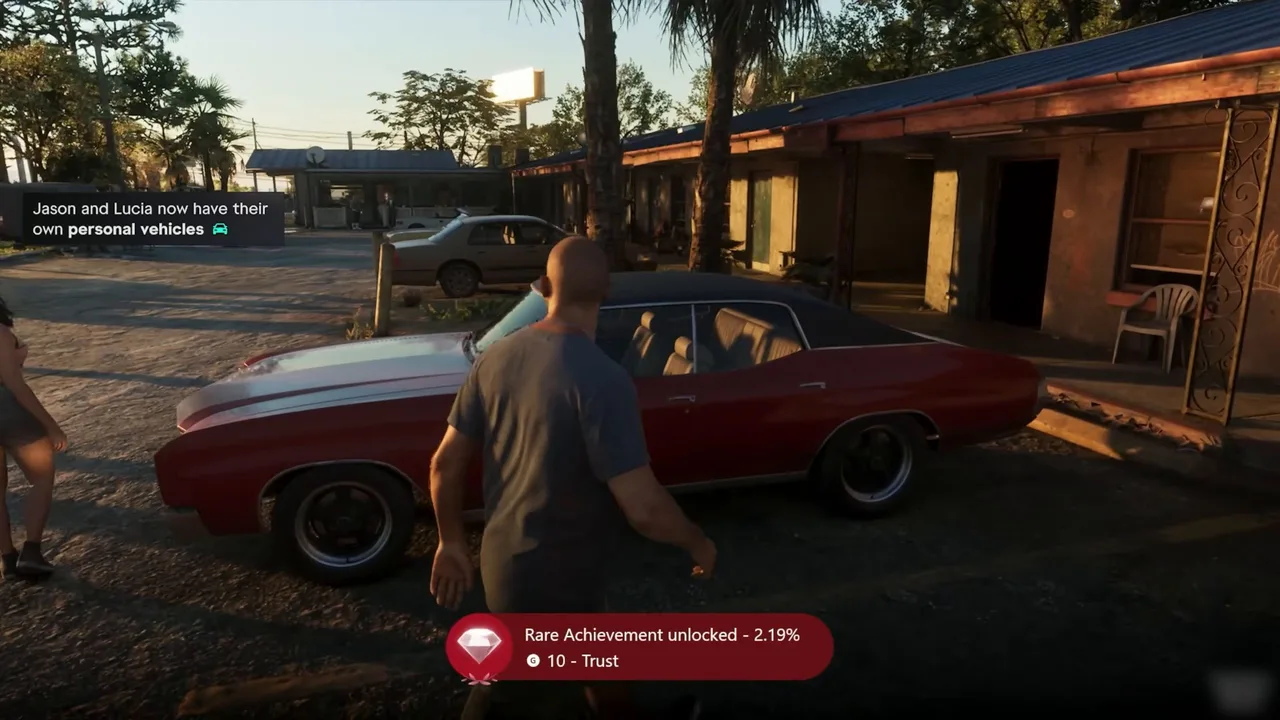 Personal vehicles and the Trust achievement. Footage: Perfect Score.
Rewards
- Trust (hidden trophy / achievement): for completing Breakfast Run. Bronze on PlayStation, 10 Gamerscore on Xbox. Perfect Score’s Xbox banner called it rare, at 2.19% of players, and Trophy Tom’s PlayStation popped it at the same moment outside room 06.
- Personal vehicles: Jason and Lucia each get one. Jason’s is the red muscle car parked outside the room in both runs; Lucia’s seems to be the car she was already using, but none of the videos shows a list.
- Cash: whatever the registers hold. In Perfect Score’s run Lucia’s three stores added about $1,100 to her wallet ($1,645 to $2,764); Jason’s takings from his two stores weren’t on screen. The mission database lists no fixed payout.
- Jason is back: you play him for part of the mission, and from Coffee Break on you can switch between the two freely.
- Take Care of Jason completes: the running motel task closes once this mission is done.
None of the runs shows a separate mission-passed screen; the notices above are the only sign.
Tips
- Keep an eye on the timer. Each store gives you about a minute from the door to the car. Threaten first so nobody plays hero, then go straight for the till.
- Arm up before the call comes. The last liquor store shoots back, and the getaway starts at two stars. Our weapons guide covers where to stock up in Port Gellhorn.
- Head off-road to lose the cops. Dirt tracks and fields break line of sight much faster than the town streets.
- Waiting for the call? Finish Daily Driver and Behind on Payments and do a few side jobs (money guide); Jason rings on his own.
- Collect the cash. Grab every Cash prompt at the counter before you leave; the timer leaves plenty of room for it.
Related guides
- Previous: Slam Dunk (#41), Dunk’s job that gets Jason the real painkillers. Next: Coffee Break (#43), where the pair plan their next moves. See all GTA 6 missions.
- Take Care of Jason (#31): every motel check-in leading up to this mission.
- Girls’ Trip (#34): how Lucia met Vicki and Dunk.
- New Look (#36): Lucia’s new hair, which Jason notices.
- GTA 6 money guide and beginner tips: robbing stores and spending the takings.
- GTA 6 characters: Jason, Lucia and Vicki.
- Interactive map: Hank’s Waffles and the rest of Port Gellhorn.
Frequently Asked Questions
How do you start Breakfast Run in GTA 6?
Finish Slam Dunk (#41), then keep playing until Jason phones Lucia to say he's feeling better. A Check on Jason task appears and the Starlet Motel icon is highlighted: go into room 06 and the mission starts.
Why hasn't Jason called after Slam Dunk?
The call isn't instant. The mission database puts it at roughly half an in-game day after Slam Dunk, and finishing the other open story missions helps. Trophy Tom's advice is the same: do some missions and side hustles and the call comes on its own.
How do you get the Trust trophy in GTA 6?
Complete Breakfast Run. Trust is a hidden story trophy (bronze, 10 Gamerscore on Xbox) that unlocks the morning after the robberies, as Jason and Lucia step out of room 06. In Perfect Score's run Xbox flagged it as a rare achievement held by 2.19% of players.
How do you lose the cops in Breakfast Run?
You leave the last store with two stars. Get off the main roads: Perfect Score cut through dirt tracks and open fields at dusk and the search area dropped away quickly. Avoid the town streets, where more patrol cars join.
When does Jason become playable again in GTA 6?
During Breakfast Run. The game hands you Jason for some of the stick-ups and the getaway, and he stays playable afterwards. Free switching between Jason and Lucia arrives in the next mission, Coffee Break.
Do you get a car from Breakfast Run?
Yes. When the mission ends a notice says Jason and Lucia now have their own personal vehicles. In both runs we used, Jason's is a red muscle car waiting outside room 06.
Sources & Credits
Researched from these videos and official material, among others. Screenshots credit the creator whose footage they come from.
- GTA 6 Gameplay Walkthrough Full Chapter 2: Paradise Lost (No Commentary) · Perfect Score
- GTA 6 - Breakfast Run (Check on Jason) - Full Walkthrough · Trophy Tom
- GTA 6 - Chapter 2 Mission #8 - Breakfast Run [Mission Playthrough - 4K 60fps] · Aquish GTA
- Grand Theft Auto VI Trailer 1 · Rockstar Games