Jump to your step
Coffee Break: quick facts
| Mission | Coffee Break, story mission #43 |
| Chapter | Chapter 2 (Paradise Lost) |
| You play | Jason, with Lucia at his side |
| Given by | Nobody: it runs straight on from Breakfast Run |
| Where it starts | Outside room 06 of the Starlet Motel, Port Gellhorn |
| Unlocks after | Breakfast Run (#42) |
| Unlocks next | Prepare for Vice City (#44), plus Thrillbillies, Hit Avery Pawn, Hit Kingpin Bowling and Impounded Vehicle |
| Length | About 5 minutes |
| Cost | $2 for the coffee |
| Reward | Free switching between Jason and Lucia, and the partner menu |
| Trophy | None |
| Required for 100% | Yes |
Mission briefing The story so far, how it unlocks, where it starts, who's who and how this guide was made. Contains spoilers for the end of Chapter 1 and the first half of Chapter 2.
The story so far (spoilers for the end of Chapter 1)
Spoiler for the end of Chapter 1: the pickup Mattia sent Jason and Lucia on was an ambush. Jason was shot, the couple fled with a bag holding a small bronze statue and an unlabelled hard drive, and Lucia broke Jason out of Vice City Hospital (Discharge Time). They have been lying low in room 06 of the Starlet Motel in Port Gellhorn ever since.
Lucia spent the first half of Chapter 2 keeping them afloat (Take Care of Jason) and getting real painkillers through Dunk (Slam Dunk). In Breakfast Run (#42) Jason was finally back on his feet, and the two of them spent a day robbing registers, starting at Hank’s Waffles. Coffee Break is the morning after: the first time they sit down and plan as a team.
How to unlock Coffee Break
Finish Breakfast Run. In Perfect Score’s run Vicki knocked for her laptop the next morning and dropped a hint about the stick-ups. As Jason and Lucia stepped outside, a notice said they now have their own personal vehicles and the Trust achievement (“Complete Breakfast Run.”) unlocked, and Coffee Break followed straight on, with no blip to find. It isn’t on a timer and you can’t miss it.
Where Coffee Break starts
It starts right outside room 06 at the Starlet Motel, the couple’s Chapter 2 safehouse in Port Gellhorn. The pause map shows the pink objective blip about 45 metres away, on the motel’s kitchen building. See the Coffee Break start on the live map (the pin is at room 06; the kitchen is your first stop).
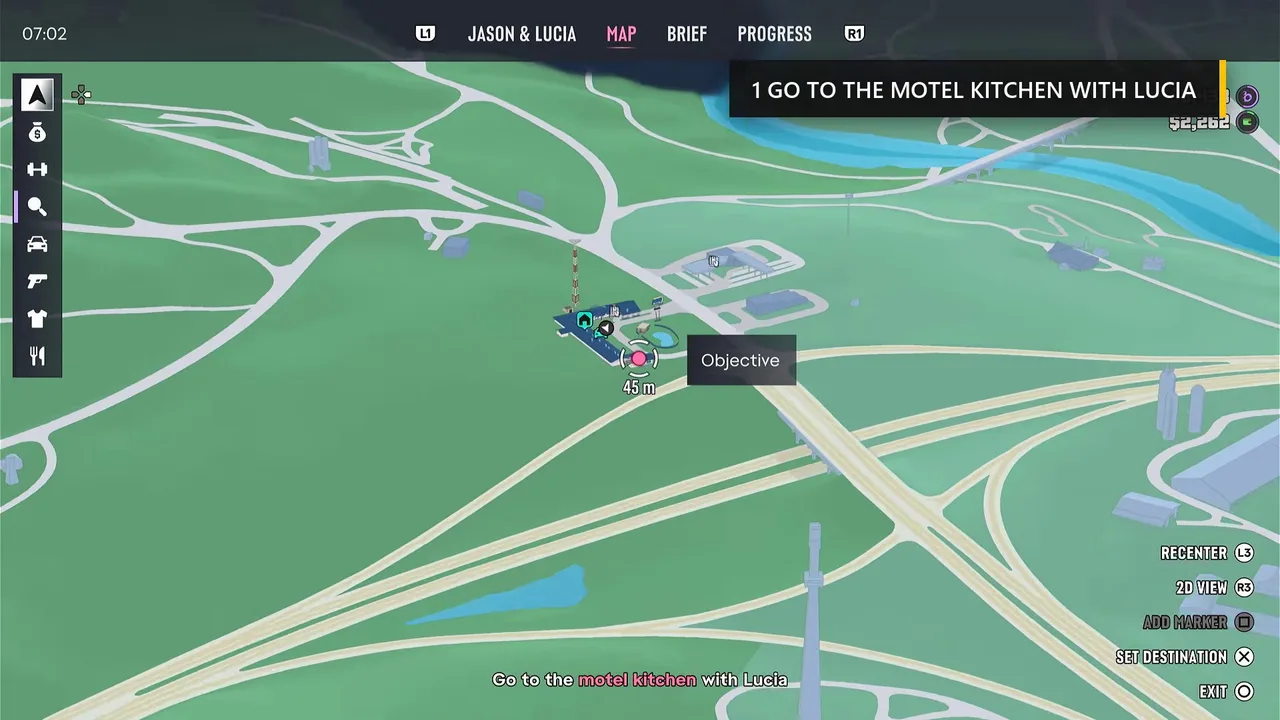 The first objective on the pause map: the kitchen is 45 metres from room 06. Footage: ZaFrostPet.
Who’s who
- Wyman: a chatty resident of the motel in overalls and a trucker cap. The subtitles call him “Mechanic” until he introduces himself. Rockstar describes him as a collector and fixer who runs Wyman’s World Auto Salvage. Wyman’s places on the live map.
- Dre’Quan: Jason’s friend from high school, now in business with a club owner in Vice City and managing artists. You only hear him on the phone here. Our characters guide has more on him.
- Mattia: named once. Lucia points out he knows their faces; Jason reckons he’s dead or back in Italy.
About this guide
The steps follow Trophy Tom’s and ZaFrostPet’s full runs of the mission, which match beat for beat; ZaFrostPet’s has speaker labels and no overlay, so most screenshots come from it. Perfect Score’s full Chapter 2 video covers how it starts after Breakfast Run, the ATM in the manager’s office, the call to Dre’Quan and what happens if you pick the pawn shop. Whiskey & Revolvers’ Thrillbillies video confirms the dialogue. Every run we used was played as Jason.
Step 1: Walk to the motel kitchen with Lucia (Jason)
You’re in control of Jason outside room 06, with Lucia beside you. The objective is Go to the motel kitchen with Lucia. Lucia jokes that you can’t rob a coffee machine, and the two of them wonder how many of the neighbours have worked out who did yesterday’s robberies (Vicki, probably). Just walk across the lot towards the wooden building at the end with the covered porch.
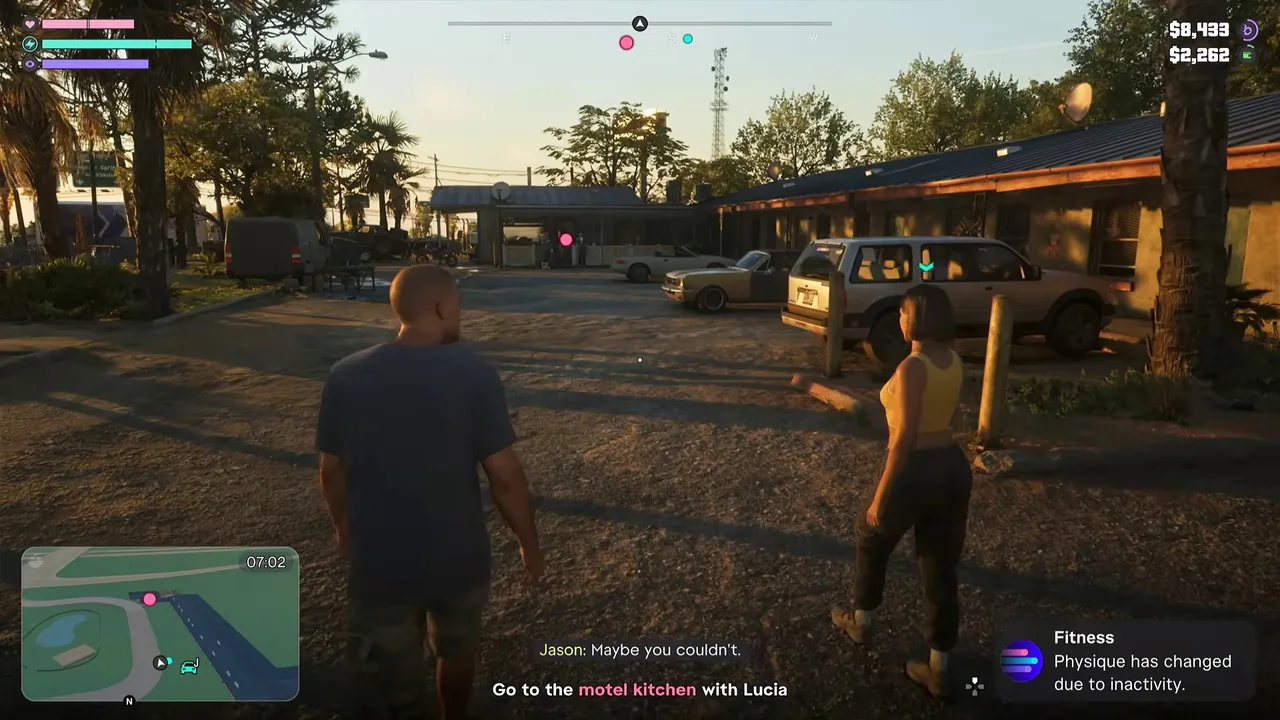 Across the motel lot to the kitchen. Footage: ZaFrostPet.
Walk, don’t run: Lucia keeps pace and the chat plays out on the way. If Lucia hasn’t been to the salon yet she’ll still have her long hair here (Trophy Tom’s run); ZaFrostPet’s Lucia has the bob from New Look. Nothing else changes.
Step 2: Meet Wyman on the porch (Jason)
Before you reach the door, a man leaning on the porch fence calls you both over. This is Wyman. He lives at the motel, says hello to the new lovebirds and, when Lucia mentions coffee, warns that it’s thick as mud. That reminds him of the Thrillbilly Mud Club, a mud park with races, and he tells you to come down because the prize money is decent.
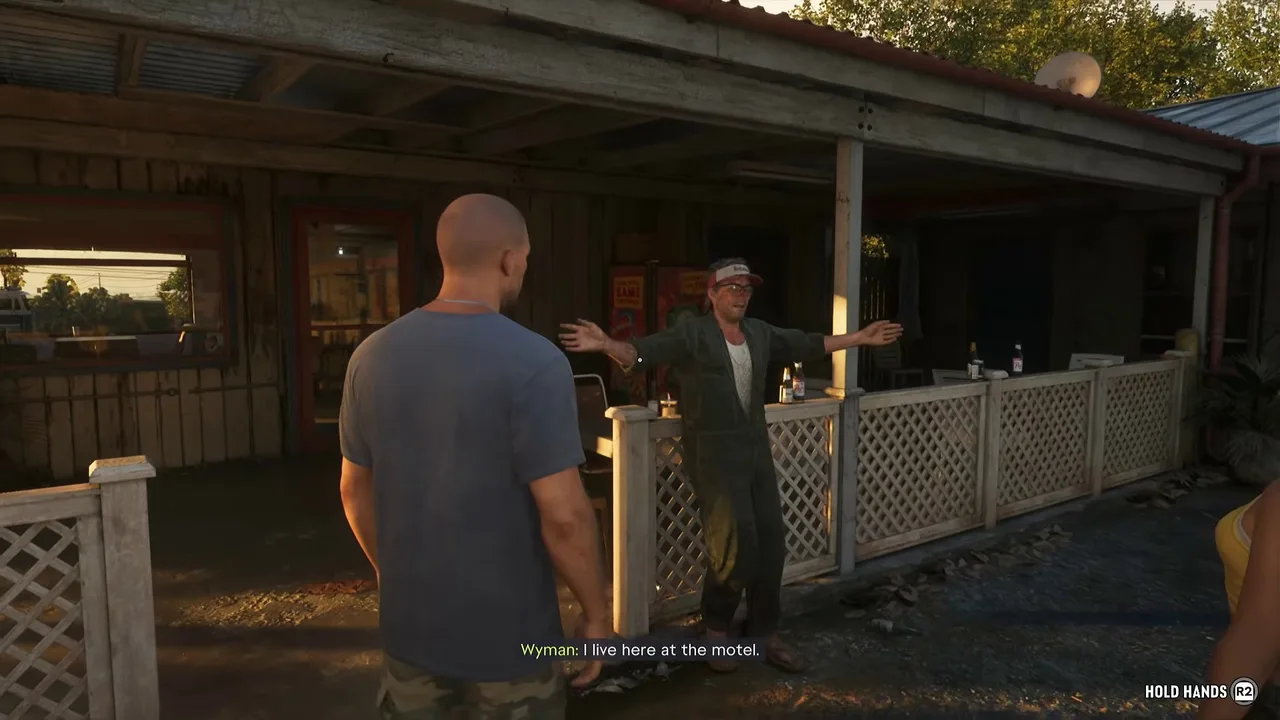 Wyman introduces himself. His tip becomes the Thrillbillies job. Footage: ZaFrostPet.
It’s a conversation, not a choice; just stand there until he finishes. That one tip is why the mud club appears among Lucia’s options later. If you want, a Hold Hands prompt (R2 on PlayStation) shows up while Lucia is next to you. It’s purely for show.
Step 3: Buy Lucia a coffee (Jason)
Go inside. The kitchen is a small room with a counter, a fridge, snack machines and a coffee machine by the window. Lucia sits down at the table and asks for a coffee, and the objective changes to Buy Lucia a coffee.
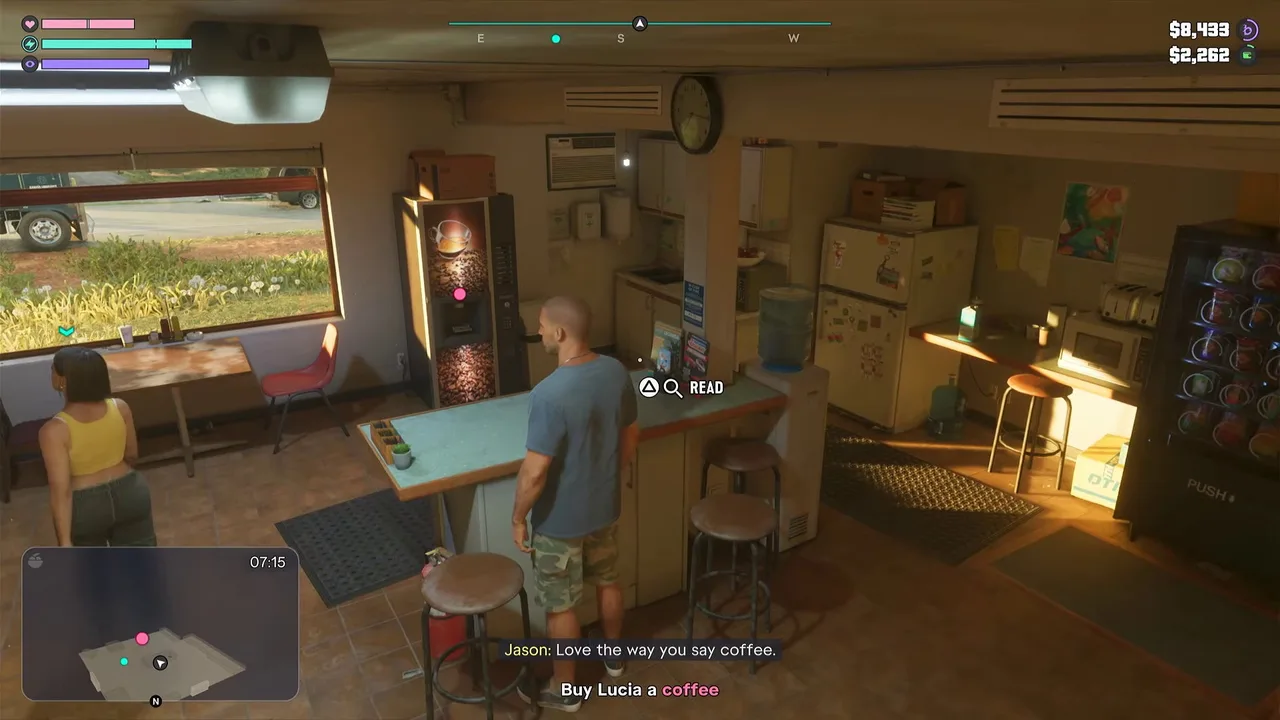 The Starlet Motel kitchen. Lucia takes the table by the window. Footage: ZaFrostPet.
Before you buy anything, look around. In Trophy Tom’s run a Collectible Card prompt appeared at the fridge, beside the coffee machine, and ZaFrostPet’s had a Read prompt by the counter. Pick up the card now: once you buy the coffee, a cutscene takes over.
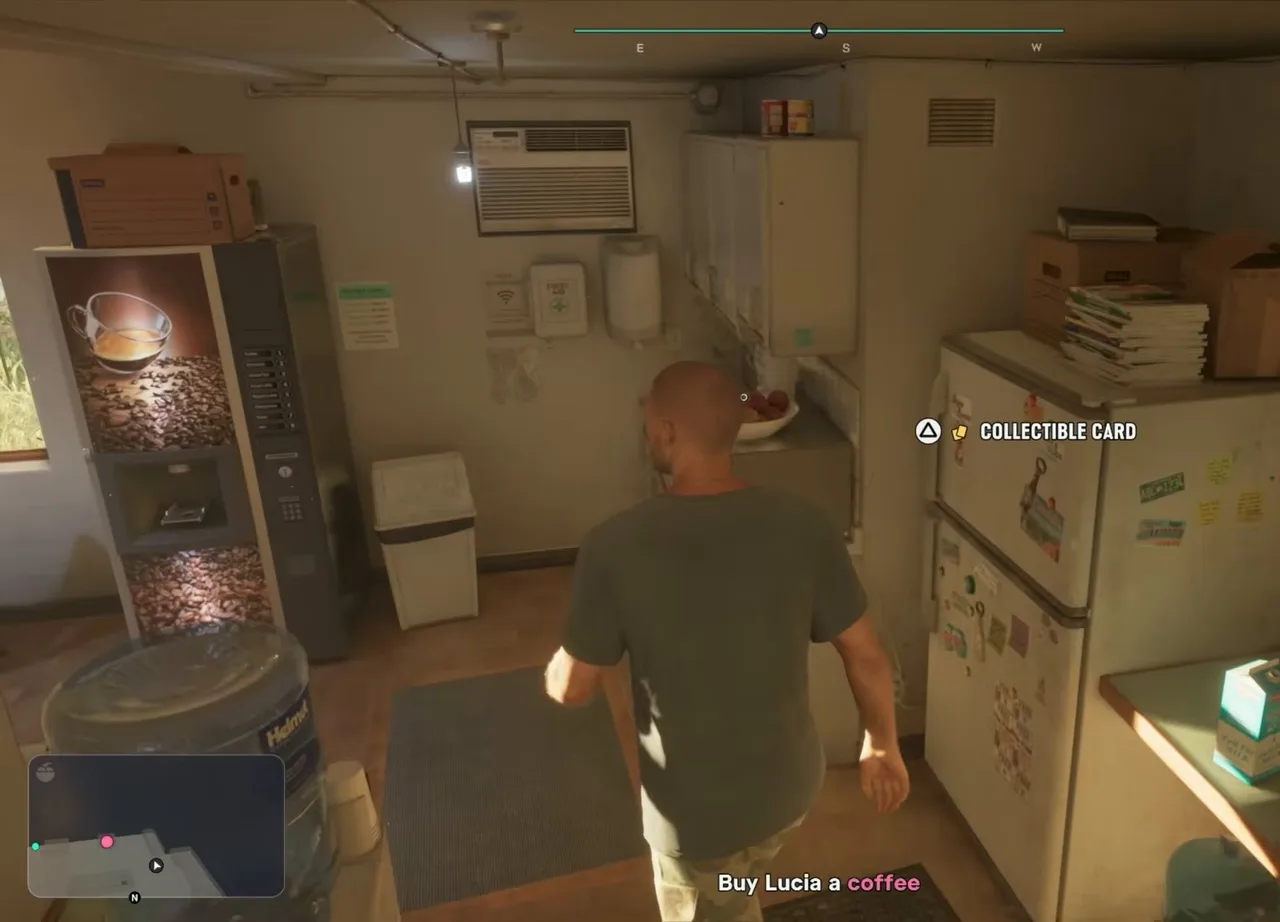 A collectible card at the fridge, right next to the coffee machine. Footage: Trophy Tom.
Walk up to the machine and choose from three drinks:
| Drink | Price |
|---|---|
| Coffee | $2 |
| Espresso | $3 |
| Regular latte | $3 |
Plain Coffee ($2) is the first option and does the job. The money comes out of your cash (the green wallet figure, not the purple BuckMe balance). Each drink carries the lightning and eye icons of the two meters under your health bar, so it tops those up a little too.
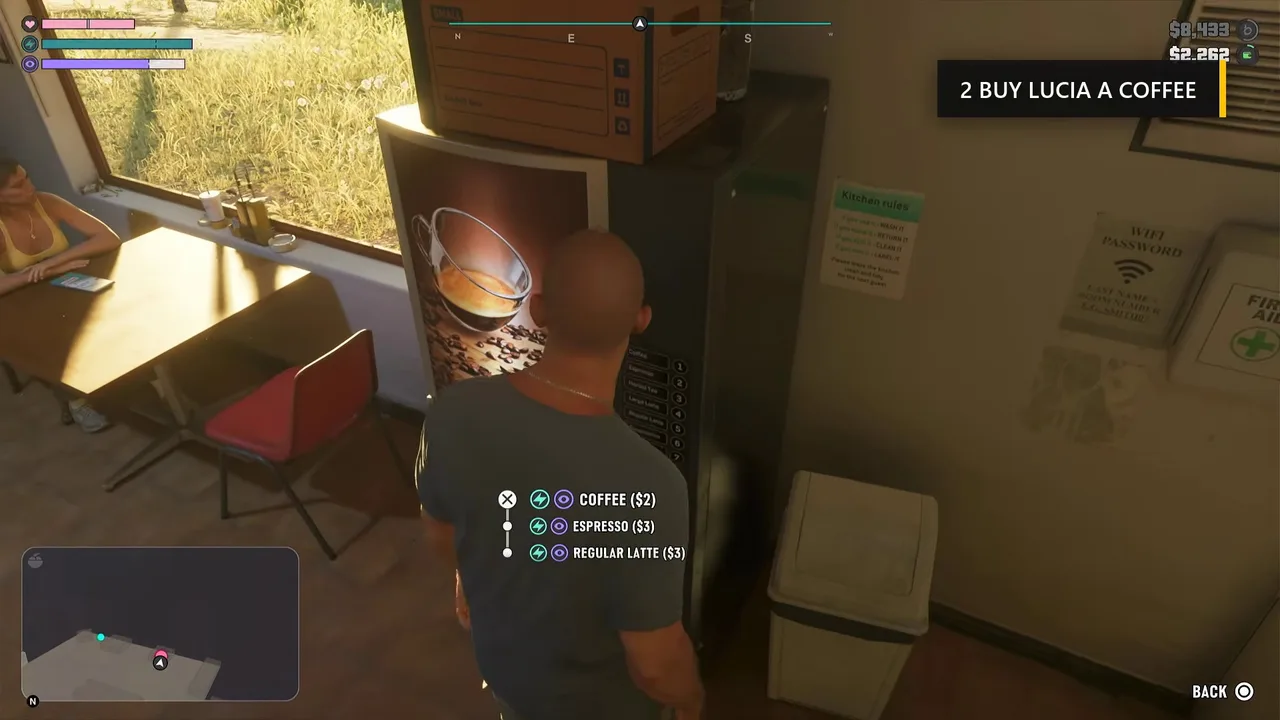 The machine’s three drinks. Any of them counts. Footage: ZaFrostPet.
Step 4: Plan the next move and pick one of Lucia’s suggestions (Jason)
Hand Lucia her coffee and the cutscene starts. Jason wants to go back to Vice City, hide in plain sight and find someone who can sell what’s on the hard drive. His friend Dre’Quan works for a man who might help. Lucia is in, but points out that Vice City is expensive and they can barely afford the motel. So they agree to make money first, together.
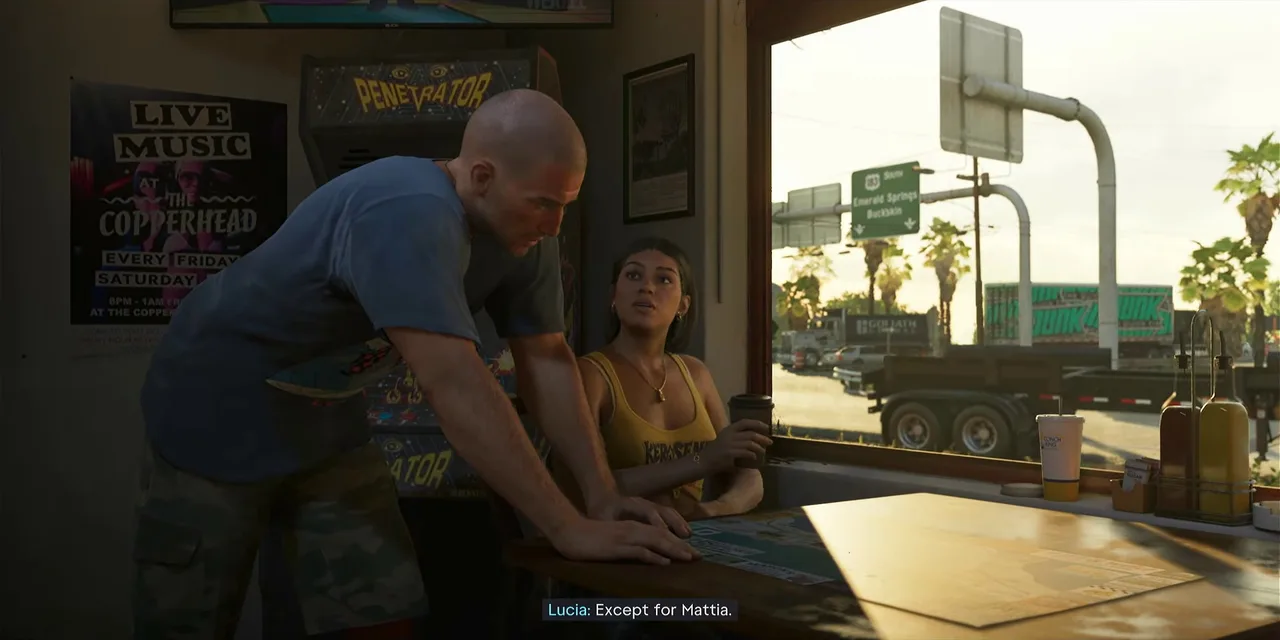 Coffee and a plan. Footage: ZaFrostPet.
Lucia spreads a tourist map of Port Gellhorn on the table and runs through what she’s got. Vicki’s idea from that morning is “in the pipe” (that’s Afternoon Delight, #45, which comes later), and there are four options for right now. The game then asks you to Select one of Lucia’s suggestions:
| Button (PlayStation) | Option | What it is |
|---|---|---|
| Triangle | Impound | Lucia’s car: they left it at Hank’s Waffles, and she guesses the police towed it |
| Square | Bowling Alley | The Kolts’ bowling alley, Kingpin Bowling, run by the pill dealers from Slam Dunk |
| X | Pawn Shop | A pawn shop in Port Gellhorn, a step up from the registers they’ve been robbing |
| Circle | Mud Club | Wyman’s tip: the Thrillbilly Mud Club and its prize money |
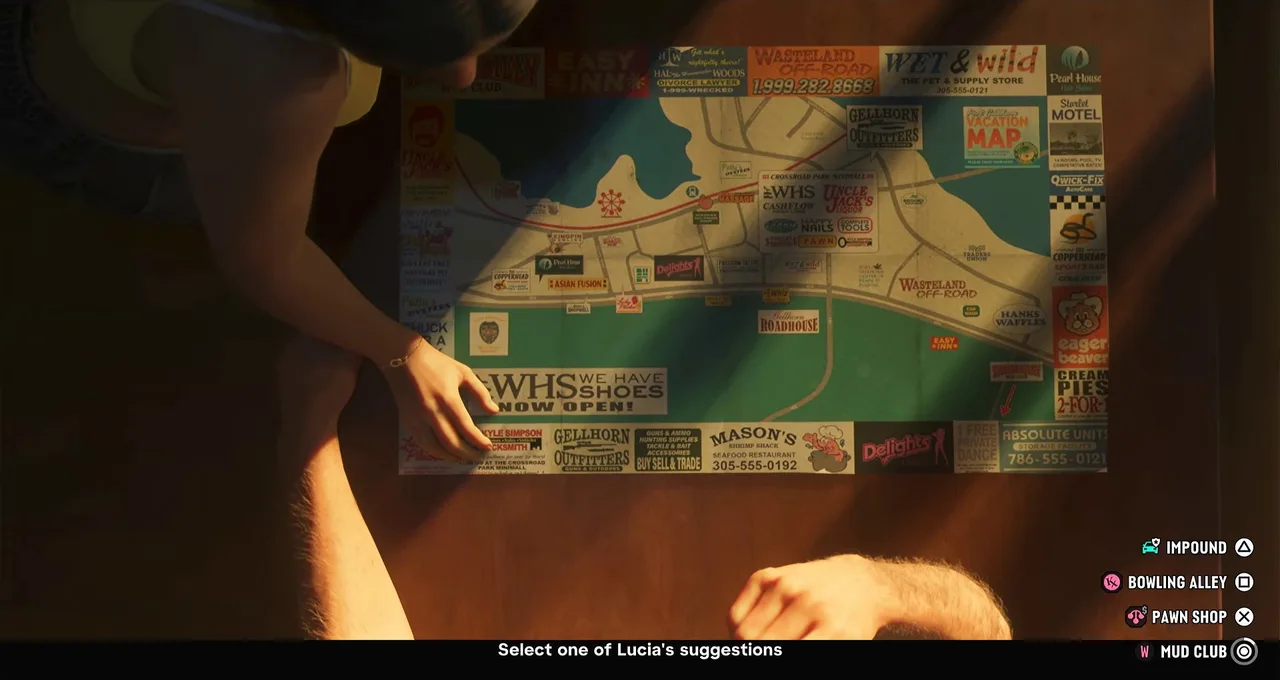 The four choices. The tourist map even marks Kingpin, the pawn shop and Hank’s Waffles. Footage: ZaFrostPet.
The choice is not permanent. It only decides where your first GPS route goes. All four jobs go on the map regardless, and as the couple say on the way out, if something else comes up they’ll do that instead. Trophy Tom, ZaFrostPet and Whiskey & Revolvers all picked the mud club; Perfect Score took the pawn shop. See which job to do first below.
Step 5: Go to your car and open the partner menu (Jason)
Back outside, the objective is Go to your car, and the card reads 3 Go to your car & hold right to interact with your partner. Jason’s red muscle car is parked in the motel lot. On the way, Jason mentions they still have all of yesterday’s cash on them. Carrying it around is a risk, and there’s an ATM in the manager’s office.
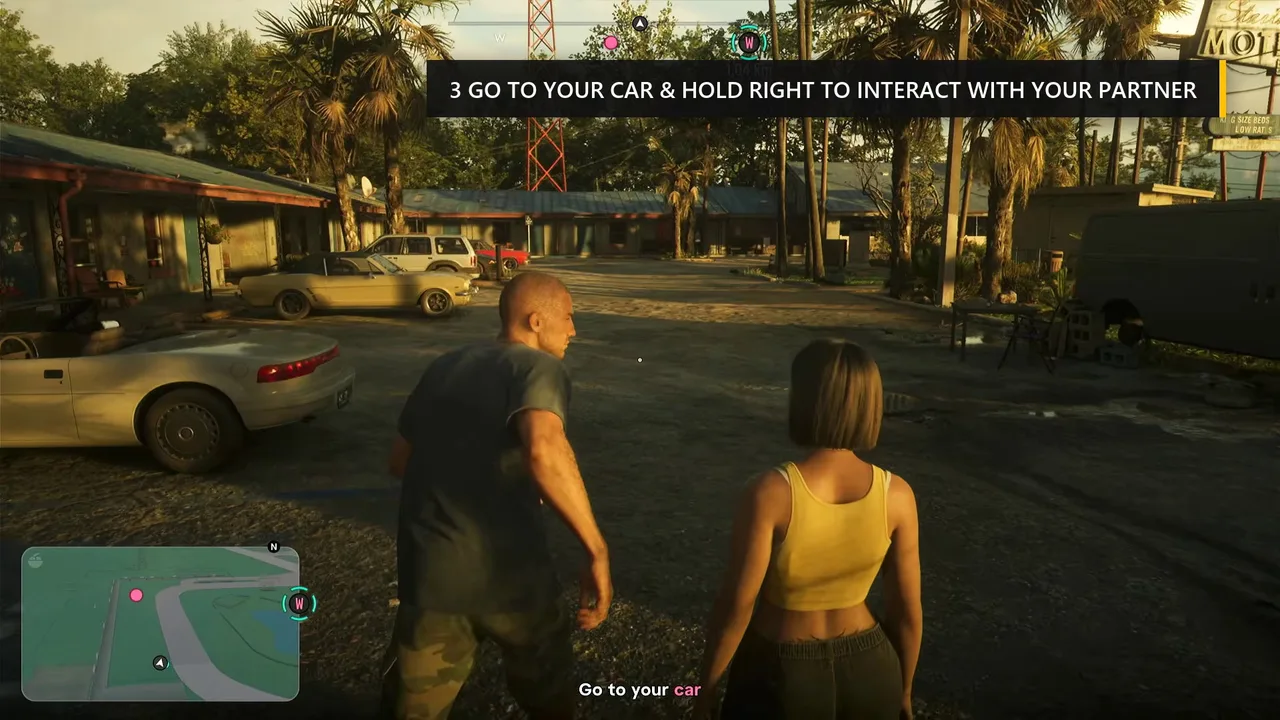 Third objective: back to the car. Footage: ZaFrostPet.
The ATM is optional, but worth it. Pocket cash is lost if you die, and you’re about to start robbing places. Perfect Score went into the office (overhearing Linda, the manager, threatening the room next door over their music), and the ATM showed an account limit of $15,000. He put $1,918 in and kept $264 in his pocket. If you haven’t set up BuckMe yet, see Buck Me.
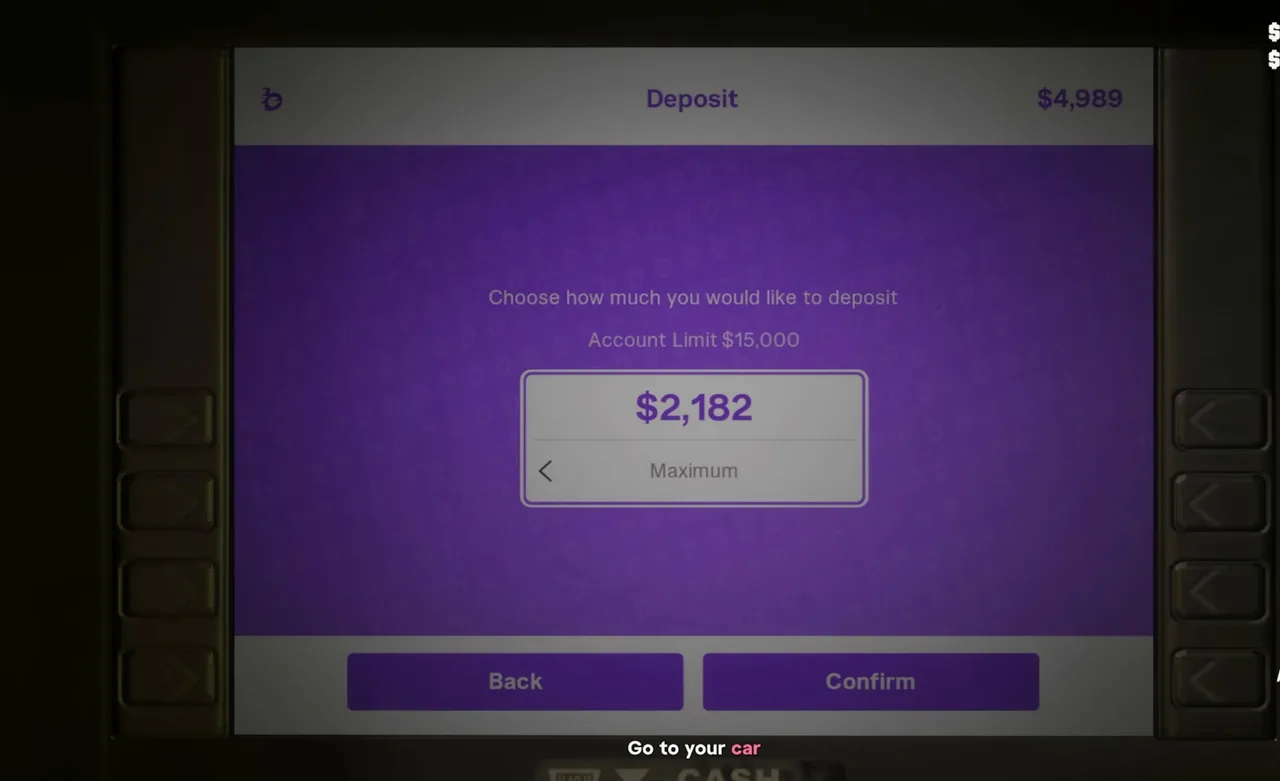 The ATM in the manager’s office. The limit at this point is $15,000. Footage: Perfect Score.
At the car, hold right on the D-pad while Lucia is close. That opens the partner menu with her name on top and two choices: You drive (X) and Split up (Triangle). The objective tells you to ask Lucia to drive, so pick You drive.
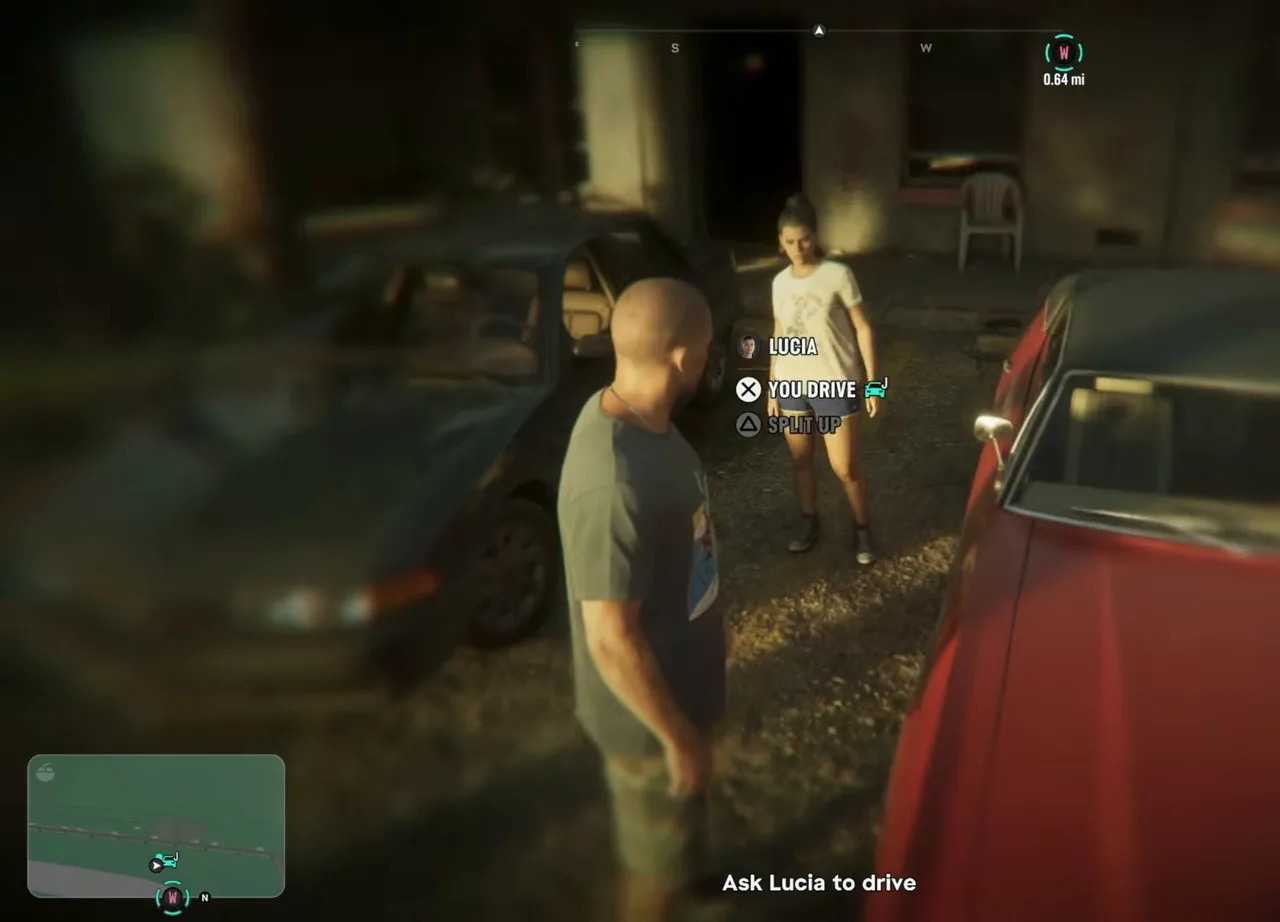 The partner menu: ask Lucia to take the wheel. Footage: Trophy Tom.
Get in when she does. As you pull out, a note confirms your pick, for example: “You’ve chosen to check out the mud club with Lucia. You can set a new destination anytime.” The mud club was 0.64 miles (1.04 km) from the motel in both runs.
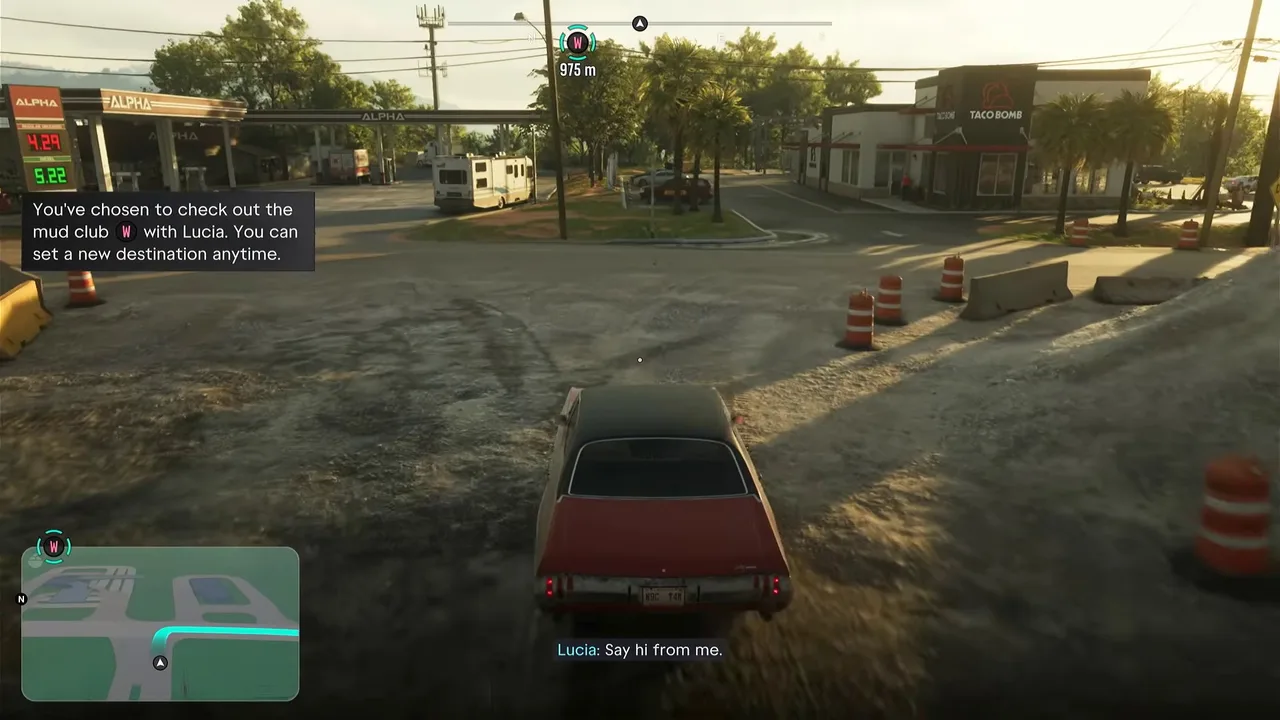 The game confirms the first destination. Footage: ZaFrostPet.
Step 6: Call Dre’Quan on the drive (Jason)
On the road, Jason tells Lucia she was a pro yesterday: fast and clean. Lucia says nobody has to die, but makes clear she won’t back down if someone gets between them and what they need. Then Jason rings Dre’Quan. Dre’Quan is thrilled to hear from him, says he’s in business with the club owner now and managing artists, and agrees to put them up for a few days. He asks for some time to organise something better and promises to call back. Jason asks him to keep quiet about it, because they’ve had trouble.
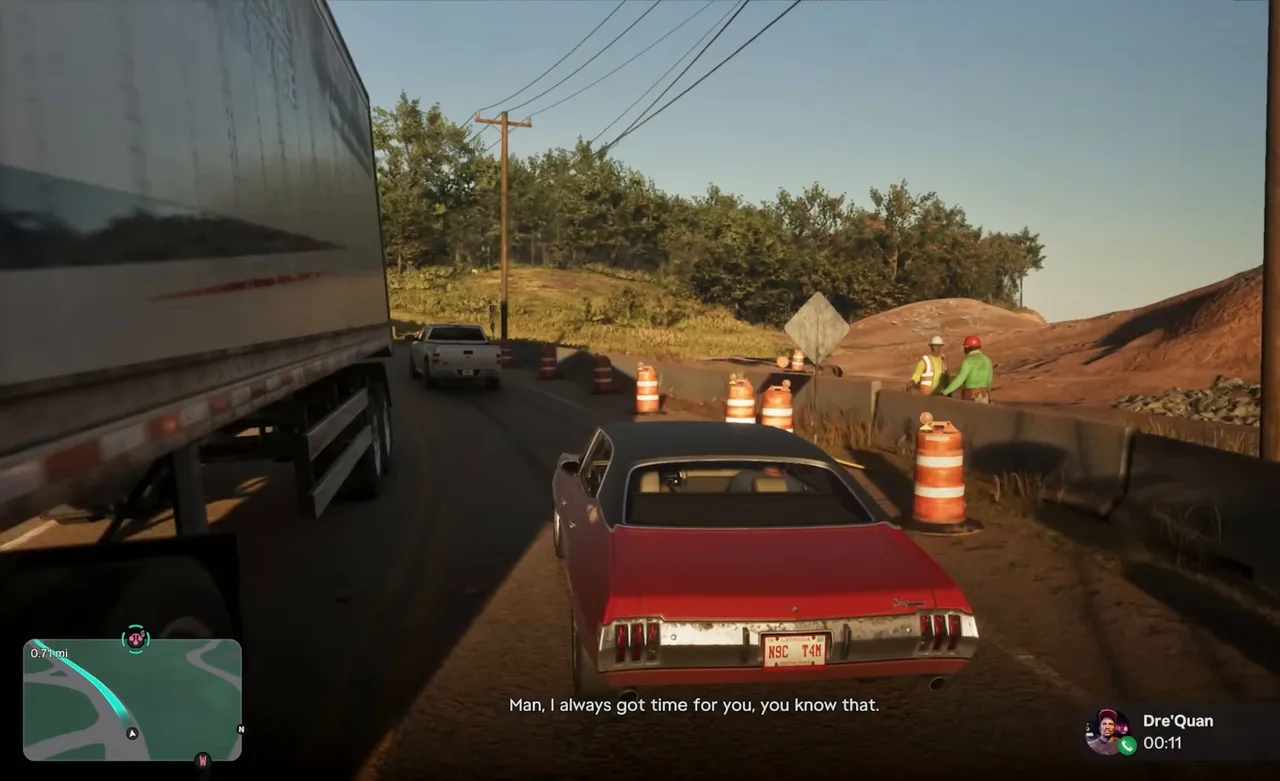 Jason’s call to Dre’Quan. Footage: Perfect Score.
When the call ends, the mission is over. There’s no mission-passed screen in any of the runs we watched. Instead a Map updated notice appears, followed by the tip that unlocks the big feature: Hold right on the D-pad and press R1 to switch characters. While Lucia drives, the partner menu also gains Split up & take, Speed up and Pull over.
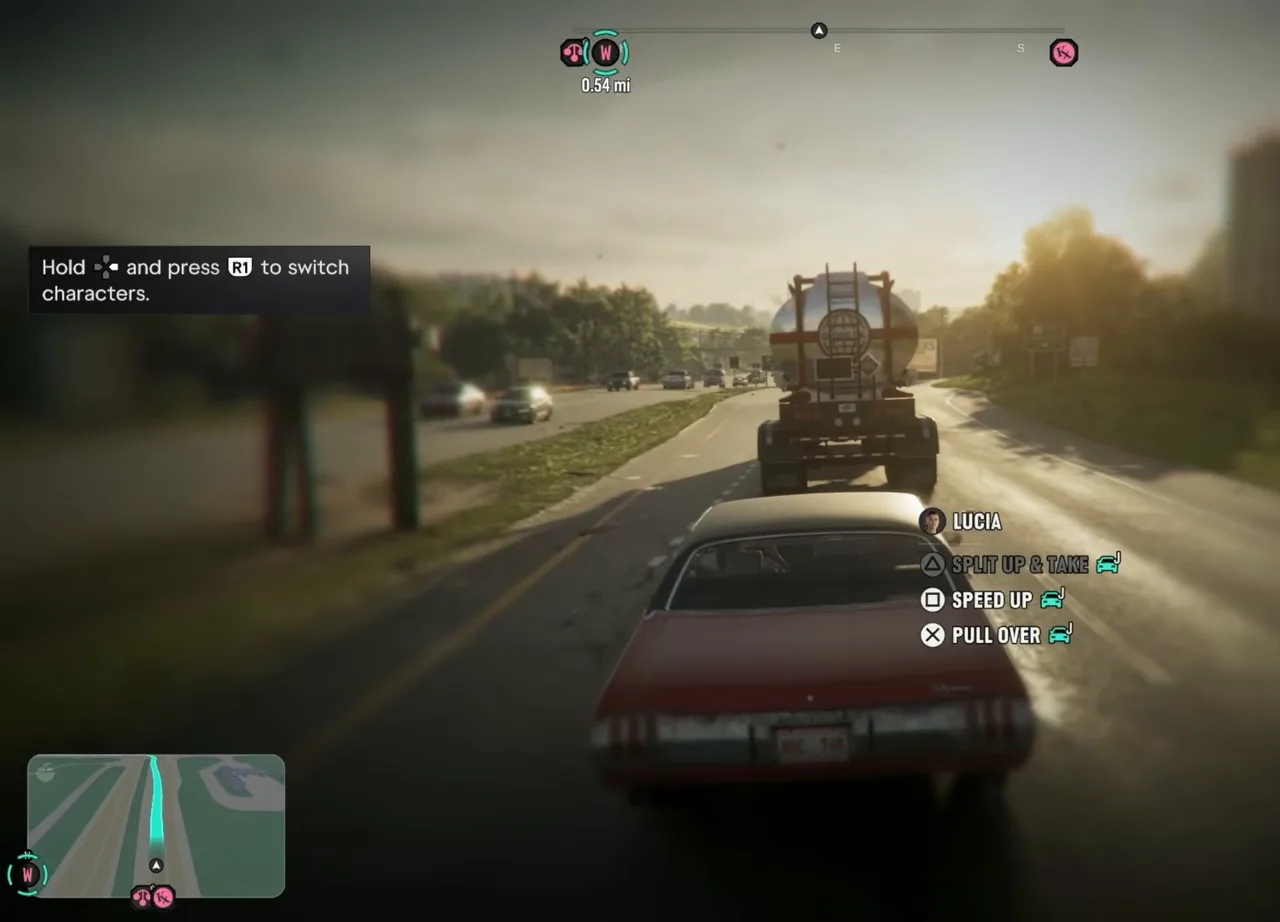 Free switching opens as the mission ends. Footage: Trophy Tom.
Shortly afterwards a BuckMe notice arrived in both Trophy Tom’s and Perfect Score’s runs: you’ve been approved for a Silver checking account, with the account limit raised to $100,000.
The four jobs Coffee Break unlocks
All four are optional side jobs in the story list, each numbered #44, and they count towards the $15,000 that Prepare for Vice City asks for. Do them in any order:
| Job | Where | What to expect |
|---|---|---|
| Thrillbillies | Thrillbilly Mud Club, about a kilometre from the motel | Buy merch, rent a dirt bike and race Billy’s crew. Up to $2,500 for a win, according to the mission database |
| Impounded Vehicle | The police impound in Port Gellhorn | Break Lucia’s car out and lose a two-star wanted level |
| Hit Avery Pawn | Avery Pawn, Port Gellhorn | A smash-and-grab on the display cases. Sell the loot to Dunk at his trailer |
| Hit Kingpin Bowling | Kingpin Bowling, the Kolts’ hangout | A full shootout. Take Lucia as backup and stock up on armour and Zombix first |
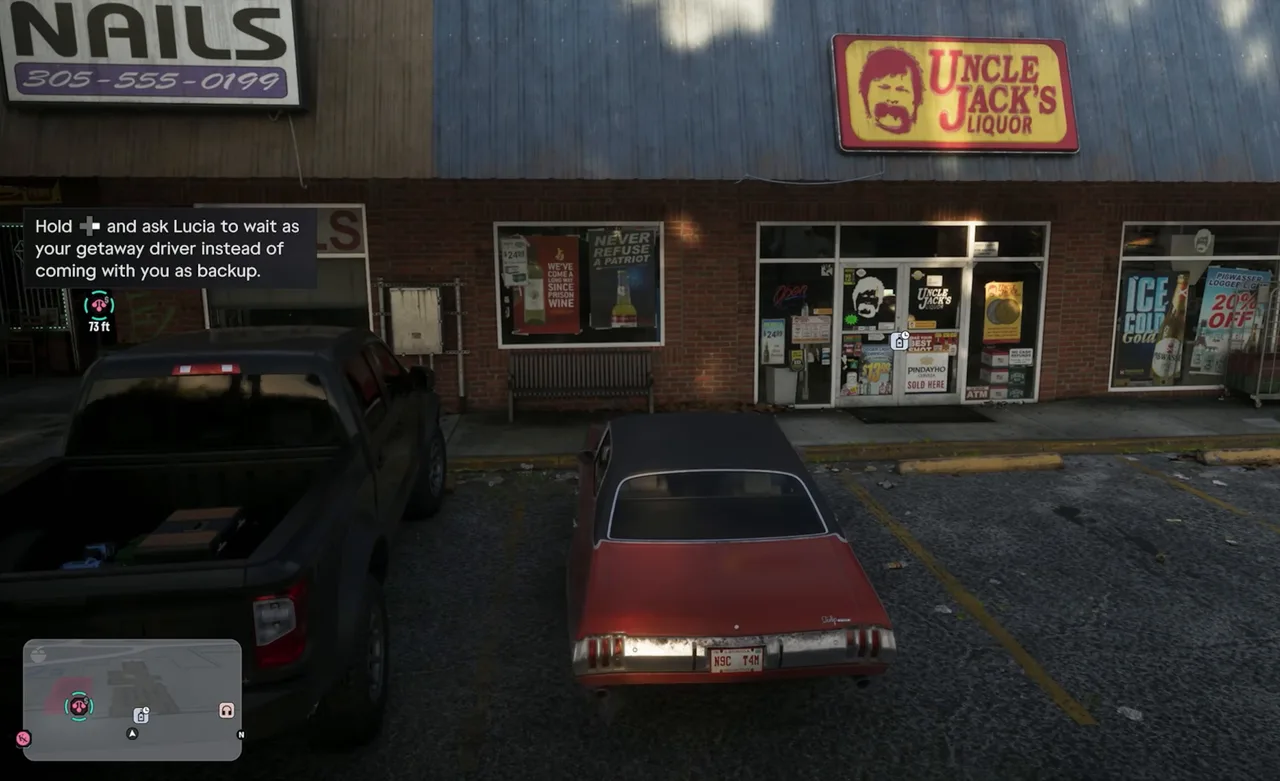 Picking the pawn shop: at the strip mall the game offers to leave Lucia in the car as getaway driver. Footage: Perfect Score.
Our pick: start with the mud club. It’s closest, it’s not a crime, and Billy’s races pay without a wanted level. Then fetch Lucia’s car from the impound, so you have two cars again. Save Kingpin Bowling for when you have armour, healing and a partner, because it’s by far the hardest of the four. The pawn shop sits in between: a quick raid if you’re fast, and Dunk turns the jewellery into cash.
Rewards
- Free switching between Jason and Lucia. Hold right on the D-pad and press R1 (PlayStation). Our characters guide covers how switching works and why it doubles as fast travel.
- The partner menu. Hold right on the D-pad near your partner to have them drive, split up, speed up, pull over or wait in the car as your getaway driver.
- Four new jobs on the map, plus Prepare for Vice City (#44), the $15,000 savings goal.
- A bigger BuckMe limit: the Silver checking account raises it from $15,000 to $100,000.
- No cash payout and no trophy. The coffee costs you $2.
Tips
- Grab the collectible card in the kitchen before you buy the coffee.
- Bank your cash at the manager’s office ATM on the way to the car. You’ll be robbing stores for the rest of the chapter, and pocket cash is lost if you die.
- Don’t worry about the choice at the table. It only sets the first route; every job ends up on the map.
- Let Lucia drive and practise the partner menu. The same menu is how you take her along as backup for robberies later.
Related guides
- Previous mission: Breakfast Run (#42). Next: Prepare for Vice City (#44) and the four jobs above. See all GTA 6 missions.
- Slam Dunk: where Dunk first mentions the Kolts’ bowling alley, and how his trailer becomes your fence.
- Take Care of Jason: the motel task that ends just before this mission.
- Steal Vehicles for Moses: another way to earn in Port Gellhorn while you save for Vice City.
- GTA 6 money guide and characters guide: making the $15,000, and how switching works.
- Interactive map: the Starlet Motel.
Frequently Asked Questions
How do you start Coffee Break in GTA 6?
Finish Breakfast Run. The next morning, after Vicki drops by room 06 for her laptop, Coffee Break starts on its own outside the room at the Starlet Motel with the objective Go to the motel kitchen with Lucia. There's no blip to drive to.
Which job should I pick in Coffee Break?
It doesn't matter much. The impound, the bowling alley, the pawn shop and the mud club all go on the map whichever one you pick; your choice only sets the first destination, and the game says you can set a new one anytime. The mud club is the easy start, the bowling alley the hardest.
How do you switch between Jason and Lucia in GTA 6?
Free switching opens at the end of Coffee Break. On PlayStation the tip reads: hold right on the D-pad and press R1. Holding right on the D-pad on its own opens the partner menu, where you can ask your partner to drive, split up or pull over.
How much is the coffee in Coffee Break?
A plain coffee is $2 from the machine in the motel kitchen. Espresso and a regular latte are $3. It comes out of the cash in your wallet.
Where is the collectible card in the Starlet Motel kitchen?
In Trophy Tom's run a Collectible Card prompt appeared at the fridge, right next to the coffee machine, while the Buy Lucia a coffee objective was up. Grab it before you buy the coffee, because the cutscene moves you out of the room.
What happens after Coffee Break?
Jason calls Dre'Quan, his friend from high school, who promises to sort out a place for them in Vice City. Then the map fills up with jobs, Prepare for Vice City asks you to make $15,000, and BuckMe raises your account limit to $100,000.
Sources & Credits
Researched from these videos and official material, among others. Screenshots credit the creator whose footage they come from.
- GTA 6 - Coffee Break - Full Walkthrough · Trophy Tom
- Coffee Break FULL QUEST GTA 6 · ZaFrostPet
- GTA 6 Gameplay Walkthrough Full Chapter 2: Paradise Lost (No Commentary) · Perfect Score
- GTA 6 - THRILLBILLIES | Walkthrough (4K No Commentary) · Whiskey & Revolvers