Jump to your step
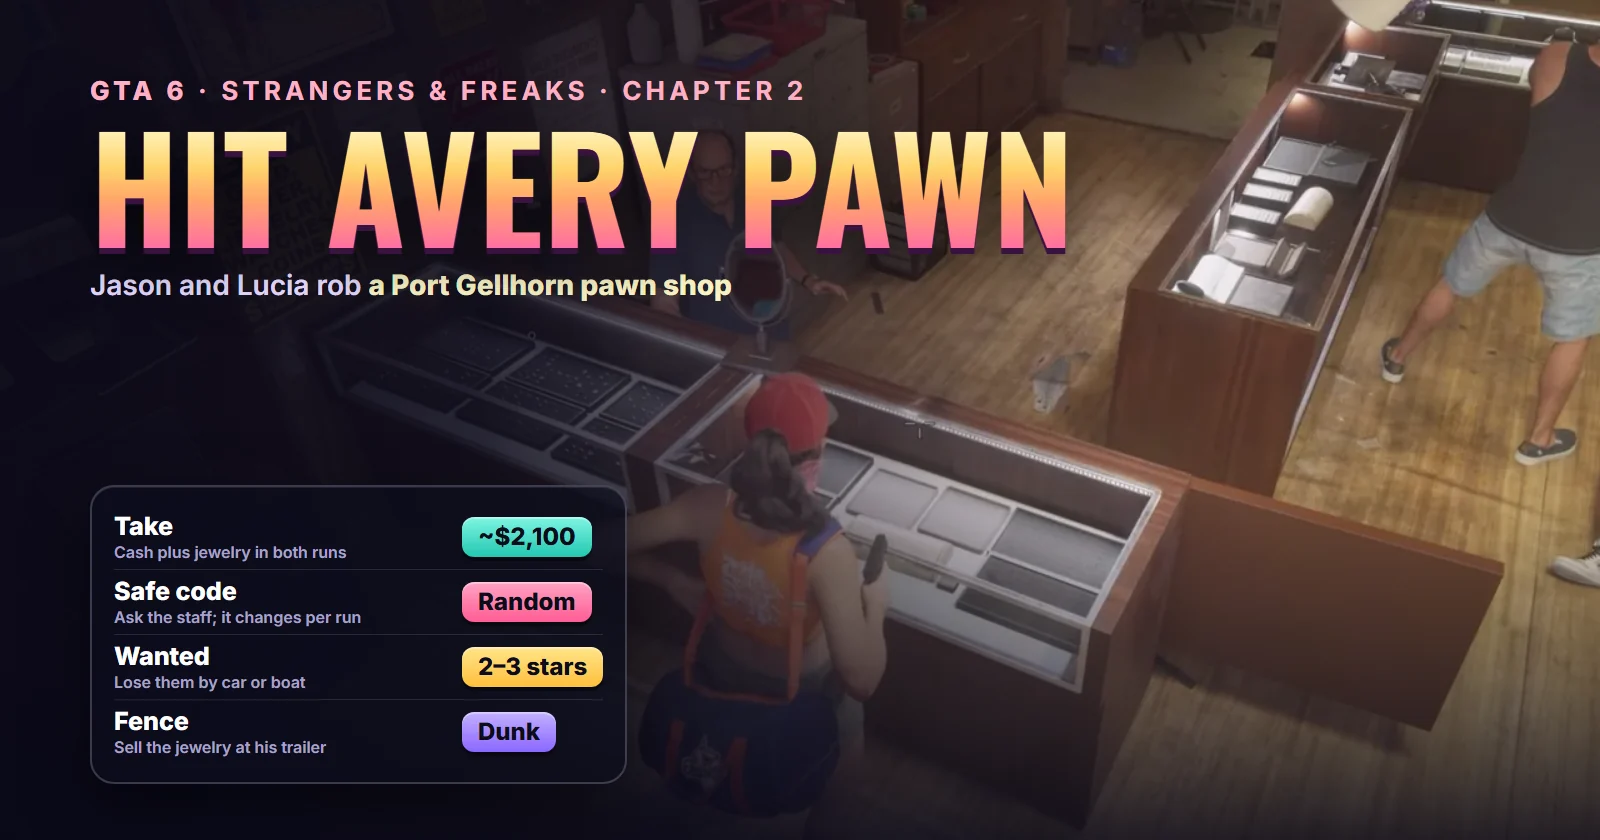
Hit Avery Pawn: quick facts
| Mission | Hit Avery Pawn, optional Chapter 2 job (#44 in the story list) |
| Chapter | Chapter 2 (Paradise Lost) |
| You play | Jason or Lucia, with the other as backup or getaway driver |
| Given by | Lucia: one of her four suggestions in Coffee Break |
| Where it starts | Avery Pawn, Crossroad Park Mall, Port Gellhorn |
| Unlocks after | Coffee Break (#43) |
| Leads to | Lucia’s next tip, Buck’s Jewelry & Pawn. Counts toward Prepare for Vice City |
| Length | 4 to 6 minutes, plus the drive to Dunk’s trailer |
| Wanted level | Two stars once the alarm goes, three after you leave |
| Reward | Whatever you take: about $2,100 in both runs we watched |
| Trophy | None |
| Required for 100% | Yes |
Mission briefing The story so far, how it unlocks, where it starts, who's who and how this guide was made. Contains spoilers for the end of Chapter 1.
The story so far (spoilers for the end of Chapter 1)
Spoiler for the end of Chapter 1: the pickup Mattia set up was a trap. Jason was shot, the couple escaped with a bag holding a small statue and a hard drive nobody can read, and Lucia got him out of Vice City Hospital. They’ve been hiding at the Starlet Motel in Port Gellhorn ever since.
By now Jason is back on his feet. In Breakfast Run the two of them robbed registers all over town, and in Coffee Break they agreed to go back to Vice City, once they can afford it. Lucia spread a tourist map on the table and offered four ways to make money. The pawn shop was her pick of the robberies: a step up from corner stores, with jewelry in the cases. On the drive over in Perfect Score’s run she says it plainly: the cabinets are where the money is, and she has no sympathy for a shop that buys old ladies’ watches for pennies.
How to unlock Hit Avery Pawn
Finish Coffee Break. At the table Lucia offers the impound, the bowling alley, the pawn shop and the mud club. Your choice only sets the first route: all four jobs go on the map either way. Pick Pawn Shop and the game routes you straight there; pick anything else and Hit Avery Pawn waits in your story list until you’re ready.
There’s no timer and nobody to meet first. Trophy Tom had already been to the mud club (Lucia wears a Mud Club Girls shirt throughout); Perfect Score went there straight from the motel.
Where Hit Avery Pawn starts
Avery Pawn sits in the Crossroad Park Mall, a run-down strip on the main road through Port Gellhorn, next to Happy Nails, an accounting office and Uncle Jack’s Liquor. The pause-map card reads “Hit Avery Pawn” with the hint to smash the glass cases for jewelry. See the Hit Avery Pawn start on the live map · Avery Pawn as a Smash ‘n’ Grab target.
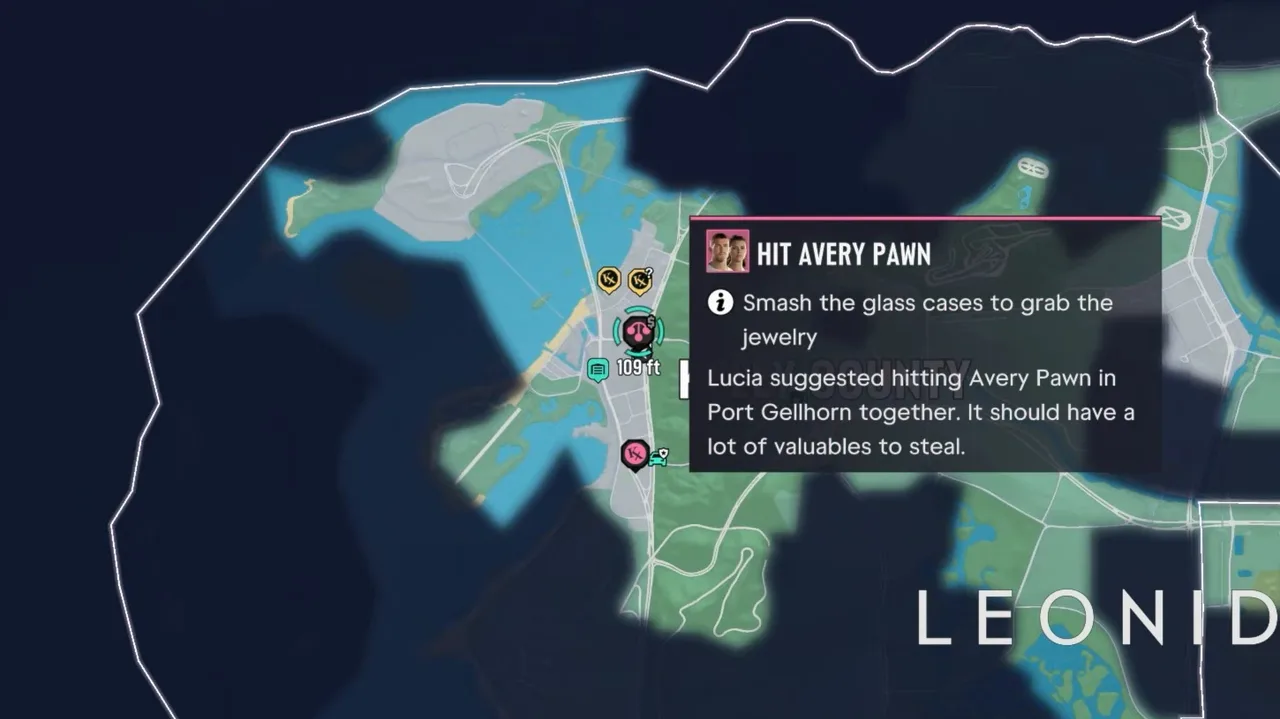 The job on the pause map. The pink blip is the shop. Footage: Trophy Tom.
Who’s who
- Lucia: suggests the job and plays either role. In Trophy Tom’s run she does the robbing; in Perfect Score’s she guards the door.
- Jason: the same, the other way round.
- Dunk: the Port Gellhorn dealer from Slam Dunk. His trailer is where the jewelry goes. Dunk on the live map.
- The Avery Pawn staff: a clerk at the jewelry counter, a second man at the register and a third in the back room.
About this guide
The steps follow two complete runs. Trophy Tom played it on PlayStation as Lucia, with Jason as backup, and escaped by boat. Perfect Score’s full Chapter 2 video plays it on Xbox as Jason, with Lucia as backup, then drives the bag to Dunk. Where button prompts differ we give both. The two runs match on everything except the safe code, which is random, and the escape route, which is up to you.
Step 1: Drive to Avery Pawn and choose Lucia’s role
Follow the route to Crossroad Park Mall. Before you go in, put a mask on from the quick wheel: Trophy Tom picked a Face Wrap, and Perfect Score’s Jason wore a bandana. Check you have a pistol equipped too. Lucia carried a Klose K17 and Jason a Girardi ES9.
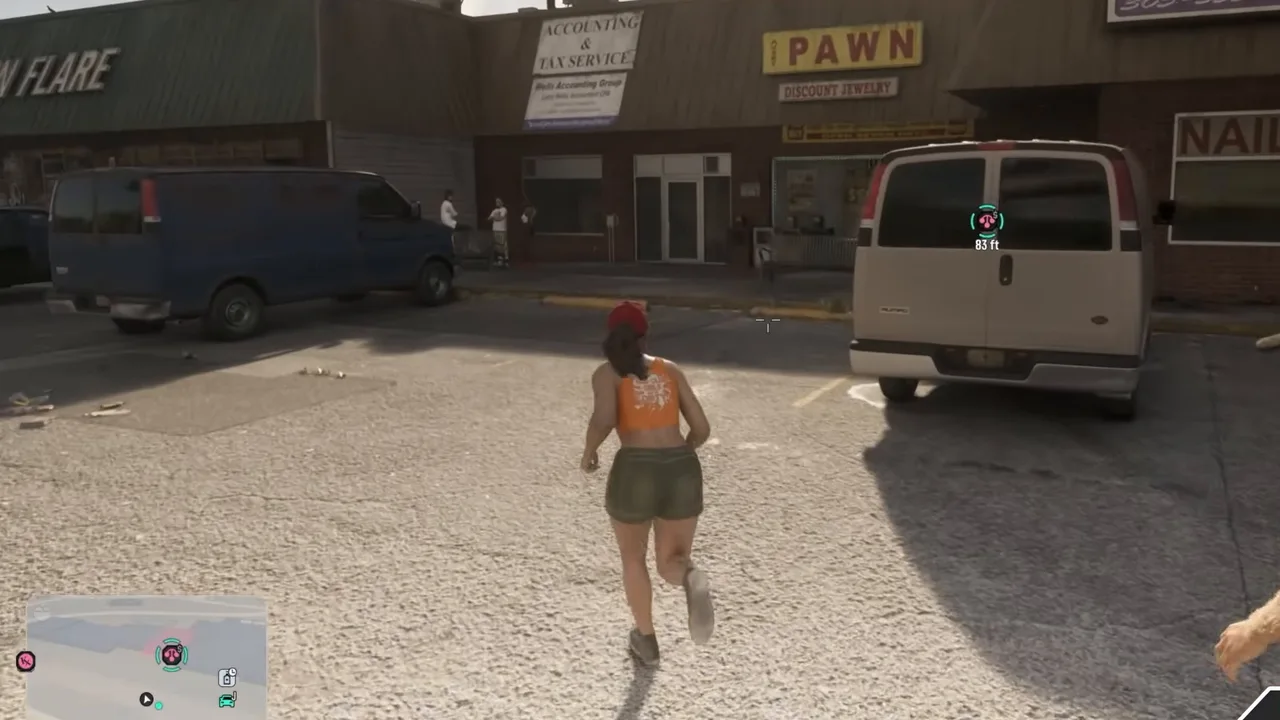 Crossroad Park Mall. Avery Pawn is under the yellow PAWN sign. Footage: Trophy Tom.
As you pull up, a tip offers a choice: hold right on the D-pad and ask your partner to wait as your getaway driver instead of coming in as backup. Both runs brought the partner inside, and we’d do the same. Your partner holds the door and keeps the customers down, and they can carry a second bag. The objective now reads Rob the pawn shop.
Step 2: Threaten the staff and ask for the safe code
Walk in with your gun drawn and aim at the clerk behind the jewelry counter. Two prompts appear in the corner: Safe code? (X on Xbox) and Staff member to switch targets. Customers drop to their knees, and your partner calls out that they’ve got the door.
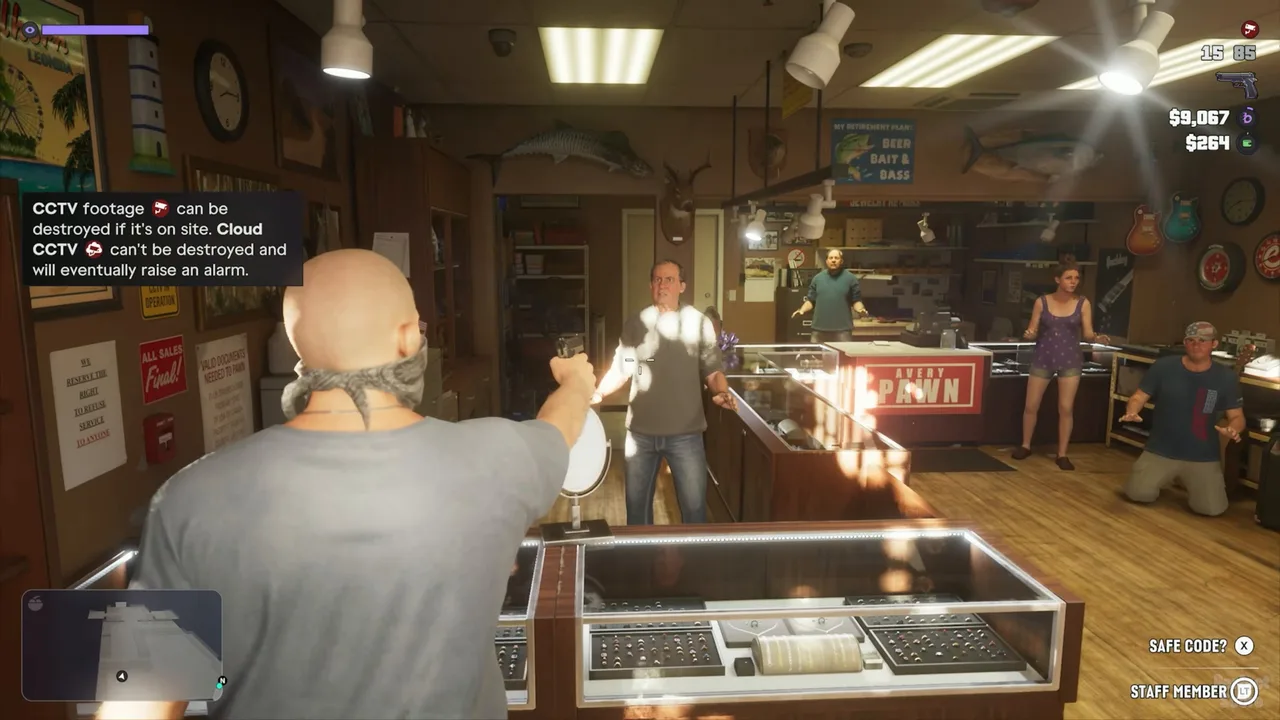 Ask for the safe code before you smash anything. Footage: Perfect Score.
Ask for the code. The clerk gives it up and it appears on the right of the screen (“Safe code: 1662” in Perfect Score’s run, 3954 in Trophy Tom’s) and is saved to your phone’s Notes. The code is random every time, so use the one your clerk gives you. Empty the registers as well: the robbery dialogue asks for the cash in them, and between the registers and the safe both runs pocketed $700 to $870 in cash on top of the jewelry.
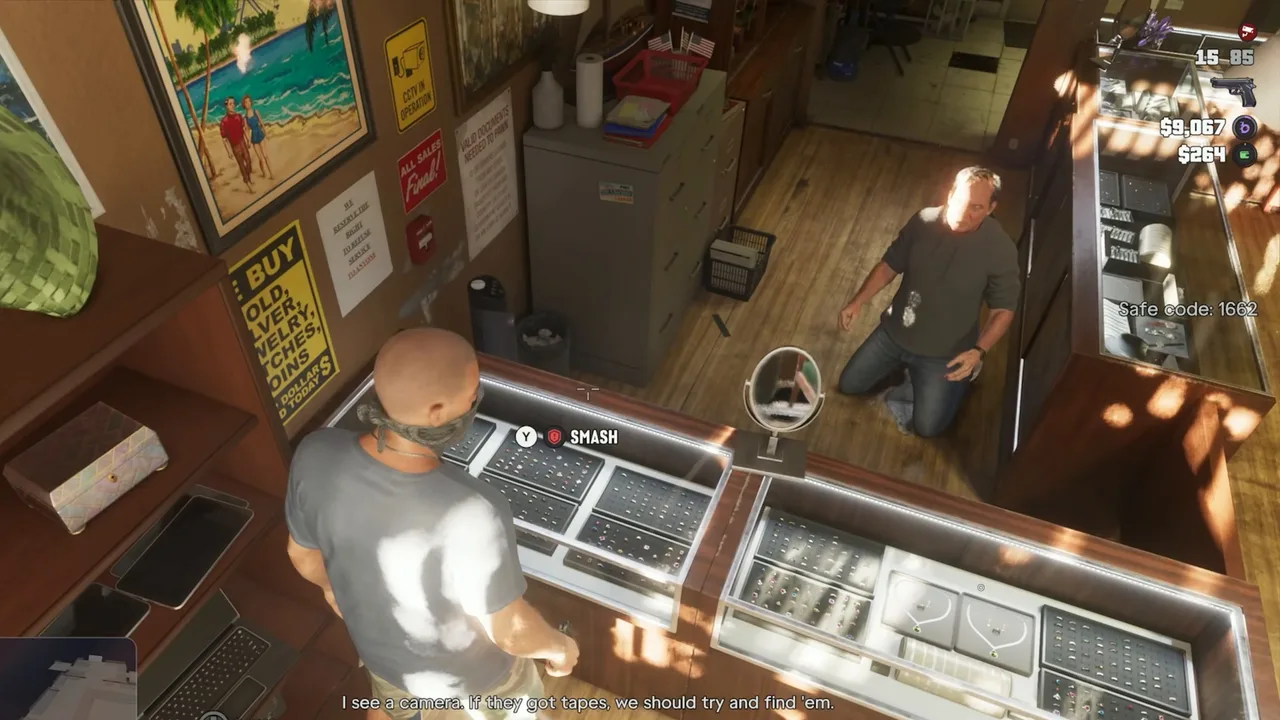 The code on screen. Your partner spots the camera: “if they got tapes, we should try and find ’em.” Footage: Perfect Score.
A tip also explains cameras: on-site CCTV footage can be destroyed, but cloud CCTV can’t, and will eventually raise an alarm. Your partner points out the camera on the wall. Neither run went looking for the tapes; the police came anyway, so treat them as optional.
Step 3: Get into the back office
The safe isn’t in the showroom. Head behind the counter to the door marked Staff Only. Trophy Tom forced it with the Break Open prompt; Perfect Score went through with the clerk in tow.
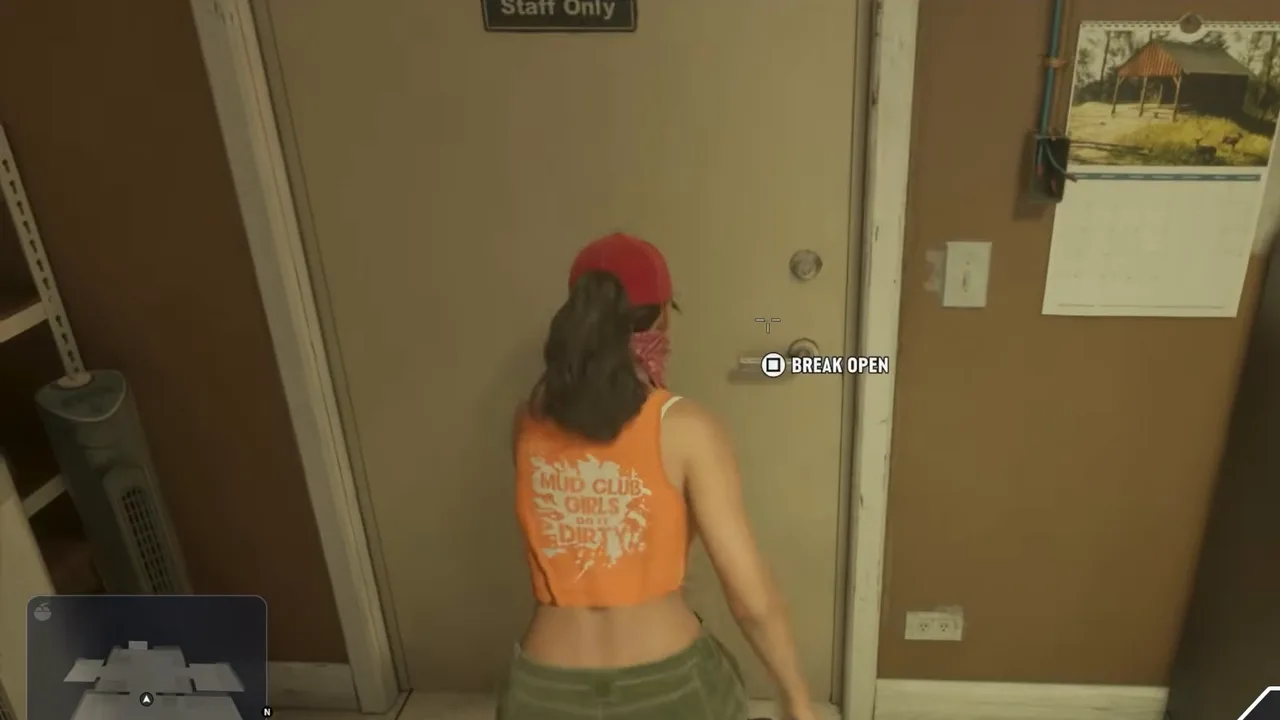 The Staff Only door leads to the workshop and office. Footage: Trophy Tom.
There’s a third employee in the back. Aim at him and he gets his own prompts (Rob, Defuse and Threaten). Keep him covered and keep moving: “Crime reported” appears around now, and in both runs the first police unit was on scene within a minute. The workshop has a jewelry case of its own, worth a quick smash on your way past.
Step 4: Crack the safe
The office is a small room at the back, with the safe beside the desk under a movie poster. You get two options: Enter code or Plant explosive. With the code from Step 2 you don’t need explosives.
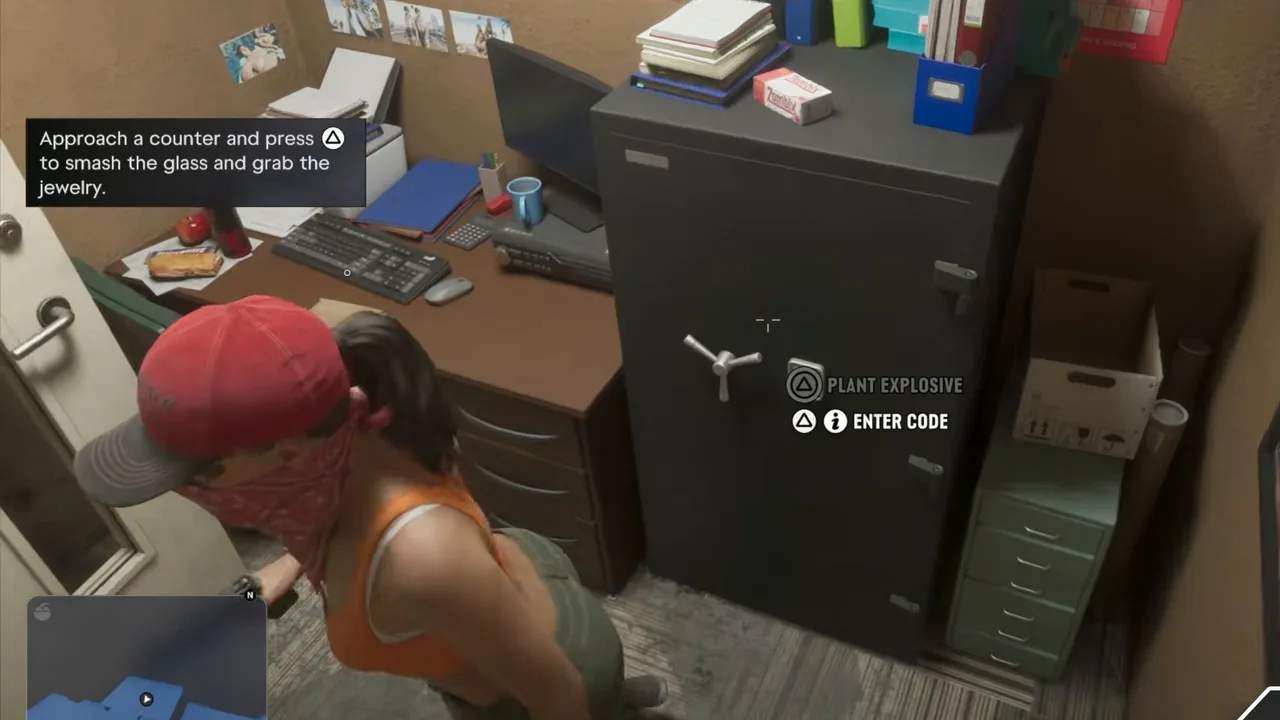 Enter the code or blow the door. Footage: Trophy Tom.
Type the four digits on the keypad. If you’ve forgotten them, the Notes shortcut in the corner shows the code again.
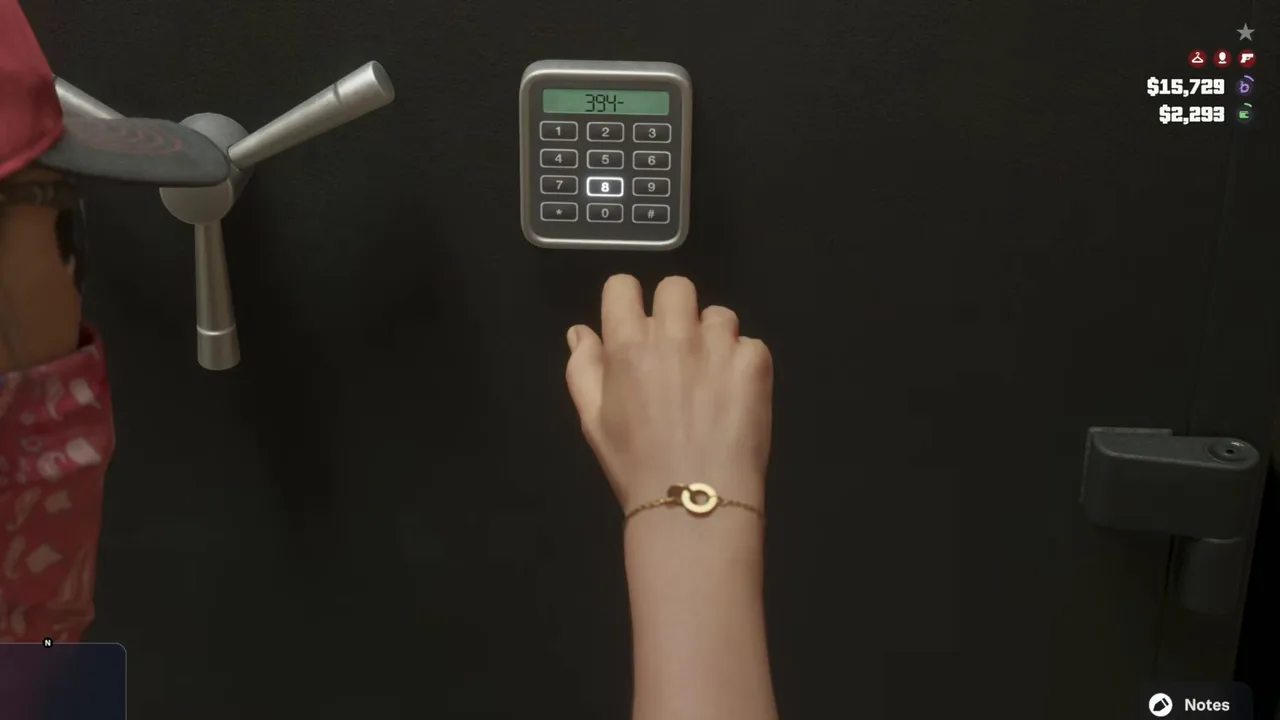 Keying in the code. Footage: Trophy Tom.
Inside are bundles of cash and a tray of jewelry. Take both: the cash goes straight into your wallet (Trophy Tom’s jumped by $373 here), and the jewelry goes in your bag.
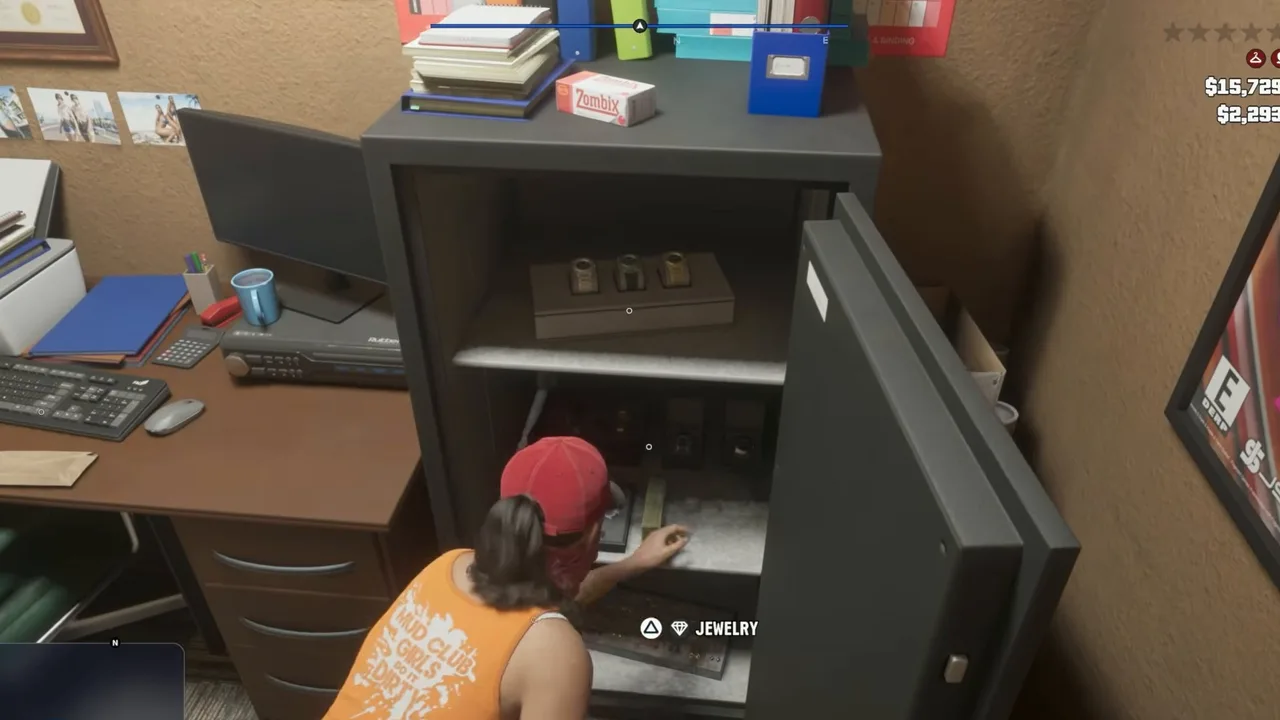 The open safe: cash and jewelry. Footage: Trophy Tom.
Step 5: Smash the display cases
Back in the showroom, walk up to each glass case and press Smash (Triangle on PlayStation, Y on Xbox), then grab the jewelry. Every case adds a few amounts in the corner (+$30, +$90 and so on), and the third figure under your money, the one with the bag icon, is your running loot total. That figure is not cash yet.
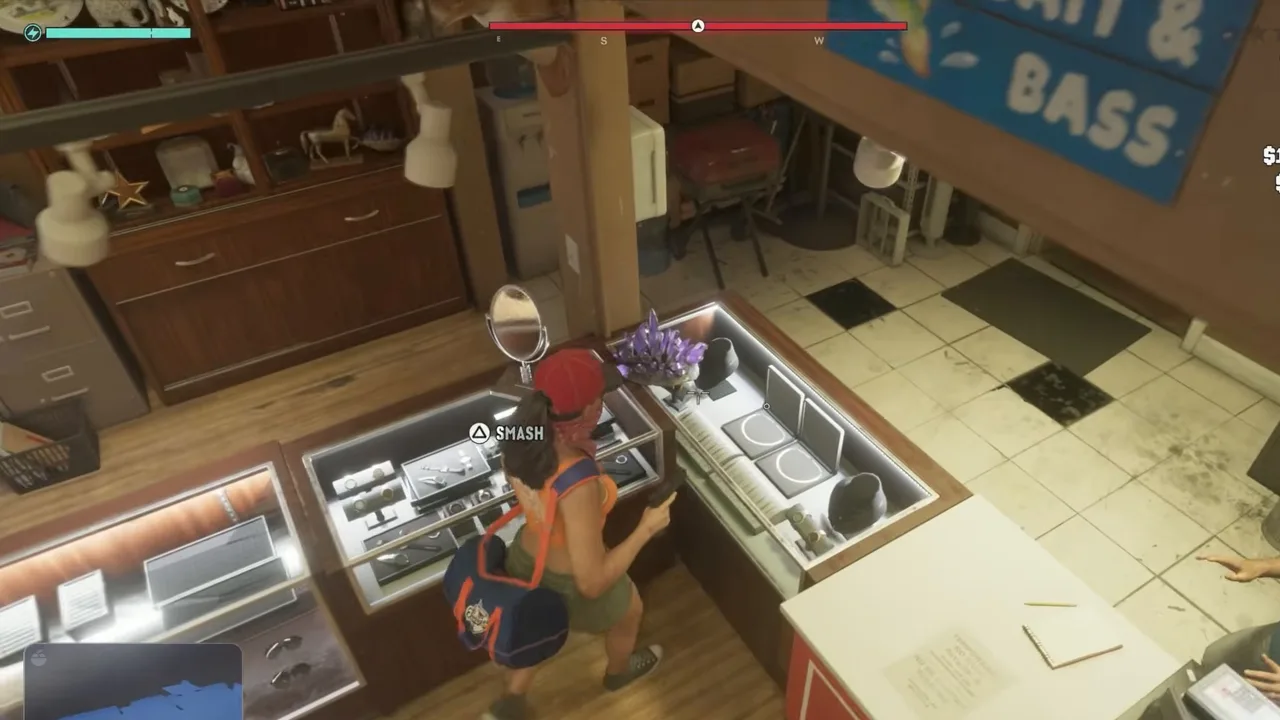 Smash, grab, move to the next case. Footage: Trophy Tom.
The cases run around the whole shop, including the ones behind the counter. Vaulting the counter is quicker than walking round it.
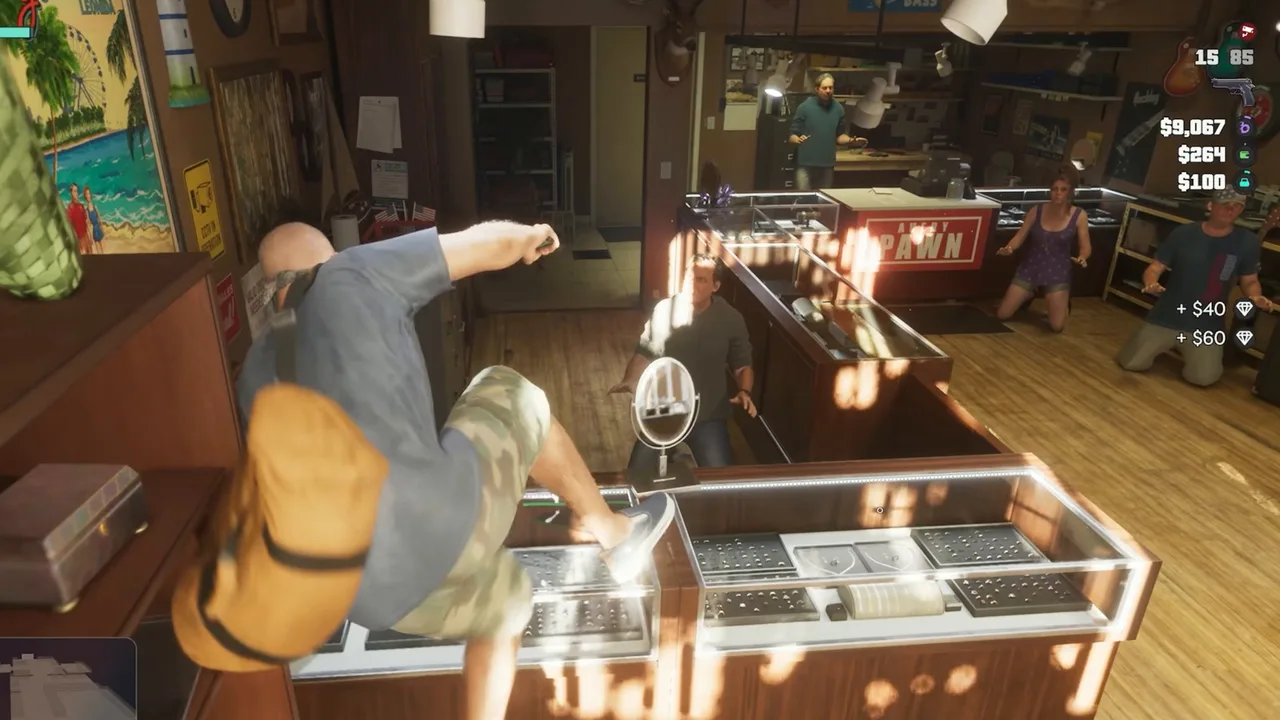 Over the counter to the cases behind it. Footage: Perfect Score.
Halfway through, a tip explains bag handover: hold right on the D-pad, then press B (Circle on PlayStation) next to your partner to give them a bag. Once yours is full, pass it over and start another. Both runs left with the loot counter at $1,310 to $1,450 after two to three minutes inside.
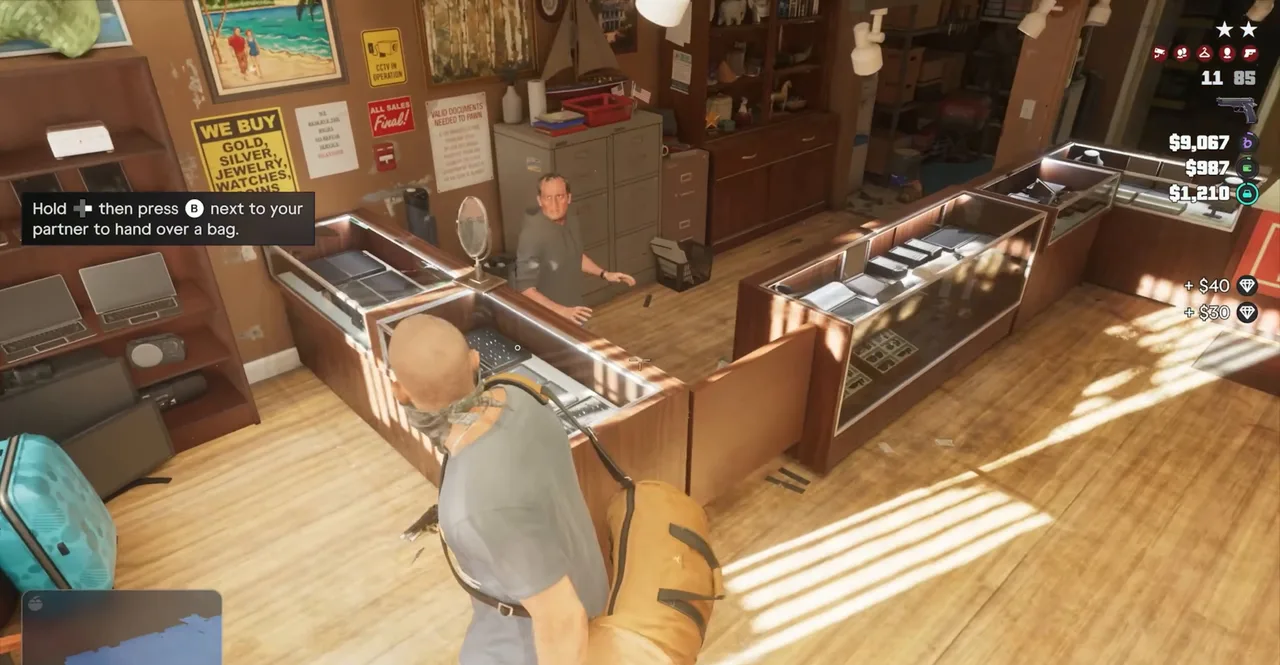 Hand a bag to your partner when yours is full. Footage: Perfect Score.
Step 6: Get out and lose the cops
When the sirens are close, leave. The objective changes to Lose the cops, and your partner sounds pleased with the haul. Expect two stars inside, rising to three once you’re outside and the police set up a perimeter. Dispatch reads out a description of your clothes, and both runs heard air support being called in.
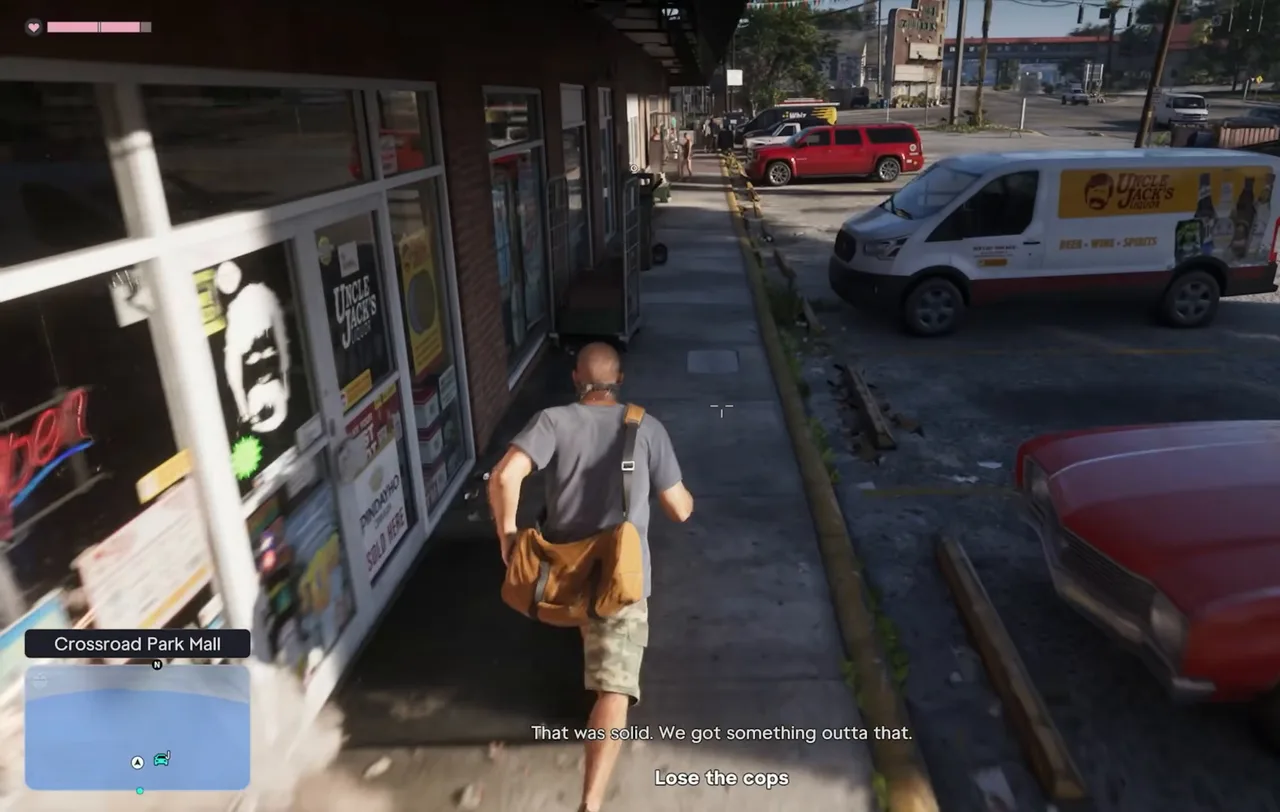 Out the front at Crossroad Park Mall. Footage: Perfect Score.
The quickest way out is the nearest car. Perfect Score didn’t run for Jason’s own red car. He took a Karin Allander SUV parked outside the tobacco shop next door and drove off on the main road. He was clear in about a minute, with dispatch admitting the suspect was long gone.
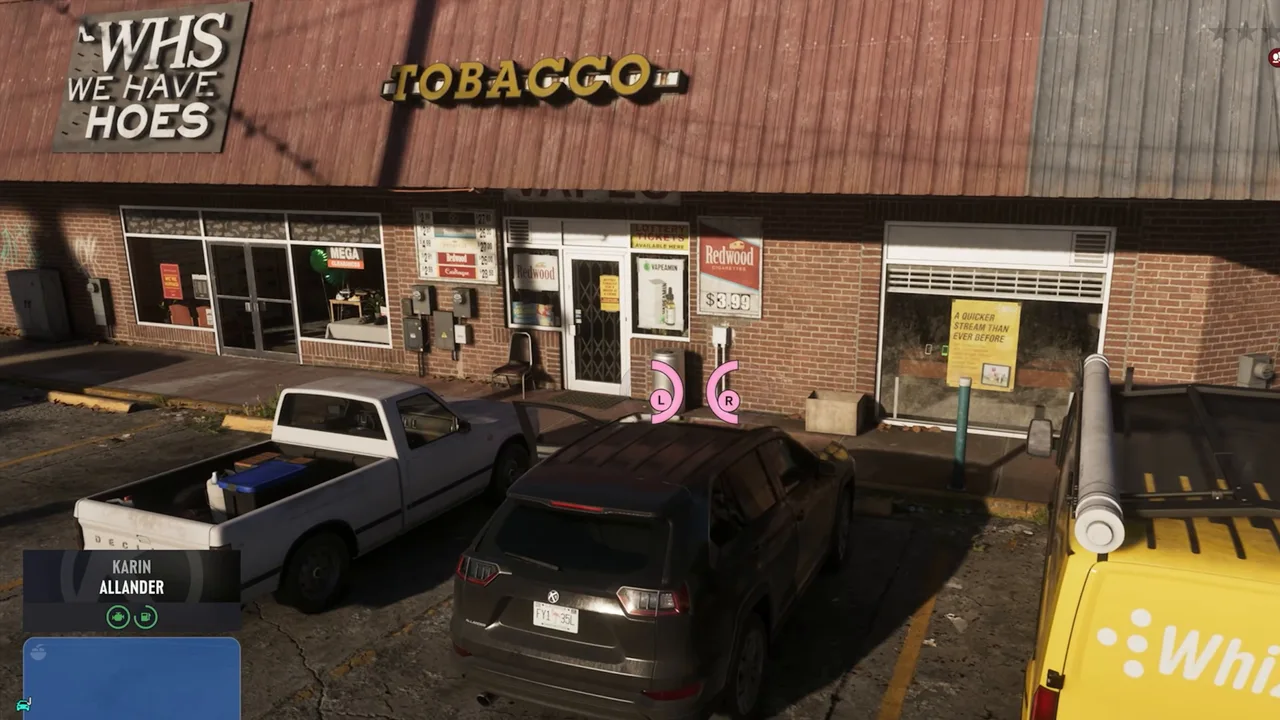 The getaway SUV next door. Footage: Perfect Score.
Trophy Tom had a longer chase. Lucia took a Vapid Rumpo van from the lot, but a roadblock and a police helicopter kept her on three stars. So she drove to the waterfront by the old amusement park, swapped the van for a moored Rugger Hemming work boat and headed out across the water. Off-road and water routes are hard for the police to follow. The search ended while she was out on the water, and she ran the boat up onto a beach on the far shore.
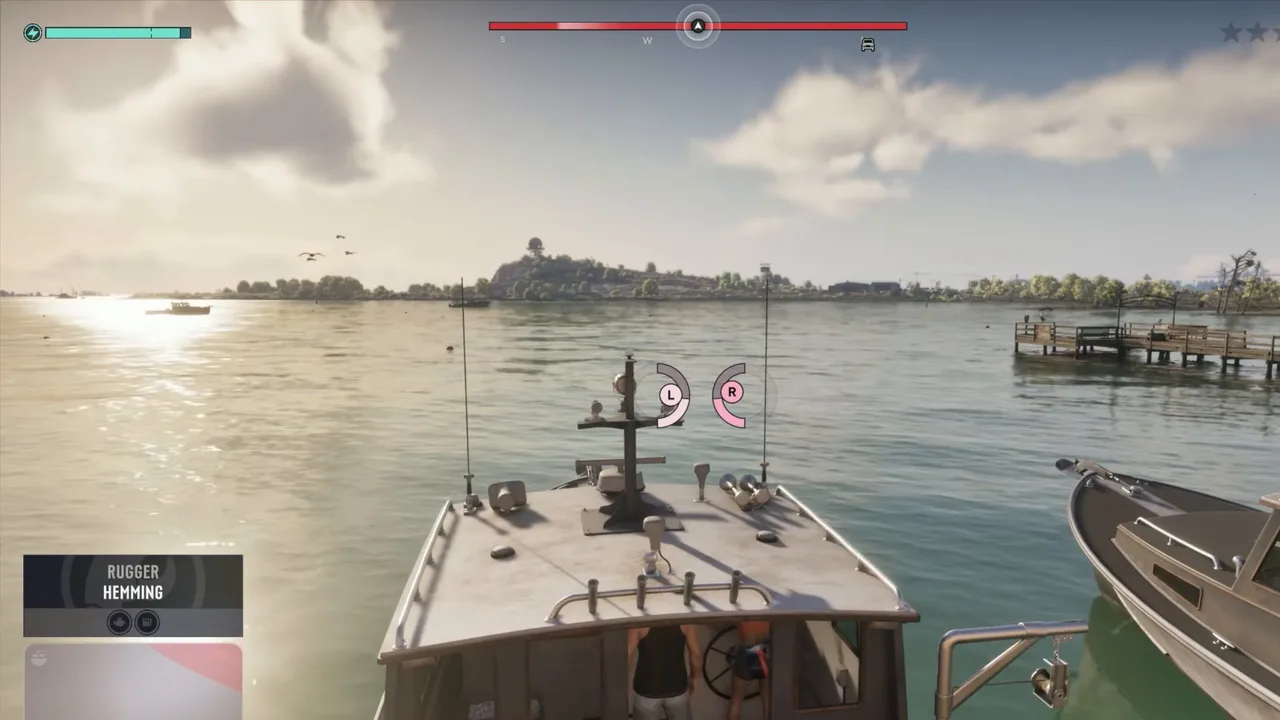 Trophy Tom’s escape: from a van to a boat. Footage: Trophy Tom.
Once the stars are gone, the job is done. There’s no mission-passed screen in either run. Instead a tip says jewelry can be sold at Dunk’s trailer and any other available drop-offs, followed by “Map updated”.
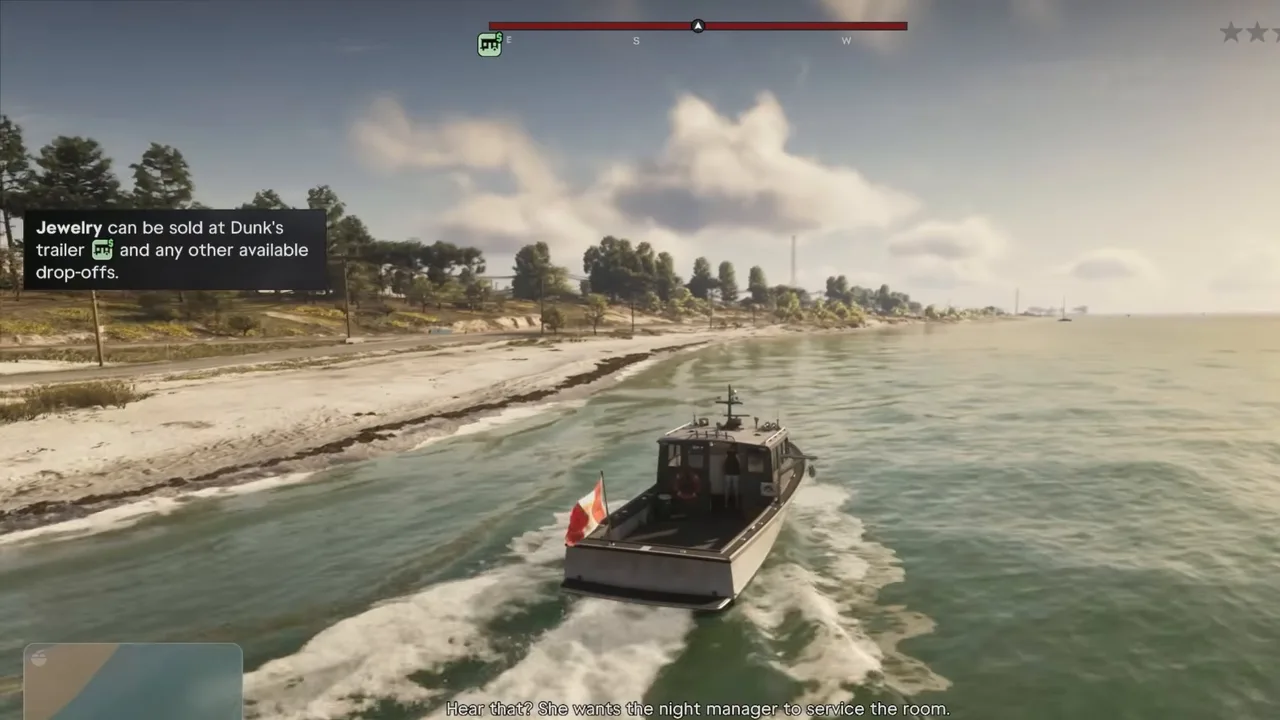 The tip that marks the end of the job. Footage: Trophy Tom.
Step 7: Sell the jewelry at Dunk’s trailer (optional)
Selling isn’t required to finish the job, but your bag is worth nothing until a fence takes it, and you lose it along with your cash if you’re wasted or busted. Dunk’s trailer in Port Gellhorn has been a drop-off since Slam Dunk. Dunk’s trailer on the live map.
If you stowed the bags in your car, open the boot first. Perfect Score’s showed two bags, $1,380 and $800, with Take stash bags to grab them all at once.
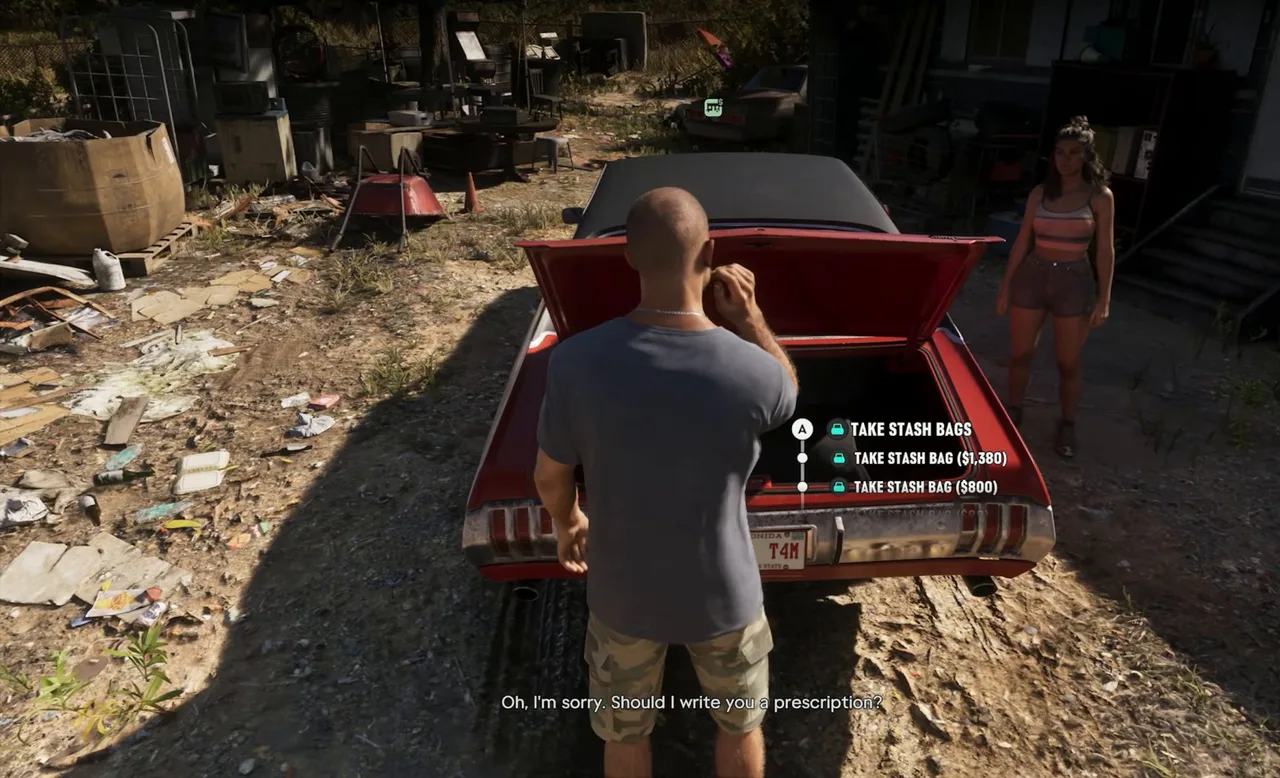 Taking the bags out of the boot at Dunk’s. Footage: Perfect Score.
Dunk’s own car, a battered beige sedan, is parked beside the trailer. Walk up to its boot and the prompt shows what the bag is worth: Sell stash bag (+$1,310) in Trophy Tom’s run. In both runs you could hear police hassling someone nearby as they arrived; nobody paid the drop-off any attention.
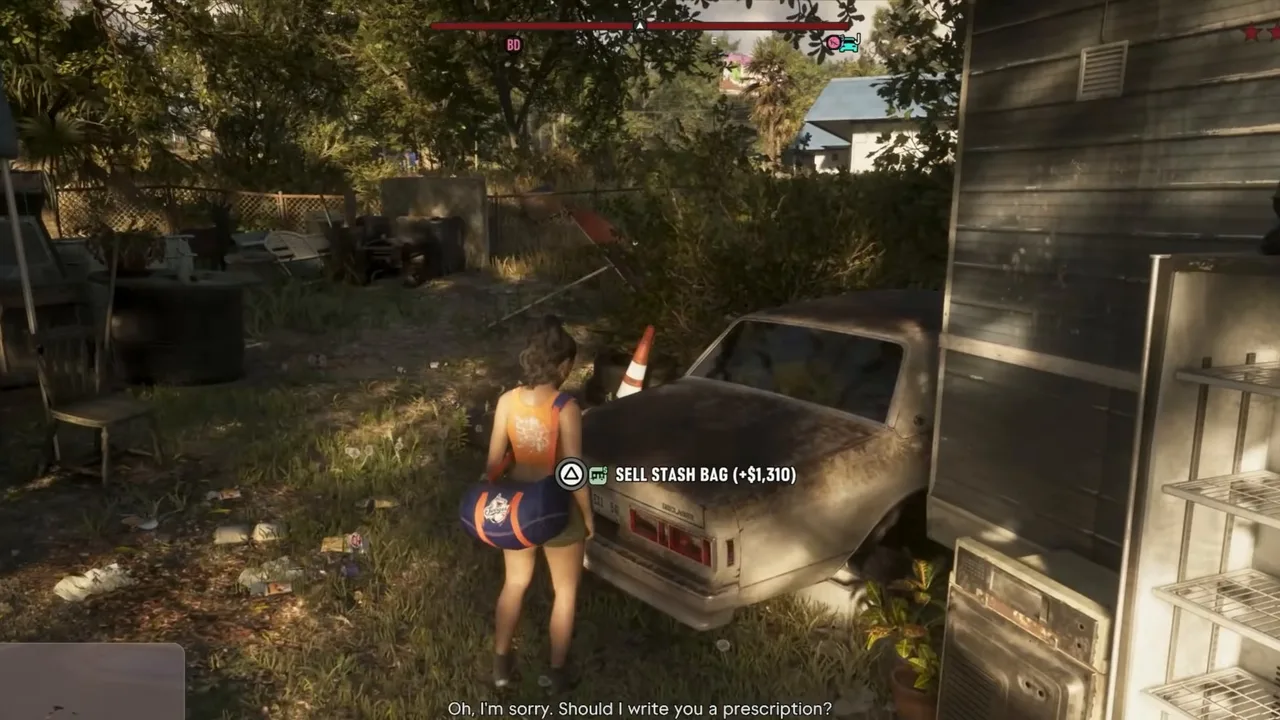 Dunk’s car is the drop box. Footage: Trophy Tom.
Jason then texts Dunk that he left him a little care package, and a notice confirms Stash bags → Dunk’s Trailer. Dunk sells the goods and pays you later over BuckMe, as agreed in Slam Dunk, so don’t expect the money on the spot.
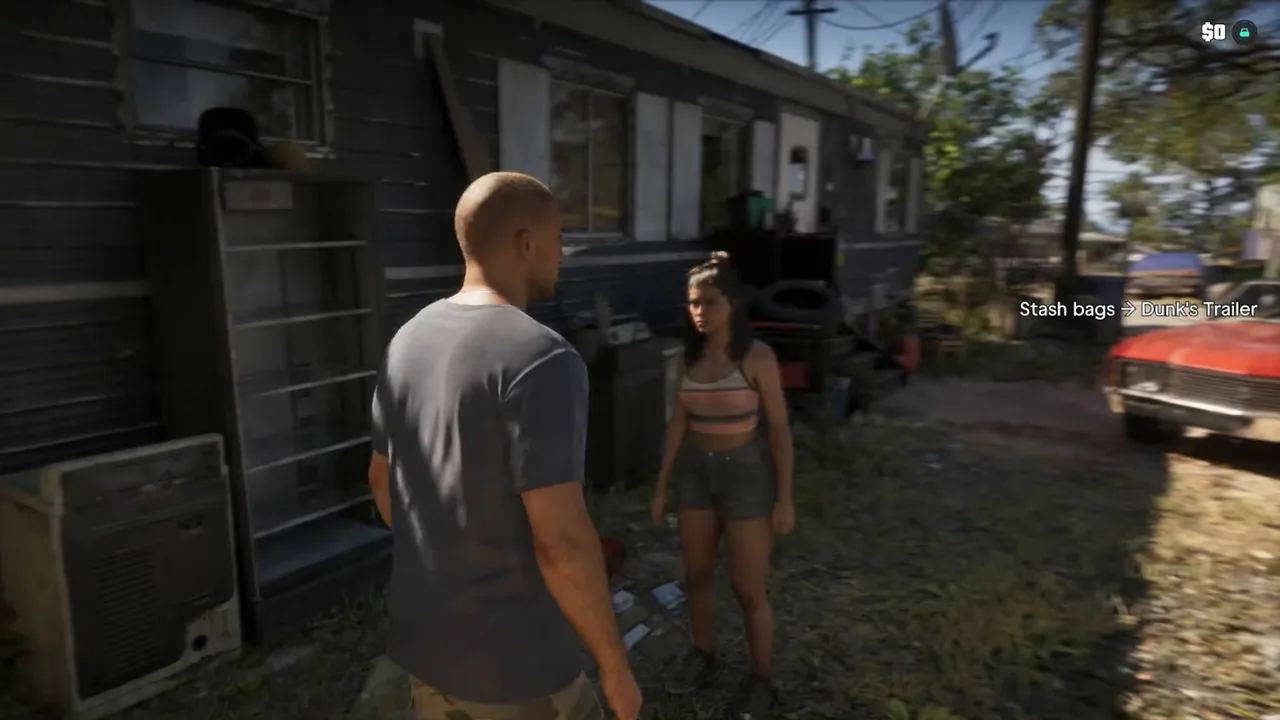 Bags delivered. The payment follows later. Footage: Perfect Score.
Rewards
There’s no payout for the job itself, only what you carry out:
| Trophy Tom (Lucia) | Perfect Score (Jason) | |
|---|---|---|
| Cash from the register and safe | $868 | $723 |
| Jewelry bag when leaving | $1,310 | $1,450 |
| Wanted level | Three stars, lost by boat | Three stars, lost by car |
| Total | About $2,180 | About $2,170 |
Our map lists Avery Pawn as a Smash ‘n’ Grab target with a take of $1,000 to $10,000, so a full sweep with two bags should do better than either run. Cash lands in your wallet straight away; bank it at an ATM, because pocket money is lost if you die. The jewelry only counts once Dunk pays.
Both count toward the $15,000 that Prepare for Vice City asks for, but only once the money is in your BuckMe account: the purple “b” figure, not the green wallet. No trophy, and the job counts toward 100% completion.
What comes next
Avery Pawn is the first of two pawn shops in Port Gellhorn. Right after Perfect Score’s escape, Lucia phoned with a bigger target: Buck’s Jewelry & Pawn, another pawn shop off the main road south of the old amusement park. It’s covered in Step 8 of our Prepare for Vice City guide, with its in-game take of $500 to $5,000. Robbed shops close for a while and then reopen (Buck’s was open again for Perfect Score’s second visit), so Avery Pawn should be worth a repeat trip later too.
The other three jobs from Coffee Break are still waiting: Thrillbillies at the mud club, Impounded Vehicle (Lucia’s car) and Hit Kingpin Bowling, the Kolts’ hangout and the hardest of the four.
Tips
- Ask for the code first. It takes one button press, saves you an explosive, and the safe’s cash and jewelry are worth the detour.
- Bring your partner inside. They hold the door and the hostages, and a second bag means more loot per visit.
- Leave by car, not on foot. The lot fills with police quickly; the nearest parked car beats a run to your own.
- Water and off-road routes shake a helicopter. Trophy Tom’s three stars only faded once he was out on a boat.
- Fence and bank before the next job. Drop the bag at Dunk’s and put your cash in an ATM, so one bad chase doesn’t wipe out the haul.
Related guides
- Previous: Coffee Break (#43), where Lucia suggests the four jobs. Same chapter: Hit Kingpin Bowling, Impounded Vehicle and Thrillbillies. See all GTA 6 missions.
- Prepare for Vice City (#44): the $15,000 goal and every job that pays toward it.
- Slam Dunk: how Dunk’s trailer became your fence.
- GTA 6 money guide: pawn shops, fences, BuckMe and what to do with marked bills.
- Breakfast Run: the register robberies that come first.
- Interactive map: Smash ‘n’ Grab targets and fences across Leonida.
Frequently Asked Questions
How do you start Hit Avery Pawn in GTA 6?
Finish Coffee Break. Lucia's pawn shop idea goes on the map with the other three jobs, whichever one you picked at the table. Drive to Avery Pawn at Crossroad Park Mall in Port Gellhorn and walk in with a gun out.
What is the Avery Pawn safe code?
It's random. Aim at a staff member and pick Safe code? and the code appears on screen and in your phone's Notes. Trophy Tom got 3954 and Perfect Score got 1662, so don't copy a code from a video.
Do you have to sell the jewelry to Dunk?
No. The job ends once you lose the cops, and a tip then points you to Dunk's trailer. But the bag is worth nothing until a fence takes it, and you lose it if you're wasted or busted, so drop it off soon.
How much money do you get from Avery Pawn?
There's no fixed payout. Both runs we watched came out with about $2,100: roughly $700 to $870 in cash from the register and safe, plus a jewelry bag worth $1,310 to $1,450. Our map lists the shop's take as $1,000 to $10,000.
Should Lucia come in or wait as getaway driver?
Bring your partner in. They cover the door and the hostages while you clear the cases, and you can hand them a bag. Both runs we watched took the partner inside.
What's the fastest way to lose the cops after Avery Pawn?
Leave on wheels straight away, before the police box in the lot. Perfect Score was clear in about a minute in an SUV from the car park. Trophy Tom lost three stars by swapping his van for a boat at the waterfront.
Sources & Credits
Researched from these videos and official material, among others. Screenshots credit the creator whose footage they come from.
- GTA 6 - Hit Avery Pawn - Full Walkthrough · Trophy Tom
- GTA 6 Gameplay Walkthrough Full Chapter 2: Paradise Lost (No Commentary) · Perfect Score