Jump to your step
 1
Check the goal and your BuckMe balance (Jason or Lucia)
 2
Rob Avery Pawn (Jason, Lucia as backup)
 3
Drop the loot at Dunk’s trailer · Jason
 4
Hit Kingpin Bowling (Jason and Lucia)
 5
Sell untracked cars to Moses (Jason or Lucia)
 6
Free Lucia’s car from the impound · Jason
 7
Rob Delights with Vicki (Afternoon Delight)
 8
Top up at Buck’s Jewelry & Pawn (Jason, Lucia as backup)
 9
Lose the cops out the back · Jason
 10
Deposit your cash at the motel ATM · Jason
 11
Wait for Cal’s article and the phone call
Prepare for Vice City: quick facts
| Mission | Prepare for Vice City, story mission #44 |
| Chapter | Chapter 2 (Paradise Lost), late |
| You play | Jason and Lucia; switch between them freely |
| Given by | Lucia: it’s the couple’s plan, not a contact’s job |
| Where it starts | Nowhere: it appears in the story list when Coffee Break ends |
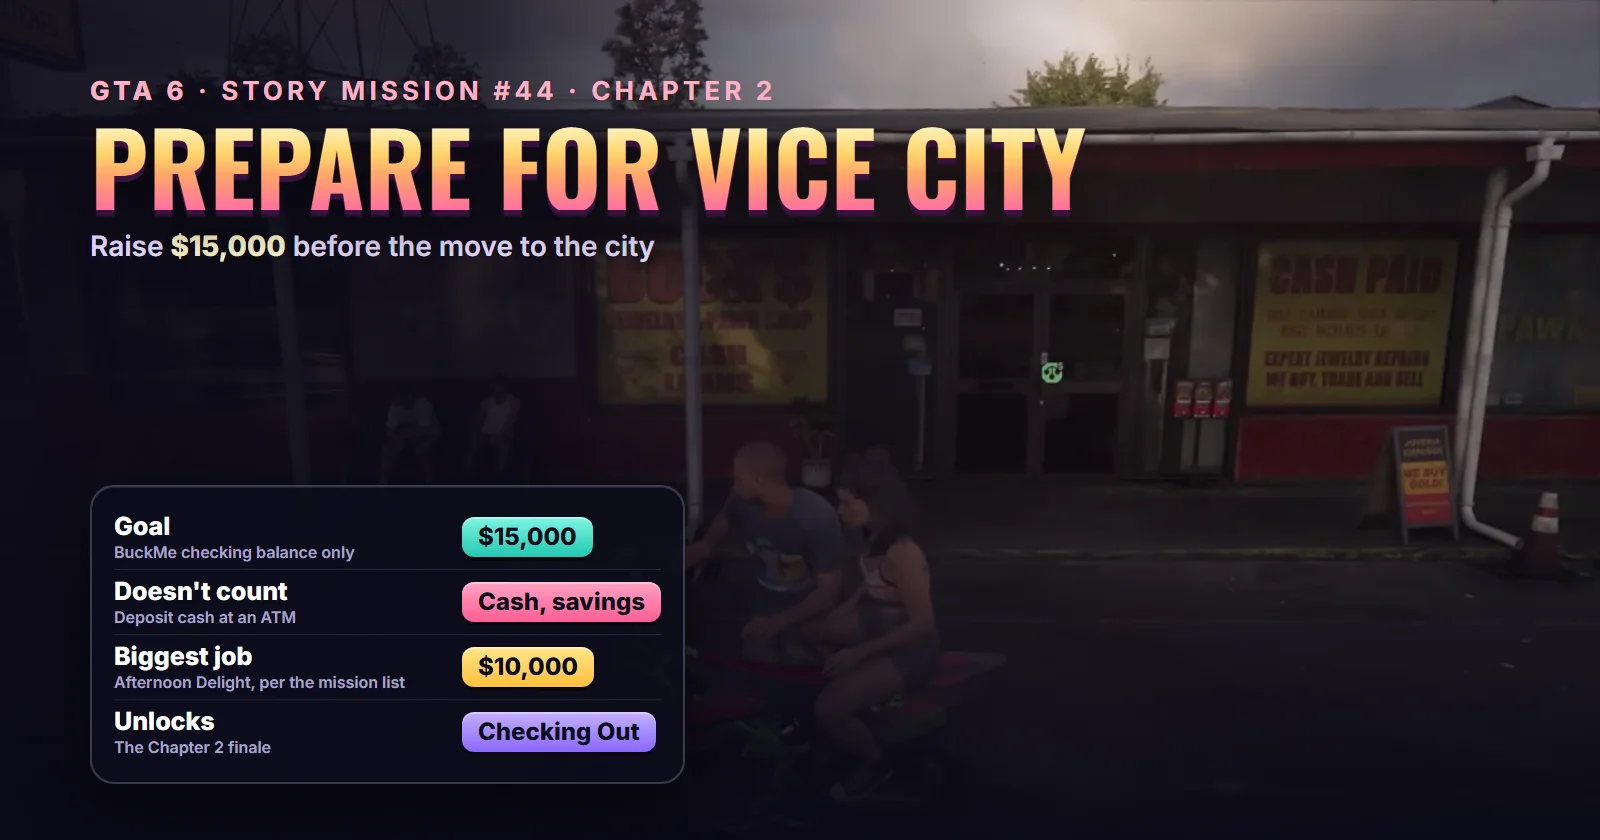
| Goal | At least $15,000 in your BuckMe checking account |
| Unlocks after | Coffee Break (#43) |
| Unlocks next | Checking Out (#46), once Afternoon Delight (#45) is done too |
| Length | As long as your saving takes. Perfect Score’s run covers it in about 40 minutes of footage |
| Reward | No payout of its own; it opens the road to Vice City |
| Trophy | None |
| Required for 100% | Yes |
Mission briefing The story so far, how the goal unlocks, what it counts, where to look for it and how this guide was made. Contains spoilers for the end of Chapter 1 and most of Chapter 2.
The story so far (spoilers for the end of Chapter 1)
Spoiler for the end of Chapter 1: the job Mattia set up went wrong. Jason took a bullet, the couple ran with a bag holding a small statue and a mystery hard drive, and Lucia got Jason out of Vice City Hospital. Since then they’ve been hiding in room 06 of the Starlet Motel in Port Gellhorn.
In Breakfast Run (#42) they robbed their way across town, and in Coffee Break (#43) Jason decided they should go back to Vice City, hide in plain sight and find a buyer for the drive. His high-school friend Dre’Quan agreed to put them up. Lucia’s objection was the price of the city. Prepare for Vice City is her answer: save first, move second.
How Prepare for Vice City unlocks
Finish Coffee Break. When the call to Dre’Quan ends, a “Map updated” notice appears and the goal joins the story list. Shortly afterwards BuckMe messages you that you’ve been approved for a Silver checking account with a $100,000 limit, which matters here: before that, the checking limit was $15,000, the exact amount you need.
Where it starts
There’s no blip and no start point. Open the pause map and pick the storybook icon: Prepare For Vice City sits at the top of the story list, above the optional jobs. The only place tied to it is the end. In Perfect Score’s run the goal was crossed at the ATM in the Starlet Motel office, a few steps from your room. Show the Starlet Motel on the live map.
What the goal counts
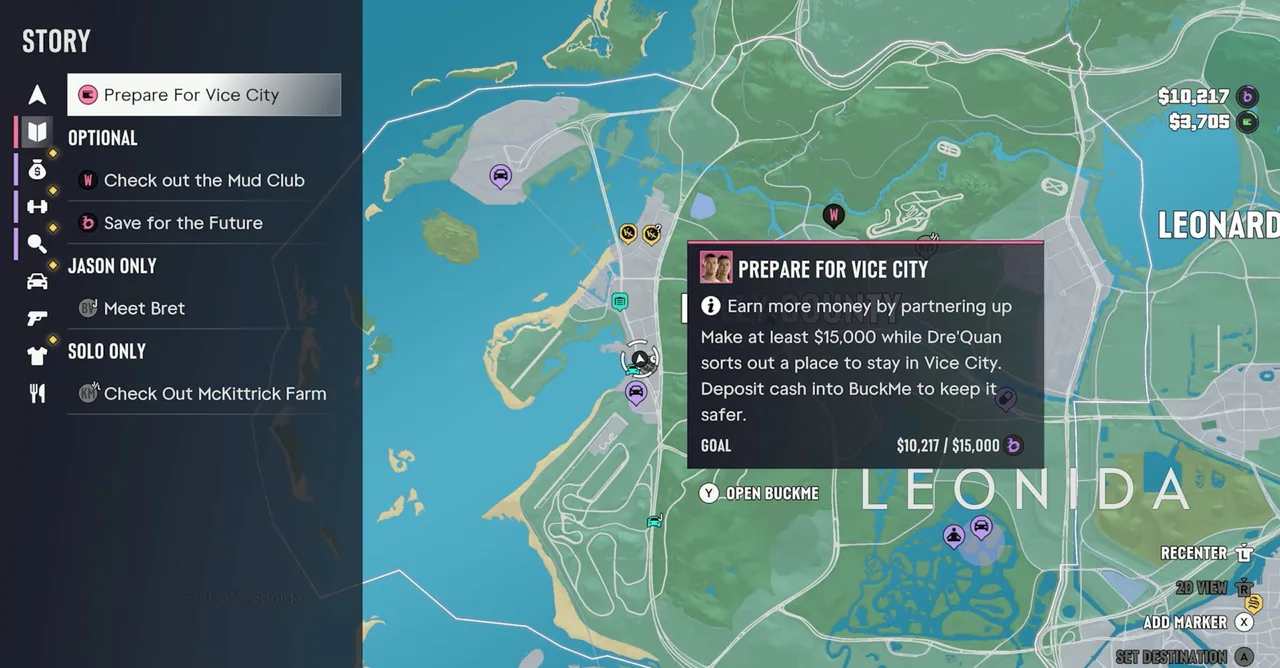
The card reads: earn more money by partnering up, make at least $15,000 while Dre’Quan finds a place to stay in Vice City, and deposit cash into BuckMe to keep it safer. Below that is a counter with the purple BuckMe “b” next to it. That’s the key detail. In Perfect Score’s run the counter showed $10,217, which was his BuckMe checking balance to the dollar. The $3,705 in his wallet (the green figure) wasn’t included, and neither was the $9,600 in Family Savings.
About this guide
Prepare for Vice City isn’t one scripted mission. It’s a savings goal that runs alongside every other Chapter 2 job, so the steps below follow the route Perfect Score took in his full Chapter 2 video, from the first robbery after Coffee Break to the deposit that crossed $15,000. You can do the jobs in any order. Payouts we couldn’t see on screen come from the mission database and are marked as such; WiLLiSGaming’s money video supplies the Moses prices.
Step 1: Check the goal and your BuckMe balance (Jason or Lucia)
Open the map, select the story list and highlight Prepare For Vice City. The card shows your progress against $15,000, and Y (Open BuckMe) jumps straight to the app. Under it you’ll see the optional jobs still waiting: in Perfect Score’s run those were Check out the Mud Club, Save for the Future, Meet Bret (Jason only) and Check Out McKittrick Farm (solo only).
The goal card. The counter matches the purple BuckMe balance in the corner, not the green cash below it. Footage: Perfect Score.
Read your BuckMe messages too. The Silver checking account raises your limit to $100,000, so a big deposit won’t bounce off the old $15,000 cap.
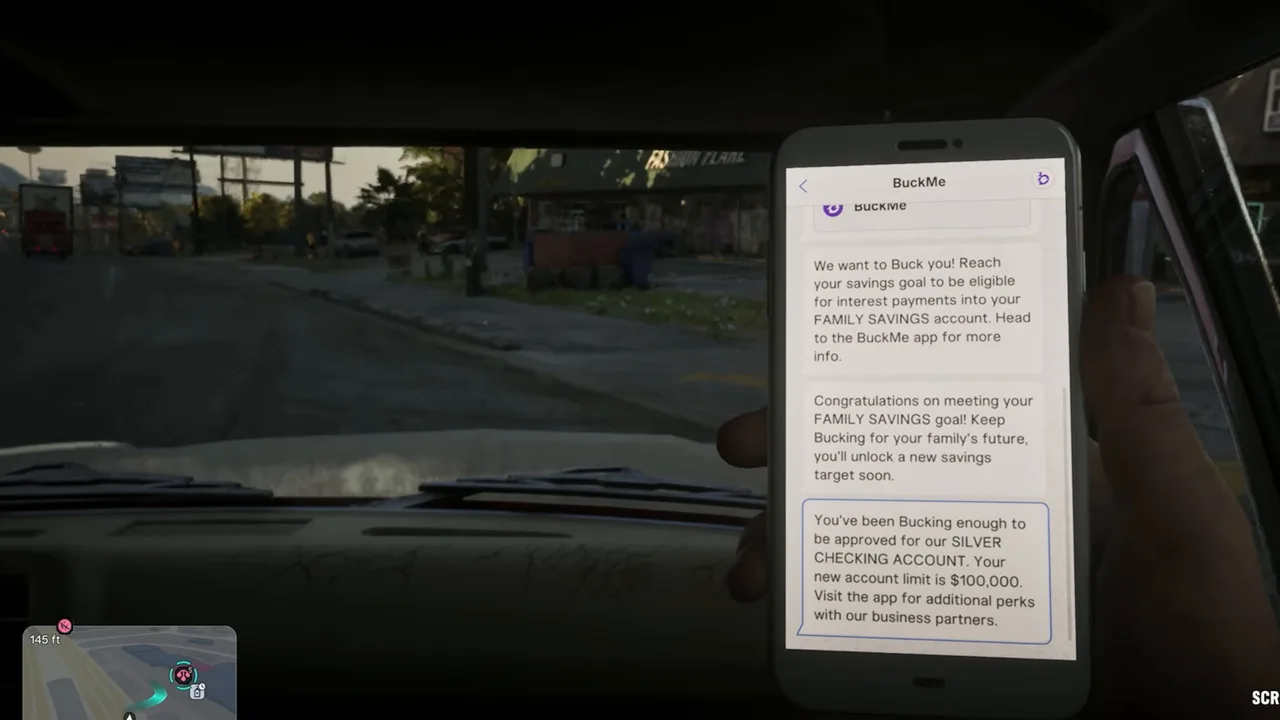 The Silver checking account arrives right after Coffee Break. Footage: Perfect Score.
Step 2: Rob Avery Pawn (Jason, Lucia as backup)
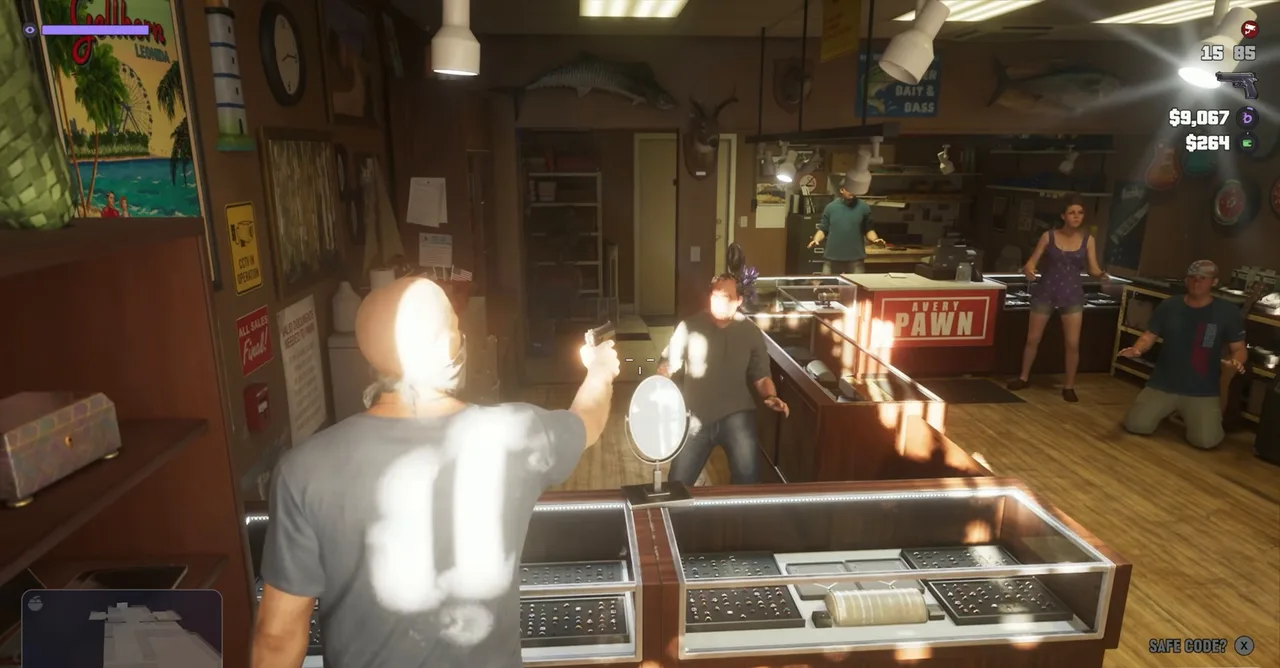
The pawn shop is one of the four jobs Coffee Break puts on the map, and it’s the quickest money. At Avery Pawn in Port Gellhorn, draw a gun on the staff. The prompts let you demand the safe code or just keep them down. Then smash the display cases and vault the counter for the jewelry. Each case adds to the loot figure under your money. As soon as glass breaks, the police are called: expect two stars.
Threatening the staff at Avery Pawn. Ask for the safe code before you start smashing. Footage: Perfect Score.
Lose the stars before you do anything else; carried loot is gone if you’re wasted or busted.
Step 3: Drop the loot at Dunk’s trailer (Jason)
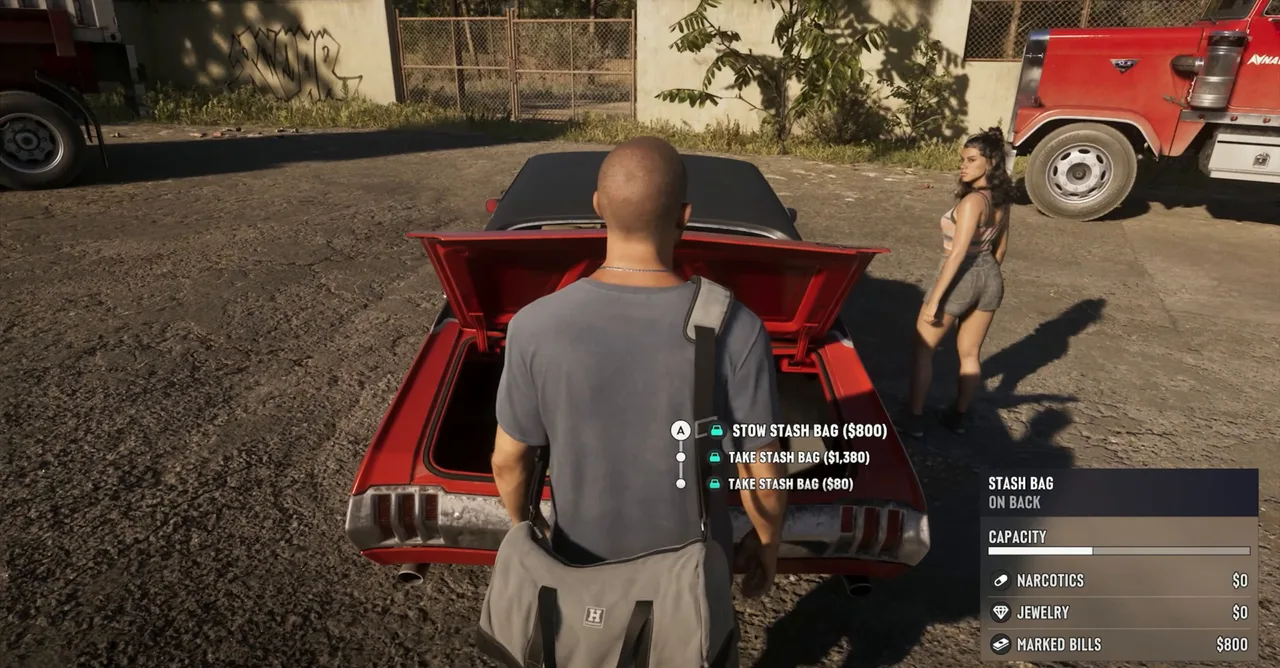
Jewelry is worth nothing on the counter until a fence buys it. A tip right after the robbery says it: jewelry sells at Dunk’s trailer or any other drop-off that’s open. Stash bags go in your car boot, and the menu shows each bag’s value and what’s inside (narcotics, jewelry, marked bills). Perfect Score was carrying three: $1,380, $800 of marked bills and $80.
Stash bags in the boot, each with its value. Footage: Perfect Score.
Walk the bag into Dunk’s yard and leave it. Dunk is a drop box: the money arrives later, straight into BuckMe, which is good for this goal. Our money guide explains why marked bills are worth holding until Vice City, where fences pay properly. Dunk’s trailer on the live map.
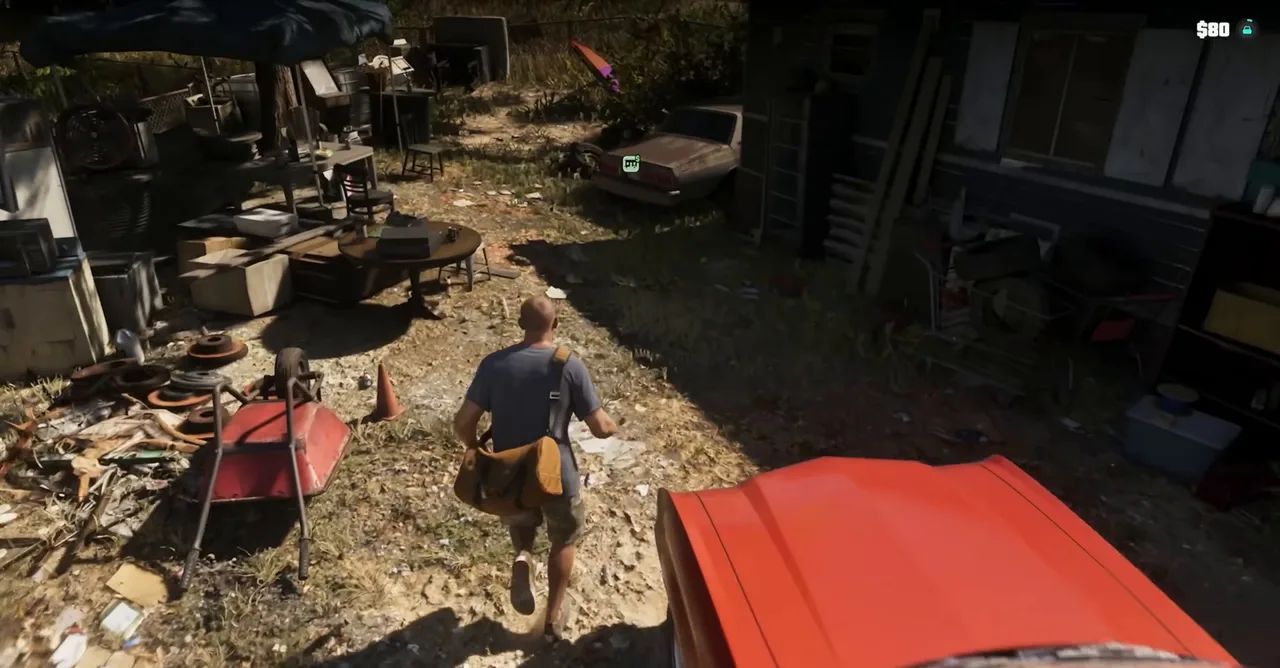 Dropping a bag at Dunk’s. The payment follows later. Footage: Perfect Score.
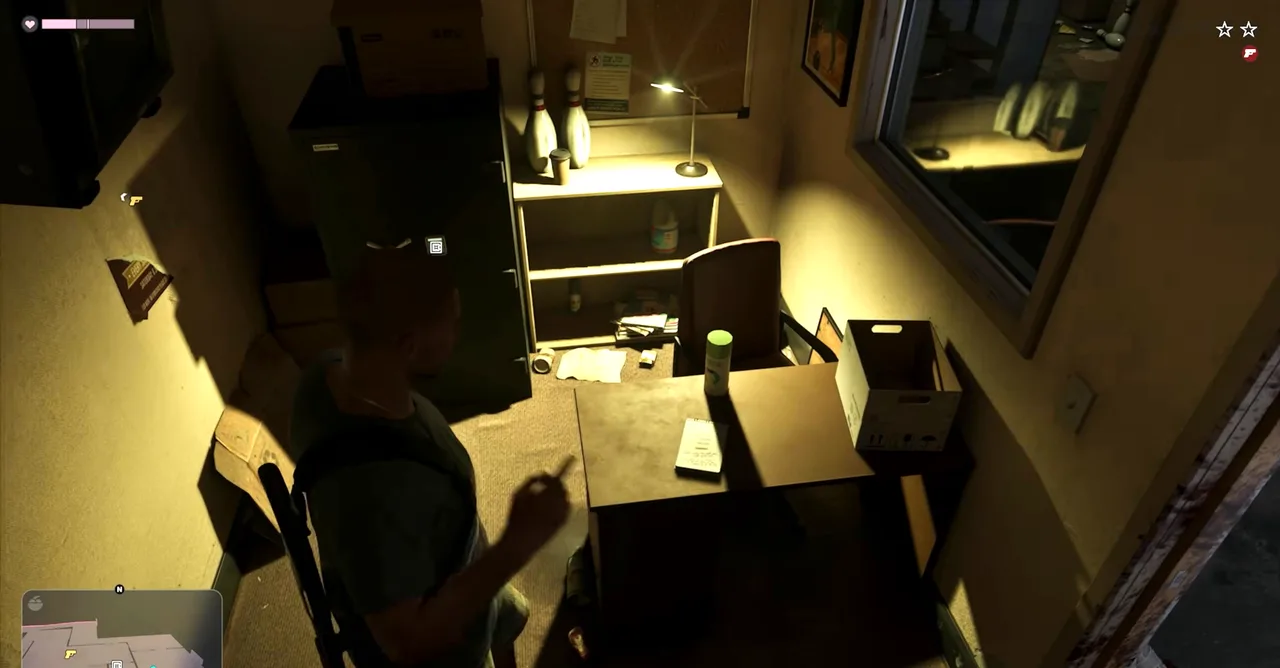
Step 4: Hit Kingpin Bowling (Jason and Lucia)
This is the hardest of the four Coffee Break jobs. Kingpin Bowling is the Kolts’ hangout, full of armed members. Bring Lucia: if you’ve split up, phone her to regroup first. The mission database’s prep list is sensible: full armour, healing items and sticky bombs for the safe. It also mentions the Gutterball Moreland 850 shotgun on a pool table and a Luxury Watch collectible. Grab both plus the safe for the Let’s Go Bowling trophy.
The back office at Kingpin Bowling, where the safe is. Footage: Perfect Score.
The fight is loud and the police arrive while you’re inside, so plan your exit. The safe and the loot in the bags count once they’re turned into BuckMe money.
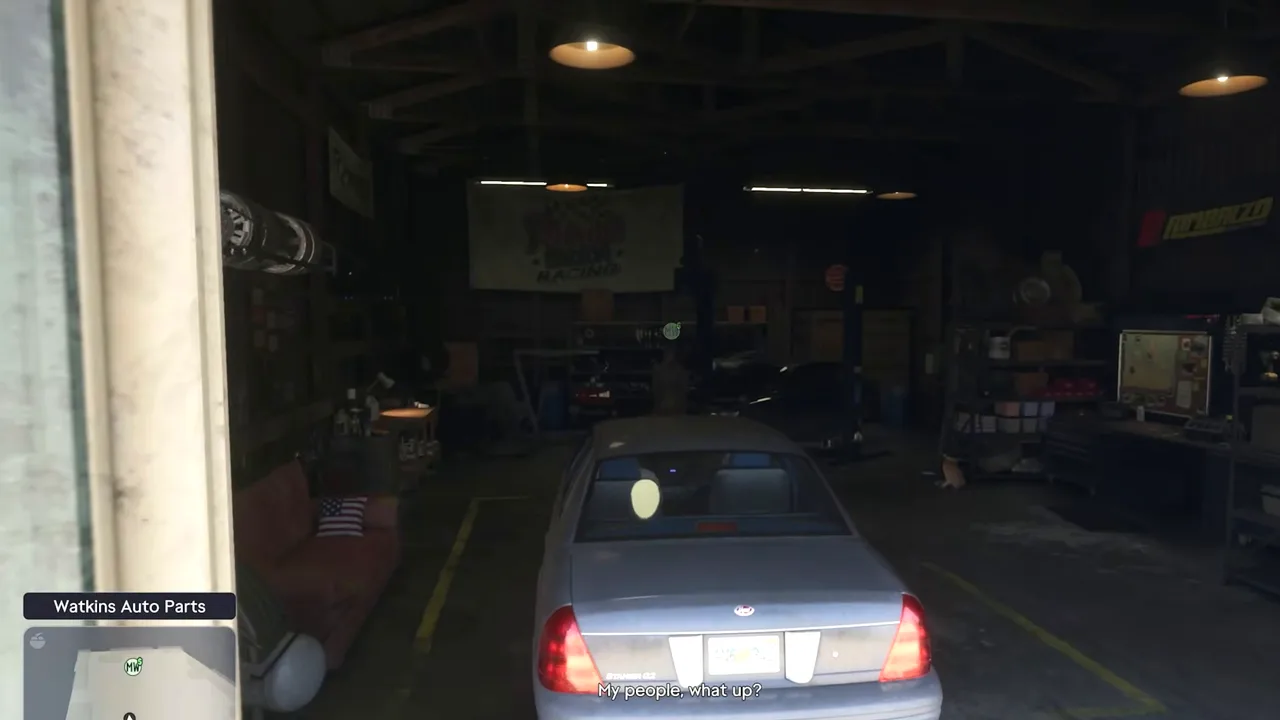
Step 5: Sell untracked cars to Moses (Jason or Lucia)
Moses at Watkins Auto Parts buys cars without trackers. WiLLiSGaming puts most of them at $1,000 to $2,000, with a cooldown of about two minutes between sales and a refusal for anything stolen right outside his shop. Scan with WAiNK before you steal anything. Perfect Score dropped off a grey sedan between robberies; our Steal Vehicles for Moses guide covers the rules in full. Moses on the live map.
Delivering a car at Watkins Auto Parts. Footage: Perfect Score.
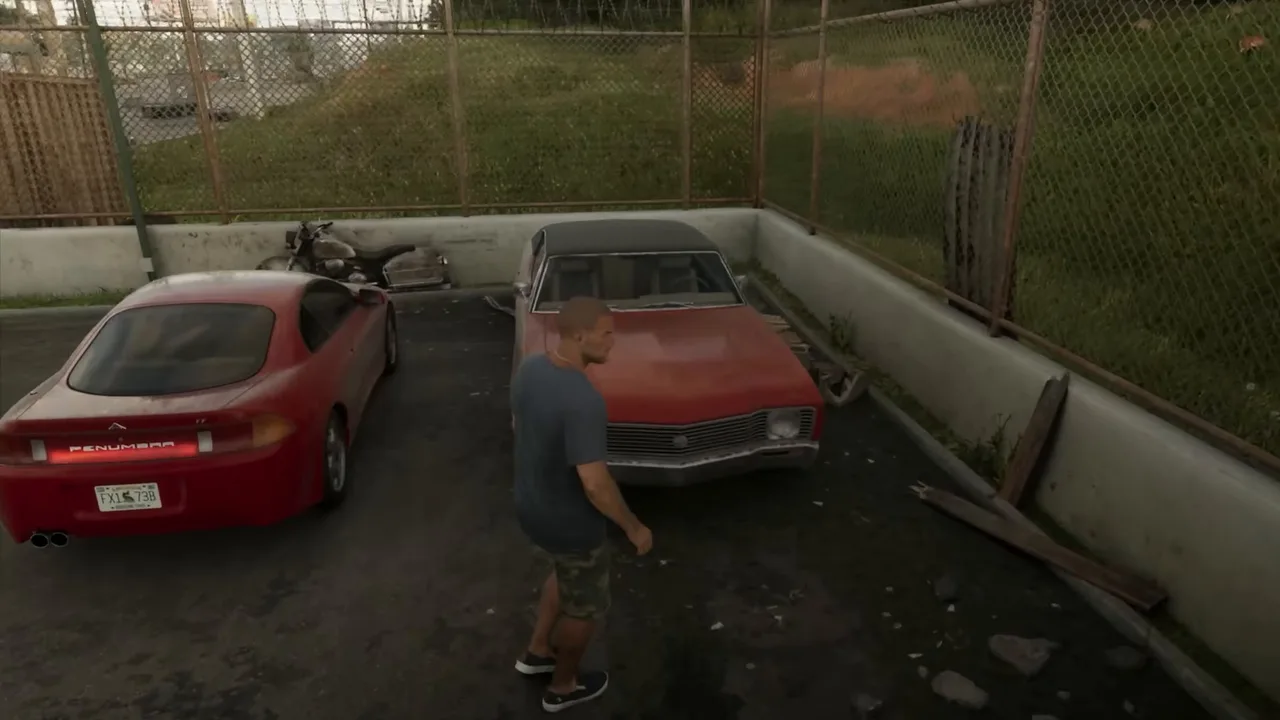
Step 6: Free Lucia’s car from the impound (Jason)
Impounded Vehicle pays nothing, but it gets Lucia’s ’97 Penumbra FF back. The police towed it from Hank’s Waffles after Breakfast Run. Drive into the impound yard, take the car and lose the wanted level. Afterwards Perfect Score took it to a repair shop, where a fix cost $170.
Lucia’s Penumbra in the impound yard. Footage: Perfect Score.
A second car is useful for the rest of the goal. You can split up, each run your own errands and switch between the two of you.
Step 7: Rob Delights with Vicki (Afternoon Delight)
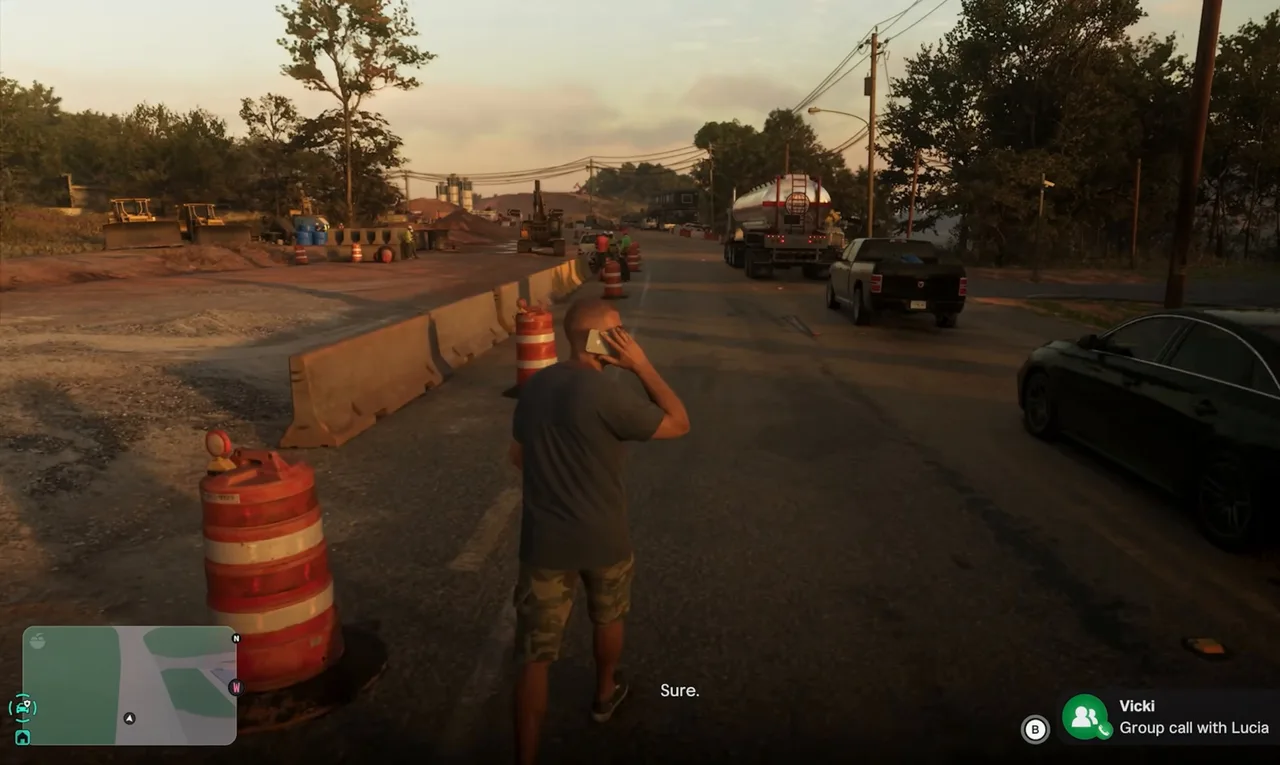
Partway through, Vicki rings Jason and Lucia together. She wants to rob her boss at Delights and promises “five figures each” (Afternoon Delight, #45; our walkthrough is on the way). It’s the single biggest payment of the chapter: $10,000 via BuckMe, according to the mission database, and it’s paid the next day, so it lands in exactly the account the goal counts. Meet her at the club when you’re ready.
Vicki’s group call sets up Afternoon Delight. Footage: Perfect Score.
When Afternoon Delight is over, Jason texts Dre’Quan to ask whether he’s found them anywhere to stay. Nothing comes back yet; the reply is the money.
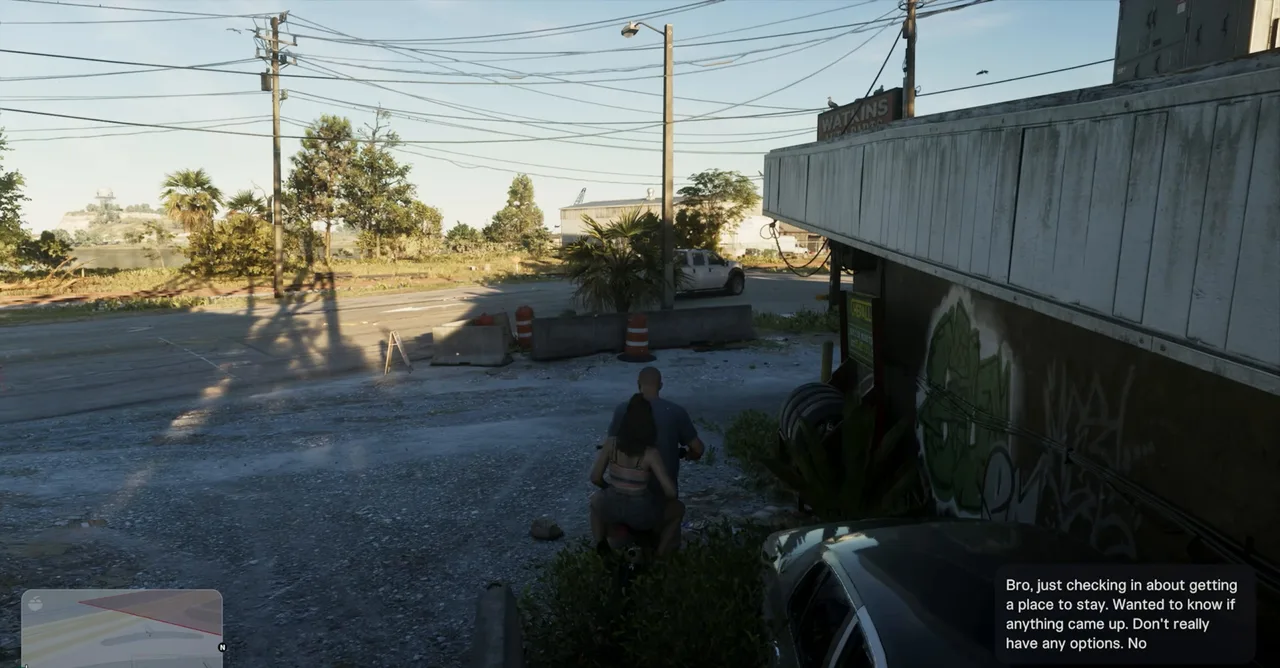 Checking in with Dre’Quan after Afternoon Delight. Footage: Perfect Score.
Step 8: Top up at Buck’s Jewelry & Pawn (Jason, Lucia as backup)
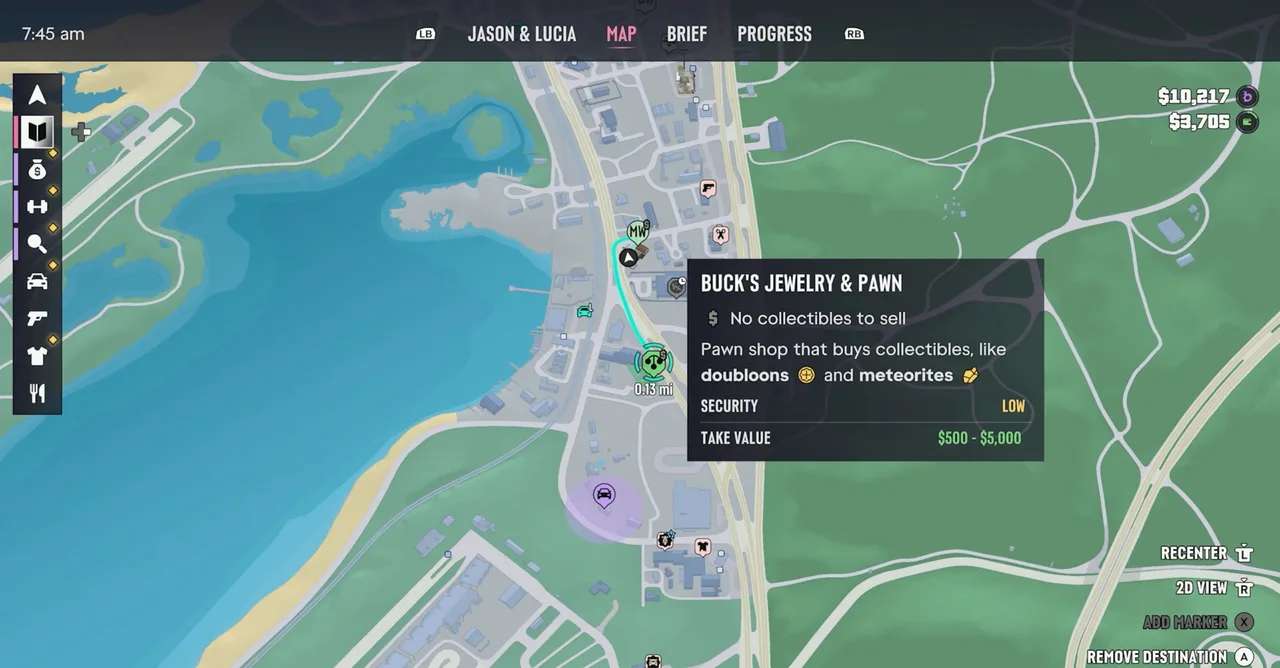
If you’re still short, rob another pawn shop. Perfect Score was at $10,217 and picked Buck’s Jewelry & Pawn, a short ride south of Moses on the main road. The map card shows what to expect: Security Low, take value $500 to $5,000, and a note that Buck’s also buys collectibles such as doubloons and meteorites. Our map’s Smash ‘n’ Grab listing gives a wider $1,000 to $10,000 for both Port Gellhorn pawn shops. Trust the in-game card. Buck’s Jewelry & Pawn on the live map.
Buck’s on the map, 0.13 miles from Moses. Footage: Perfect Score.
Robbed shops close for a while and then reopen. Perfect Score had already hit Buck’s once, before Afternoon Delight, and it was open again for round two. Inside, the routine matches Avery Pawn: Threaten the staff member, then smash the cases with the Jewelry prompt.
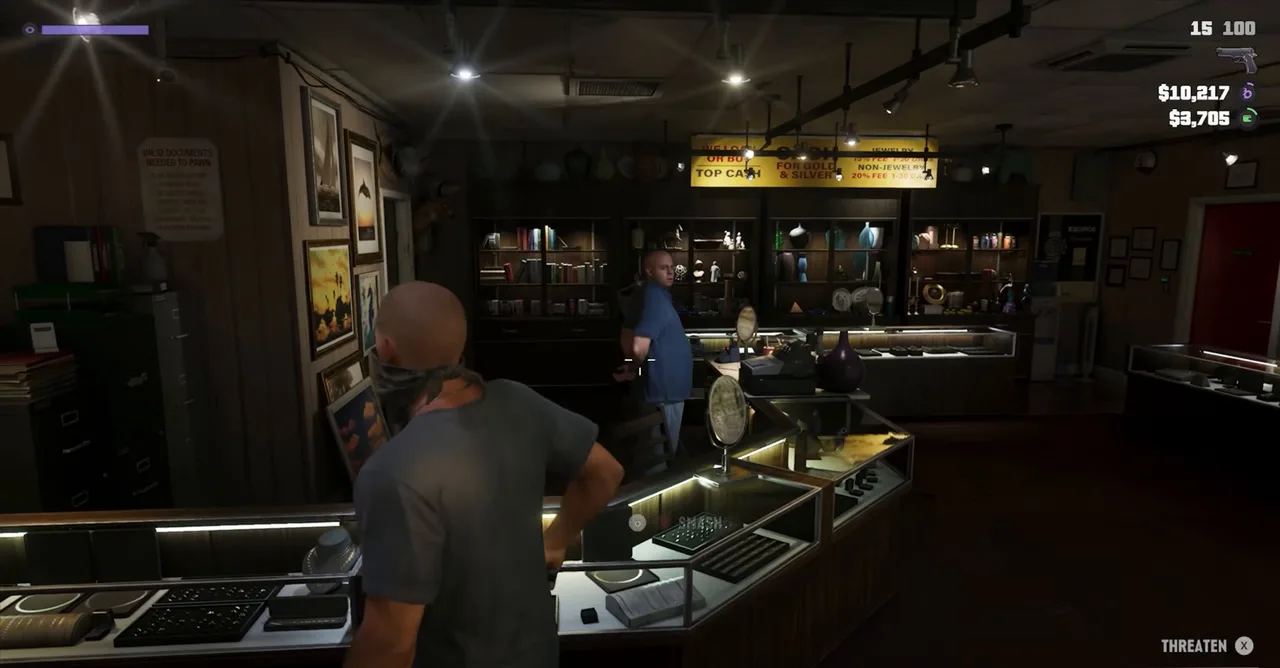 Walking in on the clerk at Buck’s. Footage: Perfect Score.
Work fast. Within a minute his bag was at $1,450, two stars were up, and Lucia was covering the front door.
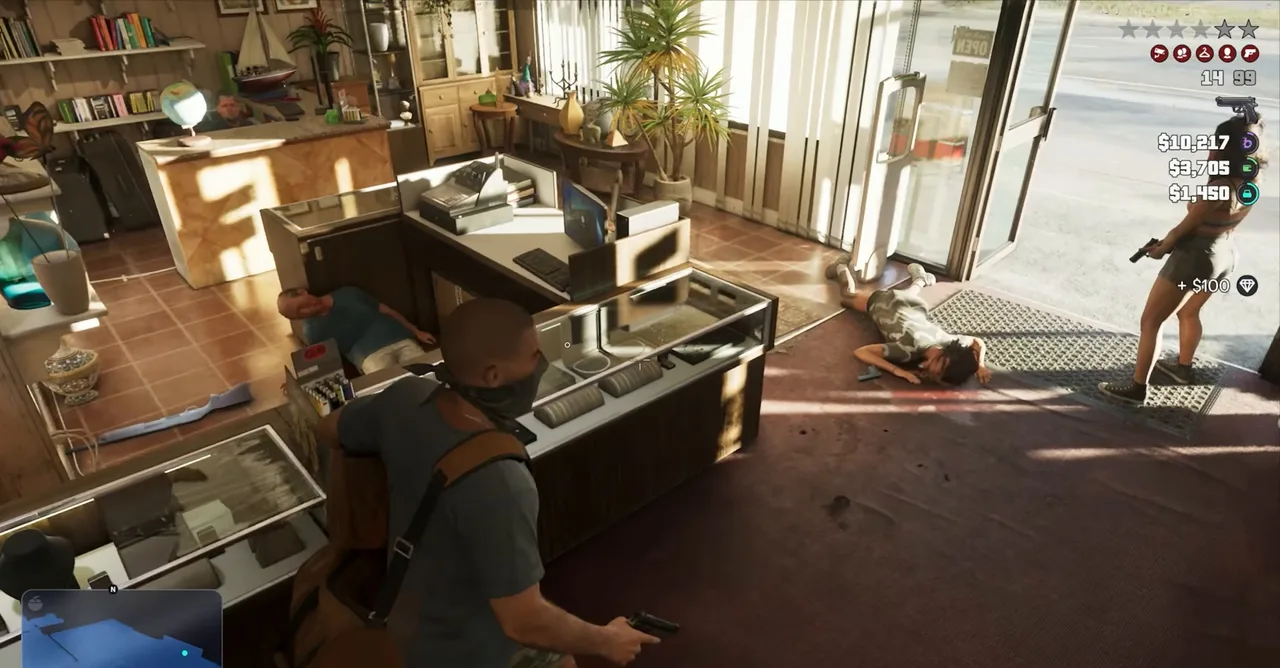 Lucia holds the door while the loot counter climbs. Footage: Perfect Score.
Step 9: Lose the cops out the back (Jason)
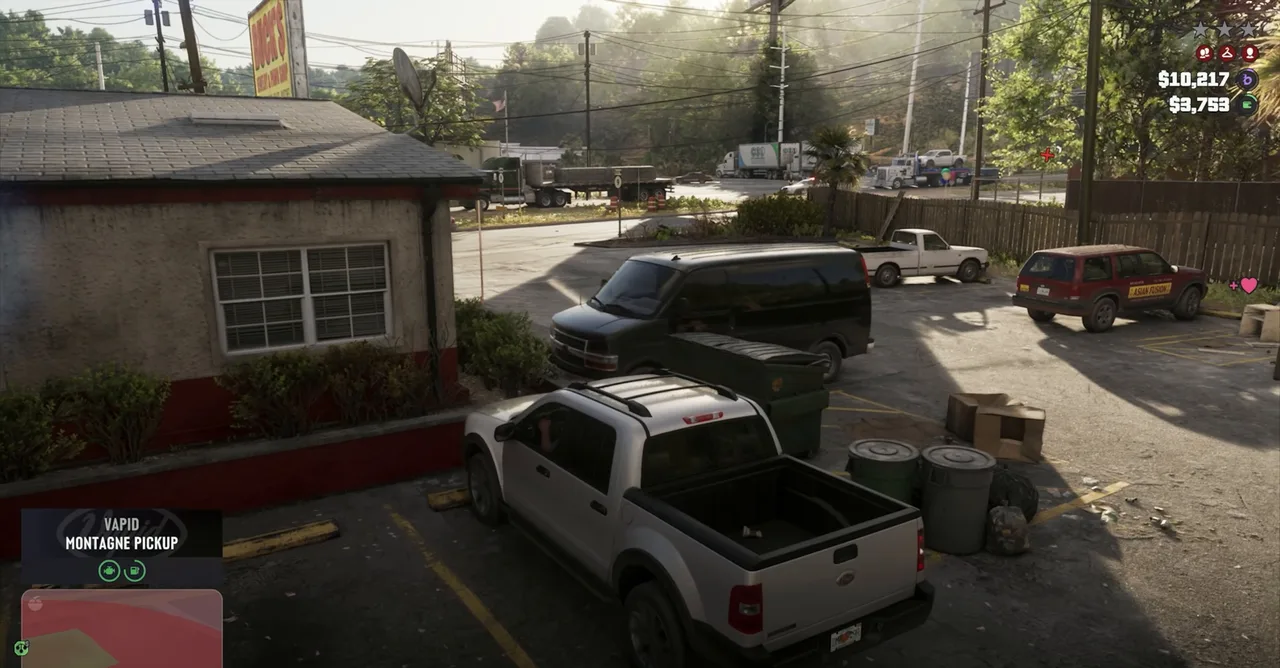
When the sirens arrive, don’t go out the front. Perfect Score slipped out of the rear door into the yard behind Buck’s, took a Vapid Montagne Pickup parked there and drove off past the police cordon on the main road. The stars fade once you’re clear of the search area. Your cash is at risk until you bank it, so head for an ATM.
The getaway pickup behind the shop. Footage: Perfect Score.
Step 10: Deposit your cash at the motel ATM (Jason)
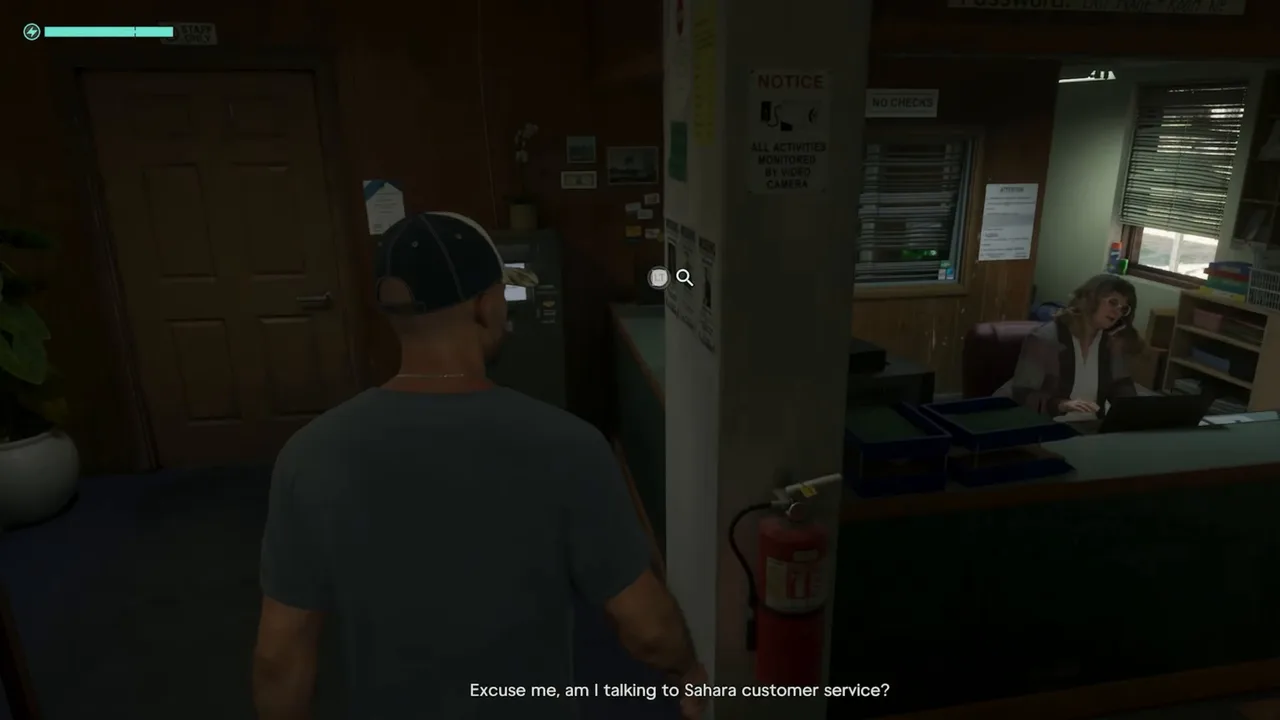
This is the step that finishes the goal for most players. Drive back to the Starlet Motel and walk into the office. Linda is at the desk, losing an argument with Sahara’s customer-service bot. The ATM is on the wall. Choose Deposit, push the amount to Maximum and confirm.
The Starlet Motel office. The ATM is to the left of the counter. Footage: Perfect Score.
By the time Perfect Score reached the machine, another payment had already landed (a fence or job payout arriving late), so his balance was $12,187 with $4,030 in cash.
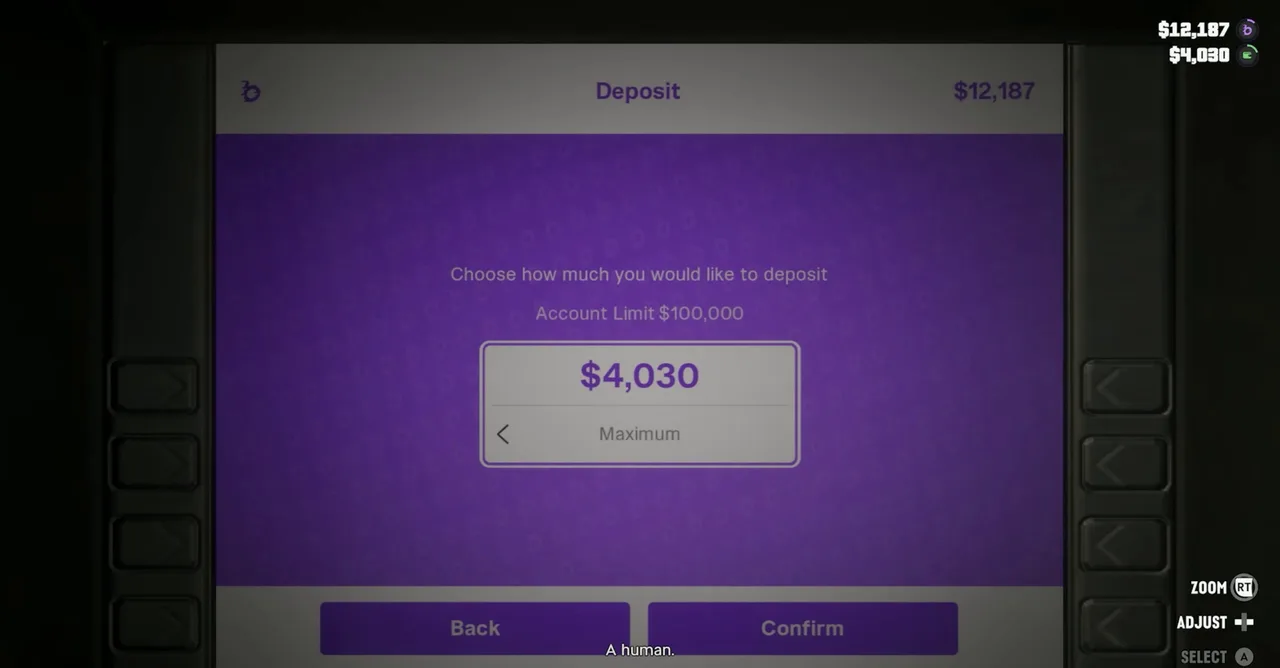 Depositing the lot. The Silver account’s $100,000 limit is shown above the amount. Footage: Perfect Score.
One confirm later the corner read $16,217 in BuckMe and $0 in cash: over the line.
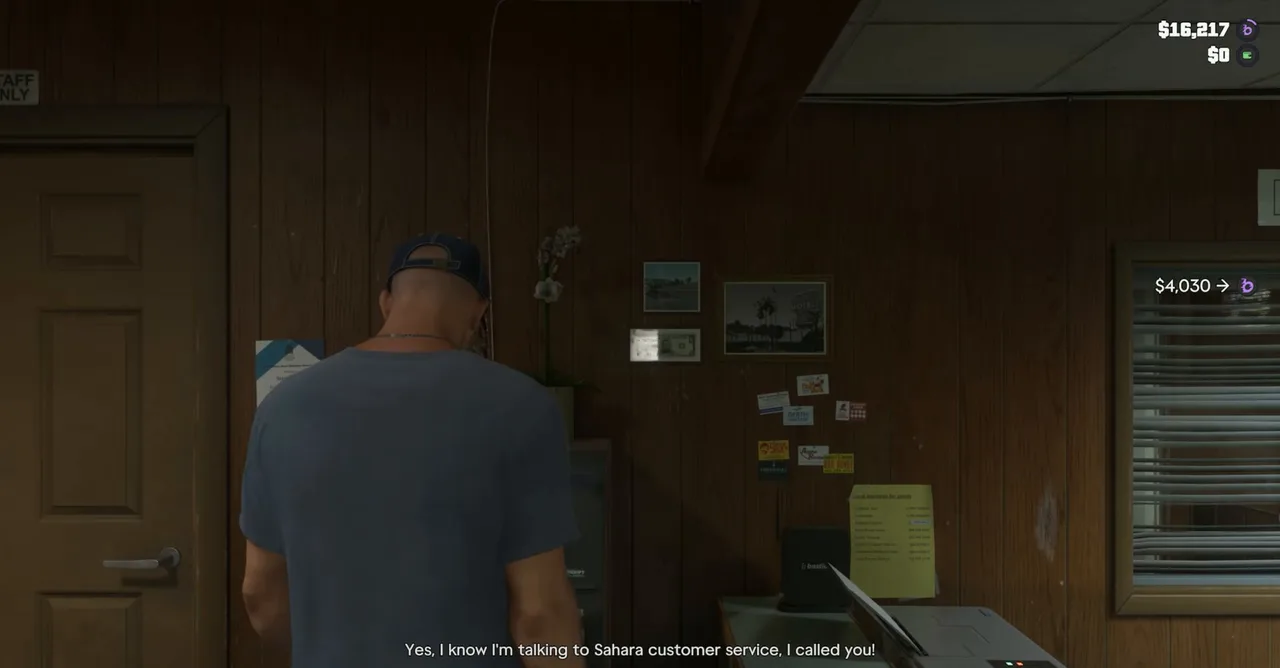 $16,217 in the bank. That’s the goal met. Footage: Perfect Score.
Any ATM works; our map has ten in Port Gellhorn. Show ATMs on the live map.
Step 11: Wait for Cal’s article and the phone call
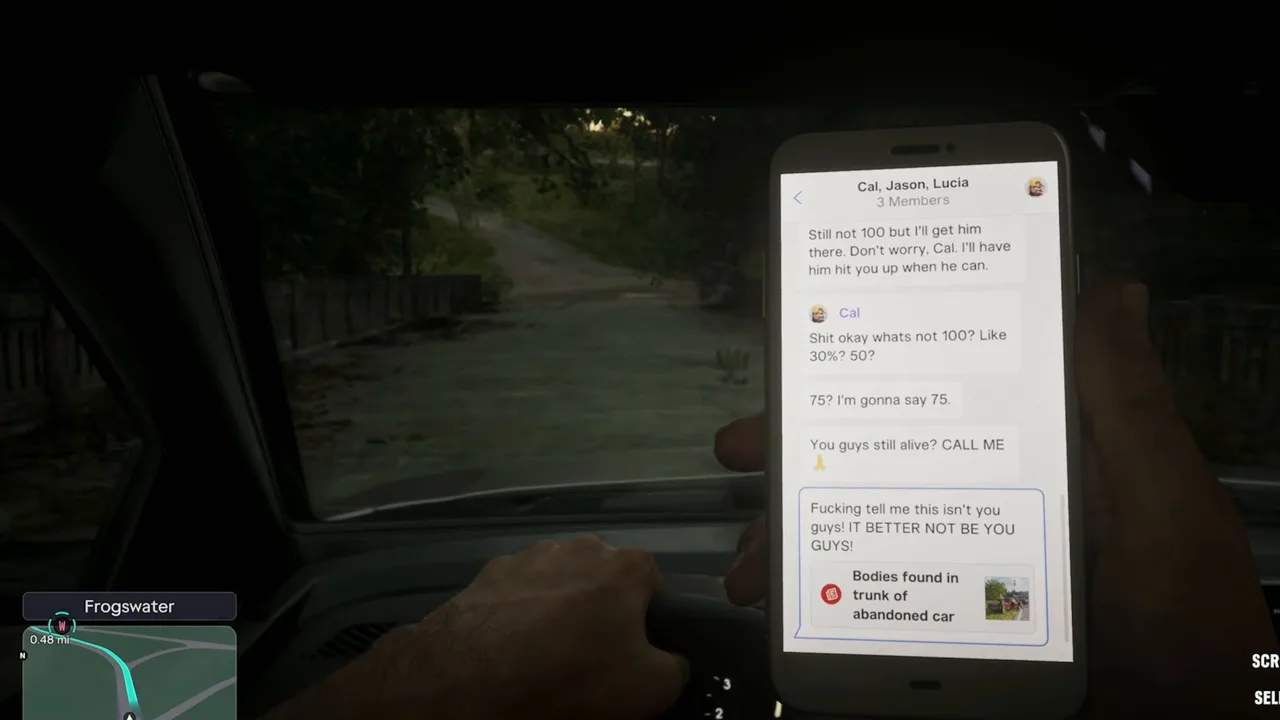
Nothing pops up at the ATM. Perfect Score’s video cuts straight to the drive that comes next, at sunset. On the way, Cal posts a news story to his group chat with Jason and Lucia: a car found abandoned by the freeway with the bodies of a man and a woman in the boot. Cal is scared the dead couple is them. Jason and Lucia talk it over on the phone and agree it’s time to pack up and go. That call is the start of Checking Out (#46), and the motel becomes your next objective.
Cal’s article starts the end of Chapter 2. Footage: Perfect Score.
According to the mission database, this call only comes once you have the money and have finished the other open main missions, so do Afternoon Delight first if the phone stays quiet.
Every job that counts toward the $15,000
| Job | Who | What it pays | Source |
|---|---|---|---|
| Afternoon Delight (#45) | Vicki | $10,000 via BuckMe, next day | Mission database |
| Thrillbillies | Billy, Thrillbilly Mud Club | Up to $2,500 for first, about $625 for third | Mission database |
| Twist Wrist, Smash, Grab | Billy, after Thrillbillies | $2,000 | Mission database |
| Hit Avery Pawn | Lucia’s suggestion | Jewelry and safe; sell to Dunk | Perfect Score’s run |
| Buck’s Jewelry & Pawn | Map target | $500 to $5,000 take (in-game card) | Perfect Score’s run |
| Hit Kingpin Bowling | Lucia’s suggestion | Safe, loot and a unique shotgun | Perfect Score’s run, mission database |
| Untracked cars for Moses | Moses | About $1,000 to $2,000 each | WiLLiSGaming |
| Veteran Hunted | Bret (Jason only) | $500 via BuckMe | Mission database |
| Help Kirk Find Mr. Mangrove | Kirk (Lucia, night only) | $10,000 if you shoot Mr. Mangrove | Our Kirk guide |
| Impounded Vehicle | Lucia’s car | No cash; you get the car back | Mission database |
If you’ve already done everything, store stick-ups and smash ‘n’ grabs fill the gap. The map lists both under Targets, next to Dunk’s Robbery Tips.
Why the goal won’t complete
- Your money is in your pocket. The counter ignores cash. Deposit it at any ATM.
- Your loot hasn’t been sold. Bags of jewelry count for nothing until Dunk (or another fence) pays, and that payment can take a while.
- You moved money into Family Savings. Perfect Score set up a $4,600 “Buck Yourself” transfer early on, taking savings to $9,600. His checking balance, and with it the counter, dropped. Savings can’t be withdrawn, so finish this goal first.
- You spent it. Armour, ammo, sticky bombs and repairs come out of BuckMe when you’re out of cash, and the counter falls with them.
- Afternoon Delight isn’t done. The $15,000 alone doesn’t seem to be enough; Checking Out waits for the other main missions too.
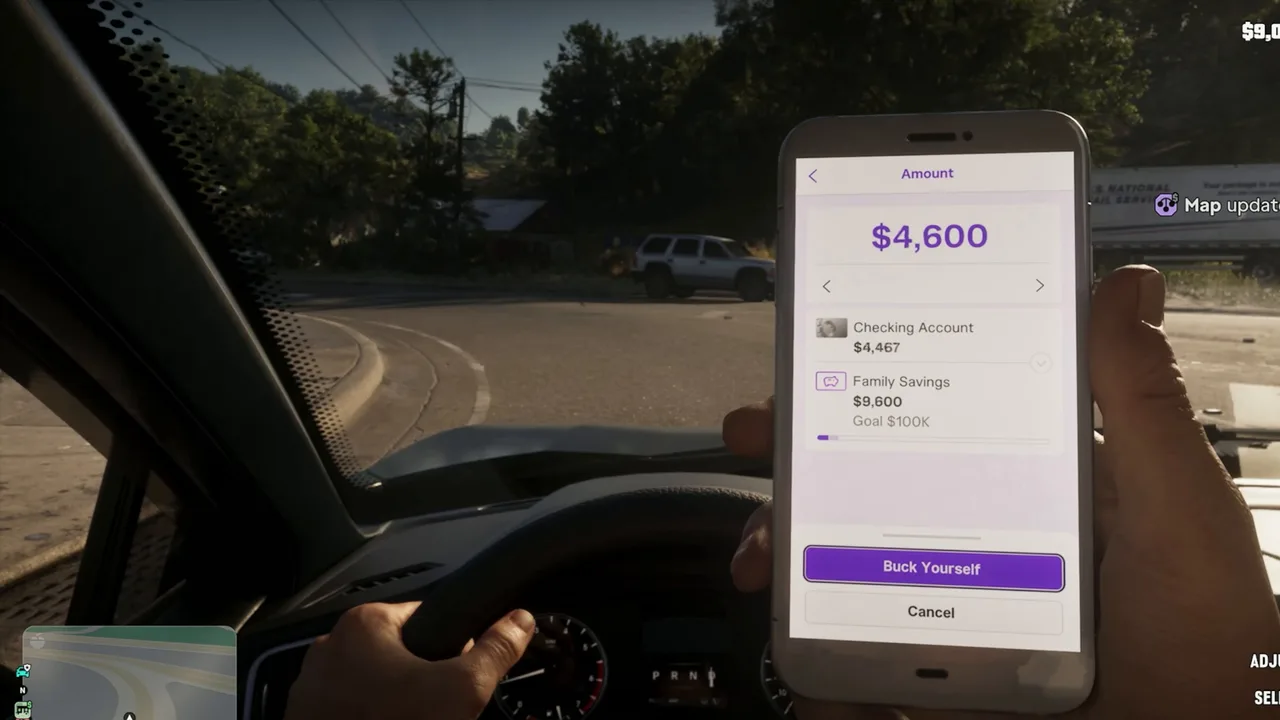 A Family Savings transfer. Money moved here no longer counts toward Vice City. Footage: Perfect Score.
Rewards
- No payout of its own. Every dollar you make along the way is yours, and it comes to Vice City with you.
- Checking Out (#46) unlocks, the final mission of Chapter 2.
- No trophy. It counts toward 100% completion.
Tips
- Bank after every job. You’ll be carrying robbery cash around Port Gellhorn with the police on you, and pocket money is lost if you go down.
- Do Afternoon Delight early. Its $10,000 covers two-thirds of the goal by itself.
- Take Lucia on robberies. Two people carry two bags each, and she can cover the door while you clear the cases.
- Finish Port Gellhorn first. Checking Out ends Chapter 2 and you leave the motel for good, so do Billy’s races, Bret’s hunt and anything else you want here before the money crosses $15,000.
Related guides
- Previous mission: Coffee Break (#43). Next: Afternoon Delight (#45) and Checking Out (#46). See all GTA 6 missions.
- Breakfast Run: the day of stick-ups that got Lucia’s car impounded.
- Steal Vehicles for Moses: what Moses buys, and why he turns cars down.
- GTA 6 money guide: BuckMe, Family Savings, fences and every early earner.
- Buck Me: how the BuckMe account works and why cash is risky.
- Characters guide: who Dre’Quan is.
Frequently Asked Questions
How do you complete Prepare for Vice City in GTA 6?
Get the balance of your BuckMe checking account to $15,000 or more and finish Afternoon Delight. Cash in your pocket doesn't count, so deposit it at an ATM. A while later Cal sends a news article, Jason and Lucia talk it over on the phone, and Checking Out starts at the Starlet Motel.
Does cash count towards the $15,000 in GTA 6?
No. The goal counter on the pause map matched the BuckMe checking balance exactly in Perfect Score's run and ignored the $3,705 he had in cash. Loot bags only count once a fence pays for them.
Does Family Savings count for Prepare for Vice City?
It doesn't look like it. Perfect Score had $9,600 in Family Savings, yet his counter showed only his $10,217 checking balance. Hold off on Buck Yourself transfers until the goal is done.
What is the fastest way to make $15,000 in Chapter 2?
Afternoon Delight pays $10,000 on its own, according to the mission database. Add a pawn shop or two (Avery Pawn and Buck's Jewelry & Pawn), the Kingpin Bowling safe, a few untracked cars for Moses and Billy's races, and you're there.
Is Prepare for Vice City missable?
No. It stays in the story list until you have the money, and Chapter 2 can't end without it. It's also required for 100% completion.
What comes after Prepare for Vice City?
Checking Out (#46), the last mission of Chapter 2. It's a point of no return: you leave the Starlet Motel for good, so finish any Port Gellhorn jobs you care about first.
Sources & Credits
Researched from these videos and official material, among others. Screenshots credit the creator whose footage they come from.
- GTA 6 Gameplay Walkthrough Full Chapter 2: Paradise Lost (No Commentary) · Perfect Score
- GTA 6 FAST CASH Method! Do This ASAP! · WiLLiSGaming