Jump to your step
Twist Wrist, Smash, Grab: quick facts
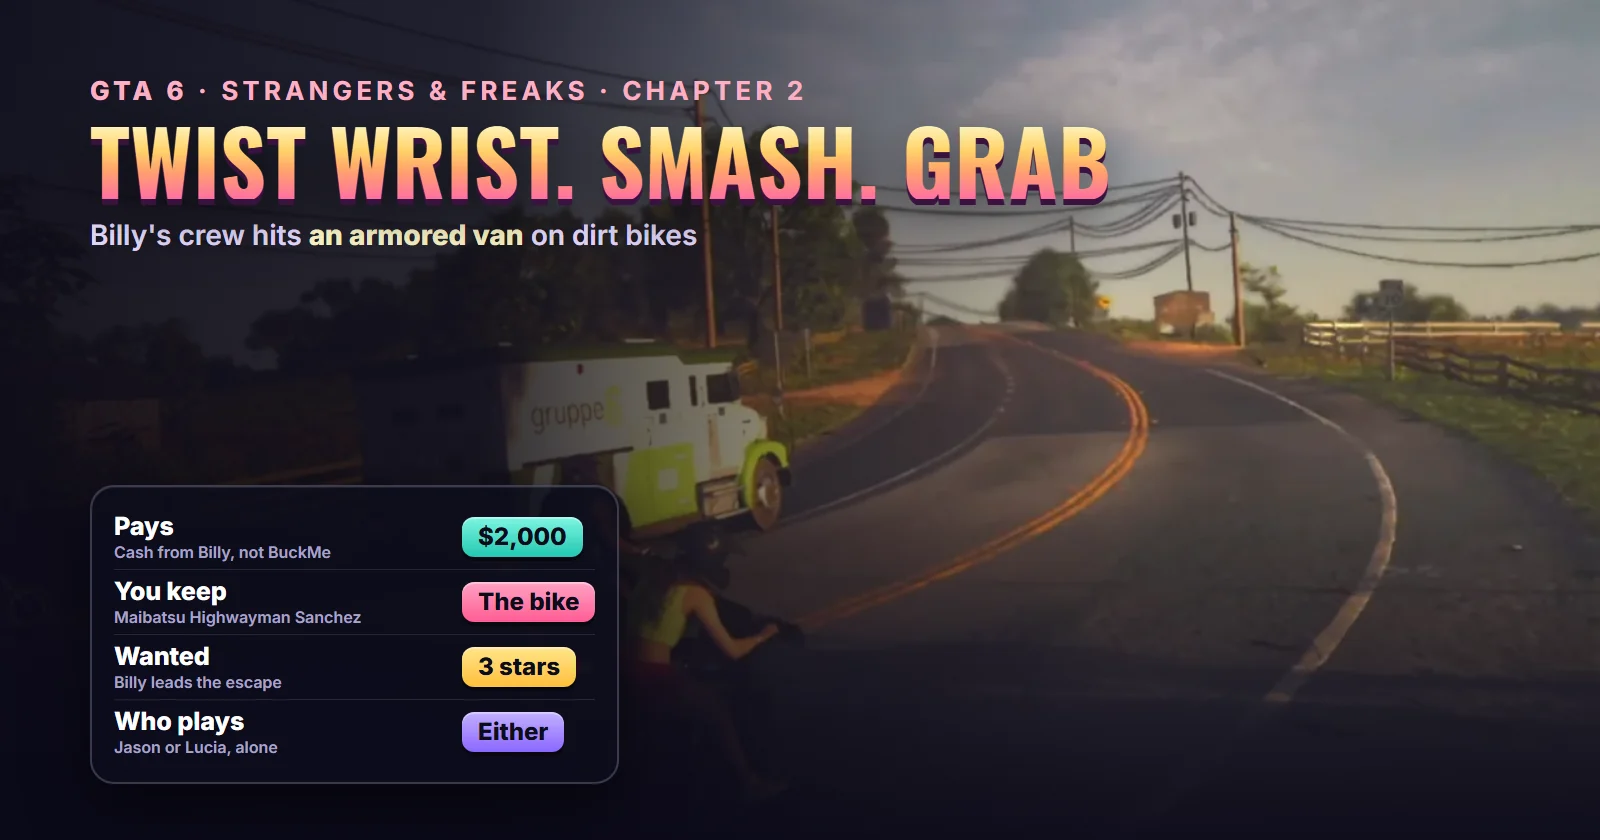
| Mission | Twist Wrist, Smash, Grab (map card: Join Billy on a Job), optional Chapter 2 job |
| Type | Strangers & Freaks, Billy’s second of five jobs |
| Chapter | Chapter 2 (Paradise Lost) |
| You play | Jason or Lucia, alone. The partner stays behind |
| Given by | Billy, by text after Thrillbillies |
| Where it starts | A bench outside a locksmith on a run-down strip in Port Gellhorn |
| Unlocks after | Thrillbillies |
| Unlocks next | Mall Rats (Chapter 3). Counts toward Prepare for Vice City |
| Length | About 8 minutes from the bench |
| Wanted level | Three stars after the robbery |
| Reward | $2,000 cash and the Maibatsu Highwayman Sanchez |
| Trophy | None |
| Required for 100% | Yes, according to gtabase (sources disagree, see Rewards) |
Mission briefing The story so far, how to unlock it, where it starts, who's who and how this guide was made. Contains spoilers for the end of Chapter 1.
The story so far (spoilers for the end of Chapter 1)
Spoiler for the end of Chapter 1: the job Jason and Lucia were set up for went bad. Jason was shot, Lucia got him out of Vice City Hospital, and the two of them have been lying low in a room at the Starlet Motel in Port Gellhorn with a bag they can’t make sense of yet.
Chapter 2 is about scraping together enough money to go back to Vice City. In Thrillbillies, Wyman from the motel took the couple to the Thrillbilly Mud Club, they raced Billy’s crew, and Billy said he had work coming up that wasn’t delivering pizzas. This is that work.
How to unlock Twist Wrist, Smash, Grab
Finish Thrillbillies. According to the mission database, Billy texts you a few in-game hours later. The job then shows on the pause map as Join Billy on a Job, and the card says Billy, the dirt racer from the mud club, is planning a job and needs one more rider for his crew.
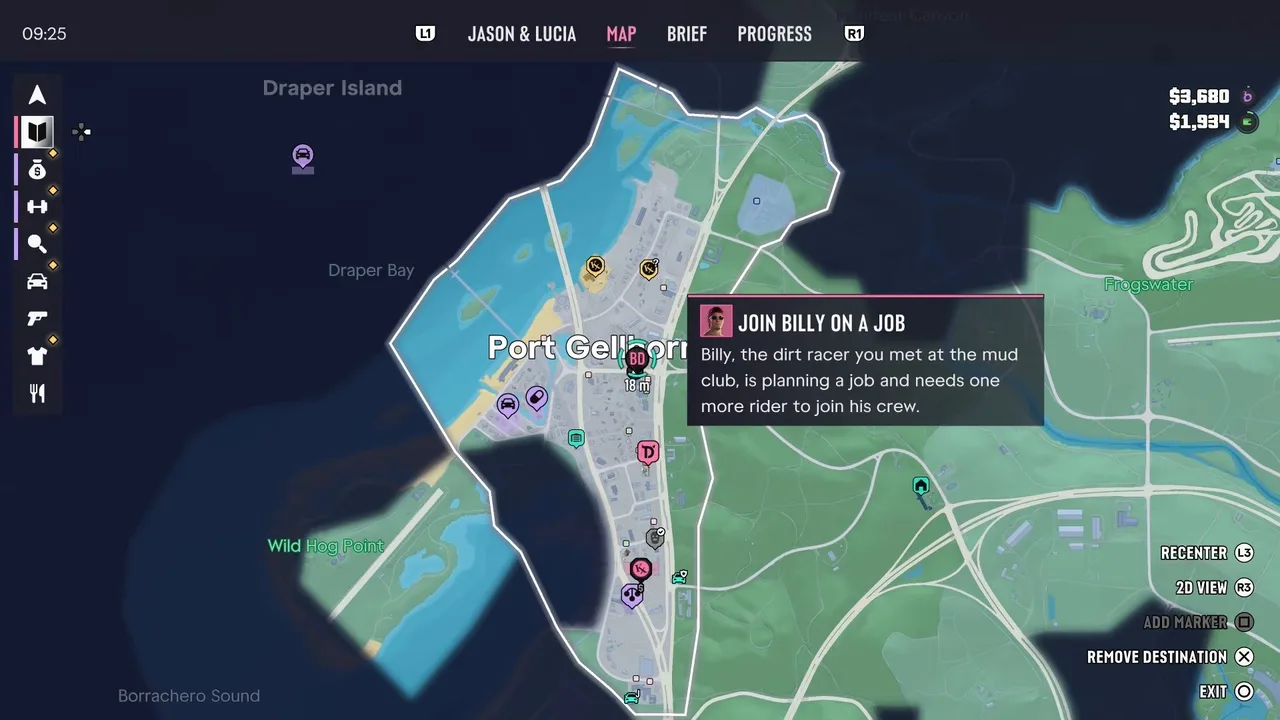 The job on the pause map, in Port Gellhorn. Footage: PerfectParadox.
There’s no timer. You can leave it on the map while you do the other Chapter 2 jobs, but it pays out in cash quickly and counts toward your Vice City savings.
Where it starts
The marker sits on the edge of Port Gellhorn by the highway junction, where the signs point to routes 183 and 404 and the big cable-stayed bridge is in view. Look for a run-down strip with a green-roofed locksmith, a pair of yellow and blue clothing donation bins and a wooden bench under some graffiti. Walk up to the bench to start. See the Twist Wrist, Smash, Grab start on the live map · Billy’s places on the live map. According to our map, one of his four spots is in Port Gellhorn.
Who’s who
- Billy: the pink-haired leader of the dirt bike crew, covered in tattoos, with a chain necklace and tinted shades. He picks you up with his bikes on a trailer.
- EJ: the crew member who was always crashing at the mud club. Here he’s on day two of a bender, and he vanishes after the robbery.
- Ricky: Billy’s oldest friend. The subtitles call him Ricardo at the end. He’s the one with the fire idea.
- Brittney and Ian: the other riders on the job. Brittney sticks with Billy at the van and ends up calling EJ.
About this guide
The walkthrough follows two full runs. PerfectParadox played as Jason (Lucia drives him to the bench and he asks to handle it alone) with speaker names switched on in the subtitles, which is where the crew’s names come from. LevizLife played as Lucia at golden hour on Series S. The steps, objectives and payout match between them.
Step 1: Sit at the bench and meet Billy
Head to the bench outside the locksmith. In PerfectParadox’s run, Lucia rode Jason there on a quad and he asked whether she minded if he handled this one himself. She didn’t, and rode off. In LevizLife’s run, Lucia simply went on her own. Either way, only one of the couple takes part.
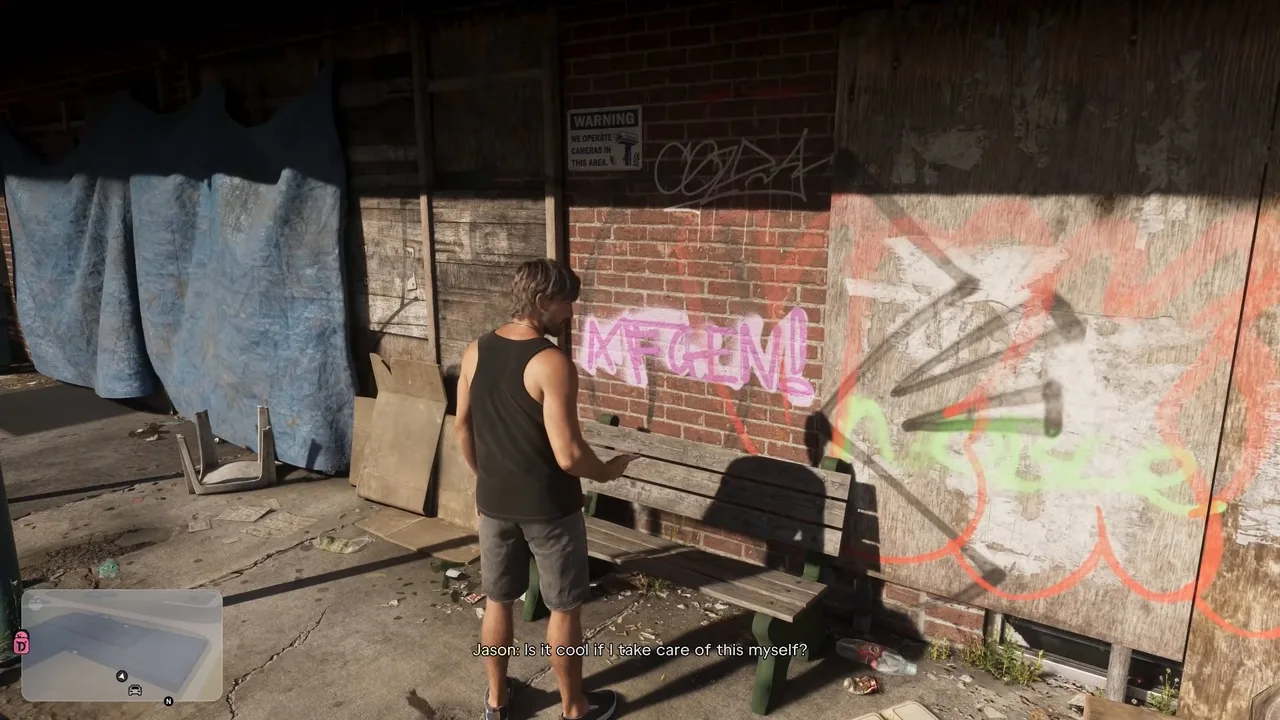 The bench where Billy picks you up. Footage: PerfectParadox.
Interact with the bench and Billy pulls up in a beige Rebel 4x4 pickup towing a trailer with two dirt bikes on it. The TWIST WRIST, SMASH, GRAB title appears in the corner. Billy’s pitch is short: an armored car, a simple smash and grab, and he reckons the money is easy. The rest of the crew is already in position.
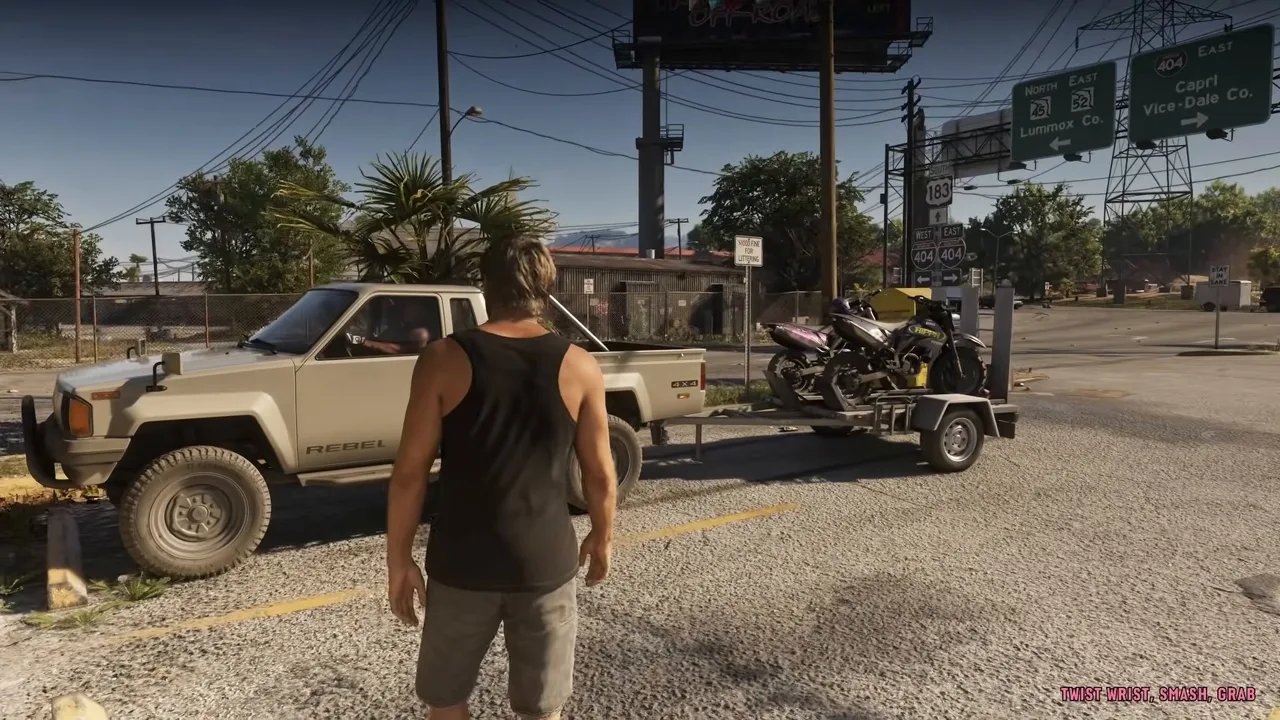 Billy arrives with the bikes. Footage: PerfectParadox.
Step 2: Get on the Highwayman Sanchez
Billy rolls a bike down the ramp for you. The objective reads Get on the dirt bike. It’s a Maibatsu Highwayman Sanchez, a black and purple race bike with the number 47, and Billy tells you it’s yours.
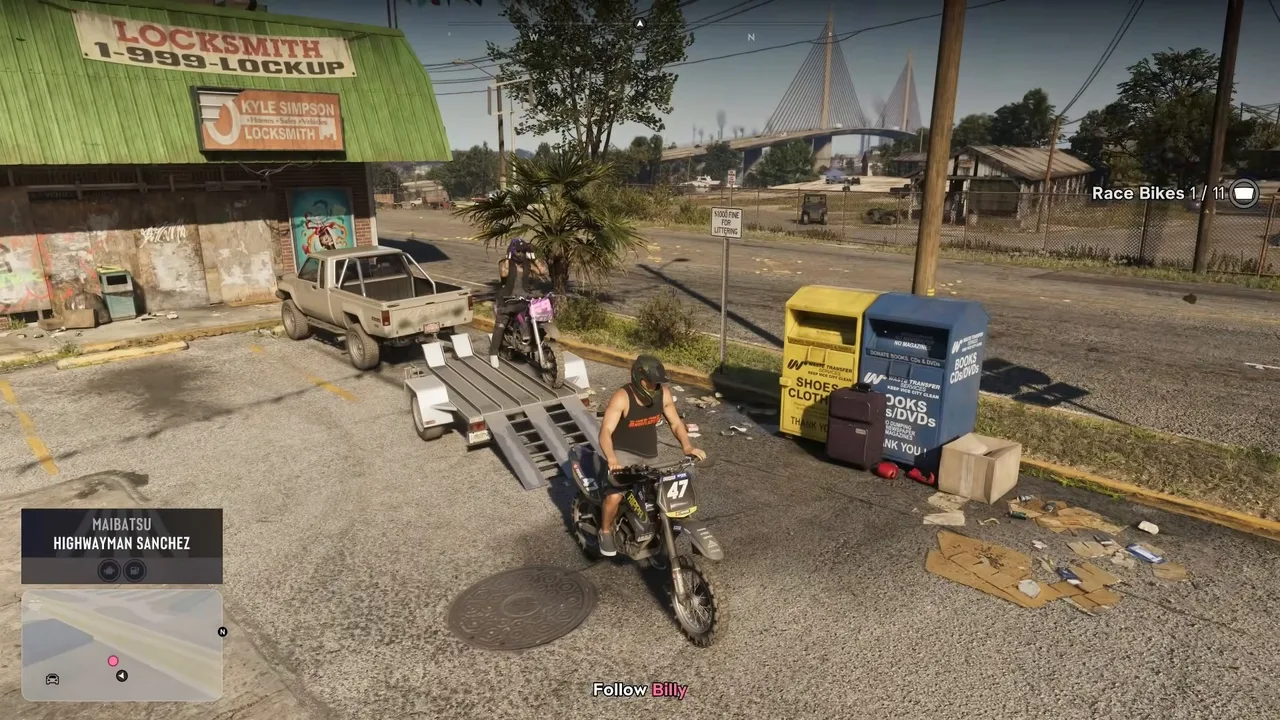 The Highwayman Sanchez. A Race Bikes 1/11 counter pops up as you climb on. Footage: PerfectParadox.
When you get on, a Race Bikes 1/11 counter flashes in the top corner, so the bike seems to count toward a collection of race bikes. We haven’t seen what finishing that collection gives you.
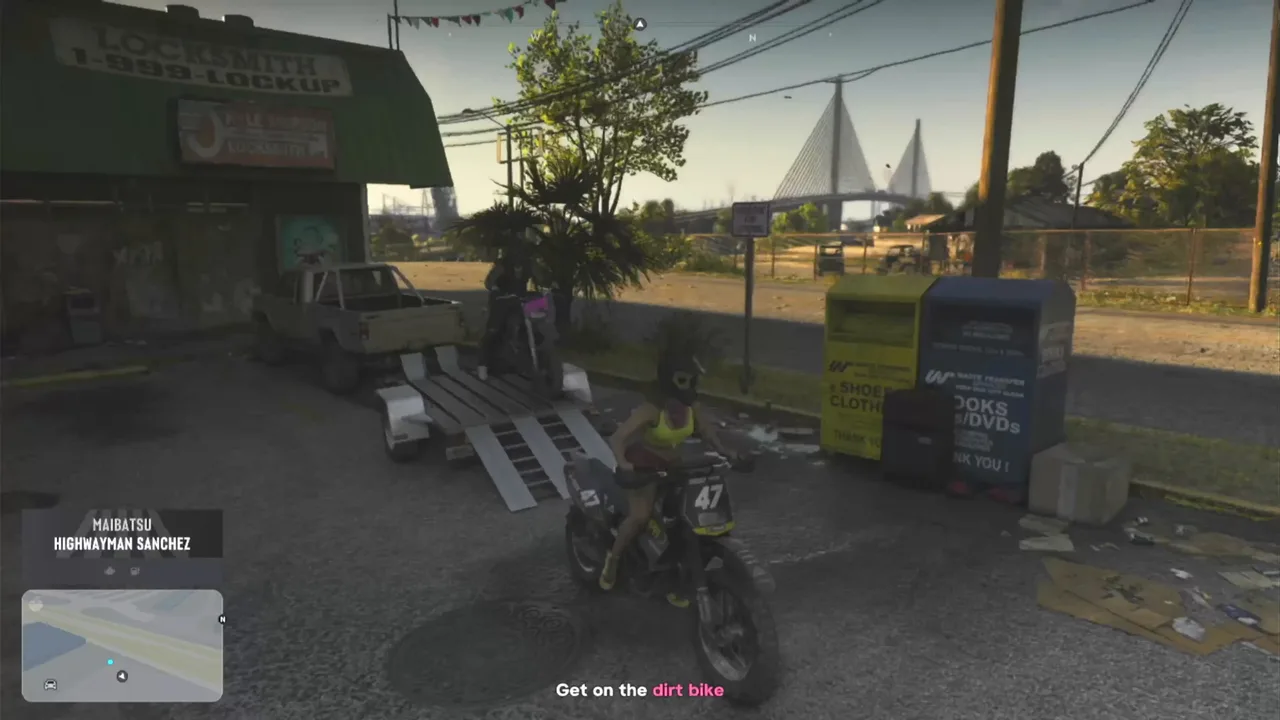 The same moment as Lucia. Footage: LevizLife.
Step 3: Follow Billy out of town
The objective changes to Follow Billy. He rides through the junction and quickly tells you to get off the asphalt and stay close. From there it’s a cross-country run through long grass and dirt tracks.
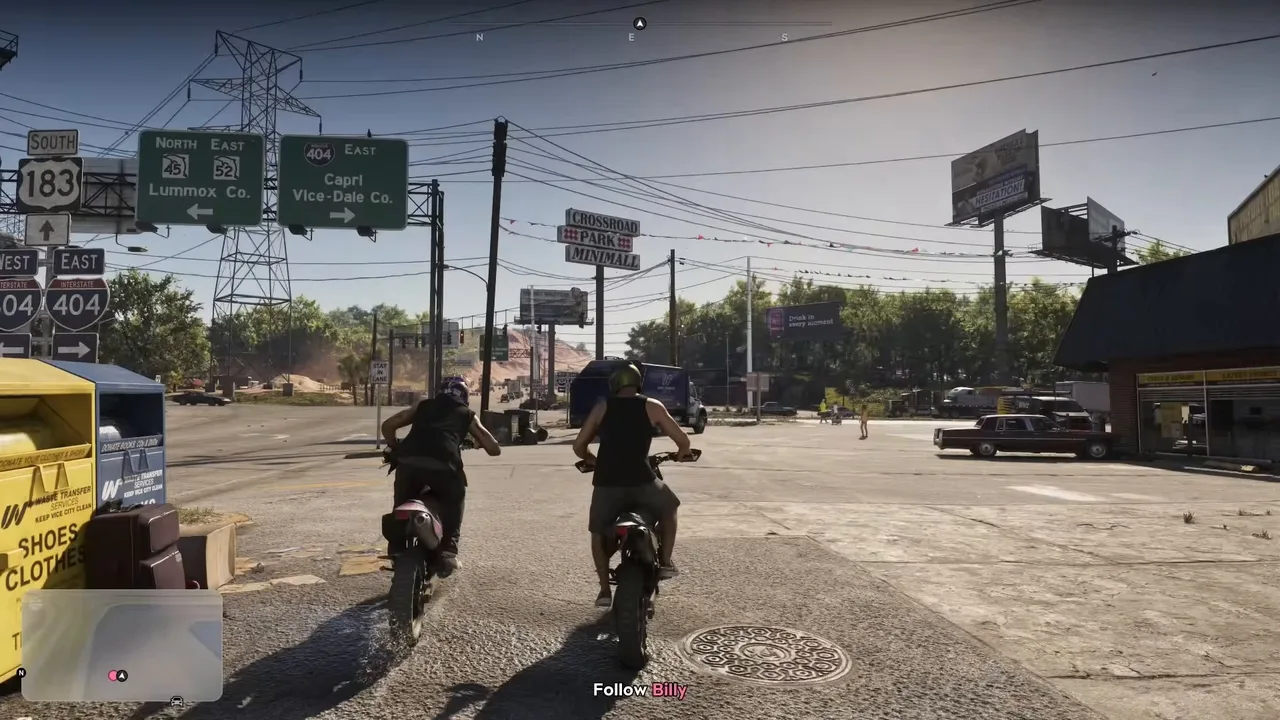 Leaving Port Gellhorn behind Billy. Footage: PerfectParadox.
On the way, you ask why Billy needs you if the job is so easy. He says he wants to see if you can ride, and admits he’s still a mess from the night before. He stops above a road near a roadside stand with a giant orange on a pole and tells you to park on the far side of the billboard. Pull up next to him and wait.
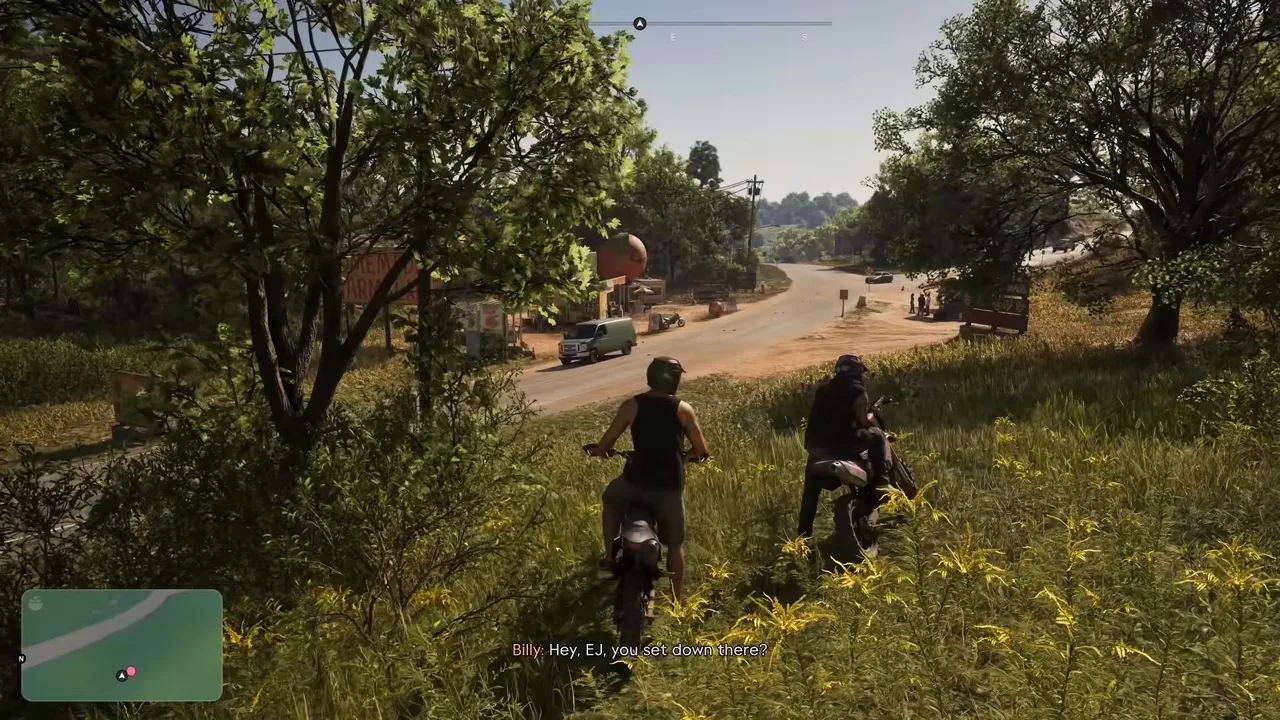 Waiting behind the billboard. EJ’s bike is here; EJ is down by the road. Footage: PerfectParadox.
EJ’s bike is parked by the billboard, and Billy shouts down to check he’s in place. Then he spots the van. When he says “there she is”, ride out after him.
Step 4: Join the crew and catch the van
The crew forms up on the road behind you: EJ, still awake from the night before, plus Ricky, Brittney and Ian. Keep riding with the pack. Signs on the way show Route 32 East toward Emerald Springs, then Route 70 East.
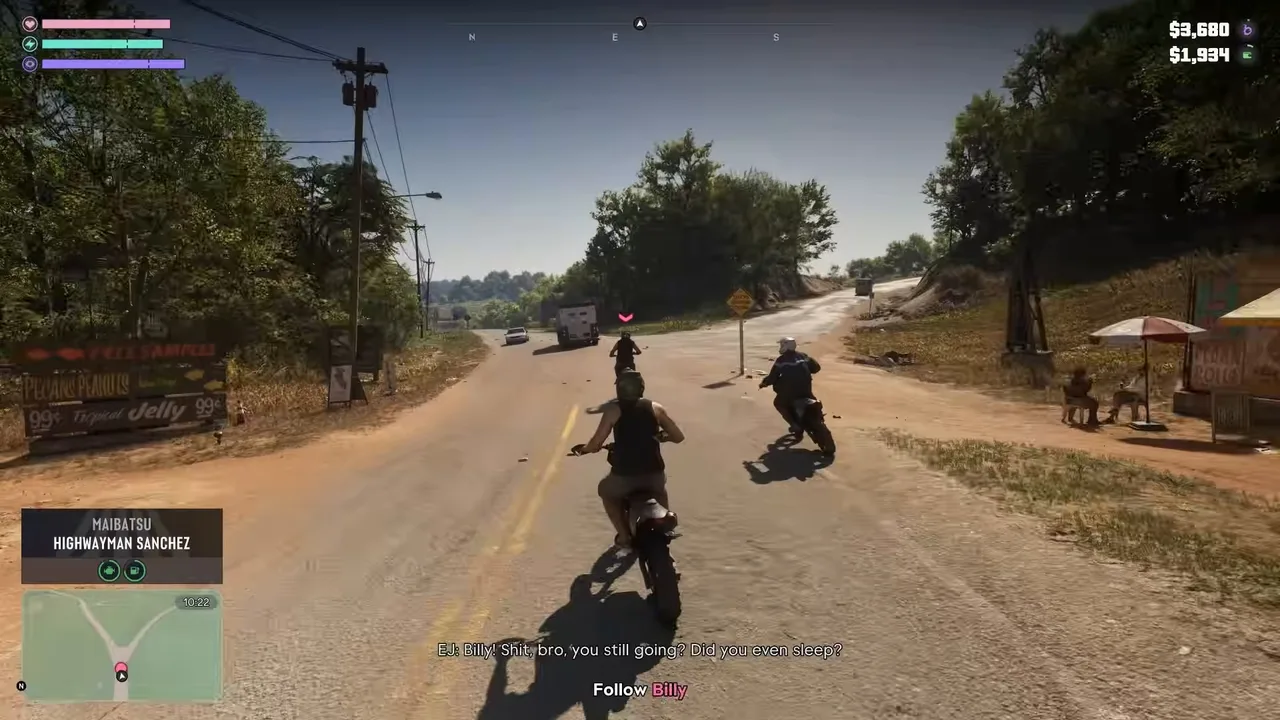 EJ and the rest of the crew join up behind the van. Footage: PerfectParadox.
Billy tries the polite version first. He pulls alongside and tells the driver his shift’s over early and to stop the truck. The driver refuses and swerves at the bikes, and Ian remarks that the guy must really love his job.
Step 5: Stop the armored van
Billy’s next instruction is to light him up, and the objective becomes Stop the armored van. The target is a green and white Gruppe 6 armored truck. You can shoot from the bike: Jason used a pistol, and Lucia had a Wortham W-10 micro SMG out.
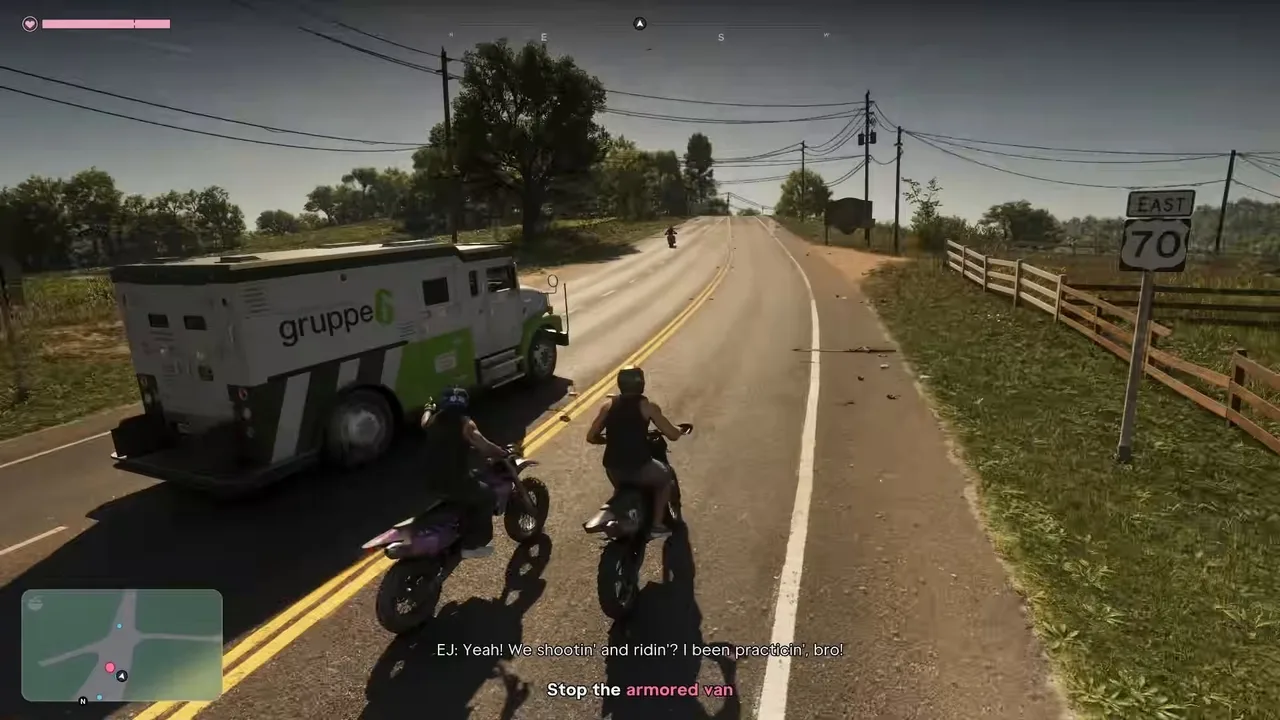 Riding alongside the Gruppe 6 van. Footage: PerfectParadox.
The bullets don’t stop it. Billy asks if anyone has a better idea, and Ricky does: set something on fire. Billy tells him to go for it, and a moment later the van runs off the road and crashes into the trees.
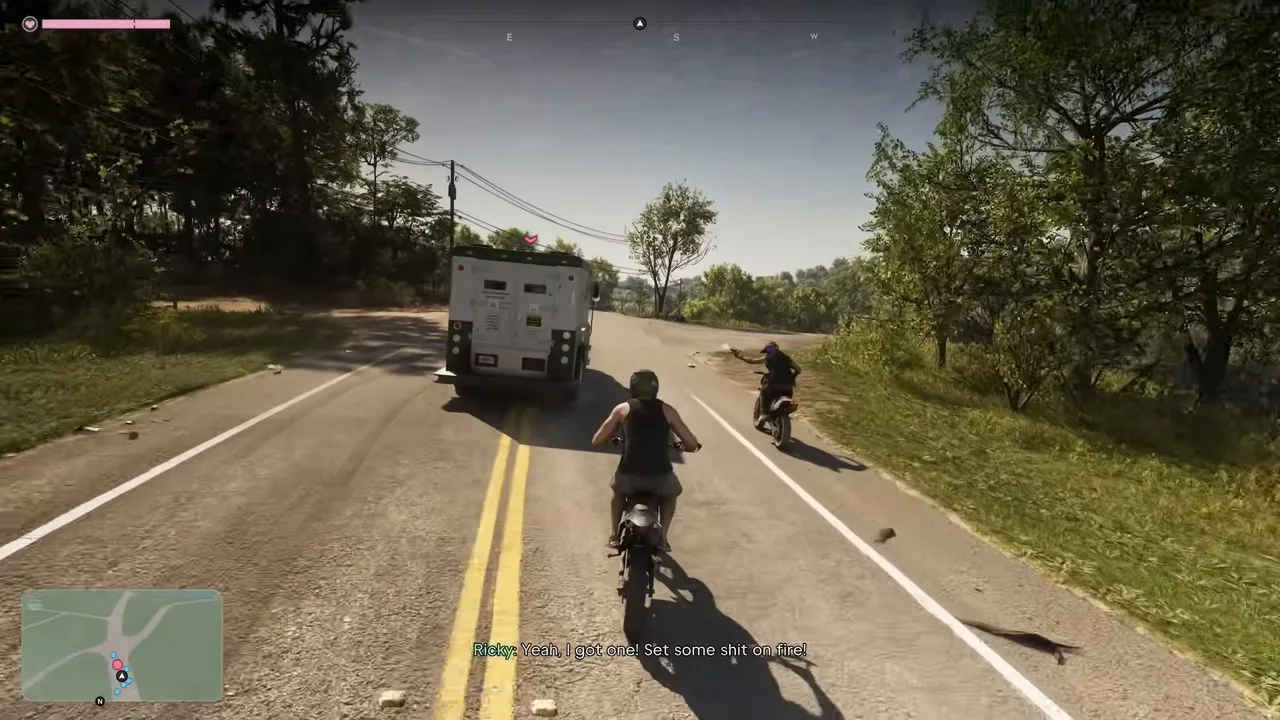 Ricky’s idea is what actually stops the van. Footage: PerfectParadox.
Tip: the mission database says the van crashes on its own and you don’t need to shoot at all. Both runs did shoot, but the crash only came after Ricky’s move. If you’re struggling to aim, just stay on the bike and keep up.
Step 6: Go to the crash site and blow the rear doors
The objective reads Go to the crash site. Billy splits the crew: Brittney and the new rider (you) stay with him, and everyone else goes ahead to the meeting spot. He adds that one of them had better have something he can smoke, and Ricky promises he does.
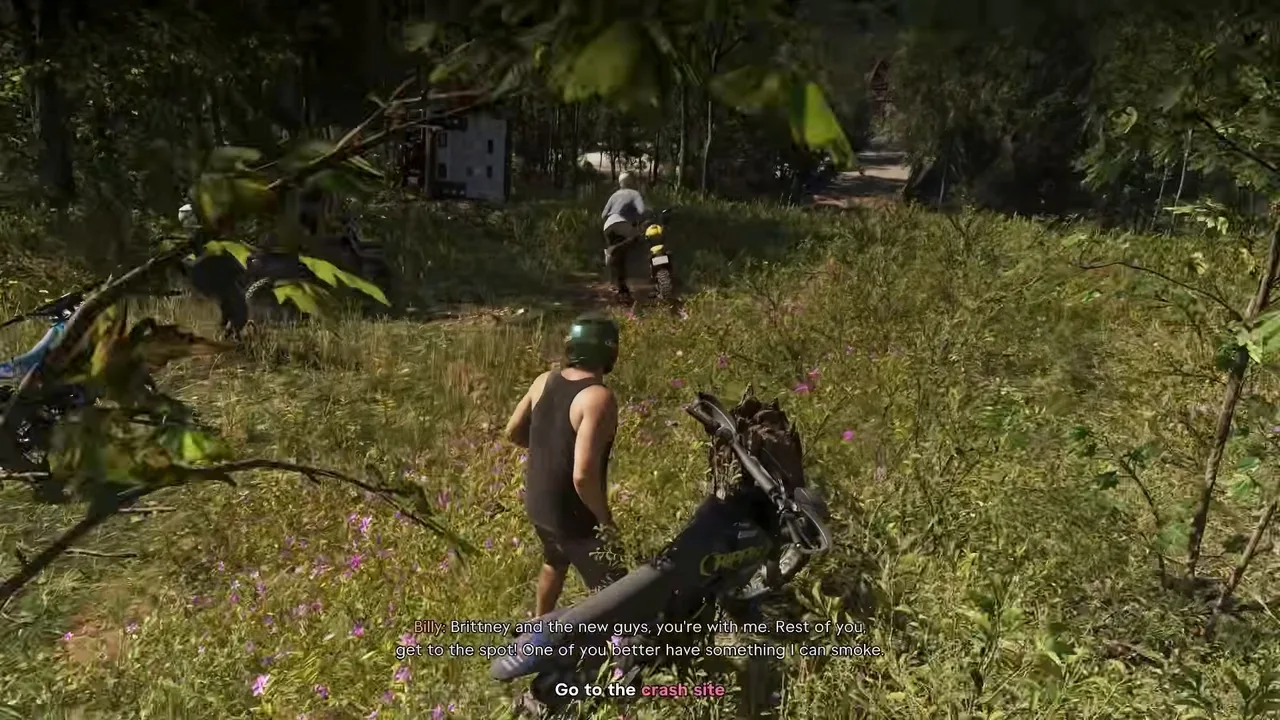 Ditch the bike and walk down to the van. Footage: PerfectParadox.
The van is lying on its side in the trees. Walk around to the back. The objective becomes Plant a bomb on the rear doors, and an Explosives counter appears with a Sticky Bomb selected. Stick it on the doors.
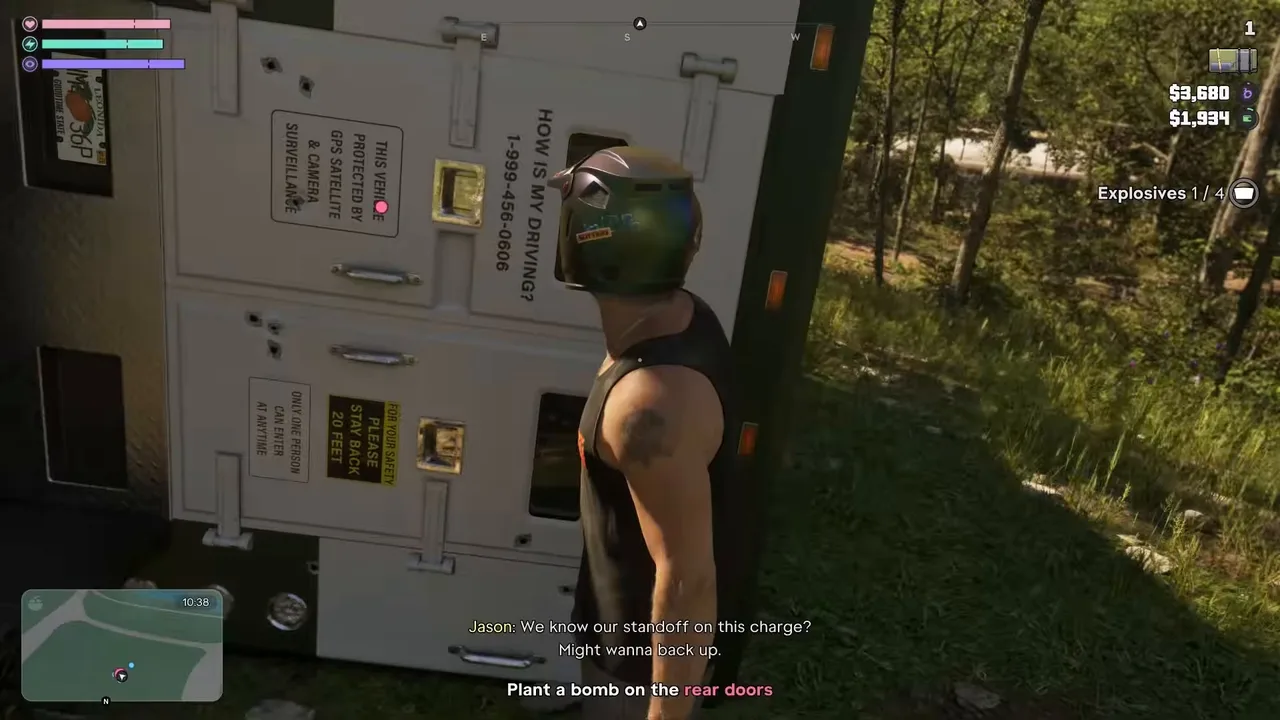 The rear doors. The Explosives counter shows the sticky bomb is ready. Footage: PerfectParadox.
Then back off. The objective changes to Detonate the bomb, with a Detonate prompt in the corner. The bomb blinks red on the doors; trigger it once you’re clear.
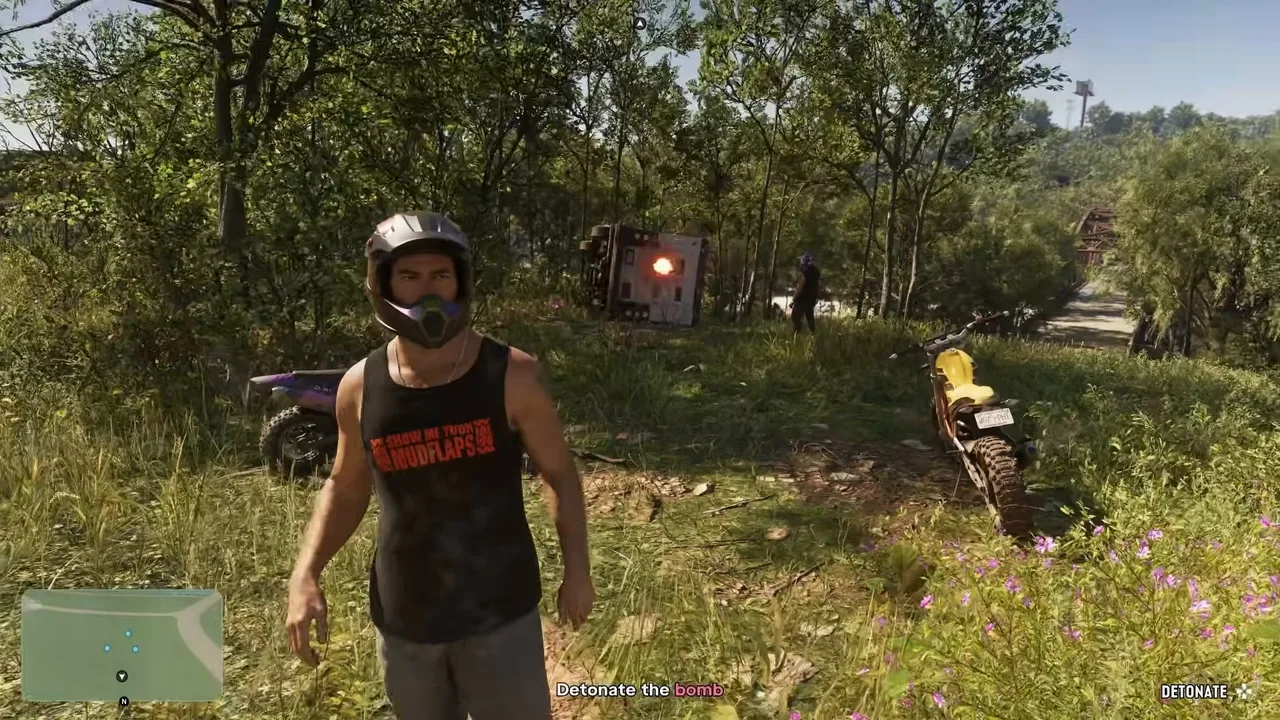 Stand back before you set it off. Footage: PerfectParadox.
Step 7: Handle the guard and grab the bag
The blast blows the doors off, and the guard inside climbs out dazed. The objective is Handle the security guard. Aim at him and you get Defuse and Threaten prompts, like the staff in a store robbery. Billy wants you to keep your gun on him while he gets the money.
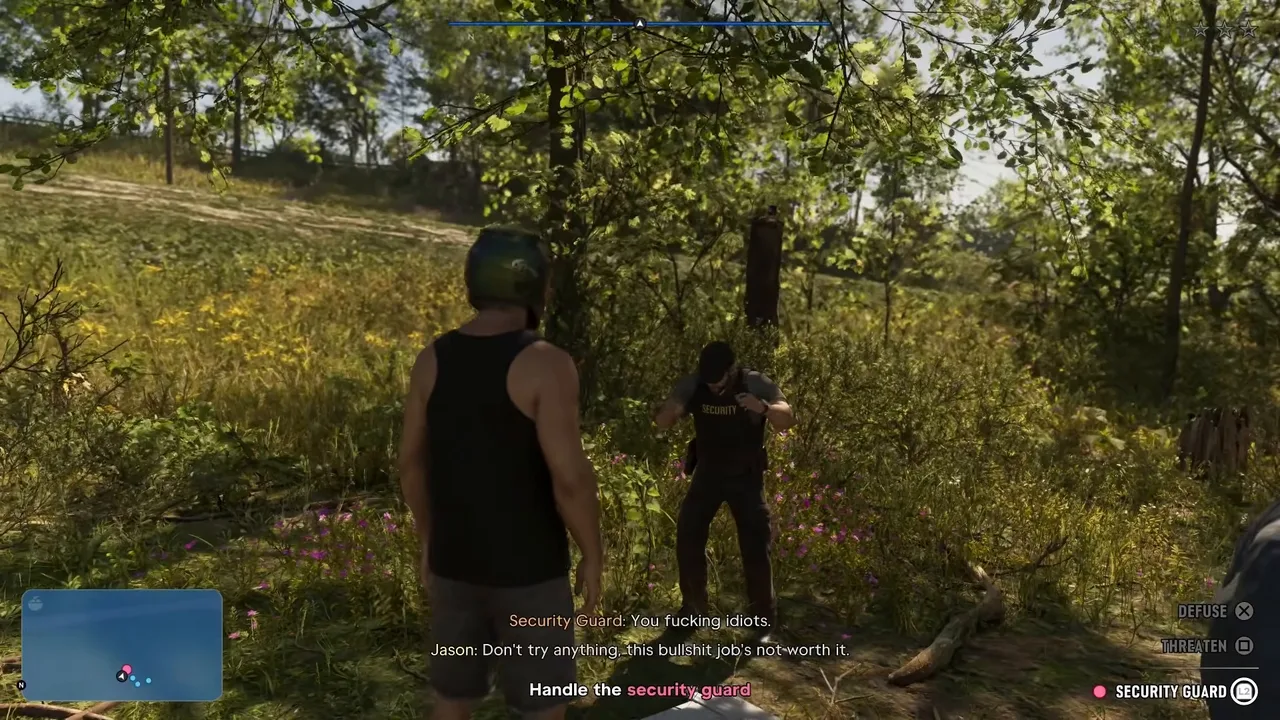 Keep the guard covered. Footage: PerfectParadox.
Both runs kept him covered without shooting him. According to the mission database, you can also knock him out or just leave him be. Next is Pick up the bag: Billy shouts “jackpot” and shares out the bags, one for him and one for you, lying by the doors.
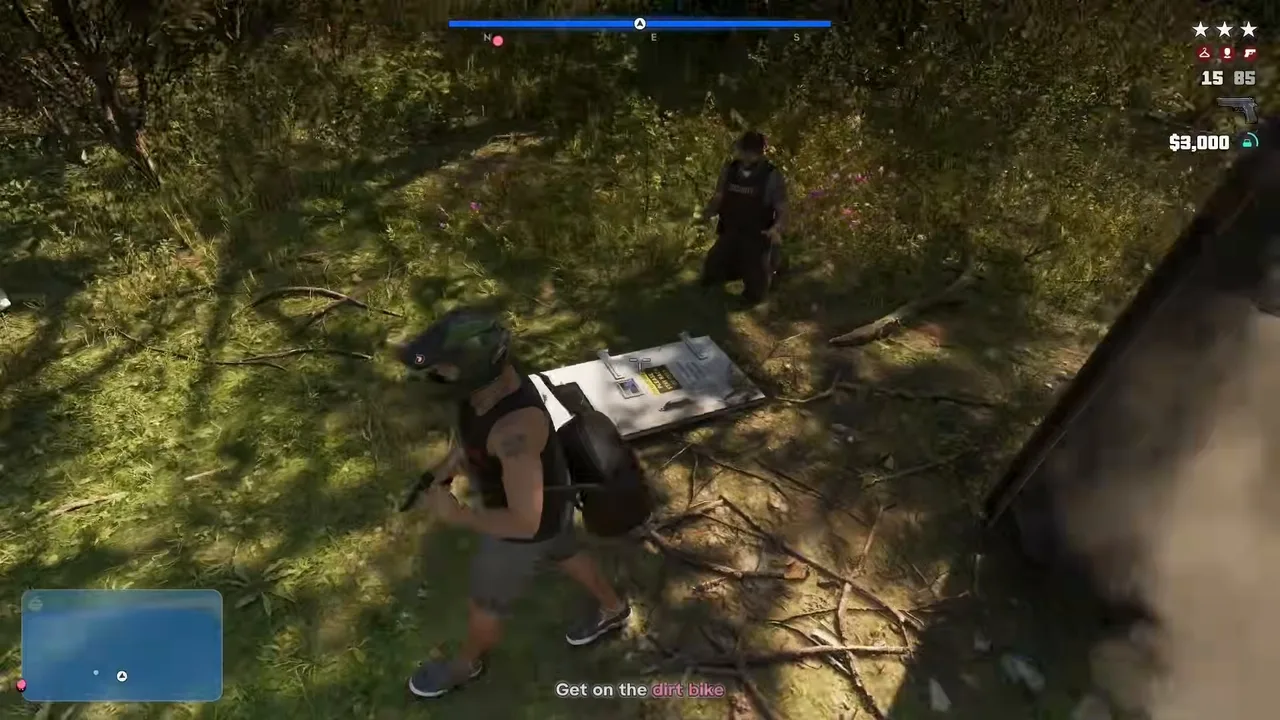 Your bag holds $3,000, shown with the bag icon in the corner. Footage: PerfectParadox.
When you pick it up, a $3,000 figure appears with a bag icon under your money. That’s the take you’re carrying, not your pay. Billy says the cops will be there soon, and three stars come up as you head back to your bike.
Step 8: Follow Billy and lose the cops
Get back on and the objective returns to Follow Billy. A patrol car is already on the road by the time you reach it, and Billy decides to stay in the dirt.
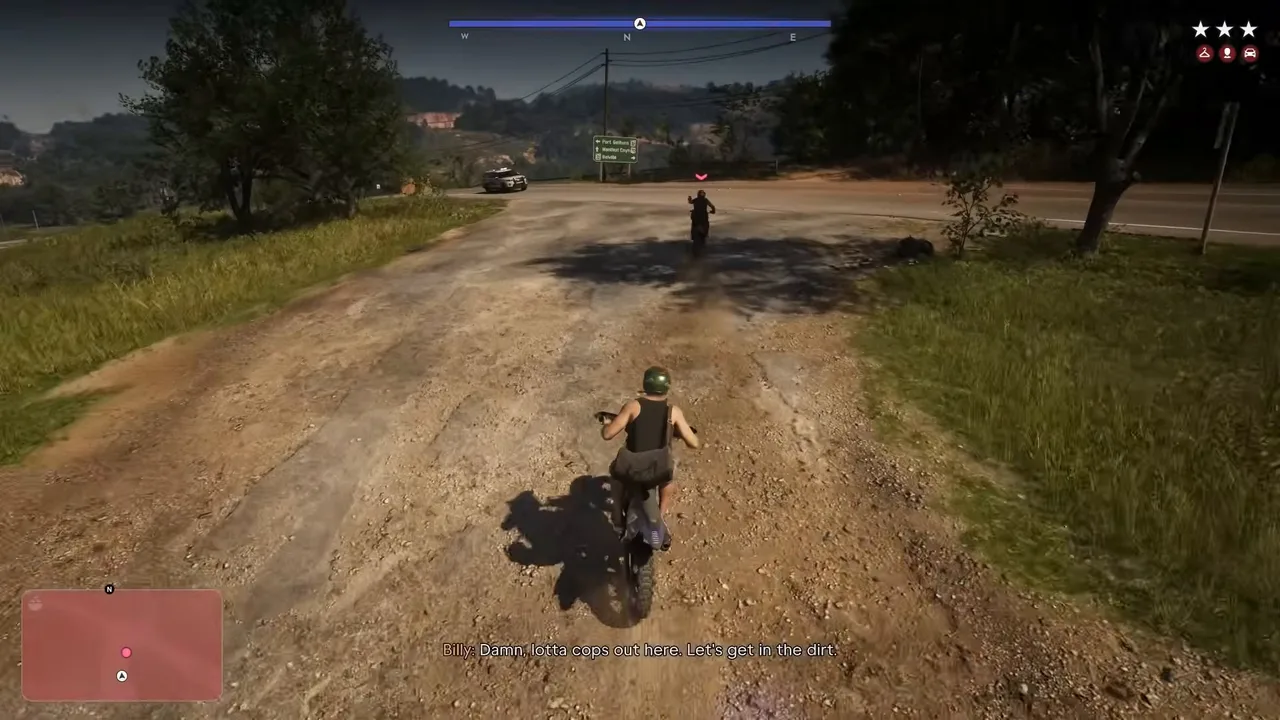 Billy keeps you off the roads. Footage: PerfectParadox.
The escape is a guided ride, and Billy calls out the turns:
- Across the fields and over the road, flat out.
- Into the river, then off the road on the far side.
- Down and under a bridge. Billy says the cops won’t follow you through there.
- Through a red-rock canyon and a tunnel, then right up the hill.
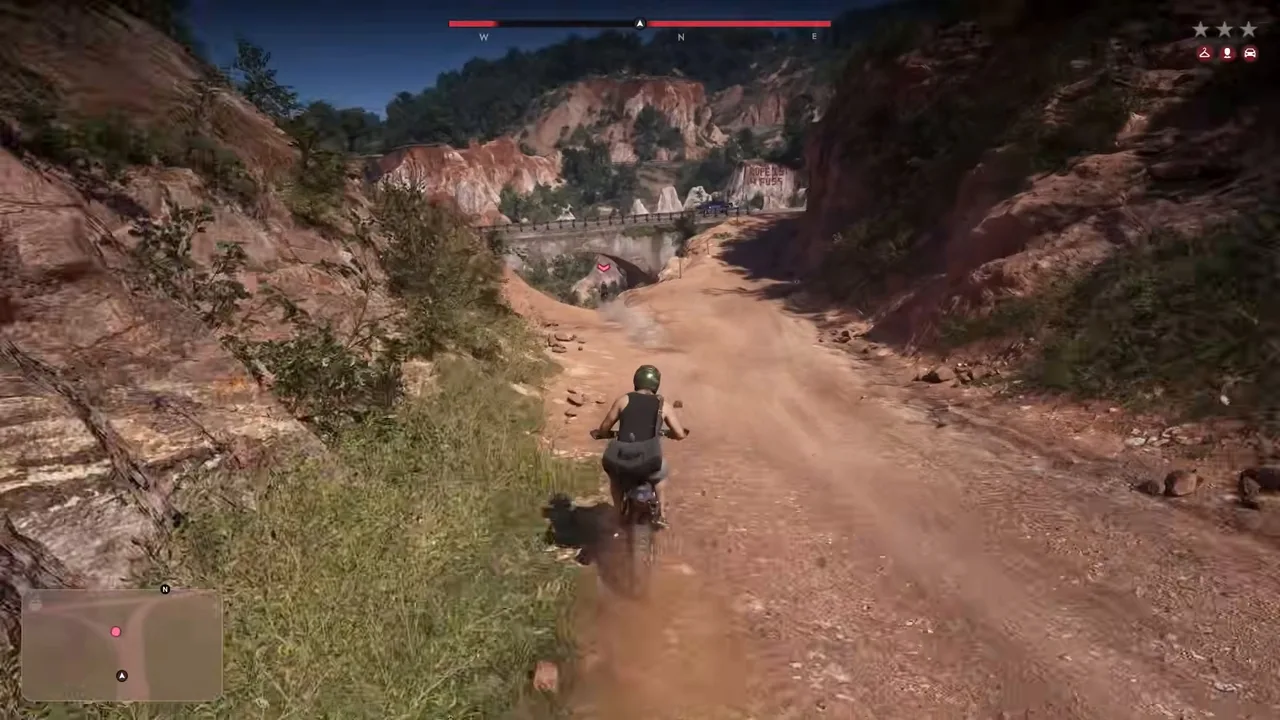 The canyon run under the bridge. Footage: PerfectParadox.
On the way, Billy explains his rough night: someone was passing round the party drugs, and he thought it rude to say no. Jason fell off once in the canyon, climbed back on and caught up without failing the mission. Stay close, and if you crash, get straight back on.
The ride ends on a dusty hilltop by a white and orange cliff, with the city in the distance. The rest of the crew is waiting there.
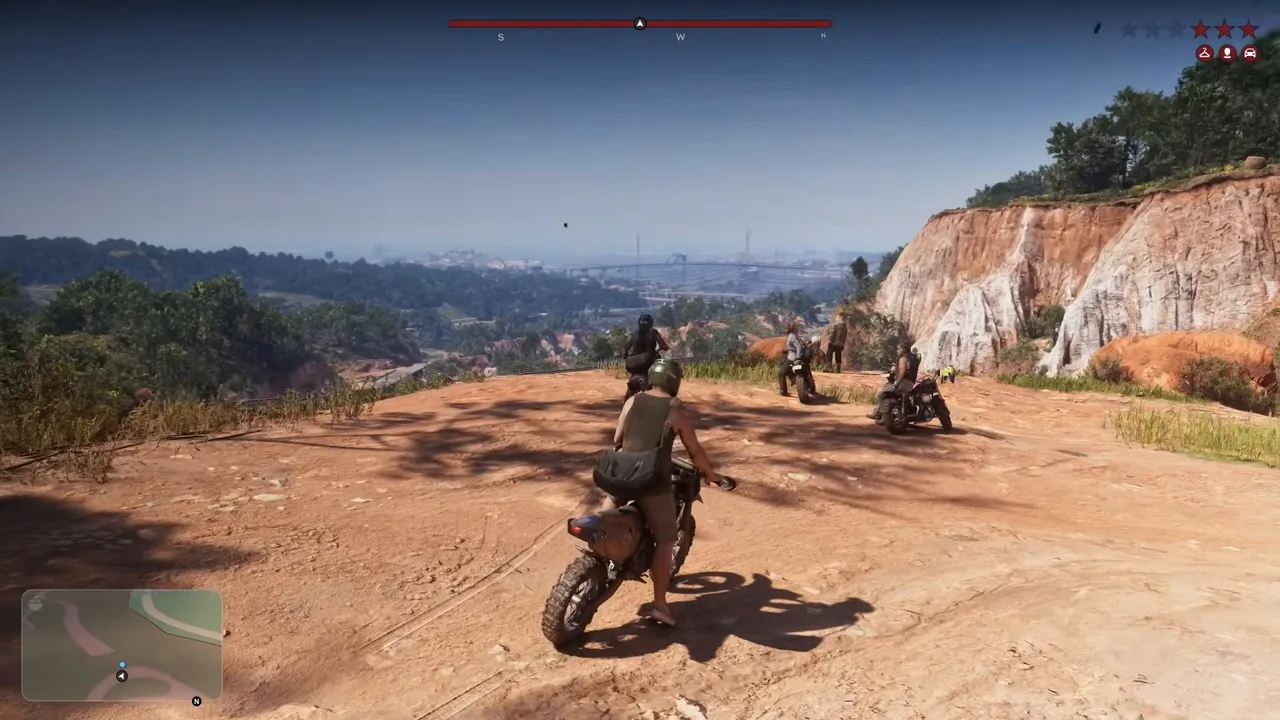 The meeting spot on the hilltop. Footage: PerfectParadox.
A cutscene takes over. The crew teases Billy for taking the long way, he counts at least two stacks in the bag, and then someone notices EJ never showed up. Brittney rings him and he doesn’t answer. Ricky (Ricardo in the subtitles) takes your bag for the boss, and Billy hands you a roll of cash and tells you to keep the bike. Then he gets everyone moving.
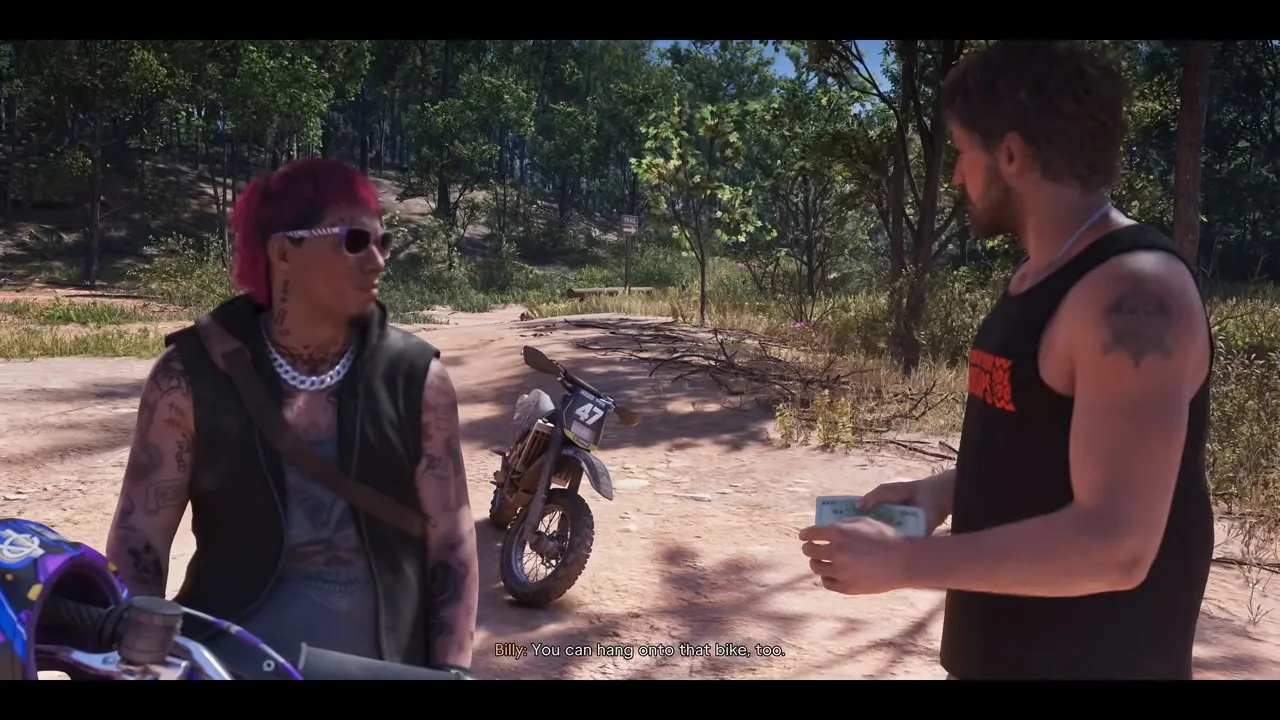 Billy pays up and lets you keep the Highwayman Sanchez. Footage: PerfectParadox.
Rewards
When the cutscene ends, +$2,000 appears next to the green wallet icon. In PerfectParadox’s run, Jason’s cash went from $1,934 to $3,934, and his BuckMe balance didn’t change.
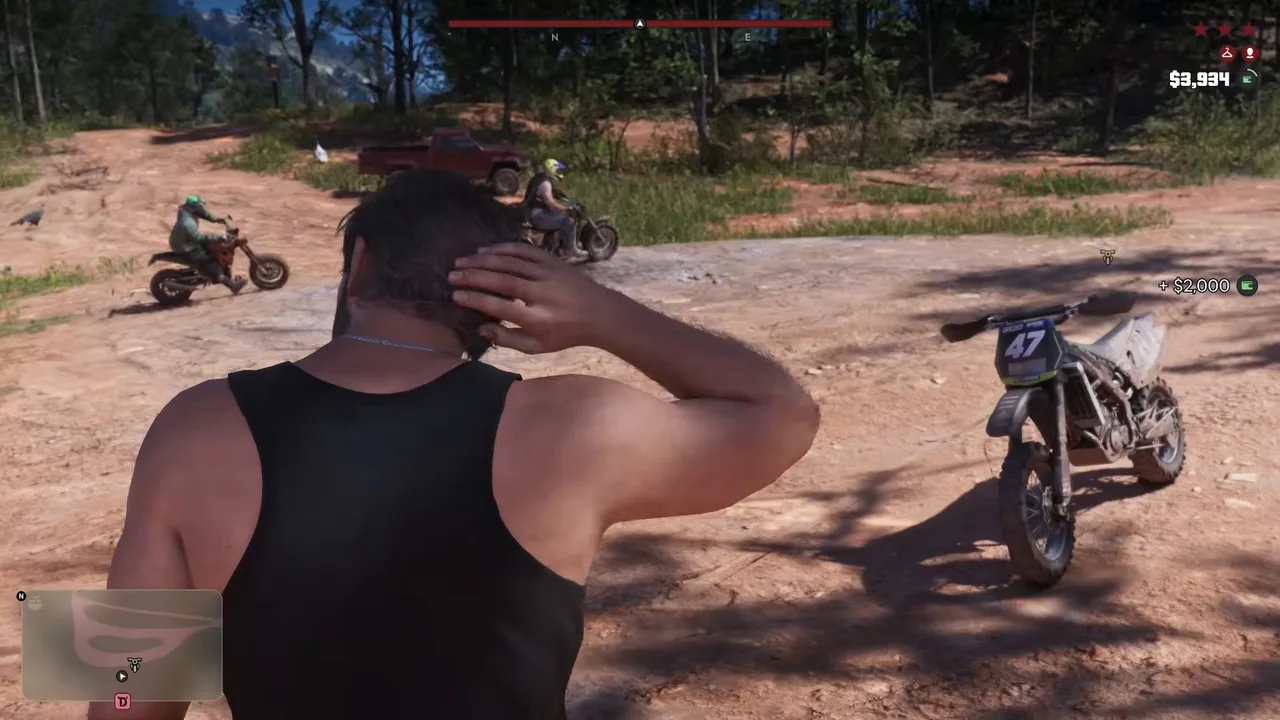 The $2,000 lands in your wallet. Note the stars still on screen. Footage: PerfectParadox.
| Cash | $2,000, paid in hand (wallet, not BuckMe) |
| Vehicle | Maibatsu Highwayman Sanchez (number 47) |
| Loot carried | $3,000 in the bag, which goes to Billy |
| Trophy | None |
Because the money is cash, you lose it if you die before you bank it. Deposit it in BuckMe at an ATM so it counts safely toward the $15,000 in Prepare for Vice City. Our money guide explains how cash and BuckMe differ.
Both runs ended with three red stars still showing on the HUD, with what look like outfit and face icons below them, so the police seemed to still have a description. Ride away from the hilltop and lie low before going back into town.
On the bike, the mission database says you can keep the Highwayman Sanchez if you park it in a garage and register it at Moses’s shop. Neither video got that far, so treat it as unconfirmed.
On 100% completion, the sources disagree, as they do for Thrillbillies: gtabase marks this job as required for 100%, while another database says Billy’s chain doesn’t count toward Strangers & Freaks. Finishing all five of Billy’s jobs unlocks The Lone Rider achievement either way.
| Billy’s jobs | Listed reward |
|---|---|
| 1. Thrillbillies | Up to $2,500, depending on your race position |
| 2. Twist Wrist, Smash, Grab | $2,000 cash (confirmed above) |
| 3. Mall Rats | $12,000, according to the mission database |
| 4. The Impaler | Not confirmed |
| 5. Hometown Heroes | $10,000 plus The Lone Rider |
Failing the mission
Neither run failed, so we haven’t seen the fail screens. Based on the objectives, the likely ways to fail are dying, losing Billy during the escape, or wrecking things at the van. Jason’s fall in the canyon didn’t count against him, so a crash alone isn’t fatal if you get back on quickly. Killing the guard isn’t required, and both runs left him alive.
What comes next
According to the mission database, Billy’s next job, Mall Rats, doesn’t come until Chapter 3, and he can take a long time to get in touch. It’s a jewelry store robbery on dirt bikes through a shopping mall in Ocean Beach, and it pays $12,000. Later in the chain comes The Impaler, stealing an old police car from the Ambrosia impound.
In the meantime, the rest of Chapter 2 is still open: Hit Avery Pawn and Hit Kingpin Bowling use the same Threaten and Defuse prompts you used on the guard, and Impounded Vehicle gets Lucia’s car back.
Tips
- Bring a gun you can fire from a bike. It isn’t strictly needed to stop the van, but a pistol or a micro SMG keeps you part of the chase.
- Don’t overtake Billy. Both the ride out and the escape follow his line. Riding ahead doesn’t help, and the off-road shortcuts only make sense behind him.
- Back off before you detonate. The sticky bomb goes on the doors and Jason warns everyone to step back. Do the same.
- Bank the $2,000. It’s cash, and you finish the job with three stars, so get to an ATM before you go looking for trouble.
- Keep the bike. The Highwayman Sanchez is a race bike with good off-road handling. Park it somewhere safe instead of leaving it on the hilltop.
Related guides
- Previous: Thrillbillies, the mud club race where you meet Billy, Ricky, Sam, Ian, Brittney and EJ. See all GTA 6 missions.
- Later in Billy’s chain: The Impaler.
- Same chapter: Hit Avery Pawn, the store version of a smash ‘n’ grab, Hit Kingpin Bowling and Impounded Vehicle, all counting toward Prepare for Vice City.
- GTA 6 money guide: how cash, BuckMe and Billy’s jobs fit into Chapter 2.
- Characters guide and map regions: who Billy’s crew are, and where Port Gellhorn is.
- Interactive map: Smash ‘n’ Grab targets across Leonida, including both Port Gellhorn pawn shops.
Frequently Asked Questions
How do you unlock Twist Wrist, Smash, Grab in GTA 6?
Finish Thrillbillies, the mud club race, and keep playing. According to the mission database Billy texts a few in-game hours later, and the job appears on the map as Join Billy on a Job, at a bench outside a locksmith in Port Gellhorn.
How much does Twist Wrist, Smash, Grab pay?
$2,000 in cash, handed over by Billy at the end. It goes into your wallet (the green icon), not BuckMe, so bank it before you take risks. Billy also lets you keep the Highwayman Sanchez dirt bike.
Can you do Twist Wrist, Smash, Grab as Lucia?
Yes. Only one of the couple goes. PerfectParadox played it as Jason after Lucia dropped him at the bench, and LevizLife played the whole job as Lucia. The dialogue and objectives are the same.
Do you need your own explosives for the armored van?
When the objective to plant a bomb on the rear doors comes up, a sticky bomb is selected for you with an Explosives counter on screen. Both runs we watched did it without a shopping trip, so you shouldn't need to buy one first.
How do you lose the cops in Twist Wrist, Smash, Grab?
You don't have to do it alone. Follow Billy: he leads you off the road, through a river, under a bridge and through a canyon where the police can't follow. Stay close and stay on the bike.
What comes after Twist Wrist, Smash, Grab?
Billy's next job is Mall Rats, a jewelry store robbery through a shopping mall worth $12,000. According to the mission database it arrives in Chapter 3, and it can take a long while before Billy gets in touch.
Sources & Credits
Researched from these videos and official material, among others. Screenshots credit the creator whose footage they come from.