Jump to your step
Delivery Method: quick facts
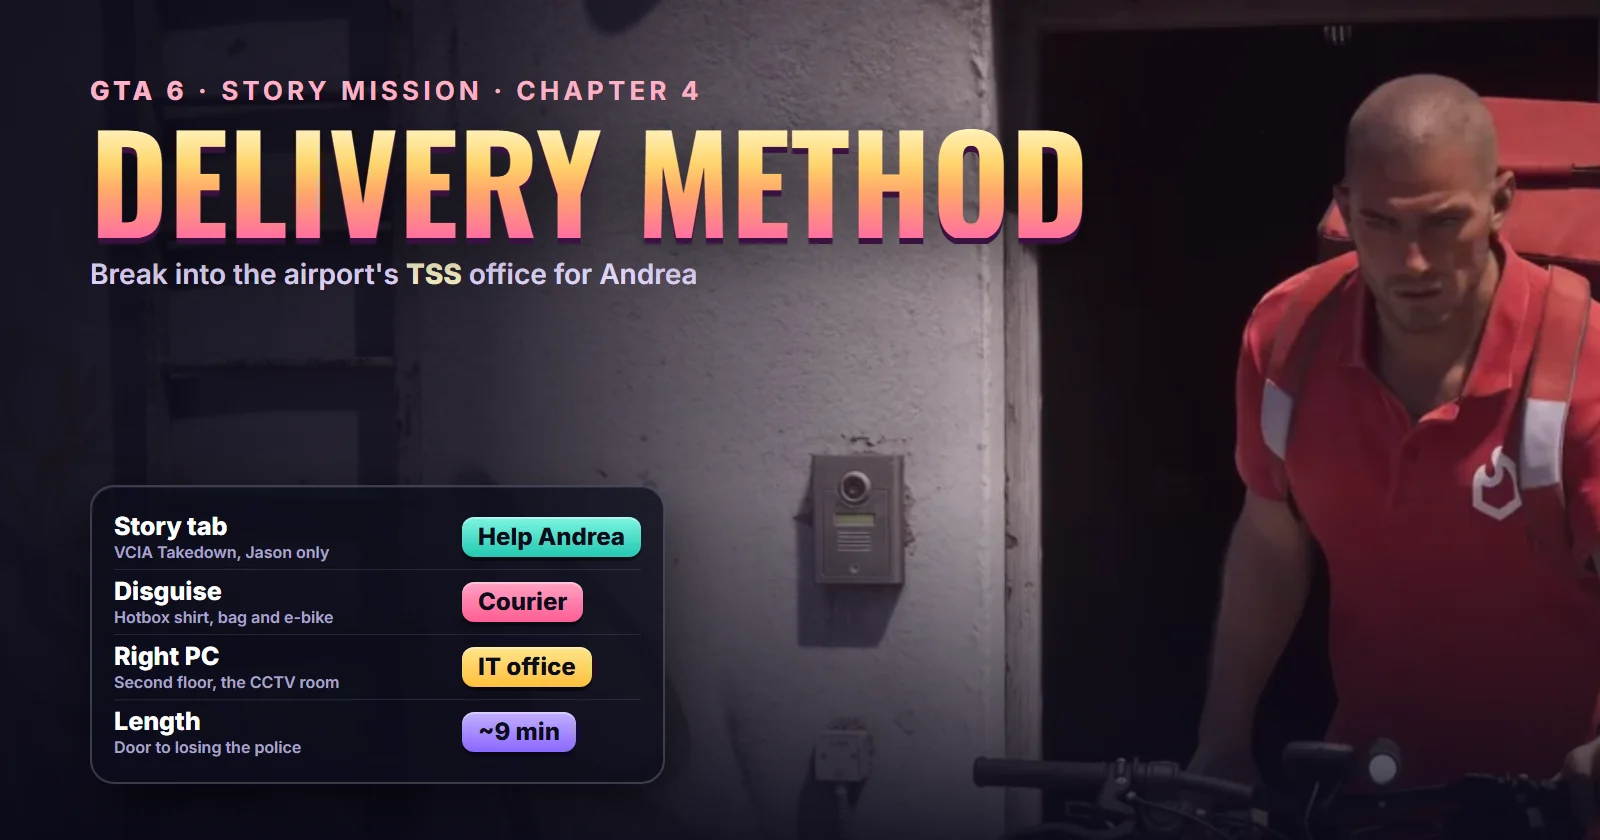
| Mission | Delivery Method, story mission #104 (in the Story tab: Help Andrea, under VCIA Takedown) |
| Chapter | Chapter 4 |
| You play as | Jason Duval (the card is marked Jason only) |
| Given by | Andrea, in person and then on the phone |
| Where it starts | Raul’s planning room in Stockyard: the blue door by the ladder |
| Unlocks after | Andrea’s call at the end of Power Play (#100); Close Surveillance (#103) comes before it in the story list |
| Next in the story list | Team Building (#105) |
| Length | About 9 minutes from the door to losing the police (Sirloin: 8.5) |
| Disguise | A Hotbox food courier: red shirt, delivery bag and an e-bike |
| Wanted level | Two stars on the way out in Sirloin’s run |
| Reward | No cash on screen; Lucia’s fingerprints swapped into the airport’s records |
| Trophy | None |
| Required for 100% | Yes |
Mission briefing Story context, how it unlocks, where it starts and who's who. Contains spoilers.
The story so far
At the end of Power Play, Kordell Grant laid out his crew’s airport job. A wine shipment goes into the vault at Vice City International Airport, the same vault an airline uses for its monthly cash deposits, and an outside authenticator is called in to check the wine. Kordell’s crew plans to take her out of the way and send Lucia in as her. Raul handed out the work: Karim on Nate’s phone, Andrea on the authenticator, and Jason helping Andrea.
The next morning Andrea phoned Jason. She had a plan for the authenticator and wanted him at “the shop”. Delivery Method is that plan. Lucia looks nothing like the woman she’s meant to be, so Andrea wants the records changed instead: if Lucia’s fingerprints sit on the authenticator’s file, Lucia walks through airport security as her. The files live at Transport Security Services, the TSS, and someone has to get inside with a USB stick from Karim. That someone is Jason, dressed as a food courier.
How to unlock Delivery Method
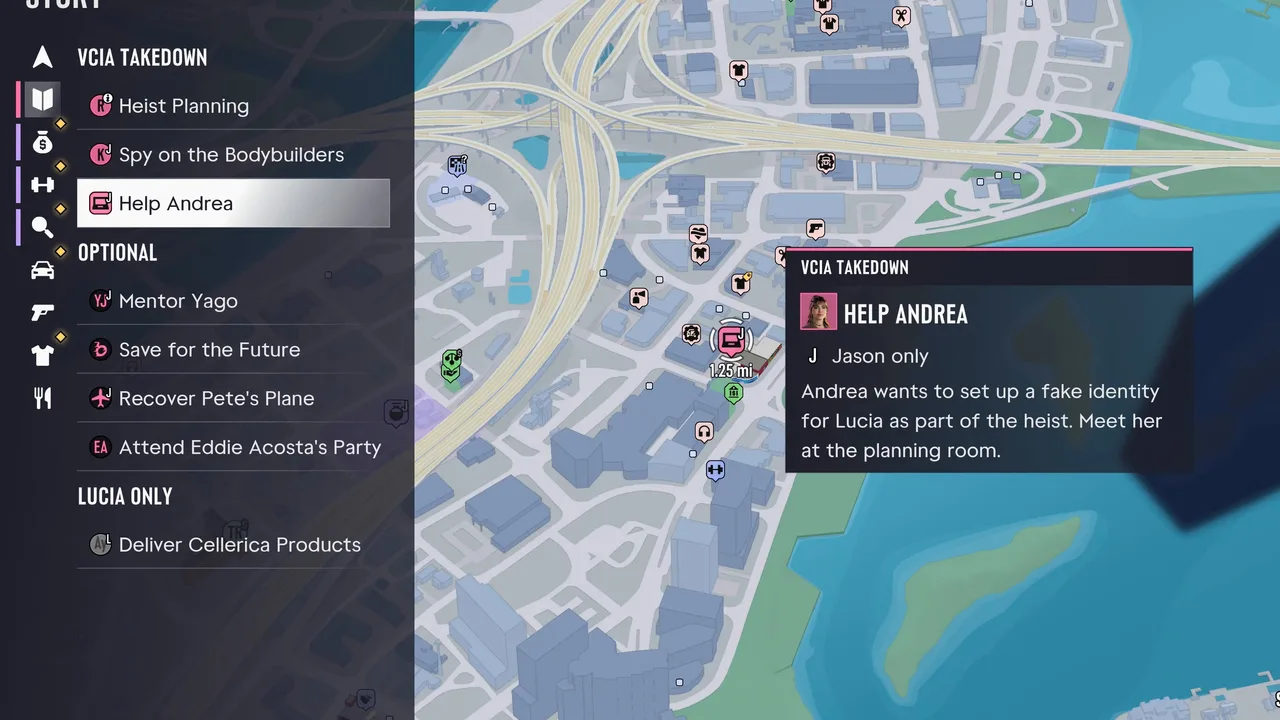 The Story-tab card is called Help Andrea, and it’s Jason only. Footage: Sirloin.
Finish Power Play. Andrea’s call at the end of it opens two Jason jobs at once: Spy on the Bodybuilders (Close Surveillance, #103) and Help Andrea (this mission, #104). The story list puts Close Surveillance first, but you can play them either way round: Sirloin did Help Andrea first, straight after the call.
Where it starts: Raul’s planning room, the crew’s base in Stockyard near the Bayside border. It’s the same alley as Credit Check: the battered blue door covered in tags, with a steel ladder bolted to the wall beside it and an intercom on the right. Press the buzzer, say it’s you and walk in. the mission start on our map. Delivery Method has no pin of its own on the live map yet.
Who’s who
- Andrea: Raul’s con artist. She runs the job from a back room at the base and then talks Jason through it on the phone.
- Karim: Raul’s tech man. He built the USB stick (Andrea calls it a “rubber Johnny”; the objectives call it the flash drive). He isn’t on screen.
- The receptionist: the woman on the TSS front desk, who has to be got out of the way.
- Lucia: only by text at the end, from inside Kordell’s crew.
- More on the cast in our characters guide.
Step 1: Meet Andrea at the planning room (Jason)
Walk up to the blue door in the alley and press the intercom. A voice asks if it can help you; Jason says it’s him, and the door is open.
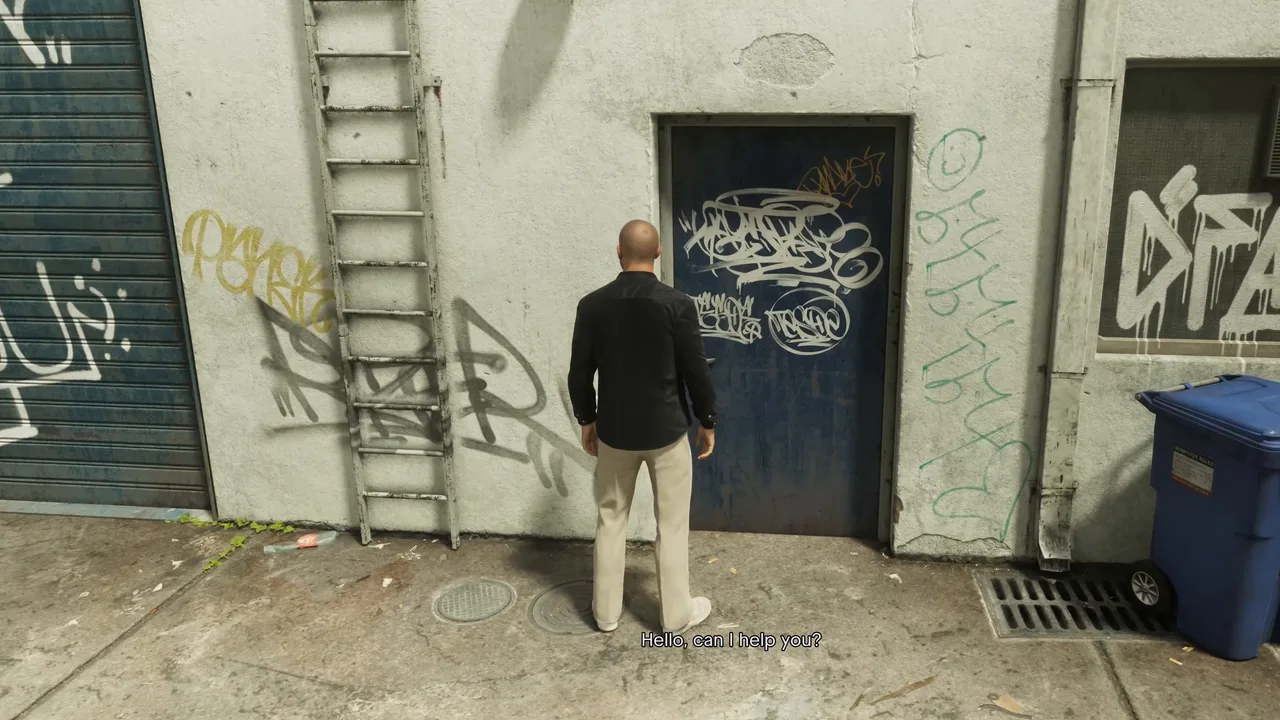 Buzzing in at the blue door by the ladder. Footage: Sirloin.
The DELIVERY METHOD title comes up as Jason walks in. Andrea is in a back room with a laptop, a lit make-up mirror and a rail of clothes, working on what she calls a dumb plan to get Kordell’s crew into the vault. Lucia looks nothing like the wine expert. Andrea wouldn’t do it that way but thinks Lucia can handle herself; Jason doesn’t like the sound of it. If he’s that worried, she says, they could rewrite the files, but he’d have to break into the TSS.
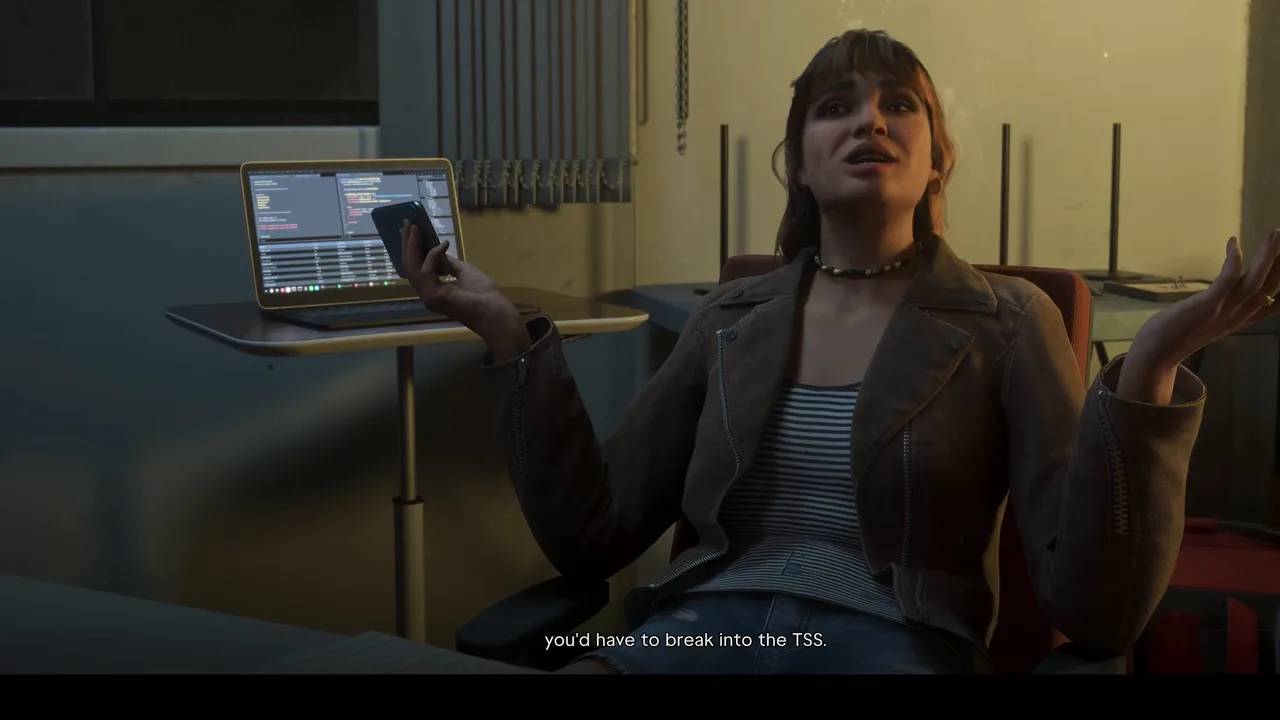 Andrea’s plan: get into the TSS and change the files. Footage: Sirloin.
Jason agrees. Andrea hands him a red Hotbox shirt and a delivery bag and says she’ll reroute any food orders the TSS has coming to him. Food is the easiest way in. In the bag is Karim’s USB stick: plug it into one of their computers and, once it has access, it swaps the fingerprints on file for Lucia’s. Andrea also notices that Jason really cares about Lucia. There’s a bike waiting downstairs.
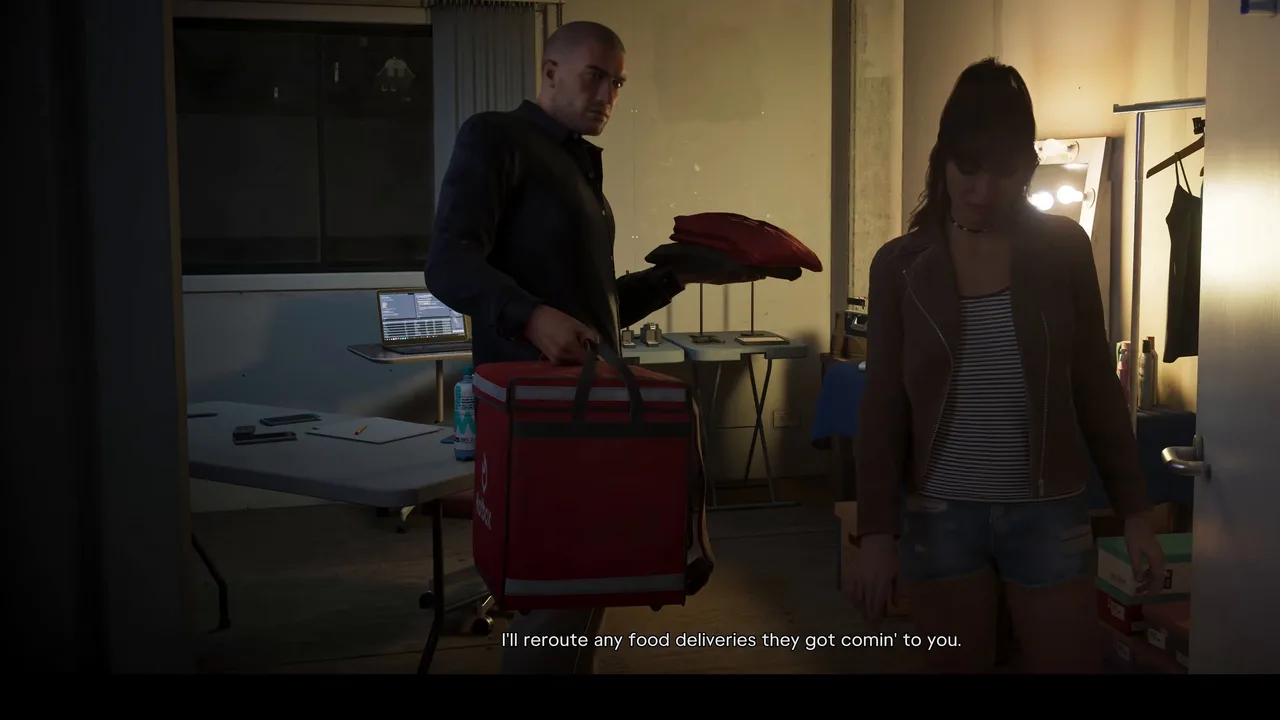 The Hotbox shirt and delivery bag. Footage: Sirloin.
Step 2: Ride the bike to the TSS office (Jason)
Jason comes out of the same blue door in the courier shirt, with the bag on his back, pushing the bike. Ride it to the airport. By the time he reaches the TSS desk he’s also wearing a dark face mask. The first objective is Go to the security gate.
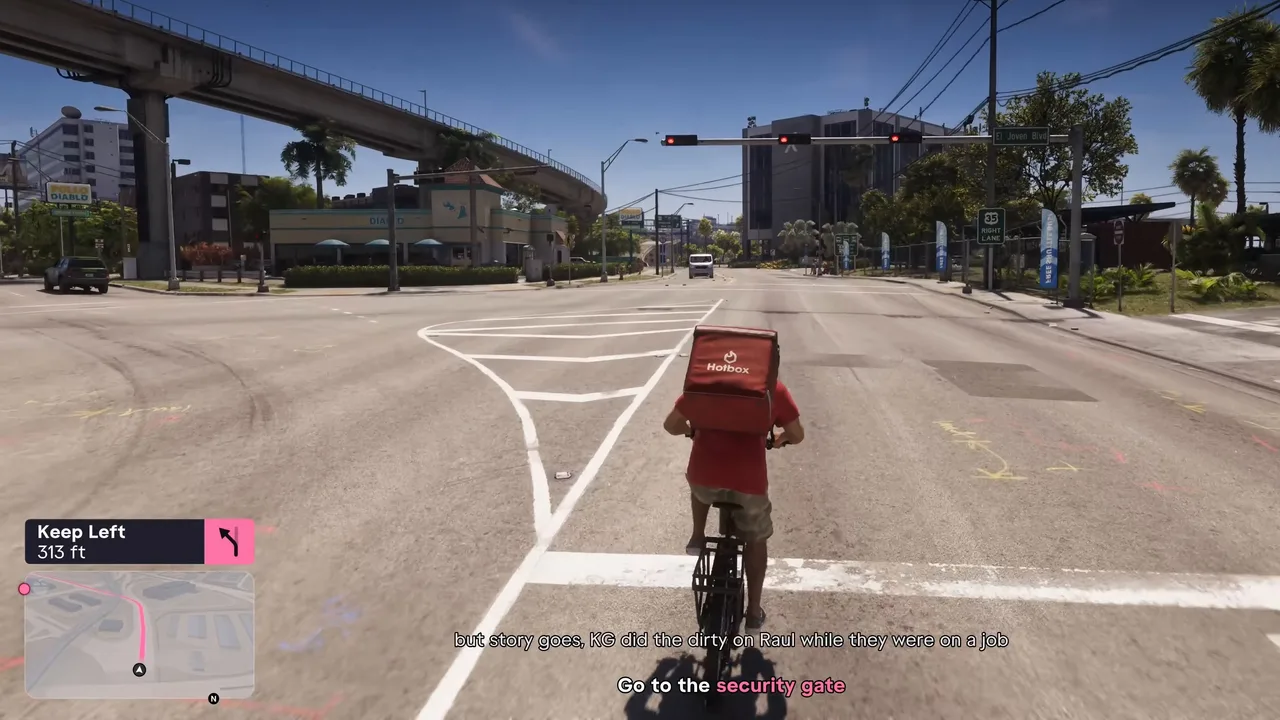 On the bike to the airport. Andrea talks the whole way. Footage: Sirloin.
Andrea stays on the line. She tells Jason, just between them, why Raul is so set on taking Kordell’s crew down. The story goes that Kordell double-crossed Raul on a job, ripped him off afterwards and got him put on a watch list. Near the end she runs through the plan once more: security shouldn’t give him trouble, he has an order, and he needs a code. Find a computer and put the stick in. It does the rest.
The route goes along the airport’s service roads, past signs for Cargo Freight and Employee Parking, and through a guard booth with a stop sign. Then the objective changes to Go to the TSS office.
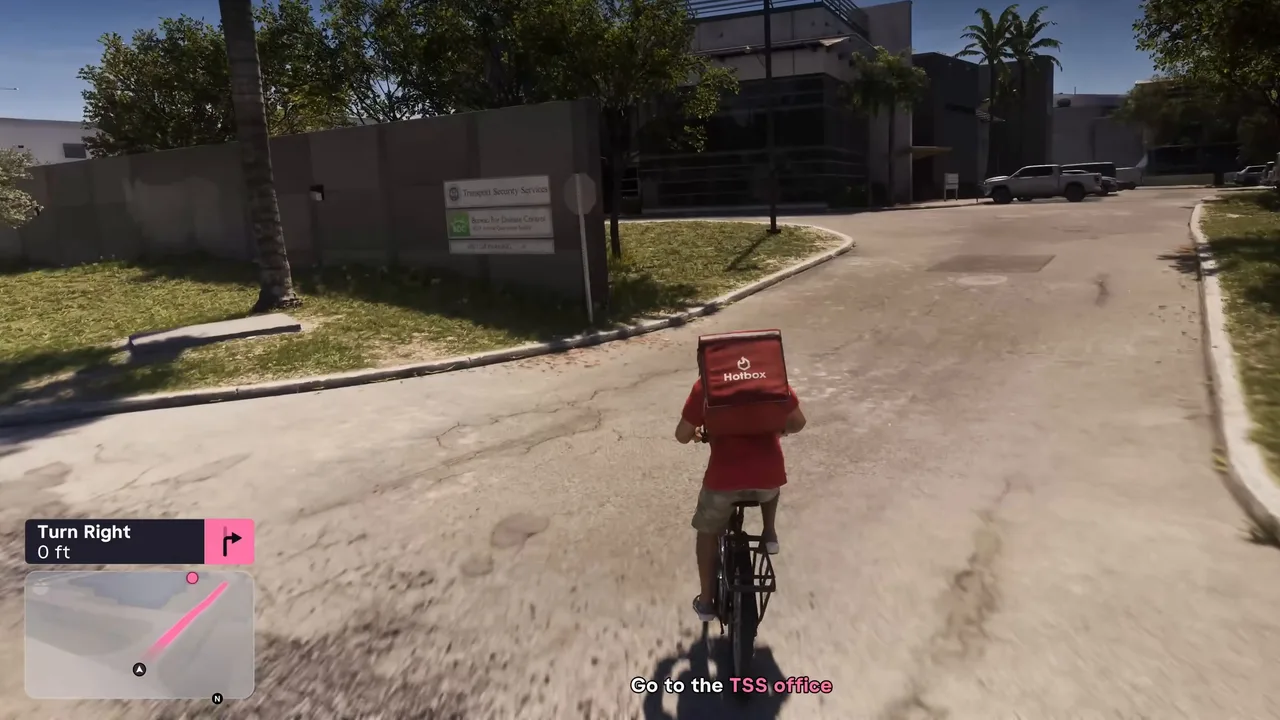 The turning for the TSS office. Footage: Sirloin.
Step 3: Talk to the receptionist and hack the computer (Jason)
Leave the bike by the front door and walk in. The objective is Talk to the receptionist. Jason says he has an order for airport data security. There’s no name on it, and he needs a code. The receptionist makes a call, says she won’t be long and walks off, which leaves her desk empty.
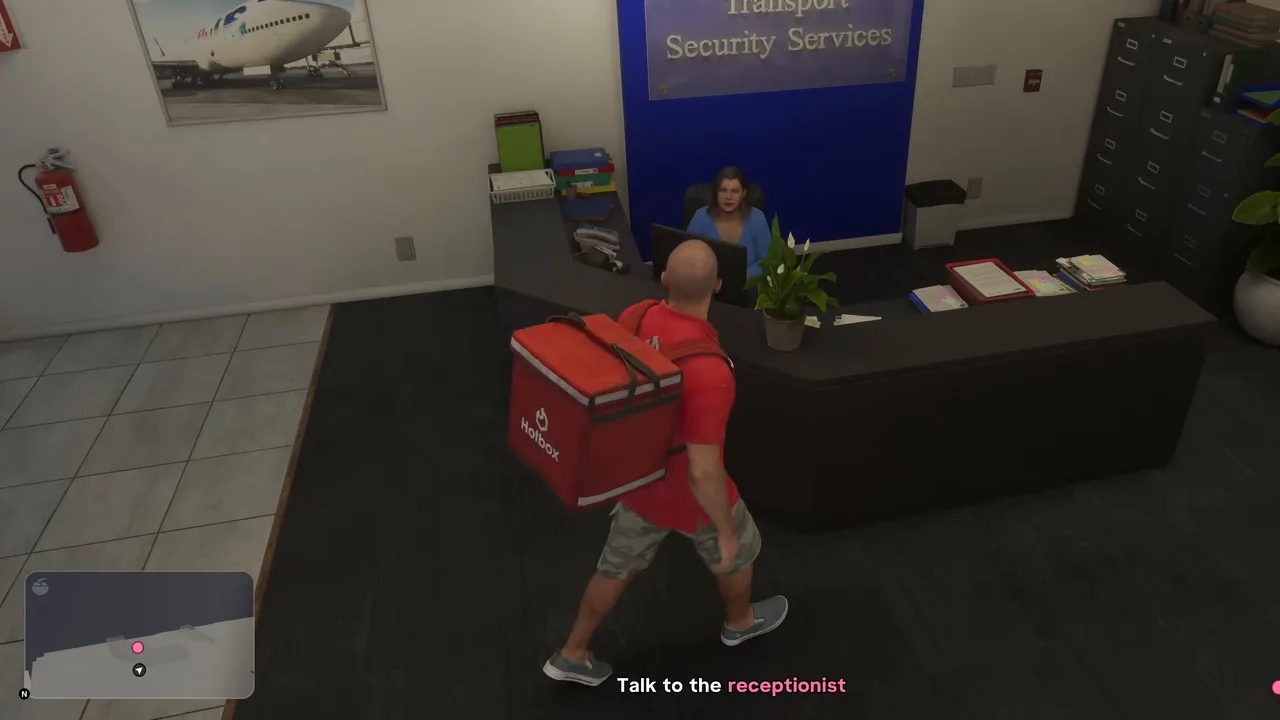 Talk to the receptionist. She goes looking for the code. Footage: Sirloin.
Now it’s Hack the computer. Go round behind the desk and plug the stick into the reception computer.
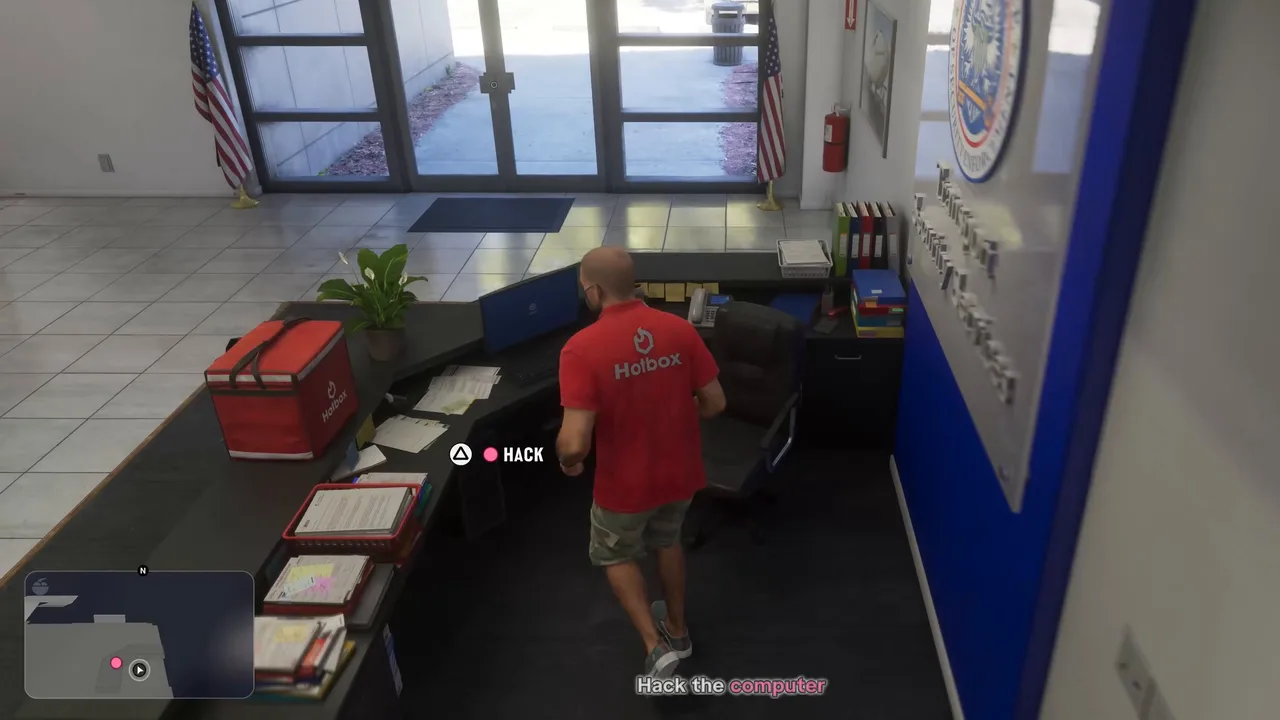 The reception computer. It won’t be the one that works. Footage: Sirloin.
It doesn’t work. Jason tells Andrea, and she guesses it’s an access problem. She tells him to try a computer in the main office on the second floor. But he’ll need time up there, so first he has to get everyone out of the building.
Step 4: Cause an evacuation (Jason)
The objective is Cause an evacuation. The fire alarm is on the lobby wall, just to the right of the big Transport Security Services sign. Walk up to it and use the Trigger prompt.
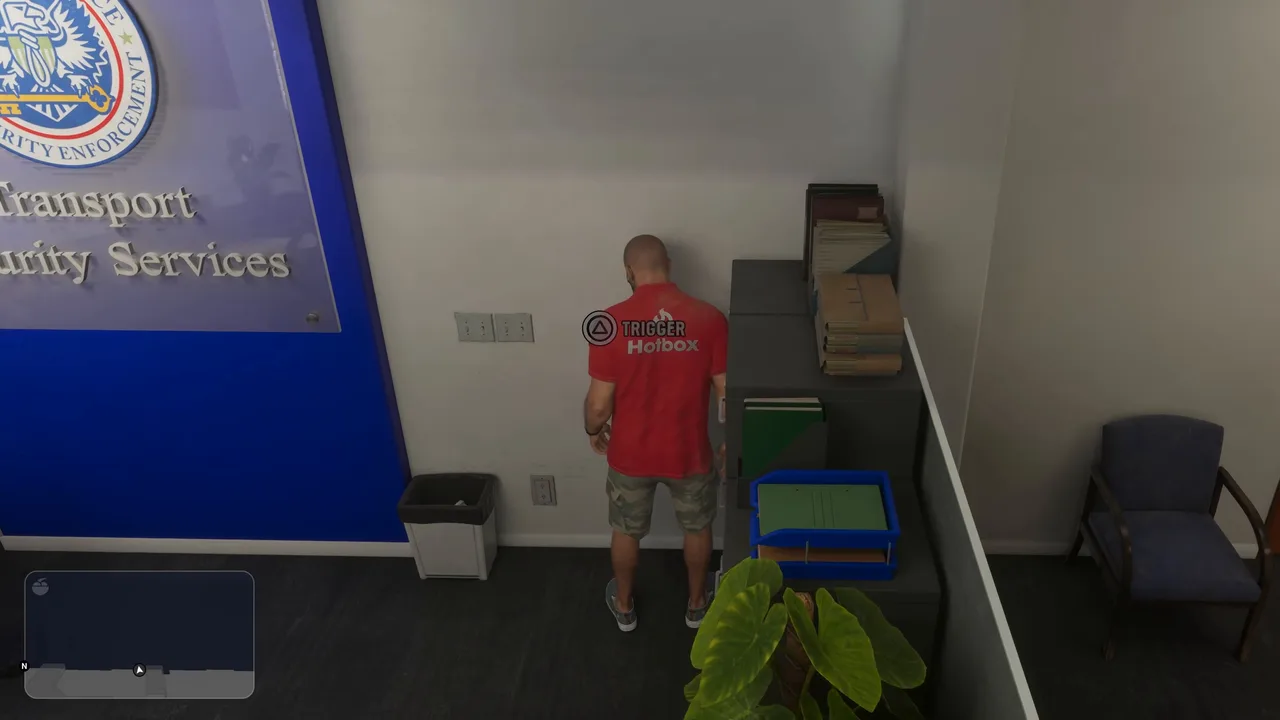 The fire alarm beside the TSS sign. Footage: Sirloin.
The alarm goes off, and one of the staff takes charge: everyone away from their computers, leave the desks and belongings, straight to the meeting point. The offices empty.
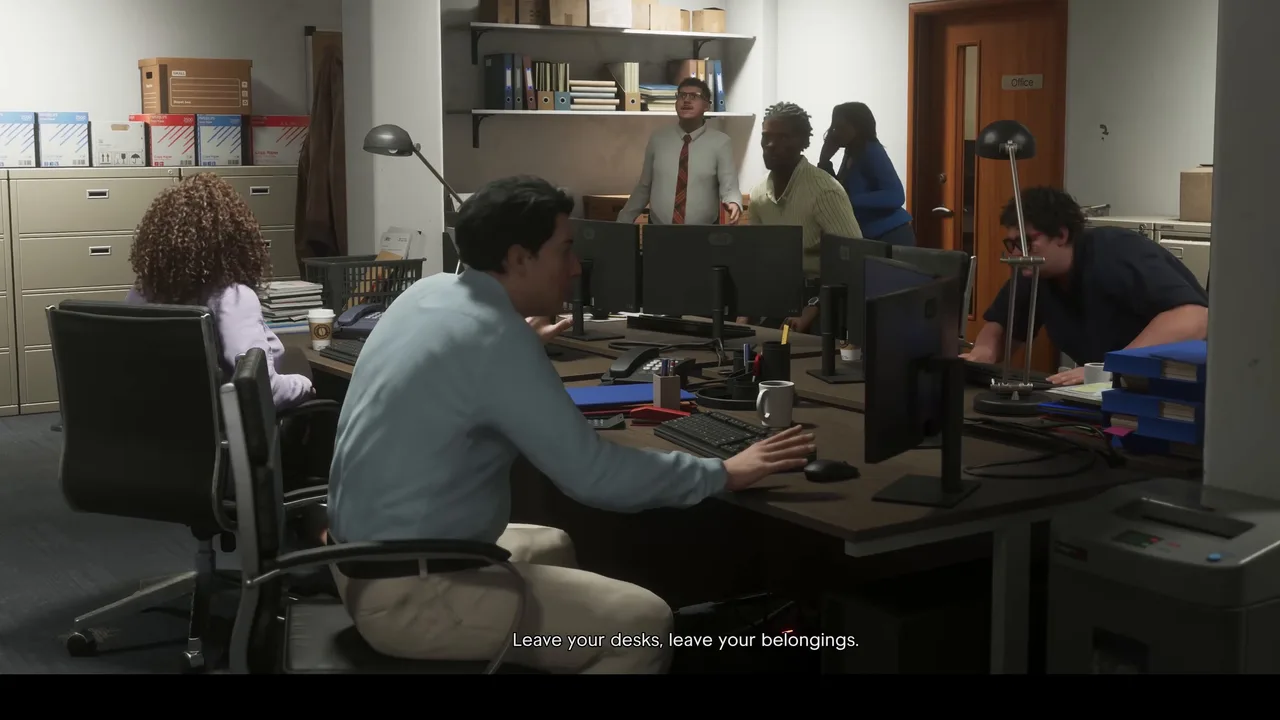 The staff clear out. Footage: Sirloin.
Step 5: Find a computer with database access (Jason)
Head upstairs. The objective is Find the Airport Security Department, and Andrea suggests the main office’s computers. The clock is now running: you don’t have long before fire and rescue arrive, and Andrea counts down the time, from 90 seconds to 60 to 30. Sirloin finished with seconds to spare, so we didn’t see what happens if it runs out. He took the stairs next to the lift.
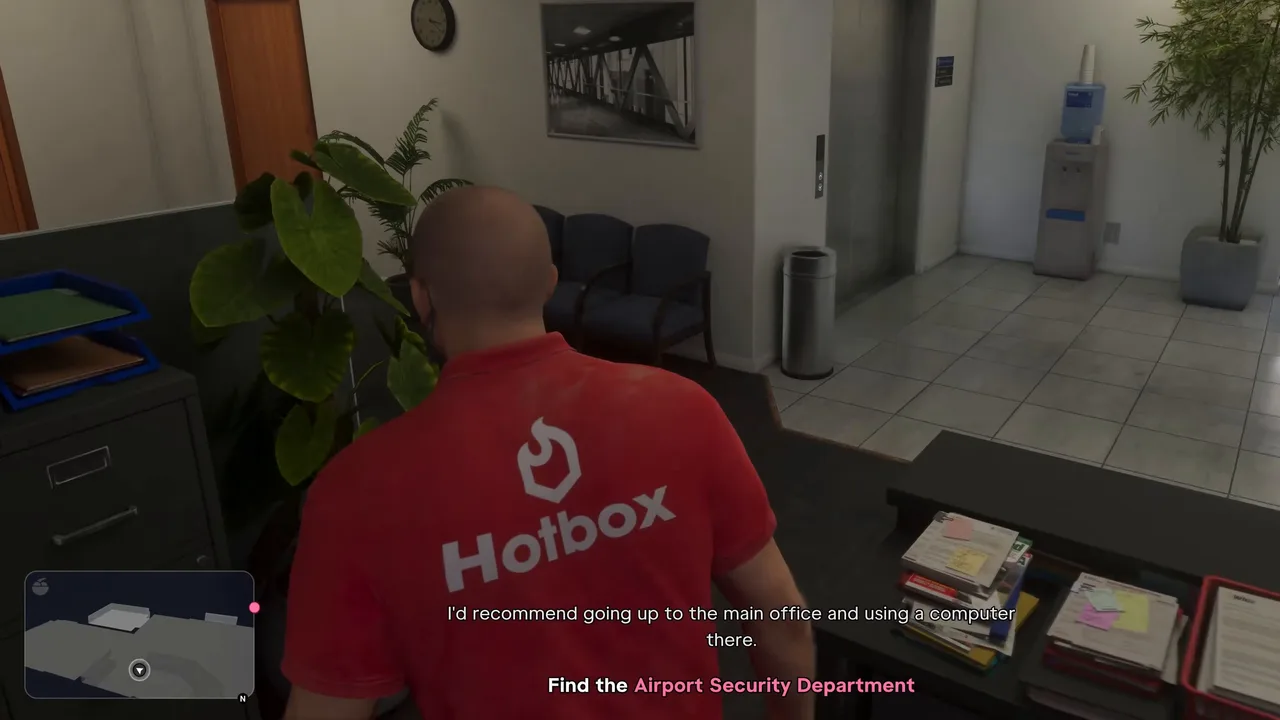 Up to the Airport Security Department. Footage: Sirloin.
Upstairs it’s Find a computer with database access. The open-plan desks are the obvious place to start, but in Sirloin’s run they didn’t take. When a computer doesn’t take the stick, the objective switches to Remove the flash drive: pull it out and try another.
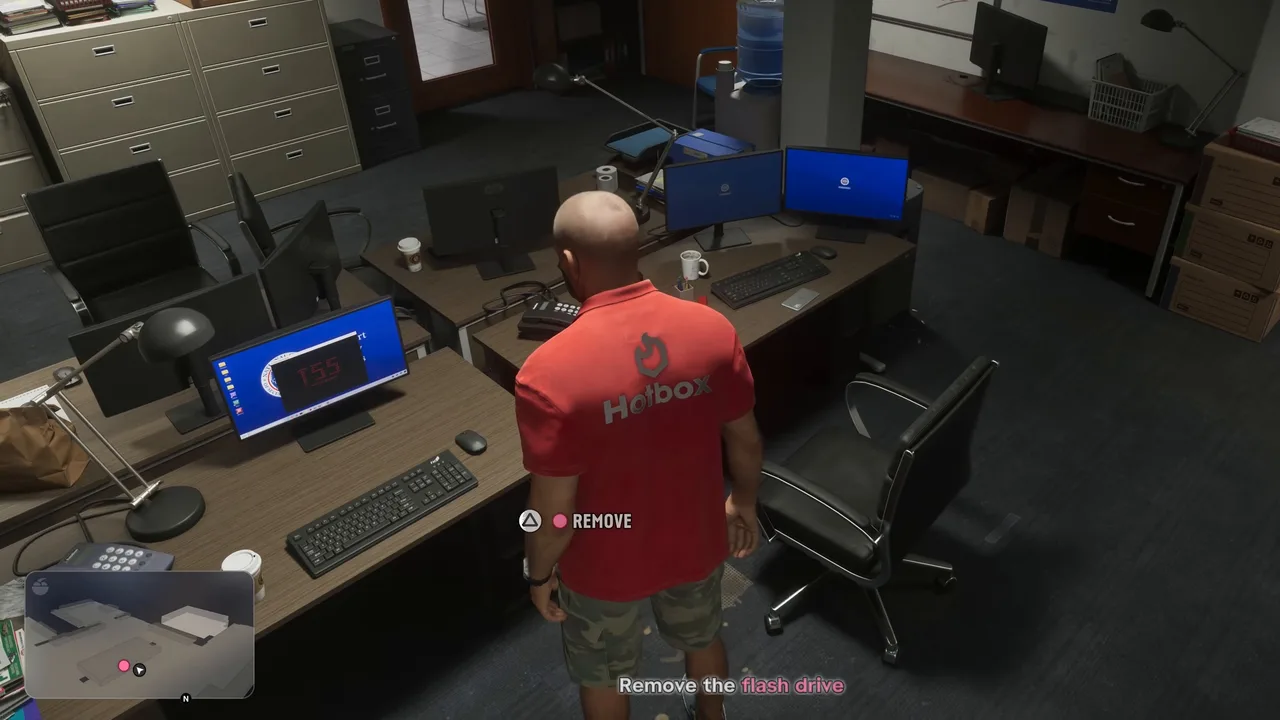 Wrong computer: take the stick back out. Footage: Sirloin.
When Jason says he’s having no luck, Andrea tells him not to panic and to try the IT admin’s or manager’s computer. Karim is rarely wrong about this stuff, and the second-floor computers should all be on the same network with database access.
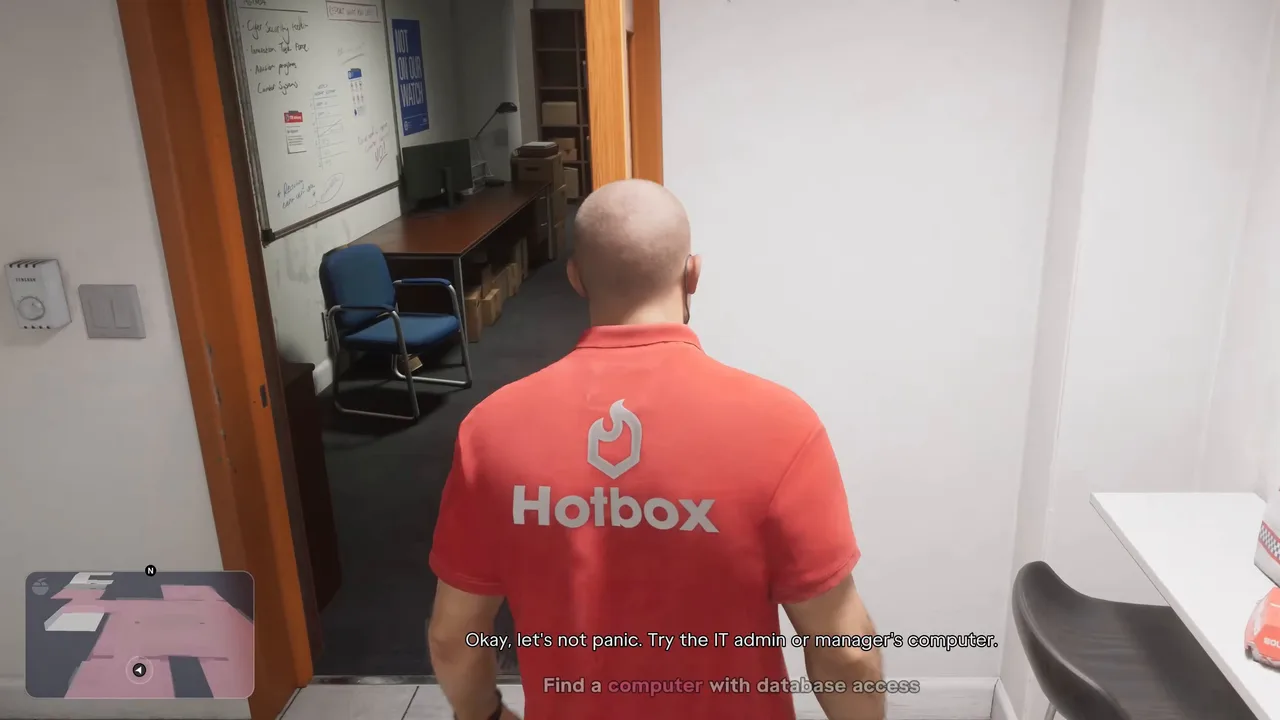 Andrea points Jason to the IT admin’s office. Footage: Sirloin.
The one that works is in a small office off the corridor, with a wall of CCTV screens, a server rack and a desk with a monitor and a laptop. Plug the stick in there. Jason tells Andrea it’s working, and she says the IDs are swapped: his girl is going to be grateful.
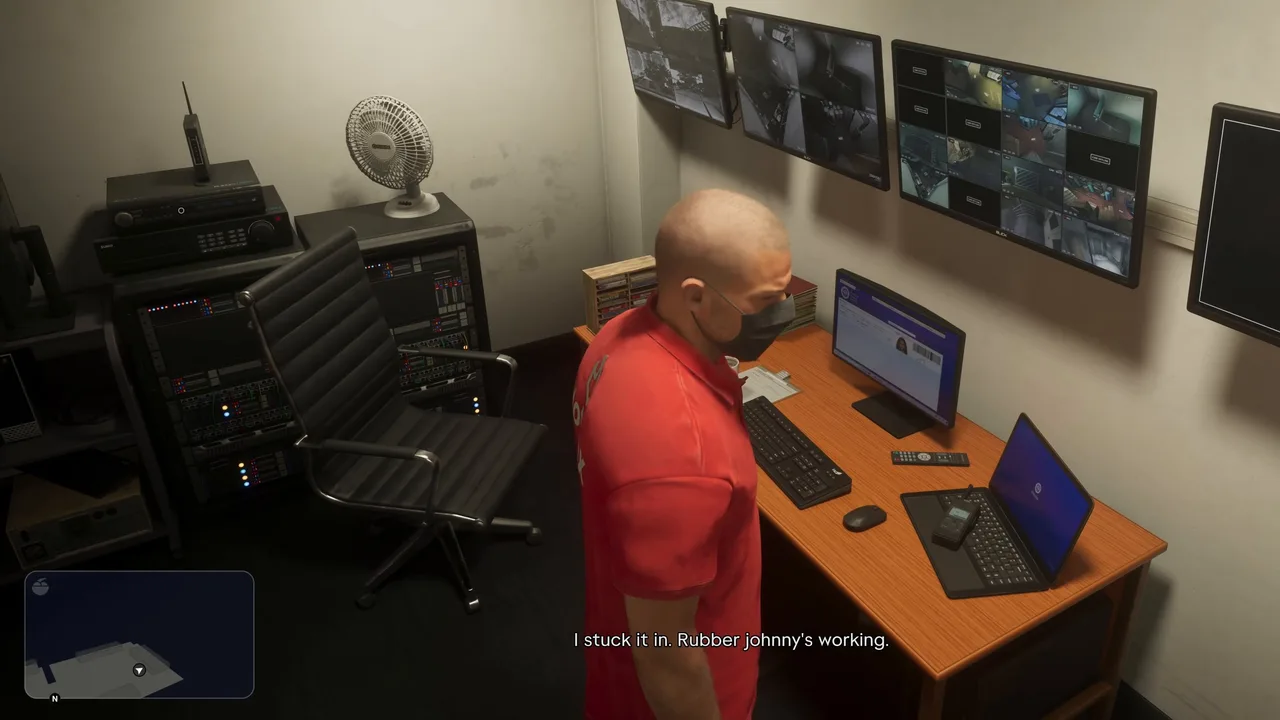 The IT office with the CCTV screens. This computer takes the stick. Footage: Sirloin.
Tip: to save time on the countdown, skip the open-plan desks and go straight to the IT office.
Step 6: Leave the area (Jason)
Once Jason says it’s done, the objective is Leave the area. Grab your things and go before the fire crew comes in.
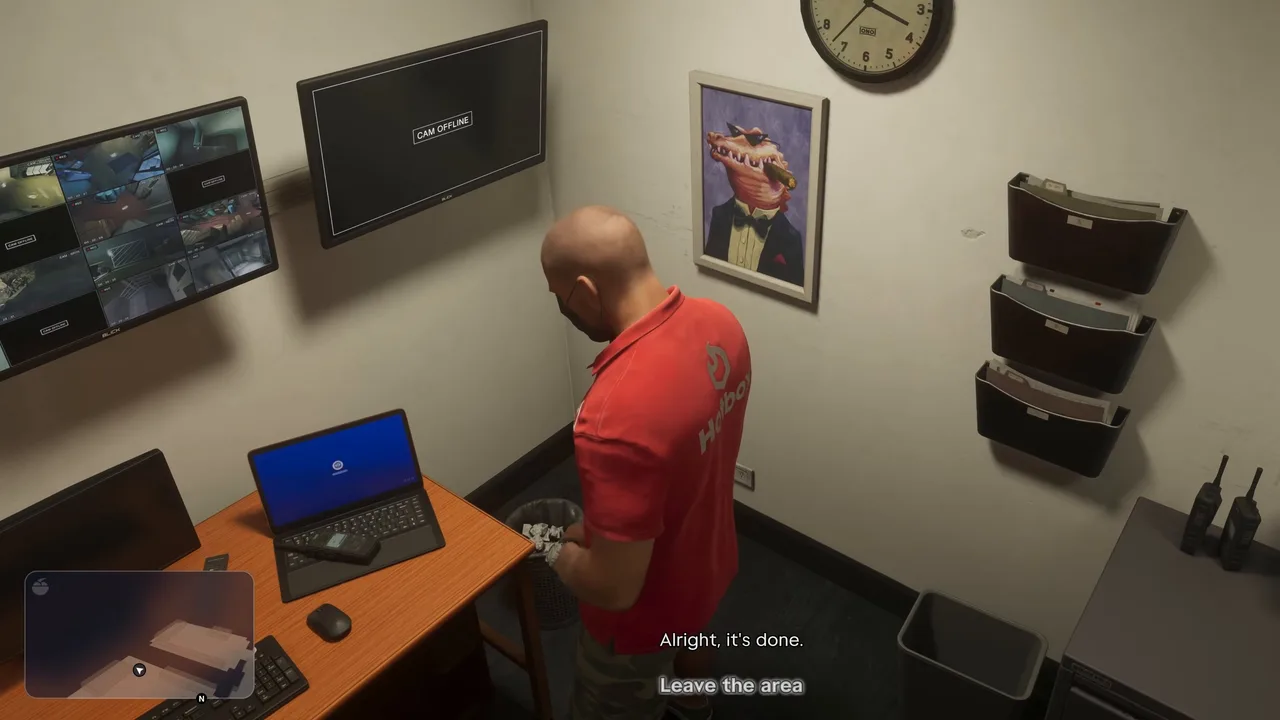 Done. Now leave the area. Footage: Sirloin.
On the stairs, Andrea suggests you avoid the firefighters: there’s an exit on the roof.
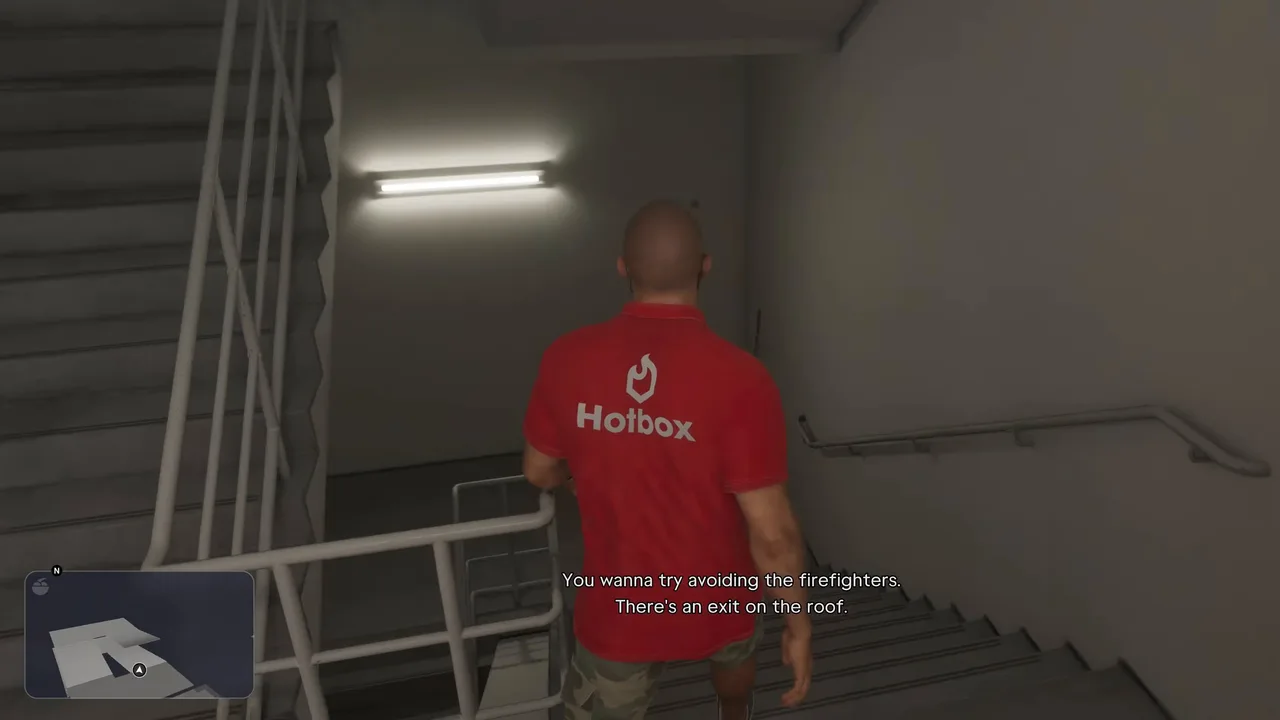 Andrea’s tip: the roof exit. Footage: Sirloin.
Sirloin ignored the tip. He went down and out through the visitors’ entrance into the car park, where the fire crew was arriving, and got back on the bike. Moments later a Crime reported notice came up and two stars appeared. A firefighter called out that dispatch had a possibly armed suspect in the area, and the police radio described a man in a surgical mask near Transport Security Services. We haven’t seen a run that took the roof, so we can’t say whether it avoids the stars completely. It’s still the quieter way out.
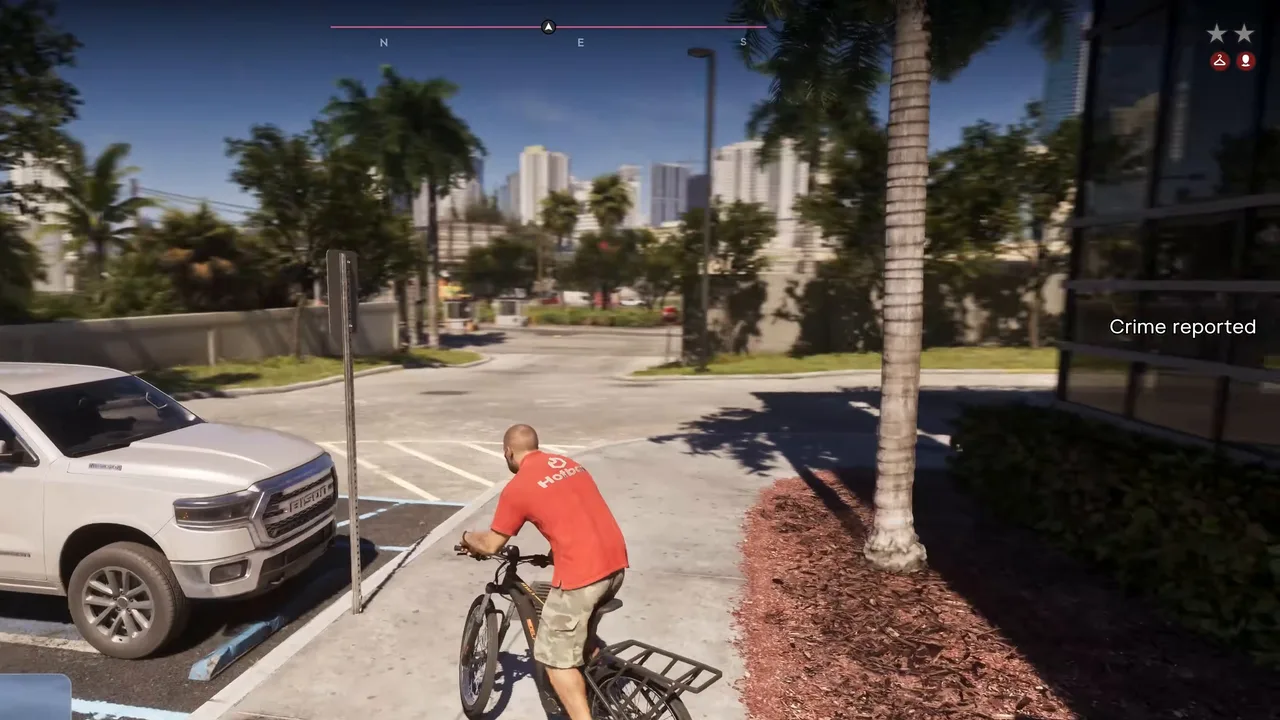 Out of the front door: Crime reported and two stars. Footage: Sirloin.
Step 7: Lose the police (Jason)
With two stars, just get away. In Sirloin’s run the stars looked grey from the start, which suggests the police were searching for him rather than chasing him. He rode along the service road past a tank farm, came off the bike jumping a fence and carried on on foot under the overpass.
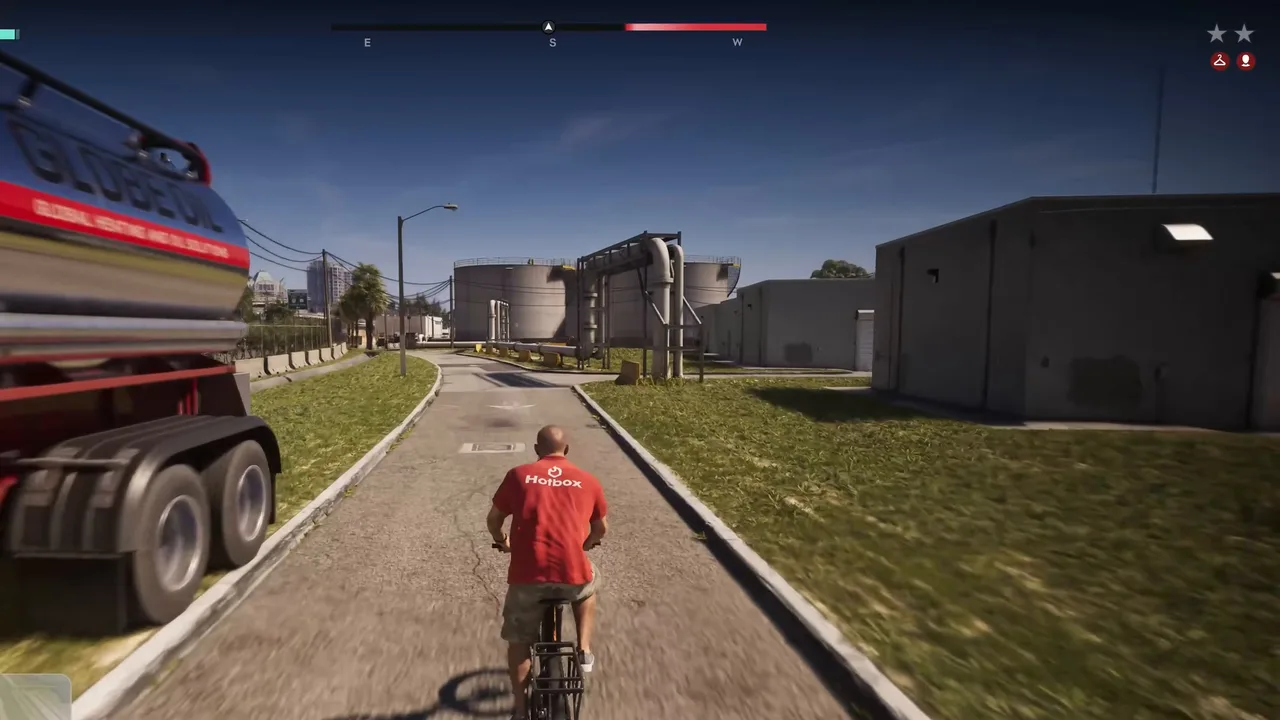 Riding away past the tank farm. Footage: Sirloin.
The stars went about 50 seconds after they appeared, with Jason running along a road in Salton. A Map updated notice followed and the mission ended there: no mission-passed banner and no payout in this run.
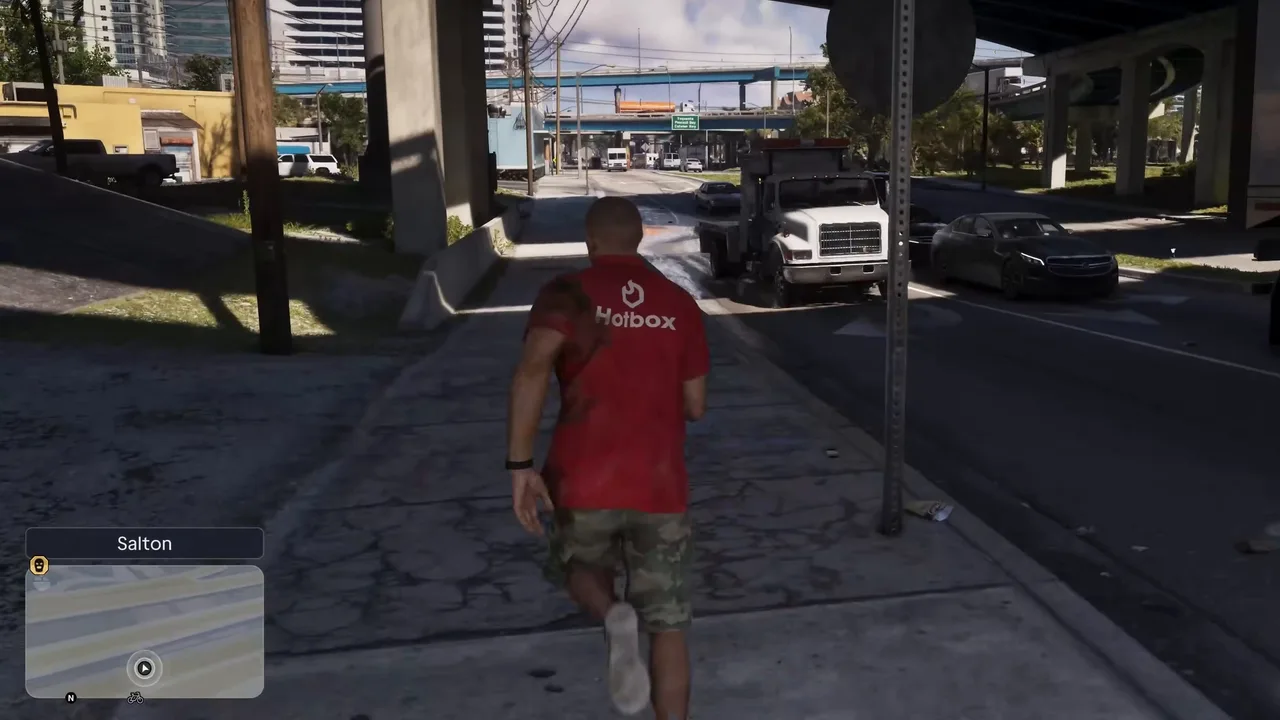 Wanted level gone near Salton. The mission is over. Footage: Sirloin.
A moment later a text from Lucia arrives in the crew’s group chat, Ajax Gym Job. Further up the thread, Raul wants Lucia to go in first and see what Kordell’s people have going on, Andrea warns that she can’t afford to look too curious, and Raul tells Lucia to just do what they ask. Lucia’s new message says KG wants to meet up and she won’t be able to talk. That meeting is Team Building, the next mission.
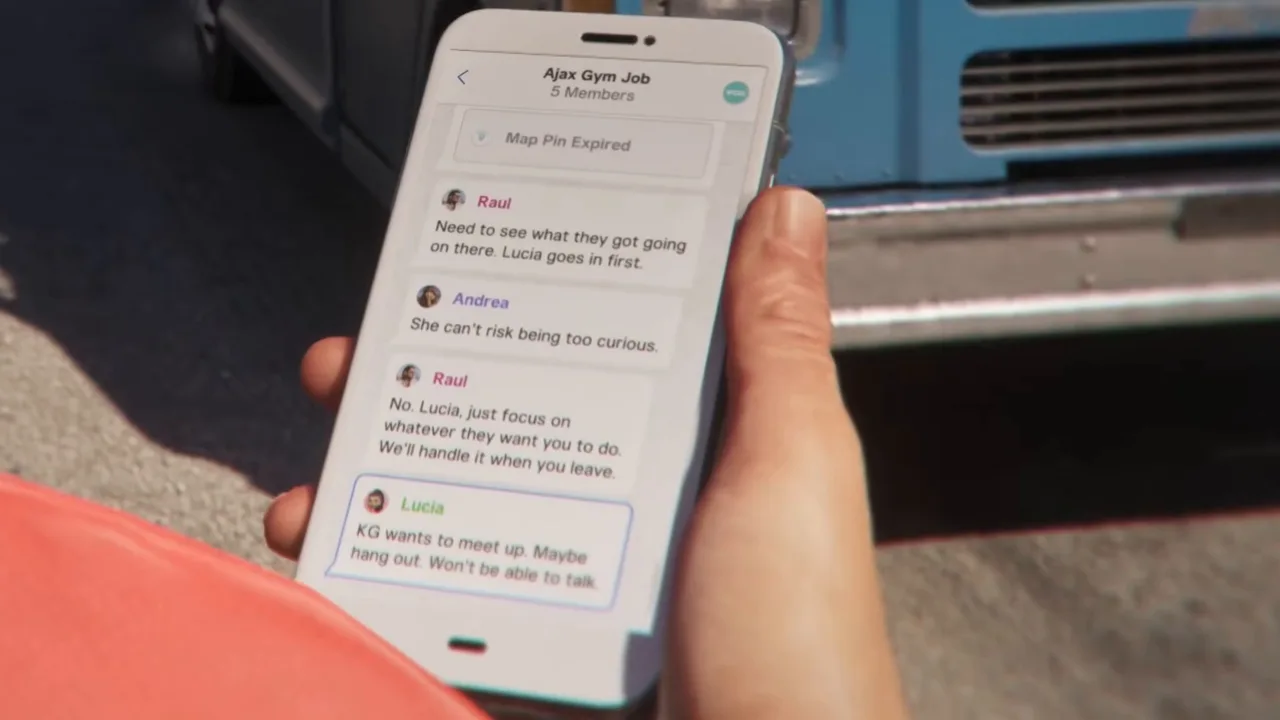 Lucia’s text sets up Team Building. Footage: Sirloin.
Rewards
- Cash: none shown. No payout appears, and there’s no mission-passed screen.
- Trophy: none tied to this mission.
- Story: the fingerprints on file at the TSS are swapped for Lucia’s, so she can get through airport security as the wine authenticator on the day of the heist. With Close Surveillance and Team Building, it’s one of the last pieces of prep before Fully Catered (#106) and the airport job itself.
Tips
- Go straight to the IT office. The reception computer and the open-plan desks don’t work. Save the countdown for the small room with the CCTV screens on the second floor.
- Pull the alarm before you go upstairs. Andrea won’t send Jason up until the building is empty, and the fire alarm by the lobby sign is the way to empty it.
- Take the roof exit. Walking out of the front past the firefighters cost Sirloin two stars. The roof is Andrea’s suggestion and keeps you away from the fire crew.
- Ditch the bike if you have to. Sirloin lost it at a fence and still shook the police on foot under the overpass.
- No rush to get there. The countdown only starts when the alarm goes off, so the ride over and the chat with the receptionist go at your own pace.
Related guides
- Previous in the story list: Close Surveillance (#103), Jason’s drone job, which opens at the same time. Next: Team Building (#105), then Fully Catered (#106).
- Where the plan comes from: Power Play (#100), ending with Andrea’s call.
- Jason’s first job inside the airport, also for Andrea: Too Much Baggage (#96).
- The same blue door, earlier in the story: Credit Check, where you first meet Andrea and Karim.
- All missions in order: GTA 6 missions. The cast: GTA 6 characters. Stockyard, Salton and the airport on the map regions guide and the live map.
Frequently Asked Questions
How do you start Delivery Method in GTA 6?
After Power Play, open the Story tab and pick Help Andrea under VCIA Takedown. It's Jason only. Go to Raul's planning room in Stockyard, press the intercom at the blue door by the ladder, and the mission title comes up as you walk in.
What is Help Andrea in GTA 6?
It's the Story-tab name for Delivery Method, story mission #104. The card says Andrea wants to set up a fake identity for Lucia for the airport heist and asks you to meet her at the planning room.
Which computer works in Delivery Method?
Not the reception computer and not the desks in the open-plan office. The one that takes the flash drive is in the IT admin's office on the second floor, a small room with a wall of CCTV screens and a server rack.
How do you cause an evacuation at the TSS office?
Pull the fire alarm on the lobby wall, next to the big Transport Security Services sign, with the Trigger prompt. The staff file out to their meeting point and the upstairs offices empty.
How do you avoid the police in Delivery Method?
Andrea suggests leaving by the roof to stay clear of the firefighters. Sirloin went out of the front door instead, got a Crime reported notice and two stars, and lost them in under a minute by riding and then running off toward Salton.
What do you get for Delivery Method?
No cash or mission-passed screen shows up in the run we watched, and no trophy is tied to it. The payoff is Lucia's new identity: the fingerprints on file are swapped for hers, so she can pass airport security as the wine authenticator.
Sources & Credits
Researched from these videos and official material, among others. Screenshots credit the creator whose footage they come from.