Jump to your step
 1
Go to Raul’s planning room · Jason
 2
Meet the crew
 3
Choose a pair of masks (Andrea)
 4
Talk to Karim and take the Dye Pack Jammer
 5
Drive to the Washington Beach Fleeca
 6
Rob the first bank
 7
Rob the small Fleeca in Ocean Beach
 8
Rob the big Fleeca on Thompson · Lucia
 9
Lose the cops and go to your apartment
 10
Meet Valentina
Credit Check: quick facts
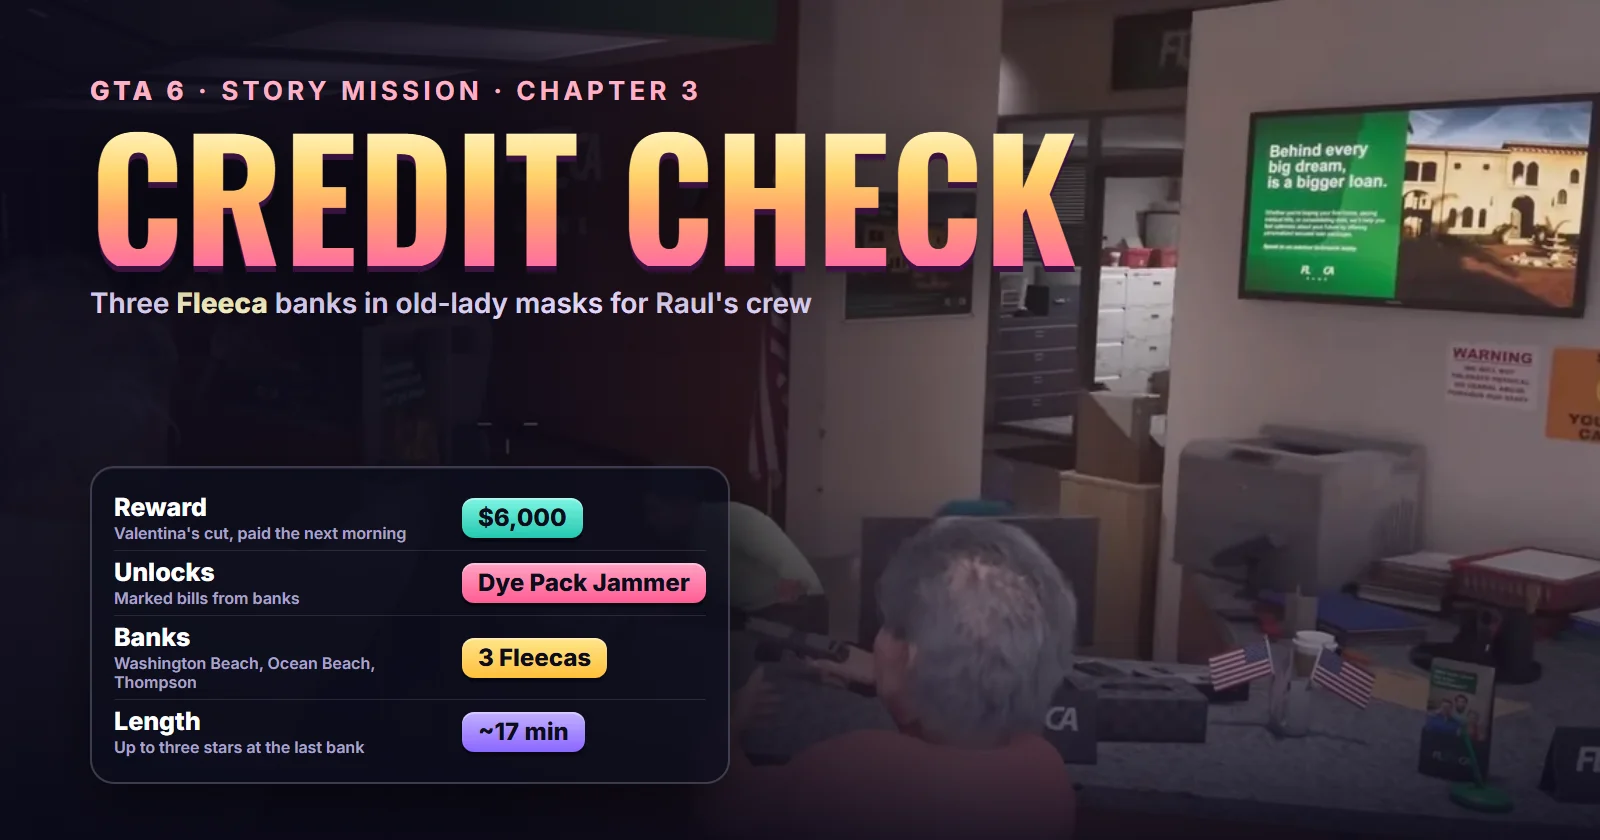
| Mission | Credit Check, story mission #64 |
| Chapter | Chapter 3 |
| You play | Jason and Lucia (Sirloin’s run plays the first two banks as Jason and the third as Lucia) |
| Given by | Raul Bautista, with Andrea and Karim at the base and Valentina at the end |
| Where it starts | Raul’s planning room: the blue door by the ladder in a graffiti alley, Stockyard |
| Main places | Fleeca banks in Washington Beach, Ocean Beach and on Thompson; the couple’s apartment |
| Vehicle | A clean Bravado ’07 Buffalo waiting outside |
| Unlocks after | Crosstown Traffic (#63) |
| Next in the story list | Steal the Zorrusso for Randy (#65) |
| Length | About 17 minutes, cutscenes included |
| Wanted level | Up to three stars on the last bank |
| Reward | Dye Pack Jammer, sticky bombs, $6,000 |
| Trophy | None |
| Required for 100% | Yes |
Mission briefing The story so far, how it unlocks, where it starts and who's who. Contains spoilers for Chapter 3.
The story so far (spoilers for Chapter 3)
Brian put Jason and Lucia in touch with his old cellmate Raul, a career bank robber. Raul finally met them in the middle of a police chase in First Impressions (#61), then sent them after the Guardia brothers’ cash in Crosstown Traffic (#63), with his tech man Karim on comms. On his yacht afterwards he told them to keep their phones on.
Credit Check is the call they were waiting for. Raul lets them into his base, introduces his people and explains what he’s really after: one big bank. Before that he wants seed money and a crew that can work fast, so the couple’s first proper job for him is three small branches in a single morning.
How Credit Check unlocks
It’s the Chapter 3 story mission after Crosstown Traffic (#63). Sirloin’s full Chapter 3 run had a stretch of free roam in between, then walked Jason straight to Raul’s place. If you haven’t seen Raul’s yacht scene yet, finish Crosstown Traffic first.
Where it starts
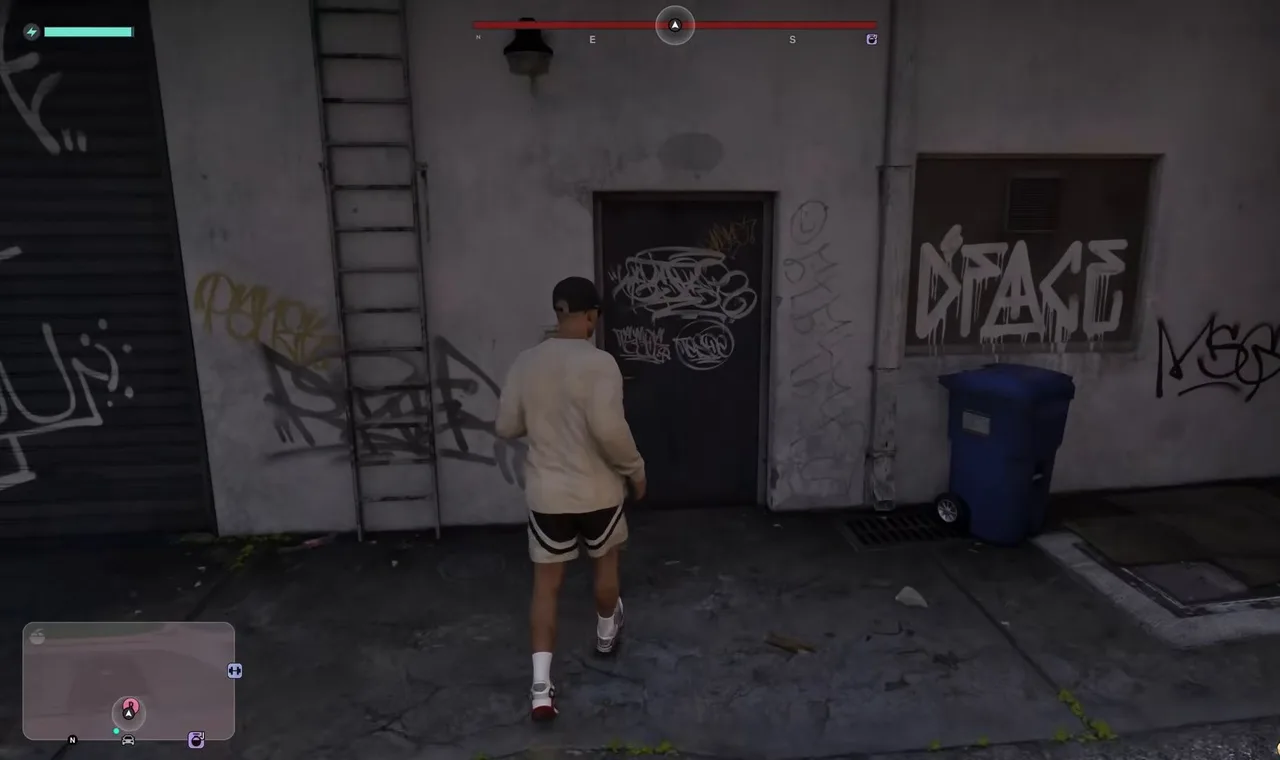
At Raul’s planning room in Stockyard, near the Bayside border. Walk into the parked-car lot covered in murals and buzz at the gate. A voice on the intercom tells you to come in and look for the blue door by the ladder: it’s in the alley behind, a battered door covered in tags with a steel ladder bolted to the wall on its left. Lucia joins Jason there.
Our map has no separate pin for this mission yet. See the Credit Check start on the live map, at Raul’s crew base in Stockyard. Where to find Raul: show Raul on the live map; his main spot is this base, where Andrea and Karim also give missions later.
Who’s who
- Raul Bautista: the bank robber running the crew. He wants “whales”, not corner-store stick-ups.
- Andrea: she runs the cons, and she picks your disguises.
- Karim: tech and comms. He cuts the alarms and hands out the gear. Raul jokes that he warms up to people in a couple of years.
- Valentina: Raul’s banker. You meet her at the end.
This walkthrough follows Sirloin’s no-commentary Chapter 3 run from the gate buzzer to the morning after. It is the only full footage of Credit Check we have, so where a second run might differ (which character you control, or a car swap during the escape), we say so.
Step 1: Go to Raul’s planning room (Jason)
Head to the blip in Stockyard and press the buzzer at the gate of the mural-covered lot. Once you’re let in, walk down the alley to the blue door by the ladder. Lucia meets Jason there, and Raul opens up.
The blue door by the ladder, the way into Raul’s planning room. Footage: Sirloin.
Step 2: Meet the crew
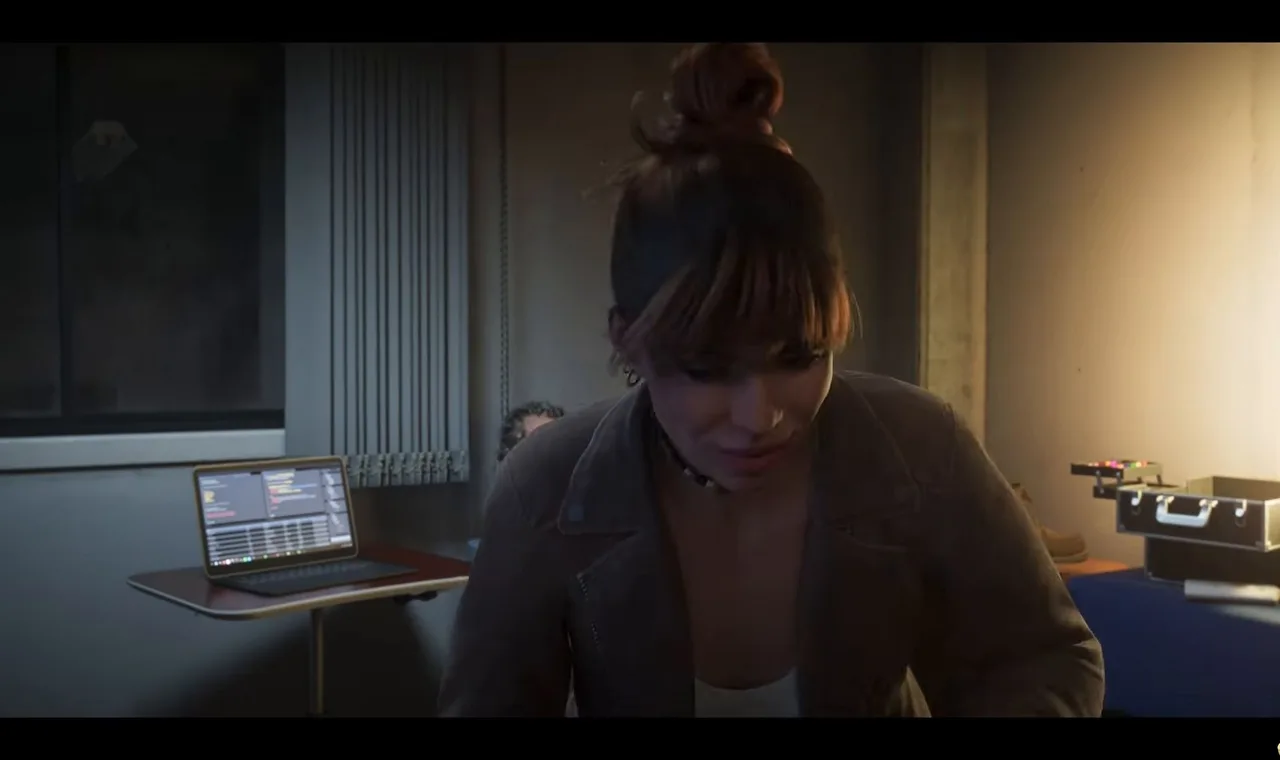
A cutscene plays inside. Raul offers water, whiskey or a bottle of mezcal, then gives the tour: the base is set up to be stripped and abandoned in about twelve minutes. He introduces Andrea, who runs the cons, and Karim, who barely looks up from his screens.
Andrea, who runs Raul’s cons. Footage: Sirloin.
Then the pitch. Raul knows the couple have done burglaries and stick-ups, but that isn’t how his crew works. There’s one job he wants: a big bank, a different game entirely, needing a smart, fast team. To get there they start on smaller branches. Raul picks the targets, part of the take goes to Jason and Lucia, and the rest funds the big job. He and Karim will be on comms the whole time.
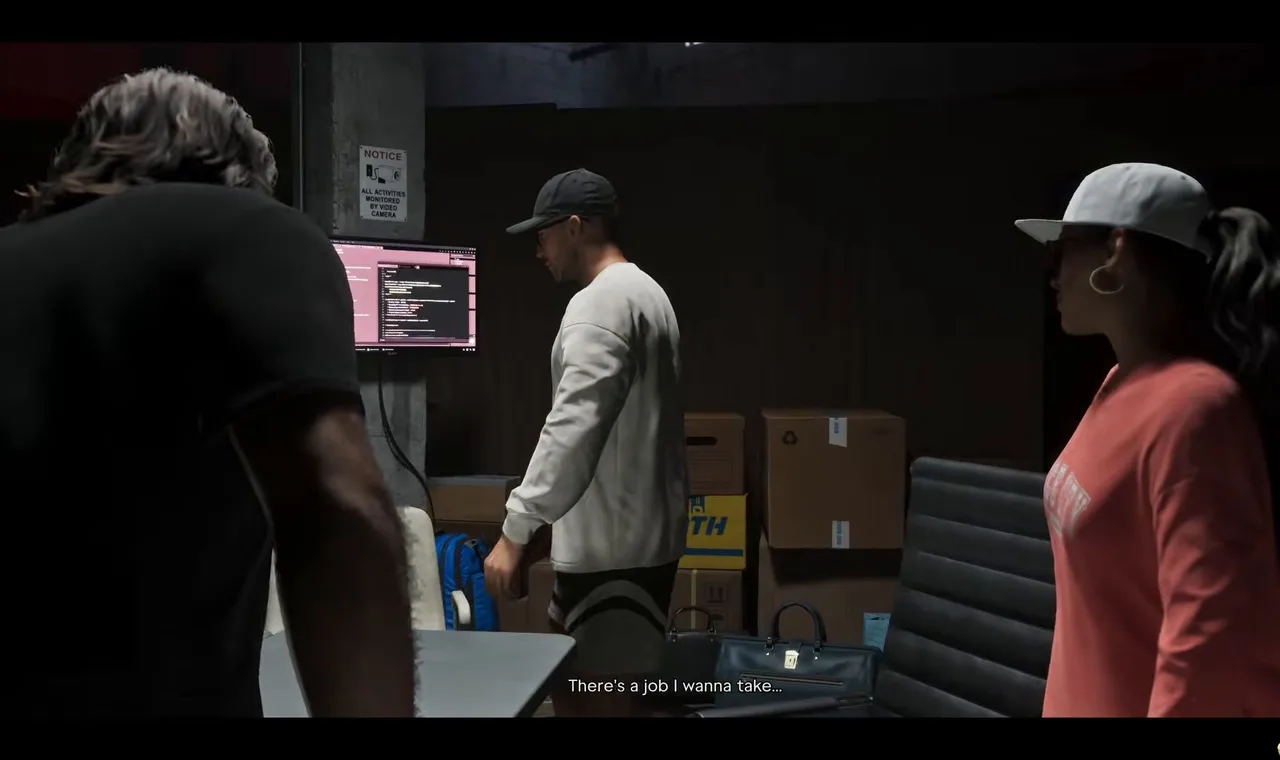 Raul names the real goal: one big bank. Footage: Sirloin.
Step 3: Choose a pair of masks (Andrea)
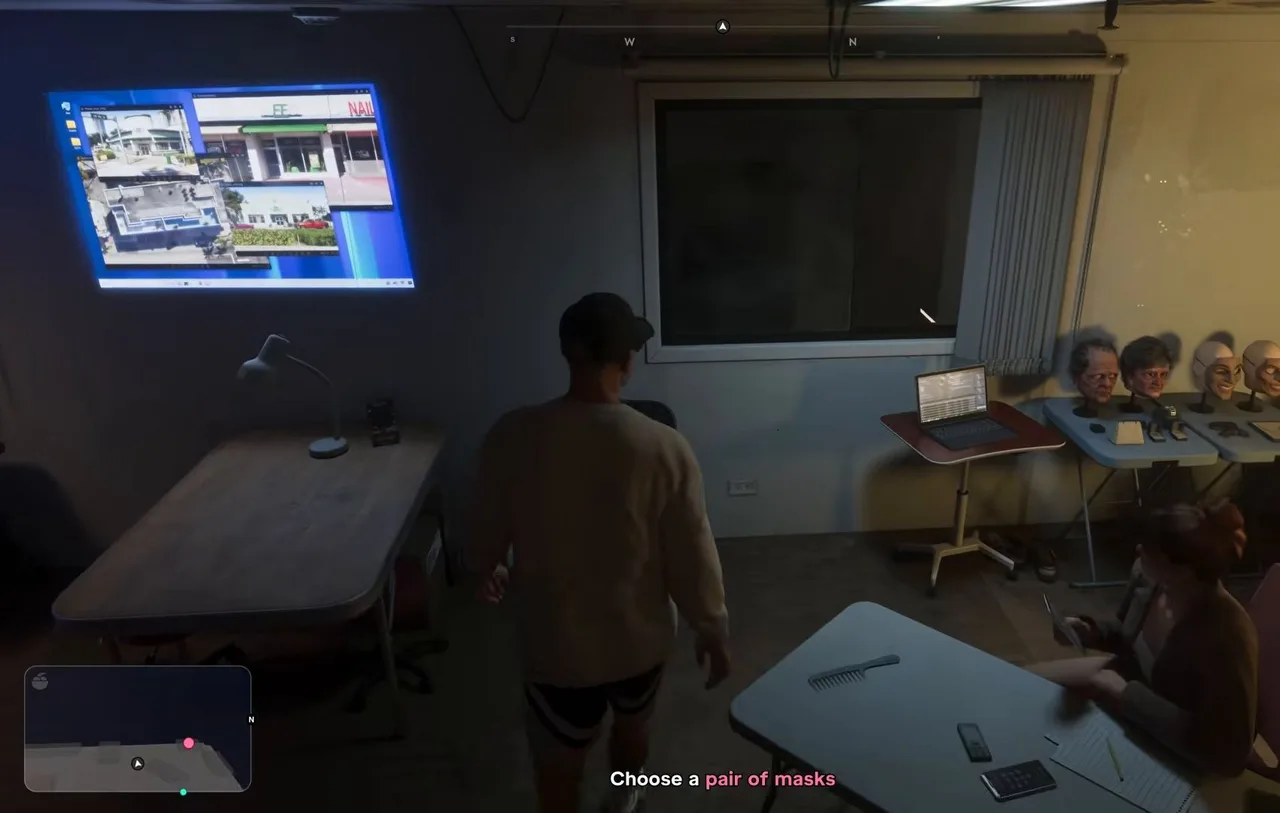
Control returns upstairs. The objective is Talk to Andrea, then Choose a pair of masks. She has laid out several prosthetic heads on a table under a wall screen showing bank photos. Andrea’s own favourites are the old-age ones: she enjoys knocking people flat dressed as somebody’s grandmother. Sirloin took the grey-haired old-lady masks, and the rest of this guide shows those.
Choose a pair of masks: the heads on the table by the laptop. Footage: Sirloin.
The masks matter: a hint at the first bank says you can equip a mask from your loadout before a crime to hide your identity, and the police later describe the robbers as senior citizens.
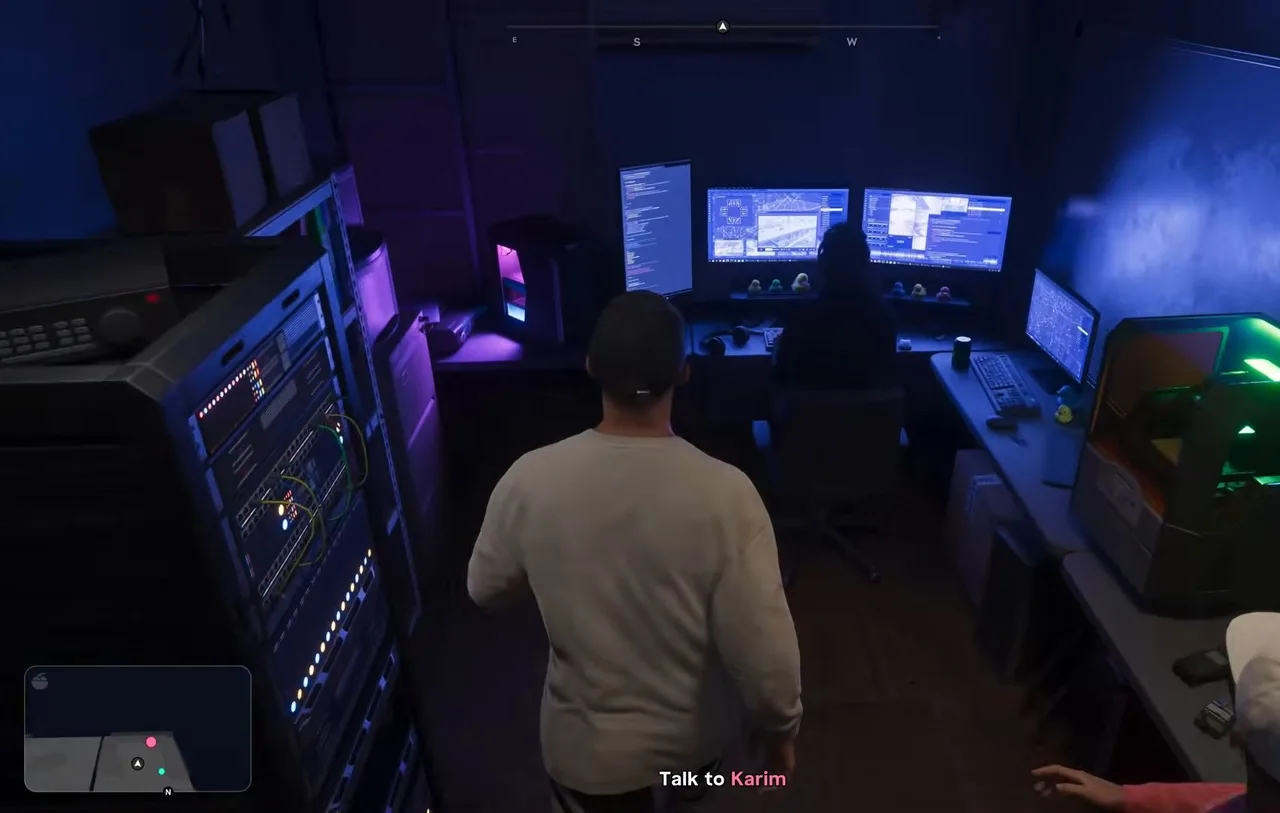
Step 4: Talk to Karim and take the Dye Pack Jammer
Next, Talk to Karim at his bank of monitors. Banks carry marked bills and dye packs, he reminds you, so he gives you a box to keep in your bag that disables anything nearby: the Dye Pack Jammer. He also hands over sticky bombs for door handles and reinforced doors.
Talk to Karim, at the monitors in the back room. Footage: Sirloin.
The pickups show on the right of the screen, and the objective becomes Leave the planning room.
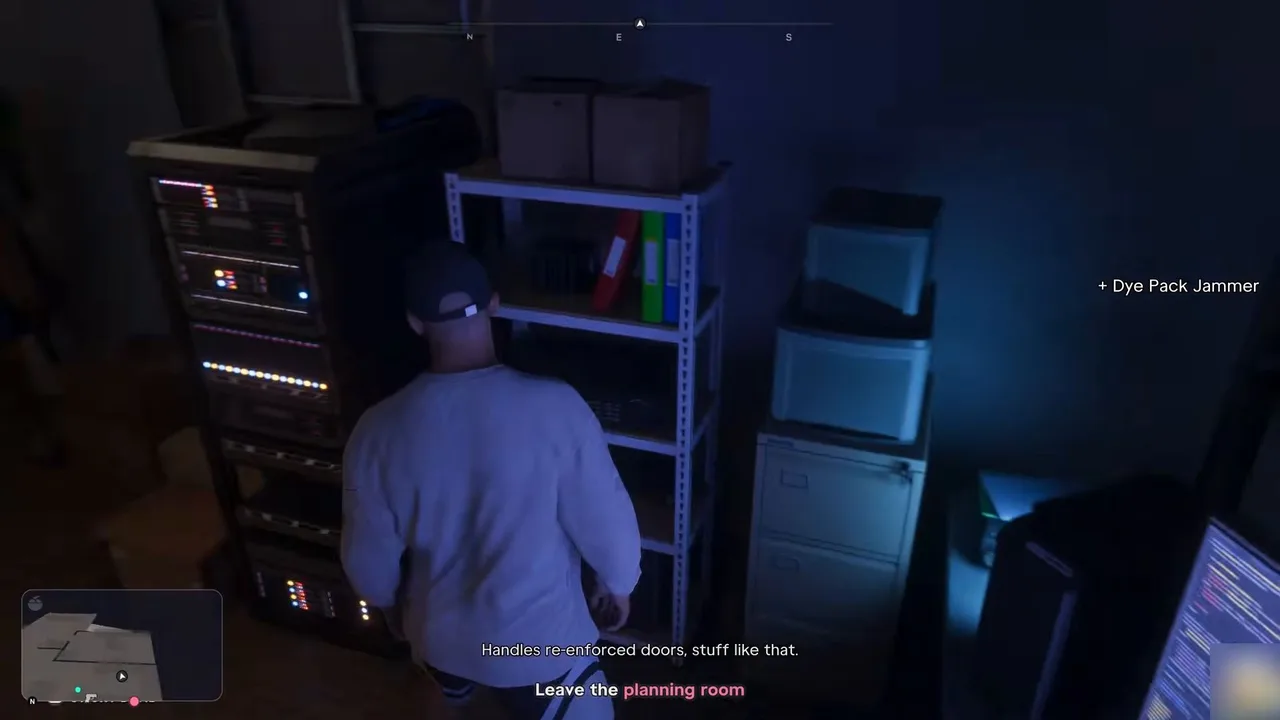 + Dye Pack Jammer. The sticky bombs come with it. Footage: Sirloin.
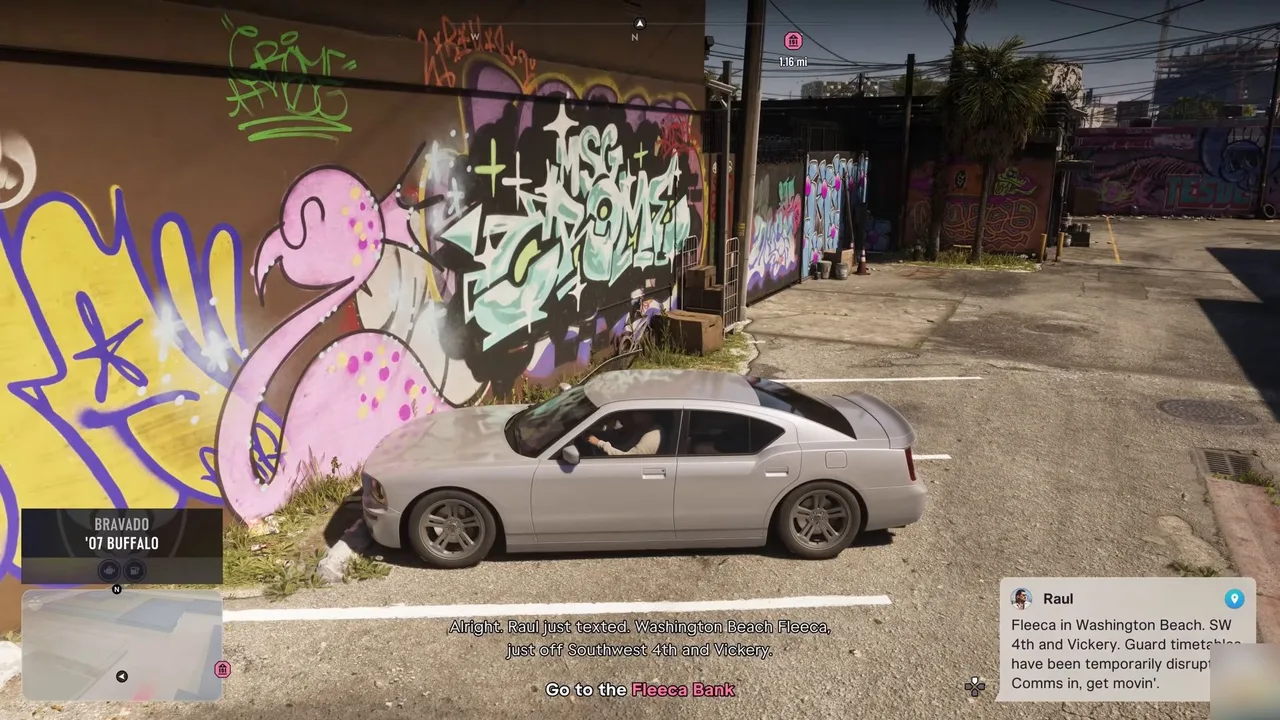
Step 5: Drive to the Washington Beach Fleeca
A clean, unmarked Bravado ‘07 Buffalo waits in the lot. Raul’s text gives the first target: the Fleeca in Washington Beach, at SW 4th and Vickery, with a note that the guards’ schedule has been disrupted. The objective is Go to the Fleeca Bank.
The clean car and Raul’s first address. Footage: Sirloin.
On the way Raul sets the rules. This bank is the first of three today. No going in hot, no shooting up the place: in, take what you need, out, and on to the next branch before the police catch up. Karim cuts the alarm the moment you walk in, which buys a couple of minutes before it reboots. If it goes off anyway, you have about 20 seconds before the first patrol car arrives. Karim also has clean cars parked near each bank in case you need to swap.
Step 6: Rob the first bank
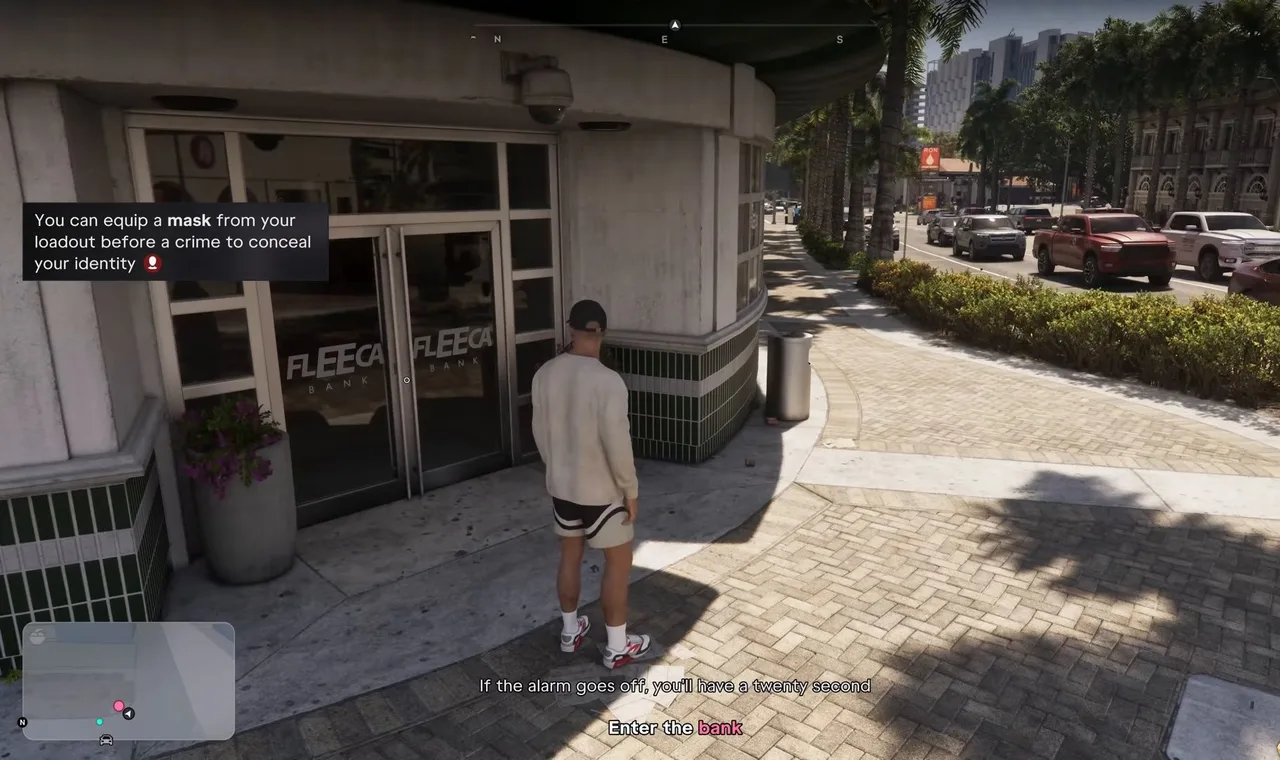
Park outside the bank, then Enter the bank. Put the masks on before you walk in. The tip on screen says it plainly: a mask from your loadout hides your identity for the crime.
Enter the bank. Mask on first. Footage: Sirloin.
Inside, the objective is Rob the bank. Aim at the guard and hold the intimidate button so he stands down; the game prompts this the first time. Staff and customers put their hands up. A second tip explains safes: the code is sometimes written down somewhere in the branch or known by a staff member, and Focus shows which employees might know it.
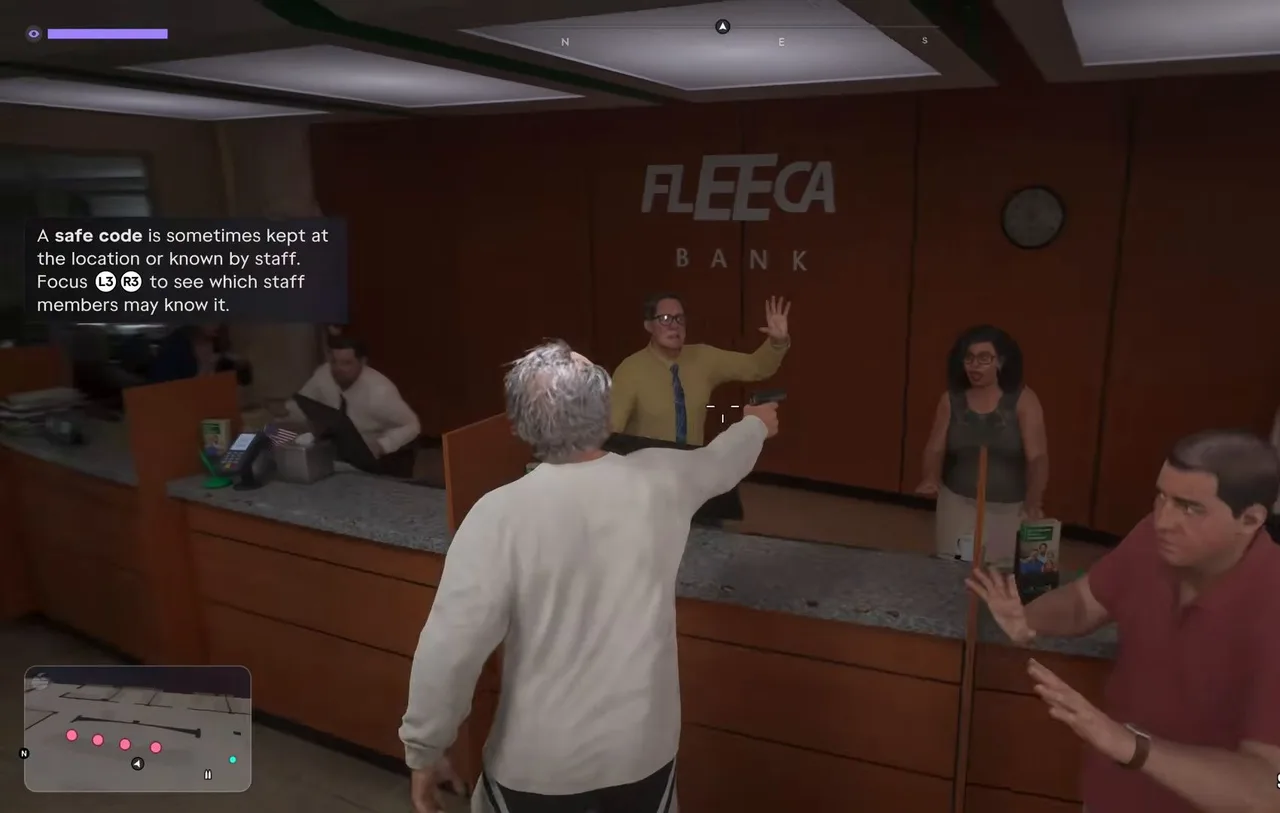 Hands up at the counter. The tip explains how to find a safe code. Footage: Sirloin.
Then empty the teller drawers. Each stack shows as Marked Bills and added about $360 at a time in Sirloin’s run. Thanks to the jammer, nothing bursts as you leave.
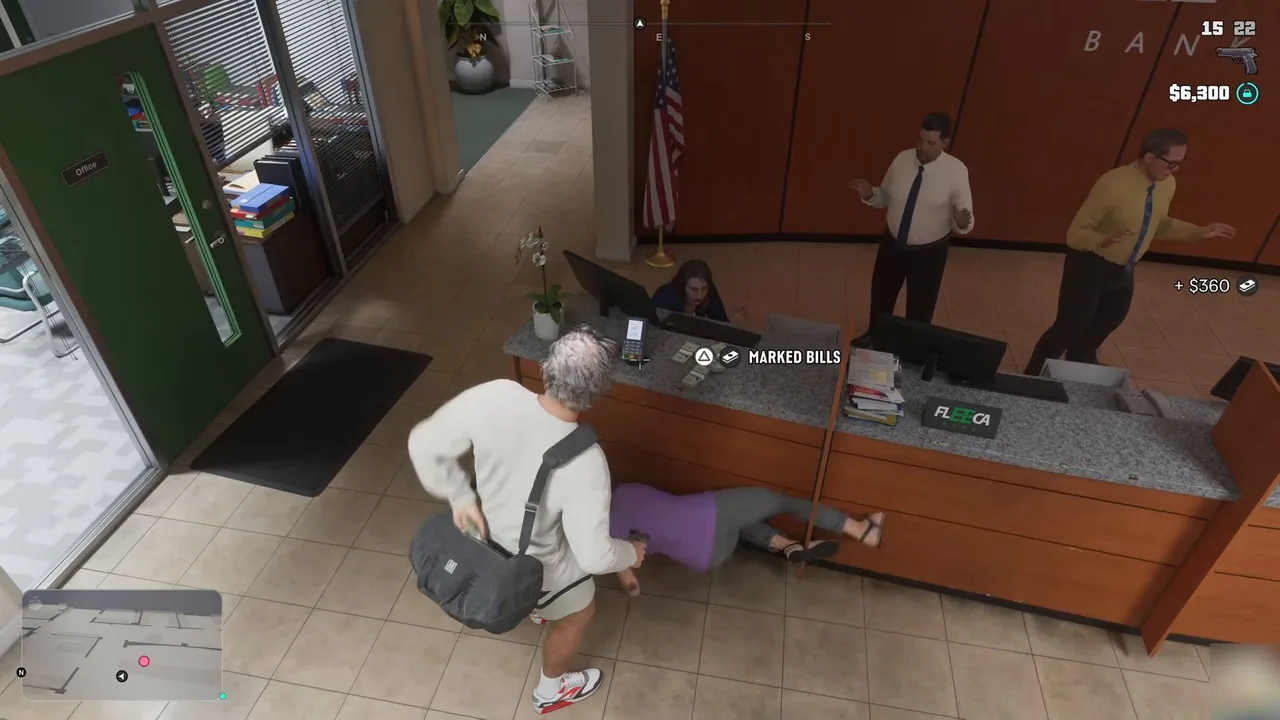 Marked bills from the drawers, about $360 a stack. Footage: Sirloin.
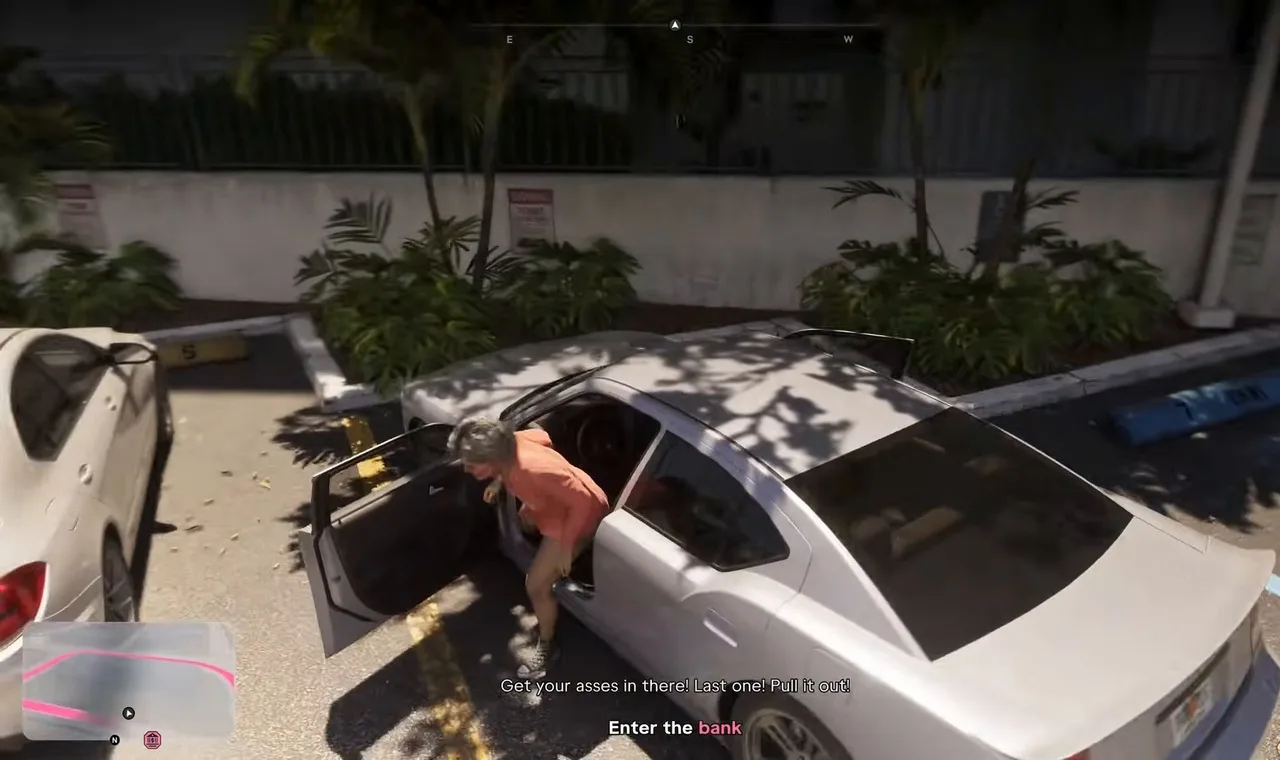
Don’t linger. In Sirloin’s run the alarm came back on as the couple reached the car, and a police search started. Drive off calmly. Dispatch reports that the suspects appear to be senior citizens, and Raul is pleased: nobody got crazy, nobody got greedy.
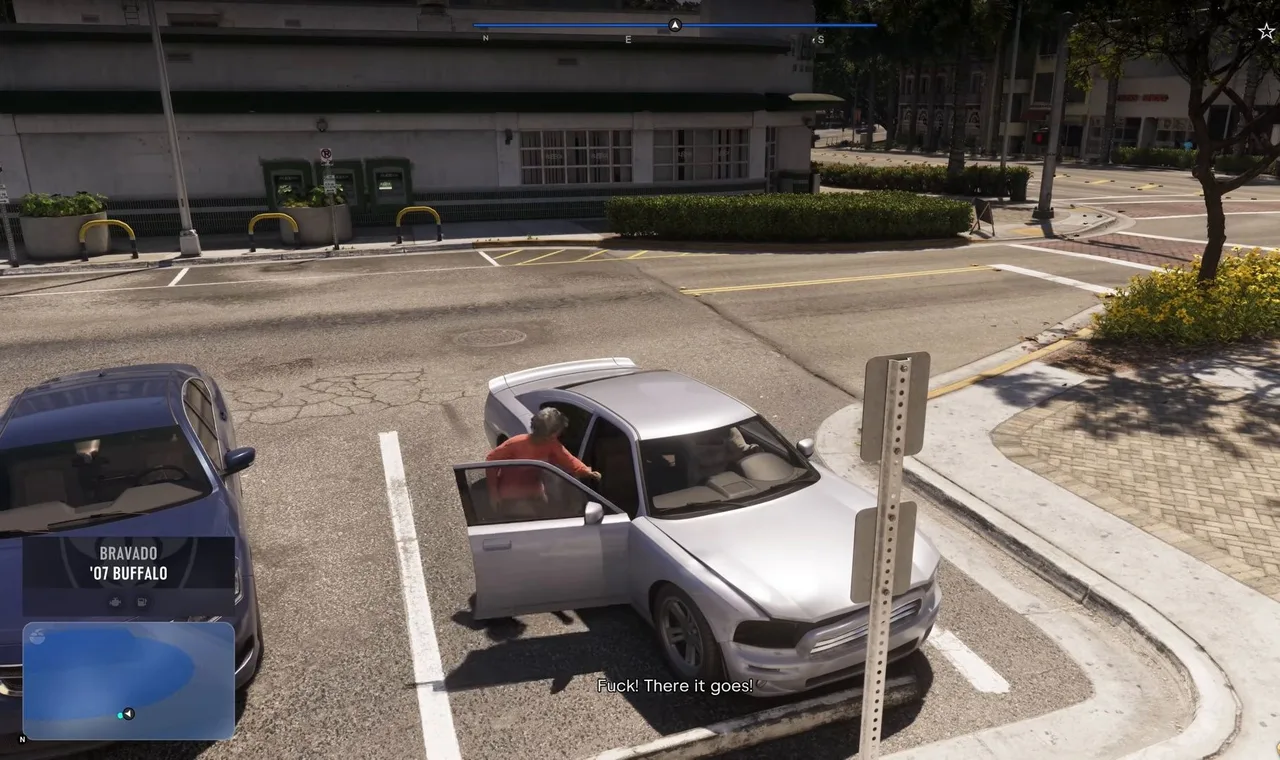 Back to the car as the alarm goes off. Footage: Sirloin.
Step 7: Rob the small Fleeca in Ocean Beach
Karim sends the second ping: a small Fleeca in Ocean Beach, between Thompson and Atlanta. Andrea scoped it last week. There’s a small safe behind a partition: use a sticky bomb to get through and blow the safe if you don’t have time to open it properly, or get the combination out of a teller, or find it written down somewhere. Raul’s advice: keep up the pace, because the faster you hit all three, the less time the police have to organise.
The small Ocean Beach branch. One goes in, one waits. Footage: Sirloin.
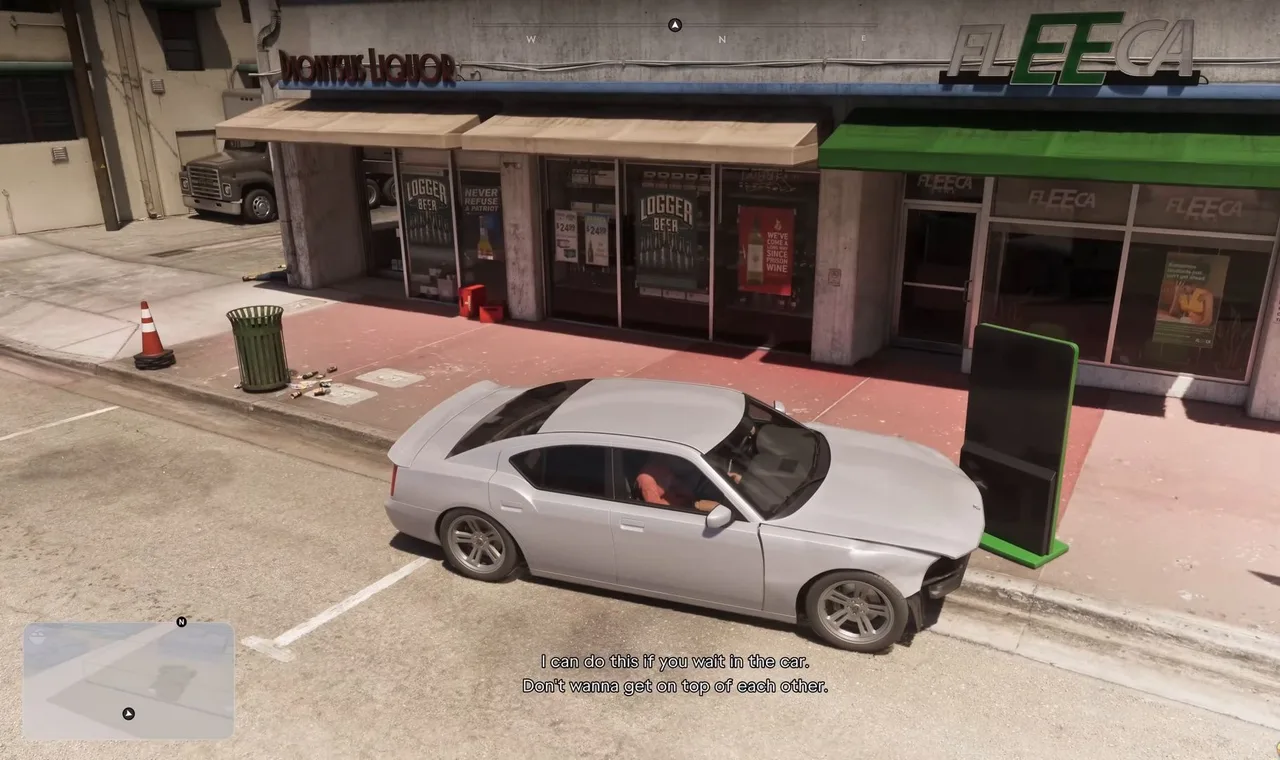
The branch is tiny, so the couple agree that one of them goes in while the other waits in the car. In Sirloin’s run Jason went in alone. Hold up the clerk and take the drawer cash, then go for the back room. Sirloin picked the lock on the green staff door rather than using a sticky bomb. Raul reminds you over comms that casualties mean noise, and noise means more police.
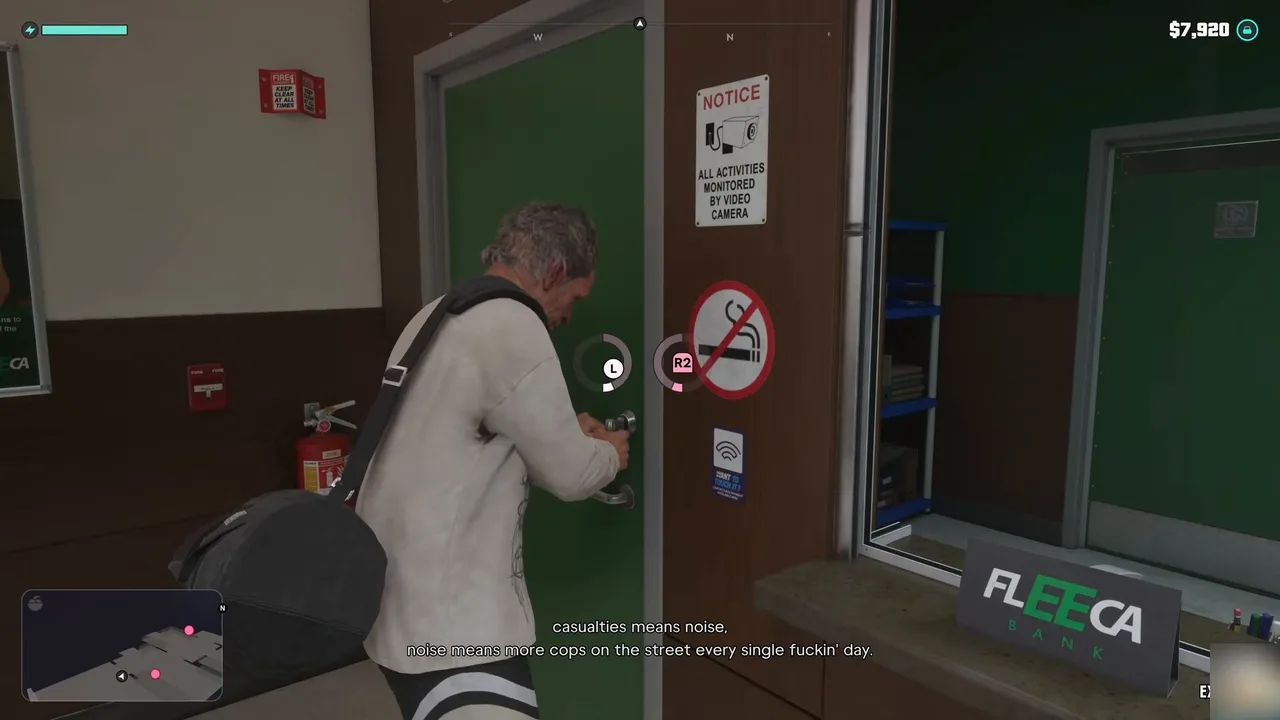 Picking the lock on the staff door to reach the safe. Footage: Sirloin.
The safe sits on a filing cabinet in the back office, and Sirloin’s opened safe paid $3,060. A countdown runs on comms (60 seconds, then 30), so grab it and get out before the alarm comes back.
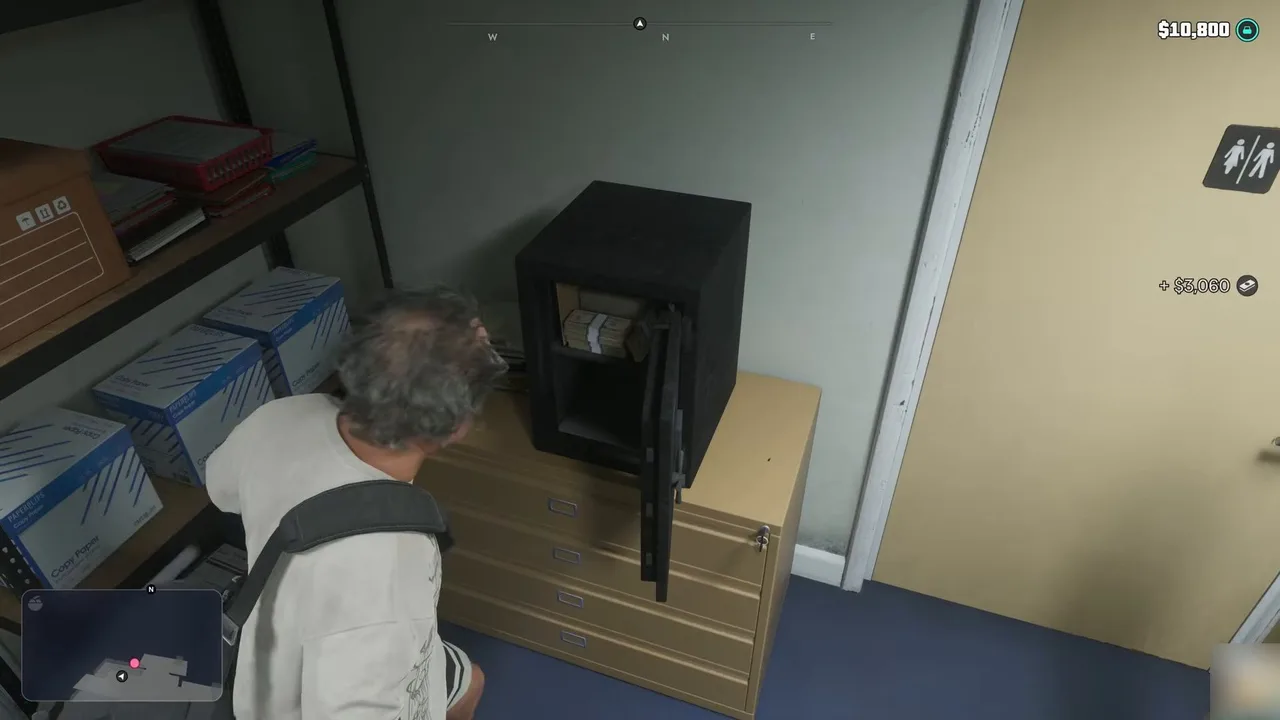 The back-room safe: +$3,060 in Sirloin’s run. Footage: Sirloin.
Step 8: Rob the big Fleeca on Thompson (Lucia)
Head south. The last target is a bigger Fleeca on Thompson. The crew warns you on the way: lots of registers, and a large safe in the back. Both of you go in this time, and Sirloin’s run switches to Lucia. The objective is Enter the bank again.
The last bank of the three. Footage: Sirloin.
Inside, it’s the same routine: threaten the staff, get people on the floor and work along the registers. Watch for the safe in the back if you have time.
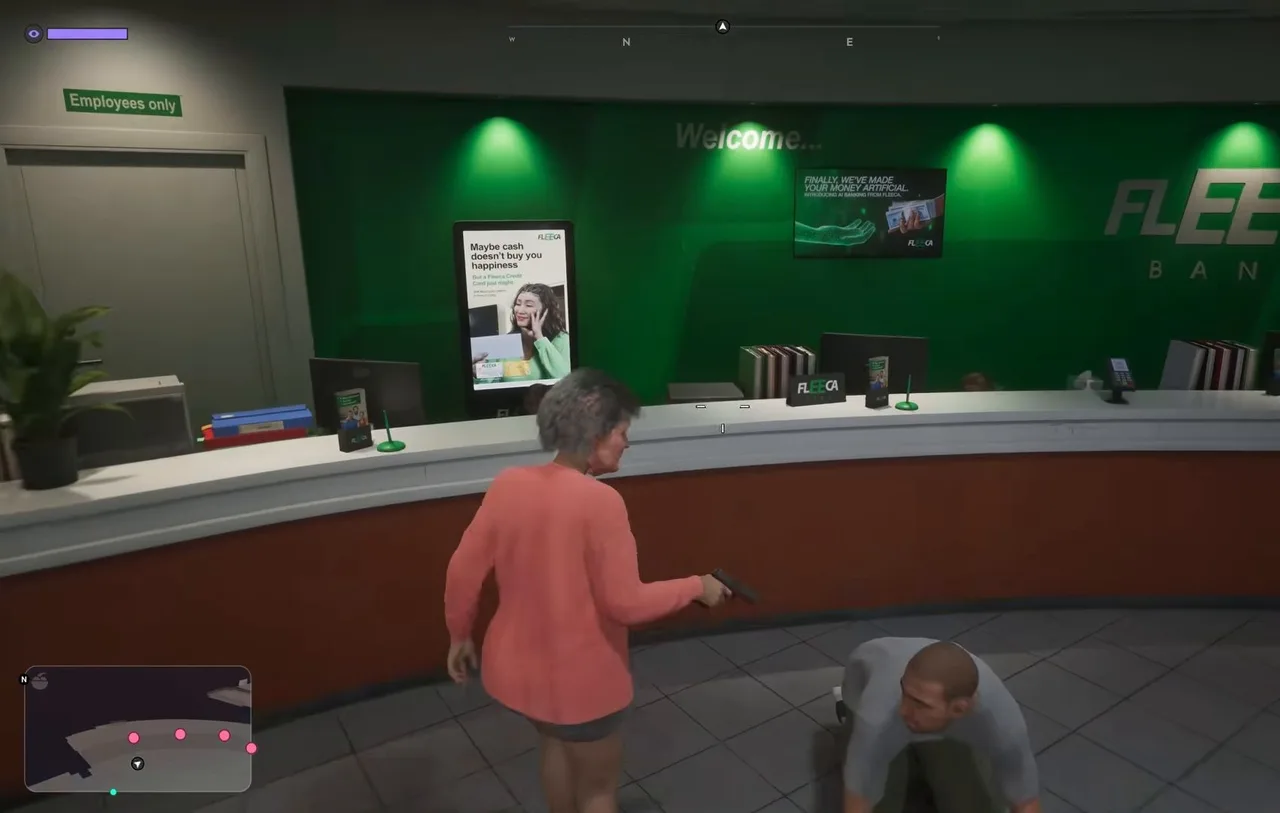 Lucia inside the third Fleeca. Footage: Sirloin.
This is where it goes wrong. Someone calls it in on a cell phone and the alarm is set off remotely, ahead of Karim’s window. Three stars appear while you’re still at the drawers. Raul tells you to take what you’ve got and leave. Do that: the job doesn’t need every drawer.
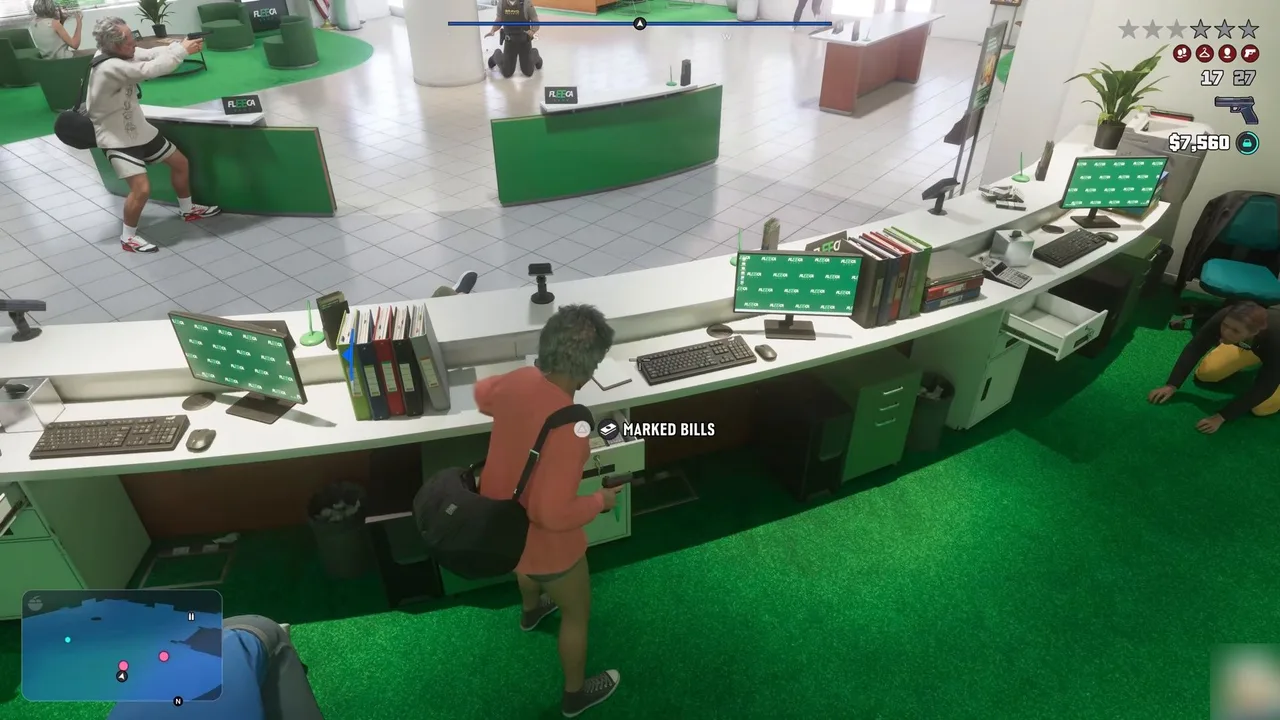 The alarm goes early at the third bank. Grab what you have and go. Footage: Sirloin.
Step 9: Lose the cops and go to your apartment
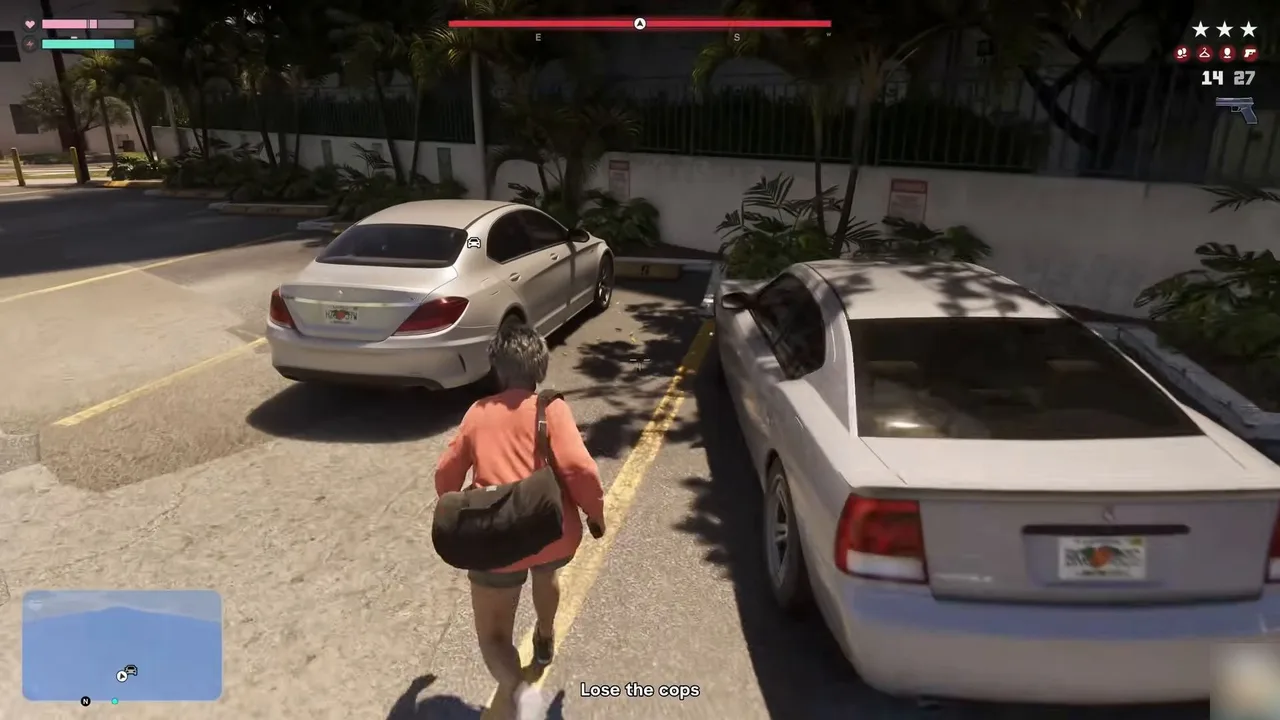
Back to the car with the objective Lose the cops. Dispatch soon broadcasts that the suspects are in a white sedan and asks for air support, so get out of sight quickly. Use the side streets and break line of sight; Karim’s clean cars near each bank are there for exactly this. Sirloin lost them within about a minute.
Lose the cops, with three stars on. Footage: Sirloin.
Once you’re clear, Raul tells you to take the stash home and lay low for the night. The objective becomes Go to your apartment. Just drive there normally.
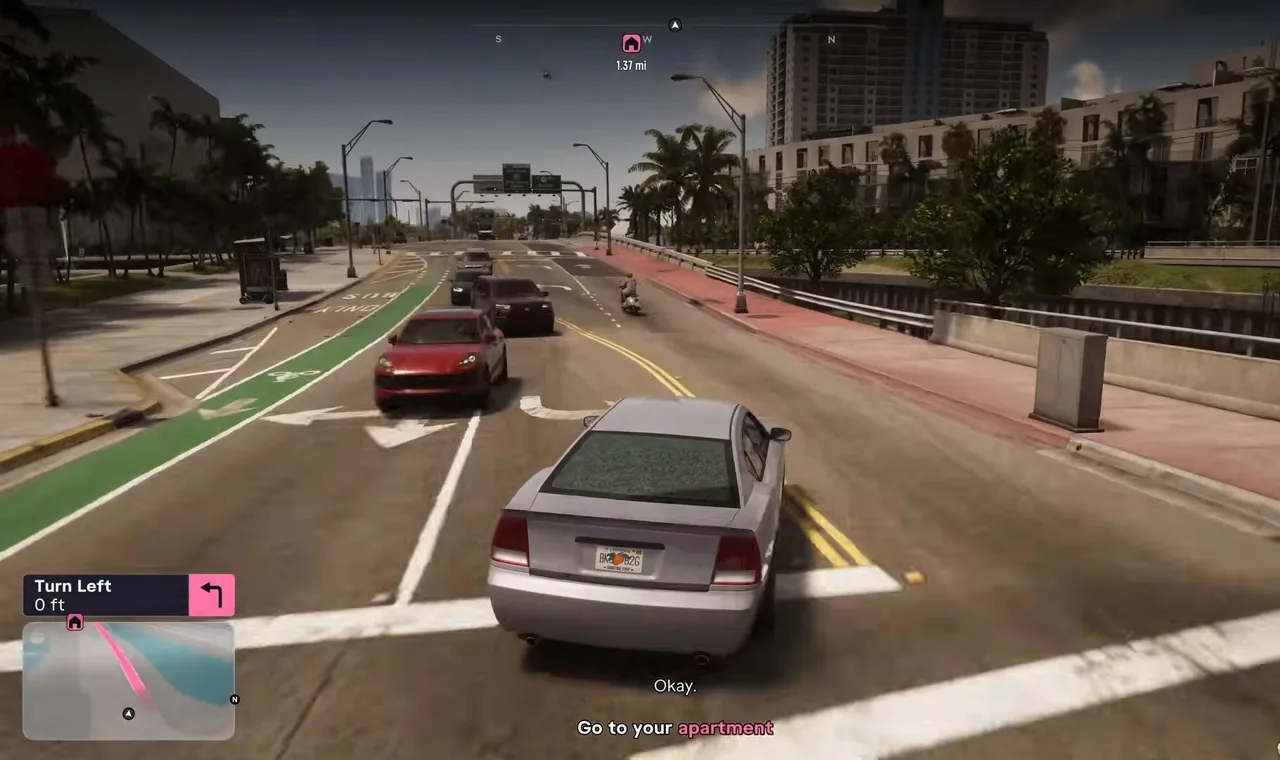 Go to your apartment. No one is chasing you now. Footage: Sirloin.
Step 10: Meet Valentina
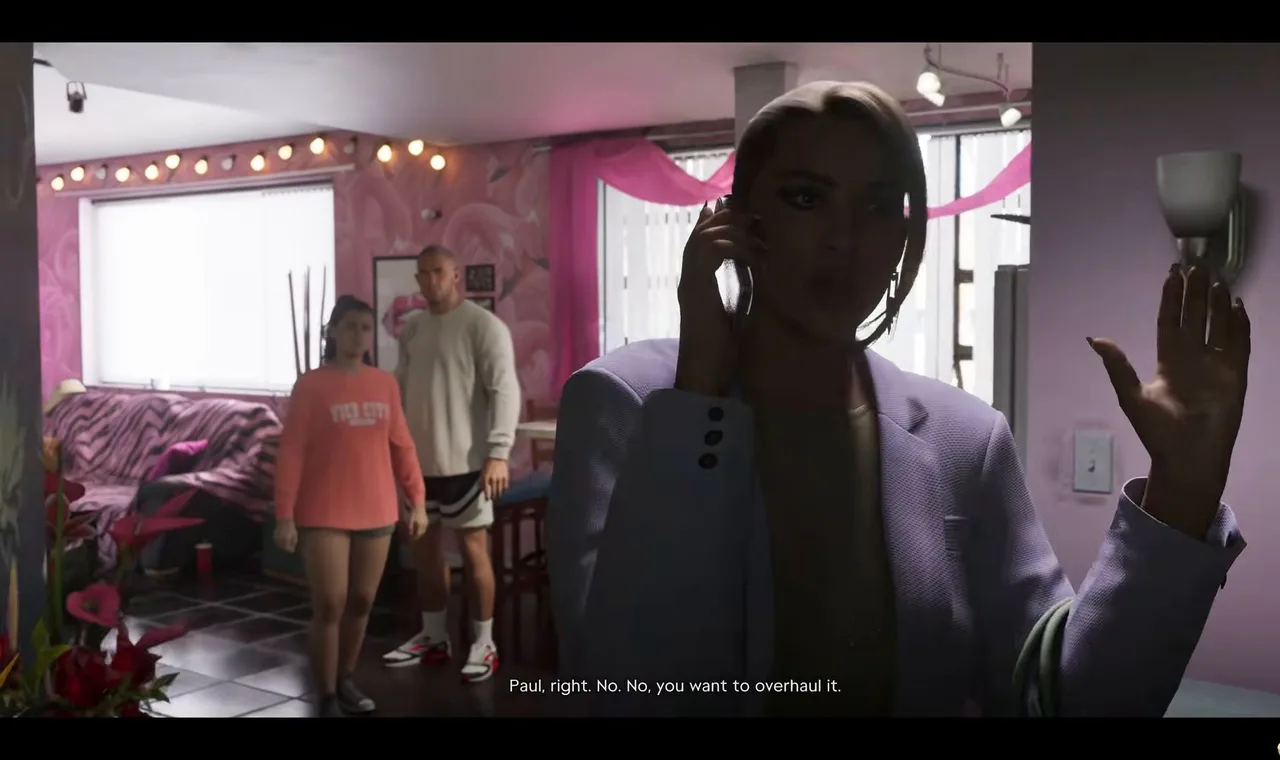
At home, Jason and Lucia are still buzzing and briefly wonder about grabbing a bag and disappearing. One bag isn’t enough. Then someone knocks: Valentina, with a bodyguard (her “bagman”). Raul sent her. She’s the bank, she says: she takes Raul’s money and moves it through a shell company to an offshore trust and back, so nobody can tell where it came from. If you want to buy real things, property for example, you need clean money. She leaves with the cash. After the door closes, one of them points out that she just walked off with all their money; the other thinks a woman like that could take them places.
Valentina, Raul’s banker, collects the stash. Footage: Sirloin.
The next morning, at the kitchen counter, the couple’s cut lands: Valentina bucked you $6,000. They talk about whether to tell Raul about their encrypted hard drive (not yet), and the mission is over.
Rewards
- $6,000, sent through BuckMe by Valentina the morning after. That’s the couple’s share. The marked bills from the three banks (Sirloin’s counter showed about $15,000 by the end of the third) go to Valentina to fund Raul’s big job.
- The Dye Pack Jammer. A tip right after the mission says it lets you steal marked bills from banks and payday loan stores, and a second tip suggests hitting them with your partner as backup. Before you have it, dye packs ruin the cash once you leave the building, as GameSpot and Vice City Dispatch both warn. The prologue shows what that looks like.
- Sticky bombs, from Karim.
- Bank robberies. With the jammer, the banks on the map become a money source. Our Cartel Heist guide covers how these differ from the story heist, and the money guide has what they pay. Open the live map with every bank.
- No trophy. None is listed for Credit Check.
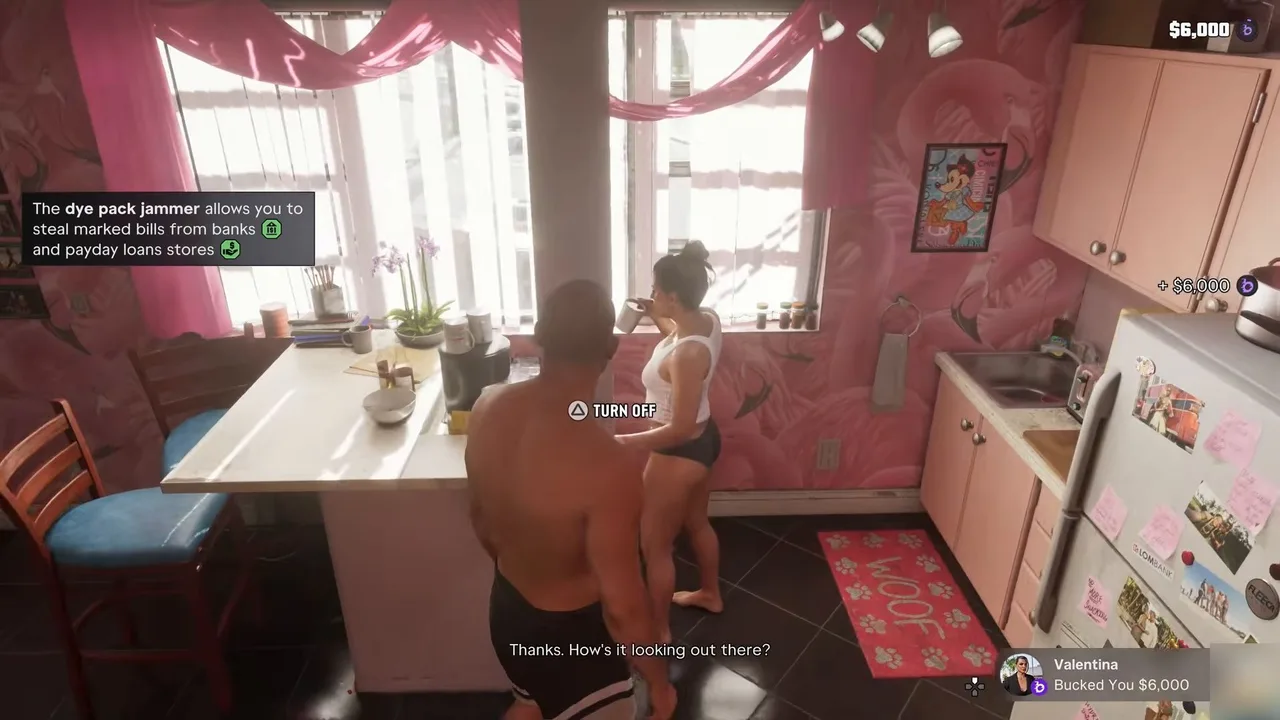 The morning after: Valentina’s $6,000 and the Dye Pack Jammer tip. Footage: Sirloin.
Can you fail Credit Check?
Sirloin’s run didn’t fail, so we haven’t seen the mission’s own fail messages. The real risks are the usual ones: getting killed or arrested during the three-star escape, or wrecking the car with the bag inside. Raul also wants no casualties. Shooting staff or customers didn’t come up in this run, but he says every casualty means more police on the streets, so we’d assume a messier robbery only makes the escape harder.
Tips
- Wear the masks. The robbers are only described as senior citizens. A mask from your loadout hides who you are, which matters when you start robbing banks on your own.
- Use Focus for the safe code. It shows which staff might know the combination. That’s quieter than a sticky bomb and saves time on the countdown.
- Don’t get greedy at the third bank. The alarm there goes off early whatever you do. Leave when Raul tells you to.
- Change cars if the heat sticks. Dispatch broadcasts your car’s description. Karim’s clean cars near each bank, or simply breaking line of sight in side streets, shake the three stars.
- Keep the jammer in mind afterwards. Payday loan stores carry marked bills too, and now you can take them.
Related guides
- Previous in the story list: Caught Slipping (#62), then Crosstown Traffic (#63), Raul’s cash grab on the metro and the river. Before that: First Impressions (#61), the couple’s first meeting with Raul. See all GTA 6 missions.
- Next: Steal the Zorrusso for Randy (#65), where you get the Key Cloner. Then Raul’s Next Job (#66) and Sinfrontera National Bank (#67), the first look at the big bank Raul mentions here.
- Where Raul’s story is heading: The Cartel Heist, the chapter’s finale.
- More from Chapter 3: Yasmani’s jobs (the Snap Gun, and why you want the jammer before payday loan jobs), Top Billing and Boobie Time.
- Who’s who: GTA 6 characters. Money and banking: money guide and Buck Me, where the BuckMe app comes from. Guns for the jobs ahead: weapons guide. Valentina’s spot is on the live map too.
Frequently Asked Questions
How do you get the Dye Pack Jammer in GTA 6?
Play the Chapter 3 story mission Credit Check. Karim hands it to you in Raul's planning room along with sticky bombs. Once you have it, dye packs in bank and payday loan cash no longer ruin the bills.
Where does Credit Check start?
At Raul's planning room in Stockyard, on the Bayside side. Buzz at the gate of the graffiti-covered lot, then go to the blue door next to the wall ladder in the alley behind it.
How much money do you get for Credit Check?
Your cut is $6,000, paid into BuckMe by Valentina the morning after. The marked bills you carry out of the three banks, around $15,000 on Sirloin's counter, go to Raul's money manager to fund the big job.
Which banks do you rob in Credit Check?
Three Fleeca branches in one run: one in Washington Beach at SW 4th and Vickery, a small one in Ocean Beach, and a bigger branch on Thompson. Raul texts each address as you go.
Who is Valentina in GTA 6?
Raul's banker. She turns up at Jason and Lucia's apartment at the end of Credit Check, takes the cash and explains that she moves his money through shell companies and offshore trusts so it can be spent on real things like property.
Can you rob banks on your own after Credit Check?
Yes. The game tells you the Dye Pack Jammer lets you steal marked bills from banks and payday loan stores, and suggests bringing your partner as backup. Our map shows every bank.
Sources & Credits
Researched from these videos and official material, among others. Screenshots credit the creator whose footage they come from.
- GTA 6 - Full Chapter 3 Walkthrough (No Commentary) 4K · Sirloin
- GTA 6 - 13 Things I Wish I Knew · GameSpot
- 15 Ways to Make Money in GTA 6, Ranked Worst to Best · Vice City Dispatch