Jump to your step
Mall Rats: quick facts
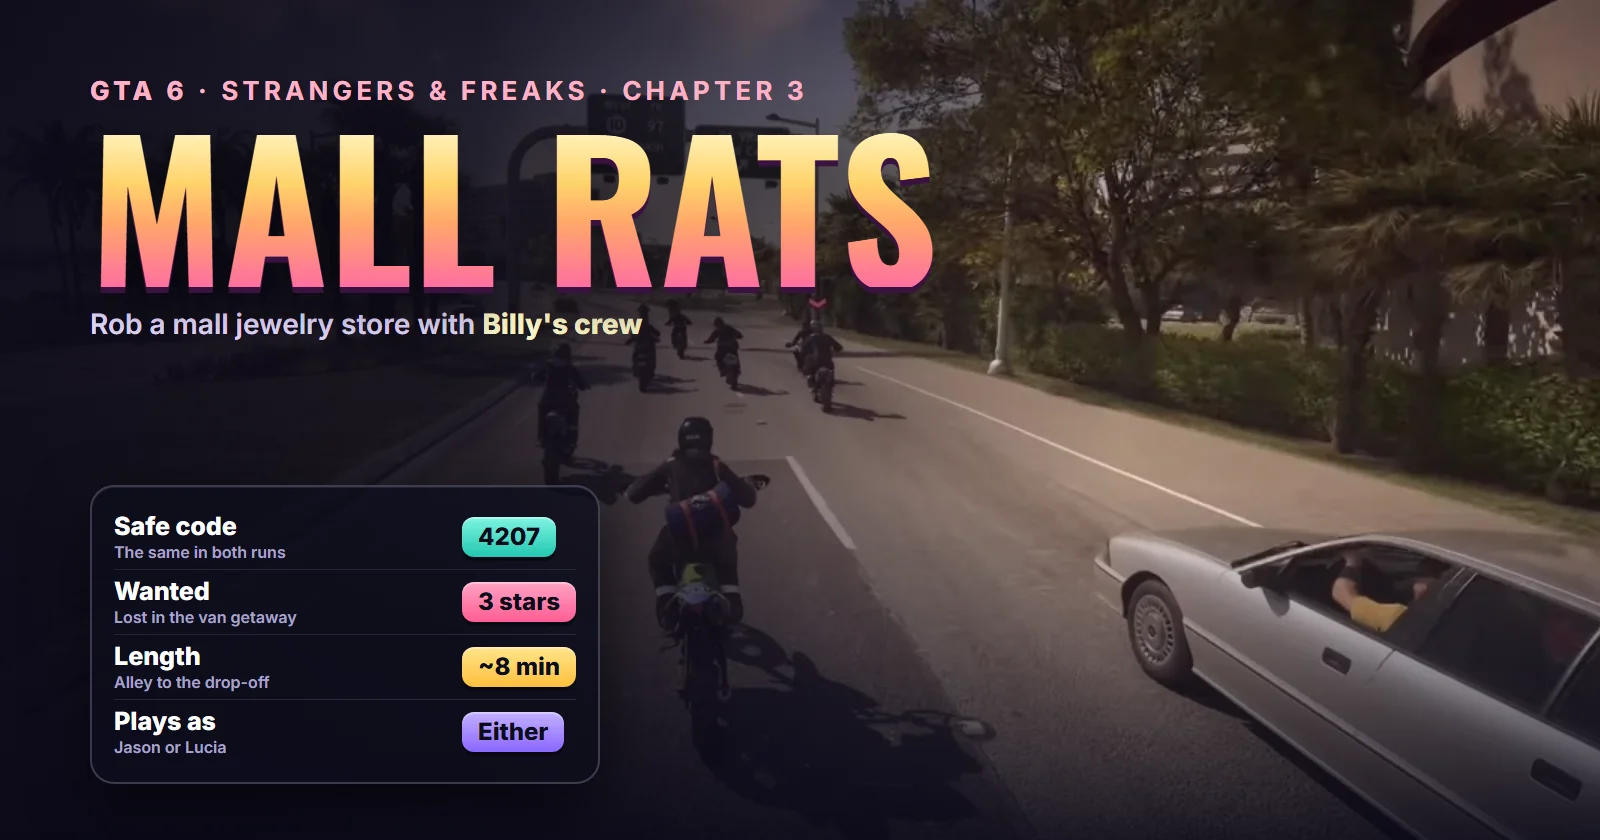
| Mission | Mall Rats, #103 in the story list |
| Type | Strangers & Freaks, Billy’s third of five jobs |
| Chapter | Chapter 3 |
| You play | Jason or Lucia, alone |
| Given by | Billy, the dirt racer from the Thrillbilly Mud Club |
| Where it starts | A service alley behind apartment blocks at the south end of Ocean Beach, near Shore Ct |
| Target | Legendary Custom Jewelry in the Sixth & Harper mall, Ocean Beach |
| Unlocks after | Twist Wrist, Smash, Grab |
| Unlocks next | The Impaler, a few in-game days later |
| Length | About 8 minutes from the alley to the drop-off |
| Wanted level | Three stars once the robbery is reported |
| Safe code | 4207 in both runs we watched |
| Reward | $12,000, according to gtabase (not shown in our footage) |
| Trophy | None for this job. Billy’s chain ends in The Lone Rider |
| Required for 100% | Yes, according to gtabase (sources disagree, see Rewards) |
Mission briefing How it unlocks, where it starts, who's in Billy's crew and how this guide was made. Contains spoilers.
How to unlock Mall Rats
Mall Rats is the third job in Billy’s chain, after Thrillbillies and Twist Wrist, Smash, Grab. It doesn’t arrive straight away. According to gtabase, Billy only gets back in touch during Chapter 3, and it can take a long time: often until you reach the Credit Check and Steal the Zorrusso for Randy missions. If Billy has gone quiet after the van job, that’s normal. Keep playing the story.
You have to start it solo. In both runs we watched, only one of the couple turned up: PerfectParadox’s Lucia arrived by RydeMe cab (“Trip complete” pops up as she walks over), and BoNe’s Jason walked in on his own.
Come armed. You only need a pistol for the robbery itself, but the escape runs through a mall full of security and a three-star police response.
Where it starts
The start is Billy’s BD blip in a narrow service alley at the south end of Ocean Beach. On the pause map it sits a block in from the beach, with a park at the southern tip of the island and a marina to the west, and the street label reads Shore Ct.
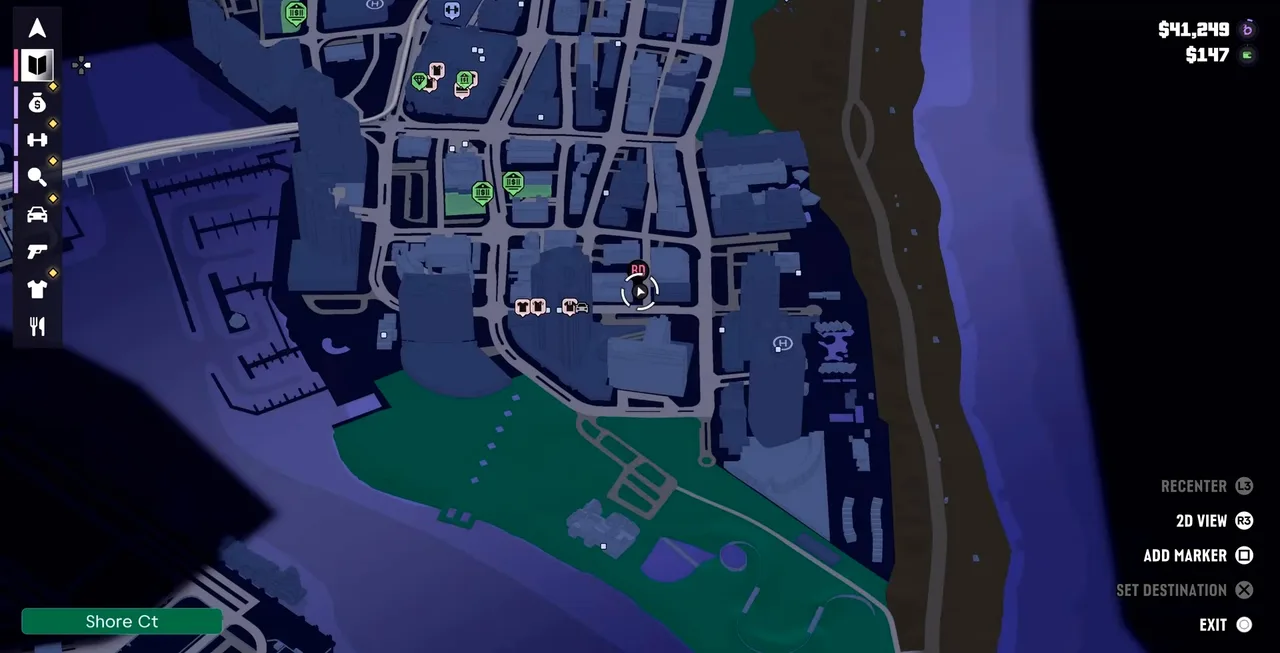 Billy’s BD blip in southern Ocean Beach, at 6:11 am in this run. Footage: BoNe.
Look for a cream-and-blue ice cream truck with its back doors open and a ramp down, and a few dirt bikes parked around it. See the Mall Rats start on the live map, at the south end of Ocean Beach, or all of Billy’s places. The job then moves to the Sixth & Harper mall and Legendary Custom Jewelry inside it.
The mission database names the first objective as meeting Billy “behind the Malibu”. Neither video shows that card, and we couldn’t tie the name to a building on our map, so use the blip and the ice cream truck instead.
Who’s who
- Billy: the pink-haired leader with the face tattoos. He plans the job and does the talking in the store.
- Sam: the woman with grey-streaked hair. She covers the crew in the mall and stays with the pack at the end.
- Ian: long dreadlocks, sunglasses and a sleeveless hoodie. He drives the ice cream truck (Billy jokes that he obviously doesn’t sell ice cream) and is the getaway driver.
- Ricky (Billy calls him Ricardo) and Brittney: they lead the rest of the pack that meets you after the mall and pull cops off you.
The speaker names come from PerfectParadox’s run, which has subtitle labels switched on.
About this guide
The walkthrough follows two full runs of the released game. PerfectParadox played as Lucia in daylight, with speaker names on, and is the source of most screenshots. BoNe played as Jason at dawn on PS5. The objectives, the route and the safe code matched, and the differences between the runs are noted where they matter. The reward comes from gtabase, because neither video shows it.
Step 1: Meet Billy’s crew at the ice cream truck
Walk up to the truck and the MALL RATS title appears in the corner. Billy introduces Sam and Ian while Ian brings a pink number 69 dirt bike down the ramp.
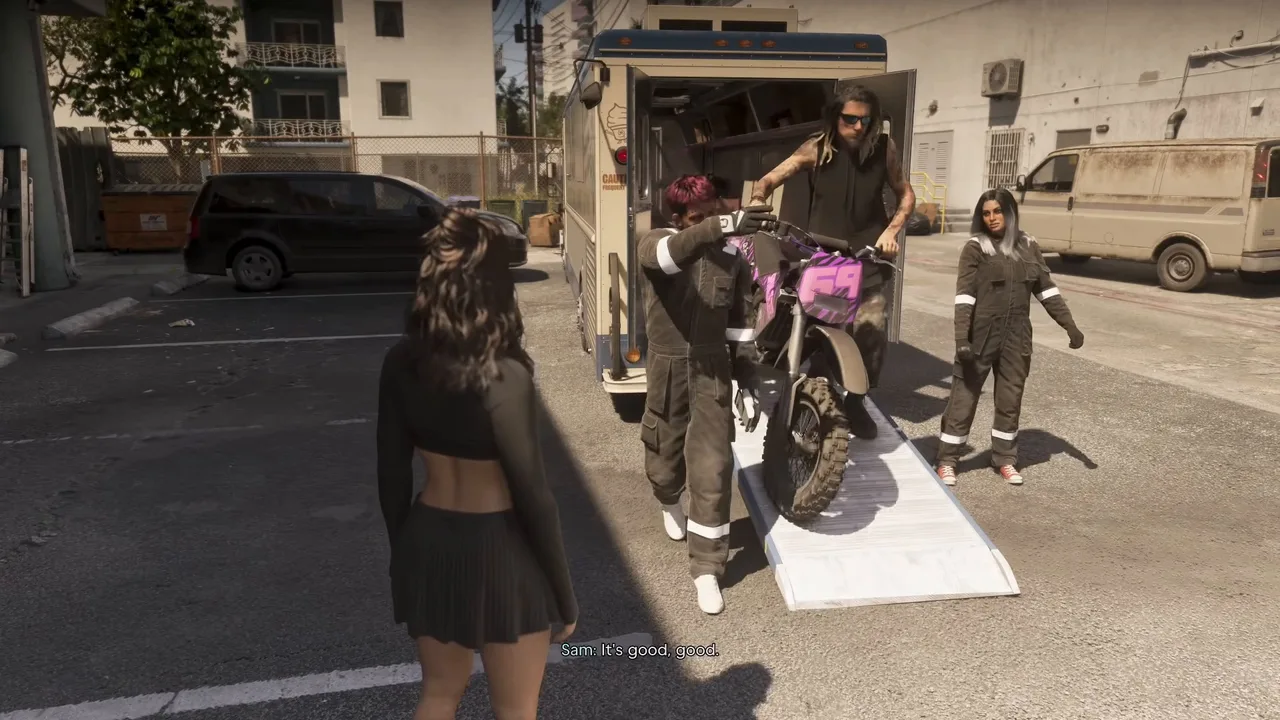 Billy, Ian and Sam at the ice cream truck. Footage: PerfectParadox.
The target is a jewelry store in the Ocean Beach mall. Billy texts you a photo of a chain that an online personality called Lil’ Grynd just bought there and reckons the store’s safe must be holding at least $100,000 because of it. Then the crew hands you a matching dark boiler suit and a helmet. This is the disguise: the police description later mentions the helmets, so you’re not riding in your own clothes.
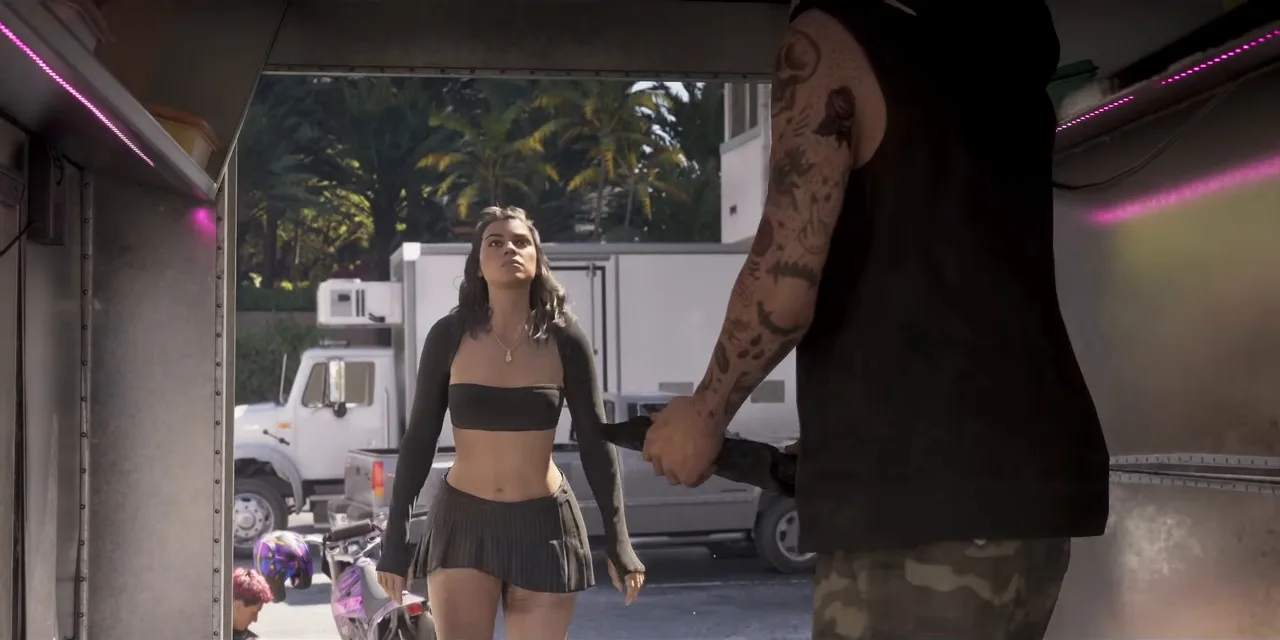 Suiting up. Everyone rides in the same boiler suit and helmet. Footage: PerfectParadox.
Step 2: Follow Billy to Sixth & Harper
You’re put on a green dirt bike automatically, and the objective is Follow Billy. Billy tells you to do what he says, Ian heads off in the truck, and the three of you ride out of the alley.
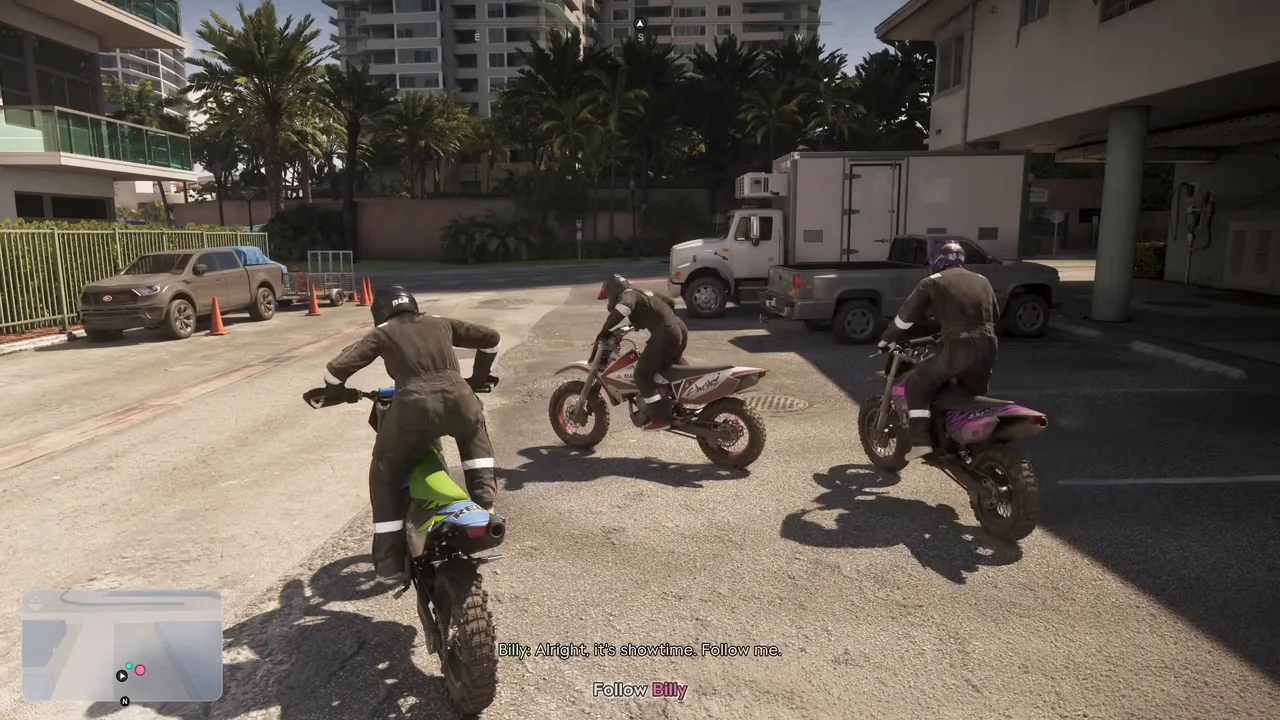 Showtime. Stay right behind Billy’s bike. Footage: PerfectParadox.
On the way Billy talks through the plan: in through the parking garage on the far side of Sixth & Harper, out through the north-side exits, then away down the alley opposite. The crew adds a detour through the food court on the way out. Listen to this ride, because it’s exactly the route you’ll take in Steps 6 and 7.
Billy leads you up into the parking garage. The crew stops on Level 2, facing the glass doors into the mall, for a last check: the store is one floor down in the far corner, there’s a safe in the back, and Billy will handle the clerk for the combination. Your job is to bag as much as you can.
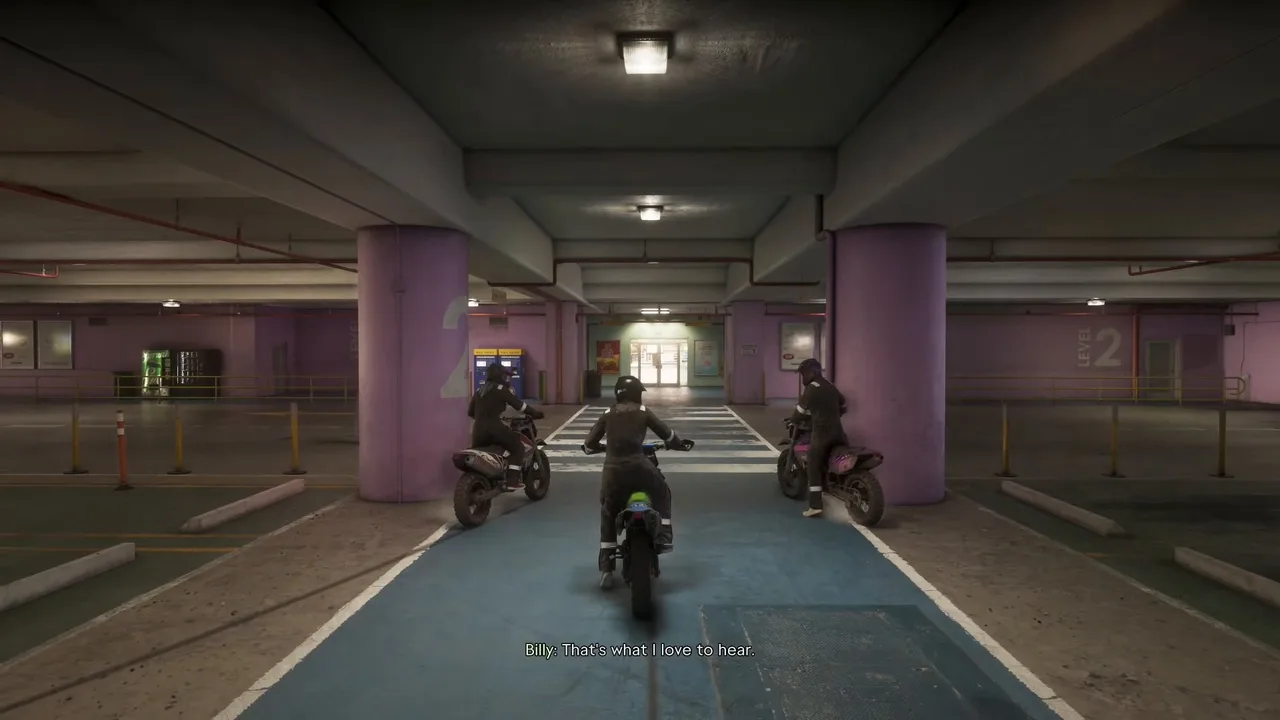 The last briefing on Level 2 of the garage. Footage: PerfectParadox.
Step 3: Ride through the mall to Legendary Custom Jewelry
Billy rides straight through the doors marked SIXTH & HARPER, LEVEL 2, and you follow, still on the bike, still under Follow Billy. Shoppers scatter as the crew rides through the corridors and down to the lower floor.
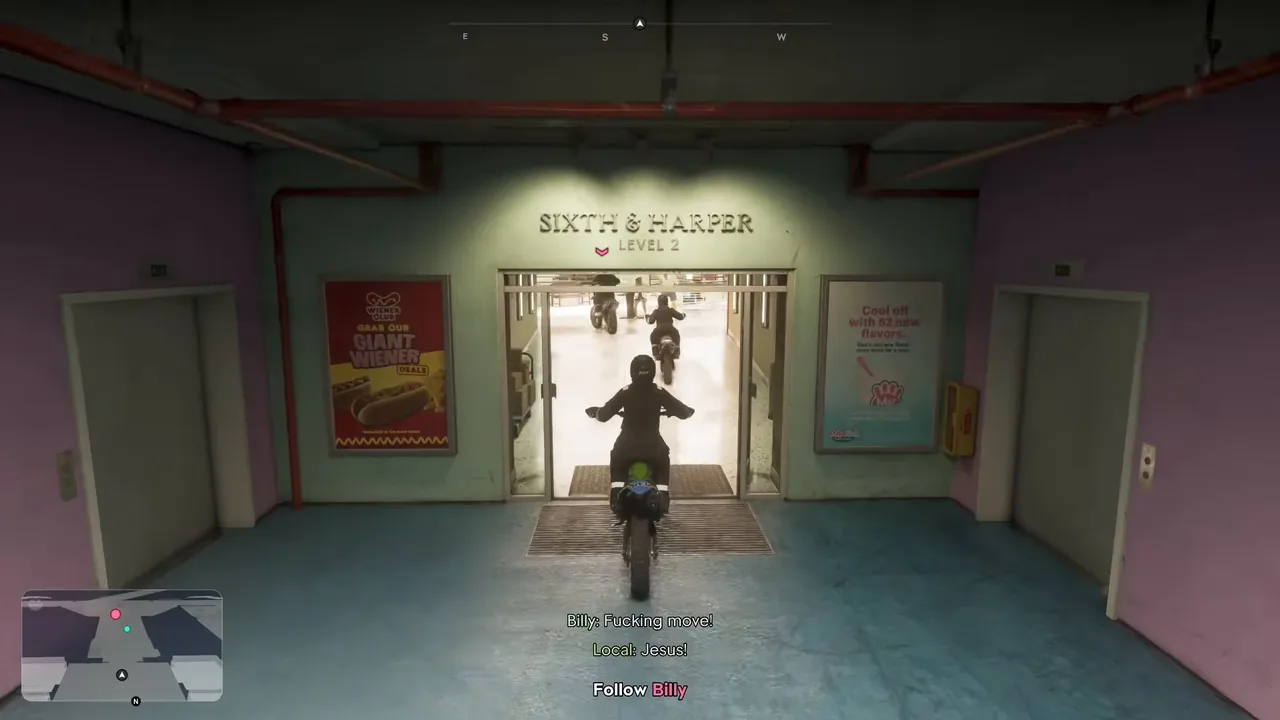 Straight into the mall on two wheels. Footage: PerfectParadox.
Don’t overtake. The corridors are narrow, and pedestrians step into your path. The store is at the bottom of the route, between a closed shop with a “Please excuse us” sign and a Souvenir City stand. The objective changes to Enter the jewelry store as you arrive: pull up next to the crew’s bikes and go in on foot.
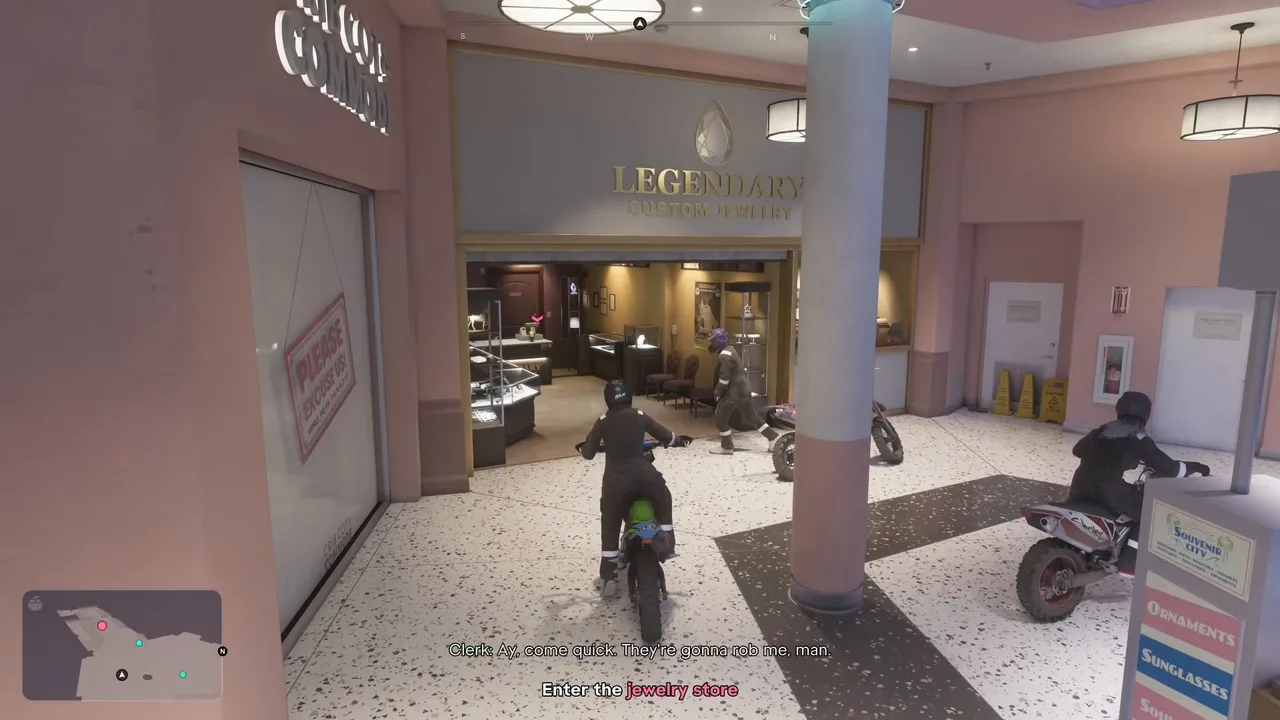 Legendary Custom Jewelry. Park by the door and run in. Footage: PerfectParadox.
Step 4: Smash the display cases
Inside, the objective is Rob the jewelry store. Billy holds the clerk at gunpoint and clears the floor, so you can go straight for the glass. Aim at a case and smash it, then grab what’s inside. Each case adds to the bag counter on the right of the screen.
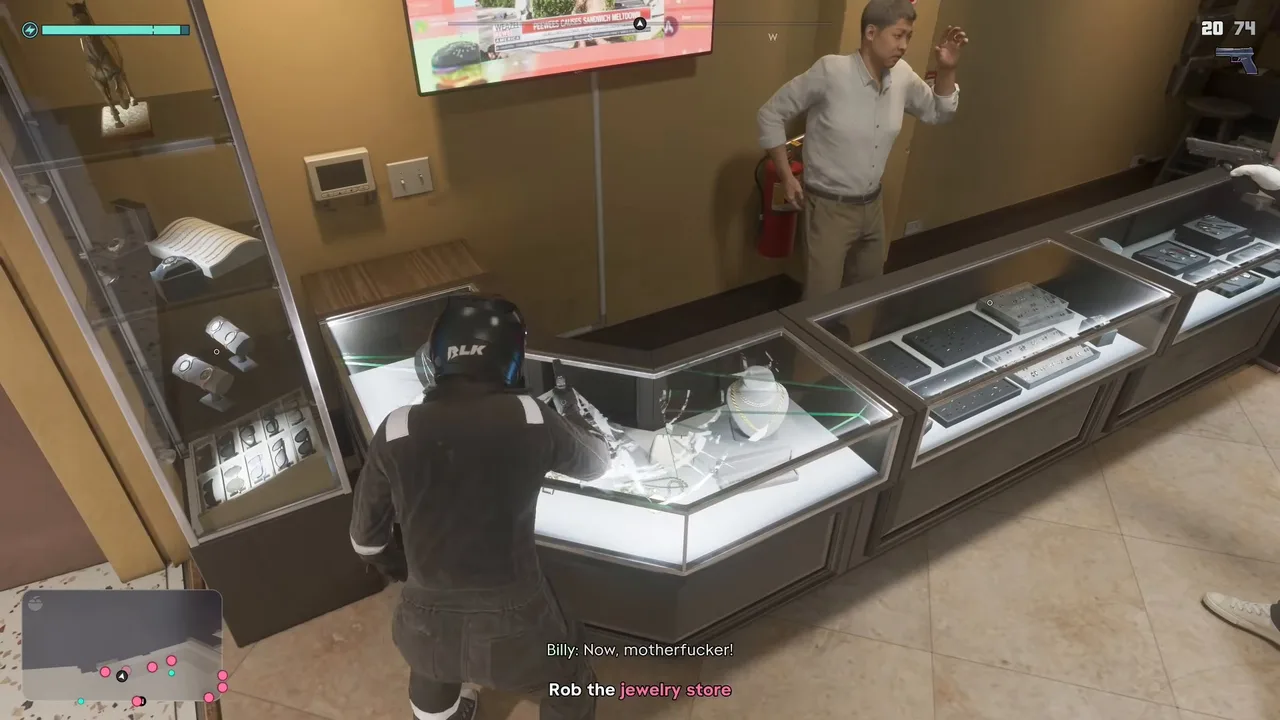 Smash the counters while Billy deals with the clerk. Footage: PerfectParadox.
A tip box explains that a safe code is sometimes kept somewhere in a store or known by the staff, and that the focus button highlights who knows it. Here you don’t need to search: Billy already has the clerk.
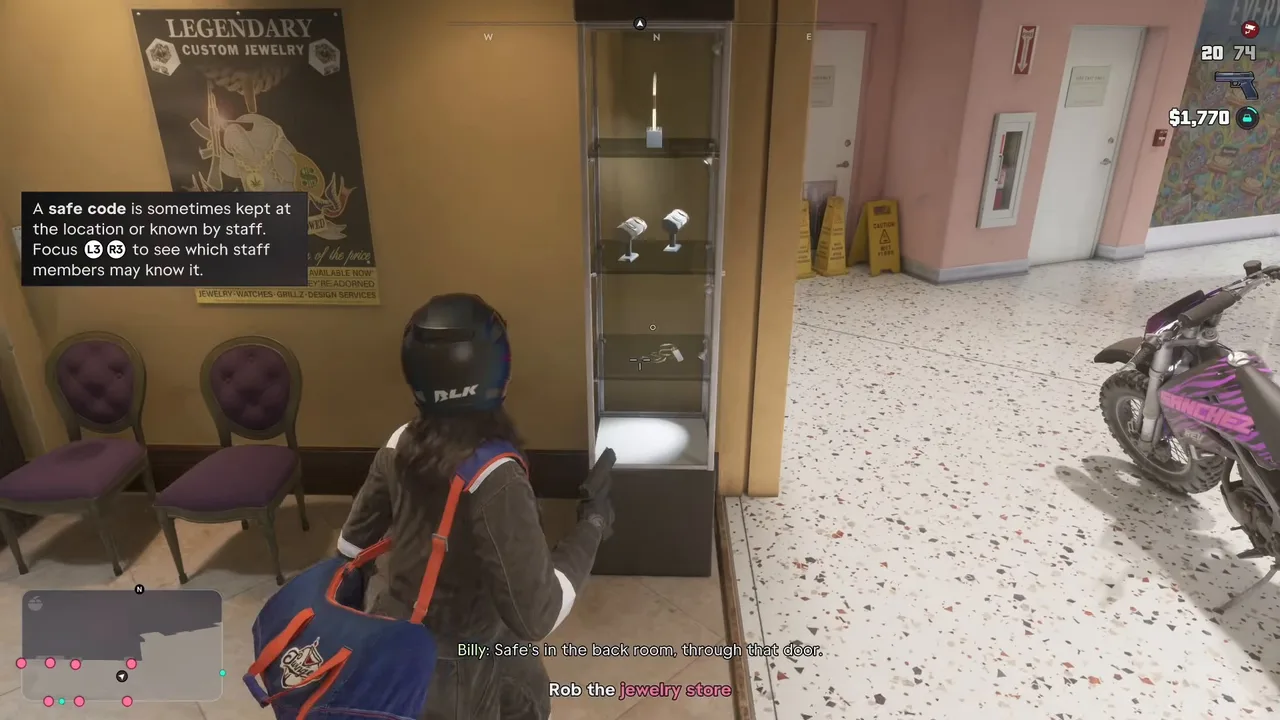 The safe-code tip. The safe is through the door at the back. Footage: PerfectParadox.
Within seconds a Crime reported notice pops up, three stars appear, and a countdown starts in the bottom-right corner at about 1:25. Both runs left the store with 35 to 40 seconds still on it, so there’s time to clear every case and the safe, but don’t wander around the mall. In BoNe’s run the cases alone came to roughly $6,000.
Step 5: Get the safe code and empty the safe
Keep smashing while Billy works on the clerk. The clerk stalls with a couple of wrong numbers before giving up the real one, and a Safe code: 4207 note appears in the loot list on the right. The objective changes to Empty the safe.
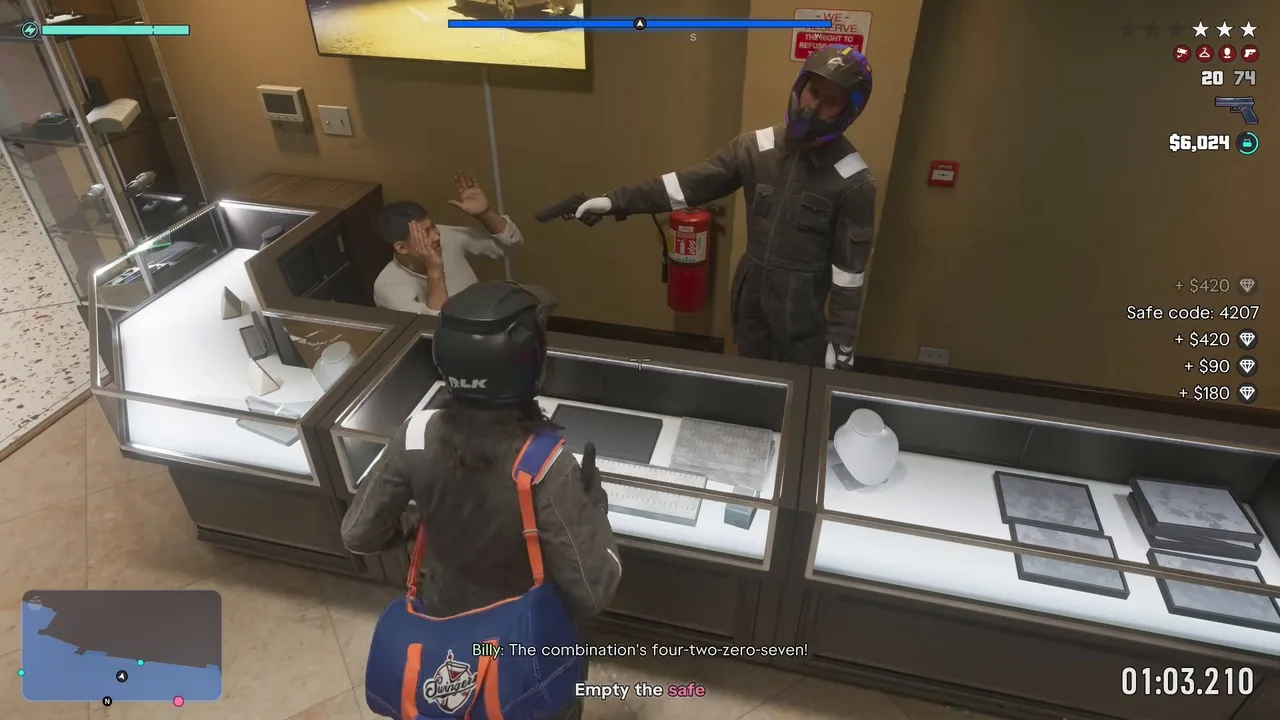 Safe code 4207, in both runs. Watch the pop-up in case yours differs. Footage: PerfectParadox.
The safe is in the workshop at the back, through the door Billy pointed at. Enter the code and take the marked bills stack by stack. The safe is where the real money is: in BoNe’s run it took the bag from about $6,000 to $24,240. gtabase also says you can blow the safe with an explosive instead of waiting for the code, which we didn’t see tried.
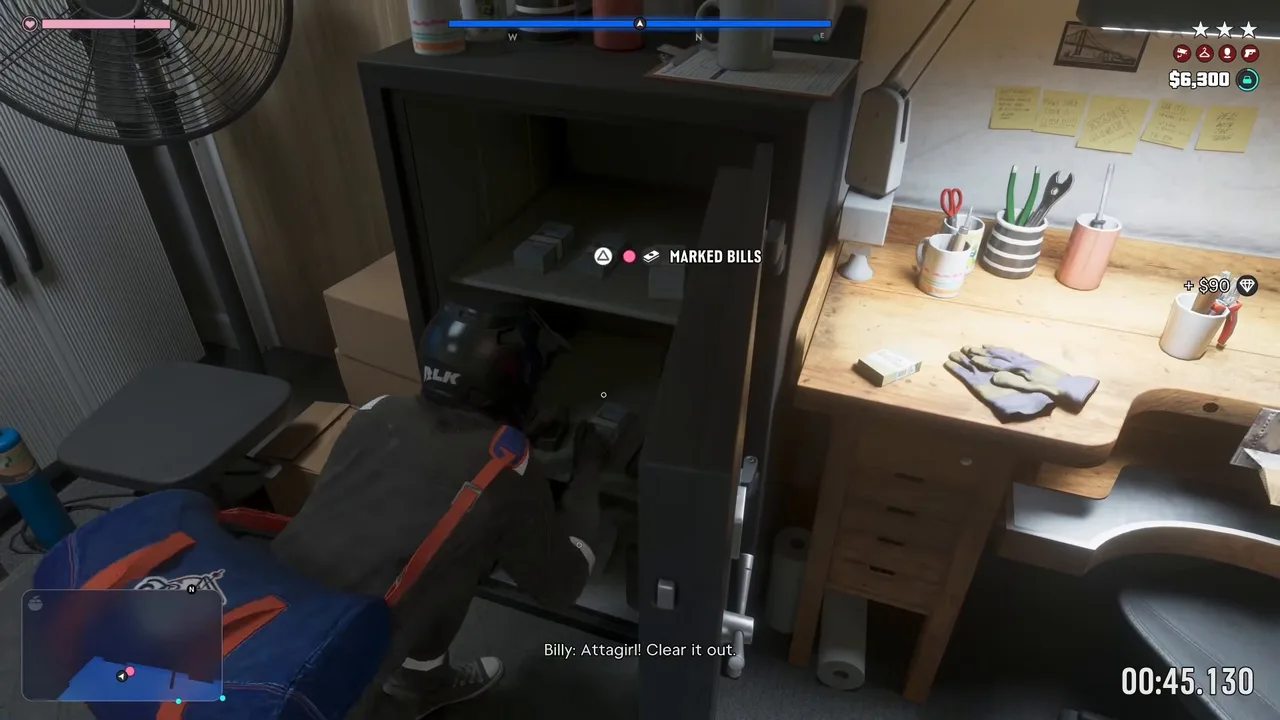 The safe in the back room holds most of the money. Footage: PerfectParadox.
As you finish, the crew warns that mall security has arrived and that the police won’t be far behind. Billy calls it: time to go.
Step 6: Escape through the food court
Get back on your bike. The objective returns to Follow Billy, and Sam reminds you that the exit is down the stairs and through the food court. Stay close. Security guards are around, and the shoppers are still in the way.
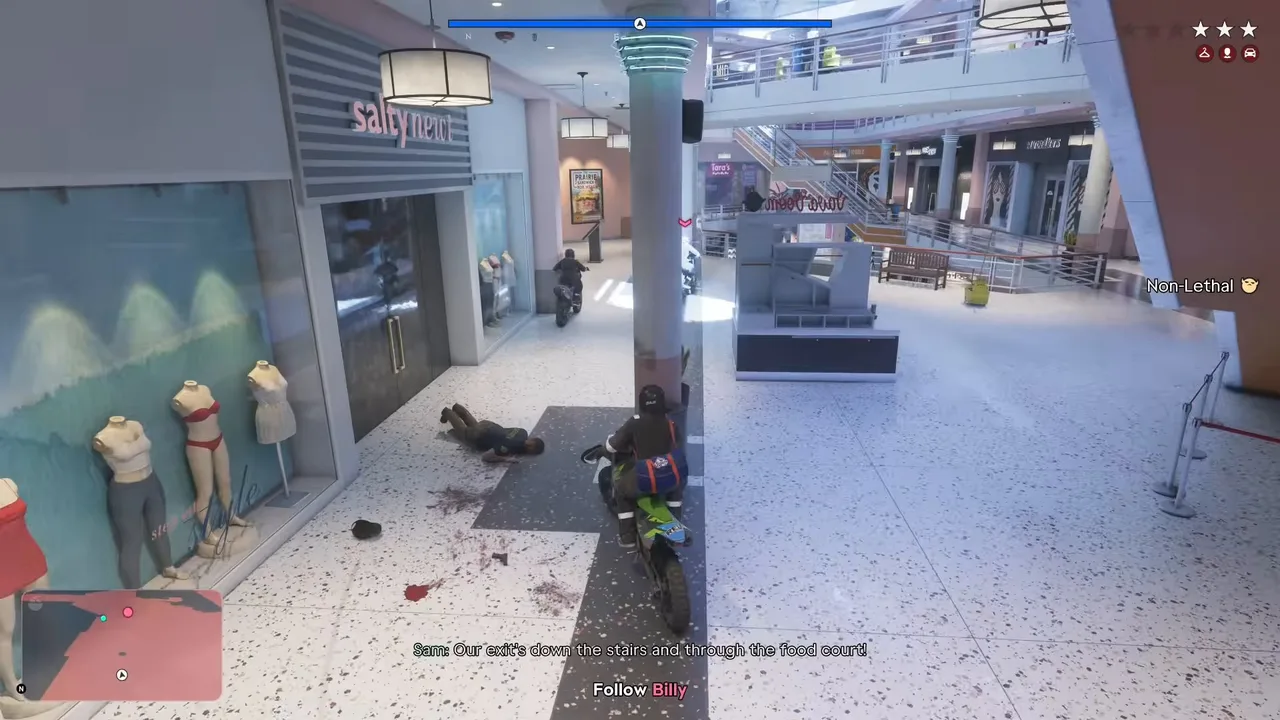 Down the stairs and through the food court to the north side. Footage: PerfectParadox.
If you lose the group inside, the mission doesn’t fail. In PerfectParadox’s run Lucia came out separately, Billy shouted to get to the north exit, and the objective became Regroup with Billy and Sam outside. Ride for the marker until you see their bikes again.
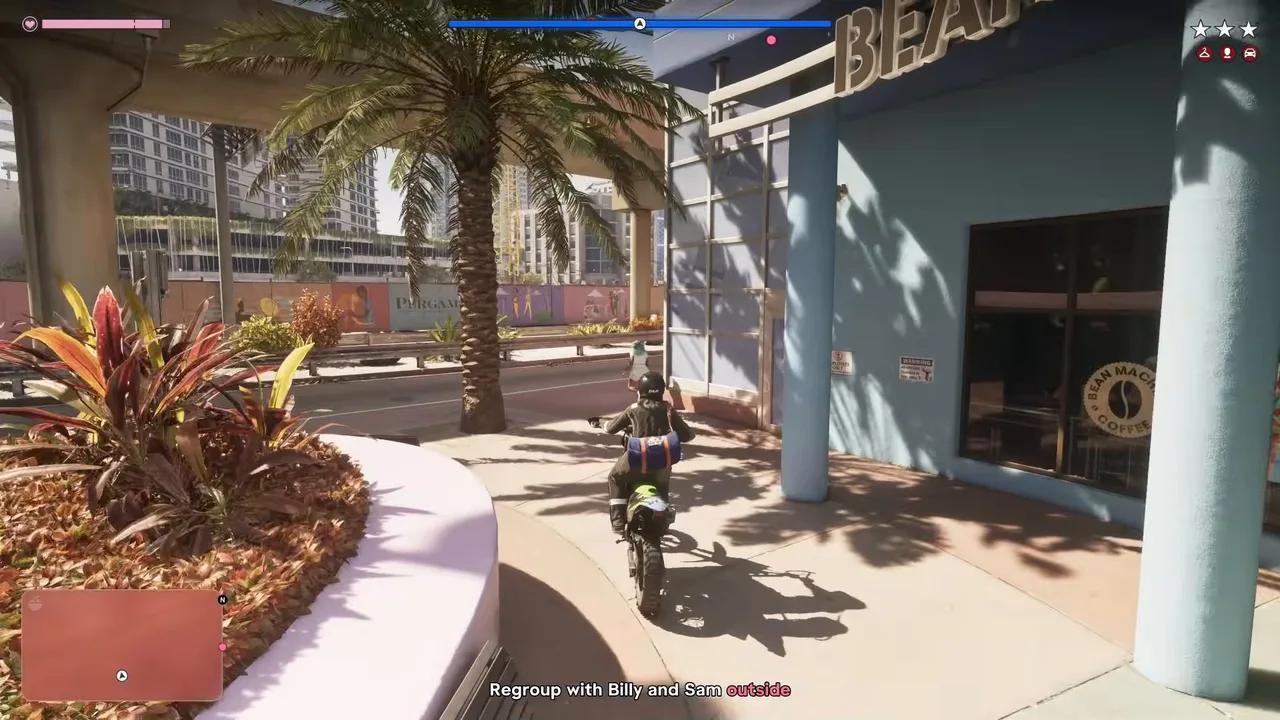 If you come out on your own, the objective becomes Regroup with Billy and Sam outside. Footage: PerfectParadox.
Step 7: Lose the VCPD with the pack
The police were quicker than Billy expected, and they’re waiting outside. Billy’s answer is the rest of the gang. Follow him across the street, then down the alley on the left when he calls the turn. The crew asks you not to run people over unless you have to, and Billy checks that Ricky’s group is close.
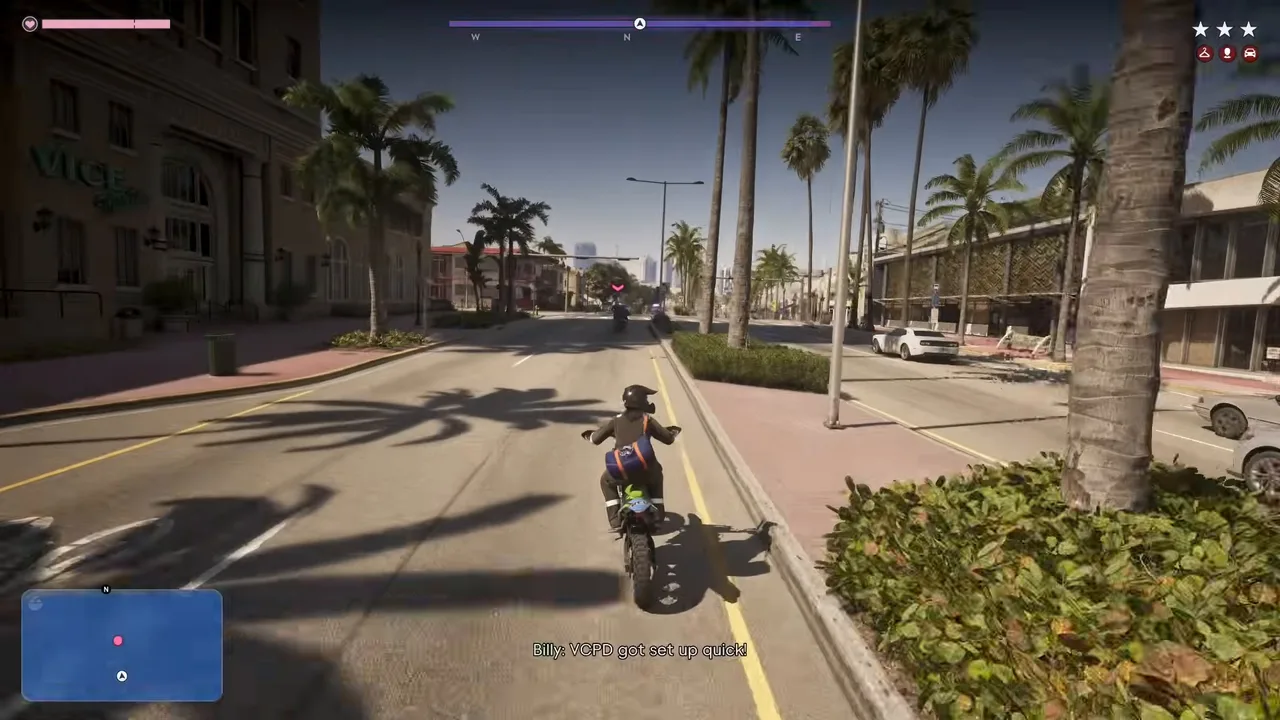 Outside the mall with three stars. Follow Billy’s bike. Footage: PerfectParadox.
When Billy tells you you’re going over the river, open the throttle and keep his pace. On the other side, a dozen riders in the same suits and helmets are waiting, and Billy tells you to join the pack. The police can’t tell who has the loot, and a helicopter joins the chase as you ride west onto the main road.
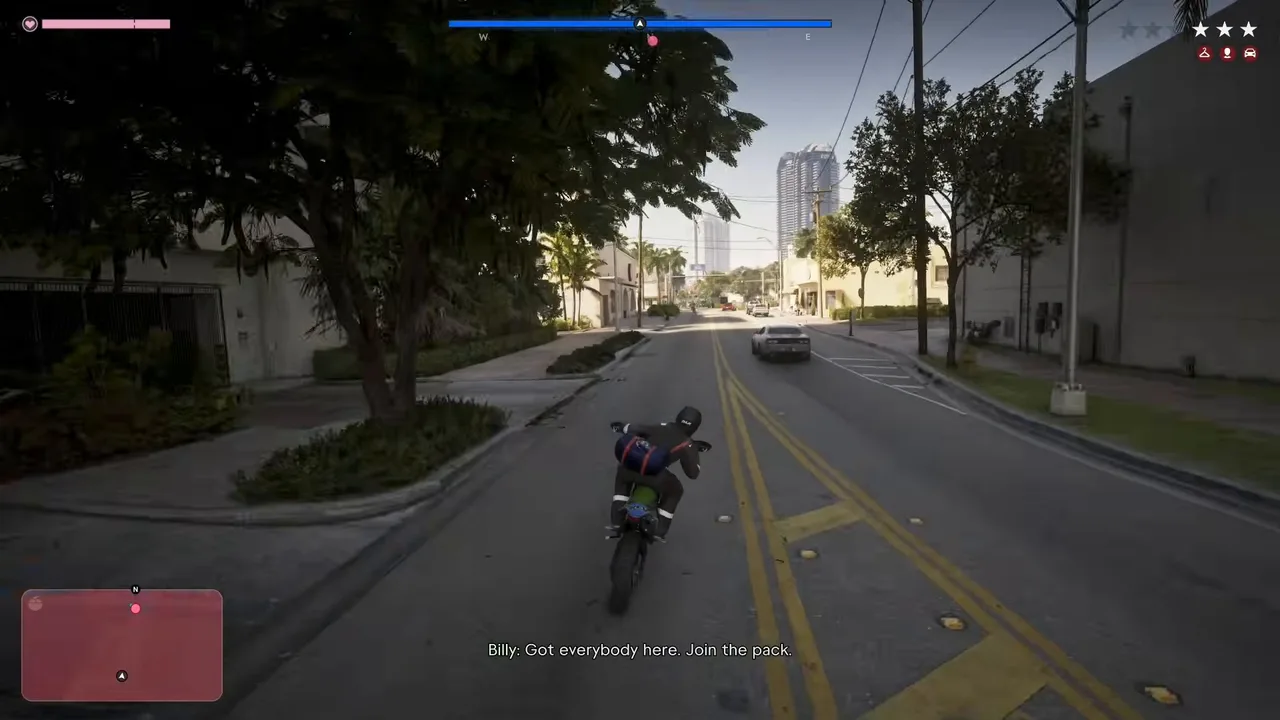 The rest of Billy’s pack, dressed like you. Footage: PerfectParadox.
Ricky and Brittney peel off to take a police car each, and the radio chatter shows it working: the cops lose track of how many suspects there are. Then Sam takes the pack one way while you, Billy and a couple of others head for the van with Ian.
Step 8: Get in the back of Ian’s van
Billy leads you under the freeway, where the police lose sight of the group. Ian’s ice cream truck is parked in a lot below the overpass with its ramp down, and the objective becomes Get in the back of the van.
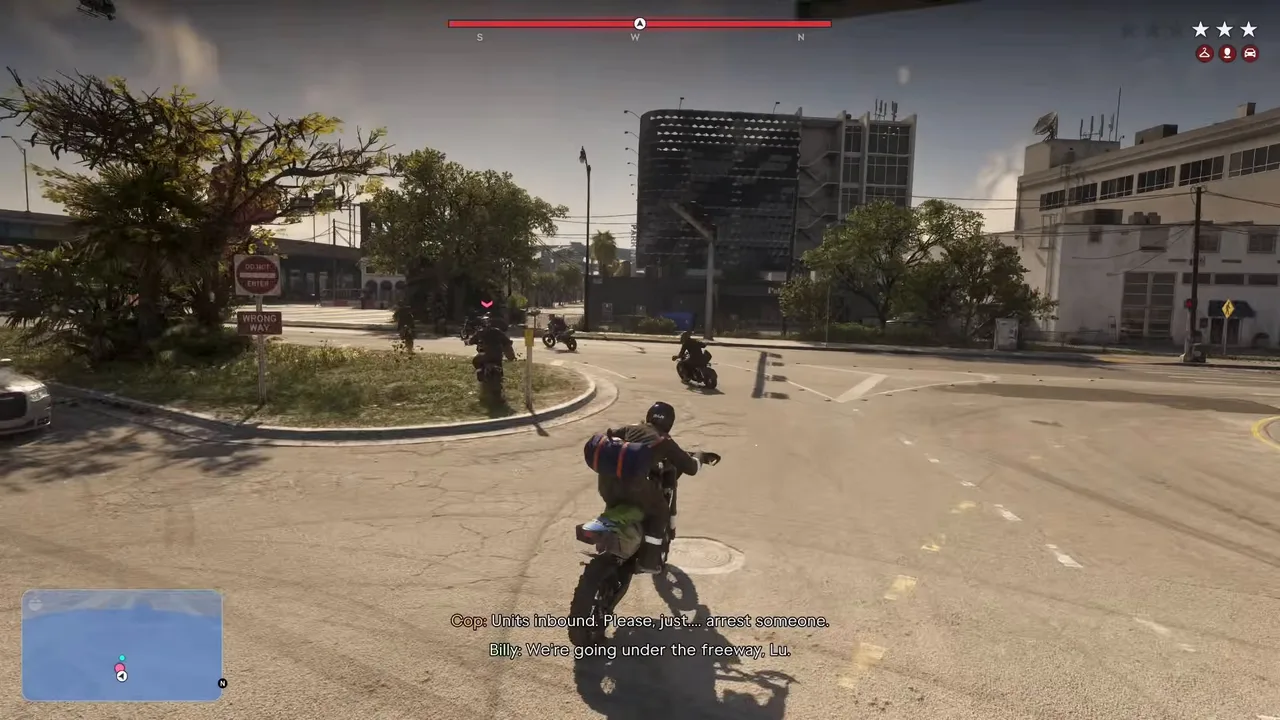 Under the freeway the helicopter loses you. Footage: PerfectParadox.
Ride straight up the ramp into the back. That’s the getaway: the doors close in a cutscene, and in the footage the wanted stars are already fading as you reach the truck.
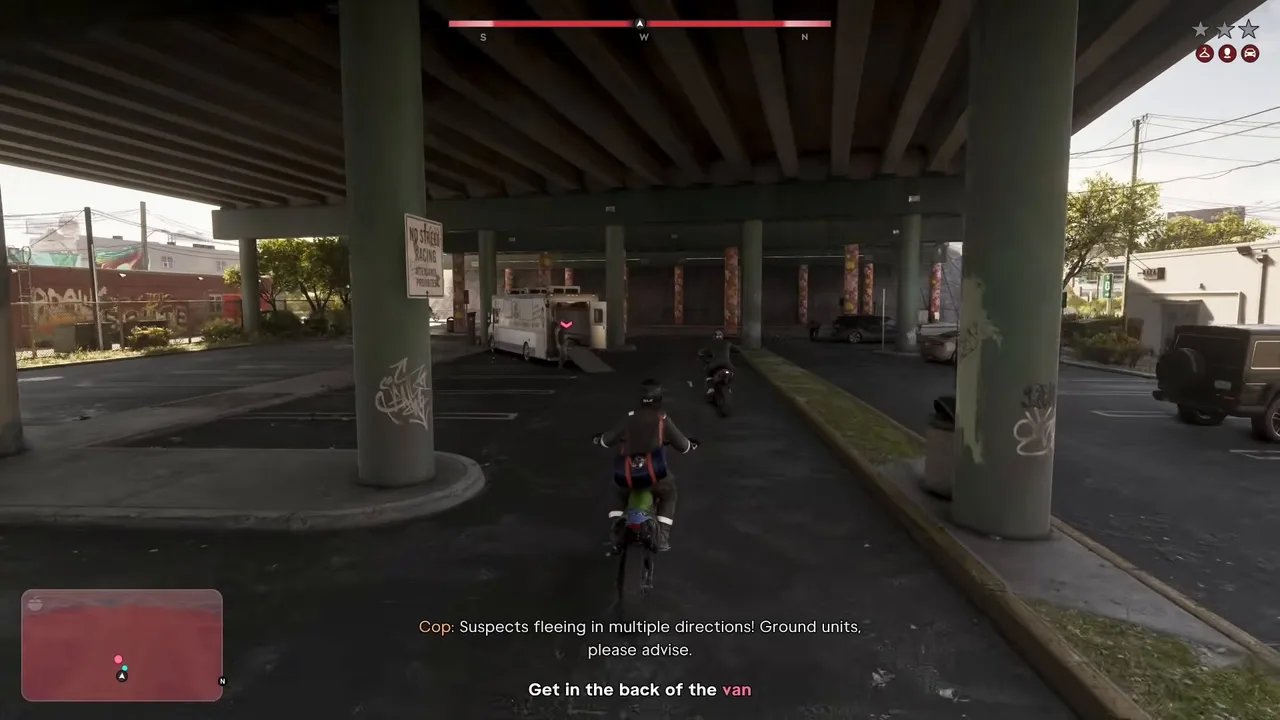 Ride the ramp into the back of the truck. Footage: PerfectParadox.
In the back, the crew celebrates that nobody died, and Billy digs into the holdall, thrilled with the haul. The crew agrees to drop you off and then get out of the city. Ian stops in an abandoned covered lot, word comes through that Sam’s group got away through some backyards, and Billy tells you to stay in touch: back at the mud club track, or are you two Vice City people now?
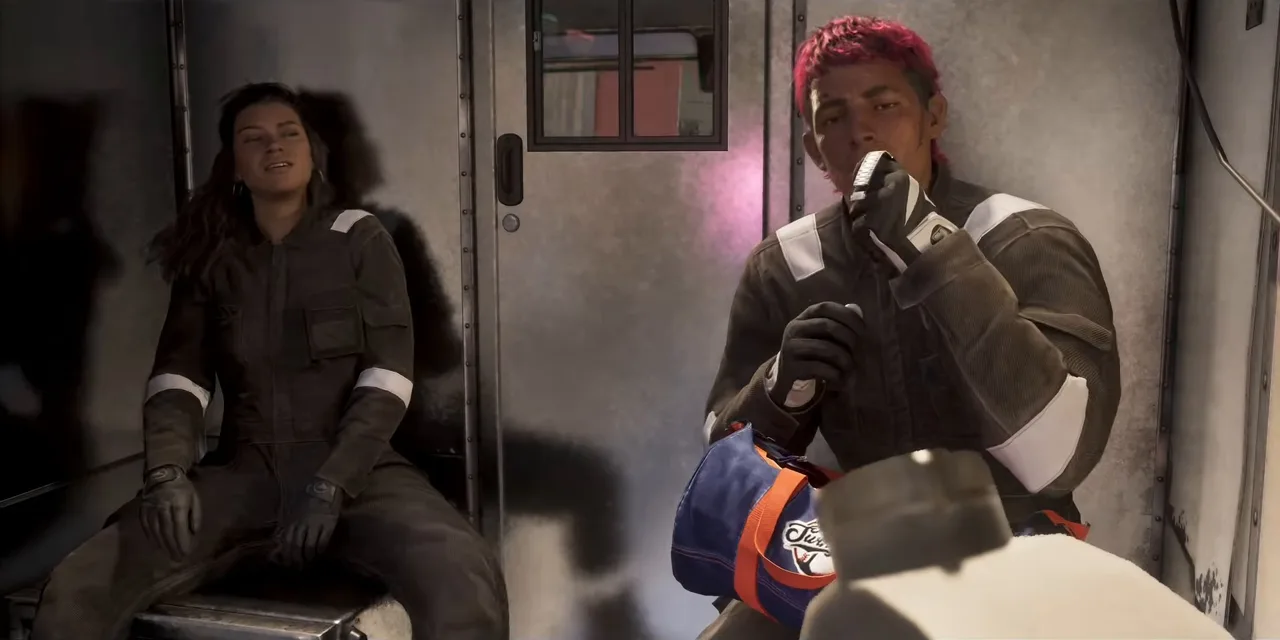 Checking the haul in the back of the truck. Footage: PerfectParadox.
Rewards
The cutscene ends with you on foot in the empty lot, in your own clothes, with no stars. gtabase lists $12,000 as Billy’s payment for this job. We couldn’t confirm it: PerfectParadox’s video ends a second after control comes back, before any money appears, and BoNe’s ends in the cutscene.
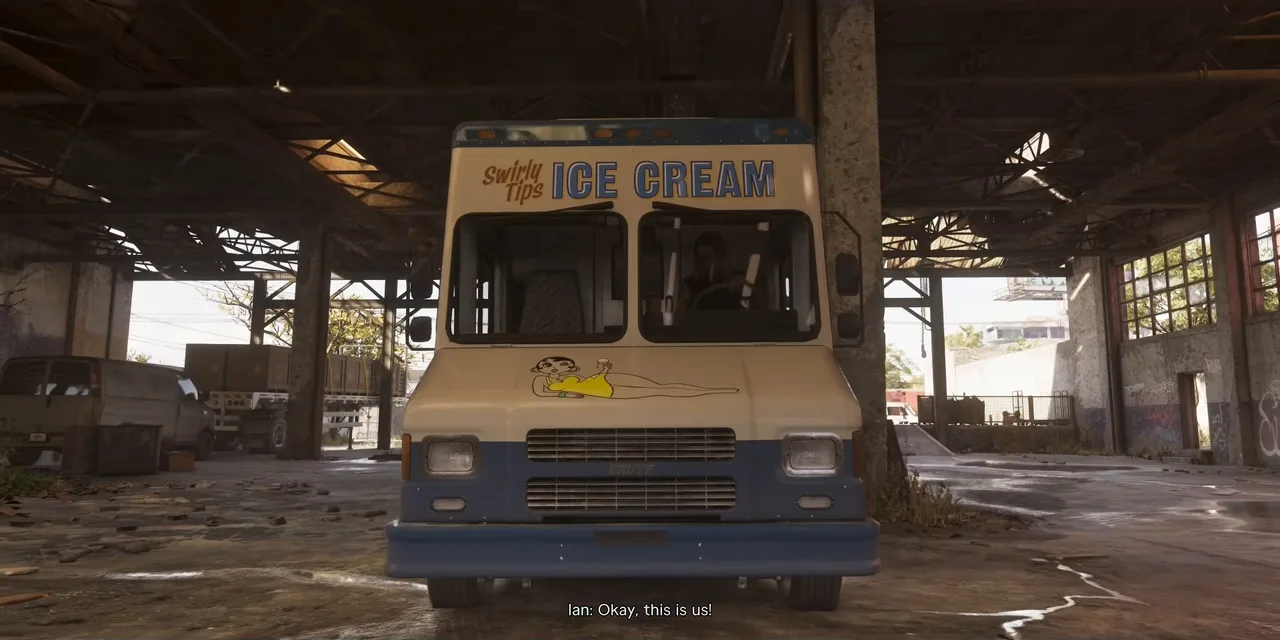 The drop-off in an abandoned lot. Footage: PerfectParadox.
| Cash | $12,000 from Billy, according to gtabase (not shown in our footage) |
| Loot in the bag | $24,240 in BoNe’s run (cases plus safe), split with the crew |
| Wanted level | Cleared by the van getaway |
| Trophy | None for this job |
The bag total doesn’t seem to be your payout: the money goes into Billy’s holdall, and the crew reckons Sam will be pleased when she sees her cut. We haven’t seen whether a fuller bag changes what Billy pays you, so clear the safe anyway.
On 100% completion, the sources disagree as they do for the rest of Billy’s jobs: gtabase marks Mall Rats as required for 100%, while another database says Billy’s chain doesn’t count toward Strangers & Freaks. Finishing his last job, Hometown Heroes, unlocks The Lone Rider, a hidden Bronze trophy.
| Billy’s jobs | Chapter |
|---|---|
| 1. Thrillbillies | Chapter 2 |
| 2. Twist Wrist, Smash, Grab | Chapter 2 |
| 3. Mall Rats | Chapter 3 |
| 4. The Impaler | Chapter 3 |
| 5. Hometown Heroes | Later |
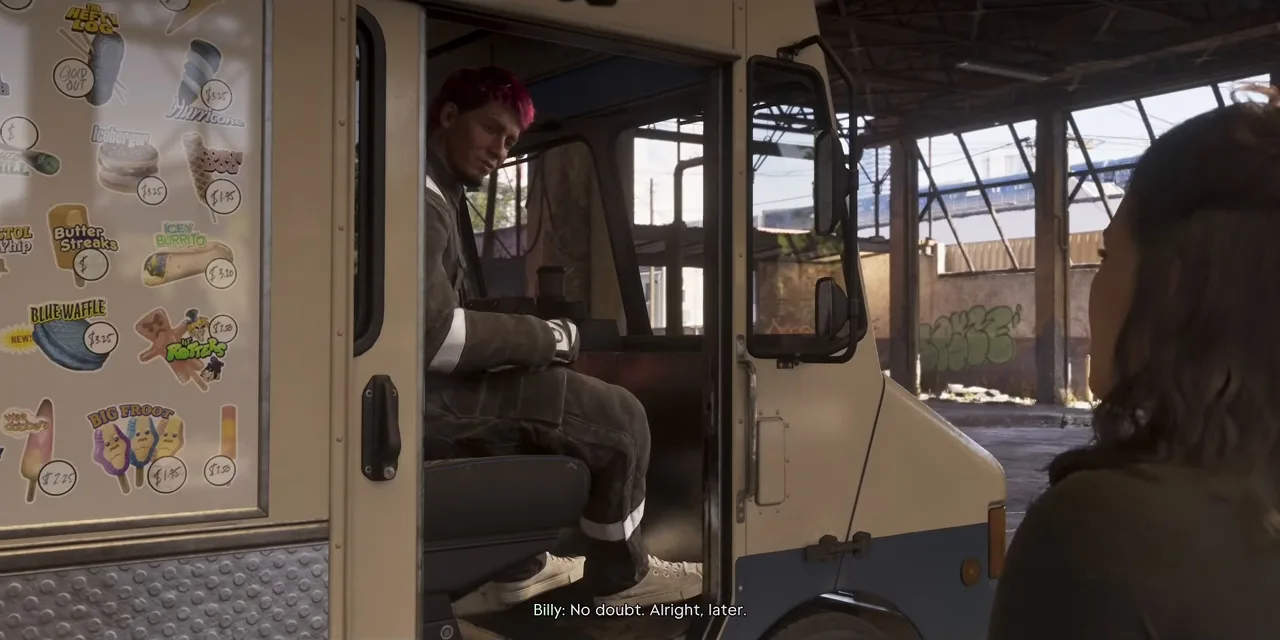 Billy says goodbye. The Impaler comes a few in-game days later. Footage: PerfectParadox.
Tips
- Don’t lead on the way in. Billy knows the route through the garage and the mall. Overtake him and you’ll hit shoppers or take a wrong corridor.
- Smash cases while Billy gets the code. The clerk stalls for 15 to 20 seconds. Use it on the counters, then go to the safe.
- Trust the pop-up, not a guide. 4207 was the code in both runs, but gtabase says it may vary.
- Lost in the mall? Head north. The fallback objective sends you to regroup outside, and the job carries on.
- Stay in the pack. The matching suits and the extra riders are what shake the police. Ride off on your own and you’re the only biker the helicopter can follow.
Related guides
- Previous in Billy’s chain: Twist Wrist, Smash, Grab, the armored van job. Next: The Impaler, stealing a police car from the Ambrosia impound. See all GTA 6 missions.
- Yasmani’s jewelry jobs: more Chapter 3 jewelry store robberies, with their safe codes.
- GTA 6 money guide: where jobs like this fit among the best early earners.
- Characters guide and map regions: Billy’s crew, and where Ocean Beach sits in Vice City.
- Interactive map: where Mall Rats starts. The Smash ‘n’ Grab layer lists Legendary Custom Jewelry as Smash ‘n’ Grab target #31.
Frequently Asked Questions
How do you unlock Mall Rats in GTA 6?
Finish Twist Wrist, Smash, Grab, Billy's armored van job, and keep playing into Chapter 3. Billy gets in touch on his own, and according to gtabase that can take until around Credit Check and Steal the Zorrusso for Randy. You have to go alone.
What is the safe code in Mall Rats?
4207 in both runs we watched. You don't have to find it: Billy holds the clerk at gunpoint until he gives it up, and a Safe code: 4207 note pops up on the right of the screen. gtabase says the code may vary, so trust the pop-up over this page.
Can you do Mall Rats as Jason or Lucia?
Either one, but only one of them goes. BoNe played it as Jason and PerfectParadox as Lucia. The crew's lines change slightly to match, but the route, objectives and safe code were identical.
How much does Mall Rats pay?
gtabase lists $12,000 from Billy. Neither video shows the payout: both cut away after the drop-off. The loot bag itself reached $24,240 in BoNe's run, but it goes to Billy's crew to split.
How do you escape the police in Mall Rats?
Stay on Billy's back wheel. He leads you out of the mall's north side, through an alley, over the river to the rest of his pack of riders, then under a freeway where Ian's ice cream truck is waiting. Ride up the ramp into the back and the stars are gone.
Where is the jewelry store in Mall Rats?
Legendary Custom Jewelry, one floor below the parking garage entrance of the Sixth & Harper mall in Ocean Beach, in the far corner. It's on our interactive map as a jewelry store and a Smash 'n' Grab target.
Sources & Credits
Researched from these videos and official material, among others. Screenshots credit the creator whose footage they come from.