Jump to your step
 1
Bank your cash and save before you start · Jason
 2
Pick Lucia up from her work crew · Jason
 3
Put on the disguise and ride with Mattia (cutscene)
 4
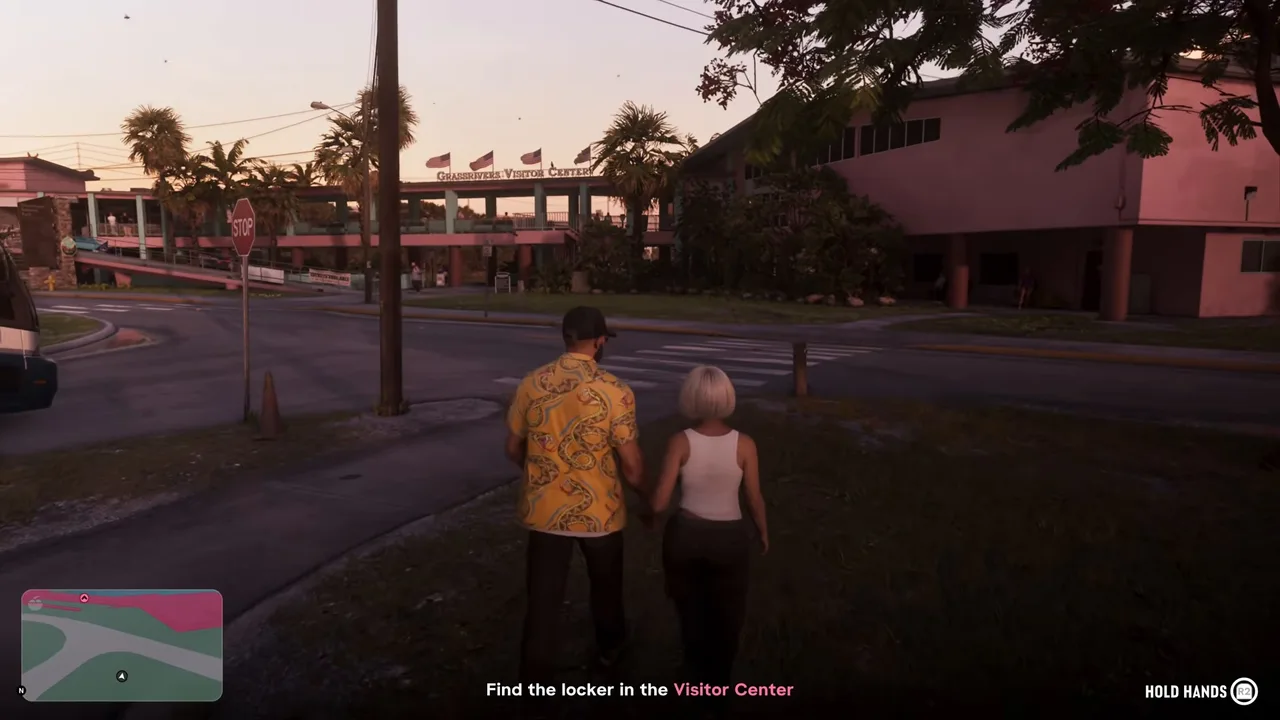
Find locker 17 in the Visitor Center · Jason
 5
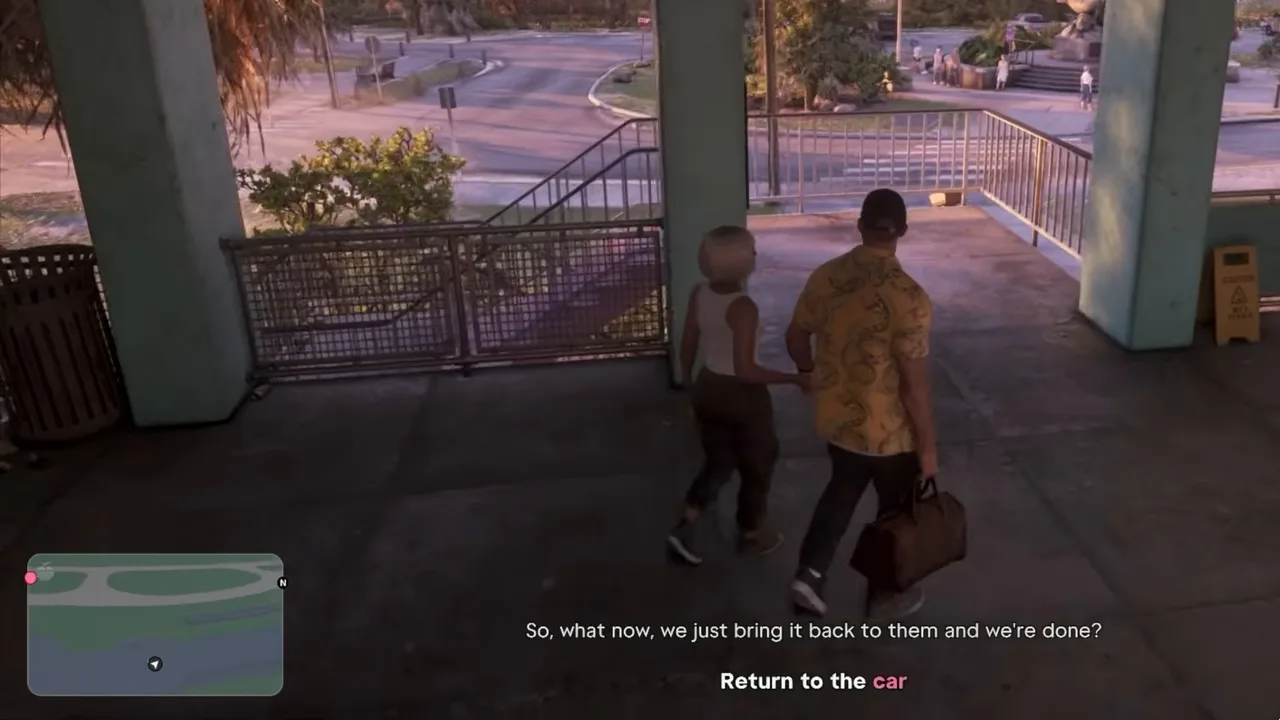
Return to the car and get arrested · Jason
 6
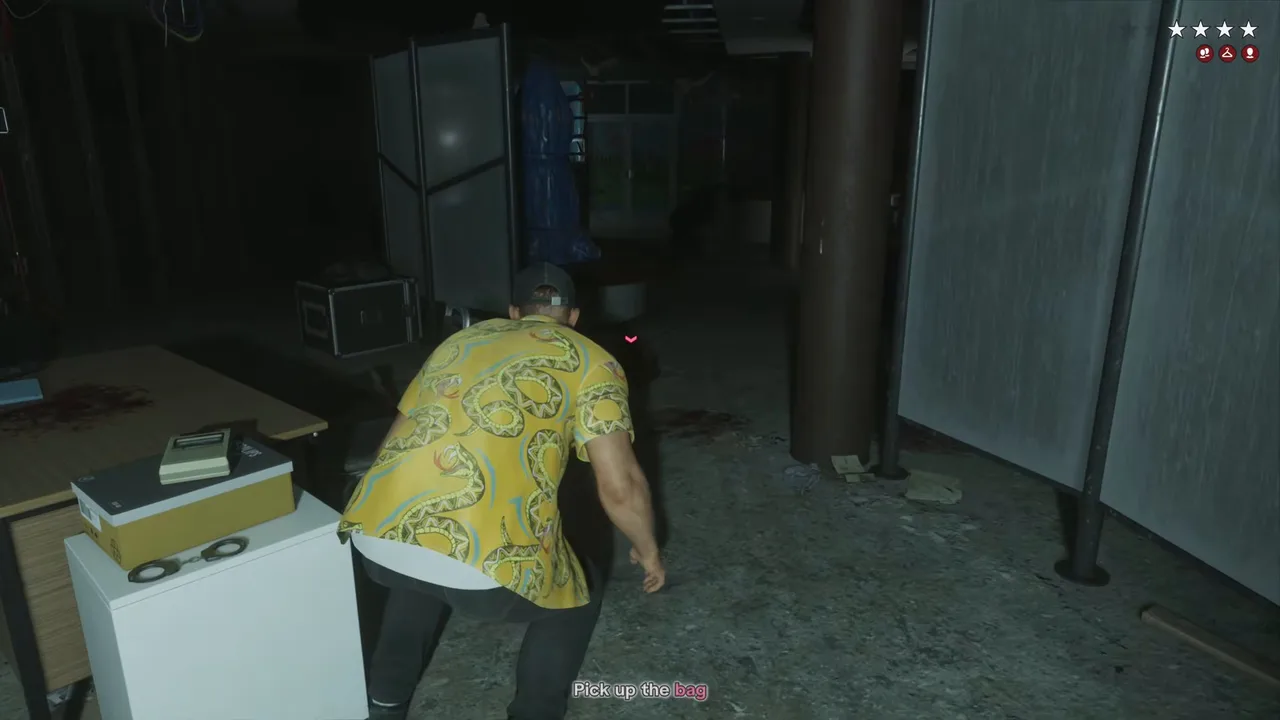
Get out of the cuffs and pick up the bag · Jason
 7
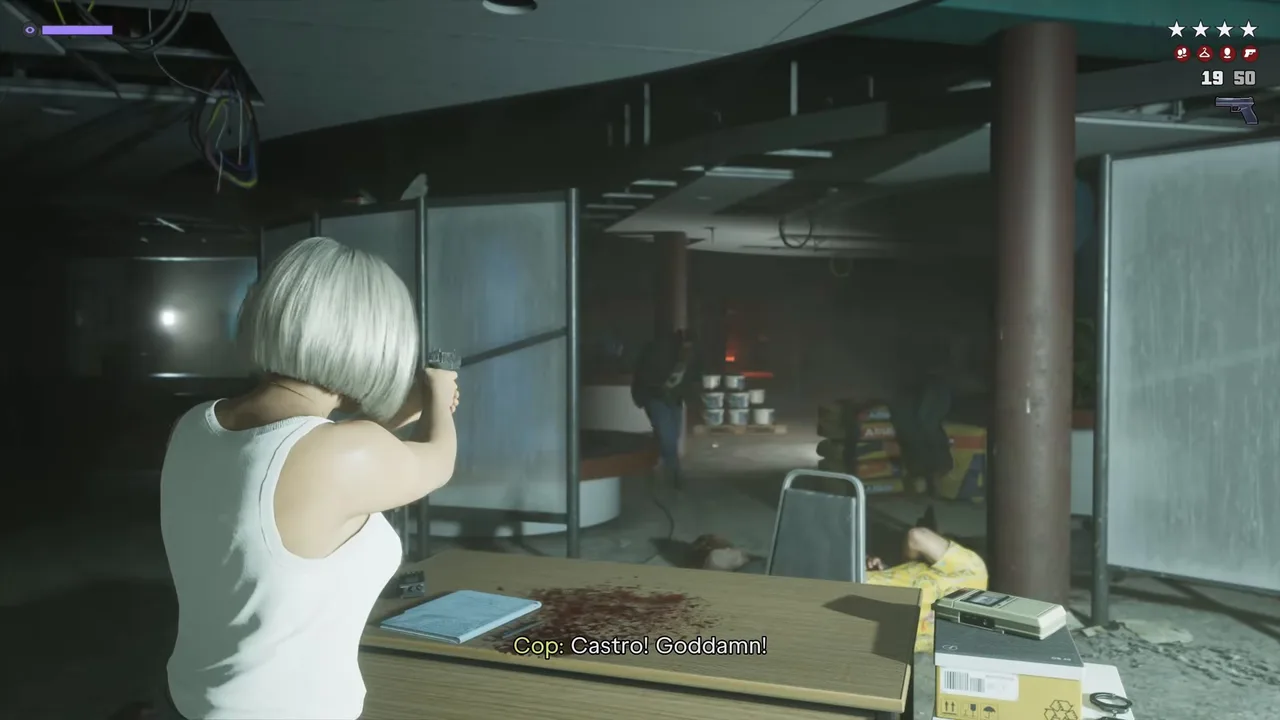
Shoot the attacker, then follow Jason · Lucia
 8
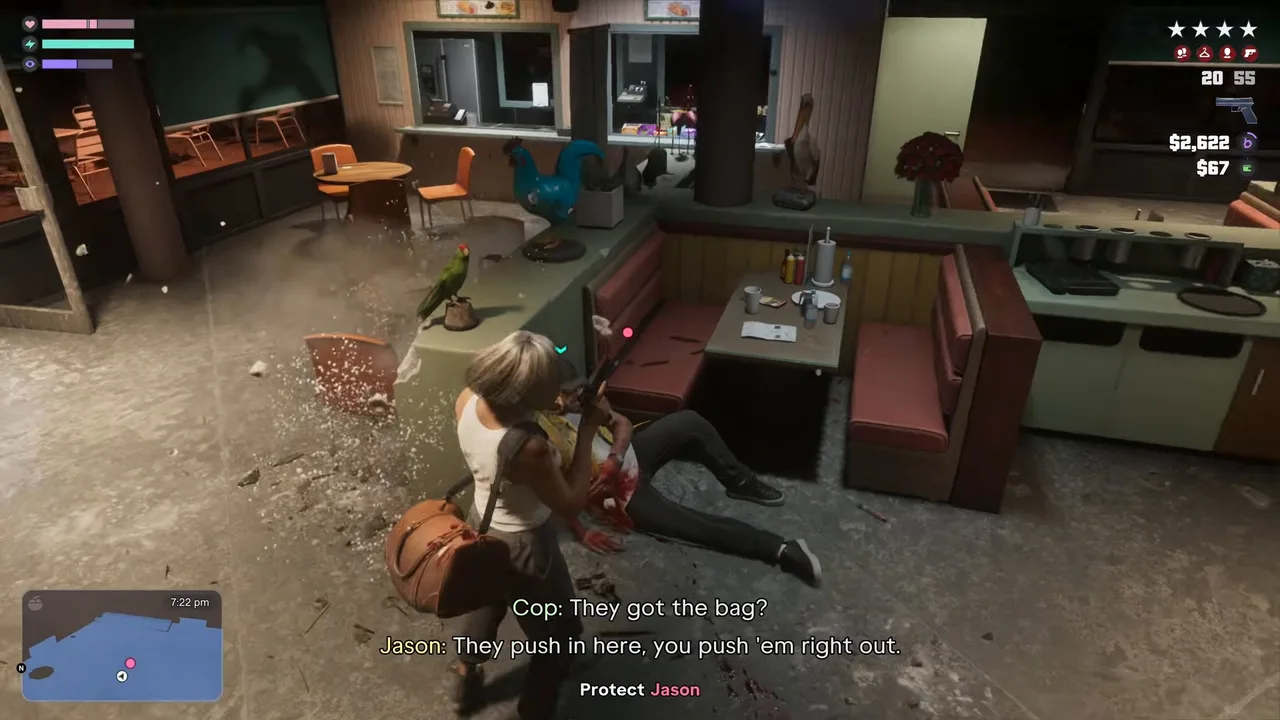
Protect Jason while he patches up · Lucia
 9
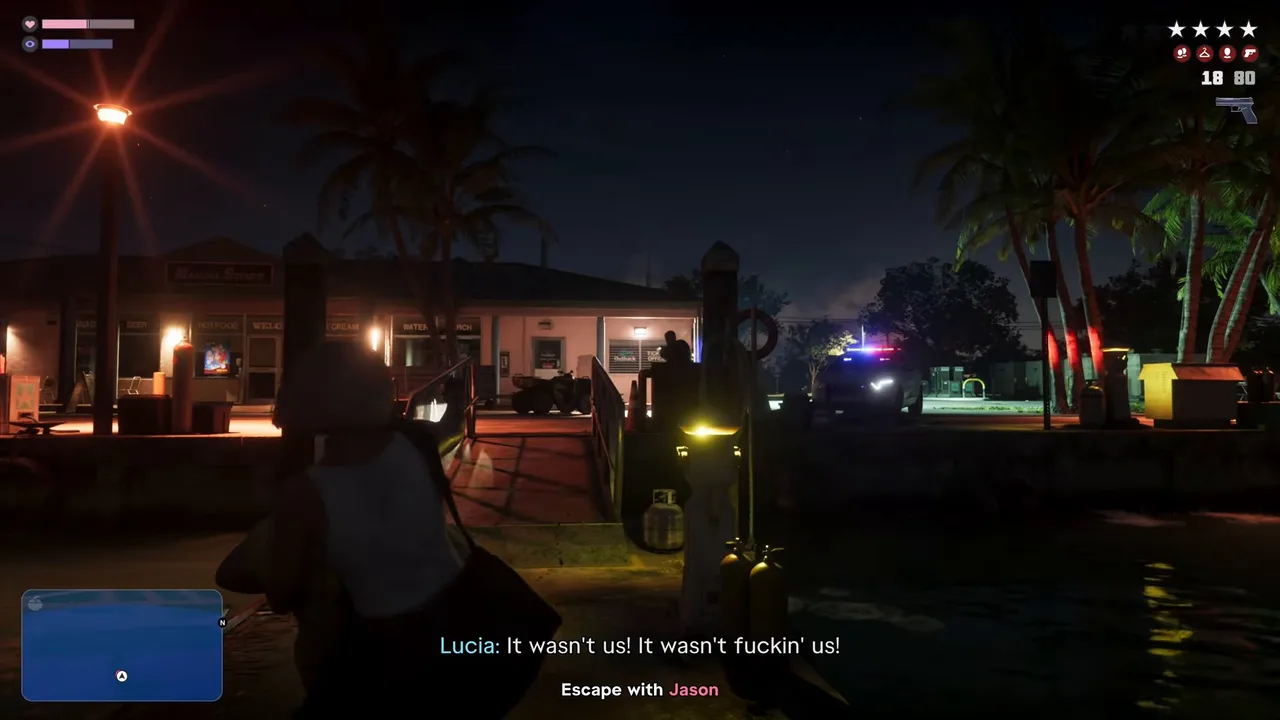
Get Jason to the boat: Escape with Jason · Lucia
 10
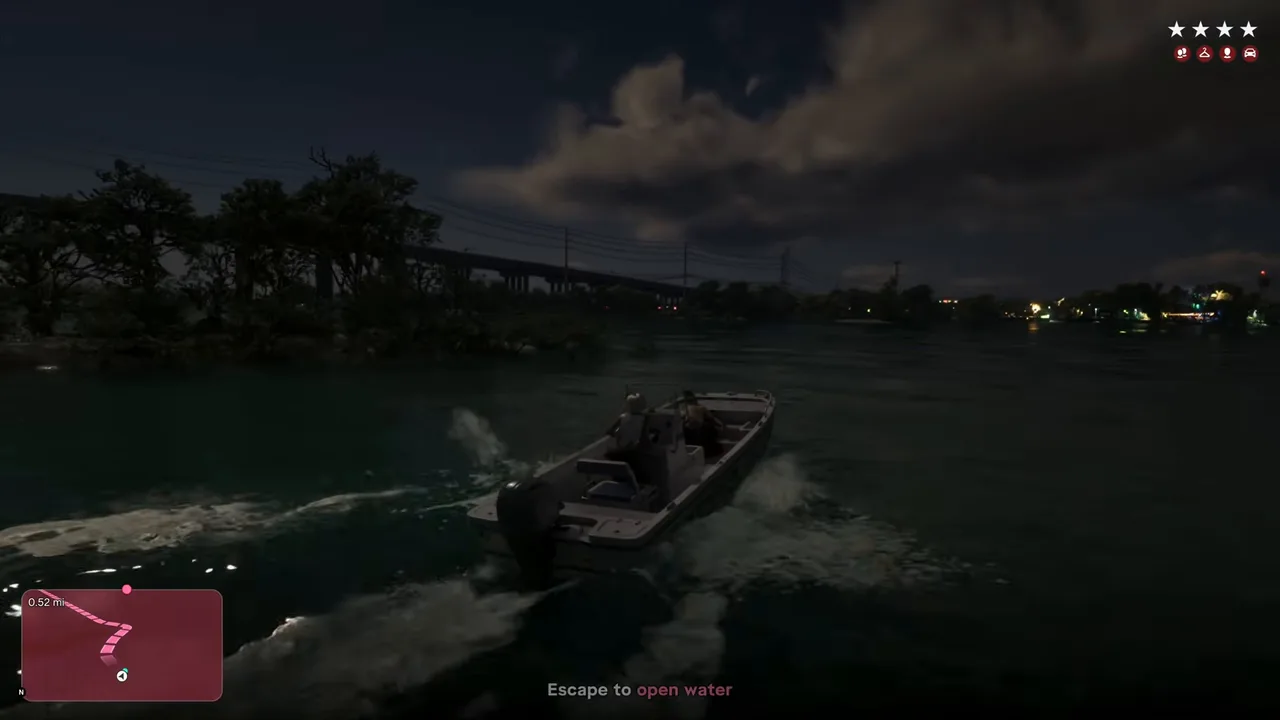
Escape to open water · Lucia
 11
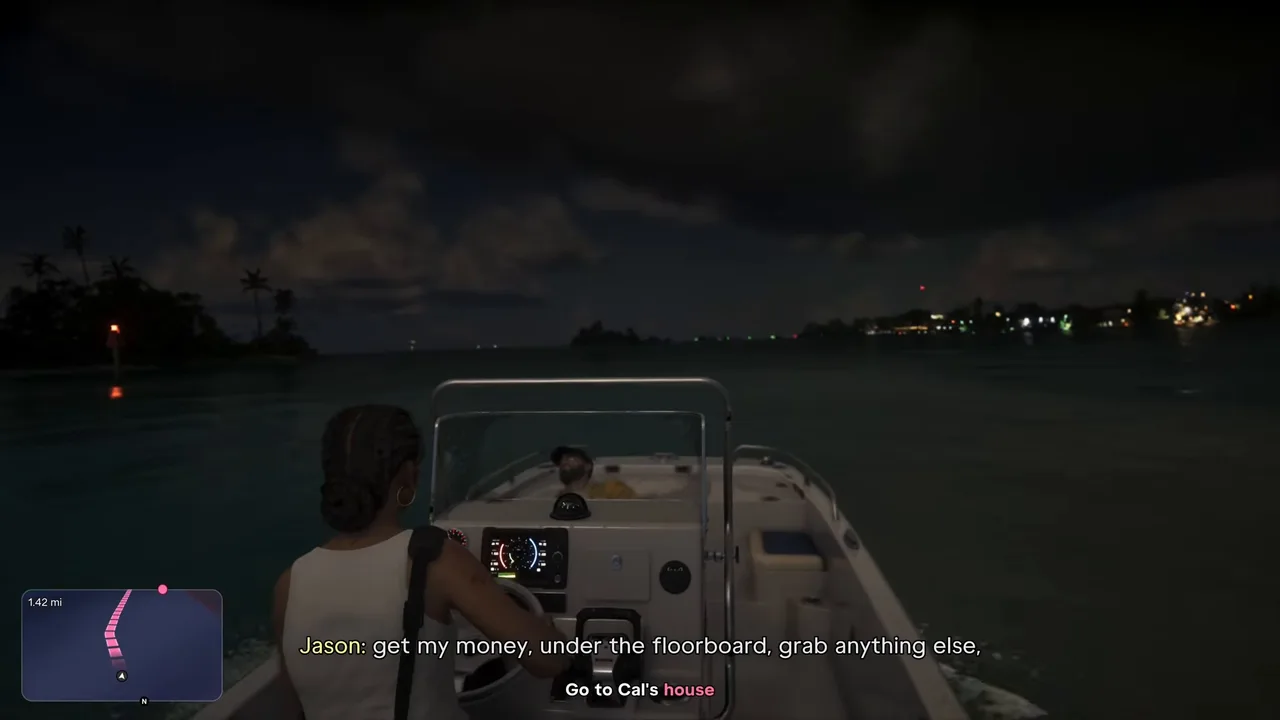
Take Jason to Cal’s house · Lucia
Tourist Trap: quick facts
| Mission | Tourist Trap, story mission #26 |
| Chapter | Chapter 1, the job that ends the chapter’s free roam |
| You play as | Jason, then Lucia from the shootout on |
| Given by | Lucia, for Mattia (the $10,000 job from Day Release) |
| Where it starts | Lucia’s work crew at the southwest tip of Key Lento, or at home later that day |
| Unlocks after | Recalibration (#25) |
| Unlocks next | Home Sweet Home (#27), which starts the moment this one ends |
| Reward | None. The $10,000 is never paid |
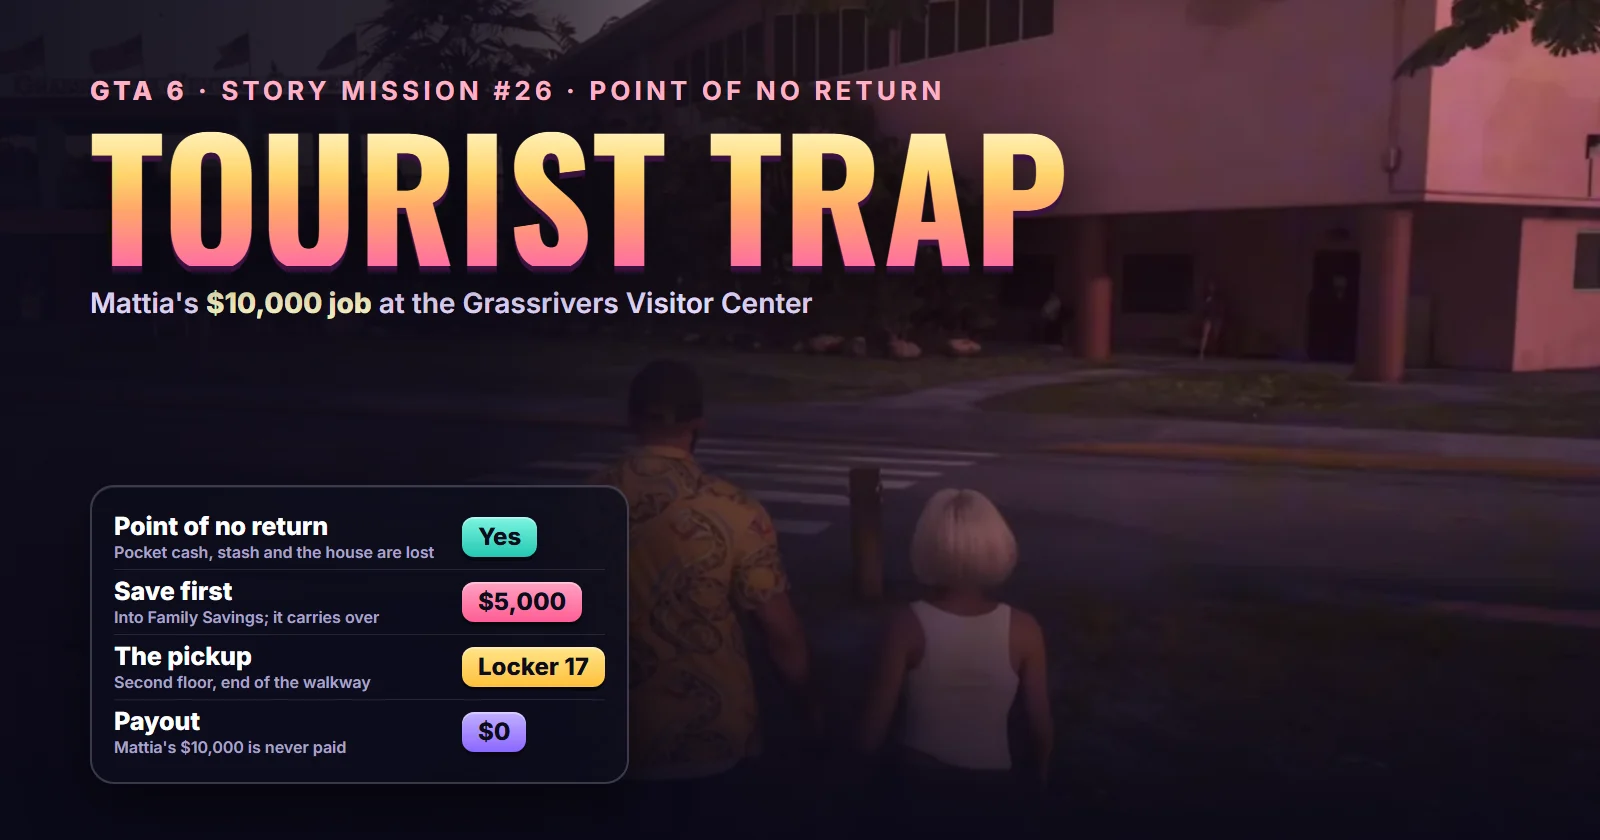
| Point of no return | Yes. You lose pocket cash, the floorboard stash and Jason’s house |
| Trophy | None |
| Required for 100% | Yes |
Point of no return: bank your money first. Once Tourist Trap starts there’s no more Chapter 1 free roam, and you lose the cash in your pocket, the stash under Jason’s floorboards and the Key Lento house itself. Move at least $5,000 into Family Savings in the BuckMe app and make a manual save in a separate slot before you talk to Lucia. Step 1 shows how, and our money guide explains the savings goals. No BuckMe yet? Play Buck Me first.
Mission briefing How it unlocks, where it starts, the story so far and who's who. Contains spoilers for the end of Chapter 1.
How to unlock Tourist Trap
Tourist Trap follows Recalibration, the evening at Cal’s where Lucia walks off from the barbecue. The next day Lucia rings Jason: Kat has been in touch, the job is on, and they’re ready whenever you are. She gives you two ways to start it: pick her up from work, or meet her at home later. TGG took the call at Jason’s house, did a workout and a shower, and then went to get her, so you do get some free time between the two missions. Use it for Step 1.
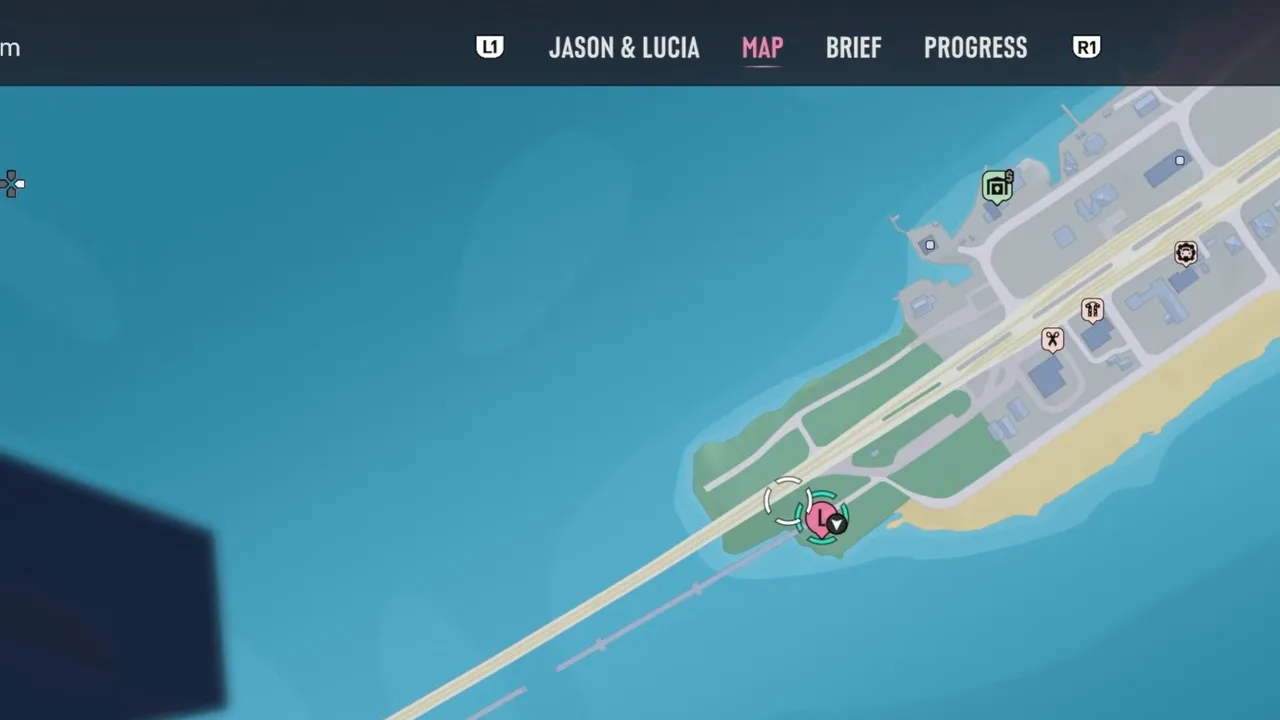 Lucia’s blip in the middle of the day: the little park where the highway bridge leaves Key Lento. Footage: Trophy Tom.
Where it starts: in Trophy Tom’s run, Lucia’s blip sat at the southwest tip of Key Lento, a small waterfront park beside the start of the long highway bridge, where her road crew is picking up litter. There’s no Tourist Trap marker on our map yet. The job itself takes place at the Grassrivers Visitor Center, north of Key Lento on the way to Hamlet (the statue outside it on the live map), and Mattia’s known places are under Mattia on the live map.
The story so far
In Day Release, the morning after the party, Mattia offered Jason $10,000 to collect a delivery from the Grassrivers visitor center and take it to some new buyers, and hinted that better-paid work would follow. Brian is winding down his business, Jason has no steady work, and Lucia wants them out of the Keys. This is the job that is supposed to change that.
Tourist Trap is where Chapter 1 falls apart; Discharge Time (#28) finishes the chapter two missions later. Everything below spoils how it goes wrong.
Who’s who
- Mattia and Kat: the couple from the yacht. Mattia sets the job up and drives you there; Kat comes along in the car.
- Sergeant Galecki: the officer who arrests you and questions you, with Officers Jackson and Gutierrez.
- Méndez: a cop who turns up mid-interview with his own men, Castro among them, and wants the bag. Trailer watchers will know the face (Méndez on the live map). More in our characters guide.
- Cal: Jason’s stoner neighbour, who gets the call at the end.
About this guide
The walkthrough follows StoryDriven’s uncut 4K run (subtitles with speaker names) and Trophy Tom’s trimmed walkthrough, checked against TGG’s first-time playthrough. The money advice draws on Trophy Tom’s pre-mission routine, WiLLiSGaming’s Chapter 2 warning and our own money guide.
Step 1: Bank your cash and save before you start (Jason)
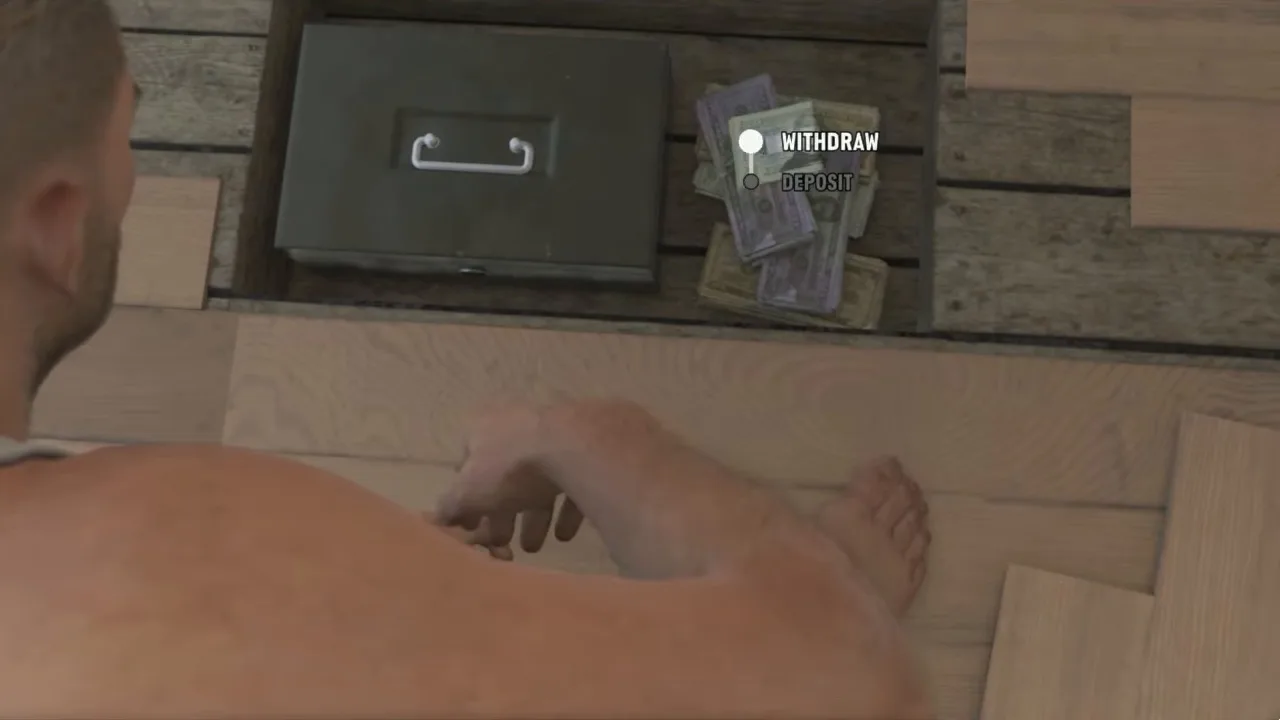
Do this before you go near Lucia. Trophy Tom starts his video in Jason’s bedroom: he opens the floorboard stash and withdraws everything, then drives to an ATM and deposits the lot.
Empty the floorboard stash in Jason’s bedroom first. Footage: Trophy Tom.
Then open BuckMe on the phone and move money across with Buck Yourself. Family Savings can’t be withdrawn, but it can’t be lost either, and it’s the one balance every source agrees survives the jump to Chapter 2. WiLLiSGaming, who finished Chapter 2, says everything else he had was reset to zero. Trophy Tom’s own warning counts the checking account as safe too, so the sources disagree about checking; don’t rely on it for money you want to keep.
 Deposit at any ATM. Checking is capped at $15,000 at this stage. Footage: Trophy Tom.
How much to save:
| Family Savings | Why |
|---|---|
| $5,000 | The first goal, and the minimum we’d carry into Chapter 2 |
| $10,000 | The next goal, with a higher checking limit and 20% off RydeMe rides |
| Everything you won’t spend today | Pocket cash and the stash are lost anyway |
Spend the rest on armour, ammo or a better gun now (see the weapons guide), because you can’t come back for it. Also finish Shirley’s errands if you want them (Get Shirley’s Rum and Steal the Scooter): ConCon notes that both vanish once Tourist Trap starts. Then make a manual save in a slot you won’t overwrite.
Step 2: Pick Lucia up from her work crew (Jason)
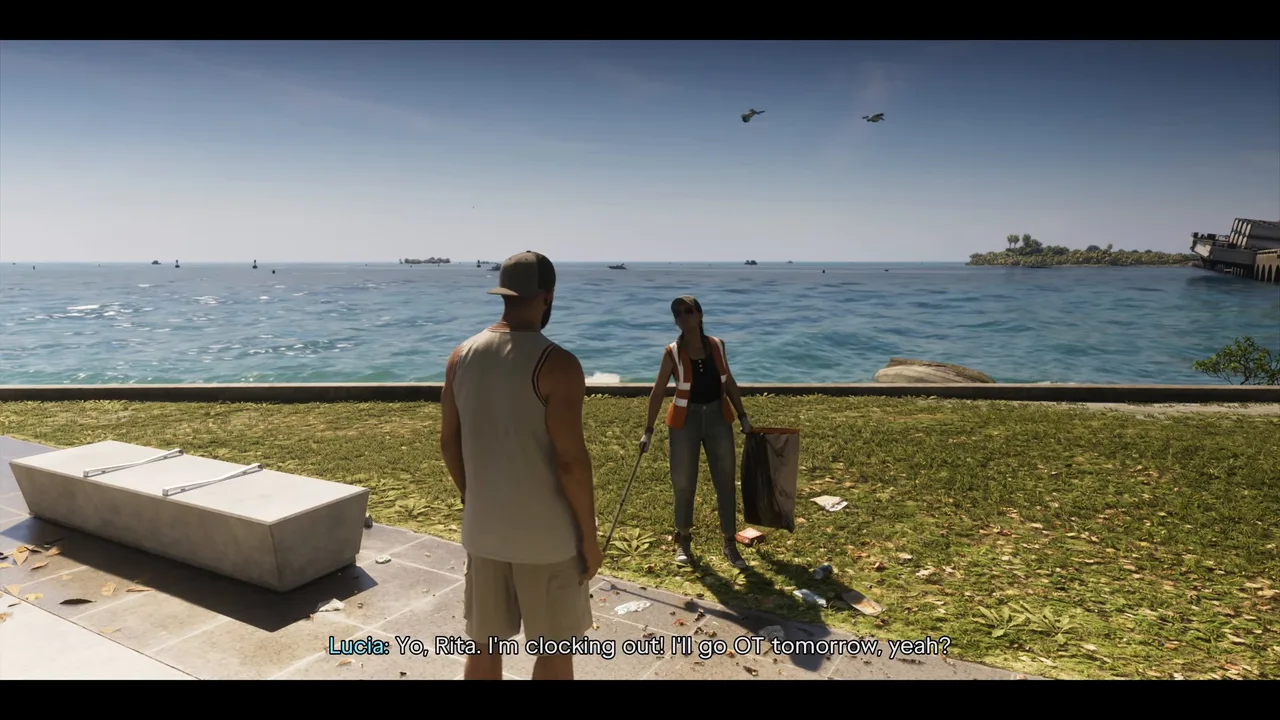
Drive to the blip. Lucia is on the grass by the water in a hi-vis vest with a litter picker, and she clocks off on the spot when Jason turns up.
Lucia’s road crew, by the water at the southwest tip of Key Lento. Footage: StoryDriven.
The rest is a long cutscene. Back at Jason’s house the two of them wonder whether the job is too risky. Lucia’s answer: any job is a risk right now, so take one that pays.
Step 3: Put on the disguise and ride with Mattia (cutscene)
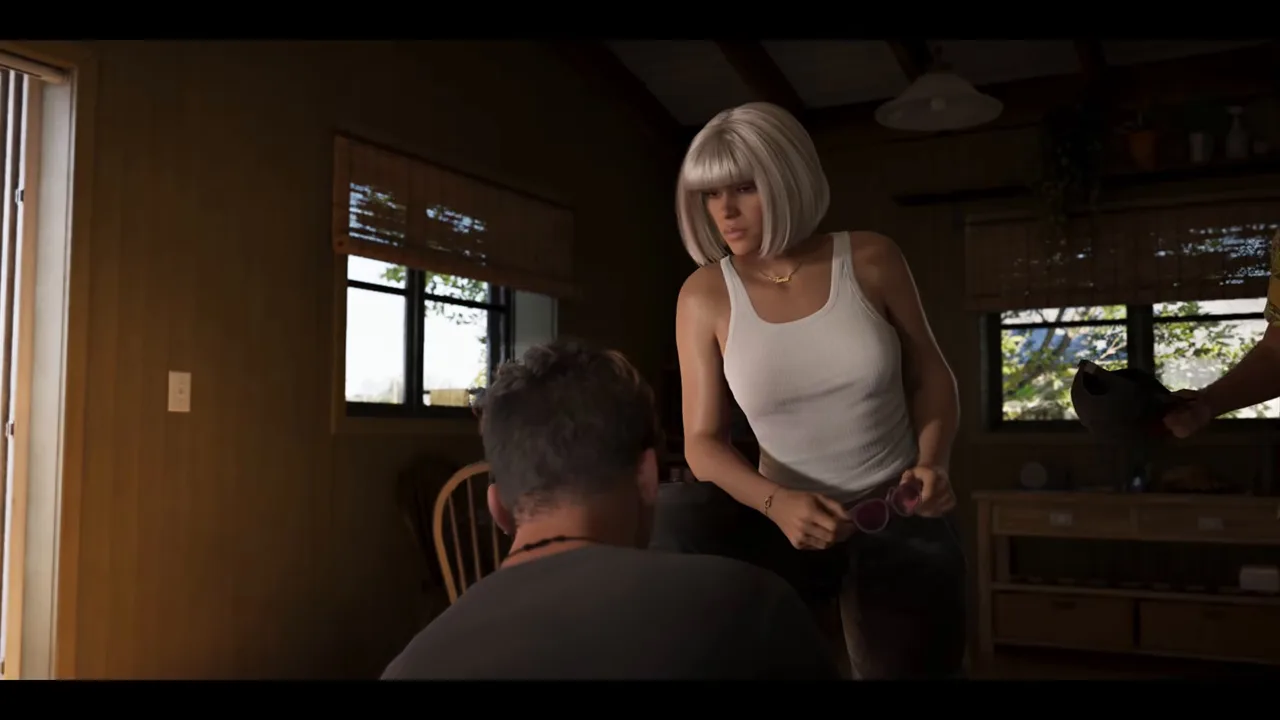
Mattia arrives at the house with disguises. The people at the other end are expecting him and Kat, so Jason and Lucia have to look like them: a loud shirt, cap and shades for Jason and a platinum bob wig for Lucia. He asks to see Lucia’s ankle (the monitor problem from Day Release again) and sets up the alibi: if anything happens, they spent the day here on the couch.
Dressing up as Mattia and Kat. Footage: StoryDriven.
Kat waits in Mattia’s black SUV, and Mattia drives everyone north out of the Keys, past the sign for the Grassrivers Visitor Center.
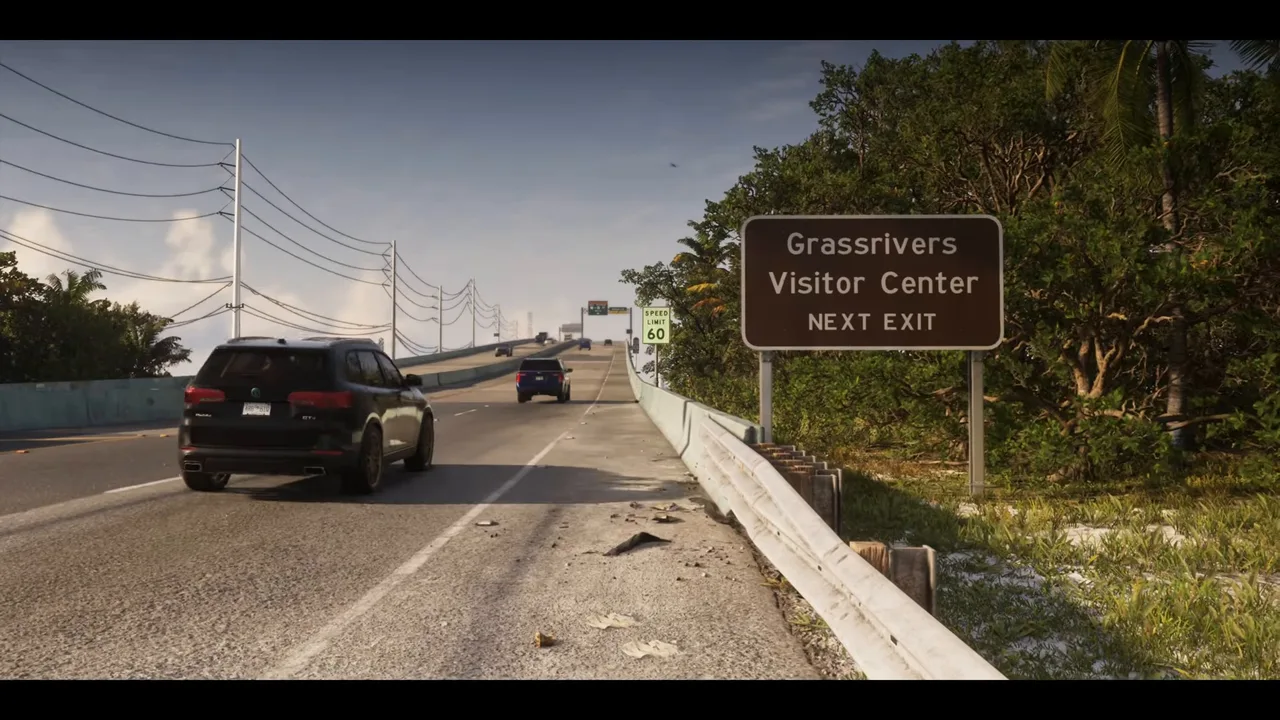 The drive is a cutscene. The visitor center is the next exit. Footage: StoryDriven.
In the parking lot Mattia gives the instructions: second floor, at the end, locker 17. He hands over the ticket. Walk in, get the bag, come back to the car, and he and Kat will wait right there.
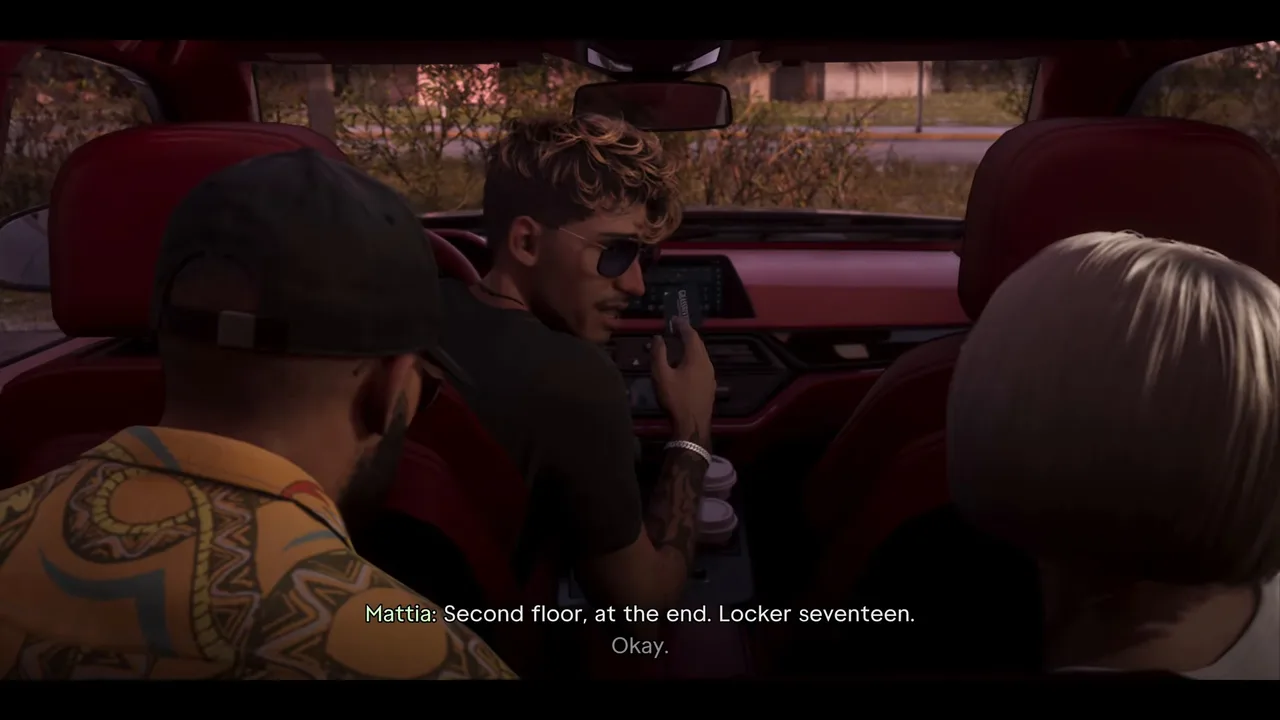 Remember the number: locker 17. Footage: StoryDriven.
Step 4: Find locker 17 in the Visitor Center (Jason)
You get control as Jason, with Lucia beside you. The objective is Find the locker in the Visitor Center. On the way in, Jason sets the rules: stay close, don’t touch the bag, and if it’s police, play dumb and don’t reach for a gun.
Hold Hands (R2) is offered all the way in. Footage: StoryDriven.
Cross the road and take the ramp up to the covered walkway that runs along the water. Follow it to the end, past the binoculars and the café, to the Locker Rentals bank next to the Information Center. The objective changes to Get the bag from the locker.
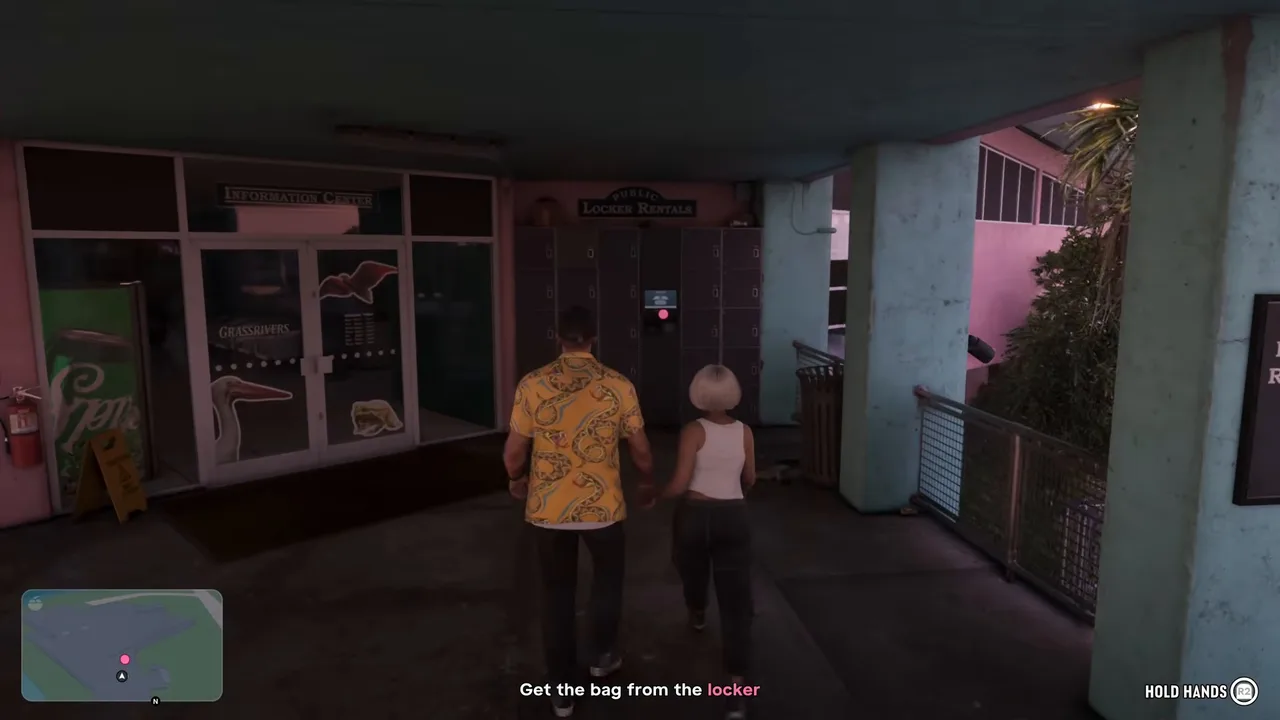 The lockers are at the end of the upper walkway. Footage: StoryDriven.
Lucia keeps watch while Jason opens locker 17 and takes a brown holdall.
Step 5: Return to the car and get arrested (Jason)
With the bag in hand the objective is Return to the car. Walk back along the walkway; a tourist yelling at someone over a stolen phone is just noise. Whatever you do here, it ends the same way.
Heading back to Mattia with the bag. Footage: Trophy Tom.
A couple asks for help, and they’re plain-clothes police. Jason and Lucia are cuffed on the spot.
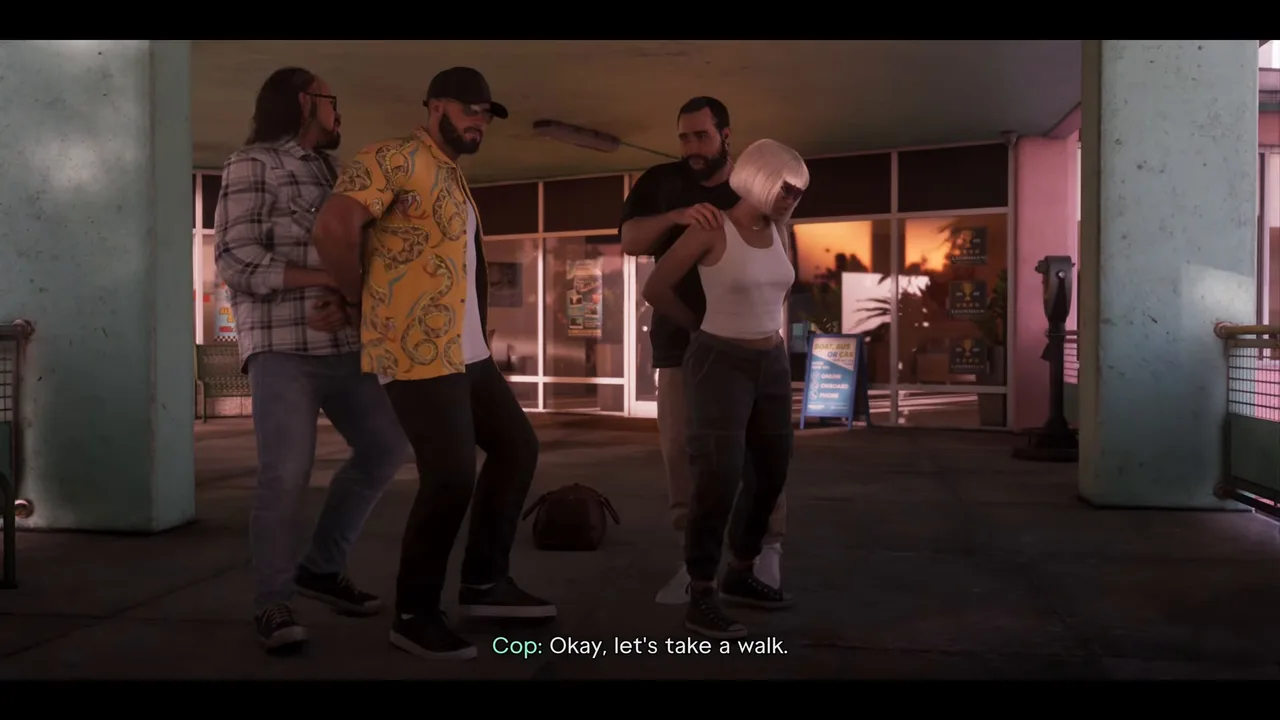 Cuffed outside the Information Center. Footage: StoryDriven.
They’re walked into a closed-off hall set up for a new exhibition, “Apex Predators of Leonida”, where Sergeant Galecki opens the bag and wants to know who sent them. Jason sticks to the story: just a tourist, sightseeing with his girl. Then Méndez walks in with his own crew and offers to take the evidence off Galecki’s hands. Galecki refuses, and Méndez leaves his men behind.
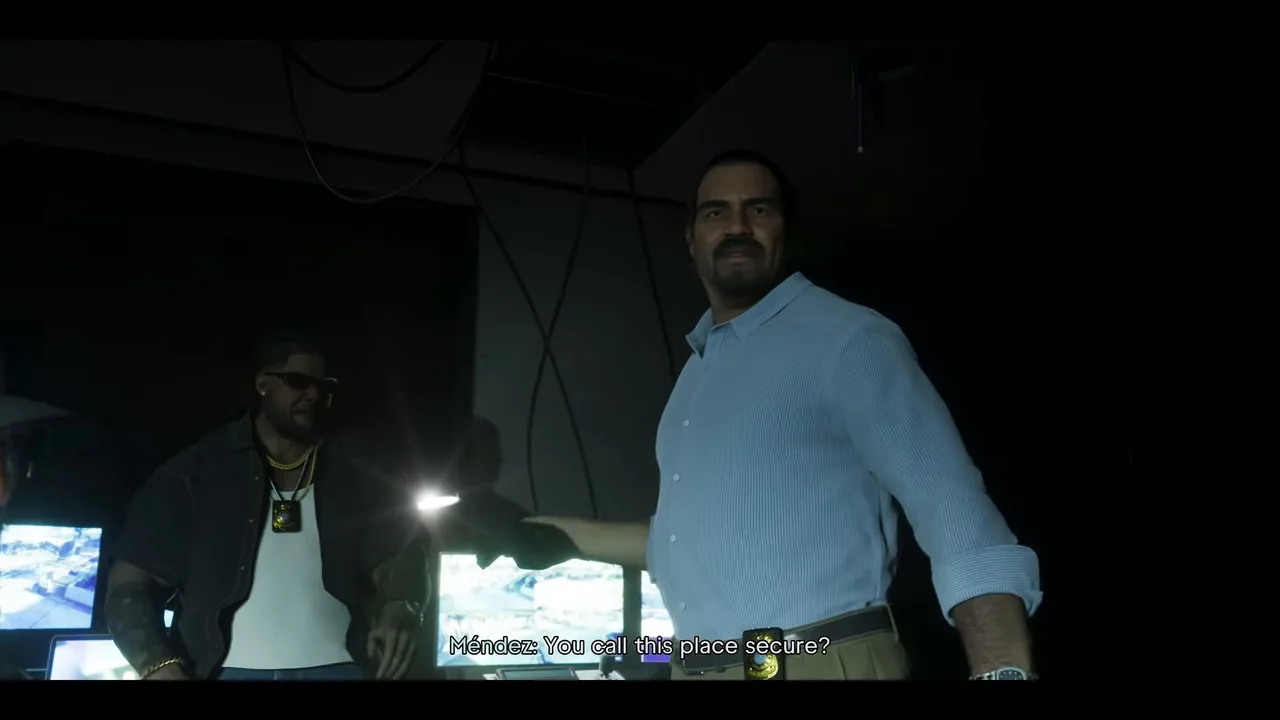 Méndez arrives in the middle of the interview. Footage: StoryDriven.
It turns into an execution: Méndez’s men shoot Galecki’s officers and call it in as “suspect had a weapon”.
Step 6: Get out of the cuffs and pick up the bag (Jason)
Jason and Lucia end up on the floor, still cuffed. The female officer had the cuff key, so that’s where they go first. Once they’re free, the objective is Pick up the bag: the holdall is on the interview table, among the bodies.
Pick up the bag from the interview table. Footage: StoryDriven.
As Jason grabs it, one of Méndez’s men opens fire and Jason goes down. You can’t prevent this; it’s scripted.
Step 7: Shoot the attacker, then follow Jason (Lucia)
The game hands you Lucia with a pistol. Kill the man who shot Jason, then clear the rest of the room. A four-star wanted level appears now and stays for the rest of the mission.
Lucia takes over. Drop the shooter first. Footage: StoryDriven.
Jason is hit but on his feet, and he’s clear about it: these cops aren’t here to arrest anyone. Lucia carries the bag from here. The objective is Follow Jason. He heads for the parking lot, where Mattia’s SUV should be, but it’s gone. Mattia bailed the moment the shooting started.
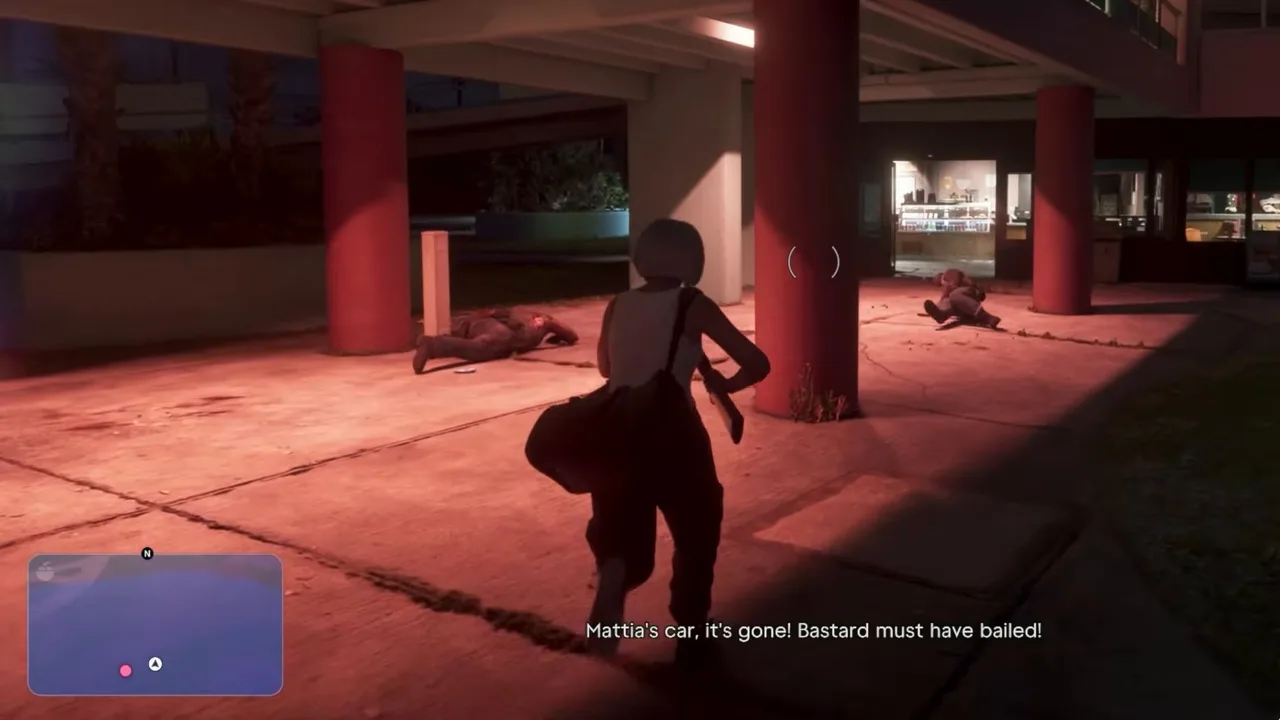 No getaway car: Mattia has driven off. Footage: Trophy Tom.
Trophy Tom’s Lucia fights most of the way with a pump shotgun, StoryDriven’s with the pistol. Either works. Watch for the “+ Pistol Ammo” pickups from downed officers.
Step 8: Protect Jason while he patches up (Lucia)
Jason leads you back inside, into the visitor center’s café and exhibit room. He’s losing blood and has to stop to patch the wound: the objective becomes Protect Jason. Stay near him behind the counter and shoot anyone coming through the doors. Jason warns when they flank from the other side.
Hold the café while Jason patches himself up. Footage: StoryDriven.
When the wave is down, he asks for a hand: Help Jason stand up. Walk up to him and press the prompt.
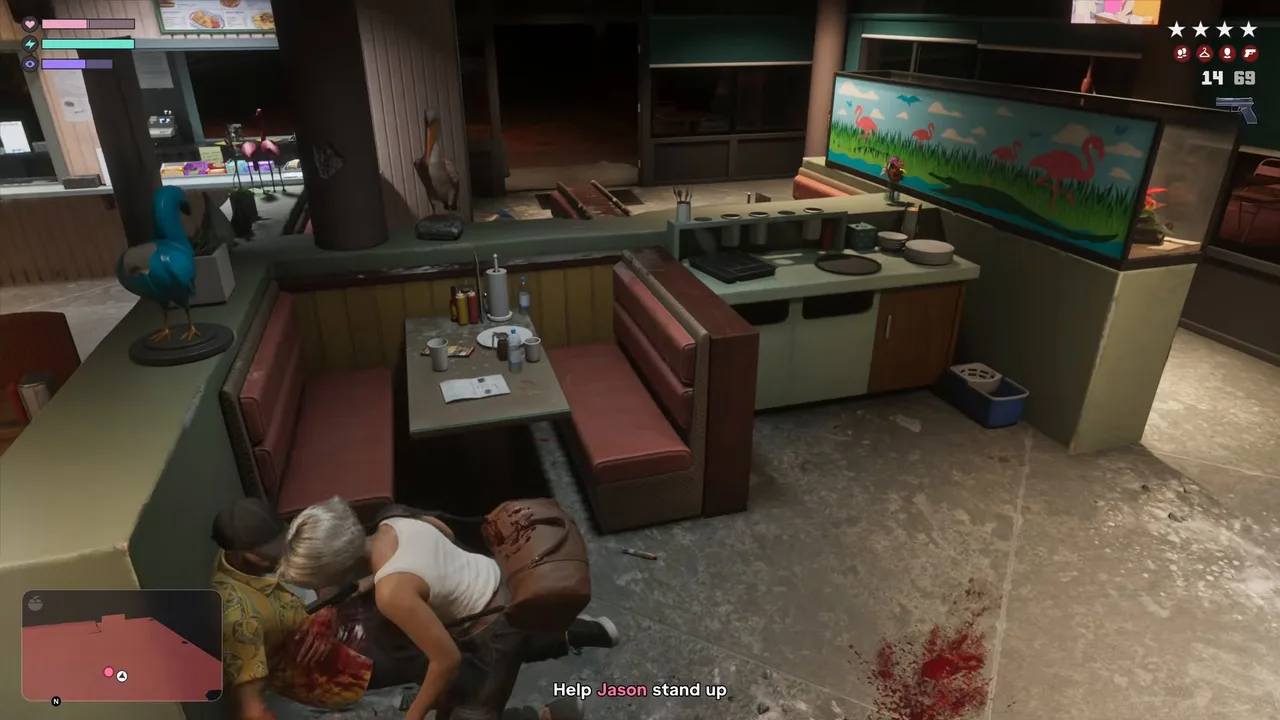 Help Jason up, then keep moving. Footage: StoryDriven.
TGG noticed that Lucia has much less health than Jason, so use the booths and pillars as cover and don’t push out alone.
Step 9: Get Jason to the boat: Escape with Jason (Lucia)
Follow Jason again, out under the walkway and across the grounds. More police arrive from the road. Jason calls a run for the food truck, then spots a boat at the end of the pier. Short of the pier he collapses, and the objective becomes Escape with Jason.
Lucia half carries Jason down the pier, pistol in her free hand. Footage: StoryDriven.
Lucia props him up with one arm and shoots with the other, so you only have a pistol and you move slowly. Shoot the officers blocking the pier before you commit to the walk, and stop to return fire when they flank from the water. At the end, Lucia puts Jason aboard and takes the wheel.
Step 10: Escape to open water (Lucia)
Now it’s Escape to open water. Follow the pink route out of the channel, under the road bridges and into the open bay. The police keep after you on the water and from the shore, ordering you to pull over, so keep the throttle down and don’t stop.
Out through the channel, under the bridges. Footage: StoryDriven.
Once you’re out of the search area the four stars fade. By now the wig is off, and Jason, barely conscious, tells Lucia that what she did back there was the only way out.
Step 11: Take Jason to Cal’s house (Lucia)
Jason gives the orders before he passes out: get him to Cal, who can take him to a hospital, then go home, take his money from under the floorboard and get out. The objective is Go to Cal’s house, which is back down the coast in Key Lento (Cal’s places on the live map).
Jason’s last instructions: Cal, then the floorboard money. Footage: StoryDriven.
On the way Lucia phones Cal, who is “half a bag” of gummies in and needs telling twice. Steer for the lit house on the waterfront and pull up at Cal’s dock.
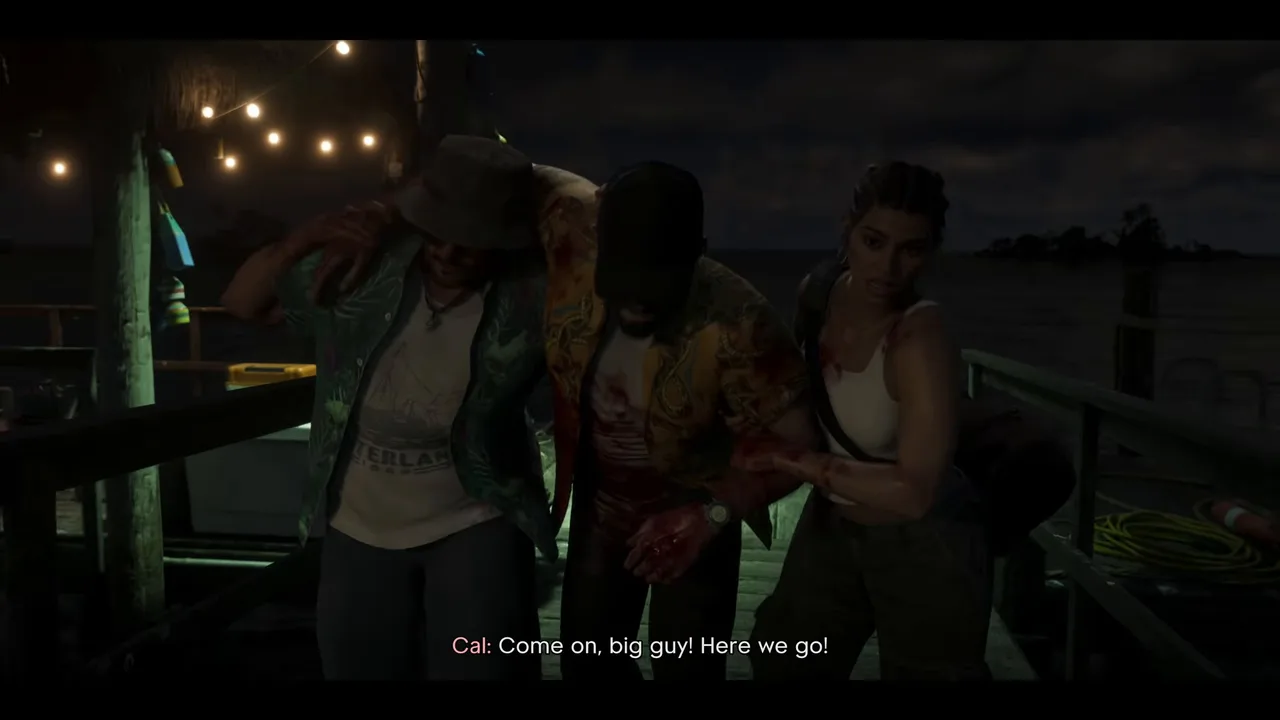 Cal takes Jason off the boat. Footage: StoryDriven.
In the final cutscene Lucia tells Cal to drive Jason to a hospital as far from here as he can get and to call it a hunting accident. She gives Cal something to keep close to Jason, then heads for the house. The mission ends there, without a pass screen in either run, and Home Sweet Home begins immediately.
Rewards
- Money: none. Mattia’s $10,000 was for delivering the bag to the buyers, and that never happens.
- The bag: the one thing you leave with, and the reason everyone is after you.
- Trophy: none.
- What you lose: your pocket cash, the floorboard stash and Jason’s Key Lento house. Don’t count on Lucia rescuing the stash in the next mission: TGG’s Lucia couldn’t get to it in Home Sweet Home, which he only shrugged off because he had already banked everything.
Failing and retries
None of the three runs we watched failed, so we can’t tell you where the checkpoints sit. Expect a fail if Lucia dies, and fight from cover, because her health drains fast. Jason holds his own while he’s on his feet, but on the pier he depends on you, so clear the officers ahead before you start dragging him. Getting shot in the interview room is scripted; TGG thought he had messed up there, but it happens in every run. The mission database adds that the police you kill during the escape don’t count against you afterwards, since the story requires it.
Tips
- Save $5,000 or more first. It’s the one Chapter 1 money that’s guaranteed to carry over.
- Keep a manual save from before the mission. It’s your only way back to Chapter 1 free roam.
- Pick up the shotgun if you find one. Trophy Tom’s Lucia cleared the café much faster with it.
- Stay tight to Jason in the café. If attackers get to him while he’s patching up, the fight drags on.
- Don’t stop in the boat. Speed is your cover until you’re under the second bridge.
Related guides
- Previous: Recalibration (#25), the fishing trip and barbecue at Cal’s. Next: Home Sweet Home (#27), which starts the second this mission ends, then Discharge Time (#28), the last Chapter 1 mission. See all GTA 6 missions.
- Day Release: where Mattia first offers the $10,000 job
- GTA 6 money guide: Family Savings goals and the Chapter 1 reset
- Buck Me: opening the BuckMe account you need for Step 1
- Clock Out: Lucia’s day job, which you pick her up from here
- GTA 6 characters: Mattia, Kat, Cal and Méndez
- Interactive map: Key Lento, the Grassrivers Visitor Center and Cal’s house
Frequently Asked Questions
How do you start Tourist Trap in GTA 6?
Finish Recalibration. The next day Lucia calls to say Kat confirmed the job, and you can pick her up from her roadside work crew at the southwest tip of Key Lento or meet her at home later. Talking to her starts the mission.
Do you lose your money in Tourist Trap?
Yes. Tourist Trap is the end of Chapter 1's free roam, and you lose your pocket cash, the floorboard stash and Jason's Key Lento house for good. Move at least $5,000 into Family Savings in the BuckMe app first: it's the only money every source agrees carries over.
Where is locker 17 in Tourist Trap?
On the upper walkway of the Grassrivers Visitor Center. Take the ramp up from the parking lot and follow the covered walkway to the Locker Rentals bank next to the Information Center. Mattia's directions are second floor, at the end.
Do you get paid the $10,000 for Tourist Trap?
No. The pickup is an ambush, Mattia drives off when the shooting starts, and the mission ends with no payout. You leave with the bag, not the money.
Can you free roam after Tourist Trap?
Not in Chapter 1. Once it starts, the story runs straight through to the end of the chapter, beginning with Home Sweet Home the moment Tourist Trap ends. Shirley's errands also disappear, so finish anything in Key Lento you care about beforehand.
Sources & Credits
Researched from these videos and official material, among others. Screenshots credit the creator whose footage they come from.
- GTA 6 - Tourist Trap (Take Up Mattia's Offer) - Full Walkthrough · Trophy Tom
- GTA 6 - Mission #15 - Tourist Trap | 4K Ultra HD · StoryDriven
- GTA 6 - CHAPTER 2! Playing GTA 6 for the First Time · TGG
- GTA 6 FAST CASH Method! Do This ASAP! · WiLLiSGaming
- How to Get Shirley's Rum & Steal the Scooter (Missable) ► GTA 6 · ConCon