Jump to your step
Behind on Payments: quick facts
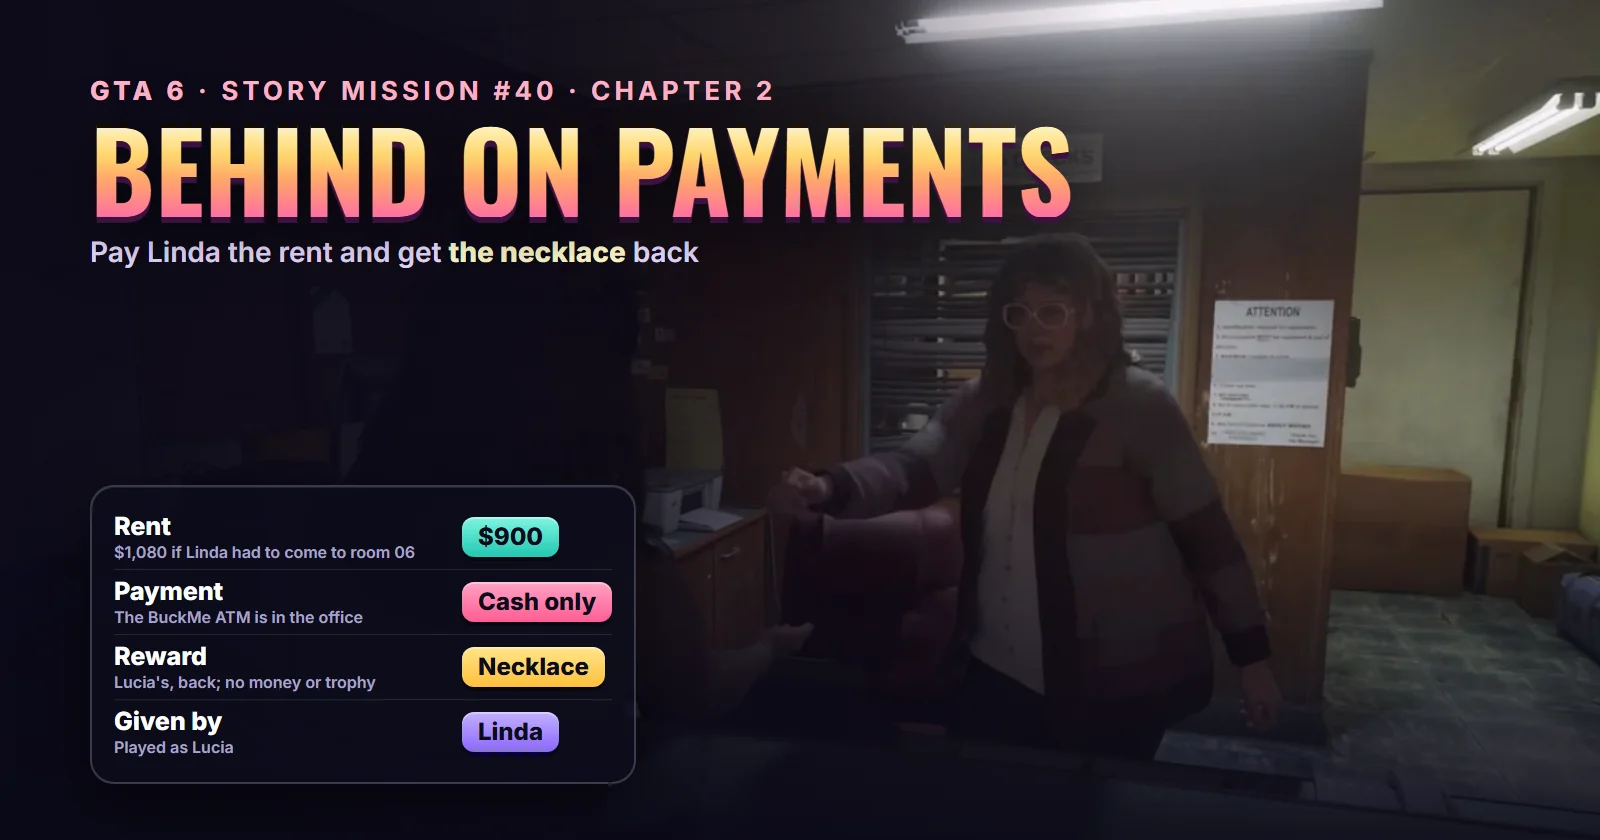
| Mission | Behind on Payments, story mission #40 |
| Chapter | Chapter 2 (Paradise Lost) |
| You play as | Lucia |
| Given by | Linda, the Starlet Motel’s day manager |
| Where it starts | The reception office of the Starlet Motel, Port Gellhorn |
| Unlocks after | Overnight Charges (#32), where Linda takes the necklace as collateral |
| Next in the story list | Slam Dunk (#41) |
| What you need | $900 in cash ($1,080 if Linda had to come to your door) |
| Length | About 2 minutes at the motel, plus however long it takes to raise the money |
| Reward | Lucia’s necklace back. No cash |
| Trophy | None |
| Required for 100% | Yes |
Mission briefing The story so far, how the mission unlocks, where Linda's desk is and what you owe. Contains spoilers for the end of Chapter 1.
The story so far (spoilers for the end of Chapter 1)
Chapter 1 ends badly: Jason is shot, Lucia gets him out of Vice City Hospital, and the couple go to ground at the Starlet Motel in Port Gellhorn with very little money. The motel’s day manager, Linda, wants the room paid for. In Overnight Charges (#32) Lucia can’t cover the bill, Linda won’t take installments, and she keeps Lucia’s necklace as collateral until the rent arrives.
That necklace is the one Jason ordered for Lucia in Chapter 1’s Buy Lucia a Necklace errand. Behind on Payments is the mission where she buys it back. Linda keeps reminding her in the meantime: in Perfect Score’s run she texts Lucia during How Do I Look?, suggesting a payday loan place on Gellhorn Avenue.
How to unlock Behind on Payments
Behind on Payments is the second half of Overnight Charges: once Linda has the necklace, the debt waits in your task list (in both runs it was already on the map in the middle of Chapter 2). The task card says Lucia owes Linda rent for the motel room and that Linda is holding the necklace. You can see it before you have the money. The card shows a goal of $0 / $900 next to the green cash (wallet) icon, and it only counts the cash in Lucia’s pocket, not the purple BuckMe balance in the top-right corner.
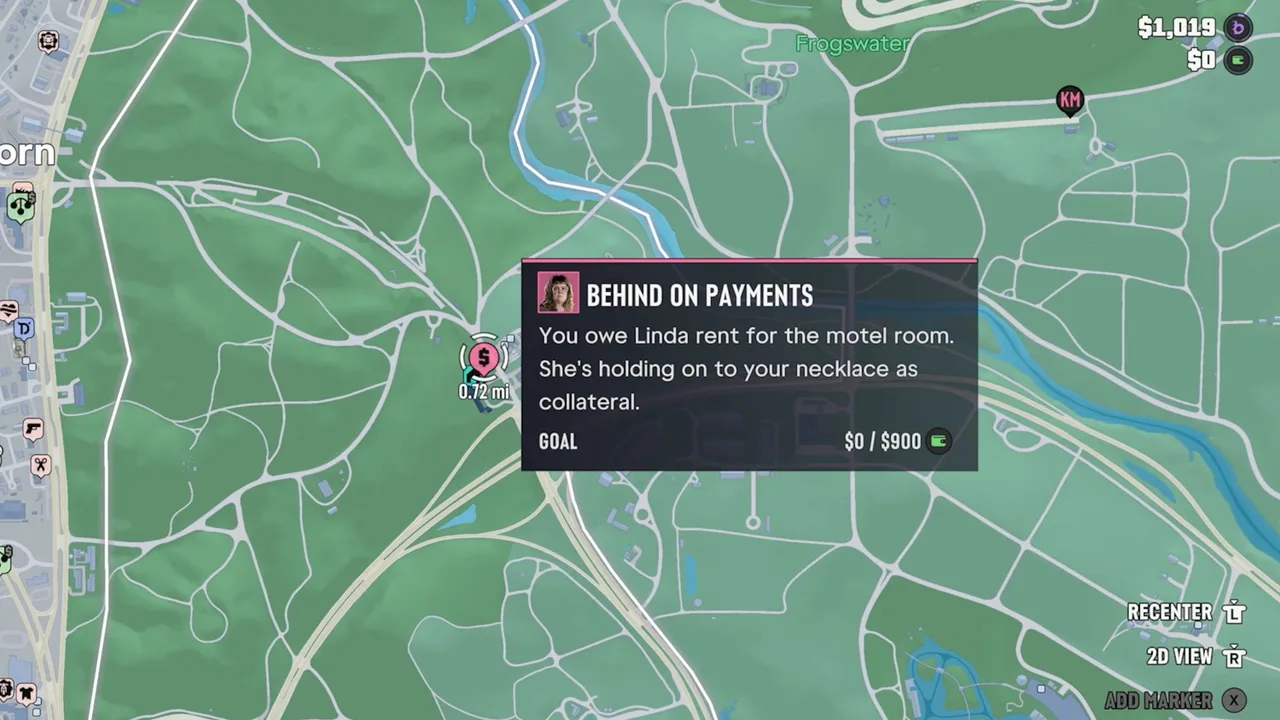 The task card: $1,019 in the bank, $0 in cash, and a goal of $0 / $900. Footage: Perfect Score.
The order is up to you. Trophy Tom paid straight after New Look and How Do I Look?. Perfect Score paid after selling a car to Moses, just after Daily Driver (#39). Both had the money sitting in BuckMe, not in cash.
Where it starts
At Linda’s desk in the reception office of the Starlet Motel, Port Gellhorn, the same office where Overnight Charges starts and a short walk from room 06. On the map it’s Linda’s pink dollar-sign icon. See the Behind on Payments start on the live map; its card also lists Overnight Charges, which starts at the same desk.
How much you owe
- $900 if you went to the desk yourself in Overnight Charges: the rent plus 10%. Both runs below paid exactly that.
- $1,080 if you put Overnight Charges off and Linda came to room 06 instead. She adds another 10% for lateness and 10% for the visit (iPodKingCarter’s run shows that version). We haven’t seen a $1,080 save reach this mission, so expect the card’s goal to read $1,080, but we can’t confirm it.
About this guide
The steps follow two complete released-game runs: the Behind on Payments chapter of Perfect Score’s no-commentary Chapter 2 playthrough (Xbox, with the full desk menu on screen) and Trophy Tom’s combined New Look / How Do I Look? / Behind on Payments video. They took different routes to the cash and ended the same way. Button names below are PlayStation first, Xbox second.
Step 1: Raise the money (Lucia)
You need $900 before Linda will deal with you, and Chapter 2 starts you with almost nothing. You don’t need to grind for it. The Chapter 2 missions you’re doing anyway pay into BuckMe, and both runs had the money by the middle of the chapter:
- Perfect Score pulled a driver out of a white sedan on the highway and delivered it to Moses at Watkins Auto Parts. Moses paid $450 by BuckMe, which took the account from $569 to $1,019. That’s less than the $1,000-plus per car often quoted, so the car you bring matters (our Steal Vehicles for Moses guide covers what he pays more for).
- Trophy Tom had $1,058 in BuckMe after the haircut and clothes missions, and his video adds a tip of its own: if you’re short, steal a car and bring it to Moses.
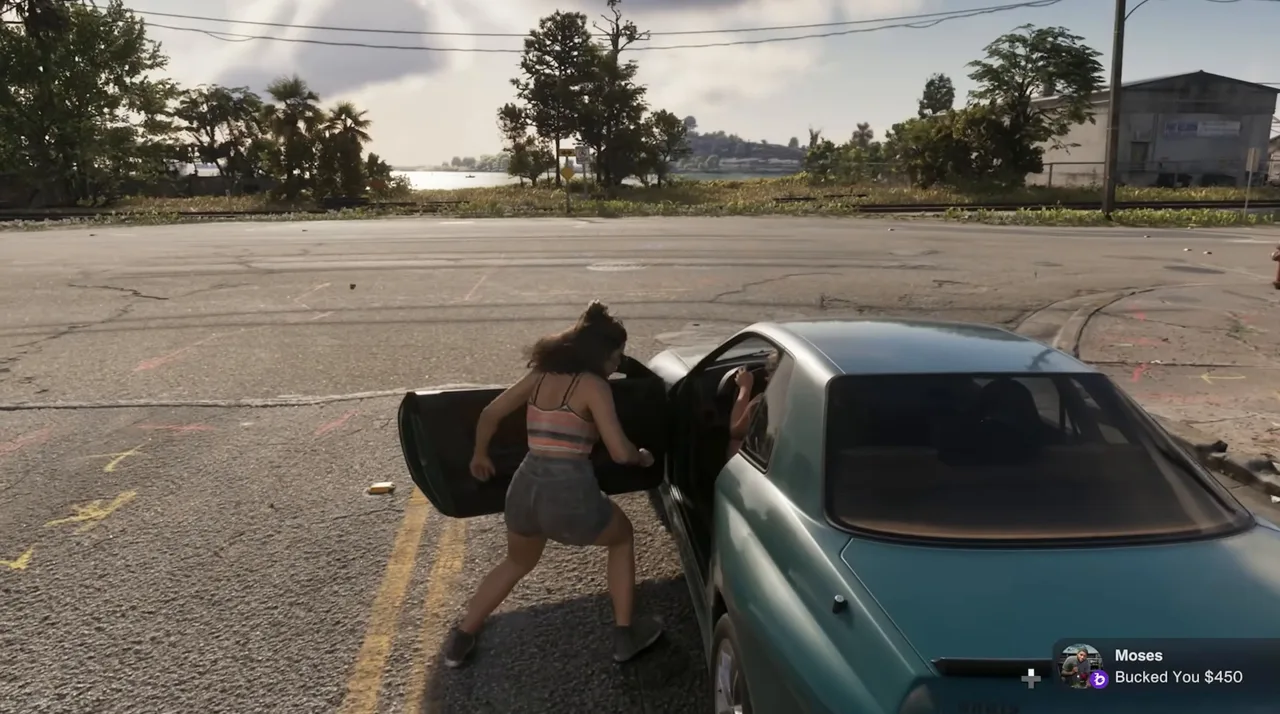 Moses pays for the sedan by BuckMe while Lucia helps herself to her next car. Footage: Perfect Score.
Other quick options are store registers and muggings, plus the Moses jobs: Daily Driver is listed at $1,250. Our money guide ranks the early methods. Don’t count on Family Savings: Trophy Tom’s BuckMe app showed $5,000 saved from Chapter 1, but savings can never be withdrawn. Only the checking balance can be turned into cash.
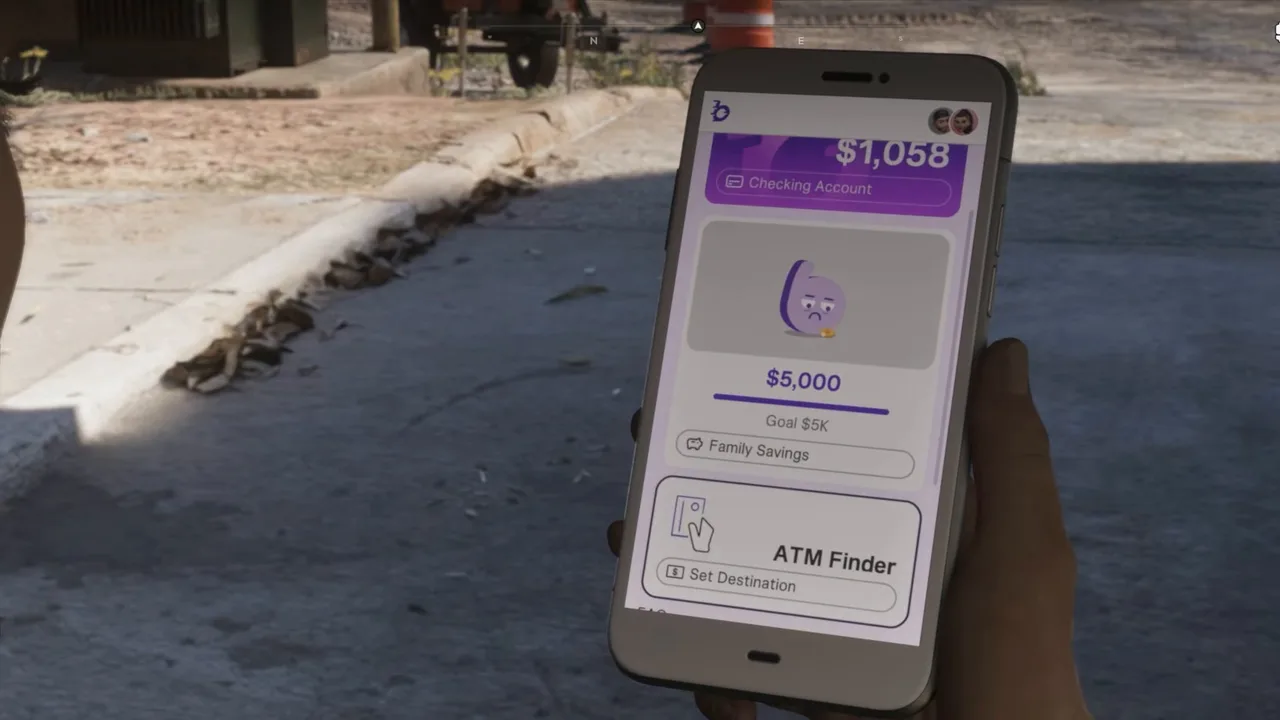 BuckMe: checking money can be withdrawn, savings can’t. The app’s ATM Finder can set a route to the nearest machine. Footage: Trophy Tom.
Step 2: Drive to the Starlet Motel
Set the Behind on Payments card as your destination and head back to the motel. Perfect Score drove in from Moses’s garage in his new coupe, about three quarters of a mile, and left it in the motel’s parking space by the office; the game tells you that parking in the space and getting out stores the vehicle for now.
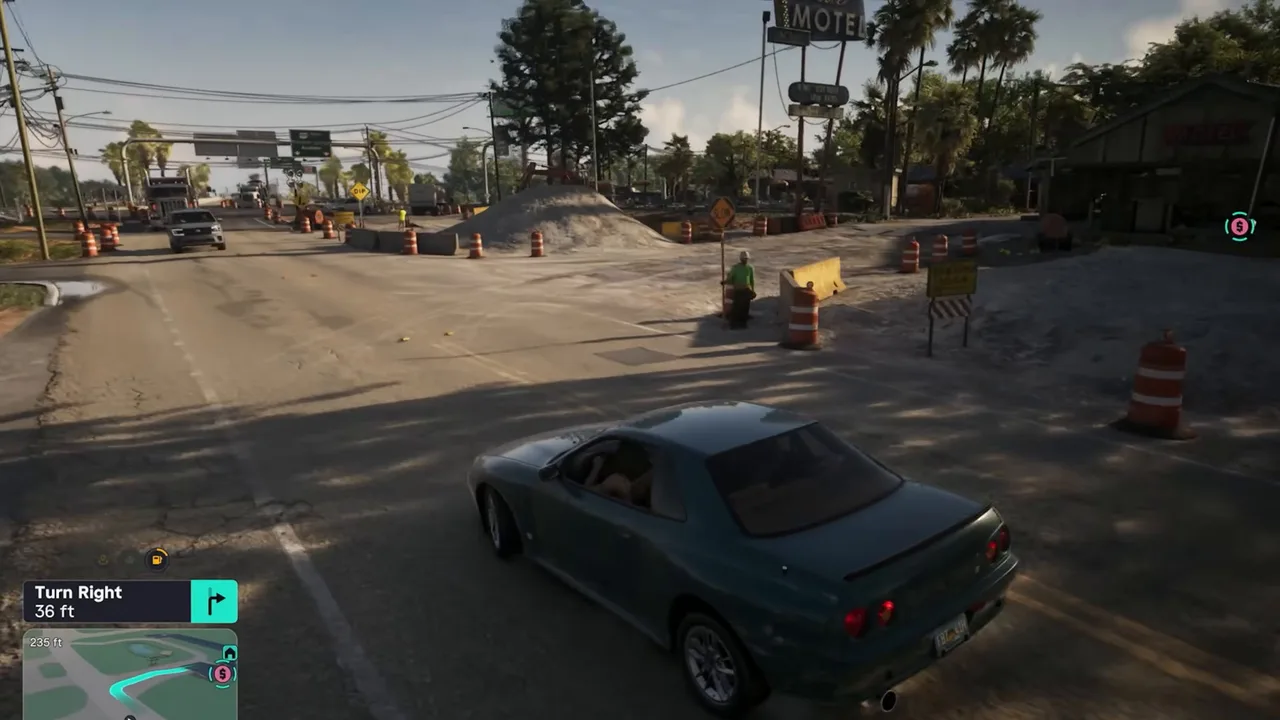 Back to the Starlet Motel. Footage: Perfect Score.
Walk into the reception office, the brick-fronted building under the covered walkway. Linda is at her desk under the No Checks sign, and her pink contact prompt appears at the bottom right as you get close.
Step 3: Withdraw cash from the office ATM
If Lucia’s money is in BuckMe, the game stops you here. As you walk in, a tip appears: Linda will only accept cash for the rent payment. You can withdraw cash from the ATM. If you talk to her anyway, Linda asks whether you’re here to pay the rent and tells you she’ll be waiting.
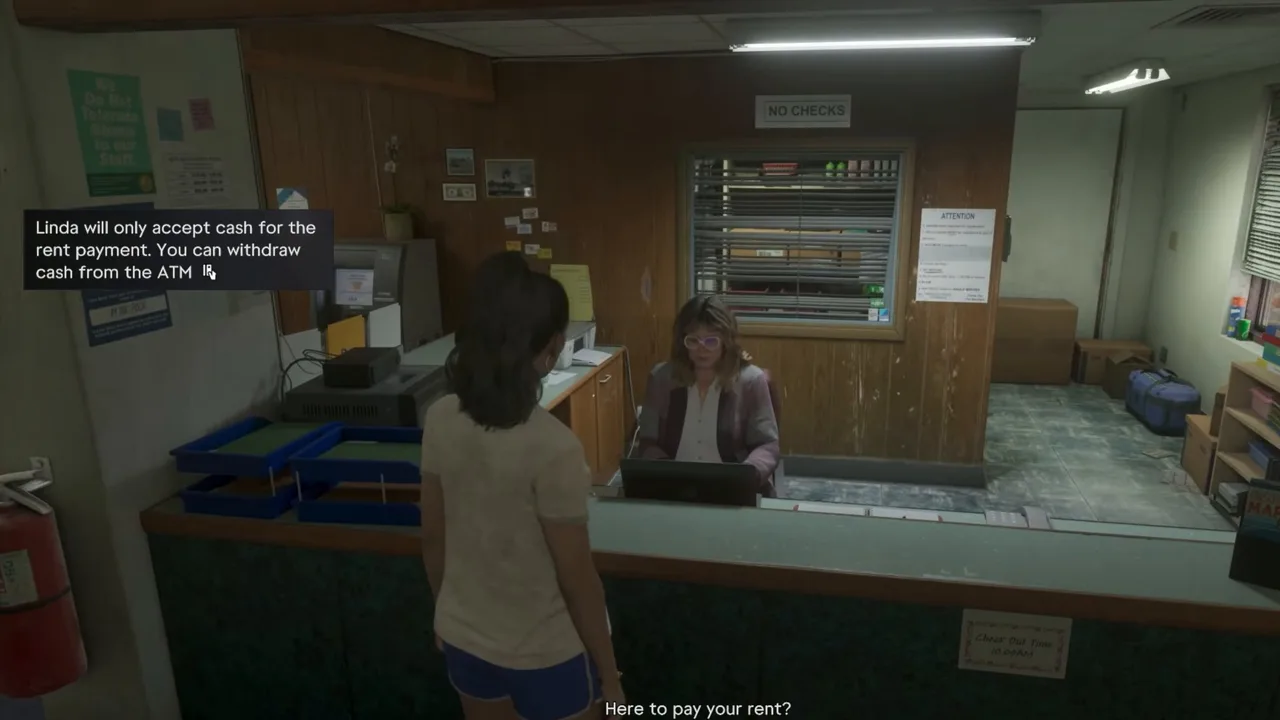 Cash only. The tip appears as you walk in. Footage: Trophy Tom.
You don’t need to go anywhere. The ATM is in the office, in the lobby corner by the side door, past the pillar with the missing-person posters. Trophy Tom walked outside first and opened BuckMe on his phone; the machine was behind him all along. When he came back in, Linda asked whether he’d forgotten something or was finally paying.
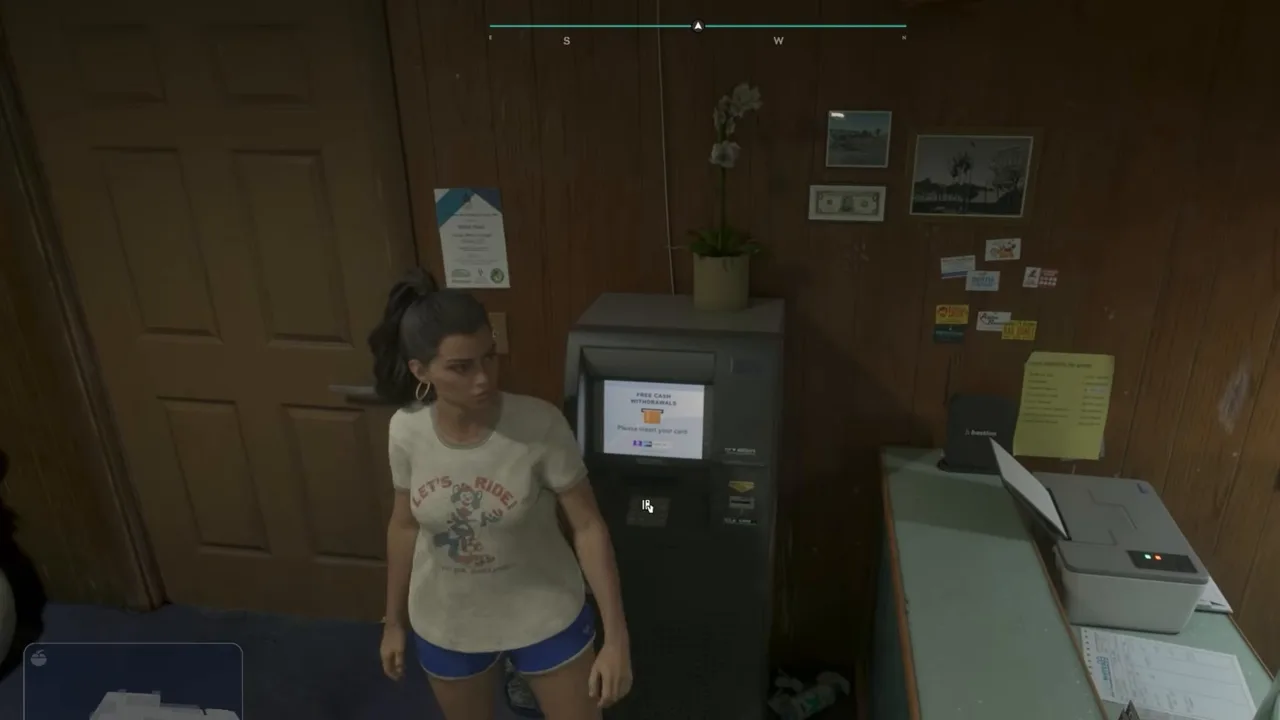 The ATM is a few steps from Linda’s desk. Footage: Trophy Tom.
Use the ATM, pick Withdraw and set the amount with left and right. The screen shows an account limit of $20,000, far more than you need.
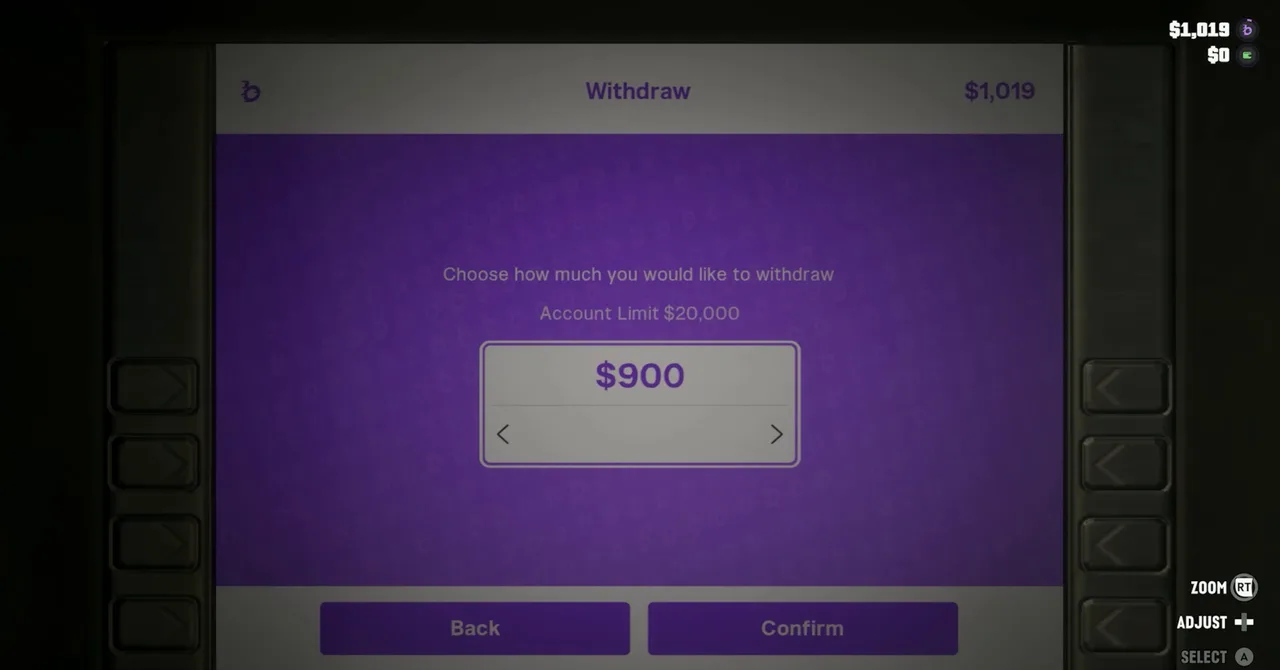 Take out exactly $900 and the rest stays safe in the bank. Footage: Perfect Score.
Take out exactly $900 (or $1,080). Perfect Score did: his HUD went from $1,019 in BuckMe and $0 cash to $119 and $900. Trophy Tom took out $1,016 and walked away with $116 in his pocket. Pocket cash is lost if Lucia is wasted or busted; BuckMe money isn’t.
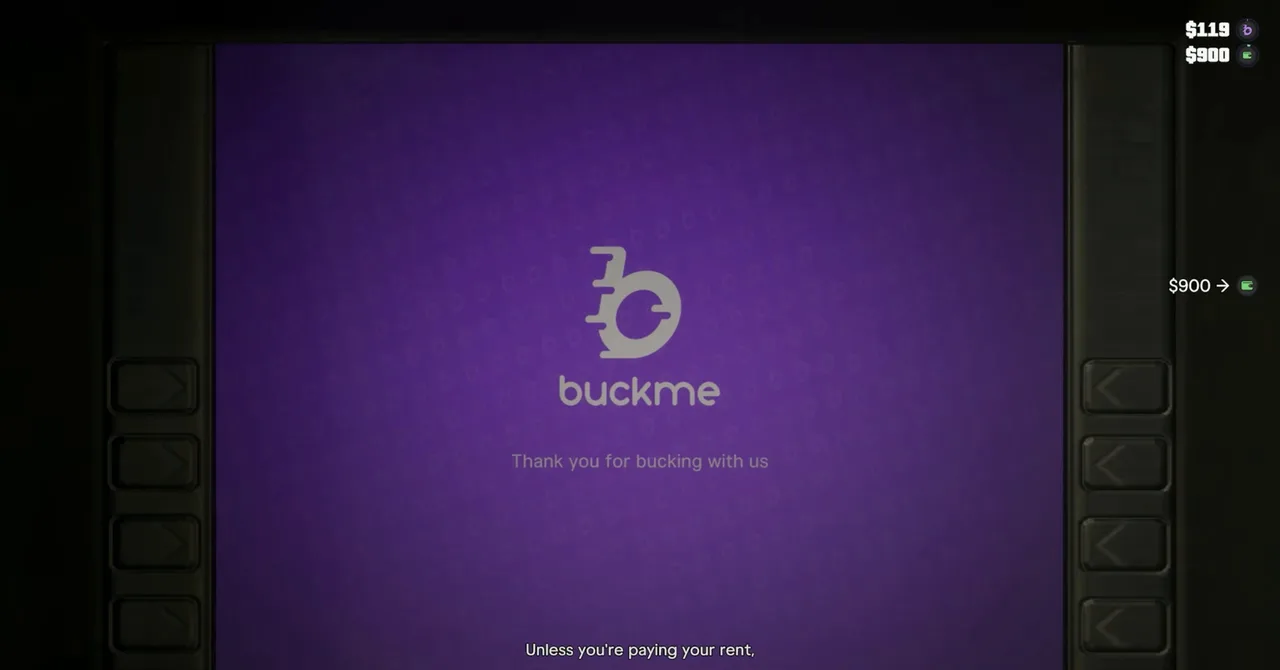 $900 in cash. Linda keeps up the pressure from behind the desk. Footage: Perfect Score.
While you’re at the machine, Linda keeps talking: unless you’re paying the rent, she has nothing to discuss with you.
Step 4: Pay Linda at the desk
Walk back to the counter. With the cash on you, Linda’s contact menu at the bottom right offers three options:
| Option | PlayStation / Xbox | What happens |
|---|---|---|
| Pay Rent ($900) | Triangle / Y | Pays the bill. This is the one you need |
| Chill Out | Cross / A | Lucia tells Linda to relax: the rent is coming, she promises. Nothing else changes |
| What’s Your Problem? | Square / X | Not used in either run |
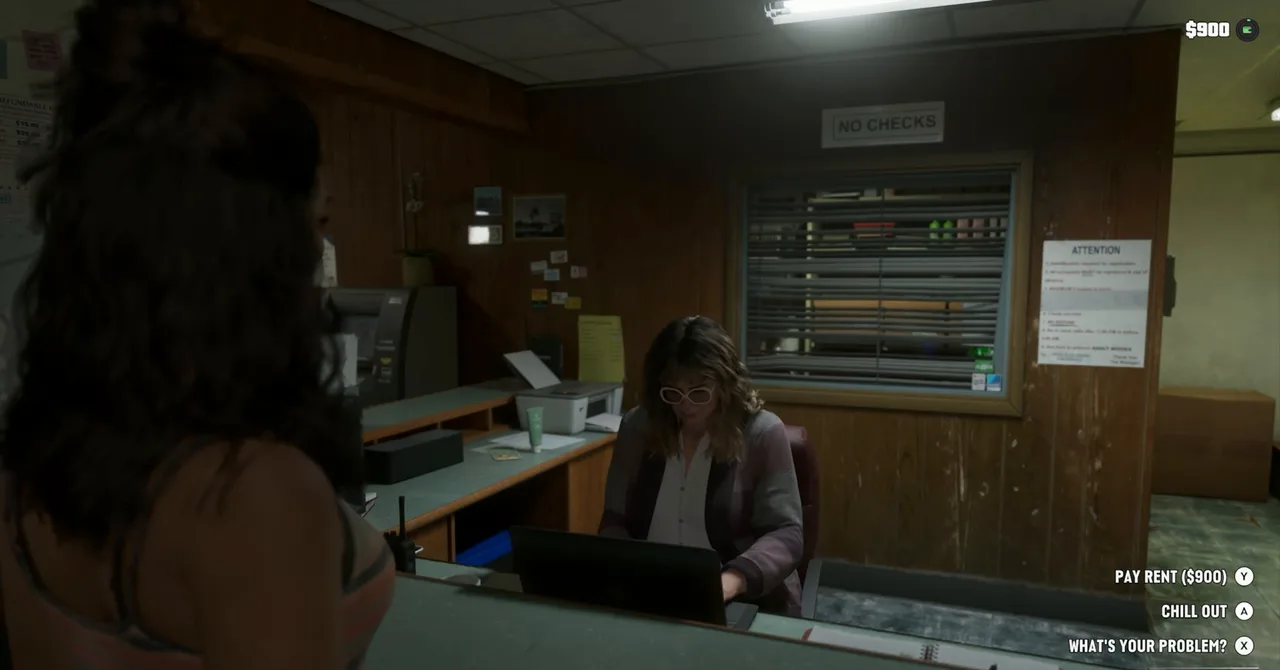 With $900 in cash, Pay Rent ($900) is available. Footage: Perfect Score.
Perfect Score tried Chill Out first, which only got Lucia a line about the rent coming, then picked Pay Rent ($900). In Overnight Charges the same option was greyed out while Lucia was short, so if it’s grey here, check your cash, not your bank balance, and go back to the ATM.
Lucia slides an envelope of cash across the counter and asks for her necklace back. Your cash counter drops by $900 straight away.
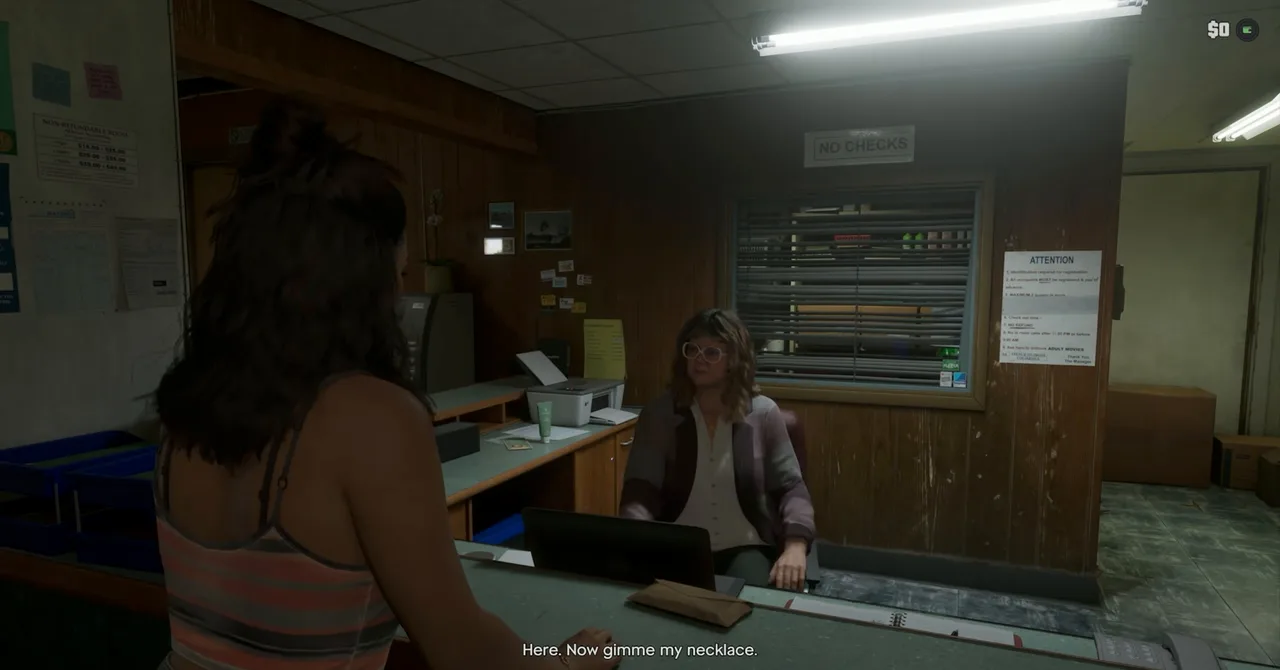 The envelope goes down. Lucia wants her necklace. Footage: Perfect Score.
Linda gets up, takes the envelope and calls Lucia “honey”. She’s still Linda, but the money calms her down.
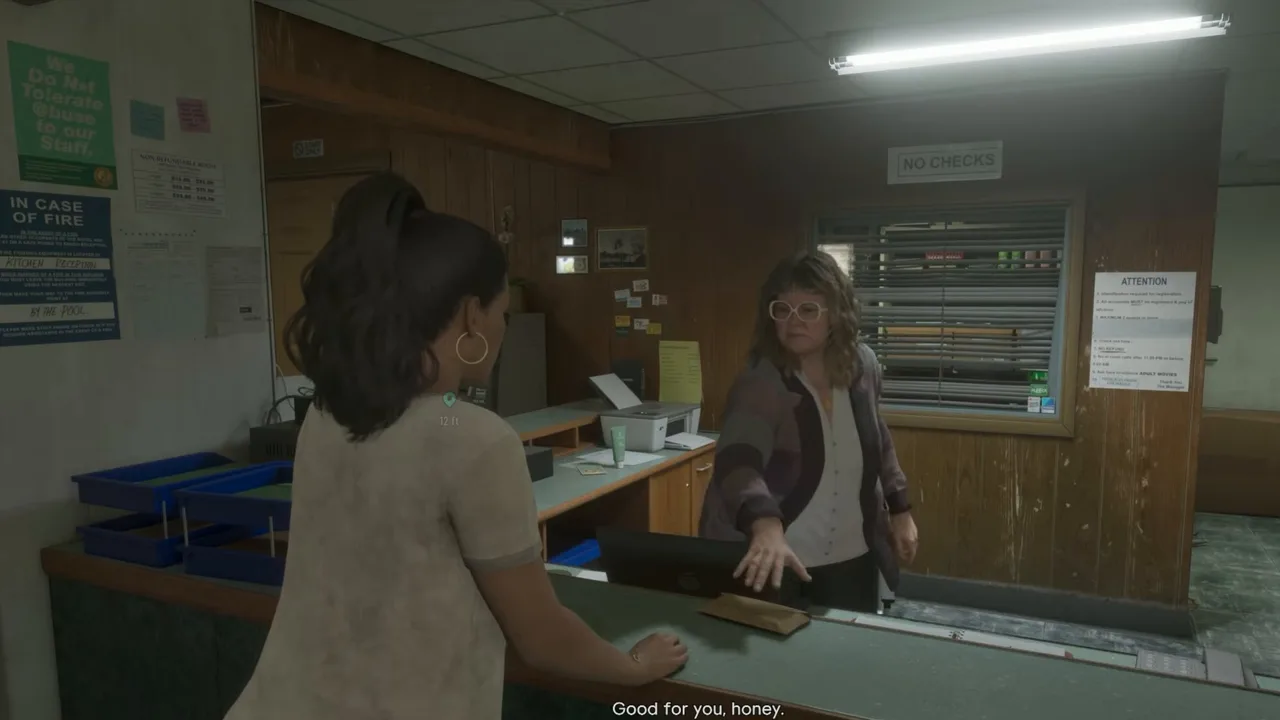 Linda takes the money. Footage: Trophy Tom.
Step 5: Get the necklace back
Linda walks to the shelves at the back of the office, where she put the necklace in Overnight Charges, and brings it back to the counter.
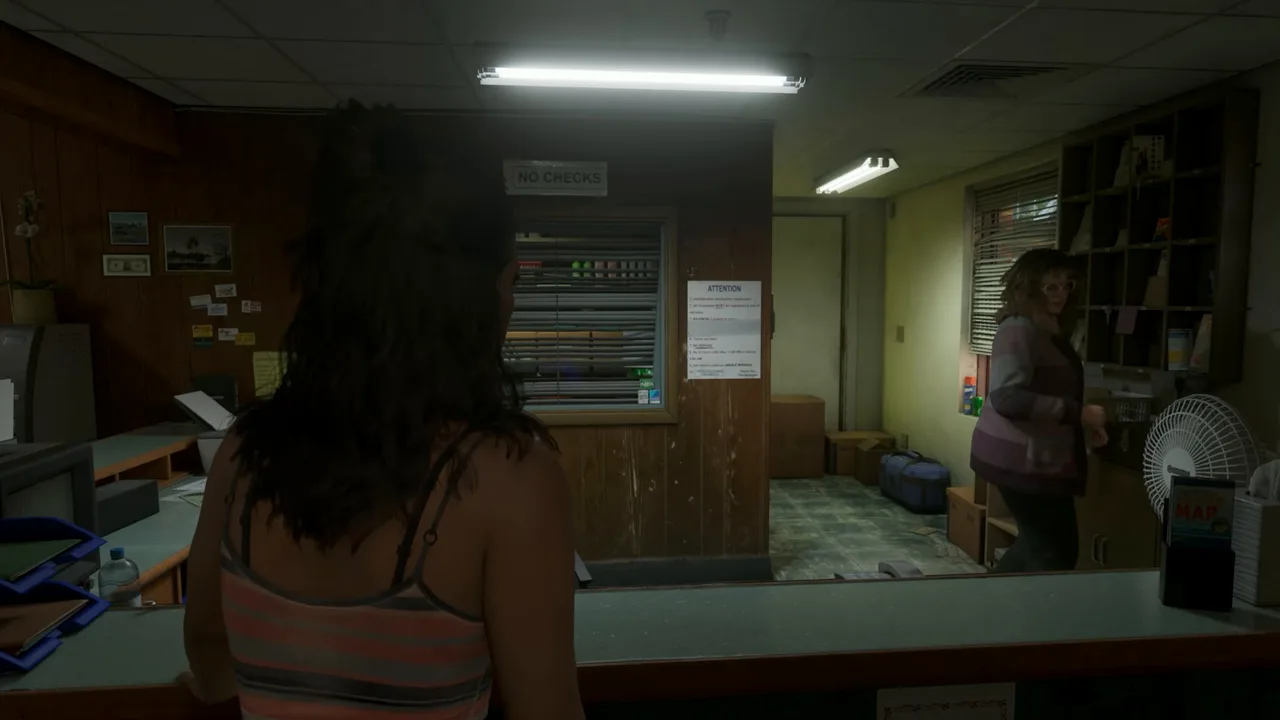 Linda fetches the necklace from the back of the office. Footage: Perfect Score.
She hands it to Lucia across the counter, hopes she enjoys her stay and recommends the peace and quiet, with her usual sarcasm. That’s the end of the mission. Neither run shows a mission-passed screen: the game hands control back and Lucia walks out with the necklace. Perfect Score was back in his car a few seconds later.
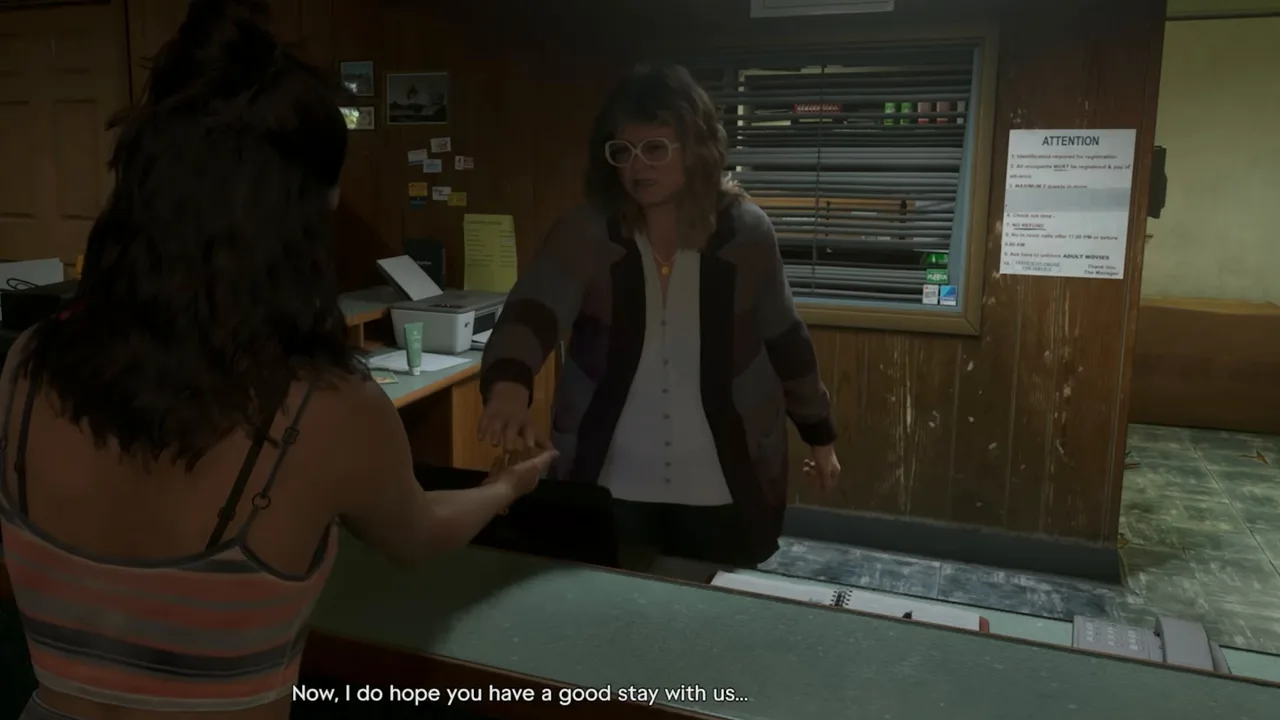 The necklace is back with Lucia. Footage: Perfect Score.
Rewards
- Lucia’s necklace, returned by Linda. Neither run shows Lucia putting it back on, so we can’t say whether it appears on her straight away.
- The motel bill is settled. Linda stops chasing the rent.
- Money: none. You spend $900 (or $1,080).
- Trophy: none.
What if Linda never took the necklace?
Every run we’ve seen had the necklace from Buy Lucia a Necklace, so Linda held it in Overnight Charges and gave it back here. The mission card is written around it. We haven’t seen a save that skipped the Chapter 1 errand, so we can’t tell you what Linda takes as collateral then or what this mission looks like without it. Paying her $900 in cash is presumably still the core of it.
Tips
- Withdraw only what you owe. Pocket cash is lost if you’re wasted or busted; BuckMe money is safe.
- Use the office ATM. It’s in the lobby corner, a few steps from Linda’s desk. You don’t need the ATM Finder.
- Watch the goal counter. The $0 / $900 on the task card only counts cash. A full BuckMe account doesn’t move it.
- Chill Out is harmless. It’s a reaction, not a payment option, and it didn’t change anything in Perfect Score’s run.
- Go to the desk early in Overnight Charges. Waiting until Linda comes to you raises the bill from $900 to $1,080.
What to do next
Neither run shows Behind on Payments opening a new mission by itself. Next in the story list is Slam Dunk (#41), which starts once Dunk’s call comes through in Painkiller Supplier (#38). Keep doing jobs for Moses in the meantime: Slam Dunk pays well, but Chapter 2 keeps asking for money, and our money guide shows where to find it.
Related guides
- Previous: Overnight Charges (#32), where the debt starts, and Daily Driver (#39) in our Steal Vehicles for Moses guide. Next: Slam Dunk (#41). See all GTA 6 missions.
- How Do I Look? (#37): cheap clothes for Lucia, and Linda’s text about the rent
- New Look (#36): the haircut Trophy Tom did just before paying
- Buy Lucia a Necklace: where the necklace comes from
- Buck Me: how Lucia’s bank app and ATMs work
- GTA 6 money guide: cash, BuckMe, Family Savings and early money
- GTA 6 characters: Linda and the rest of the Starlet Motel
- Interactive map: the Starlet Motel
Frequently Asked Questions
How do you pay Linda in GTA 6?
Get $900 in cash (not BuckMe money), walk into the Starlet Motel office and talk to Linda at the desk. Pick Pay Rent ($900) from her contact options, hand over the envelope, and she returns Lucia's necklace.
Can you pay Linda's rent with BuckMe?
No. Linda only accepts cash, and the mission's goal counter only counts the money in Lucia's pocket. There's a BuckMe ATM inside the motel office, so you can withdraw the money a few steps from her desk.
How much do you owe Linda for the motel room?
$900 if you saw her at the front desk in Overnight Charges: the rent plus 10%. If you put that off and she had to come to room 06, she raised it to $1,080, though we haven't seen a run pay that bill yet.
Where is the ATM at the Starlet Motel?
Inside the reception office, in the lobby corner next to a wooden side door, by the pillar with the missing-person posters. Both runs we watched used it to turn BuckMe money into cash before paying.
How do you get Lucia's necklace back in GTA 6?
Pay off the motel bill in Behind on Payments (#40). Once Linda has the cash, she fetches the necklace from the shelves behind her desk and hands it back. That's the whole reward; there's no money.
What's the quickest way to get $900 for Linda?
Do the Chapter 2 jobs you have anyway, or sell a stolen car to Moses. In Perfect Score's run an ordinary white sedan fetched $450, paid into BuckMe, which took him past $900 in the bank.
Sources & Credits
Researched from these videos and official material, among others. Screenshots credit the creator whose footage they come from.
- GTA 6 Gameplay Walkthrough Full Chapter 2: Paradise Lost (No Commentary) · Perfect Score
- GTA 6 - New Look & How Do I Look & Behind on Payments - Full Walkthrough · Trophy Tom
- GTA 6 - Overnight Charges (See Linda, The Manager), Just Moved In - Full Walkthrough · Trophy Tom
- #28 GTA 6 - Overnight Charges (Full Walkthrough) · Game Time Live
- GTA 6 Mission #8 - What's In the Bag?, Girls' Trip, Moses, & More (Grand Theft Auto 6 Walkthrough) · iPodKingCarter