Jump to your step
Overnight Charges: quick facts
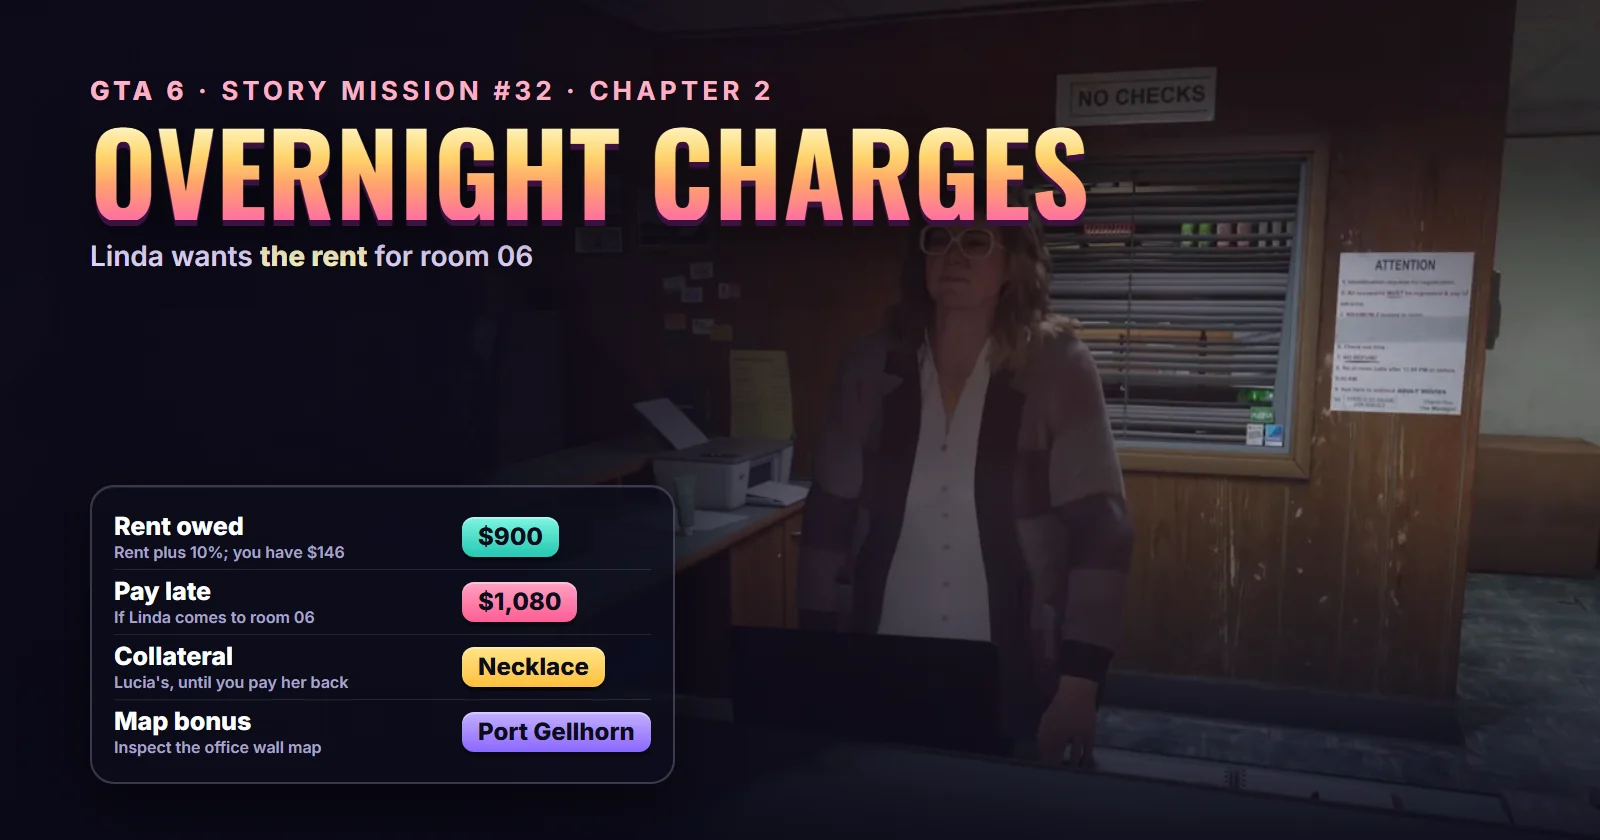
| Mission | Overnight Charges, story mission #32 |
| Chapter | Chapter 2 (Paradise Lost) |
| You play as | Lucia |
| Given by | Linda, the Starlet Motel’s day manager |
| Map task | See Linda, the Manager |
| Where it starts | The reception office of the Starlet Motel, Port Gellhorn, a short walk from room 06 |
| Unlocks after | What’s in the Bag? (#29) |
| Next in the story list | Just Moved In (#33) |
| Length | About 2 minutes at the desk (Game Time Live’s video is 3:14 with browsing) |
| Reward | None. You owe Linda $900, and she keeps Lucia’s necklace as collateral |
| Trophy | None |
| Required for 100% | Yes |
Mission briefing How it unlocks, where Linda's desk is and why the couple can't pay. Contains spoilers for the end of Chapter 1.
How to unlock Overnight Charges
Finish What’s in the Bag?, the scene in which Lucia and the injured Jason open the bag in room 06. Before Lucia leaves, Jason asks her to deal with the manager. When the cutscene ends, open the map: the first task waiting for you is See Linda, the Manager, and its card tells you to go to the front desk and find out what the room costs.
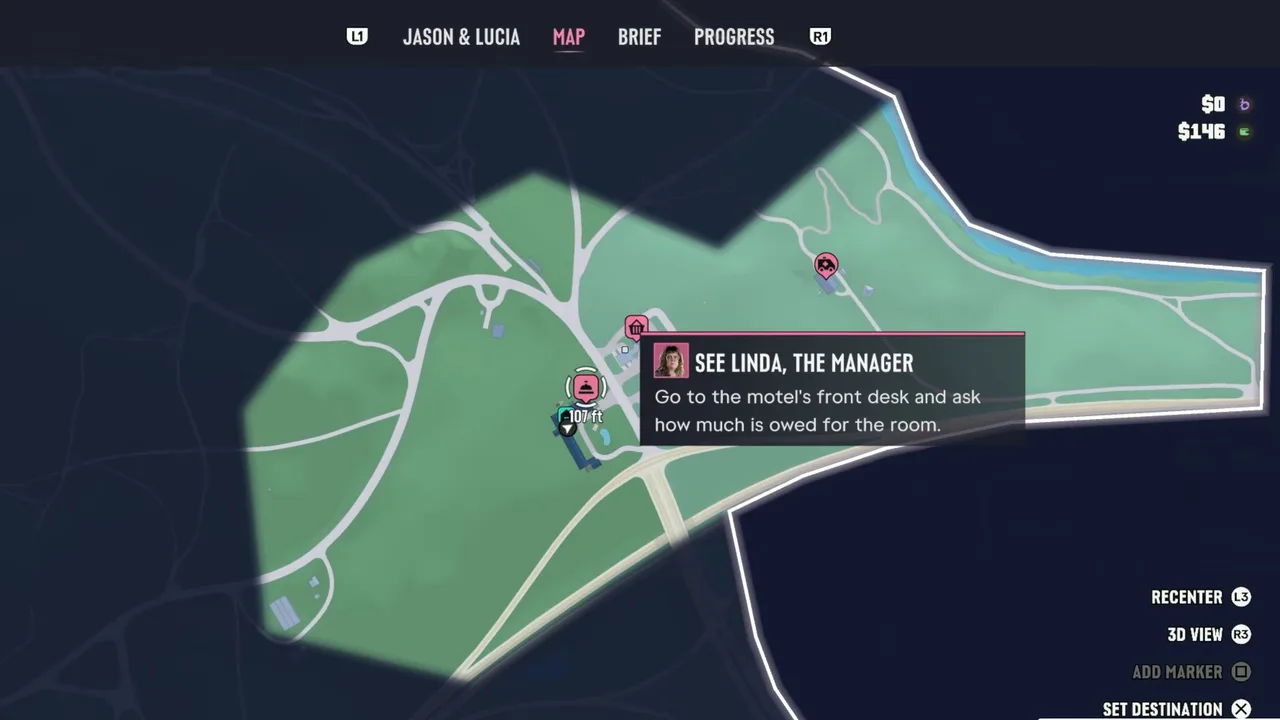 The task card on the pause map, with Lucia’s whole fortune at top right: $146. Footage: Trophy Tom.
It sits in the story list as #32, after Ambulance Chaser (#30) and Take Care of Jason (#31), but the order is up to you. Trophy Tom and Game Time Live walked straight to the desk; iPodKingCarter went shopping first and Linda came looking for him (see “If you put it off” below). Creators number it differently: Game Time Live calls it #28.
Where it starts
The reception office of the Starlet Motel in Port Gellhorn, Kelly County, the motel that serves as Jason and Lucia’s safehouse for this part of Chapter 2. It’s the brick-fronted office under the covered walkway, about 100 feet from room 06 (Trophy Tom’s map shows 107 ft). See the Overnight Charges start on the live map.
The story so far (spoilers for the end of Chapter 1)
Chapter 1 ended with Jason shot, Lucia breaking him out of Vice City Hospital in a stolen ambulance, and the couple holing up at a motel off the interstate with a bag nobody else is supposed to have. The night manager gave them the room without ID. The day manager, Linda, already warned Lucia in What’s in the Bag? that she wants the money up front. Lucia now has $146 in cash and $0 in the bank; only Family Savings survived the end of Chapter 1 (our money guide explains why), and savings can’t be withdrawn.
About this guide
The steps follow Game Time Live’s uncut run, which shows every dialogue choice and what you can read in the office afterwards, and Trophy Tom’s run, which shows the map task and what comes next. iPodKingCarter’s playthrough shows the other version of the scene, at the room door. TGG’s first-time stream matches the desk version line for line, and Trophy Tom’s Behind on Payments video shows how the debt is settled.
Step 1: Walk to the front desk (Lucia)
Step out of room 06 and follow the pink Linda icon to the motel office. Inside, Linda sits behind a counter with a No Checks sign over her head. When you get close, her name and an L2 contact prompt appear at the bottom right; walk up to the counter and the conversation starts by itself.
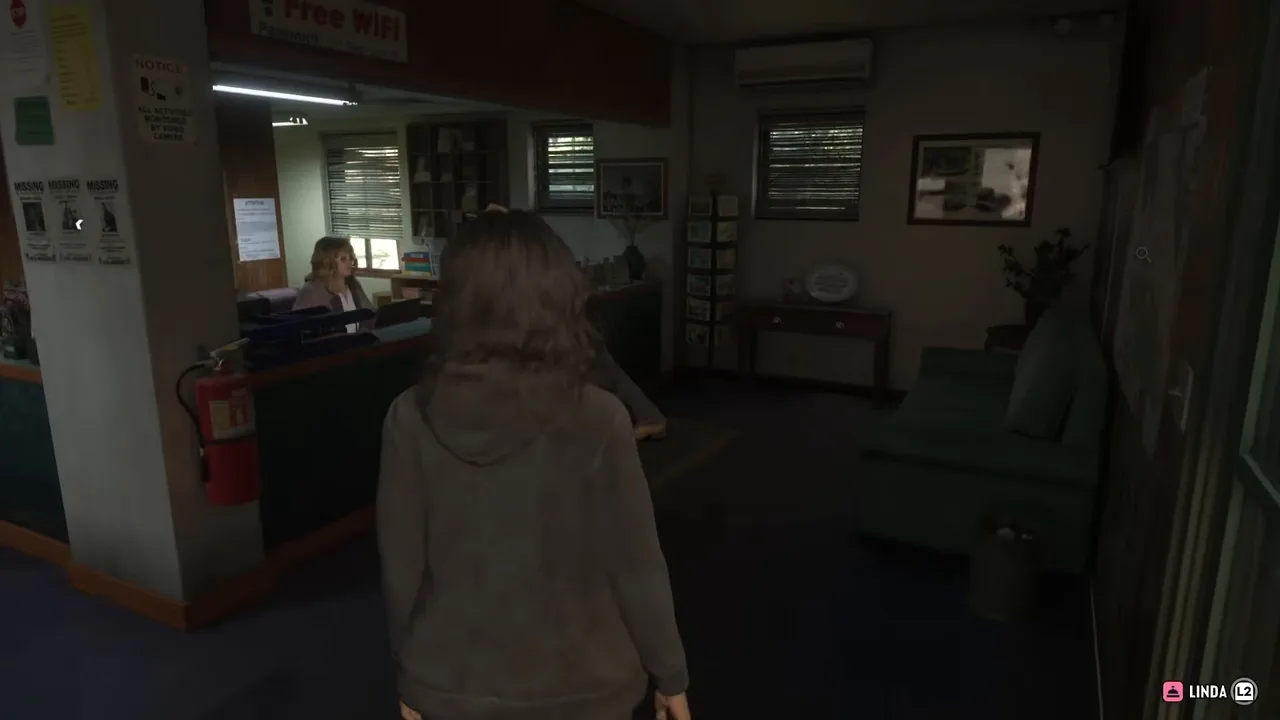 The motel office, with Linda at the desk and her contact prompt on screen. Footage: Game Time Live.
Step 2: Let Linda finish with Chester
You walk in on Linda dealing with another guest, Chester, a man in a cowboy hat leaning on the counter. She’s telling him off, he promises to leave a pineapple on her door, and she promises to write him up for vandalising the property. Again. Then she sends him away and turns to Lucia.
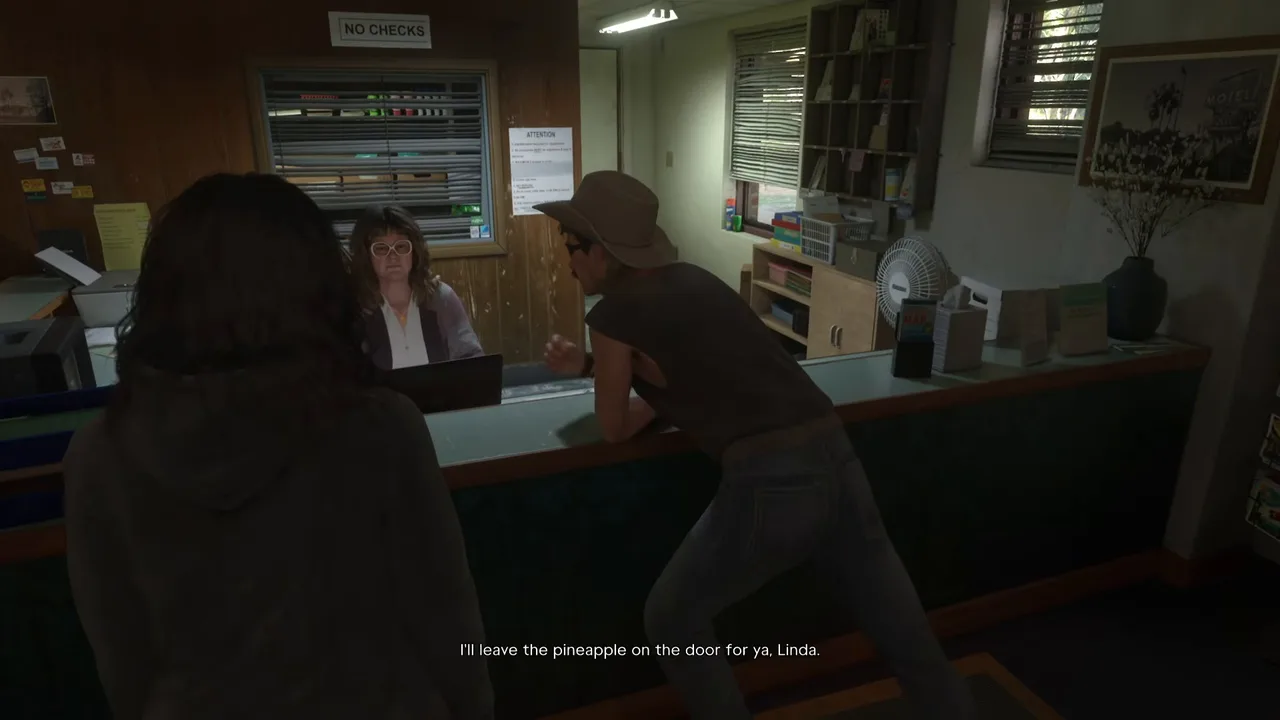 Chester on his way out. Linda isn’t nicer to anyone else, either. Footage: Game Time Live.
Linda assumes Lucia has come to drop off the rent. She makes it clear she’d never have given them the room herself; the night manager, Danny, doesn’t have her eye for trouble. Her terms: the rent plus 10% for the trouble, right now.
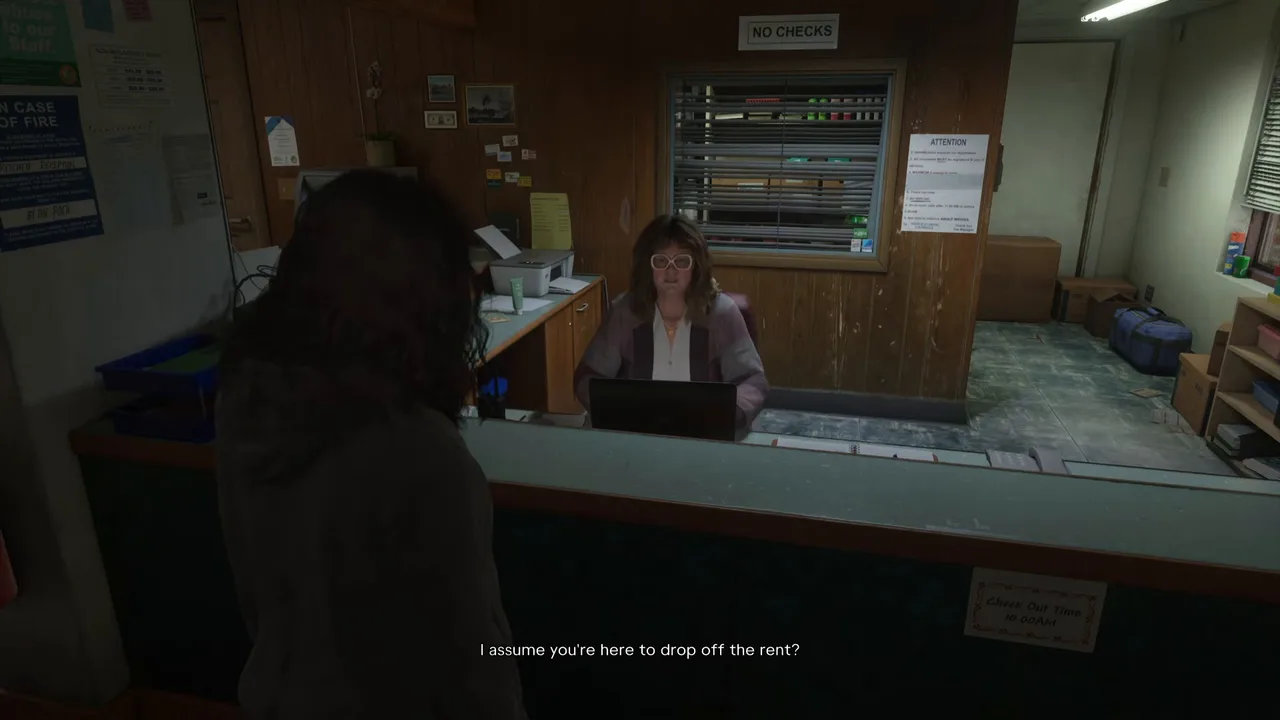 Linda gets straight to the point. Footage: Game Time Live.
While she talks, Linda’s contact menu at the bottom right offers two small reactions, Greet and Taunt. Nobody in the footage we have used them, so we can’t say whether Taunt changes her mood.
Step 3: Choose how to pay
Then the game gives you three answers:
| Choice | Button (PlayStation) | What happens |
|---|---|---|
| Pay Rent ($900) | Triangle | Greyed out. You only have $146 |
| Pay Installments? | Cross | Lucia asks to pay in parts; Linda refuses and asks for collateral |
| Pay Later | Square | Not shown in any run we watched |
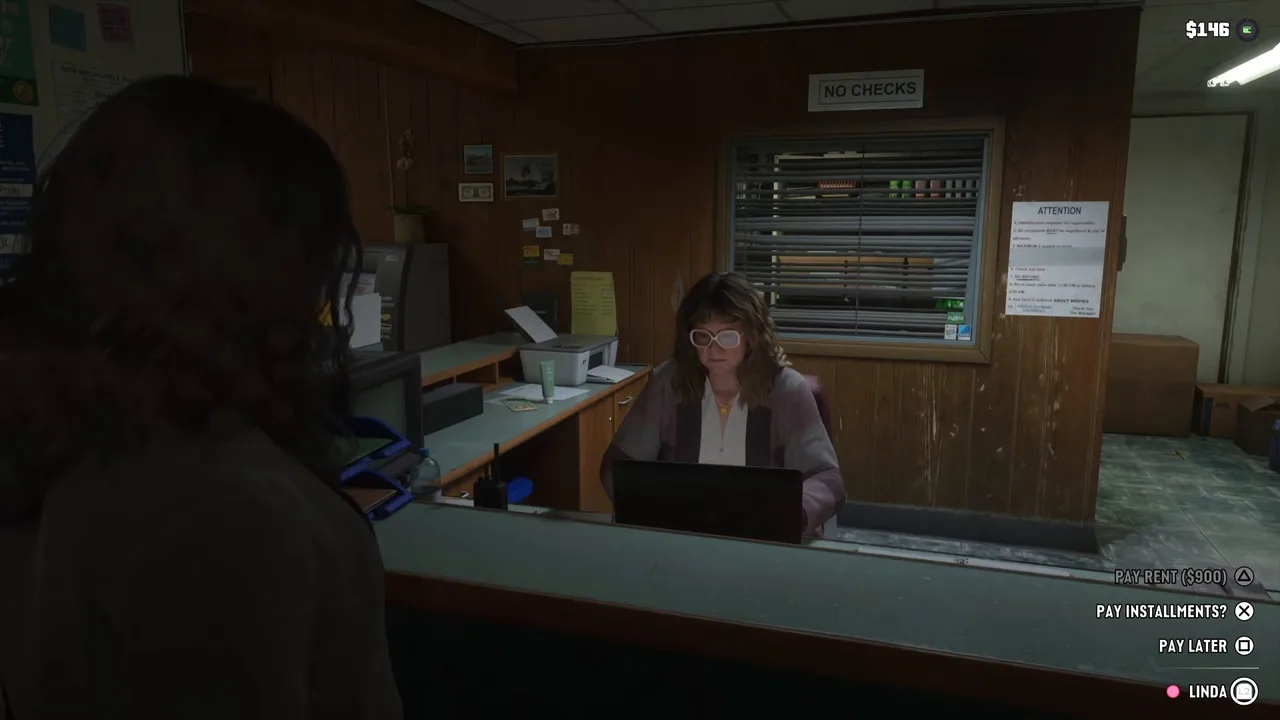 The bill is $900, and Pay Rent is greyed out with $146 in your pocket. Footage: Game Time Live.
So the room costs $900, and at this point in the story you can’t pay it. All three desk runs we watched (Game Time Live, Trophy Tom and TGG) picked Pay Installments?. Linda laughs off the idea of paying for a motel room like a used car and says she’ll need something to hold until Lucia has the full amount.
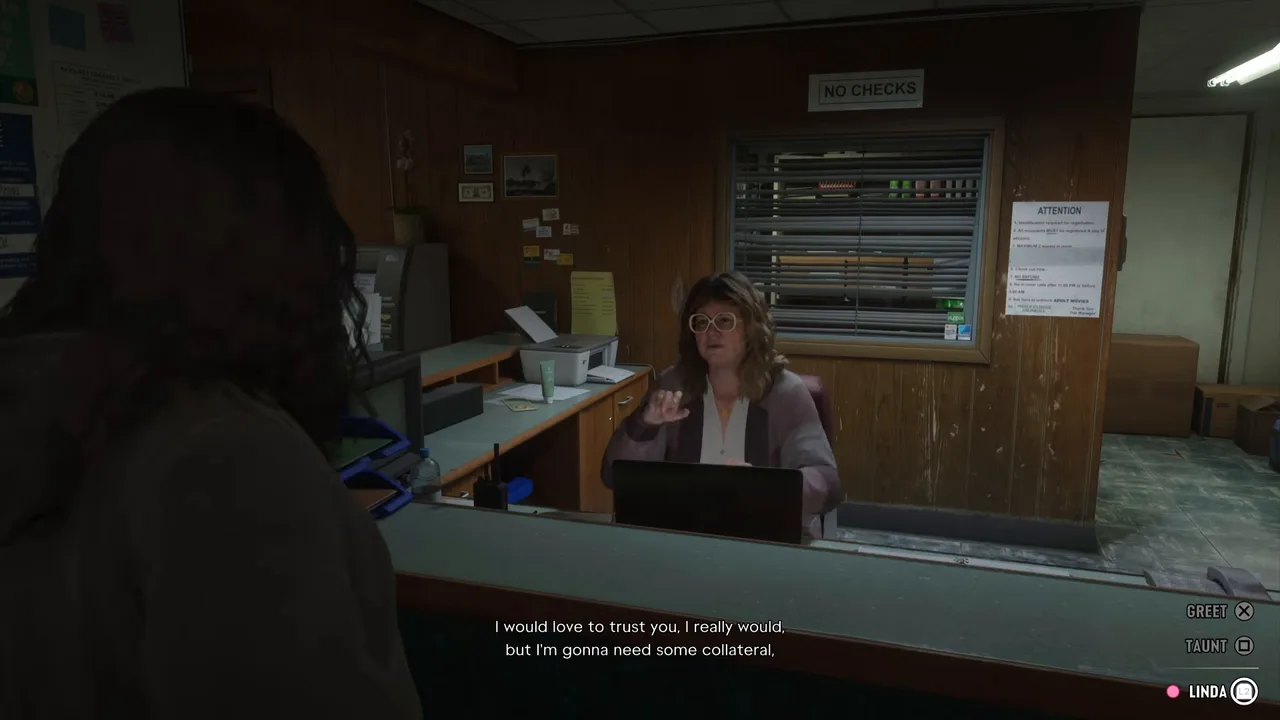 No installments: Linda wants collateral instead. Footage: Game Time Live.
We haven’t seen anyone pick Pay Later at the desk, so we can’t say whether it just ends the conversation or skips straight to the collateral. Since the late version of this scene costs more (see below), we’d pick Pay Installments?.
Step 4: Hand over Lucia’s necklace
Linda has already spotted what she wants: the necklace Lucia is wearing. Lucia says it matters to her, but she takes it off and puts it on the counter, on the condition that she gets it back. Linda tells her to bring the money and not keep her waiting.
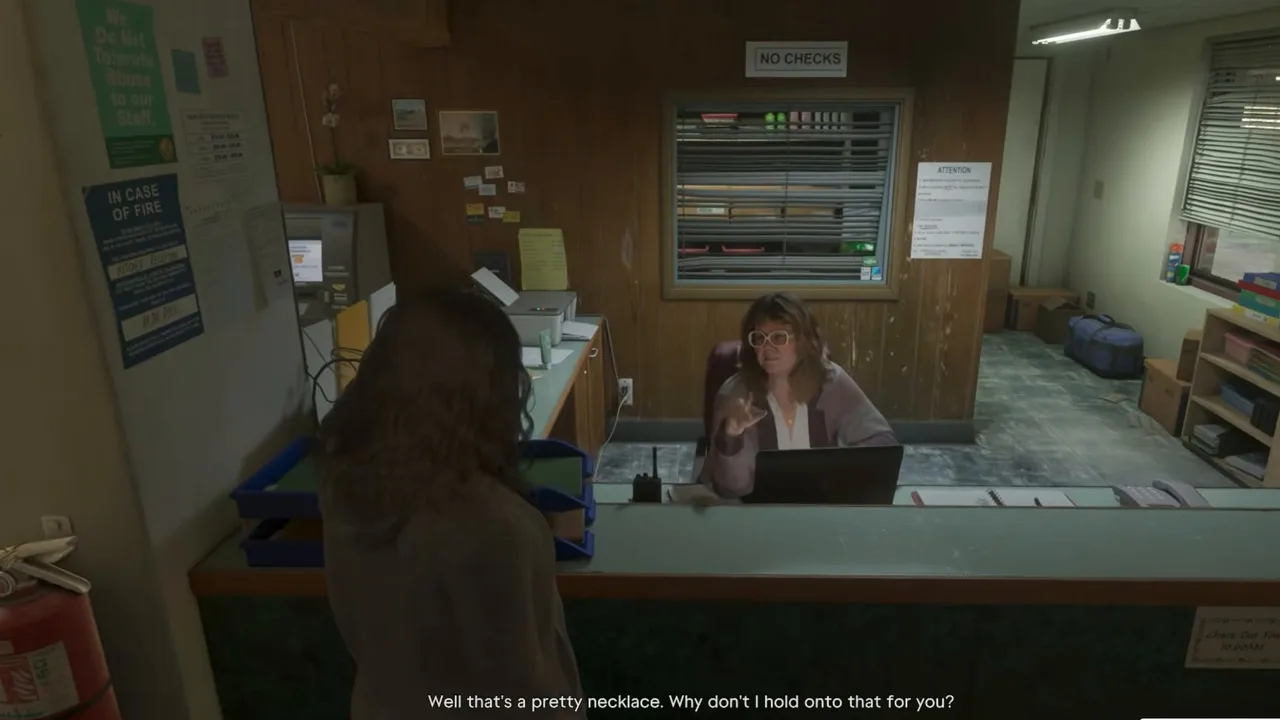 Linda has her eye on the necklace. Footage: Trophy Tom.
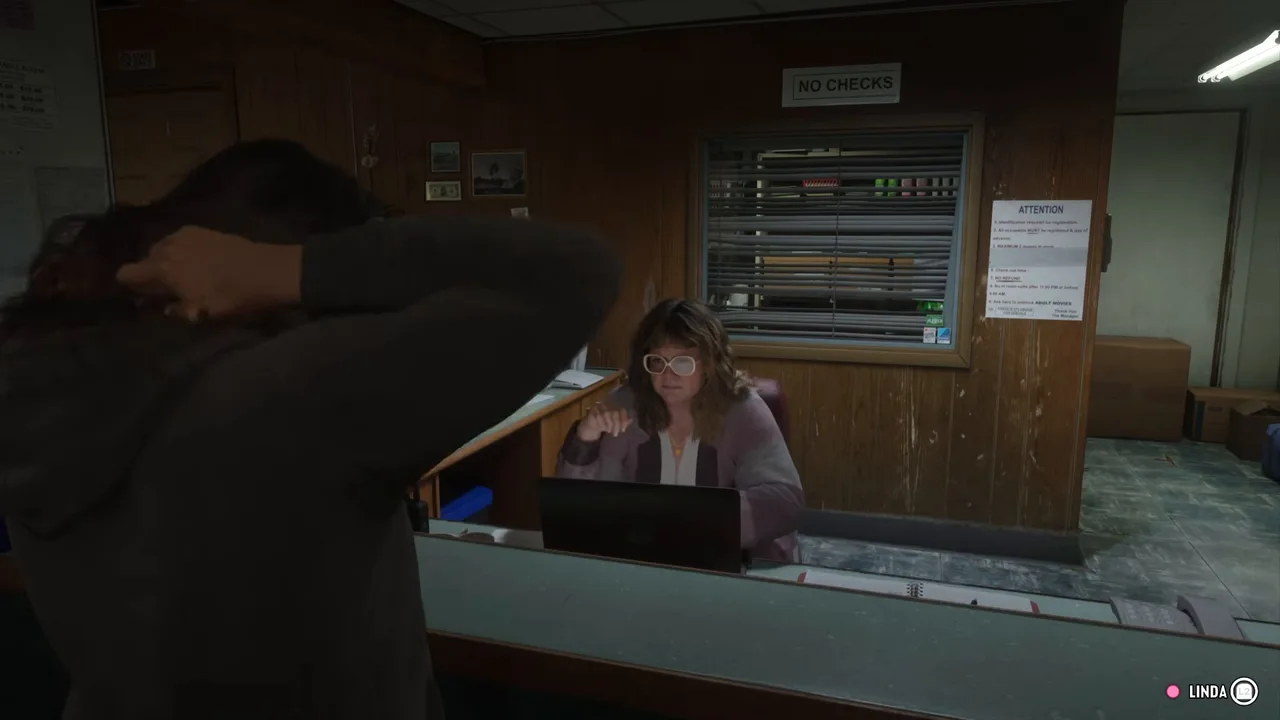 Lucia hands it over, reluctantly. Footage: Game Time Live.
The necklace is the one Jason buys for Lucia in Chapter 1’s Buy Lucia a Necklace errand, which is why it’s worth doing back then.
Linda gets up, files the necklace away in the back of the office and grumbles about what she has to put up with. That’s the end of the mission. There’s no mission-passed screen in any of the runs: the game just hands Lucia back to you, and Trophy Tom’s next stop was already the following task.
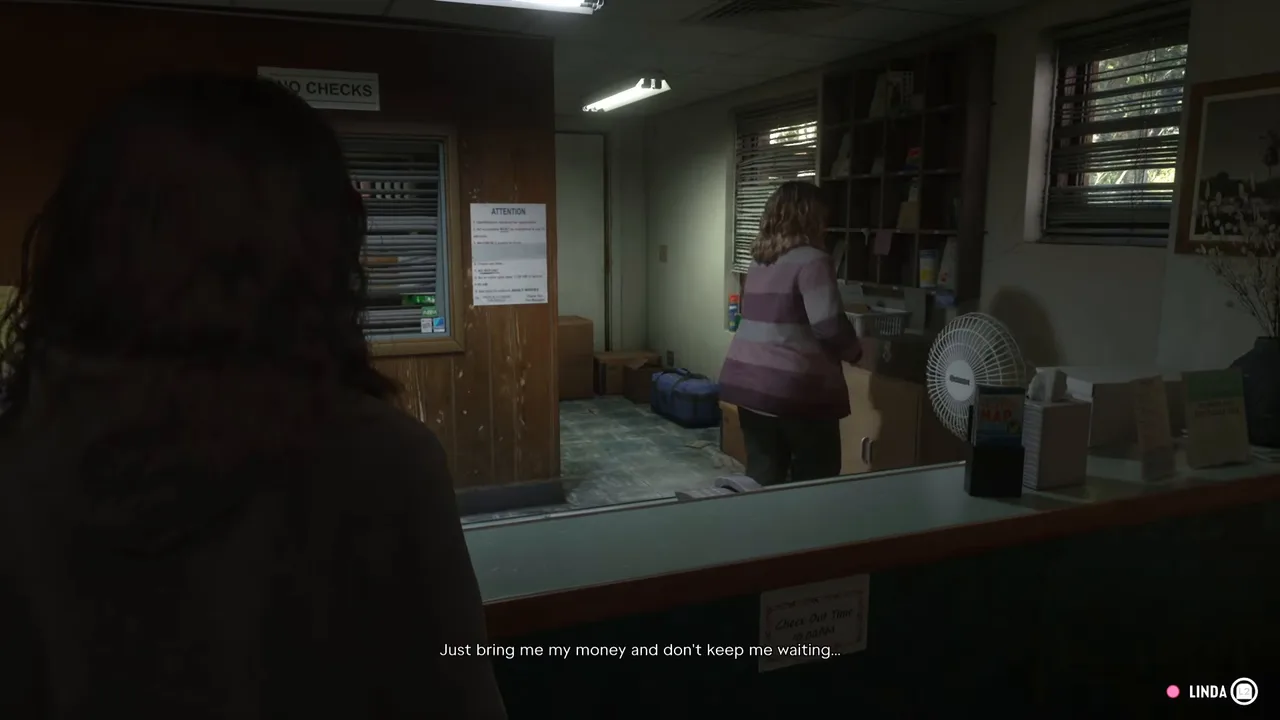 Linda files the necklace away. The deal is done. Footage: Game Time Live.
If you stay at the counter, Linda’s contact menu changes to Goodbye and Real hospitable…, a sarcastic parting line. Linda also has idle lines if you hang around her office for long; Game Time Live got told that loitering is why they’re broke.
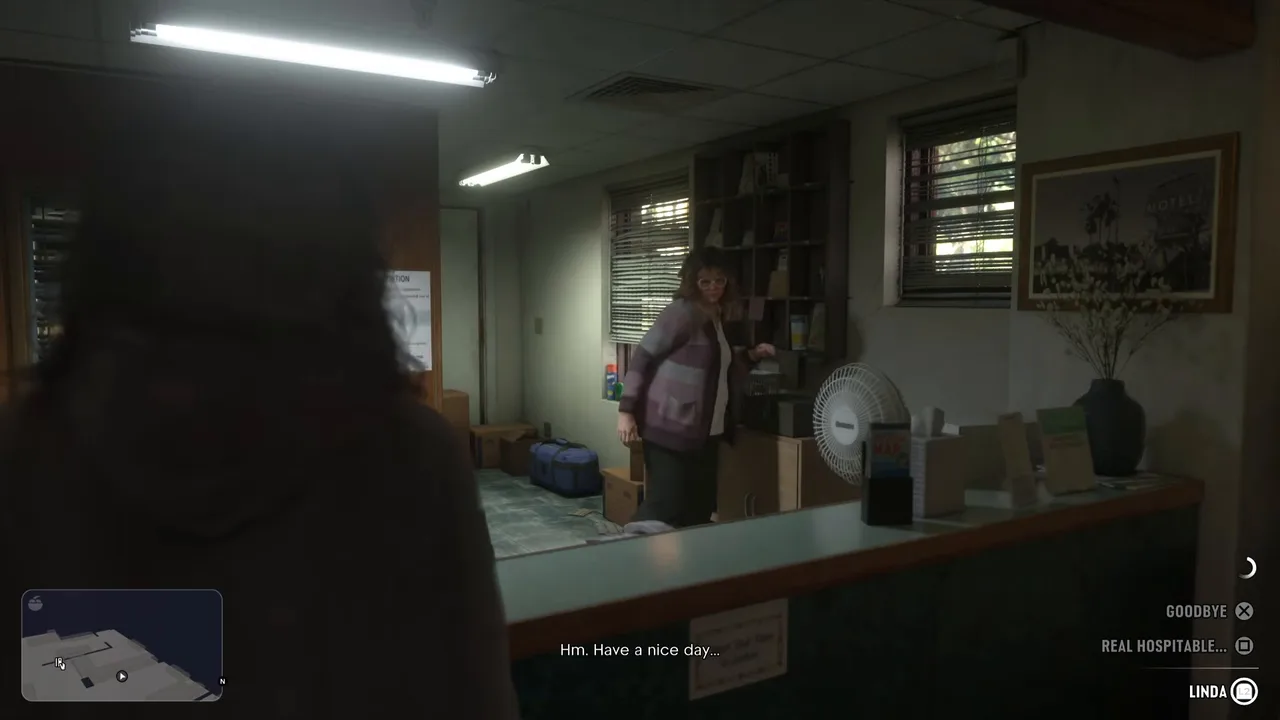 After the deal: Goodbye, or one last dig. Footage: Game Time Live.
Step 5: Check the wall map before you leave (optional)
Don’t run out yet. The motel office has more to look at than Linda’s desk, and the best thing in it is a tourist map of Port Gellhorn on the lobby wall, between the sofa and the side door. Inspect it and the game shows Map updated: it fills in the Port Gellhorn area on your pause map, which until then is mostly fog around the motel (compare Trophy Tom’s map at the top of this page). TGG spotted Hank’s Waffles on it and started planning his first stops.
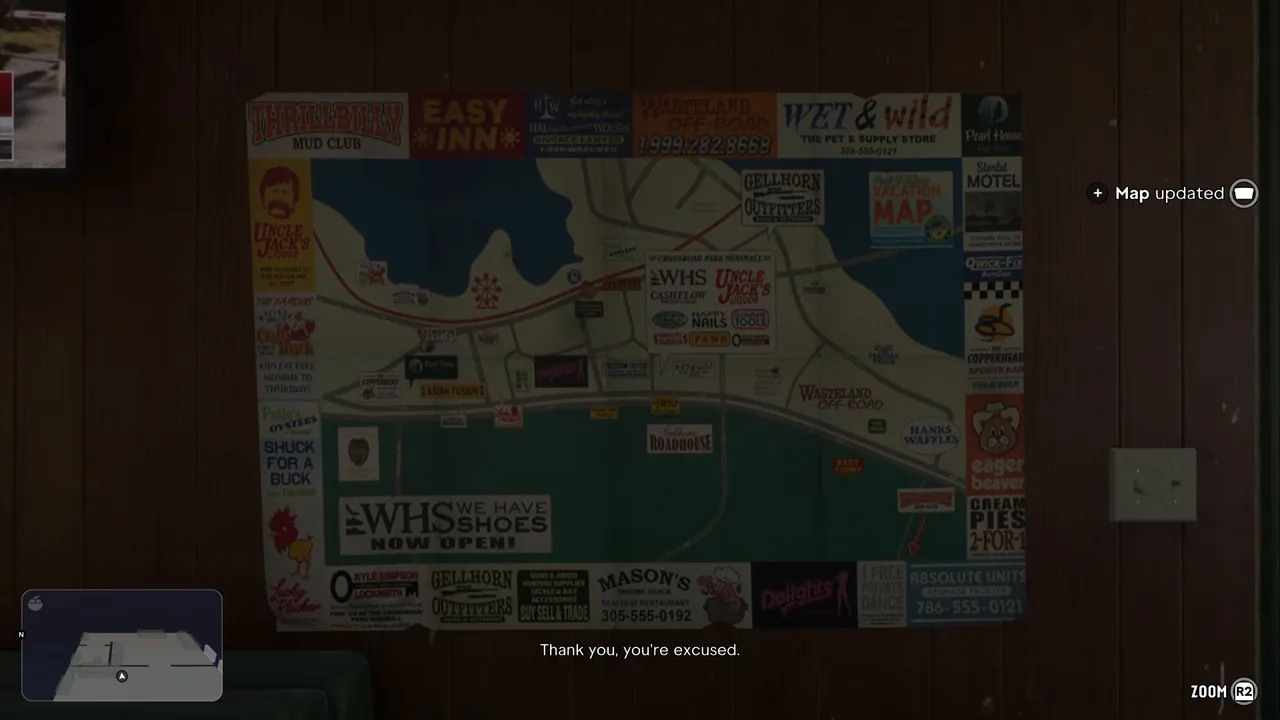 The lobby’s wall map fills in Port Gellhorn on your own map. Footage: Game Time Live.
Game Time Live also looked through the rest of the office:
- Brochures on the counter. One advertises a racetrack; flicking through the rack gave another Map updated.
- Missing-person posters on the pillar by the ATM, which you can zoom in on and read.
- A book on the desk in the side office. Picking it up counted as the first of 27 Magazines, Books & Comics collectibles.
- An ATM in the corner. You’ll need it later (see below).
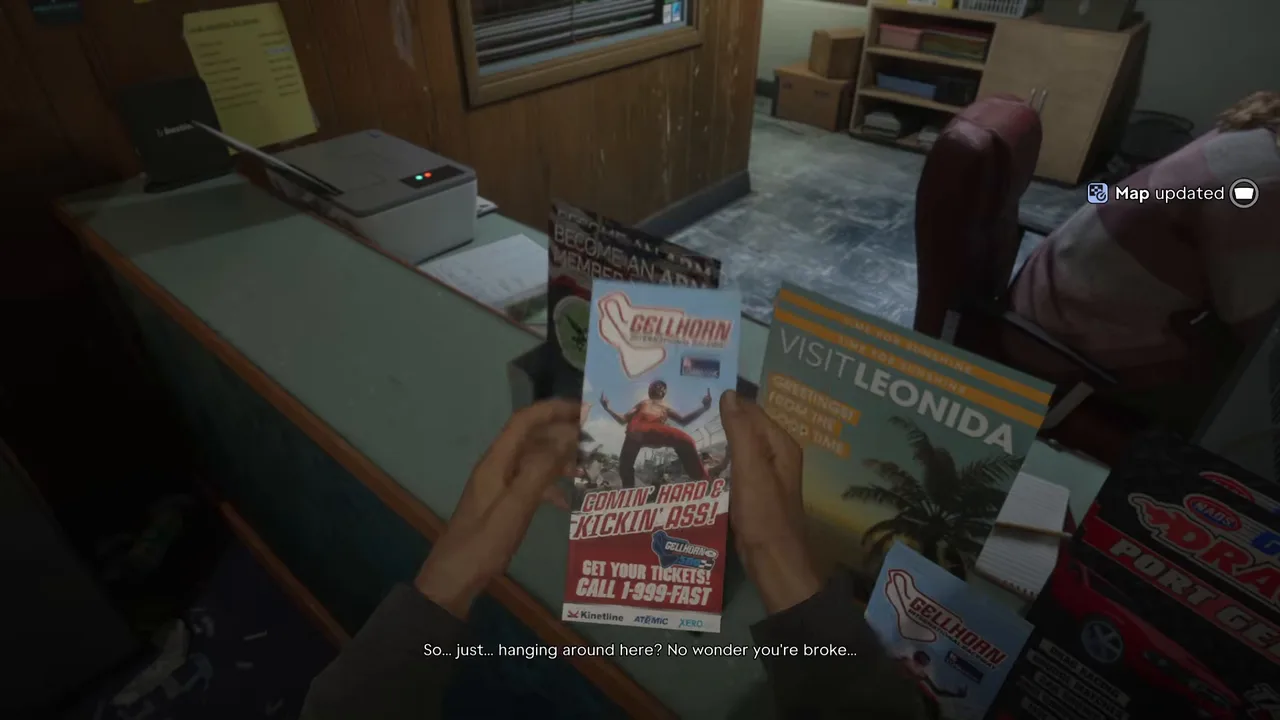 The brochure rack adds a little more to the map. Footage: Game Time Live.
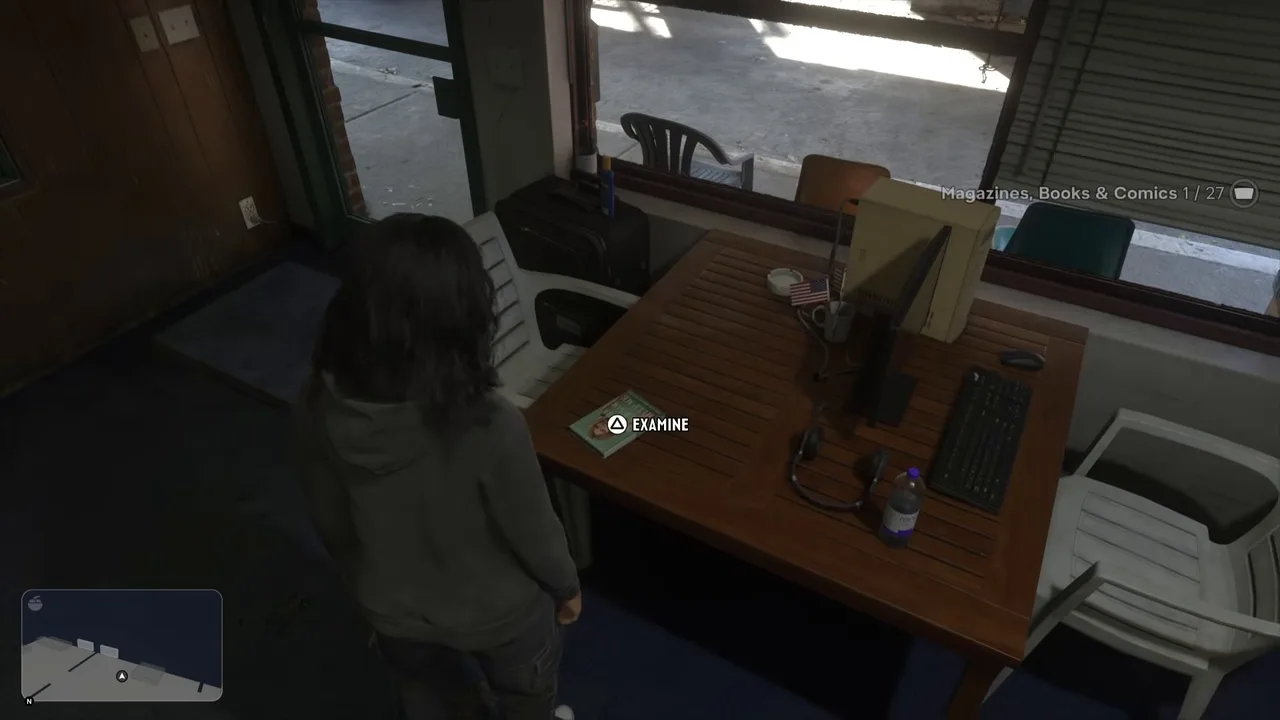 A collectible book in the side office. Footage: Game Time Live.
If you put it off: Linda comes to room 06
You don’t have to go to the desk first, but Linda doesn’t forget. iPodKingCarter did the shopping for Just Moved In before seeing her. When Lucia next stepped out of room 06, Linda was at the door: she’d assumed they had skipped out, and she’d been thinking of giving the room to a friend in the county sheriff’s department.
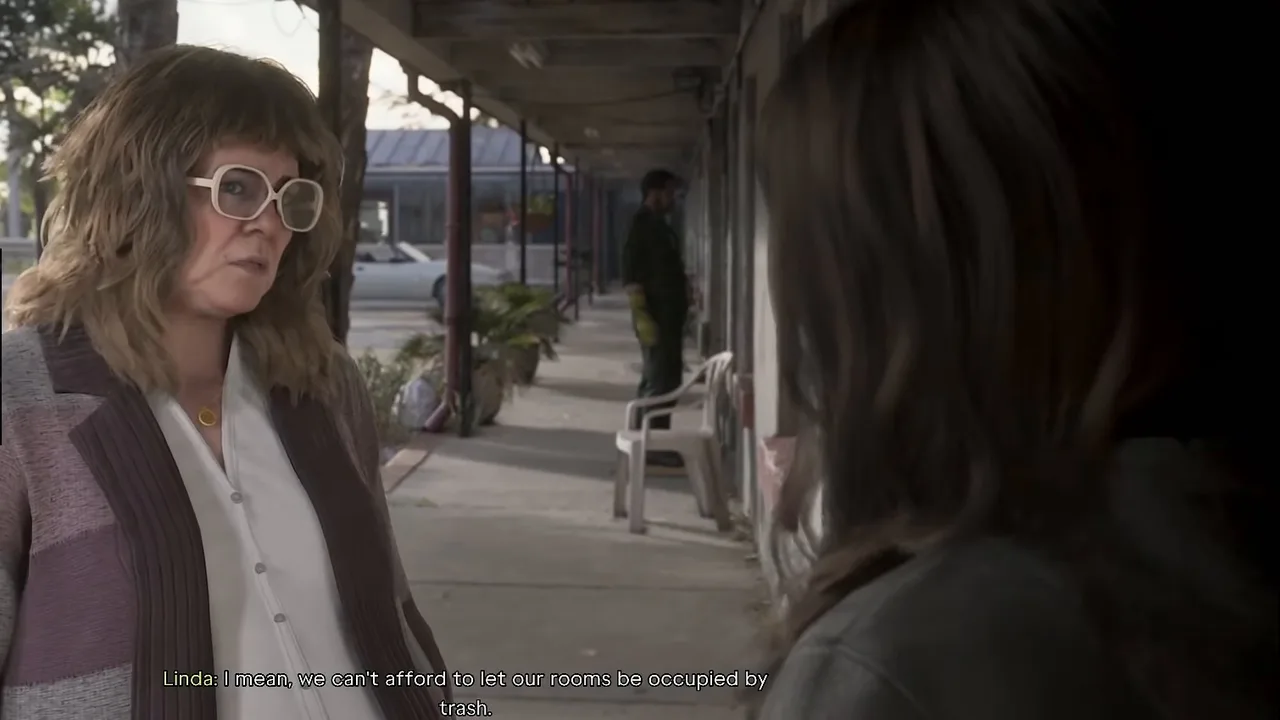 The late version: Linda at the door of room 06. Footage: iPodKingCarter.
The scene plays out like the desk version, with two differences. The price has gone up by 10% for being late and another 10% for the personal visit, so the bill is now $1,080. And the choices shrink to Pay Rent ($1,080), greyed out again, and Pay Later. Linda still takes the necklace, and Lucia goes back in to tell Jason the rent just got a lot more expensive.
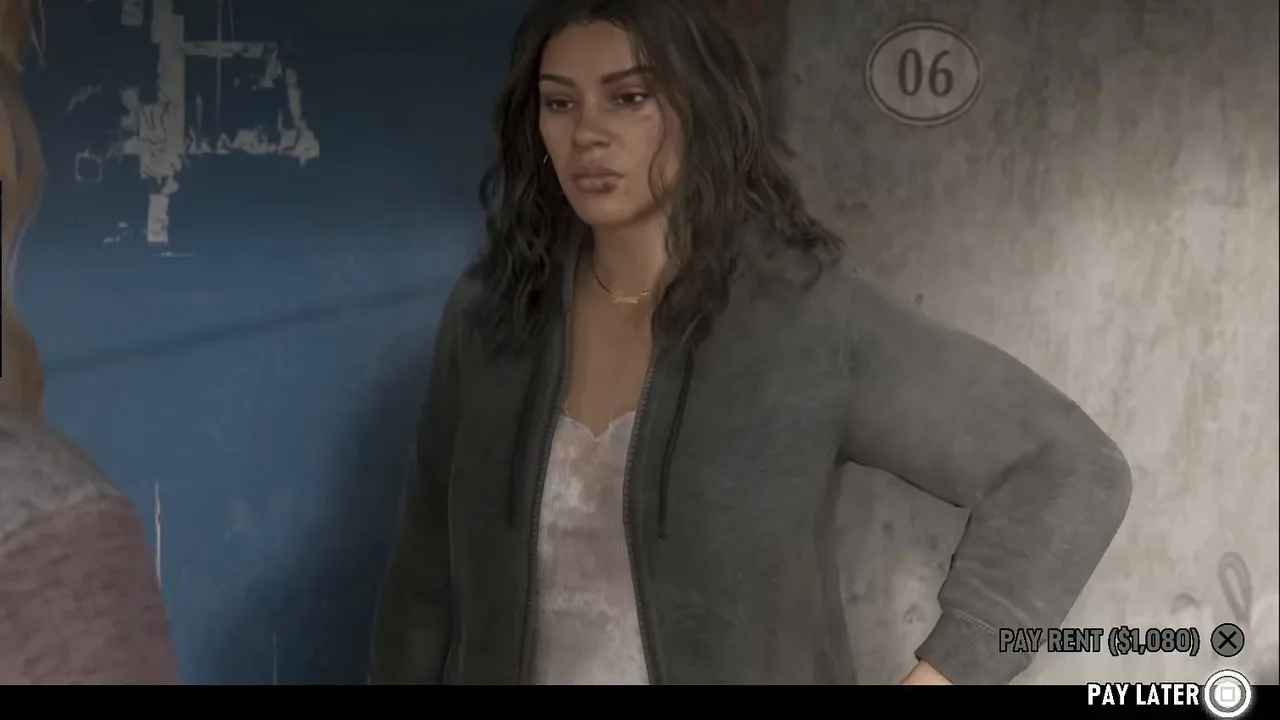 Wait too long and the bill grows to $1,080. Footage: iPodKingCarter.
We haven’t seen that save pay off the debt, so we can’t confirm that $1,080 is also what Behind on Payments asks for, but it’s the safe assumption. Going to the desk first costs you nothing and saves you $180.
What if Lucia doesn’t have the necklace?
Every run we’ve seen had it. The mission database ties the collateral to the necklace from Buy Lucia a Necklace, which suggests the scene plays differently without it. We haven’t seen footage of that version, so we can’t tell you what Linda takes instead or whether the mission ends the same way. If you skipped the errand in Chapter 1, expect this scene to differ from the steps above.
Rewards and what you owe
- Money: none. You leave owing Linda $900 (or $1,080 if she had to come to you).
- Collateral: Linda keeps Lucia’s necklace until you pay.
- Map: inspect the office wall map to reveal Port Gellhorn on your pause map. It isn’t required, but it’s the most useful thing you’ll get here.
- Trophy: none.
The debt comes back as Behind on Payments (#40), the task to pay Linda. She takes cash only: when Trophy Tom came back with his money in the bank, the game told him so and pointed him to the ATM in the office. Pay her and the necklace comes back. The Chapter 2 jobs pay well enough to cover it; Moses’s Daily Driver alone is worth $1,250, and our money guide lists the rest.
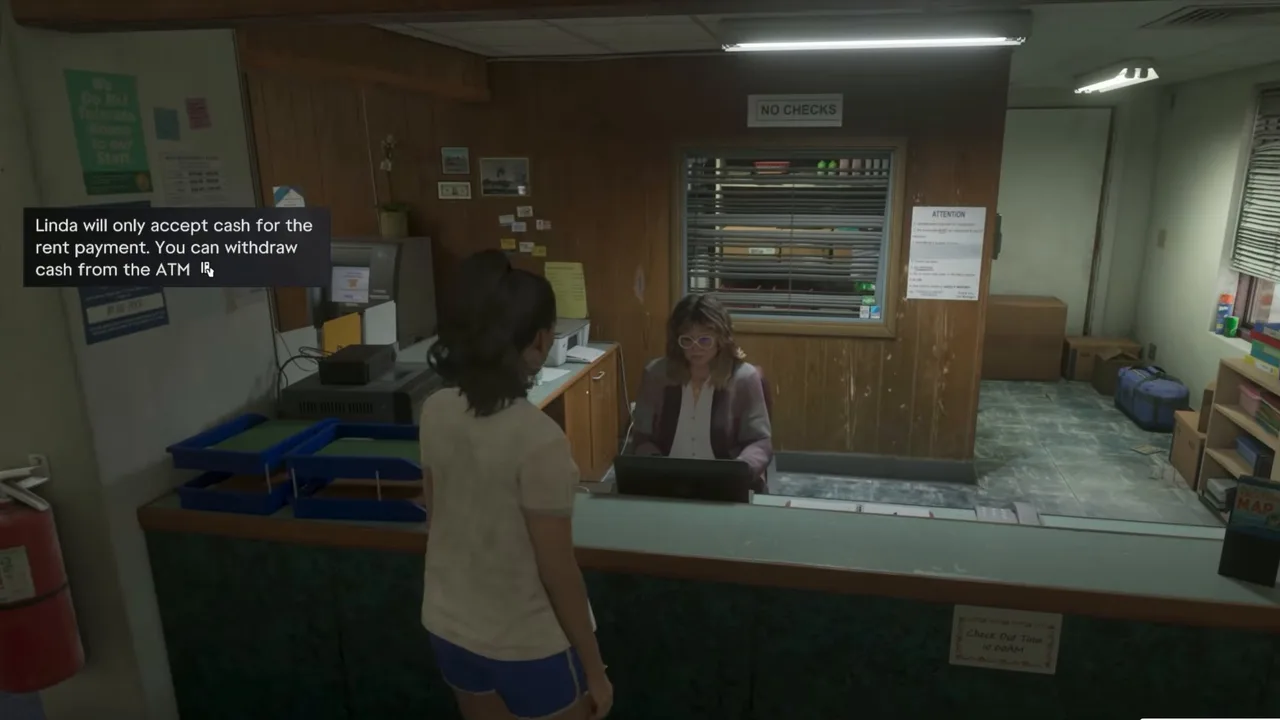 Later, in Behind on Payments: cash only, and the ATM is in the same office. Footage: Trophy Tom.
What to do next
The map fills up with Chapter 2’s next tasks. In story order:
- Just Moved In (#33): a shopping list for the room. Trophy Tom went straight from Linda’s desk to the convenience store down the road to buy supplies and carry them back to the motel. It’s cheap, but with $146 to your name, check the list first.
- Ambulance Chaser (#30), if you haven’t done it yet: get rid of the ambulance in the barn east of the motel.
- Take Care of Jason (#31) runs in the background for most of the chapter: come back to room 06 regularly.
- Girls’ Trip (#34): Jason needs real painkillers, and the motel’s other guests know who to ask.
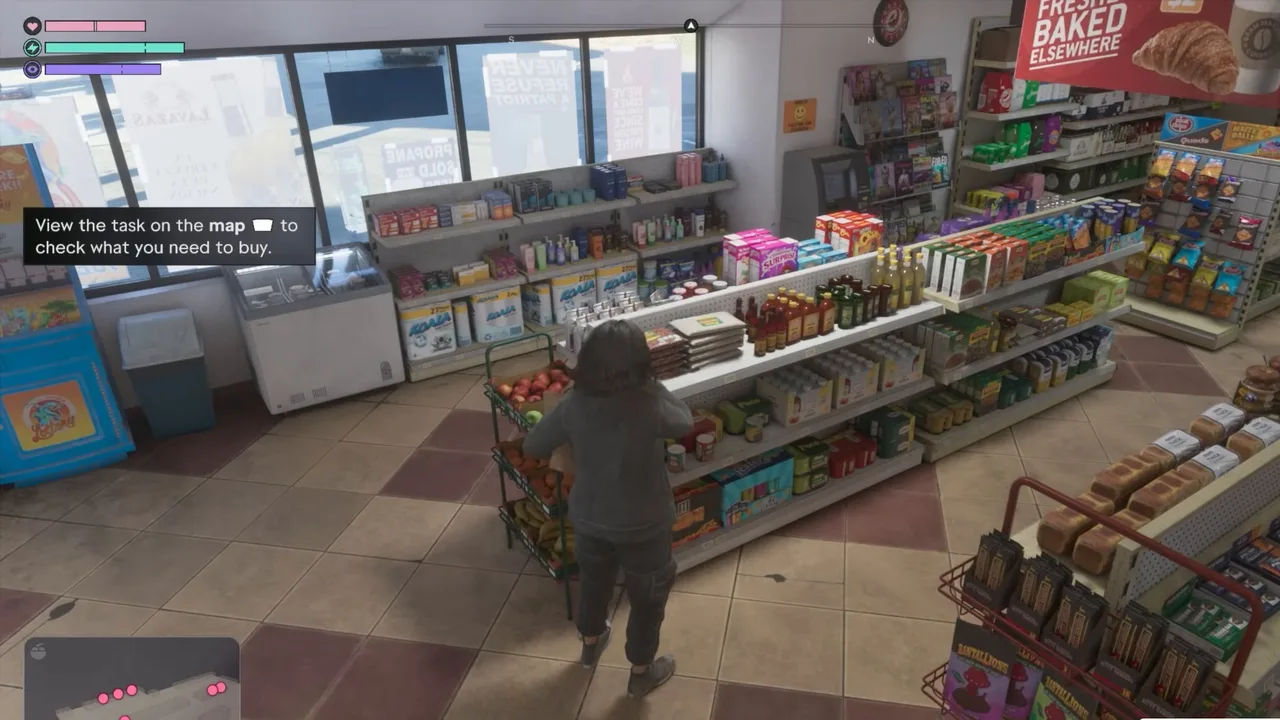 Next up, Just Moved In: a shopping run on a $146 budget. Footage: Trophy Tom.
Tips
- Go to the desk early. Waiting until Linda comes to you adds 20% to the bill.
- Pick Pay Installments? It’s the answer every desk run chose, and it gets you out with the $900 price.
- Read the wall map. It reveals Port Gellhorn on your map in one go and saves a lot of driving around.
- Grab the book in the side office while you’re there. It’s the first of 27 reading collectibles.
- Keep some cash in your pocket for later. Linda won’t take BuckMe money; use the office ATM when you settle up.
Related guides
- Previous: What’s in the Bag? (#29), and Ambulance Chaser (#30). Next in the story list: Just Moved In (#33). See all GTA 6 missions.
- Buy Lucia a Necklace: where the necklace comes from, and why it helps here
- GTA 6 money guide: Family Savings, and how to raise the $900
- GTA 6 characters: Linda, Vicki and the rest of the Starlet Motel
- GTA 6 beginner tips: contact prompts, collectibles and other basics
- GTA 6 map regions: Port Gellhorn and Kelly County
- Interactive map: the Starlet Motel
Frequently Asked Questions
How much is the motel room in GTA 6?
$900 if you go to the front desk yourself: Linda asks for the rent plus 10% for the trouble. If you put it off and she has to come to your door, the price rises to $1,080.
Can you pay Linda in installments?
No. Pay Installments? is one of the three answers at the desk, but Linda turns it down and asks for collateral instead. In every run we watched she then took Lucia's necklace.
Can you pay the $900 straight away in Overnight Charges?
Not in practice. Chapter 2 starts with $146 in cash and $0 in the bank, so the Pay Rent ($900) option is greyed out. You pay later, in Behind on Payments (#40), and Linda only takes cash.
How do you get Lucia's necklace back from Linda?
Bring her the rent in cash. That's the mission Behind on Payments (#40); there's an ATM in the motel office if your money is in the bank. Linda hands the necklace back once she has the money.
What happens if you ignore See Linda, the Manager?
Linda comes to you. In iPodKingCarter's run she knocked on room 06 after he'd done the Just Moved In shopping first, added 10% for lateness and 10% for the visit, and still took the necklace. The bill was $1,080.
Sources & Credits
Researched from these videos and official material, among others. Screenshots credit the creator whose footage they come from.
- #28 GTA 6 - Overnight Charges (Full Walkthrough) · Game Time Live
- GTA 6 - Overnight Charges (See Linda, The Manager), Just Moved In - Full Walkthrough · Trophy Tom
- GTA 6 Mission #8 - What's In the Bag?, Girls' Trip, Moses, & More (Grand Theft Auto 6 Walkthrough) · iPodKingCarter
- GTA 6 - CHAPTER 2! Playing GTA 6 for the First Time · TGG
- GTA 6 - New Look & How Do I Look & Behind on Payments - Full Walkthrough · Trophy Tom