Jump to your step
What’s in the Bag?: quick facts
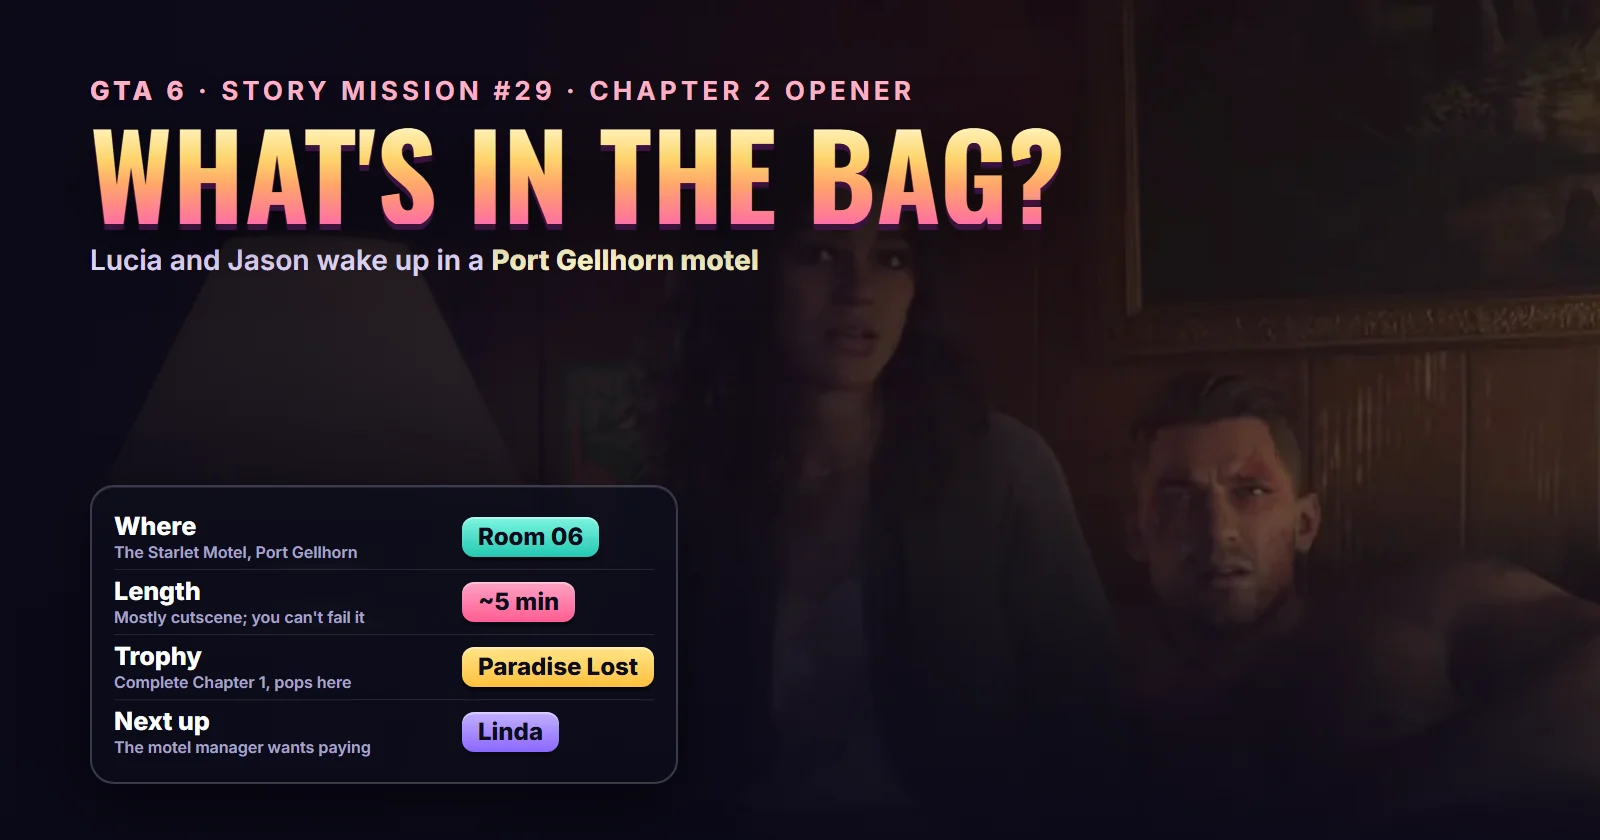
| Mission | What’s in the Bag?, story mission #29 |
| Chapter | Chapter 2 (Paradise Lost), the first mission of the chapter |
| You play as | Lucia (Jason is in bed the whole time) |
| Given by | Lucia (story mission, no contact to call) |
| Where it starts | Room 06 of the Starlet Motel, Port Gellhorn, straight after Discharge Time |
| Unlocks after | Discharge Time (#28) |
| Unlocks next | Ambulance Chaser (#30) |
| Length | About 4 to 5 minutes (Game Time Live’s full run is 4:22) |
| Reward | No cash. Lucia becomes playable in free roam |
| Trophy | Paradise Lost (hidden, Bronze, 20G): Complete Chapter 1 |
| Required for 100% | Yes |
Mission briefing How it unlocks, where it starts and how Chapter 1 ended. Contains spoilers for the end of Chapter 1 and for what's in the bag.
How to unlock What’s in the Bag?
There’s nothing to trigger. What’s in the Bag? plays automatically once Discharge Time ends. The last thing you see of Chapter 1 is Jason collapsing in the back of the stolen ambulance while Lucia promises to look after him. The screen goes dark, Jason wakes up in a motel bed, and the Chapter II title card rolls over the motel’s sign.
Where it starts: room 06 of the Starlet Motel in Port Gellhorn, Kelly County, the motel that becomes Jason and Lucia’s safehouse for this chapter. Lucia calls it a motel off the interstate, west of Vice City. You never drive to it, because it opens in a cutscene; see the What’s in the Bag? start on the live map.
The story so far (spoilers for the end of Chapter 1)
The bag is a brown holdall Jason took out of locker 17 at the Grassrivers Visitor Center in Tourist Trap. The pickup Mattia sent them on was an ambush. A corrupt cop, Méndez, had his men gun down the officers holding Jason and Lucia, Jason was shot, and the two of them fled with the bag. In Home Sweet Home Jason’s house was wrecked by the people Mattia and Kat work for, and in Discharge Time Lucia broke Jason out of Vice City Hospital and escaped the police in an ambulance.
Nobody has looked inside the bag yet. Lucia waited for Jason to wake up. That’s this mission.
Who’s who
- Lucia: the one you control. Chapter 2 is mostly hers while Jason heals.
- Jason: stitched up, half-conscious and stuck in bed.
- Linda: the motel’s day manager. The subtitles name her, and she isn’t happy about two guests who checked in without ID. More on her in Overnight Charges.
- Méndez: seen only on TV this time, at a press conference. Our characters guide has his background.
About this guide
The steps follow Game Time Live’s uncut run of the mission and iPodKingCarter’s playthrough, which shows the speaker names in the subtitles and Lucia stepping out of room 06 afterwards. Trophy Tom’s Discharge Time video runs on into this scene and shows exactly when Paradise Lost pops, and TGG’s first-time stream covers the first minutes of free roam. Creators number it differently: Game Time Live calls it #26, and Aquish GTA’s series skips it and counts Ambulance Chaser as Chapter 2’s first mission. The story list has it at #29.
Step 1: Wake up at the Starlet Motel
The mission opens on Jason waking up shirtless in a motel bed, bruised and still groggy from the hospital. He calls for Lucia, but she isn’t in the room.
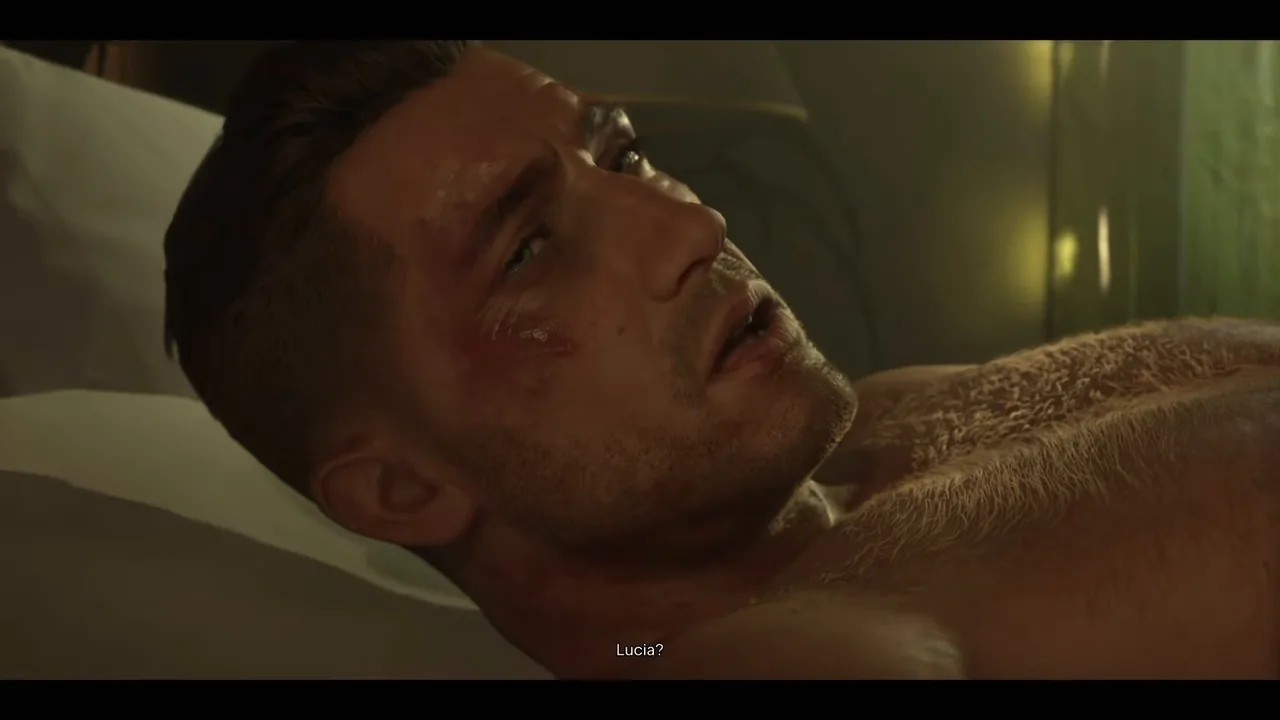 Jason comes round in the motel, looking for Lucia. Footage: Game Time Live.
Then come the chapter cards. Chapter II appears over the Starlet Motel’s roadside sign on a sunny morning, followed by the chapter’s name, Paradise Lost, as Lucia walks across the parking lot towards the office. Chapter 1’s last mission is already behind you at this point. The trophy with the same name only pops at the end of this mission (see Step 7).
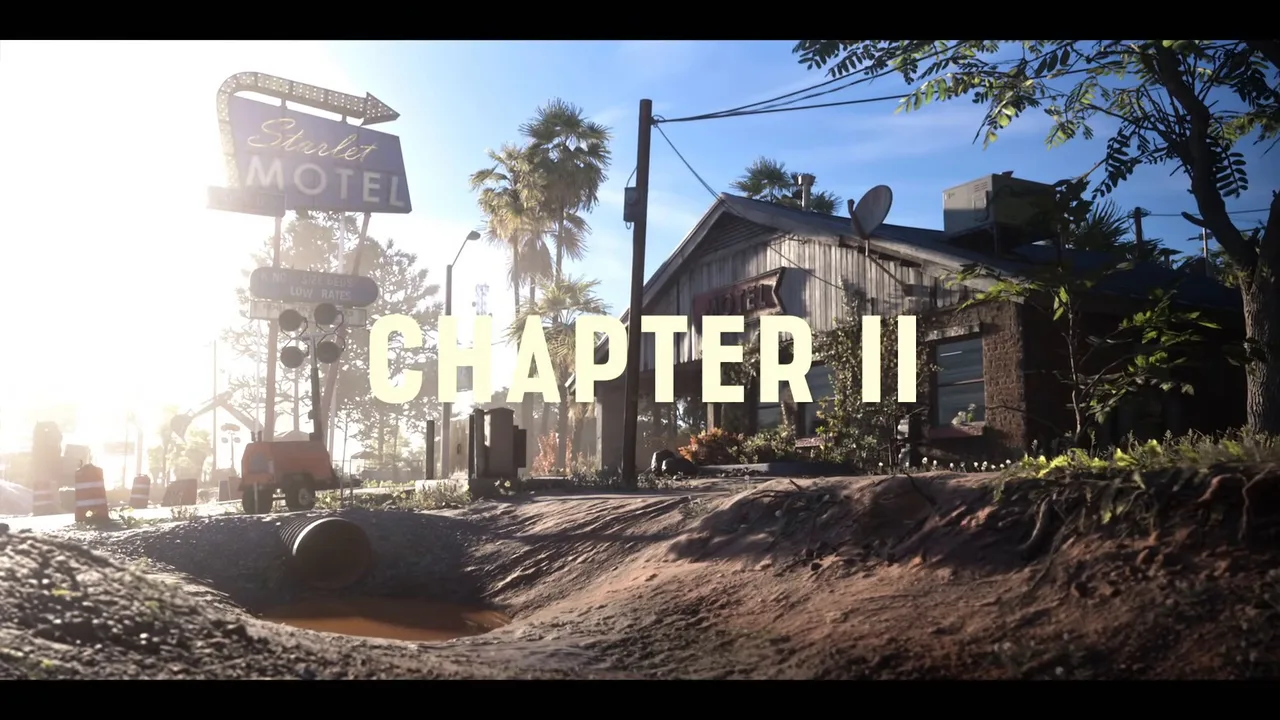 Chapter II opens on the Starlet Motel sign. Footage: Game Time Live.
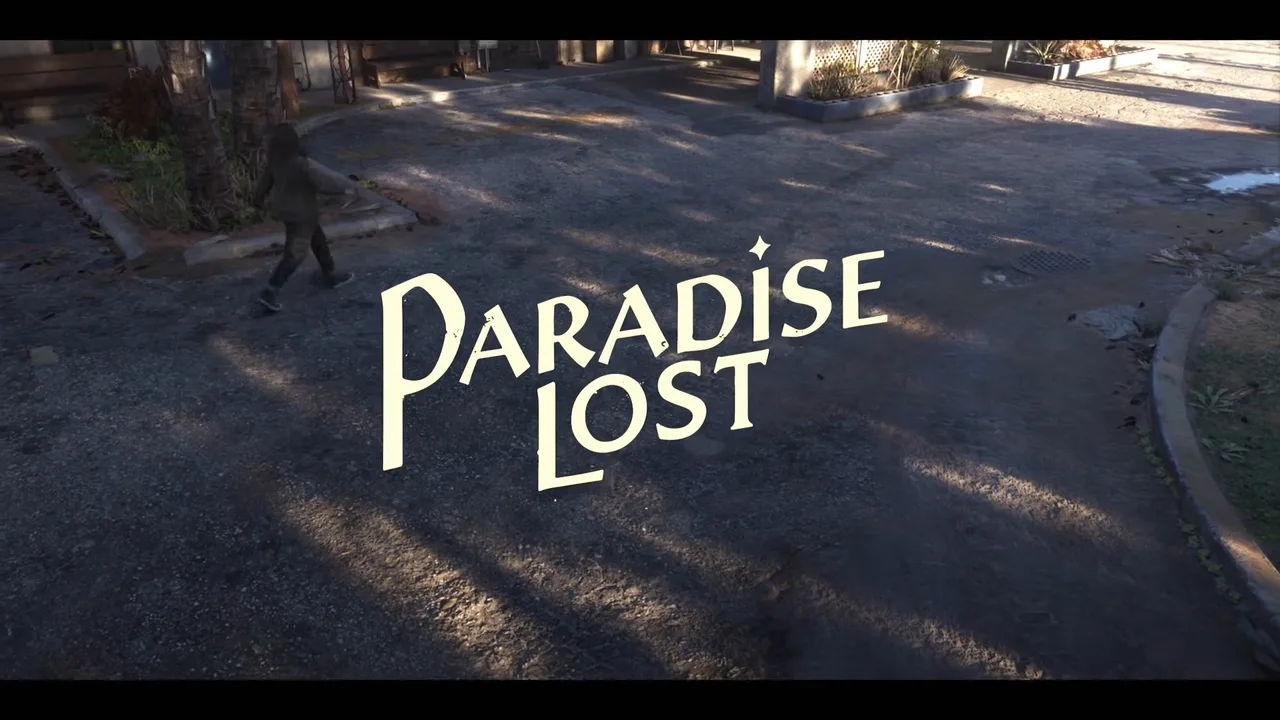 Paradise Lost is the name of Chapter 2. Footage: Game Time Live.
Step 2: Lucia meets Linda at the front desk
In the office, the day manager, Linda, is waiting for Lucia in big white glasses and a smile that isn’t friendly. She asks after “that poor young man” and his hunting accident (the same cover story Lucia used at the end of Tourist Trap), then gets to the point. She’s been generous given how little information they gave at check-in, so from now on she wants the room paid up front.
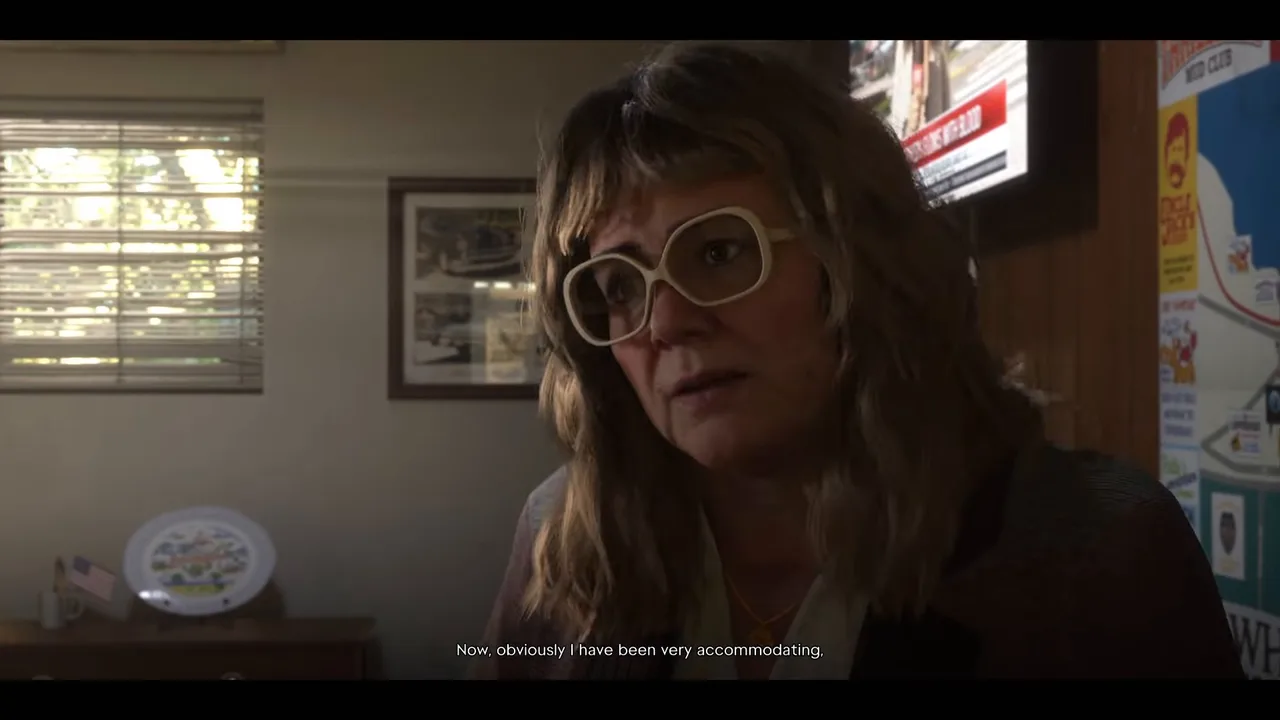 Linda wants her money up front. Footage: Game Time Live.
Lucia tells her they’ll have the money and leaves fast. You don’t have to do anything here, and you can’t pay yet. The bill comes back as a mission of its own (Overnight Charges, see below).
Step 3: Watch Méndez on the news
Lucia hurries back to room 06 and tells Jason he has to see what’s on TV. Weazel News is covering the shoot-out at the Grassrivers nature reserve under the headline “Grassrivers Flows With Blood”, and the man at the podium is Méndez. He says the police don’t yet know whether the shooting is linked to what happened at the hospital, and lists the officers they lost, including Sergeant Galecki, the sergeant who questioned Jason and Lucia in Tourist Trap. Jason is stunned: as far as he’s concerned, Méndez had that man killed.
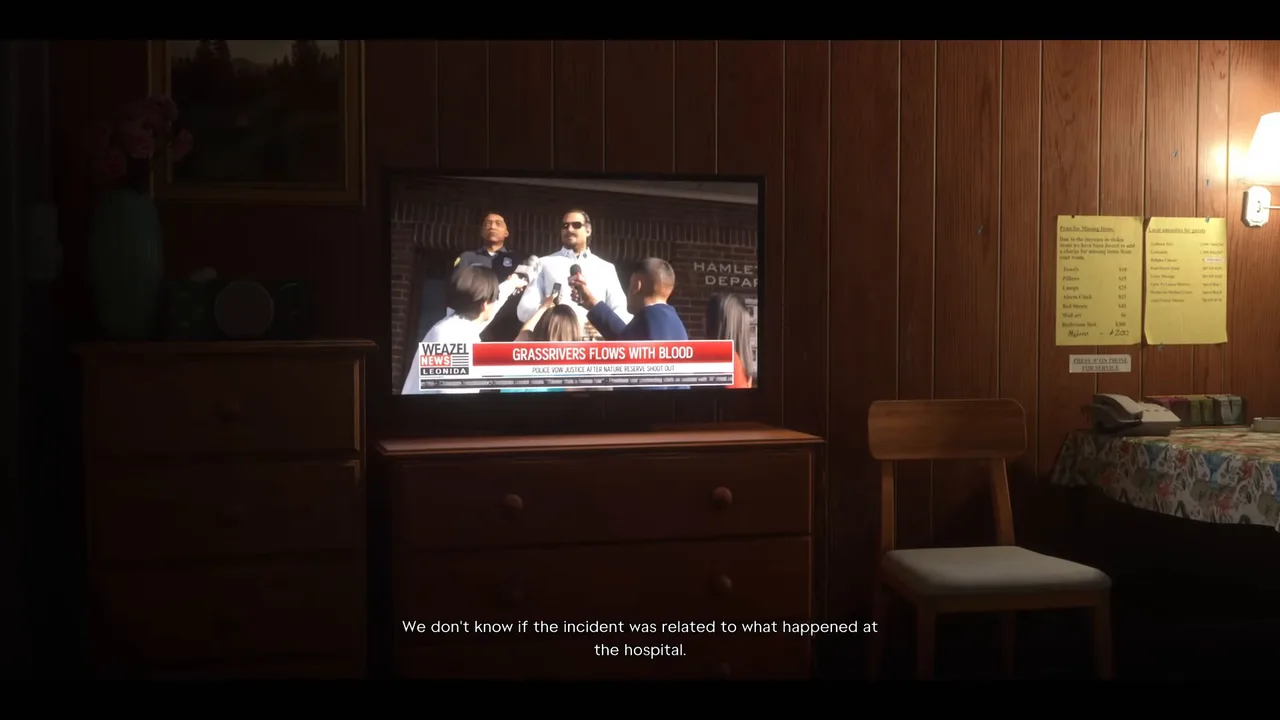 Méndez on Weazel News, vowing justice for the Grassrivers shoot-out. Footage: Game Time Live.
Lucia reads it more calmly. The police have camera footage, but neither of their faces shows up in it, so she doesn’t think anyone knows it was them. That matters for Chapter 2: you’re lying low, not wanted.
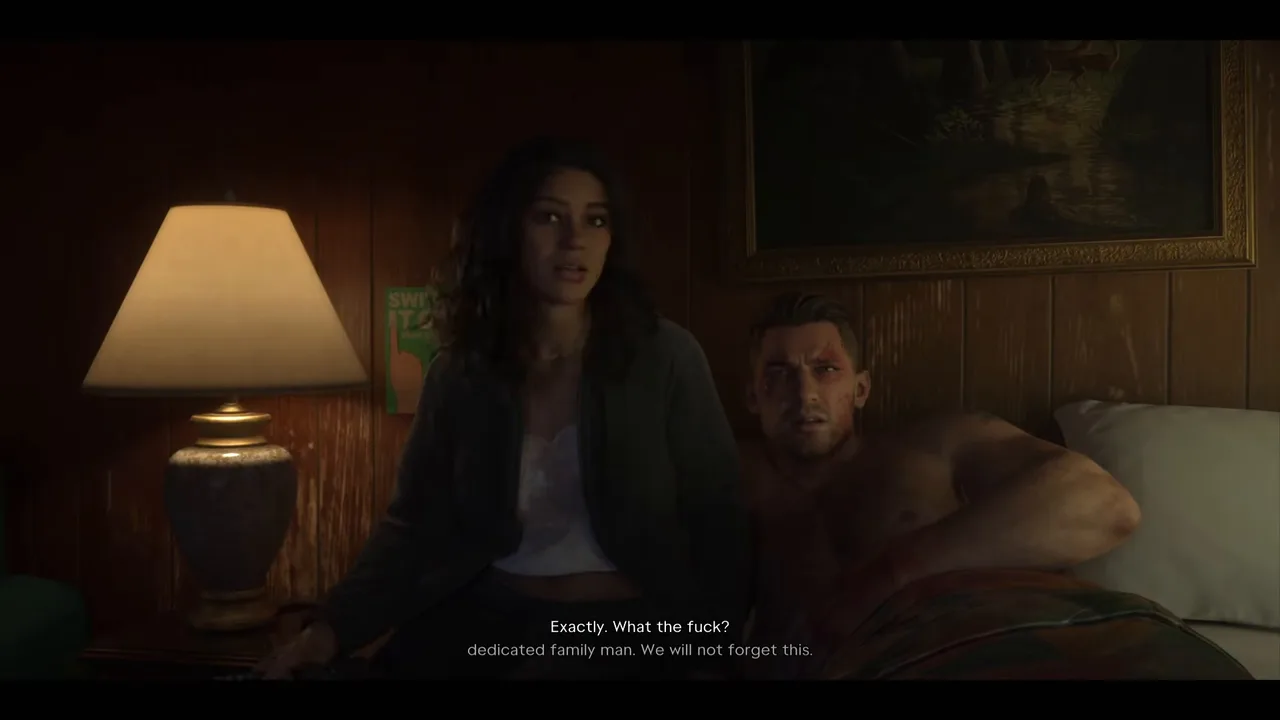 Jason and Lucia watch the report together. Footage: Game Time Live.
Step 4: Get the bag out of the bathroom
Jason’s next question is about the bag. Lucia has hidden it in the bathroom, under the sink, and fetches it. Neither of them knows what’s inside. She hasn’t opened it, because she was waiting for him to wake up. Jason reckons it has to be important, given how many people want it.
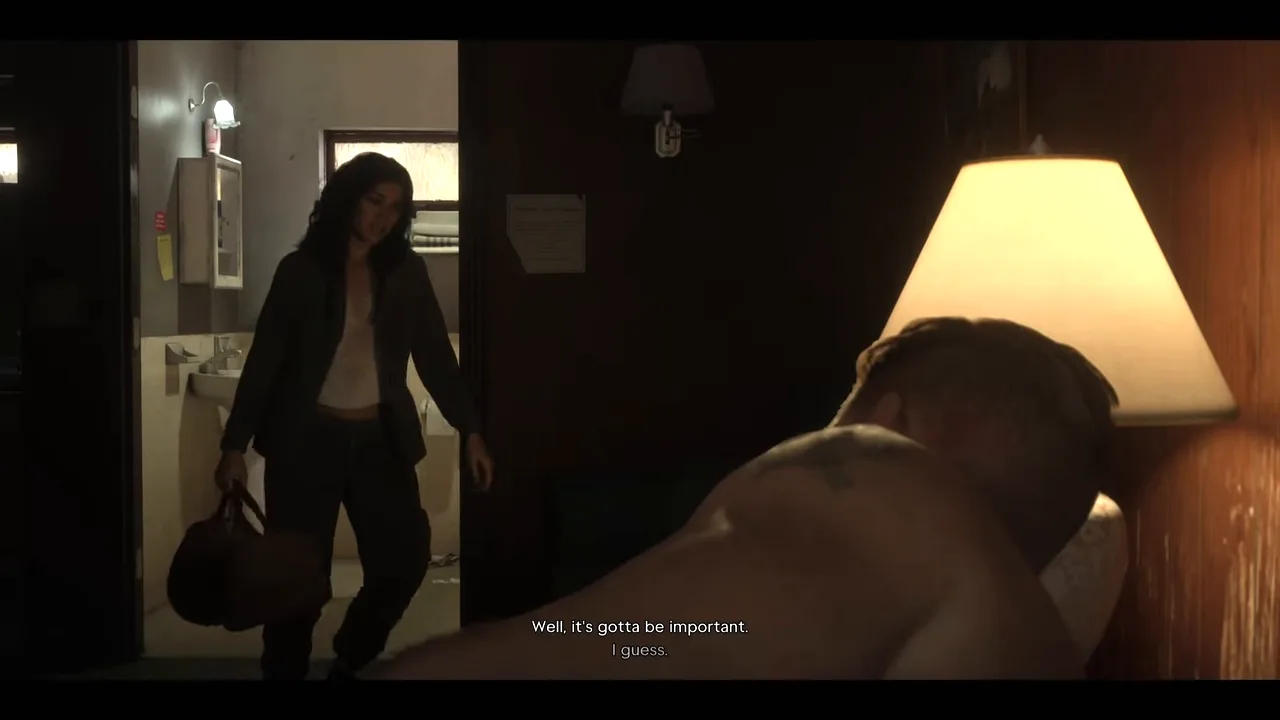 The holdall from locker 17, hidden under the bathroom sink. Footage: Game Time Live.
Inside the holdall is a black hard case with foam padding. Lucia opens it on the bed, and the game hands you her hands.
Step 5: Inspect the statue and read the note (Lucia)
The first item is a small statue of a nude woman, green with age and heavy for its size. Lucia guesses it’s an antique. The game switches to a first-person inspection view with four prompts (PlayStation buttons shown):
| Prompt | Button | What it does |
|---|---|---|
| Zoom | R2 | Brings the object closer |
| Rotate | Left stick | Turns it in Lucia’s hands |
| Flip | Square | Turns it upside down |
| Put back | Circle | Returns it to the case |
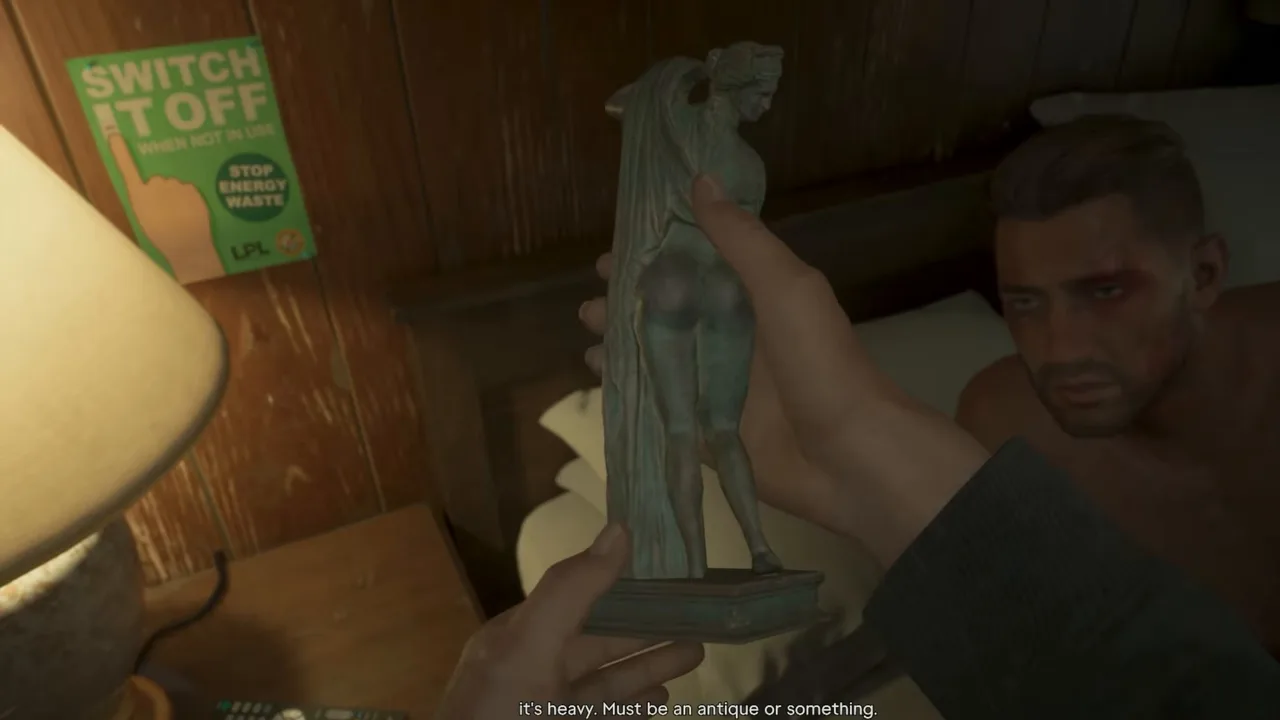 Turn the statue with the left stick. Footage: Trophy Tom.
The one thing you have to do is flip it. Lucia says there’s a note on the bottom, and the objective Read the note appears. Press Square to turn the statue over: a small handwritten card is taped under the base, and it reads “From my collection. She reminded me of someone.” TGG sat looking at the statue for a moment before spotting that Square was the button. In the runs we watched, Put back stayed dimmed until the note had been read.
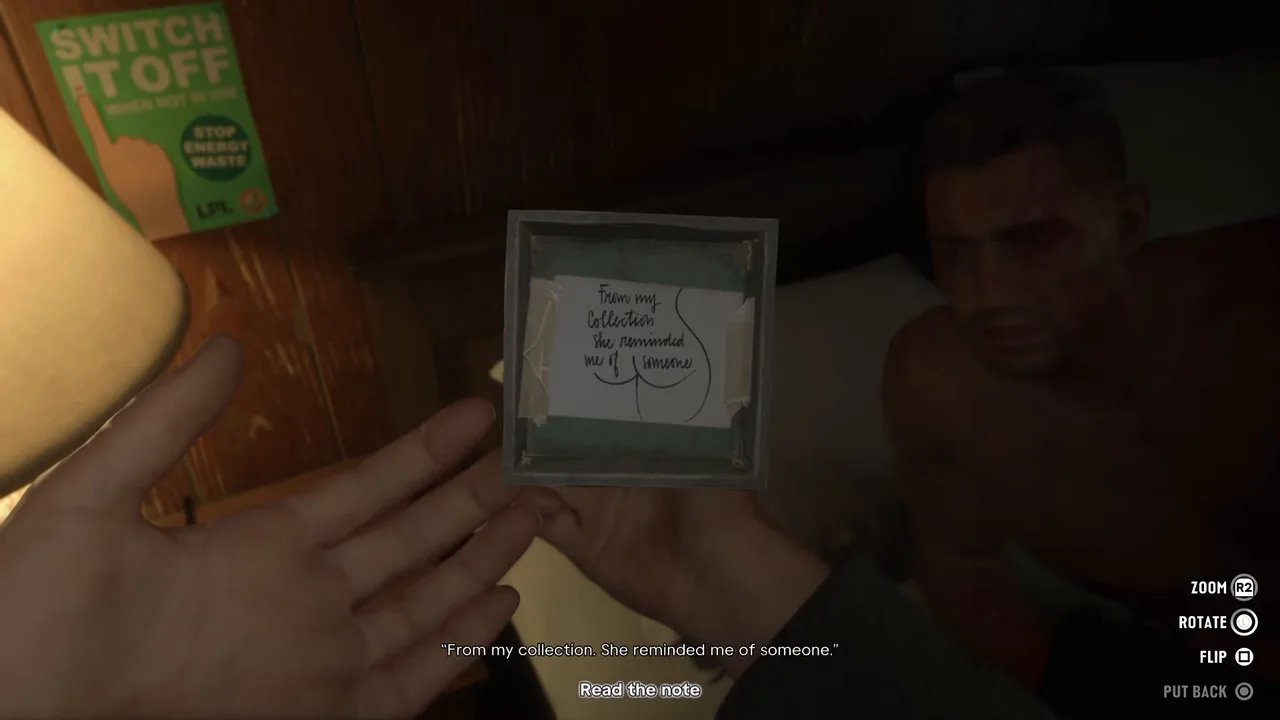 Flip the statue to read the note. Footage: Game Time Live.
Nobody explains the note here, and neither will we. It’s clearly a gift from a collector to someone, and the statue is the kind of thing nobody would expect to find in a smuggler’s bag.
Step 6: Inspect the hard drive (Lucia)
Put the statue back and Lucia reaches into the case again. The second and last item is a slim black external hard drive. It has a small maker’s logo on the front but no label of any kind. The same Zoom, Rotate and Flip controls work, and this time the exit prompt is Put down.
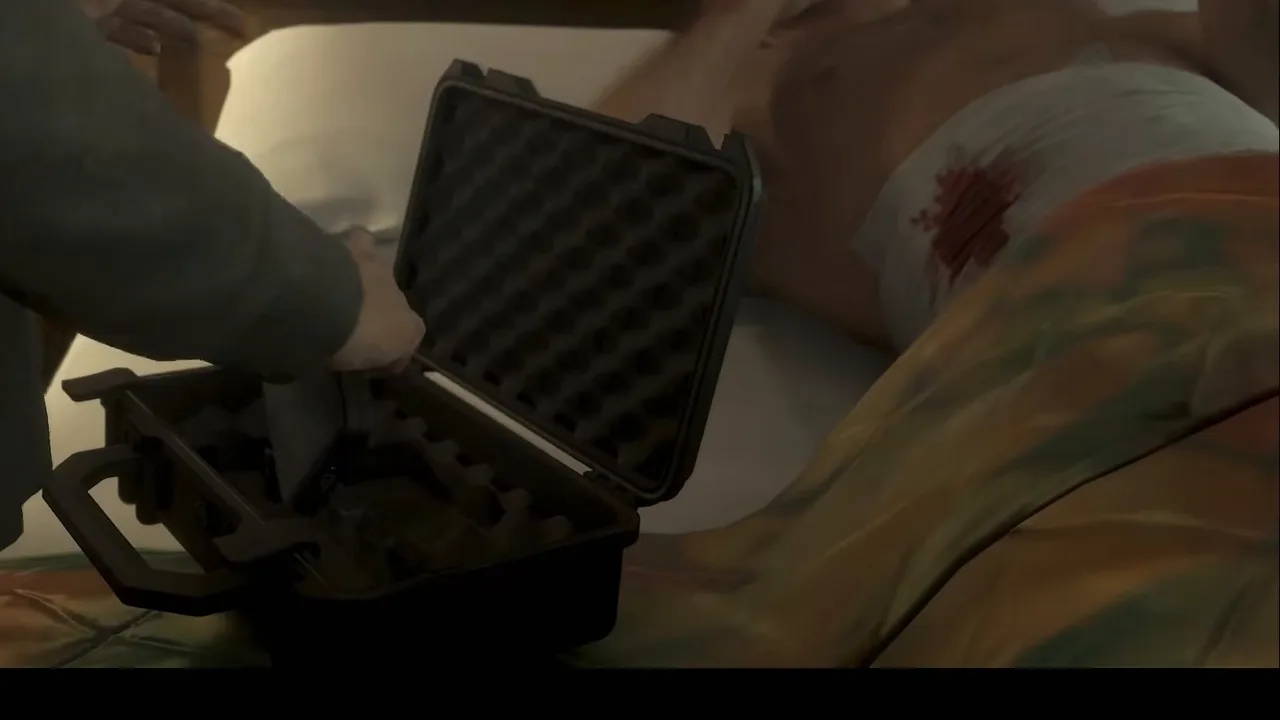 Back into the foam-lined case for the second item. Footage: iPodKingCarter.
Jason wonders whether it’s crypto. Lucia has no idea, and you can’t find out here: the drive needs to be plugged into a computer, and they don’t have one.
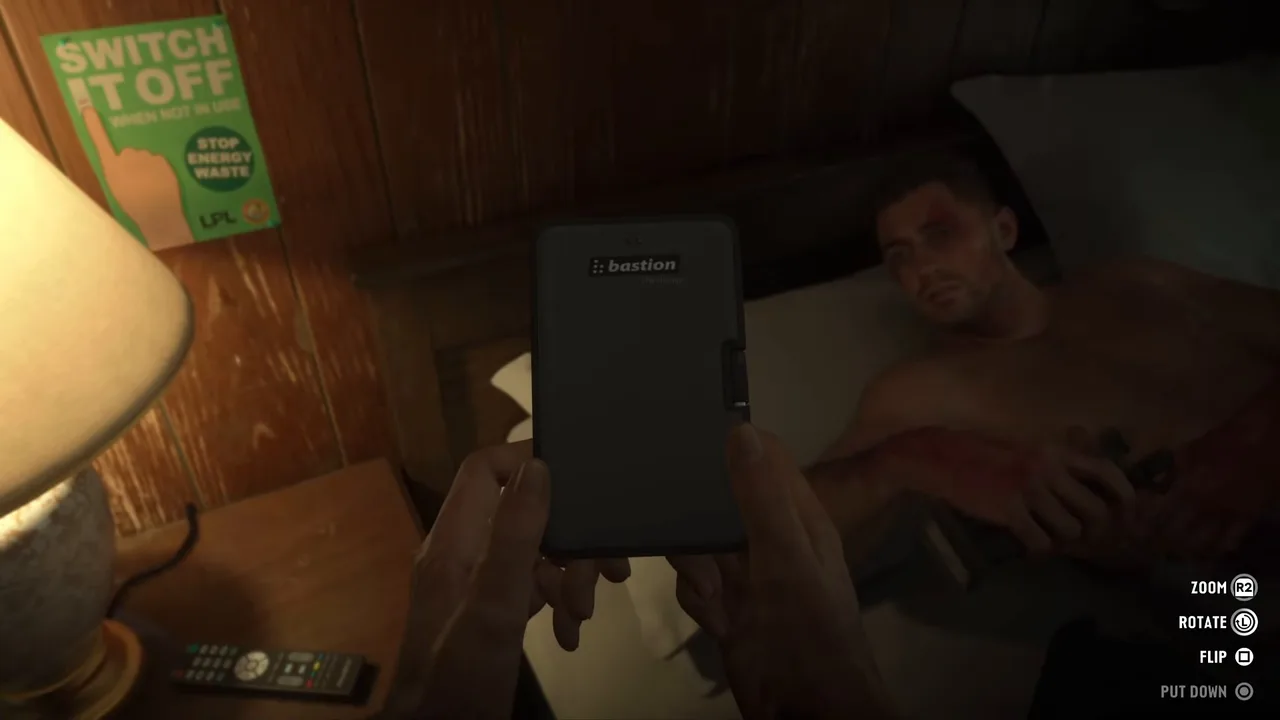 The hard drive: no label, no laptop to read it. Footage: Game Time Live.
Step 7: Make a plan, then take control of Lucia
The last scene takes stock. They have no laptop, no car, no food and no clothes without blood on them. The night manager let Lucia have the room without ID; the day-shift manager is clearly less forgiving. Lucia explains where they are: a motel off the interstate, west of Vice City. She has hidden the ambulance in an old barn nearby.
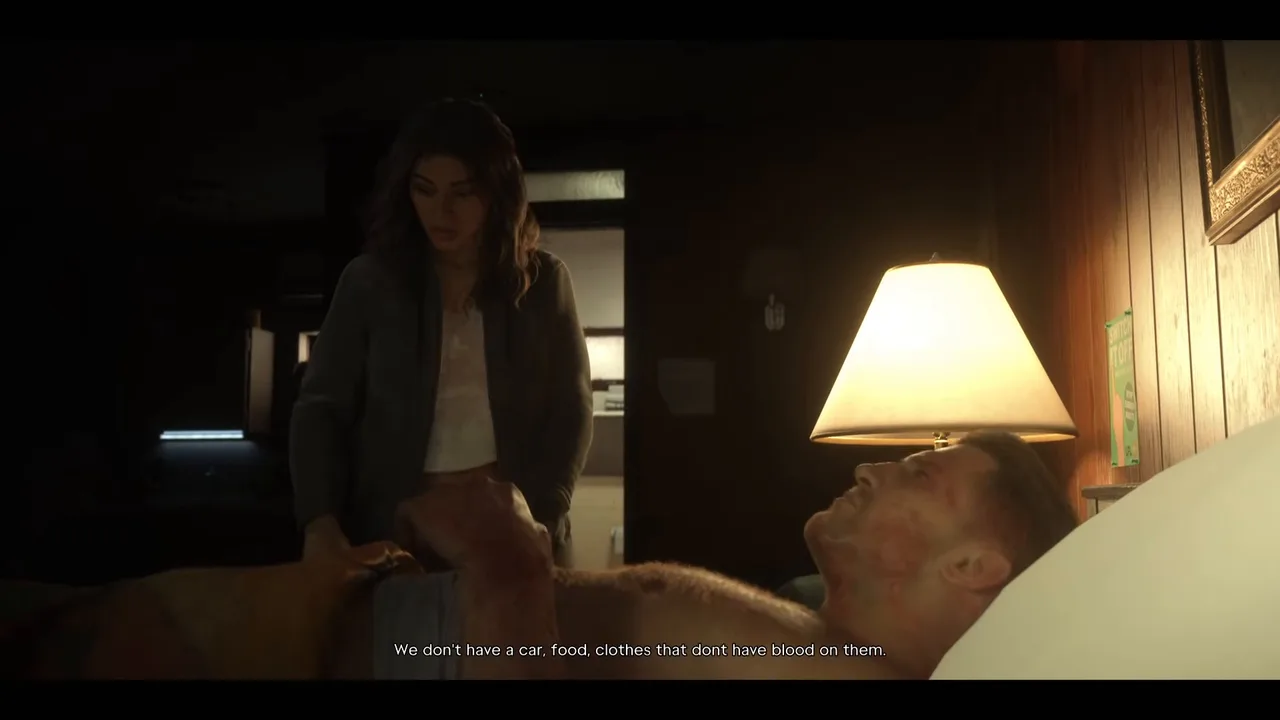 Starting Chapter 2 with nothing. Footage: Game Time Live.
Jason only wants a few days of rest, but he’s worried someone will find the ambulance and come looking for them. Lucia offers to move it or torch it somewhere, which sets up the next mission. Then she heads out for food and clothes, and Jason asks her to get the manager off their backs. She starts telling him what to say if anyone knocks, but he’s already drifting off, and she decides the place probably doesn’t run to housekeeping anyway.
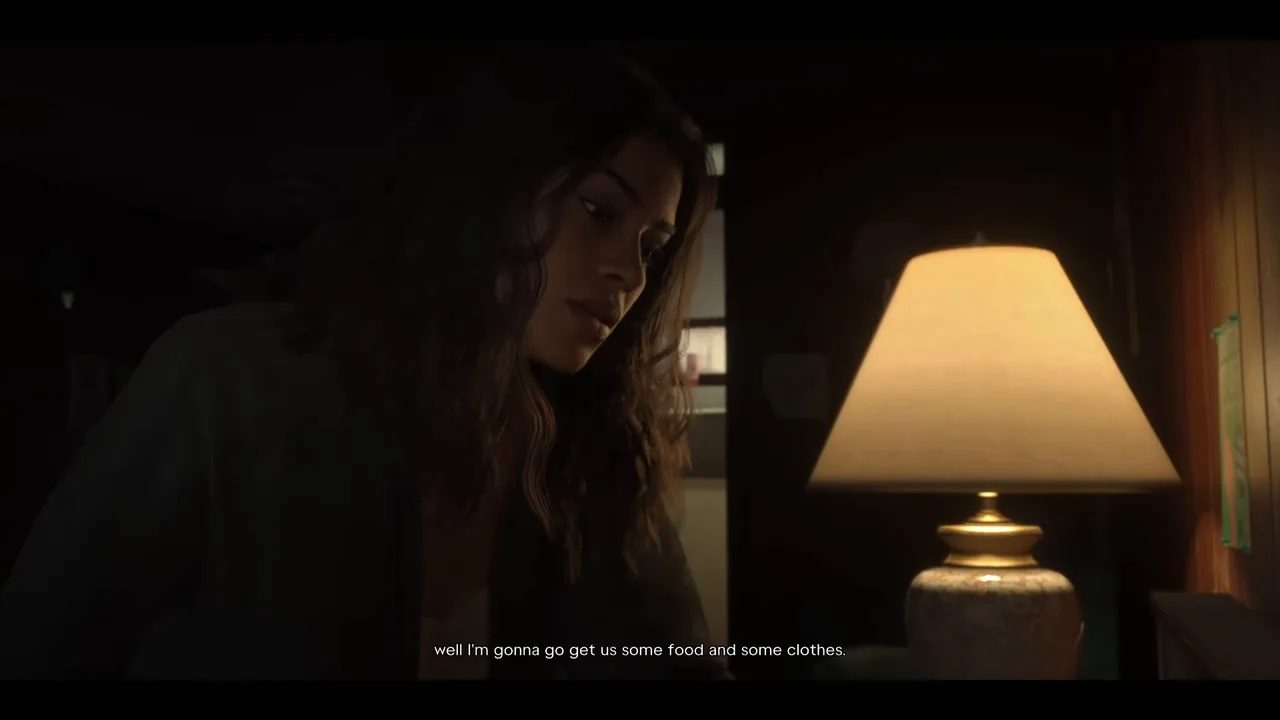 Lucia’s plan for the day: food, clothes and the manager. Footage: Game Time Live.
The cutscene ends with Lucia standing in the room and you in control. That is the end of the mission: there’s no mission-passed screen in any of the runs we watched. A few seconds later the Paradise Lost trophy pops. In Trophy Tom’s video it unlocks at 11:40, a few seconds after the camera hands Lucia to the player.
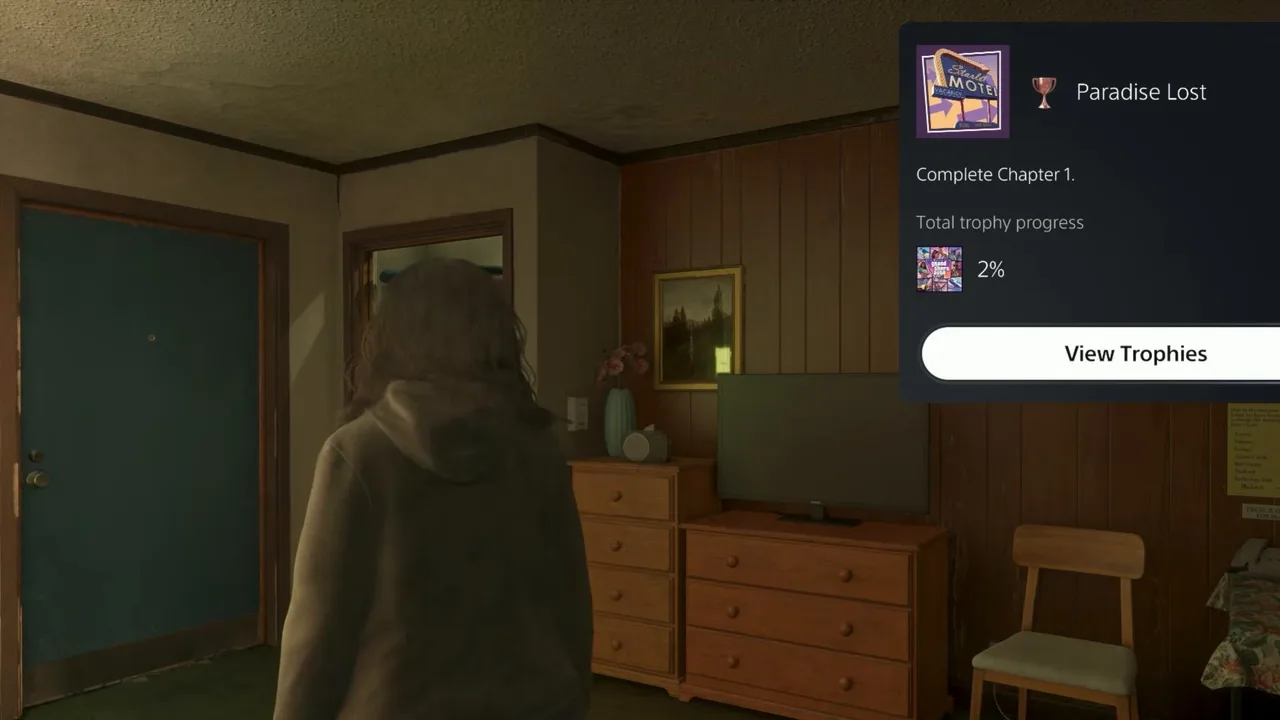 Paradise Lost pops as soon as Lucia is free to move. Footage: Trophy Tom.
What to do right after What’s in the Bag?
You’re now Lucia in free roam, and the map updates with Chapter 2’s first jobs as soon as you step out of room 06. A few things are worth doing before you leave the room:
- Check your money. Both iPodKingCarter and TGG started Chapter 2 with $146 in cash and $0 in the bank. Chapter 1’s pocket cash didn’t come with them; our money guide explains what does carry over (Family Savings).
- Raid the fridge. The kitchenette fridge has a bottle of Raine water. TGG drank it and got Stamina buffed and Focus buffed notices.
- Wardrobe and case. The wardrobe by the door works, though Lucia has almost nothing to change into yet, and you can inspect the case again from the bathroom.
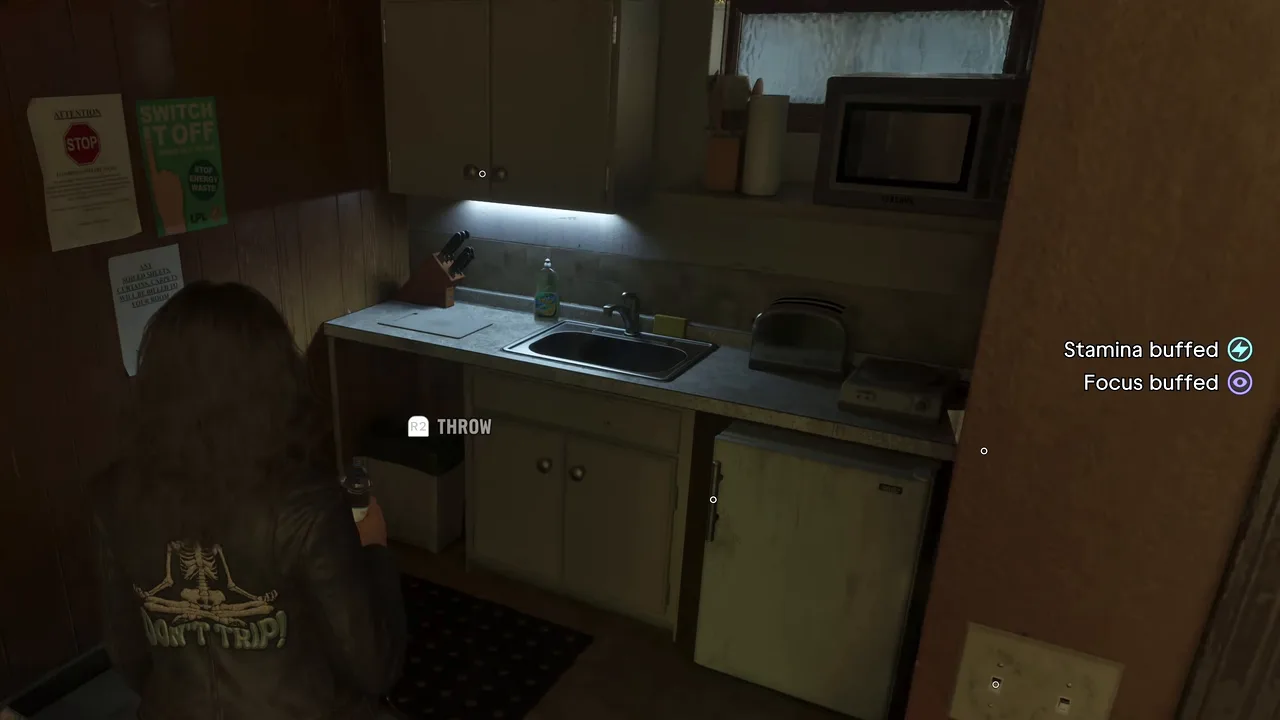 A free drink from the fridge buffs Stamina and Focus. Footage: TGG.
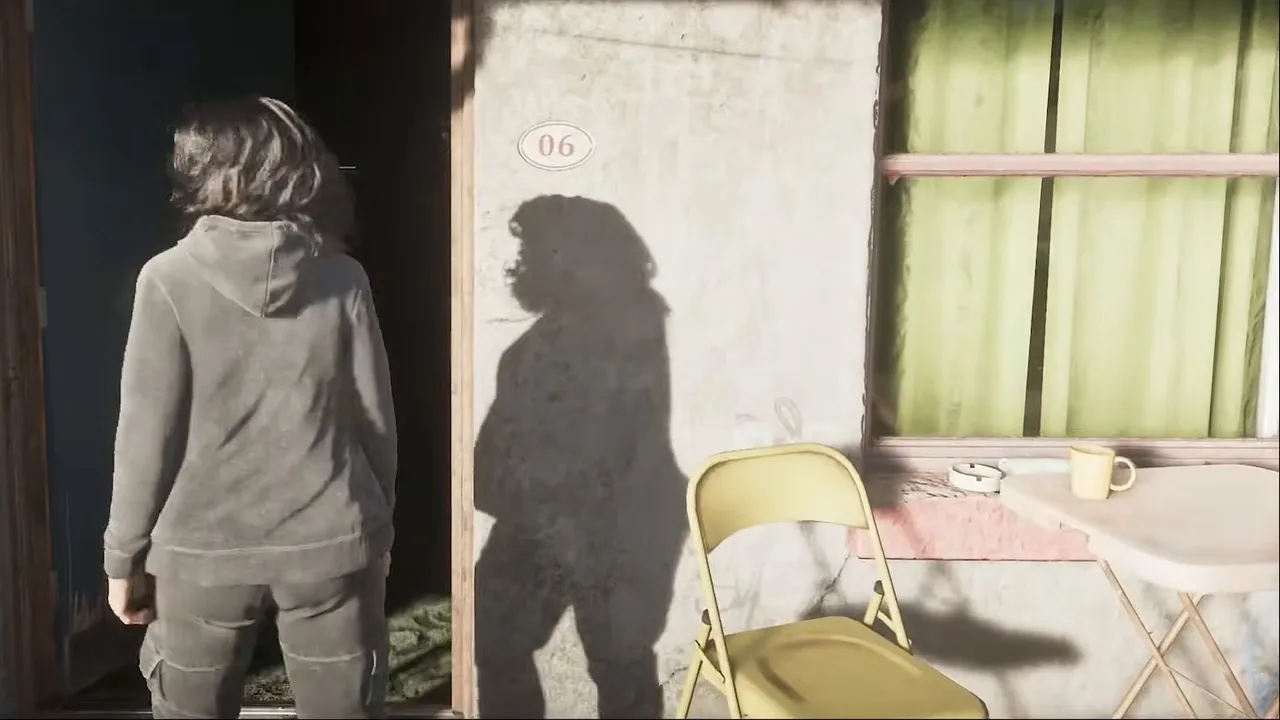 Room 06 is home for now. Footage: iPodKingCarter.
On the map, the first task to appear is See Linda, the Manager: go to the front desk and find out how much is owed for the room. That’s Overnight Charges (#32). The story list puts Ambulance Chaser (#30), getting rid of the hidden ambulance, next, and Take Care of Jason (#31) after it, so the order is up to you. iPodKingCarter went shopping at the nearby convenience store first; TGG went straight to Linda.
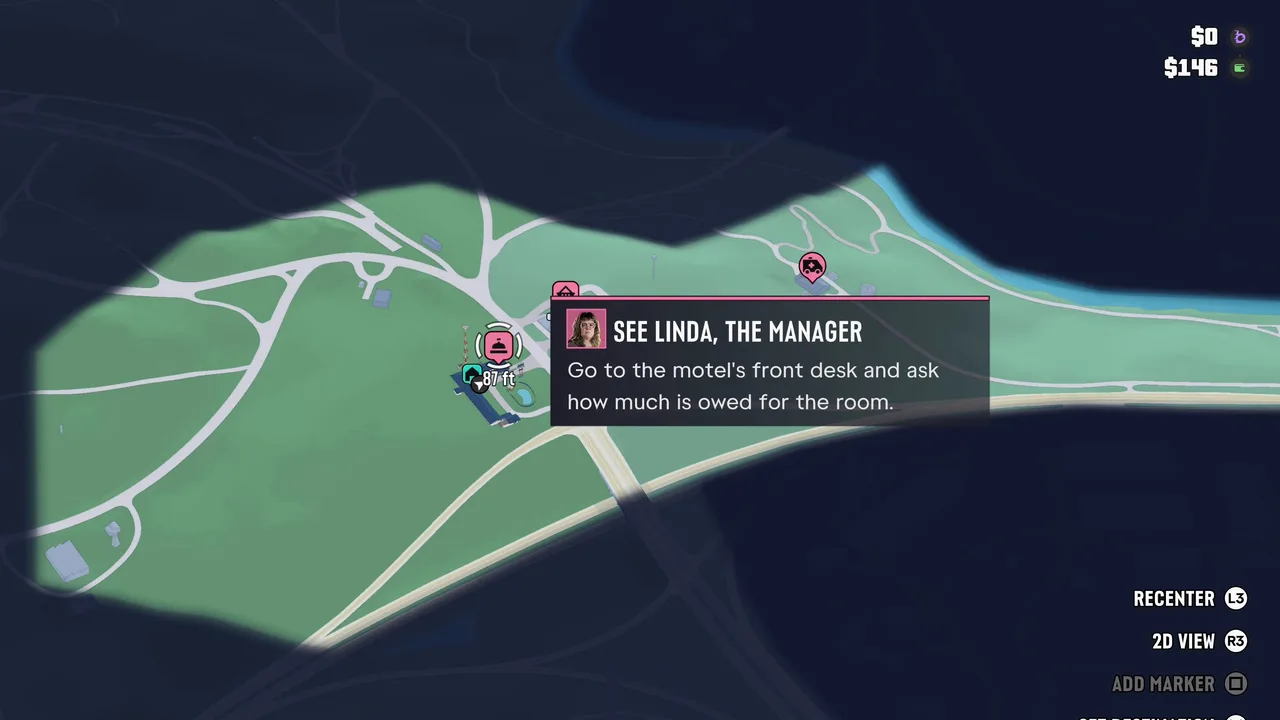 The map after the mission: Linda’s task, and $146 to your name. Footage: TGG.
Rewards
- Money: none.
- Unlock: Lucia becomes playable in free roam. That’s the single reward the mission database lists.
- Trophy: Paradise Lost, hidden, Bronze, 20 Gamerscore, “Complete Chapter 1”. It unlocks at the end of this mission, not at the end of Discharge Time. On Trophy Tom’s save it took his trophy progress to 2%.
- Safehouse: the Starlet Motel room is where you live and save for the first part of Chapter 2.
Tips
- Press Square to flip the statue. It’s the only input the mission needs, and the note only shows when the statue is upside down.
- Take your time with the items. There’s no timer during the inspection. Zoom in with R2 if you want a proper look at the statue or the drive.
- Watch the news segment. It’s the first time the game shows how the police are spinning Grassrivers, and it explains why Chapter 2 is about lying low.
- Drink the Raine water before you head out. It’s free, and the buffs help in the jobs that follow.
- Don’t expect to keep Chapter 1’s cash. Both runs we watched started Chapter 2 with $146 in cash, and the motel bill is coming. Only Family Savings carries over.
Related guides
- Previous: Discharge Time (#28), the hospital escape that ends Chapter 1. Next: Ambulance Chaser (#30). See all GTA 6 missions.
- Tourist Trap: where the bag comes from, locker 17 at Grassrivers
- Home Sweet Home: the night Jason’s house is wrecked
- GTA 6 money guide: why you start Chapter 2 with almost nothing
- GTA 6 beginner tips: Focus, buffs and switching between Jason and Lucia
- GTA 6 characters: Jason, Lucia and Méndez
- GTA 6 map regions: Port Gellhorn and Kelly County
- Interactive map: the Starlet Motel
Frequently Asked Questions
What is in the bag in GTA 6?
Two things, packed in a foam-lined hard case: a small, heavy bronze statue of a nude woman with a handwritten note taped under the base, and an unlabelled external hard drive. Nothing else comes out of it.
What does the note under the statue say?
"From my collection. She reminded me of someone." To read it, flip the statue over (Square on PlayStation) while you're inspecting it.
How do you start What's in the Bag?
You don't have to. It follows Discharge Time automatically: after the ambulance escape the story cuts to the Starlet Motel, the Chapter 2 title card plays and the mission runs from there.
When does the Paradise Lost trophy unlock?
At the very end of What's in the Bag?, a few seconds after you get control of Lucia in the motel room. It's a hidden Bronze trophy (20 Gamerscore) for completing Chapter 1.
Can you fail What's in the Bag?
No. It's almost all cutscene. The only thing you control is Lucia's hands while she inspects the statue and the hard drive, and there's no timer and no way to lose.
What is the next mission after What's in the Bag?
The story list puts Ambulance Chaser (#30) next, where Lucia gets rid of the hospital ambulance. The motel's front-desk task, See Linda, the Manager, appears on the map at the same time.
Sources & Credits
Researched from these videos and official material, among others. Screenshots credit the creator whose footage they come from.