Jump to your step
 1
Wake up and get changed · Lucia
 2
Find the gym and meet the crew
 3
Fly to the Coast Guard base · Jason
 4
Scout the station through binoculars · Lucia
 5
Fly to the bridge · Jason
 6
Skydive to the boat · Jason
 7
Take the boat to the military base · Jason
 8
Wade up the inlet and cut into the tunnel · Jason
 9
Sneak to the hangar with Vinny · Jason
 10
Drop in through the roof · Jason
 11
Open the doors and hold off the military (Lucia and Jason)
 12
Get in the chopper · Lucia
 13
Shoot down the jets · Jason
 14
Meet Liz at the rendezvous (cutscene)
Bird in the Hand: quick facts
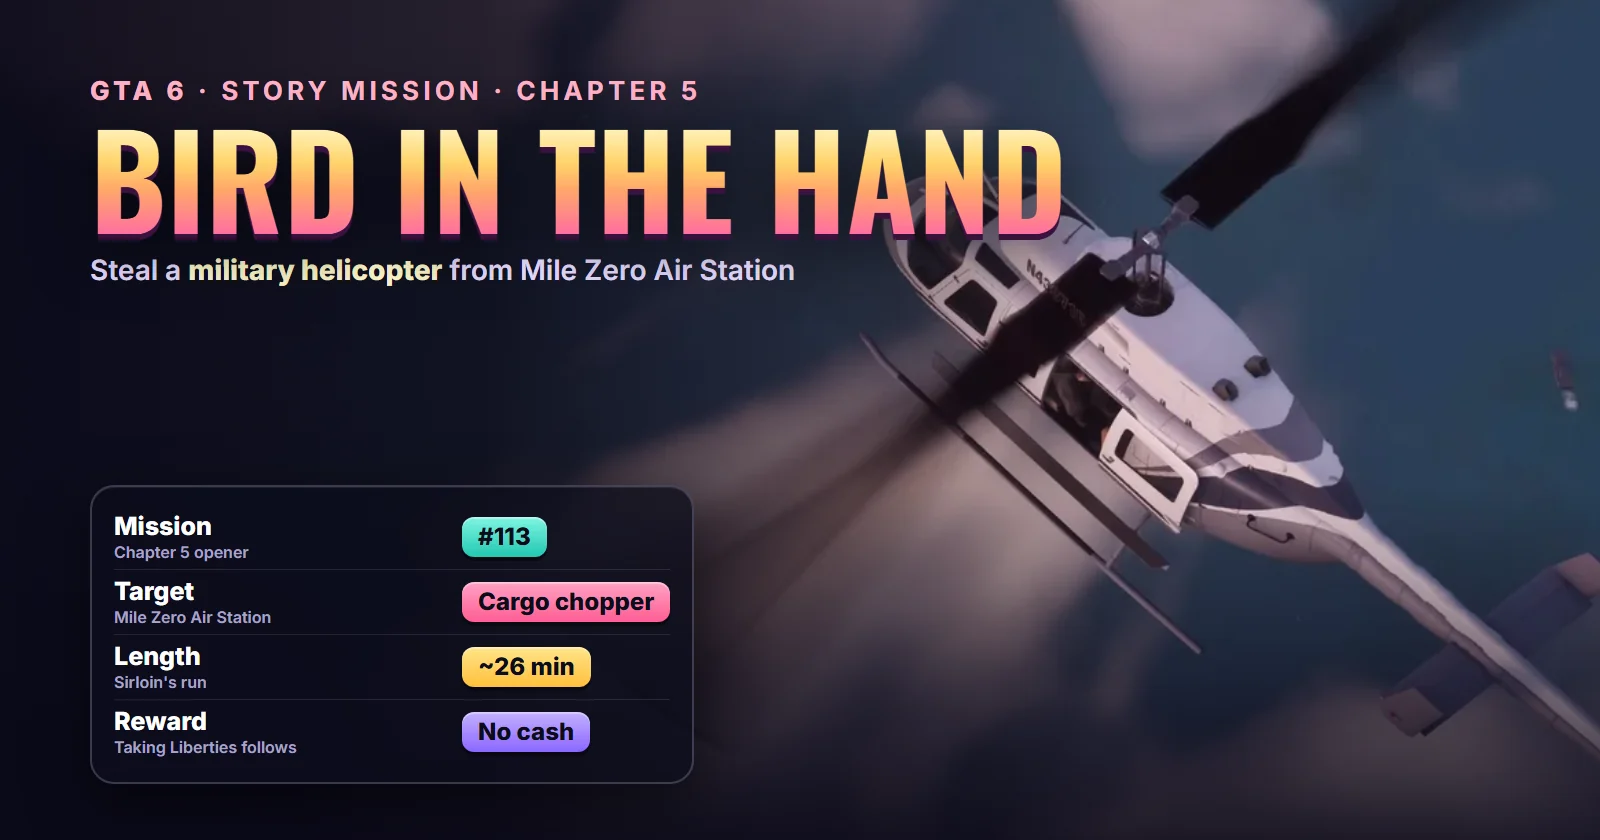
| Mission | Bird in the Hand, story mission #113 |
| Chapter | Chapter 5, the first mission of the chapter |
| You play | Lucia and Jason, switching between them (the game hands you the right one at each stage) |
| Crew | Vinny, Kevin and Liz, ex-Navy operators who call themselves the Orcas |
| Where it starts | A guest bedroom high in a tower on Gloriana Key, automatically. No blip |
| Main places | A Coast Guard station in Vice City (from the air), then Mile Zero Air Station |
| Unlocks after | Starting From Zero (#112) |
| Unlocks next | Taking Liberties (#114), straight away |
| Length | About 26 minutes in Sirloin’s run |
| Fighting | Stealth first, then a hangar shootout and a helicopter escape |
| Reward | No cash shown; the Chapter 4 trophy pops at the start |
| Required for 100% | Yes |
Mission briefing How Chapter 4 left things, how the mission starts, where, and what this guide is based on. Contains spoilers.
The story so far
Starting From Zero ended with Jason and Lucia handing the encrypted hard drive to Giorgio Gallo, the shipping boss whose statue they had taken, and being locked into a bedroom in his tower for the night. Raul is dead, their money is frozen and every cop in Leonida is looking for them. Giorgio wants the 20 tons of cocaine that the authorities seized from his ships, because his Albanian partners want it back, and he has decided the couple are his “secret weapons” for getting it.
Bird in the Hand is where that becomes a job. Over the Coast Guard station, Giorgio spells it out: the seized product sits in that base, you’re going to help take it back, and if you can’t, his partners will hunt down the couple and their families, Lucia’s son included. That threat is why you’re still alive. Jason’s dry reply sums up how much choice they have.
How Bird in the Hand starts
You don’t trigger it. When Starting From Zero fades out, the Chapter V card plays (Sirloin’s Chapter 4 video shows it at 40:05), followed by the chapter’s title, Top of the World, Ma. The next morning opens on Jason and Lucia asleep in the sunlit guest room, with Bird in the Hand in pink in the bottom-right corner, and Giorgio bursting in to announce “training”.
Where it starts
In the guest bedroom of Giorgio’s tower on Gloriana Key, where the previous mission ended. According to our map the tower is the Pegassi Residences, and the map has no Bird in the Hand marker yet: see Giorgio’s places on the live map.
About this guide
No one in our index has uploaded the mission on its own yet, so the steps follow Sirloin’s full Chapter 5 run, where Bird in the Hand runs from the title card (0:01) to the “The Next Day” card that opens Taking Liberties (26:13). Trophygamers’ Starting From Zero video confirms the opening and the trophy timing. Objective names are copied from the screen.
Step 1: Wake up and get changed (Lucia)
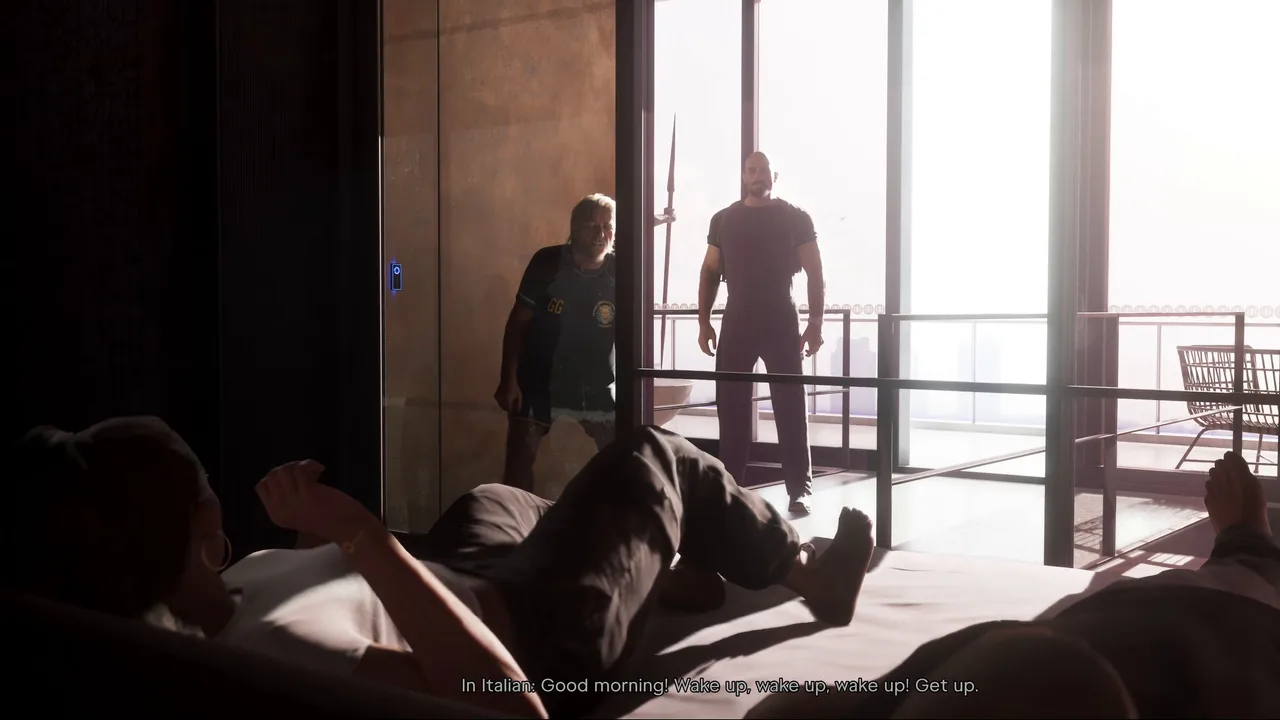
The opening is a short cutscene: Giorgio and one of his men walk into the bedroom shouting in Italian, tell the couple it’s time for training and order them out of yesterday’s clothes.
The wake-up call that opens the mission. Footage: Sirloin.
You get control as Lucia with the objective Get changed at the wardrobe. Walk into the walk-in closet next to the bed. The clothes there are yours now; Sirloin went with the SC Hoodie & Shorts set, but any outfit works. This is usually where the Chapter 4 trophy pops.
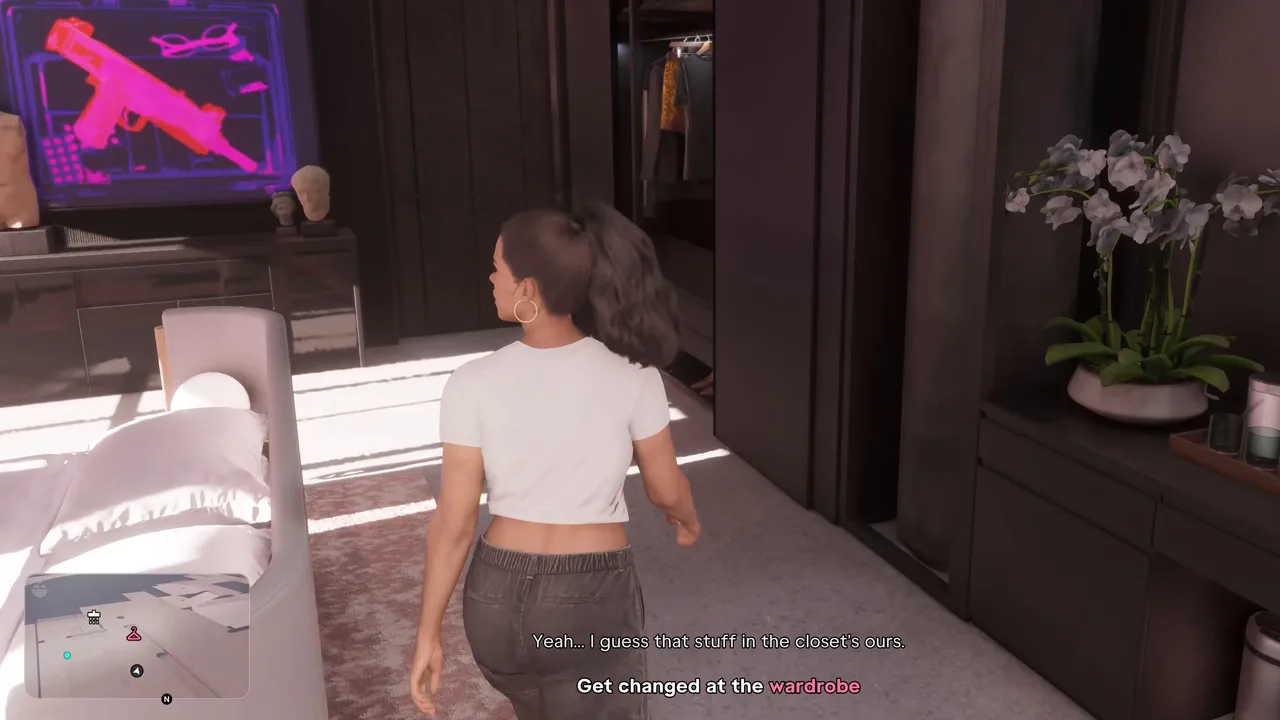 The first objective of Chapter 5. Footage: Sirloin.
Step 2: Find the gym and meet the crew
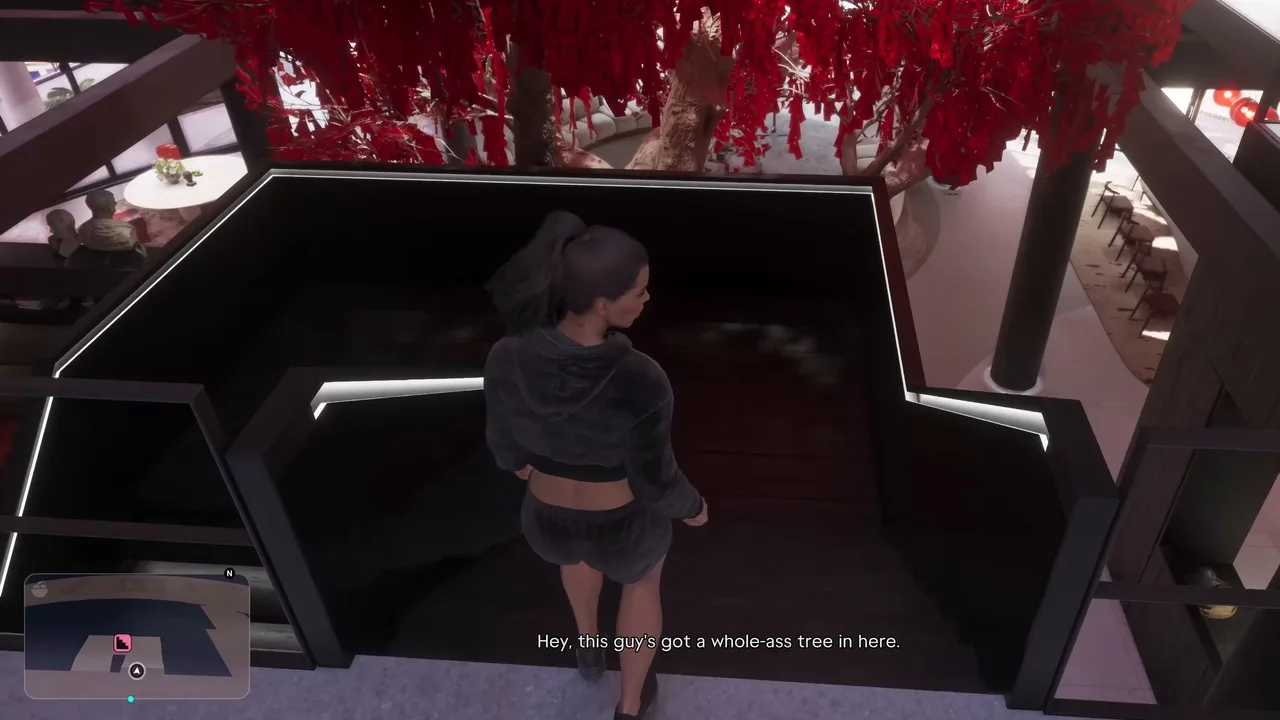
Jason hears the bedroom door click: it’s been unlocked. The objective becomes Meet Giorgio, and the gym is on the other side of the building. Walk through the apartment past the huge red tree in the atrium (Jason and Lucia joke that it’s probably the last one on Earth) and follow the blip. Hold hands if you like; the prompt is there.
The tree in the atrium on the way to the gym. Footage: Sirloin.
In the gym, under a “Vae Victis” banner, a cutscene introduces Vinny and Liz, ex-Navy “Orcas” and Giorgio’s trainers, then Kevin, who is busy on the phone and whom Giorgio calls “Crazy Kevin”. Their brand is “Savage Mentality Mindset”, and Vinny would like a cash injection. Giorgio cuts the chat short: they have a job right now, and the bird is wheels-up in ten.
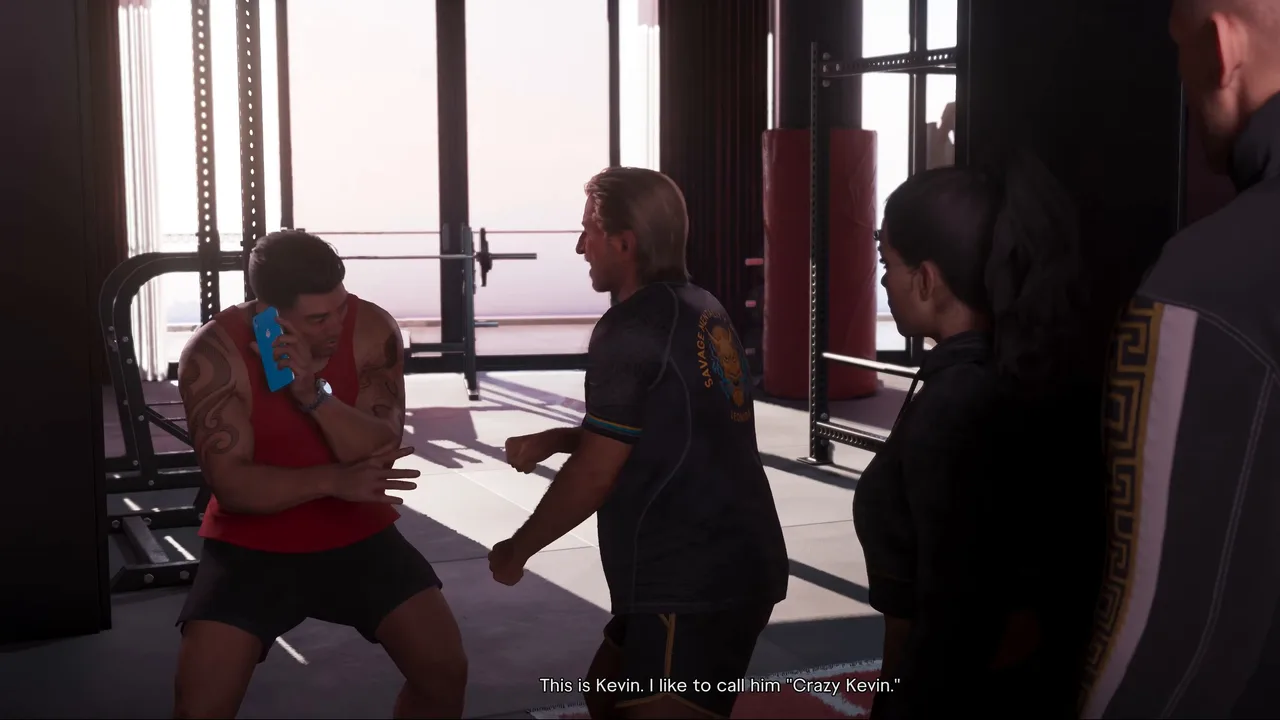 Meeting Kevin in the gym. Footage: Sirloin.
Step 3: Fly to the Coast Guard base (Jason)
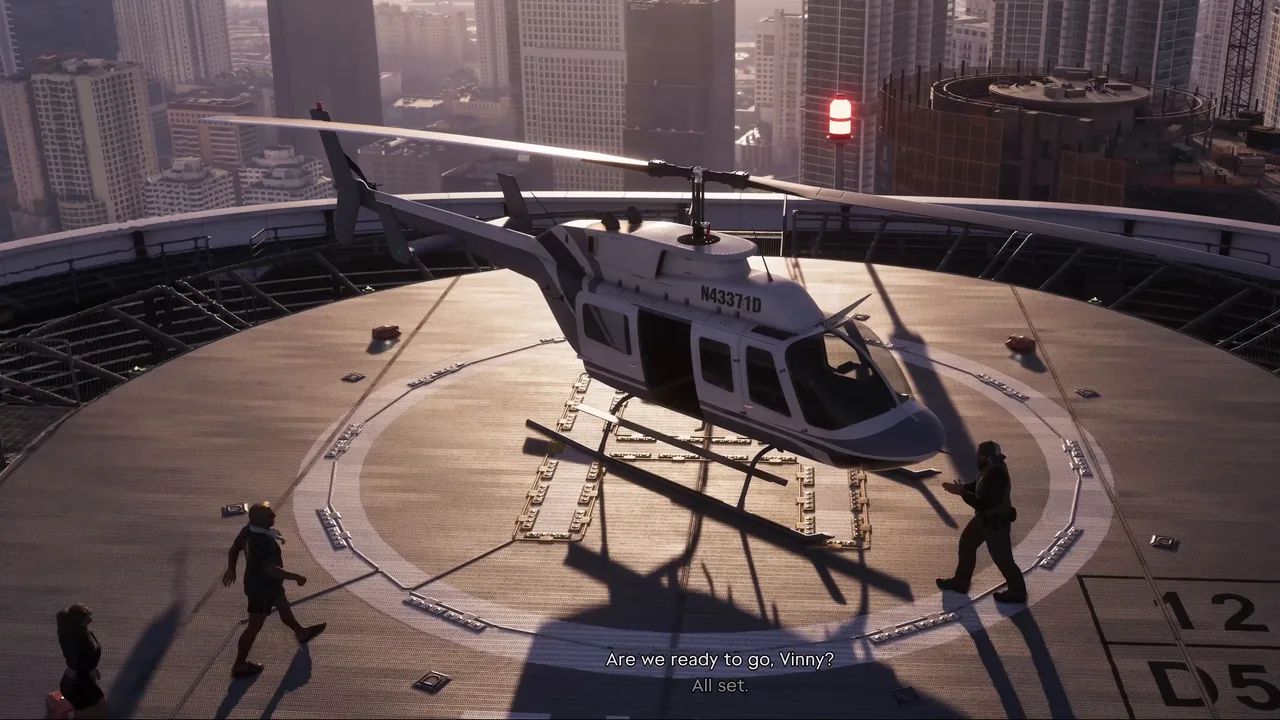
The cutscene carries on to the rooftop helipad. Giorgio insists that Jason flies: he wants a real operator at the controls, not one of Vinny’s guys.
Giorgio’s helicopter on the tower’s roof. Footage: Sirloin.
You take off with the objective Fly to the coast guard base. Follow the blip across the port and the cruise terminal. On the way Vinny asks about Jason’s army days; his old unit was the Marauders, which is why the Orcas call him “Marauder” for the rest of the mission. When you reach the station, Vinny tells you to stop and hold position. Just hover.
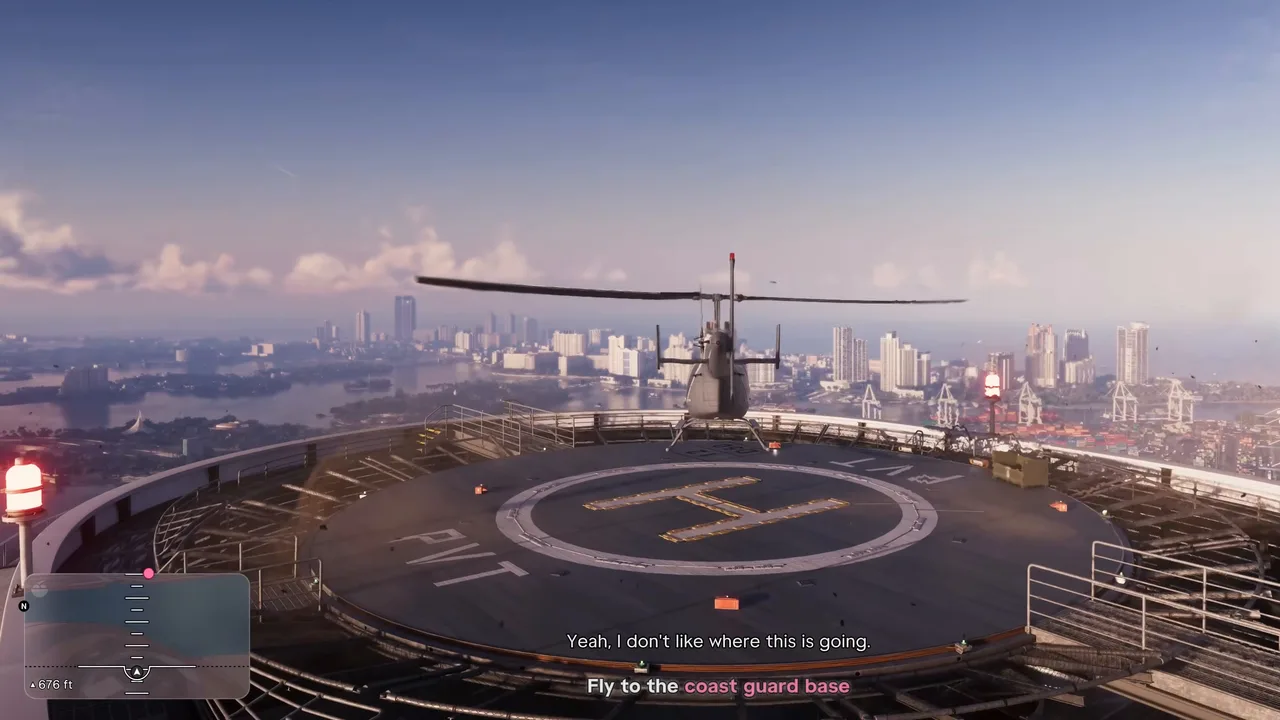 Taking off for the Coast Guard station. Footage: Sirloin.
Step 4: Scout the station through binoculars (Lucia)
Giorgio hands Lucia a pair of binoculars and asks her to report whatever she sees. You switch to her automatically; zoom in and pan around the docks while the crew comments. Things to look at:
- The pallets of packages on the quay, with guards taking selfies next to them.
- The guards: plenty of them, in body armour with big guns. Vinny calls it a show for the cameras.
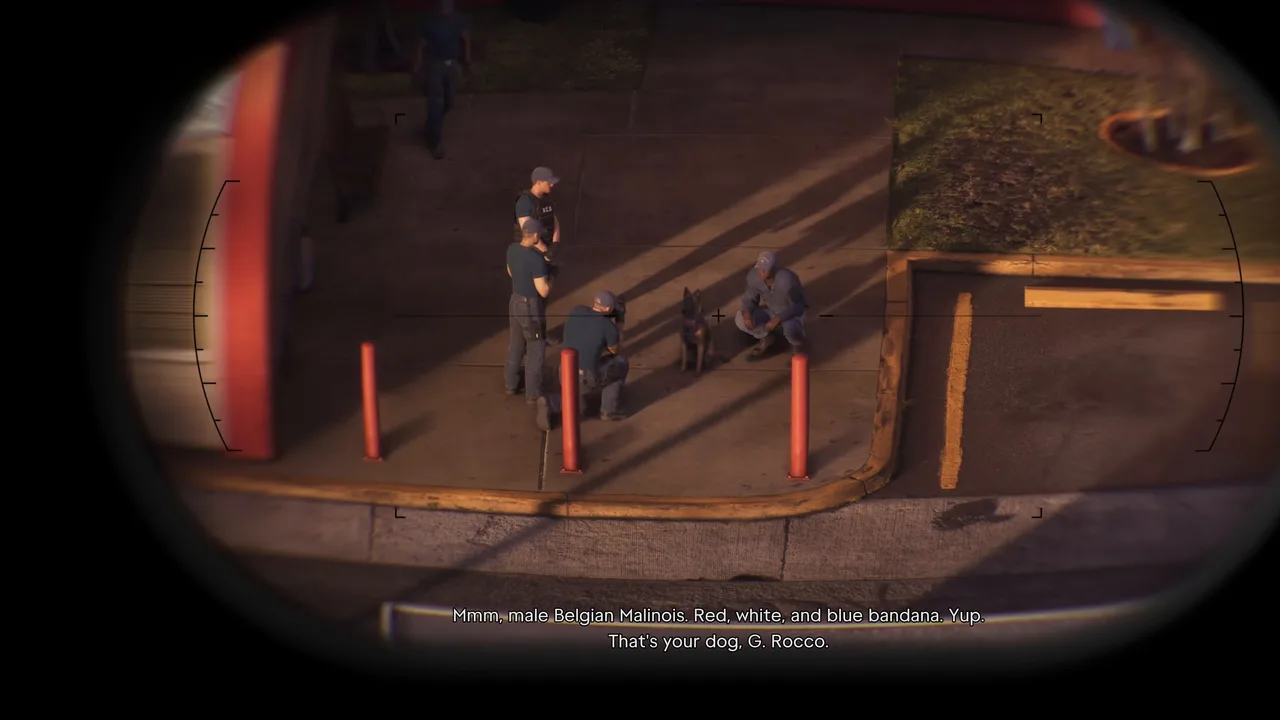
- Rocco, the drug dog: a Belgian Malinois in a red, white and blue bandana. Remember him.
- The far side, where the haul goes inside. Lucia’s verdict: it’s all cocaine.
Rocco the drug dog, seen from the helicopter. Footage: Sirloin.
Last, look at the drawbridge on the right: its spans are raised and trucks are stuck waiting to get in. Vinny files that away for the plan. Giorgio then finally says why they’re here; the briefing fold above has the details.
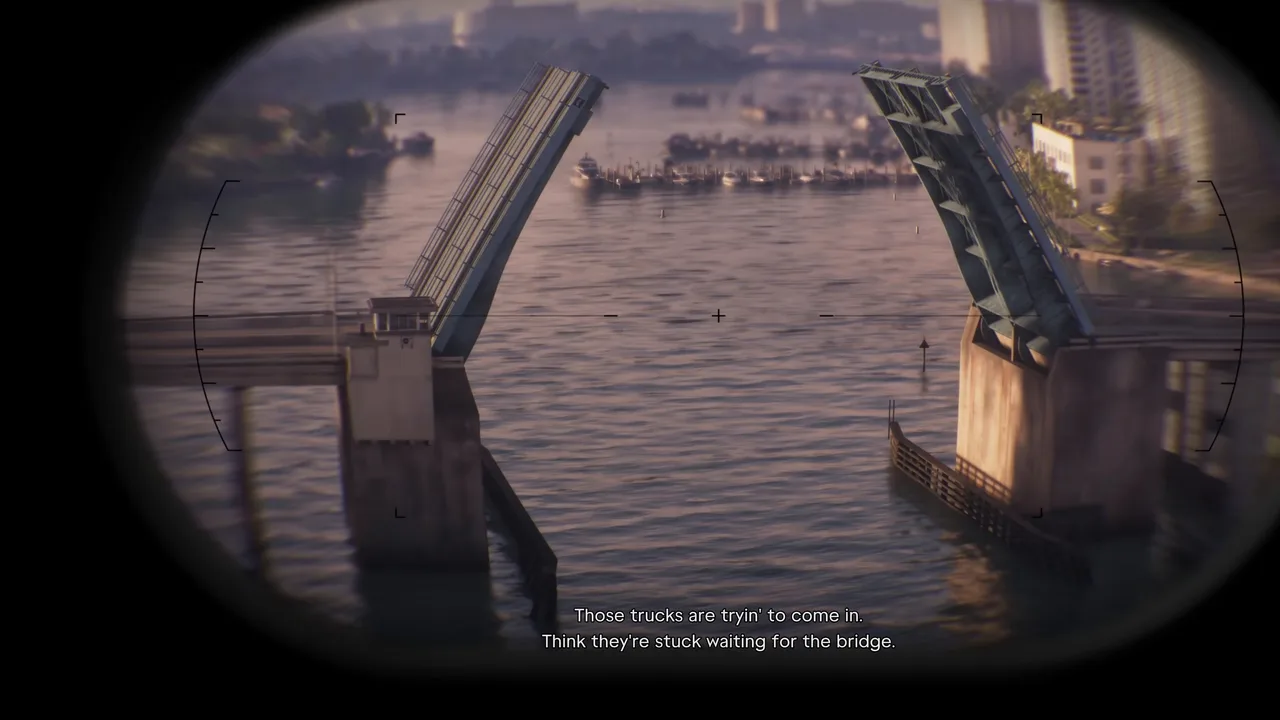 The drawbridge that becomes part of the plan. Footage: Sirloin.
Step 5: Fly to the bridge (Jason)
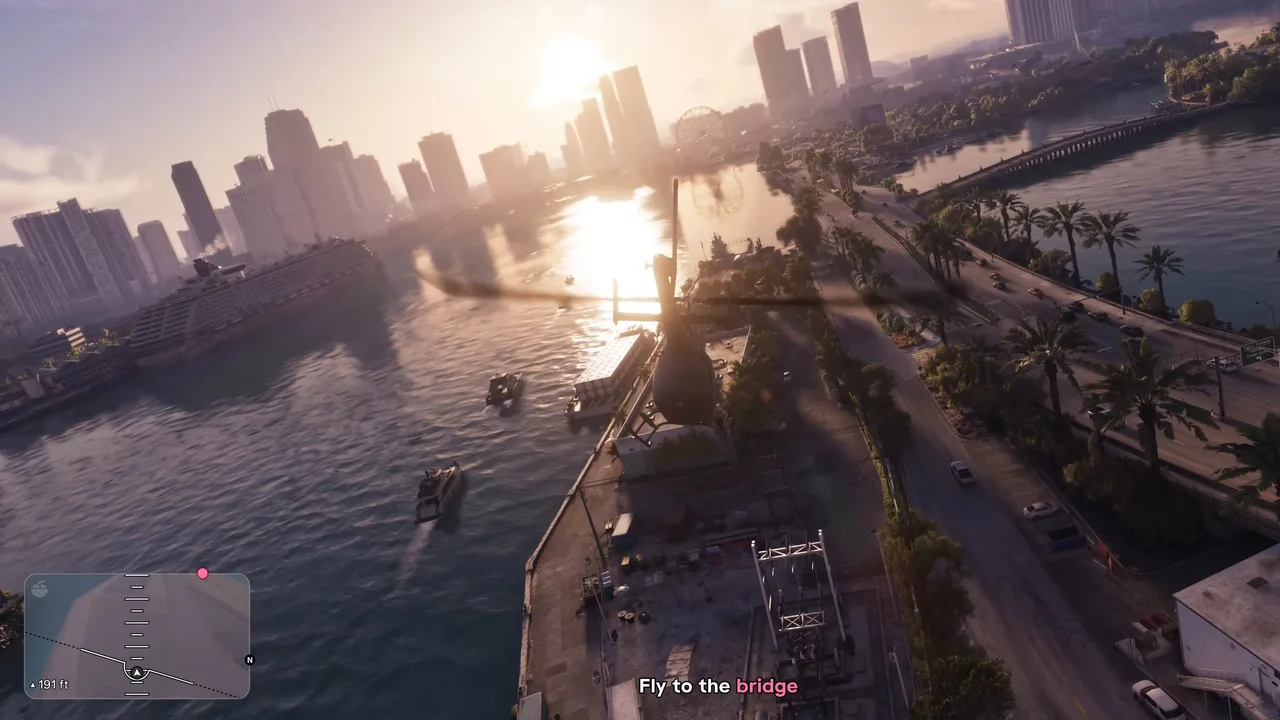
Back at the controls, the objective is Fly to the bridge. It’s a short hop along the causeway. On the way, Vinny outlines the plan: raise the bridge to block the east side, and use a little demolition to block the west, so nobody can reach the base from the beach or the city during the job.
The flight to the bridge. Footage: Sirloin.
Once you’re over it, Vinny enters coordinates to the southwest and the scene takes over: Giorgio takes the controls and sends Jason to the back. Now Vinny explains the actual job. The product weighs about eight times what this helicopter can carry, so they need a military-grade cargo helicopter, and that’s tonight’s target.
Step 6: Skydive to the boat (Jason)
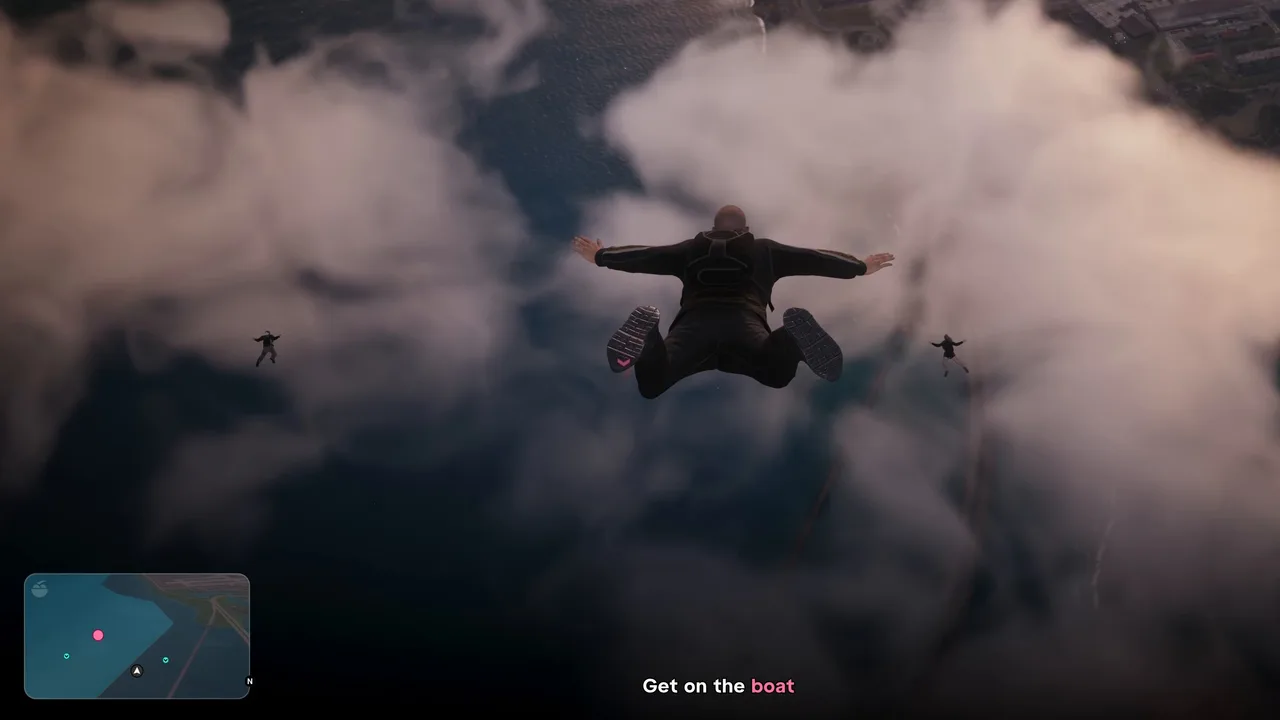
Over open sea, the doors slide open and everyone jumps. The objective is Get on the boat. Kevin is waiting below in a dinghy, marked by red smoke.
Freefall toward Kevin’s boat. Footage: Sirloin.
Open the parachute once the tutorial prompts appear. L2 and R2 pull the left and right steering lines; pulling the left stick back glides, pushing it forward dives. Aim for the smoke. You don’t need a perfect deck landing: Lucia climbed in from the water in Sirloin’s run, and a dip is harmless.
Step 7: Take the boat to the military base (Jason)
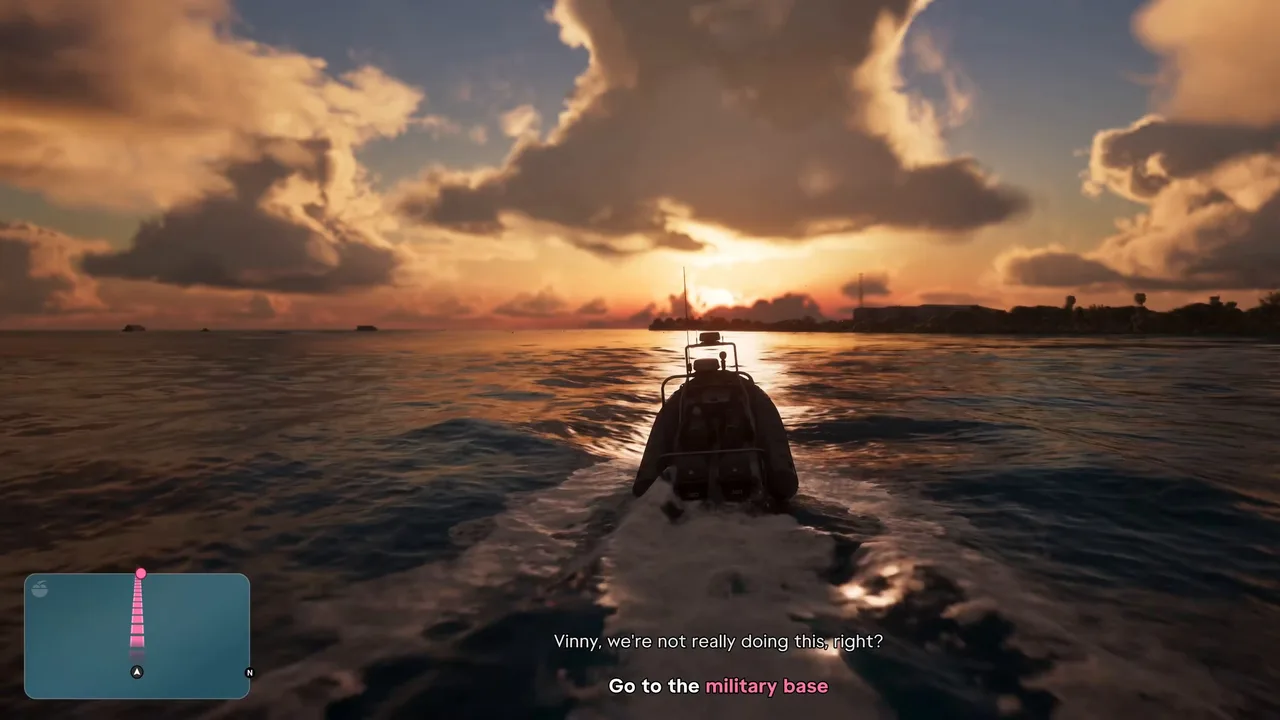
Kevin puts Jason and Lucia up front and tells them to follow the GPS. The boat is a fast inflatable whose name card reads Dingus Como. The objective is Go to the military base; hold R3 to look at the target if you lose it.
Heading for the base at sunset. Footage: Sirloin.
The base is Mile Zero Air Station (on the live map). The crew says it’s understaffed but full of aircraft. Follow the route into a mangrove inlet until Vinny tells you to kill the engine. The scene then jumps to nightfall, with everyone geared up in vests and rifles.
Step 8: Wade up the inlet and cut into the tunnel (Jason)
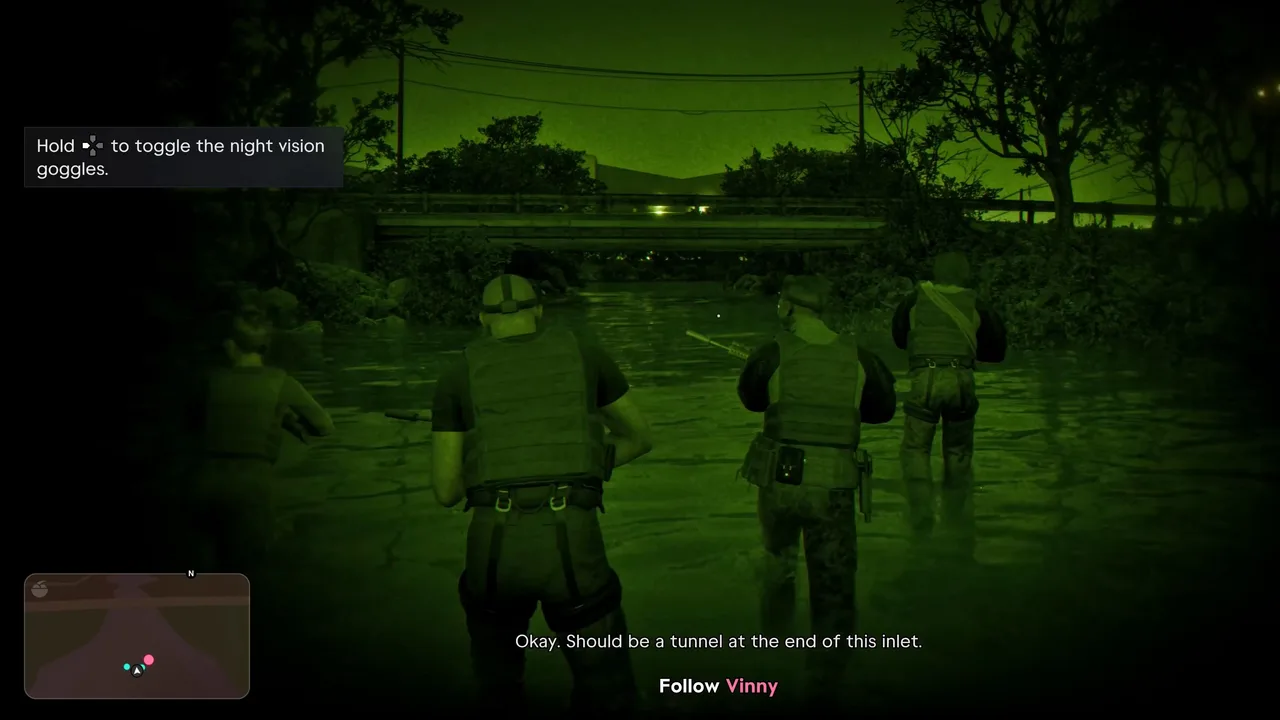
The crew carries non-lethal ammo: the idea is to knock the guards out, not kill them. Hold the D-pad button shown on screen to toggle night vision, then Follow Vinny through the knee-deep water. He expects Air Force security, a skeleton crew.
Up the inlet in night vision. Footage: Sirloin.
At the tunnel mouth, the objective is Open the grate. Vinny wants the Marauder on point. Use the cutting torch (move and cut prompts), then help with the bars.
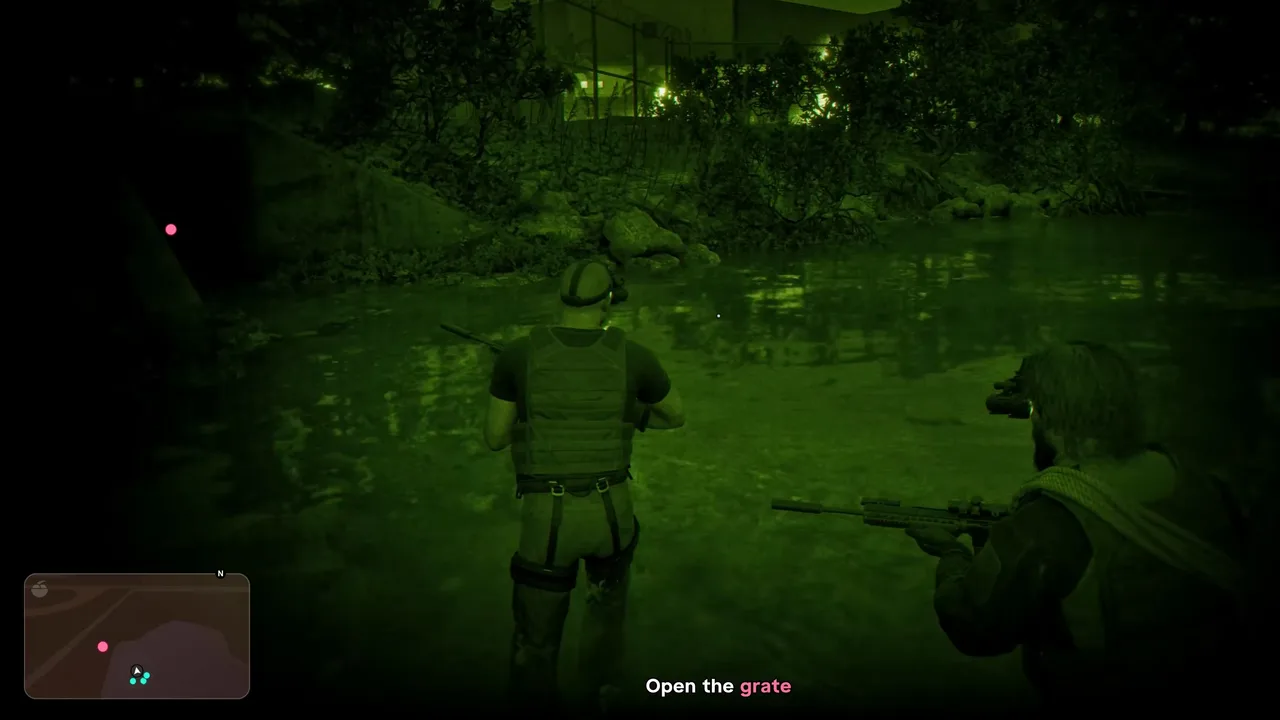 The grate at the end of the inlet. Footage: Sirloin.
Crawl through the pipe behind Vinny. Partway along, the team splits: Vinny and Jason climb a ladder and go above ground to the hangar, while Lucia and Kevin keep following the pipe until they’re underneath it.
Step 9: Sneak to the hangar with Vinny (Jason)
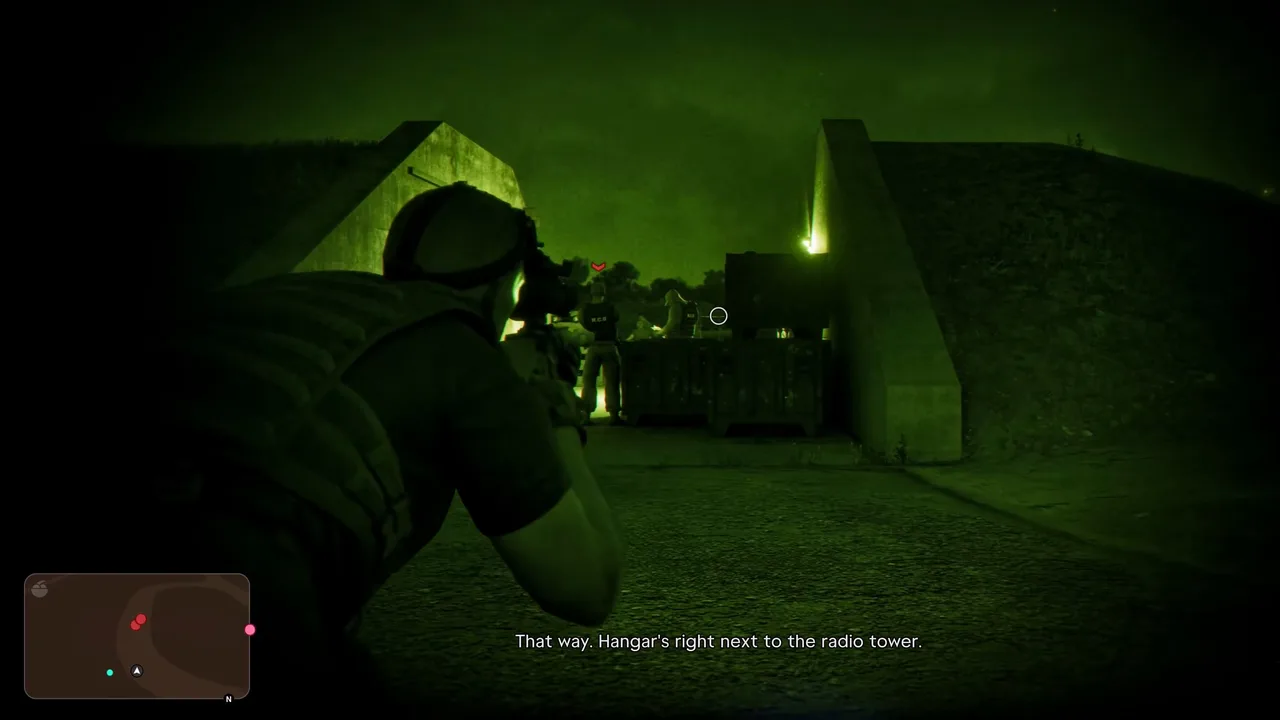
Vinny lets you lead and covers your back. The hangar is next to the radio tower. Stay crouched, move between the cargo crates and containers, and use the tag prompt to mark guards before you move. The whistle prompt lures one to you for a quiet takedown. Vinny calls out targets (“That one’s you”).
Look for the radio tower. The hangar is right next to it. Footage: Sirloin.
Squeeze through the hole in a fence, follow the service road, and when the objective changes to Go to the hangar, take your time. If Vinny says hold, stay in cover until the patrol passes. Lucia radios in: they’re under the hangar, but the hatch is locked.
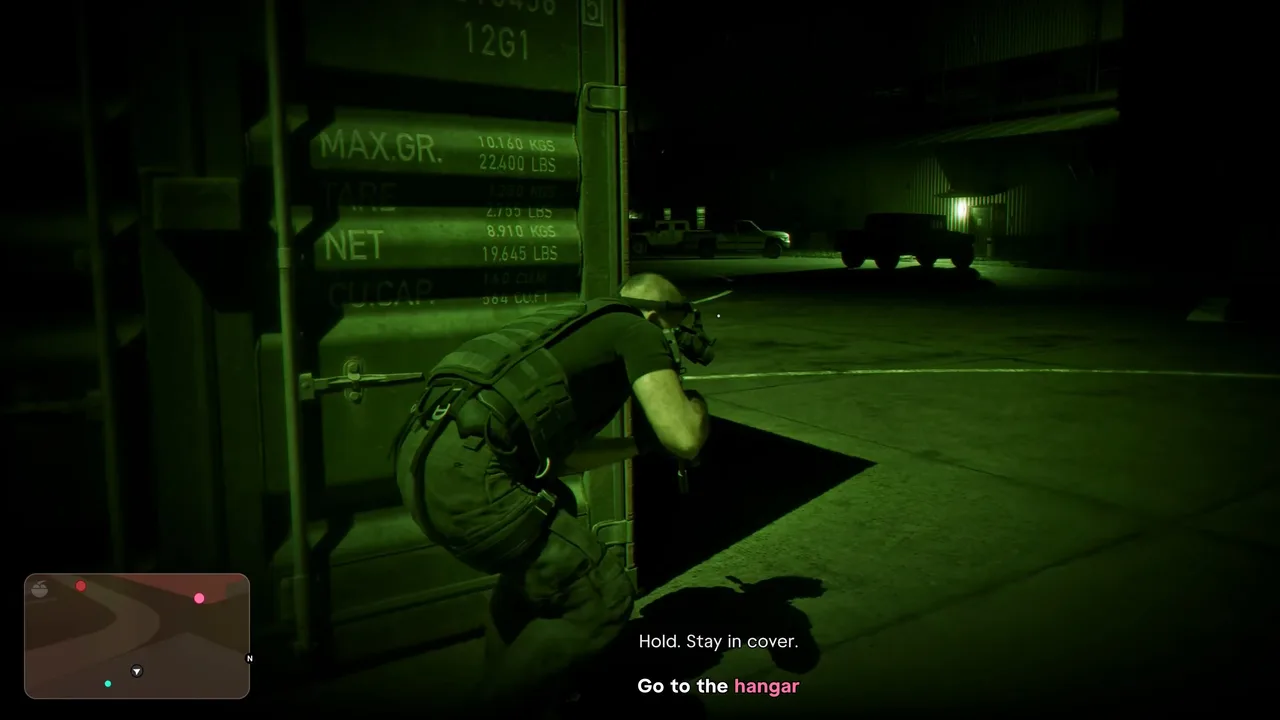 Wait in cover when Vinny says hold. Footage: Sirloin.
Step 10: Drop in through the roof (Jason)
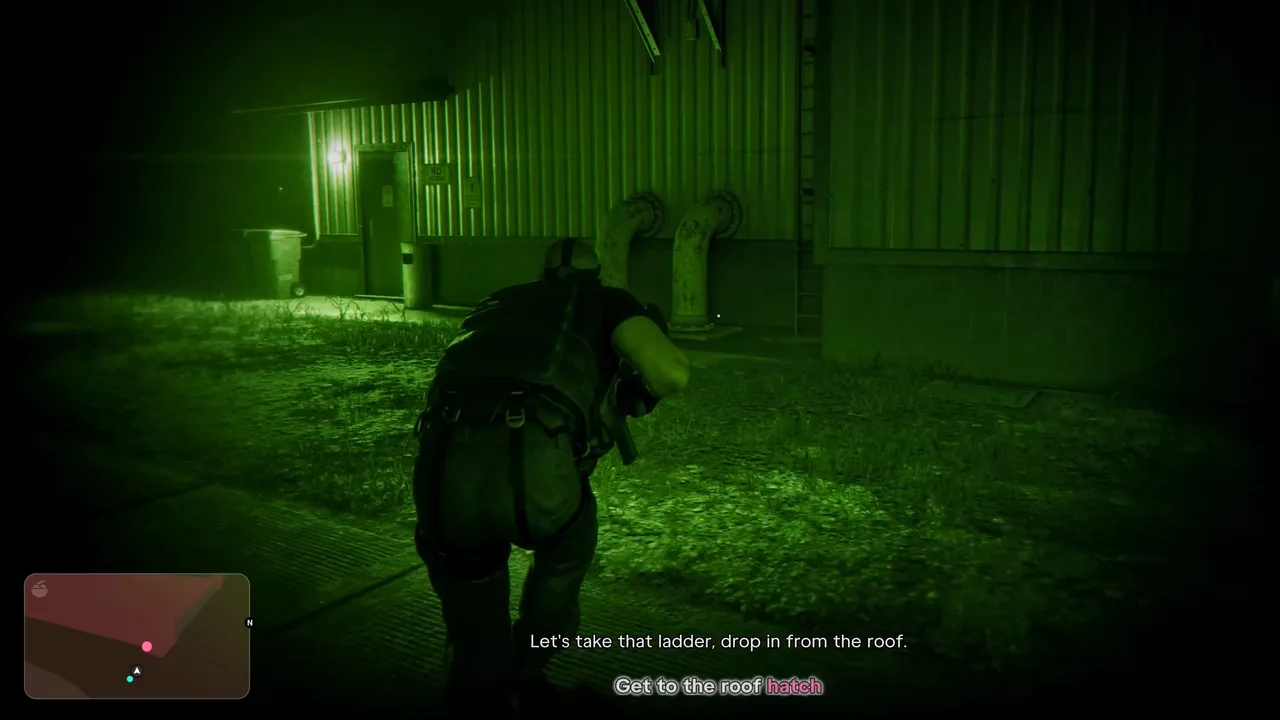
Vinny suggests the ladder on the side of the building. The objective is Get to the roof hatch. On the roof, look down through the skylight; the cargo helicopter is inside. Rappel down. Sirloin got an Undetected notice here.
The ladder up to the roof hatch. Footage: Sirloin.
Inside, the hangar holds the big cargo helicopter and two Valkyrie gunships. Vinny would love to take those too; Jason talks him down to the one they came for. Lucia and Kevin then come up through the floor hatch from the tunnel below.
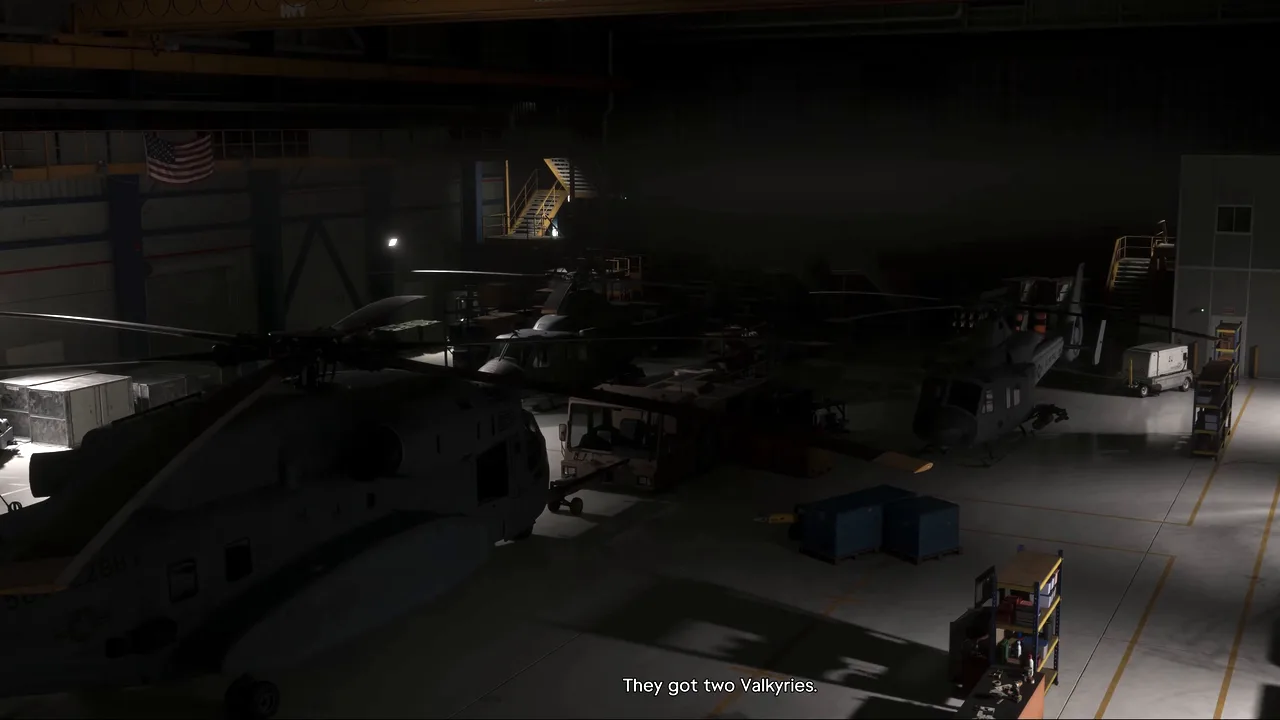 The cargo helicopter and the two Valkyries. Footage: Sirloin.
Step 11: Open the doors and hold off the military (Lucia and Jason)
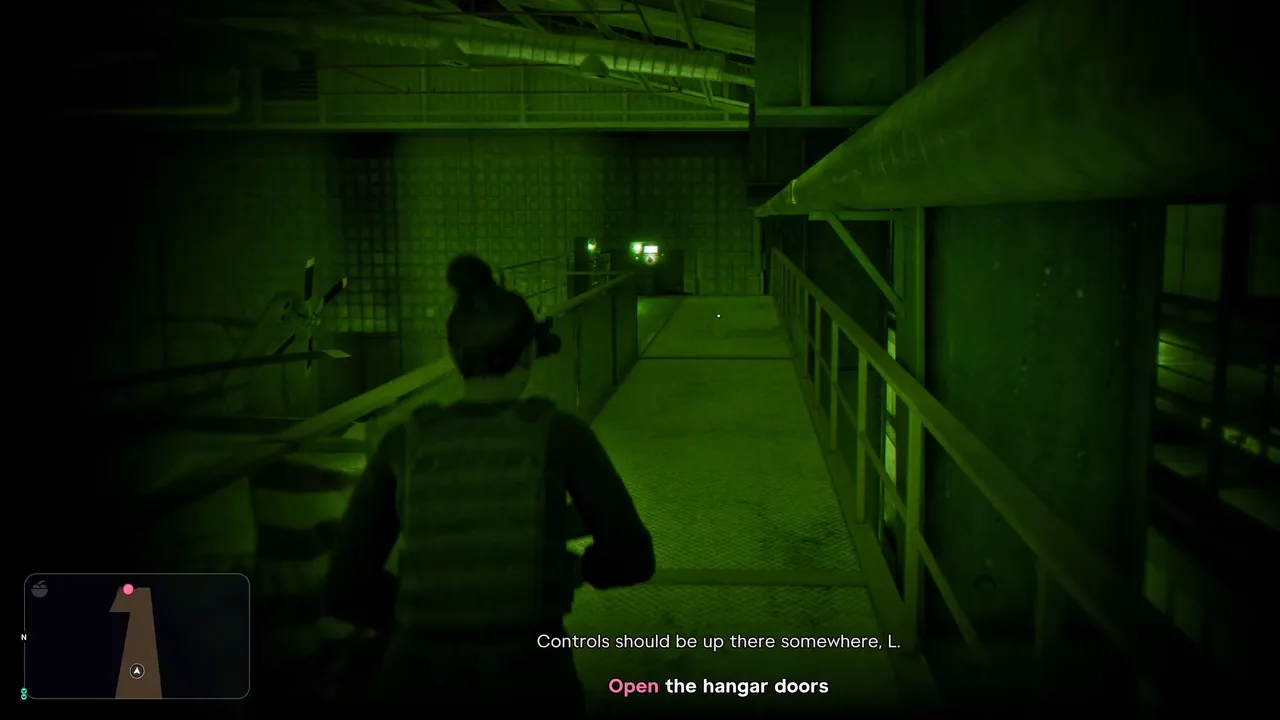
As Lucia, the objective is Open the hangar doors. The controls are up on the walkway above the floor. As soon as the doors start moving, the base wakes up: the crew reckons the guards checked the cameras.
Lucia heads for the door controls. Footage: Sirloin.
The objective becomes Hold off the Military, and a tip explains character switching: hold the D-pad button shown and press R1 to swap between Jason and Lucia. Lucia has the high ground on the walkway, so use her to pick off troops at the doors, and Jason on the floor for anyone who gets close. Vehicles with mounted guns arrive, and Vinny wants the front of the hangar cleared.
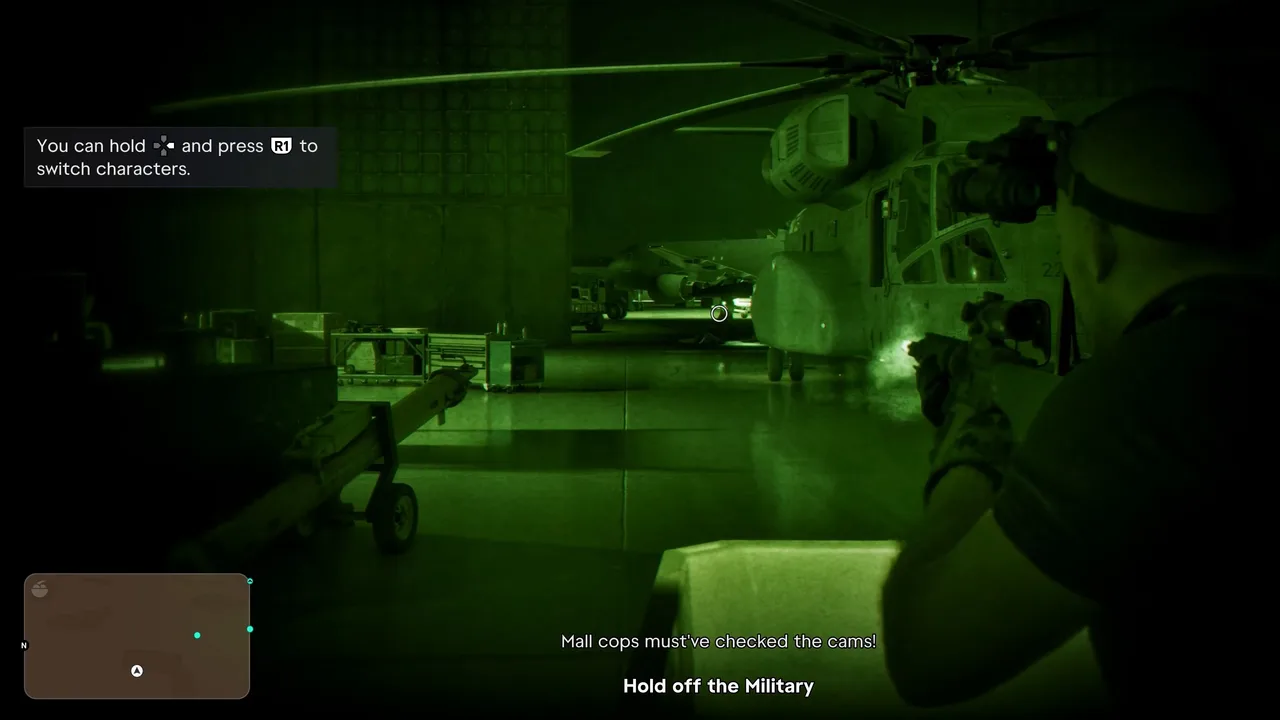 The alarm goes up. Swap between Jason and Lucia as needed. Footage: Sirloin.
Step 12: Get in the chopper (Lucia)
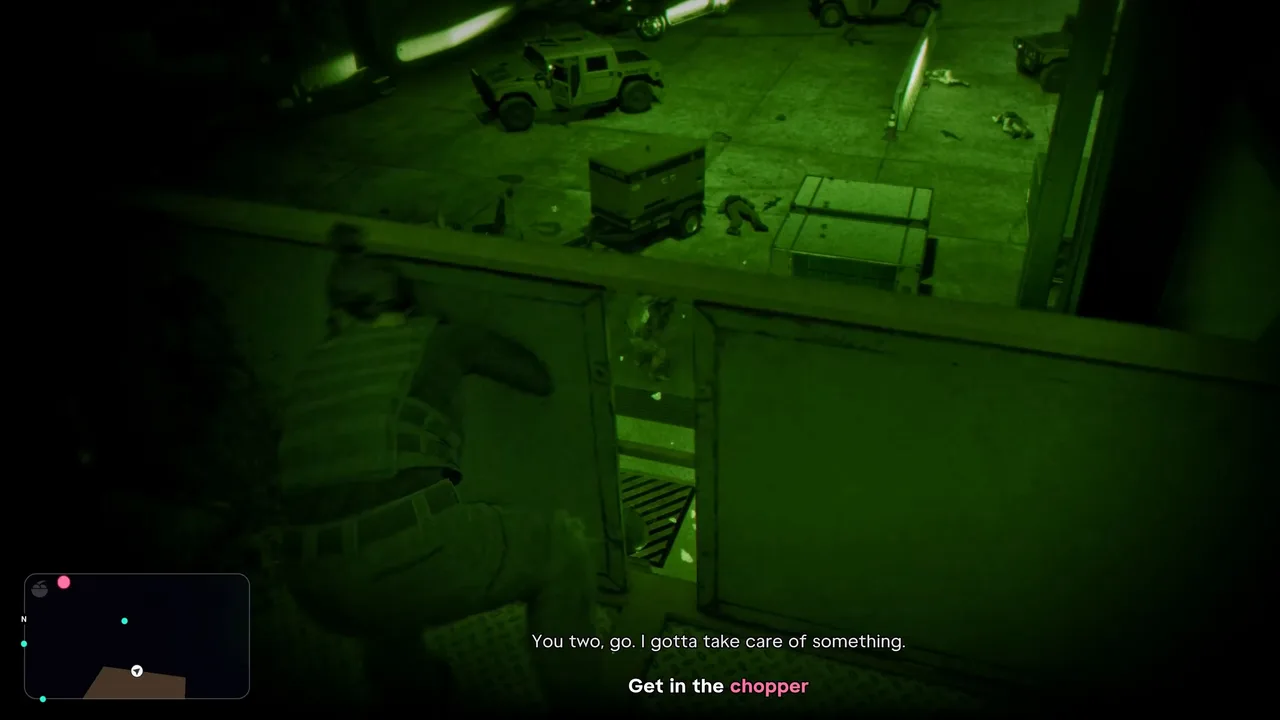
Once the front is clear, the cargo helicopter is ready and the objective is Get in the chopper. Vinny stays behind: he has “something” to take care of. Climb in.
Vinny sends you to the helicopter. Footage: Sirloin.
As it lifts off, Lucia fires from the side door. Keep shooting at troops and vehicles on the apron. When a tank rolls out, don’t waste ammo on it: Vinny’s “something” turns out to be one of the Valkyries, and he destroys the tank for you.
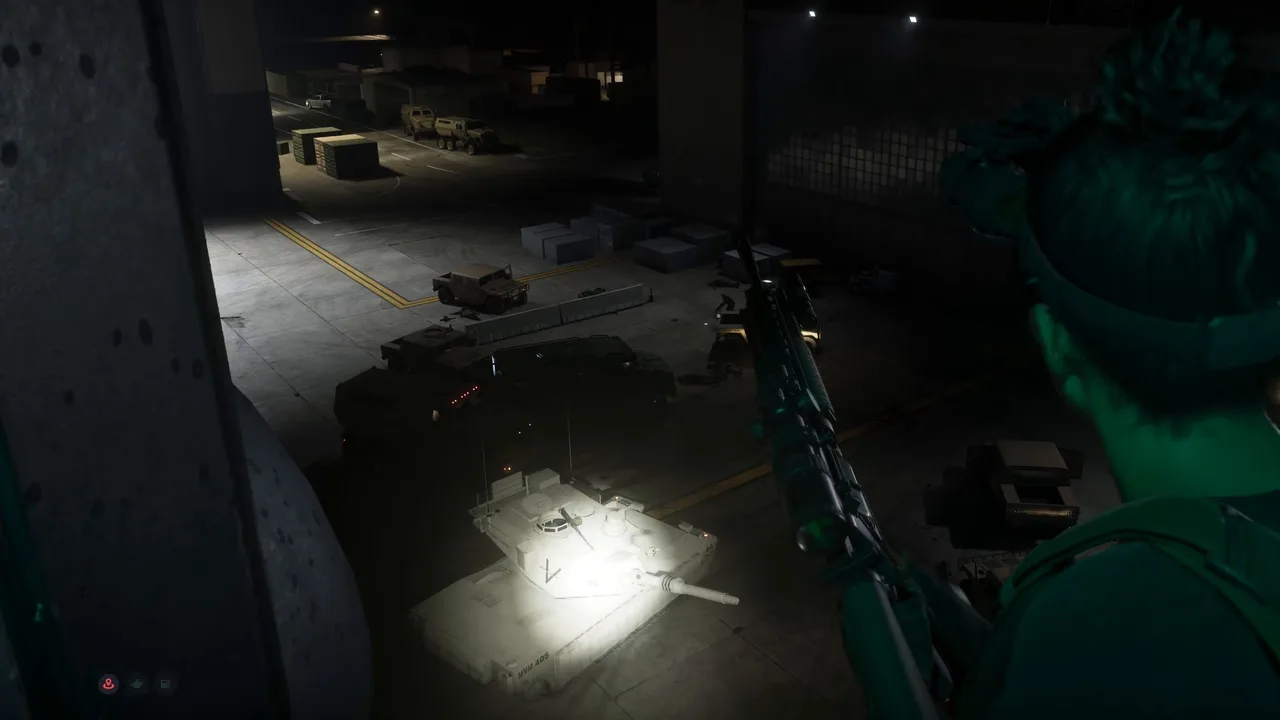 Leave the tank to Vinny. Footage: Sirloin.
Step 13: Shoot down the jets (Jason)
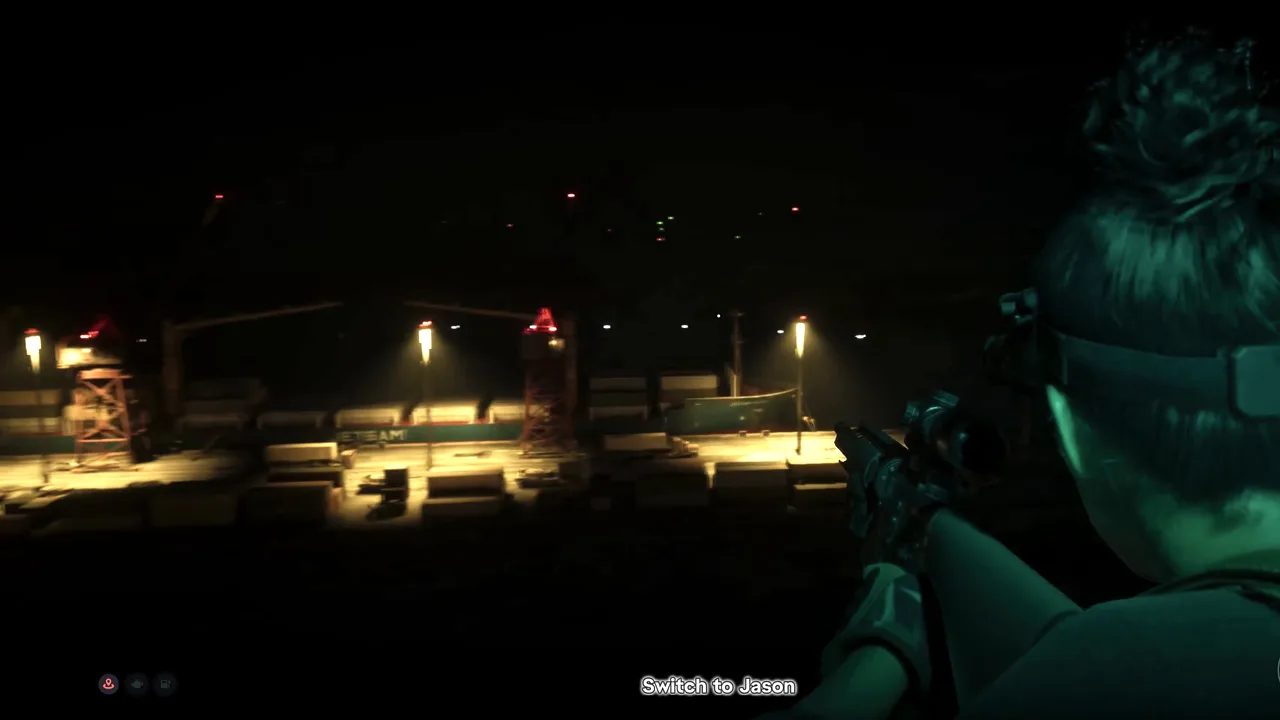
You think you’re clear, then the base sends air support: two fighter jets come in behind you. The objective tells you to Switch to Jason.
The game’s cue to swap to Jason for the jets. Footage: Sirloin.
Jason moves to the back of the cabin, where there’s a rocket launcher. The objective is Defend the helicopter. Aim out of the rear, wait for each jet to line up behind you, and fire. The launcher keeps reloading, so miss as often as you need to. Once both are down, the crew can relax.
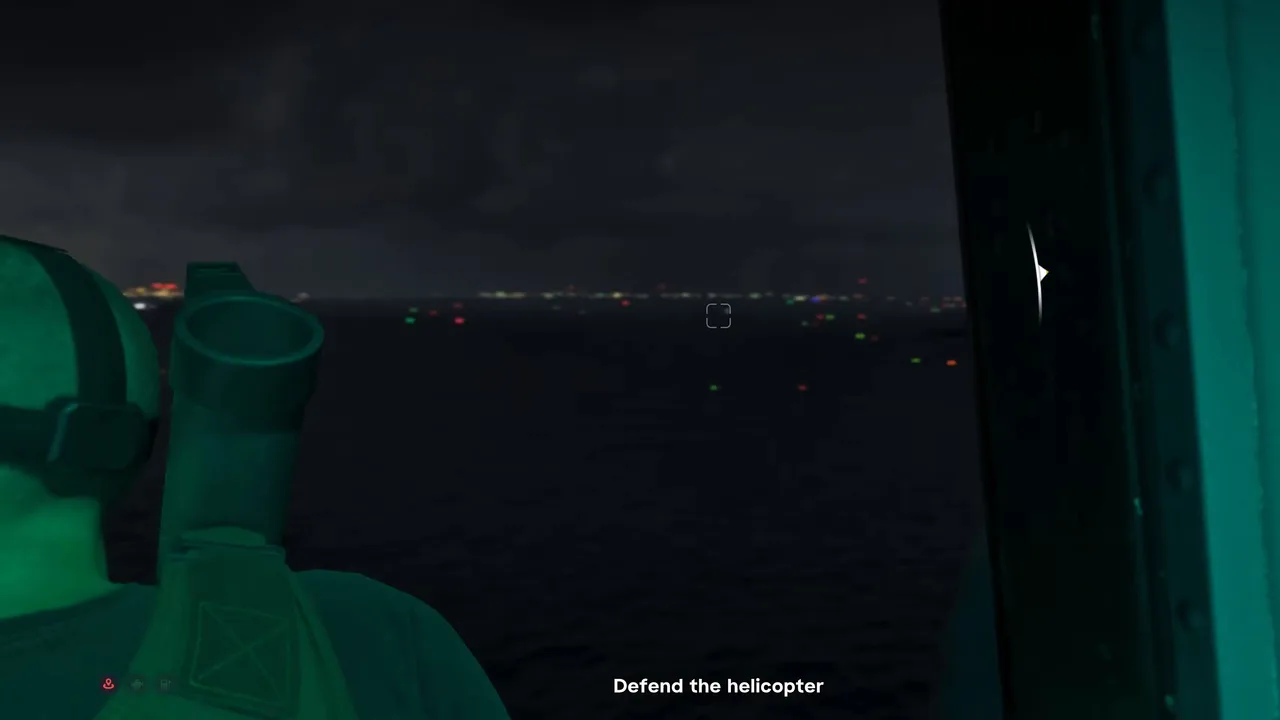 Firing at the jets from the back of the helicopter. Footage: Sirloin.
Step 14: Meet Liz at the rendezvous (cutscene)
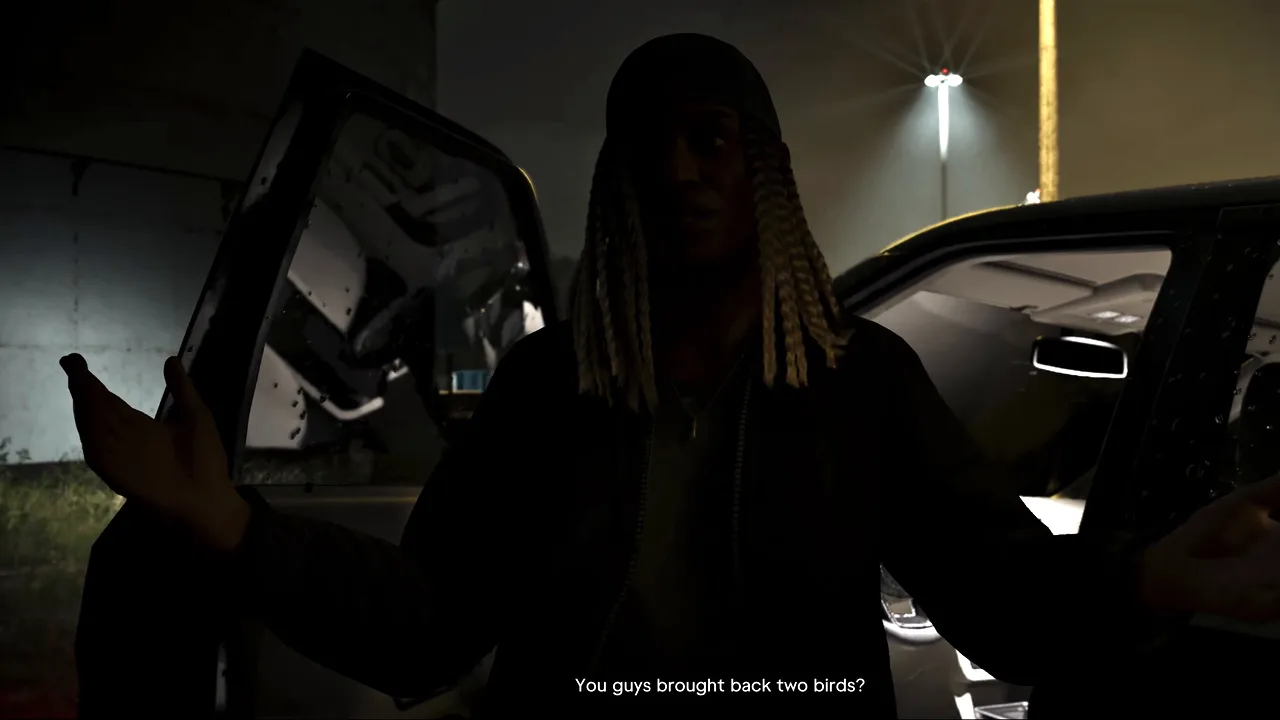
The rest plays out by itself. Vinny checks in with Kevin over the radio, and the helicopters set down at a dark lot where Liz is waiting with the cars. She’s amazed they brought back two birds. Somebody points out that nobody was supposed to die; Vinny says the base will never know who did it and would rather keep it quiet anyway.
Liz at the rendezvous. Footage: Sirloin.
Since the police are still after Jason and Lucia, one of the crew drives them back to the tower. The screen fades, a “The Next Day” card rises over the tower, and Taking Liberties begins.
Rewards
- Money: none on screen. Sirloin’s run shows no payout and no Mission Passed card.
- Trophy: the hidden Top Of The World, Ma trophy (Bronze), for finishing Chapter 4, pops in this mission’s first minute, while Lucia is at the wardrobe. Trophygamers got it a few seconds after control came back, as Sirloin did.
- Clothes: the wardrobe in the guest room is now yours.
- What it unlocks: Taking Liberties (#114) starts straight after, and the stolen helicopter is the start of the Coast Guard job.
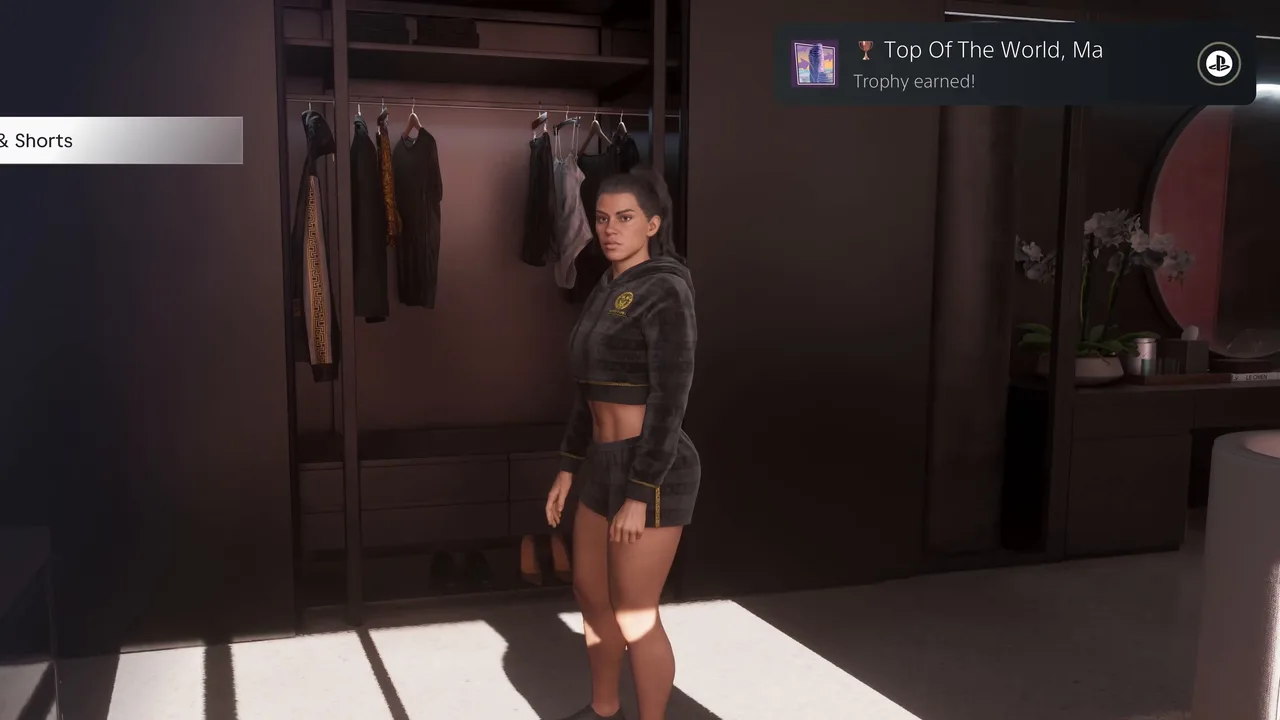 The Chapter 4 trophy pops at the wardrobe. Footage: Sirloin.
Tips
- Open the parachute early. It gives you time to steer for the red smoke; a water landing next to the boat costs you nothing.
- Tag before you move. Mark the guards around the hangar first, then use the whistle and quiet takedowns. Vinny covers your back.
- Don’t count on a quiet finish. The alarm goes off once the hangar doors open, however clean your approach was.
- Use both characters in the hangar. Lucia on the walkway has the better angles; switch whenever one of them is pinned down.
- Ignore the tank, focus the jets. Vinny’s Valkyrie deals with the tank. Save your attention for the launcher at the back.
Related guides
- Previous: Starting From Zero (#112), the Chapter 4 finale. Next: Taking Liberties (#114), the meeting in Giorgio’s office. Later in Chapter 5: VC Baby and Operation Savage Glory. See all GTA 6 missions.
- GTA 6 characters for who’s who, and GTA 6 map regions for Gloriana Key and the rest of Leonida.
- GTA 6 fighter jet guide if the jets here gave you ideas.
- Interactive map: Mile Zero Air Station and Giorgio’s places.
Frequently Asked Questions
How do you start Bird in the Hand in GTA 6?
You don't have to. It starts by itself after Starting From Zero, the last mission of Chapter 4: the Chapter V card plays, the Bird in the Hand title appears in the corner, and you wake up as Lucia with the objective Get changed at the wardrobe.
How do you land on the boat after the skydive in Bird in the Hand?
Open the parachute early and steer for the red smoke, which marks the boat. L2 and R2 pull the left and right steering lines; pulling the left stick back glides, pushing it forward dives. Landing in the water next to the boat is fine: you just climb aboard.
Where is the military base in Bird in the Hand?
It's Mile Zero Air Station, which the crew names as you approach by boat at sunset. According to our map it sits in Watson Bay. You go in at night up an inlet and through a drainage tunnel, then head for the hangar next to the radio tower.
How do you shoot down the jets in Bird in the Hand?
When two fighters attack the cargo helicopter, the game tells you to switch to Jason. He moves to the back of the cabin, where a rocket launcher is waiting. Aim out of the rear and fire at each jet as it lines up behind you until both go down.
Can you stay undetected in Bird in the Hand?
Only until the hangar doors open. Sirloin sneaked all the way to the hangar and got an Undetected notice when he dropped through the roof, but the base still raised the alarm once the doors started opening, so a gunfight follows either way.
Is there a trophy for Bird in the Hand?
Not for the mission itself. The hidden Top Of The World, Ma trophy (Bronze) for finishing Chapter 4 pops in its first minute, while you're at the wardrobe. The mission pays no cash on screen.
Sources & Credits
Researched from these videos and official material, among others. Screenshots credit the creator whose footage they come from.
- GTA 6 - Full Chapter 5 Walkthrough (No Commentary) 4K · Sirloin
- GTA 6: Full Chapter 4 Ending (No Commentary) · Sirloin
- GTA 6 - Starting From Zero - Walkthrough Part 116 · Trophygamers
- Bird in the Hand (GTA 6 mission) · gtabase