Jump to your step
 1
Climb out of the rubbish and regroup (cutscene)
 2
Take the Vamos to the Aqua Stadium
 3
Find Andrea in the bleachers · Lucia
 4
Get away from the stadium before the cops arrive
 5
Cross the bay to Big House Storage
 6
Clear out the locker (cutscene)
 7
Ride up to Acai Dreams · Lucia
 8
Find your contact on the terrace · Lucia
 9
Follow your host through the penthouse · Jason
Starting From Zero: quick facts
| Mission | Starting From Zero, story mission #112 |
| Chapter | Chapter 4, the chapter’s final mission |
| You play | Jason and Lucia together (you can switch); Lucia alone at the rooftop bar; Jason in the last part |
| Given by | Nobody. It follows Sunset without a break |
| Where it starts | Where Sunset leaves you: the garbage barge, moored in a canal next to a scrapyard, at dawn. No blip |
| Main places | The Aqua Stadium on Gloriana Key, Big House Storage in Crosstown, the Acai Dreams rooftop bar in Vice Beach |
| Unlocks after | Sunset (#111) |
| Unlocks next | Bird in the Hand (#113), the first Chapter 5 mission |
| Wanted level | A citywide manhunt from the first minute: heat zones on the map that you can’t shake off |
| Fighting | None in either run we watched |
| Length | About 27 minutes in Trophygamers’ run, 24 in Sirloin’s |
| Reward | No cash; the hidden Top Of The World, Ma trophy for finishing Chapter 4 |
| Required for 100% | Yes |
Mission briefing Where Sunset left you, how the mission starts, where, and what this guide is based on. Contains spoilers.
The story so far
Sunset ended with Jason and Lucia fleeing Ocean Beach Marina, sending their speedboat off on autopilot and hiding on a garbage barge while the police chased an empty boat. Raul stayed behind on his houseboat. Starting From Zero picks up the next morning, with the barge tied up in a canal.
The pause map’s card for the mission puts it bluntly: Raul is dead, the whole city is hunting them, and the job is to keep a low profile and recover their valuables. Those valuables are the encrypted hard drive (last held by Andrea, according to Raul) and whatever is still in the couple’s storage locker.
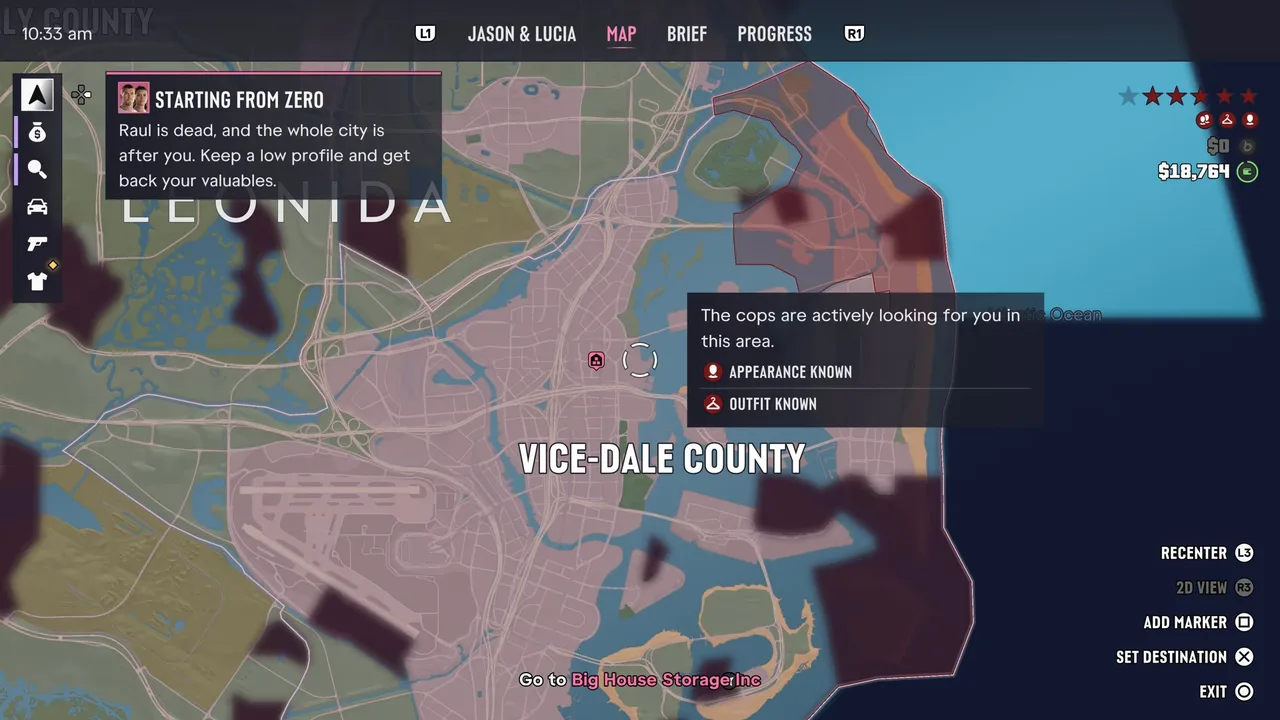 The mission’s card on the pause map, with the heat zones behind it. Footage: Trophygamers.
How Starting From Zero starts
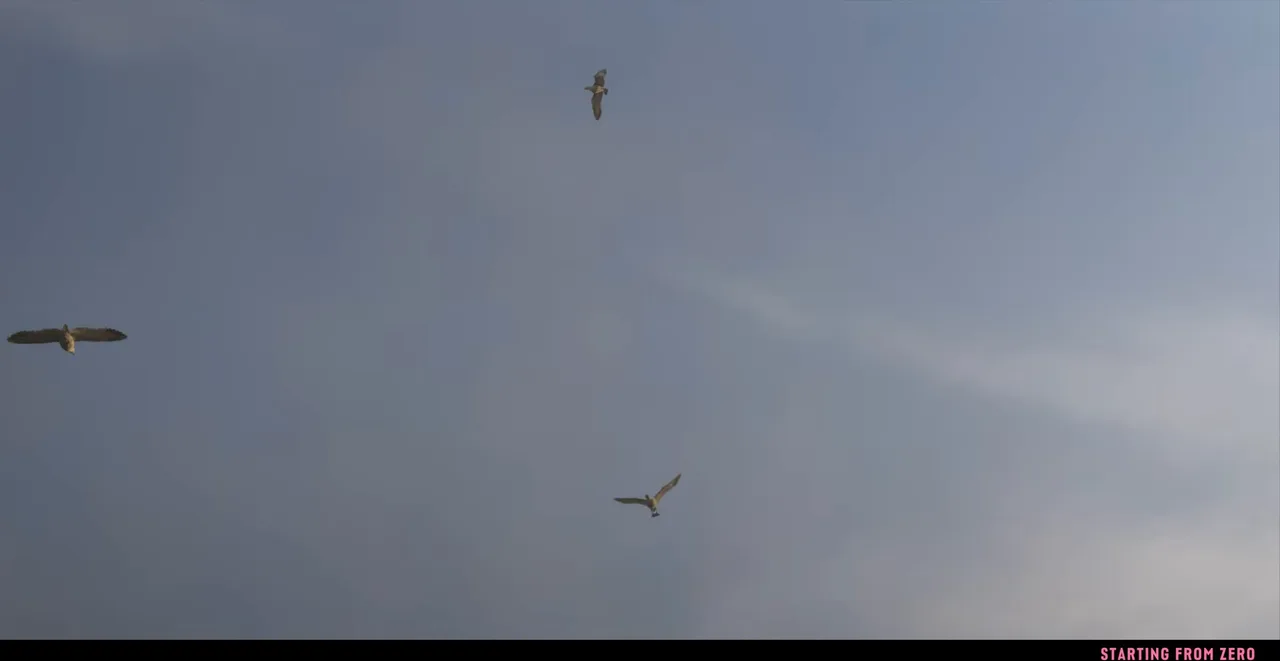
Finish Sunset and keep watching. The screen fades on the barge, then opens on gulls circling a hazy morning sky with Starting From Zero in the bottom-right corner. You get control a couple of minutes later, after Jason and Lucia have climbed out of the rubbish and talked things over. There’s nothing to select in the Story tab and no phone call to wait for.
Where it starts
Where Sunset ends: the garbage barge, now tied up in a canal near a road bridge, beside a scrapyard full of wrecks and a bulldozer. The game doesn’t name the spot and the map has no Starting From Zero marker yet. The first place you’re sent is the Aqua Stadium on Gloriana Key, where Andrea is waiting.
About this guide
No one in our index has uploaded the mission on its own except Trophygamers, whose Part 116 covers it from the title card (0:02) to the fade-out (27:18). The pause-map card at 8:25 in his video names it again. Sirloin’s “Chapter 4 Ending” video has the same mission from 15:47 to about 40:00 and took a different route out of the stadium, which we cover in Step 4. His Chapter 5 run confirms where the next mission picks up. Objective names are copied from the screen.
Step 1: Climb out of the rubbish and regroup (cutscene)
The opening is all cutscene. Jason drags himself over the edge of the barge’s rubbish hold, Lucia behind him, and the two drop into the canal and wade out through the mud as the sun comes up.
The title card that opens the mission. Footage: Trophygamers.
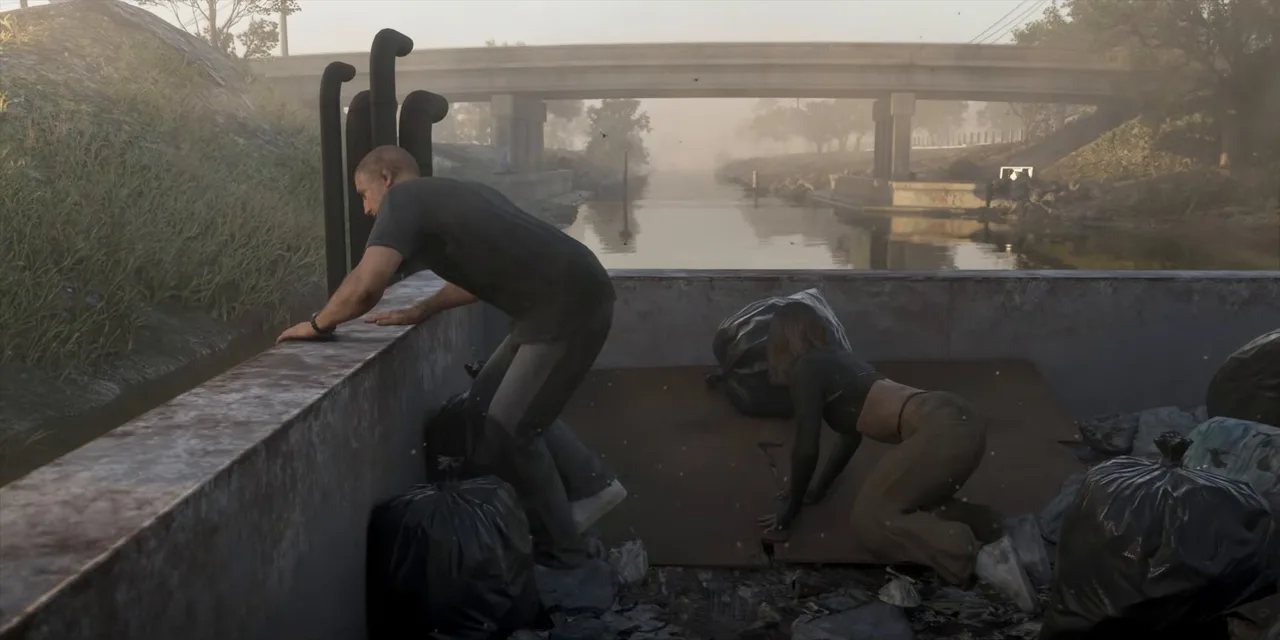 Climbing out of the barge’s hold. Footage: Trophygamers.
Their phones finally pick up a signal, and the news isn’t good (the fold after Step 9 has the details). They walk into a scrapyard, and Lucia sits in the shell of an old wreck while Jason talks her round. They agree on two things: stick together, and get the hard drive back. Lucia rings Andrea, who agrees to meet them at the Aqua Stadium and warns that she won’t wait long.
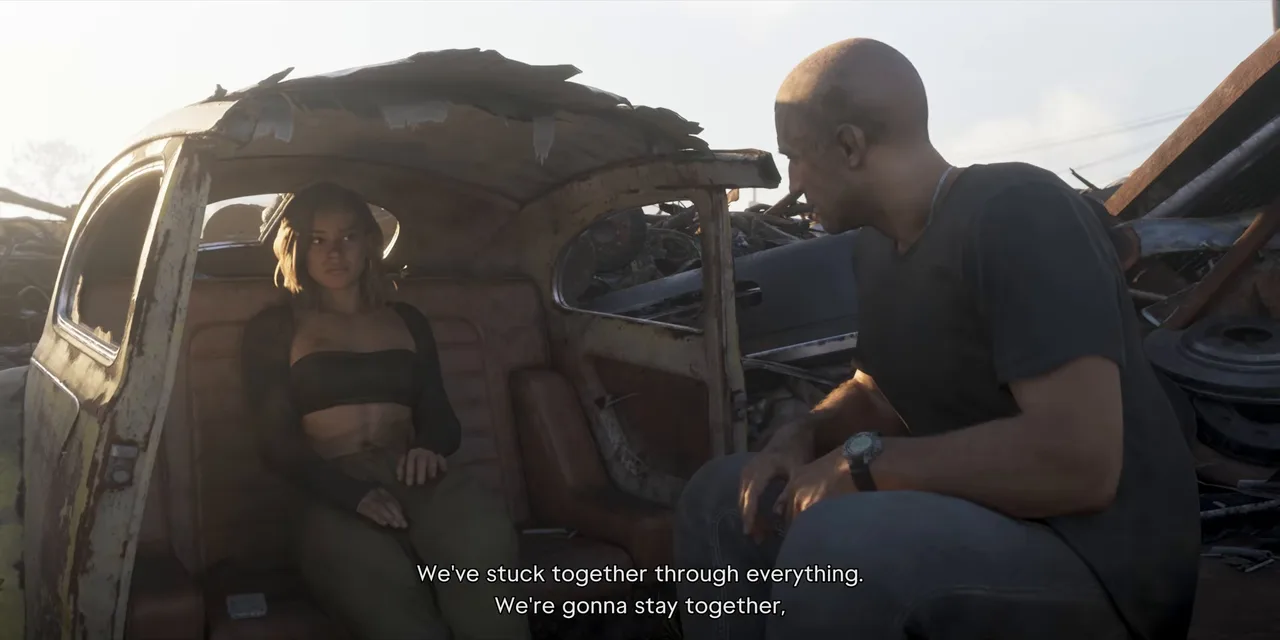 Regrouping in the scrapyard before you get control. Footage: Trophygamers.
Step 2: Take the Vamos to the Aqua Stadium
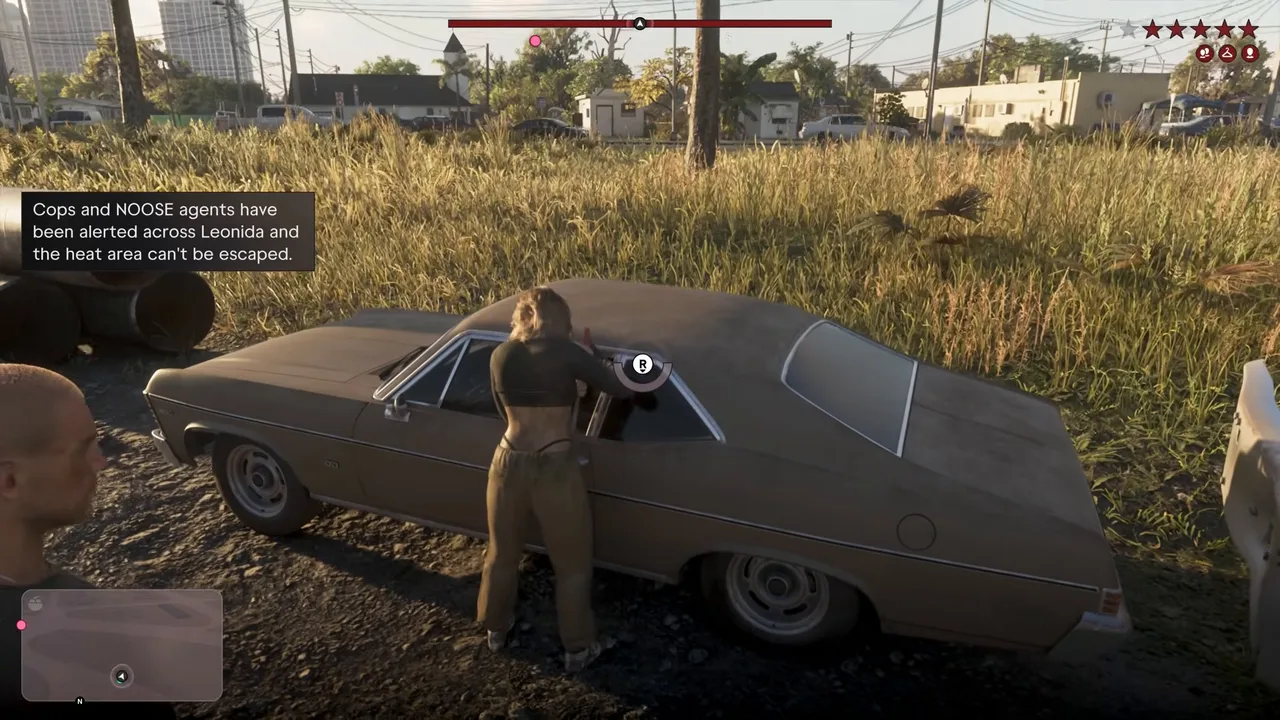
When you get control, the objective is Go to the Aqua Stadium. A battered tan car is parked in the long grass at the edge of the yard: a Declasse ’74 Vamos. As you reach it, a notice spells out how this mission works: cops and NOOSE agents have been alerted across Leonida, and the heat area can’t be escaped.
The warning that sets the rules for the whole mission. Footage: Trophygamers.
So there’s no losing the stars this time. The top right shows a full row of red stars with icons under them, and the pause map shades the areas where police are actively looking. Treat it like a stealth drive: normal speed, stop at junctions, and keep clear of patrol cars. As the couple put it on the way, any random person at a gas station could recognise them.
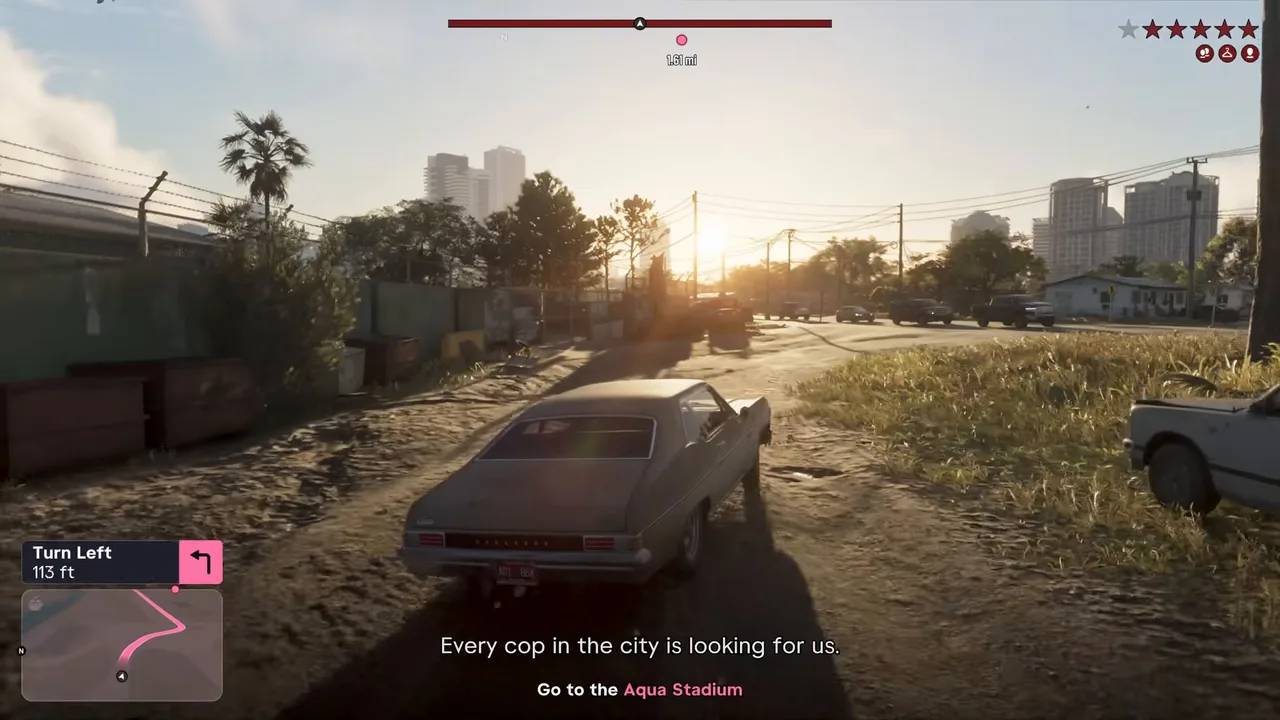 Heading for the stadium. Footage: Trophygamers.
The drive is all talk. The police radio puts out an all-points bulletin with the couple’s names and descriptions, and later updates it. Jason and Lucia then try their lawyer, and Abe’s call box appears in the bottom-right corner. The call goes badly and changes nothing you have to do.
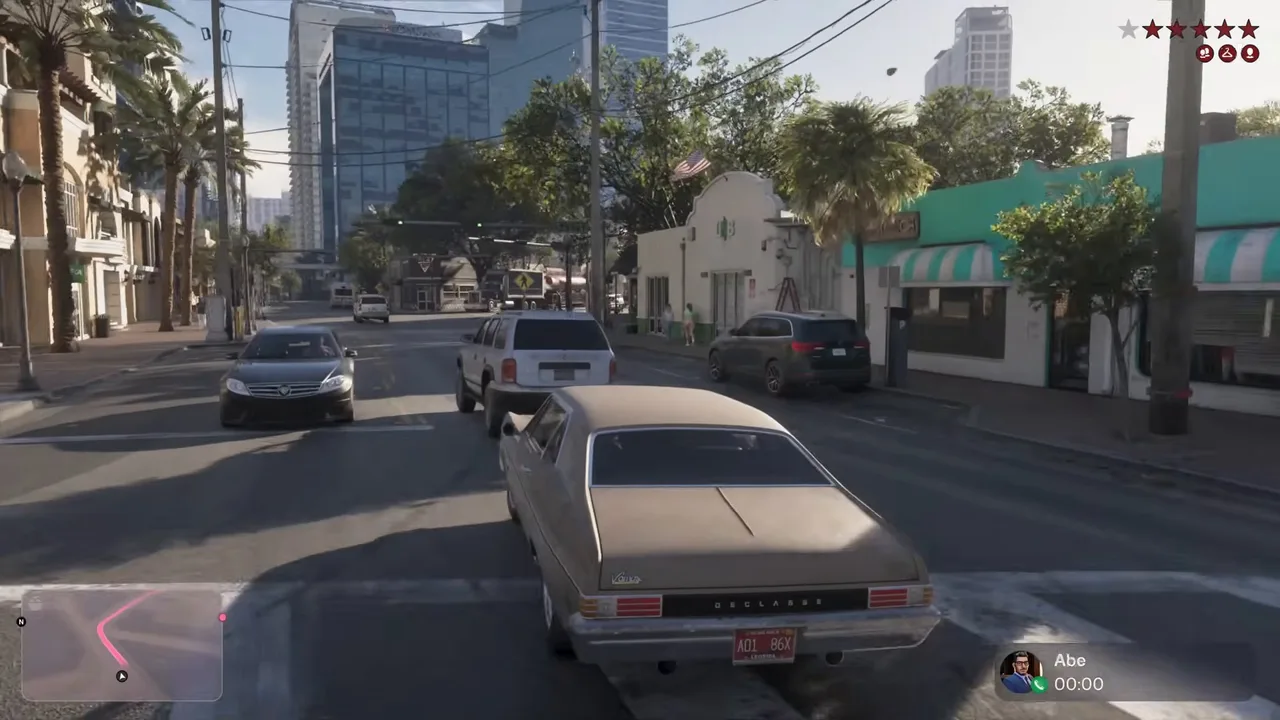 Ringing Abe on the drive over. Footage: Trophygamers.
Step 3: Find Andrea in the bleachers (Lucia)
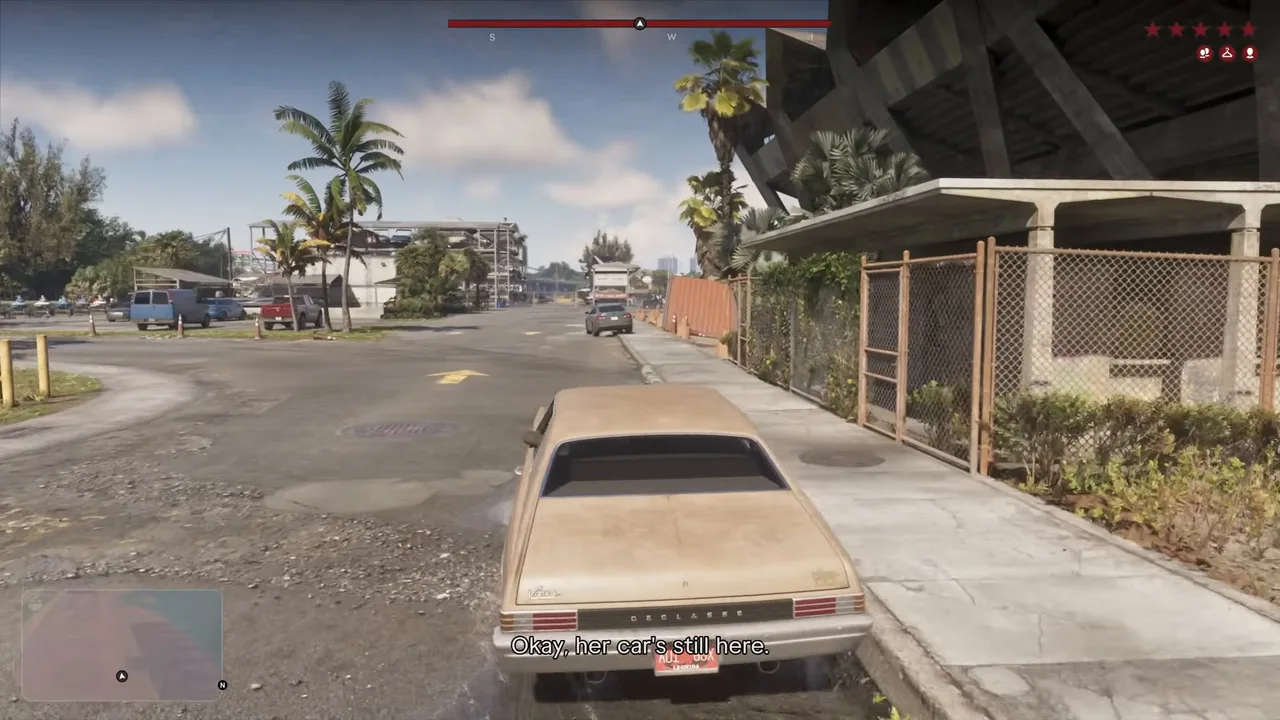
The Aqua Stadium is a derelict, graffiti-covered venue on the water on Gloriana Key. Andrea’s car is still outside when you pull up, so she hasn’t left. Park nearby.
Andrea’s car is still there. Footage: Trophygamers.
On foot the objective becomes Find Andrea. Go through the gate in the fence and up the concourse ramps under the stands. Everything is covered in spray paint, and a Hold Hands prompt appears if you want to walk in together.
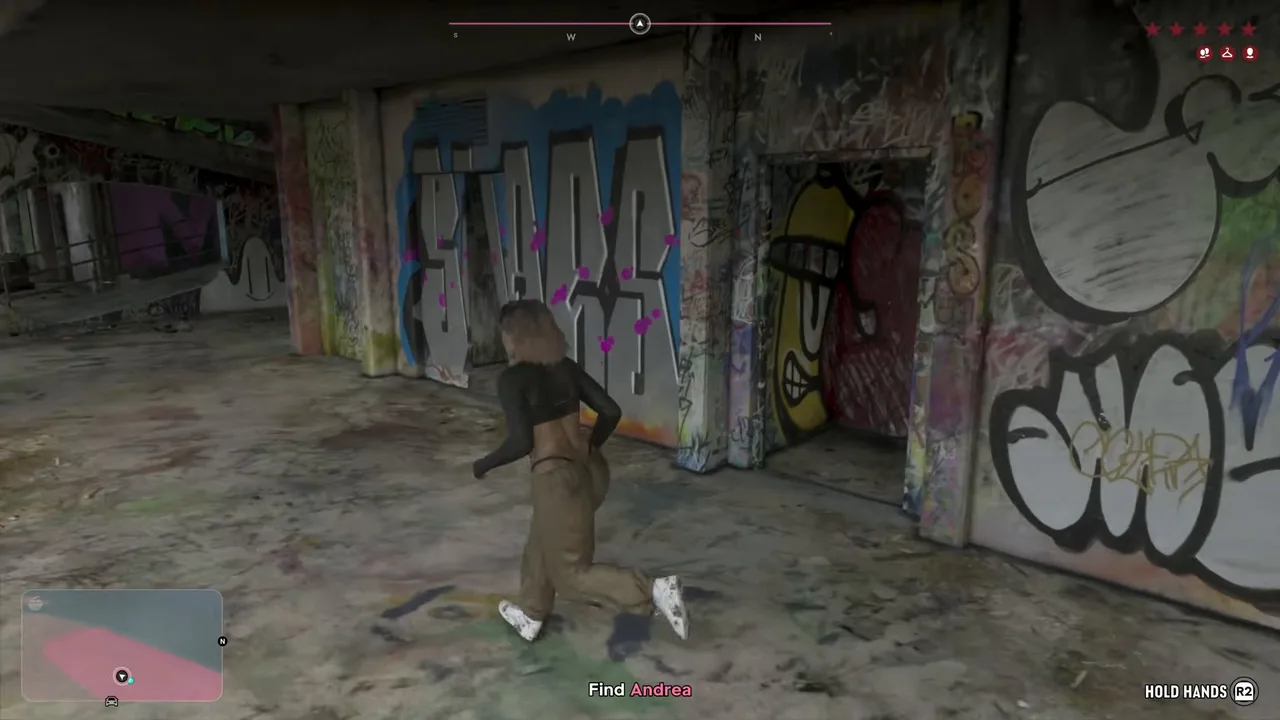 Up through the concourse. Footage: Trophygamers.
Come out into the bleachers. The stadium is a ruin of faded orange, yellow and blue seats with the bay behind it. Andrea calls out when she sees you.
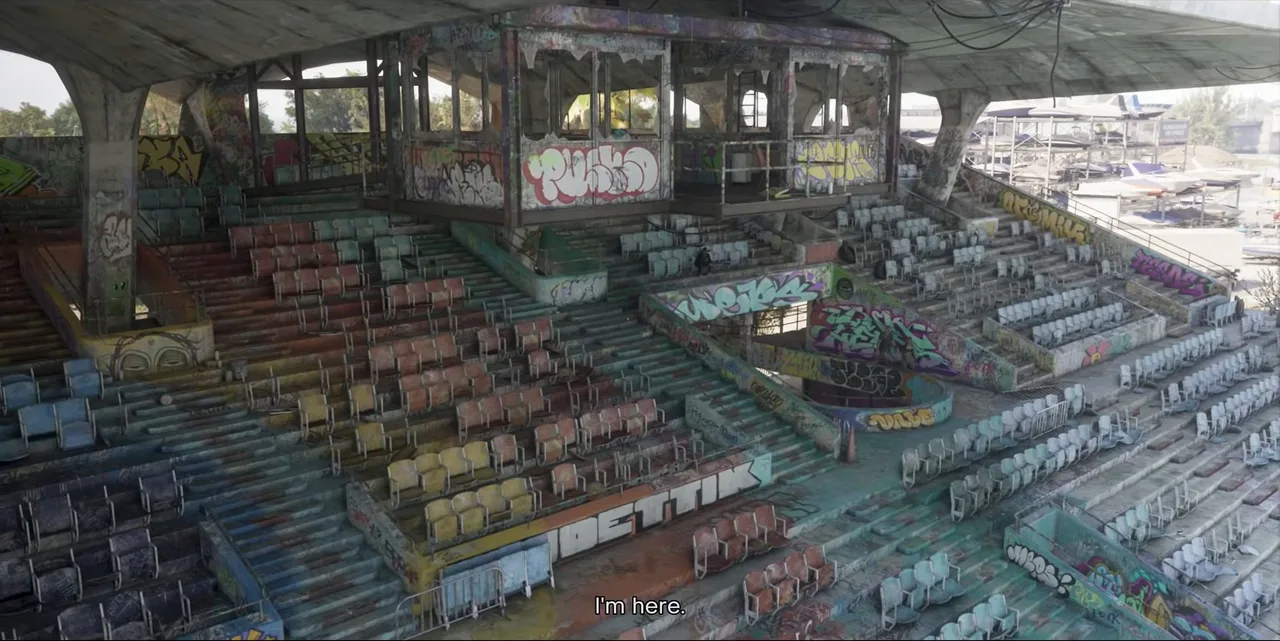 The Aqua Stadium’s stands. Footage: Trophygamers.
She’s sitting alone in a black hoodie and a cap. A short cutscene plays, and it’s over in under a minute.
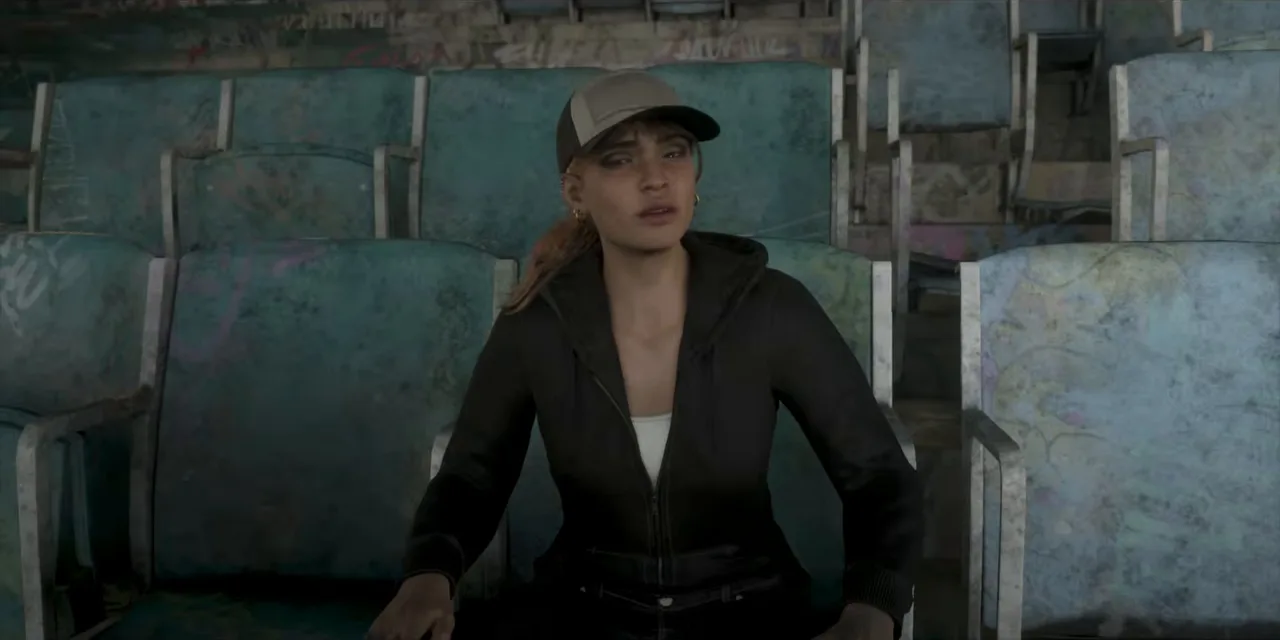 Andrea waiting in the stands. Footage: Trophygamers.
Step 4: Get away from the stadium before the cops arrive
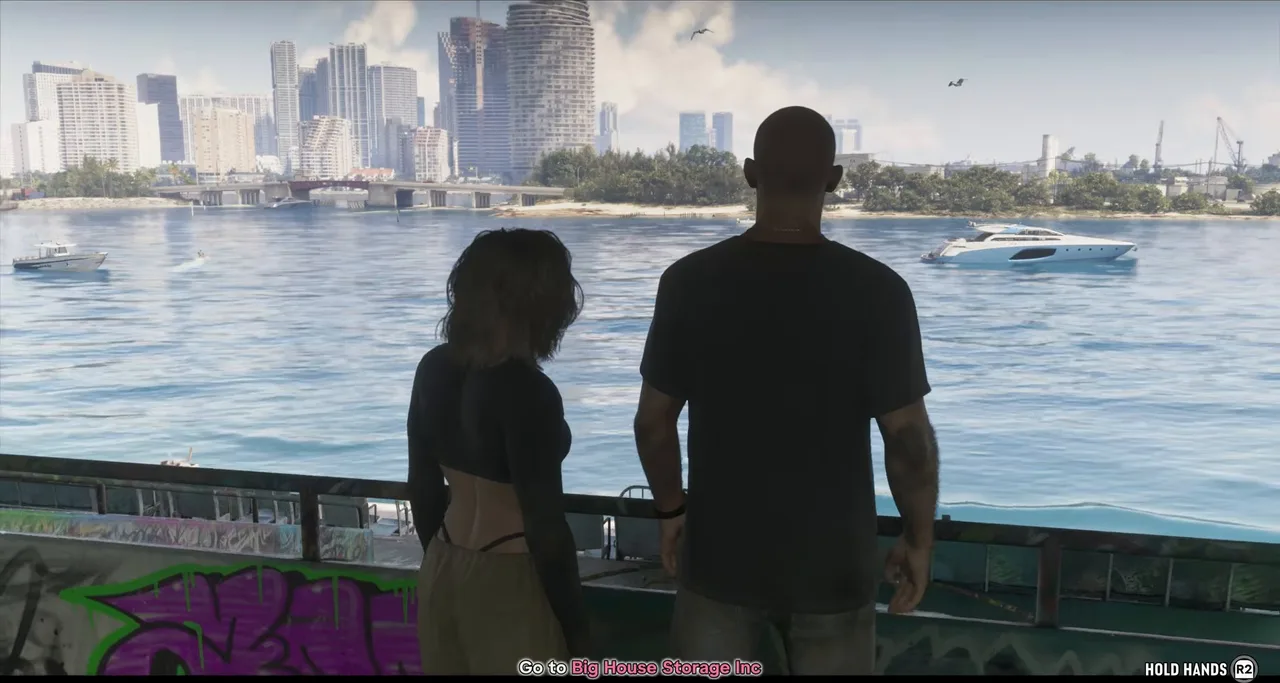
The next objective is Go to Big House Storage Inc, the couple’s locker building in Crosstown. They stop at the railing to talk first, but don’t take too long. While you’re inside, the police are closing in.
The next destination, from the stadium railing. Footage: Trophygamers.
The two runs went differently here, and both work:
- Get back to the car fast. Sirloin went straight back down. Lucia shouted that the police had arrived just as he reached the Vamos, and he drove off before they got to it. On the radio, the cops reported a couple seen leaving the stadium.
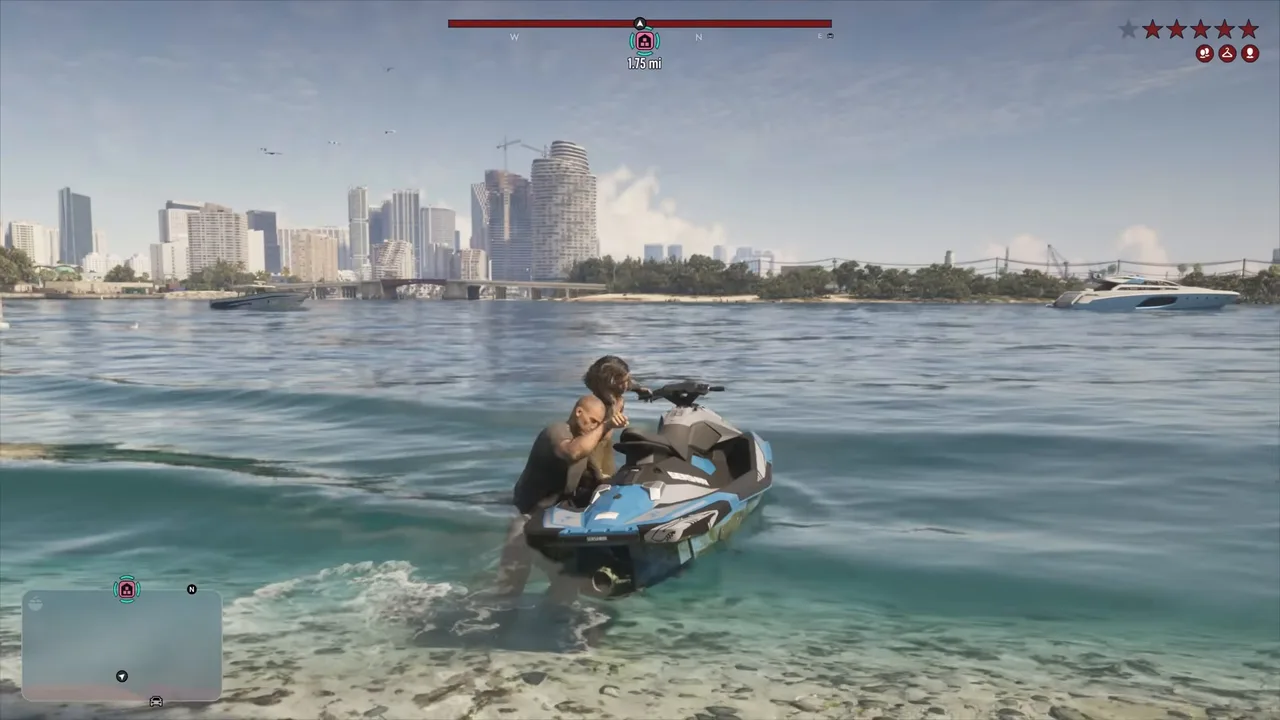
- Go on foot if they beat you to it. In Trophygamers’ run, Lucia stopped him: the police were already searching their car. They backed off, followed the shoreline next to the stadium and took a jet ski from the beach.
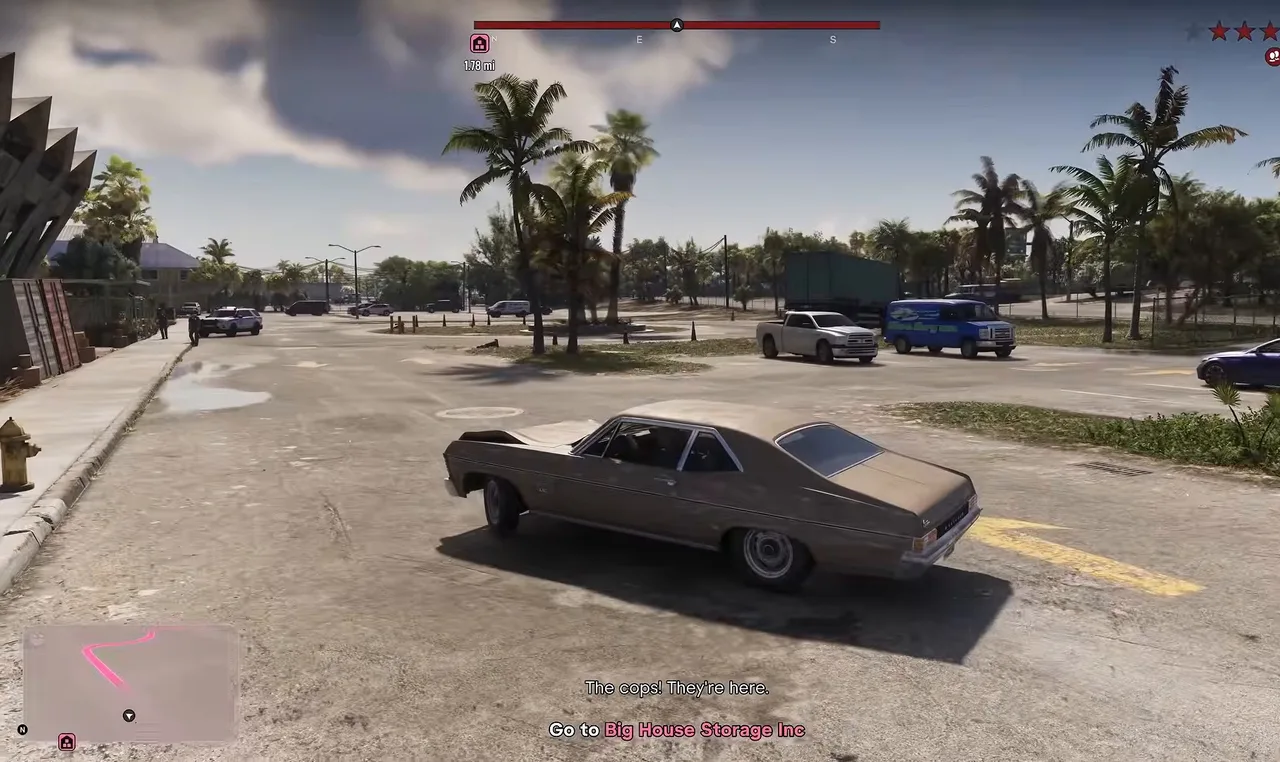 Sirloin made it back to the car just in time. Footage: Sirloin.
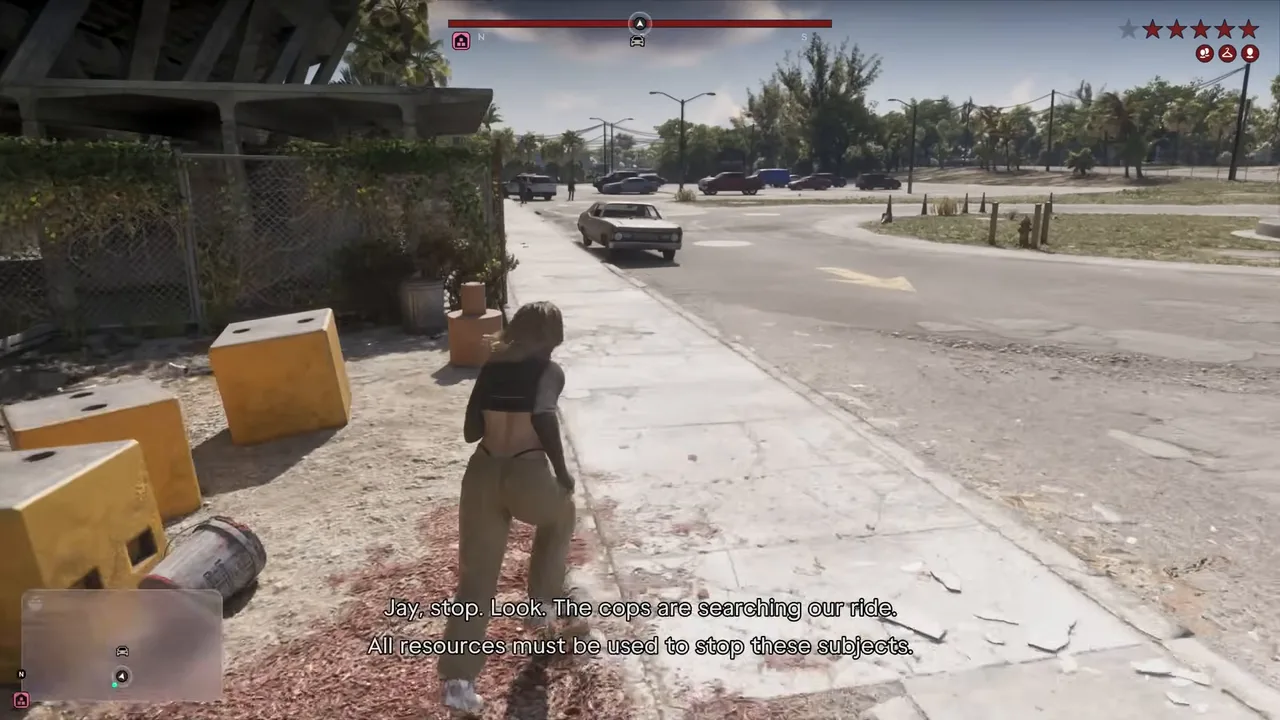 Too late in Trophygamers’ run: the car is being searched. Footage: Trophygamers.
Either way, check the pause map before you set off. The shaded blocks are heat zones, and hovering over one shows The cops are actively looking for you in this area, with Appearance known and Outfit known under it.
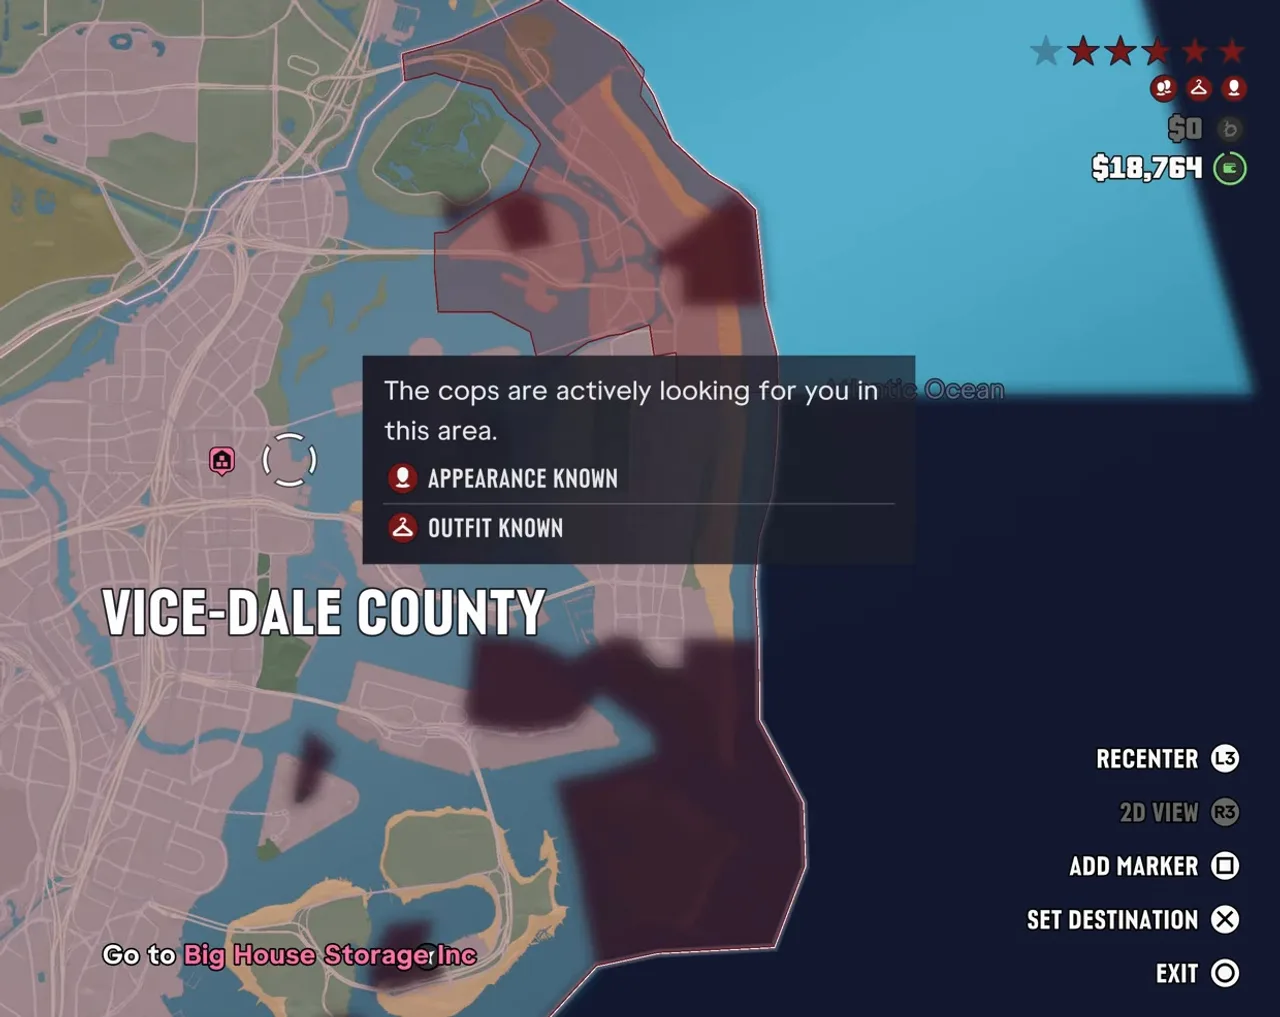 Heat zones on the pause map. Route around the dark red blocks. Footage: Trophygamers.
Step 5: Cross the bay to Big House Storage
If you’re on foot, the jet ski is a Seashark (its name card reads Seashark Azure), pulled up on the sand beside the stadium. Climb on, put Lucia behind you, and head across the bay toward downtown. The water route keeps you well away from roadblocks.
The jet ski on the beach by the stadium. Footage: Trophygamers.
The ride takes a couple of minutes, and the pair use it to talk over the last few days. Follow the minimap route past the tower blocks and the big wheel on the waterfront, and land at a dock ladder on the downtown side.
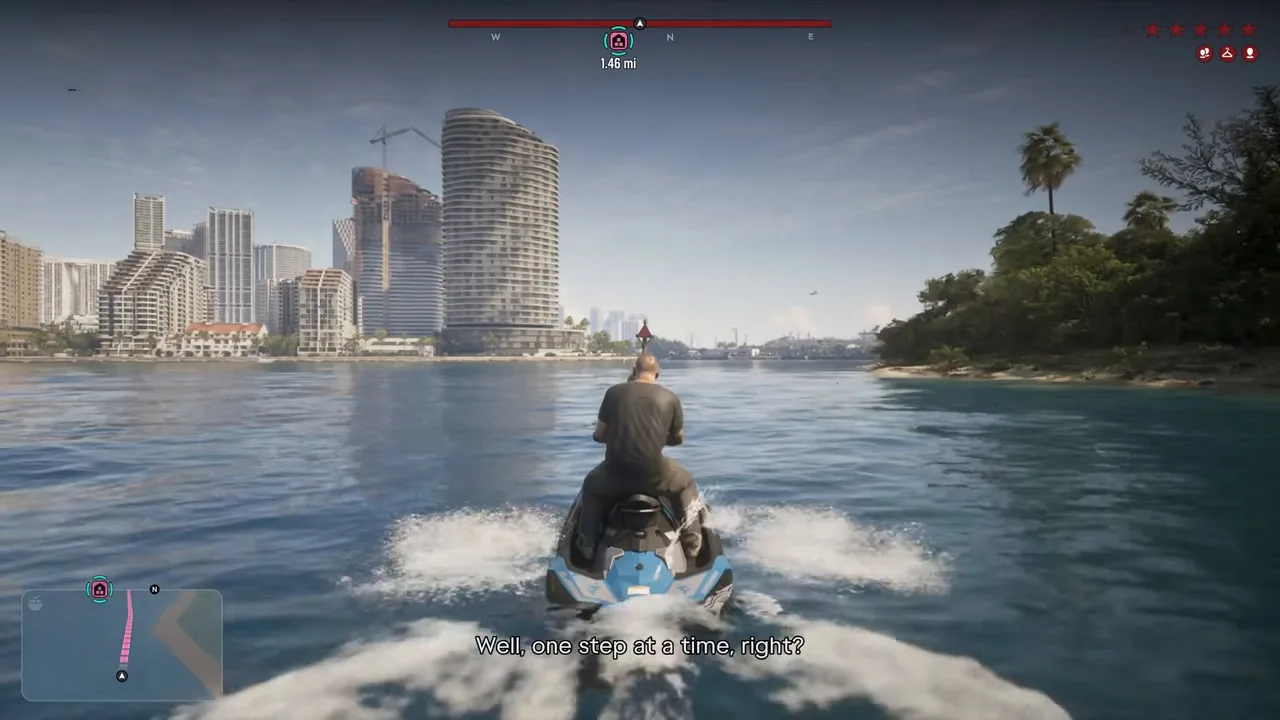 Across the bay toward downtown. Footage: Trophygamers.
The last stretch is on foot through the streets, past the concert hall, toward the storage building under the elevated lines. Walk, don’t run, and hold hands if you like. Sirloin, who kept the car, simply drove the whole way.
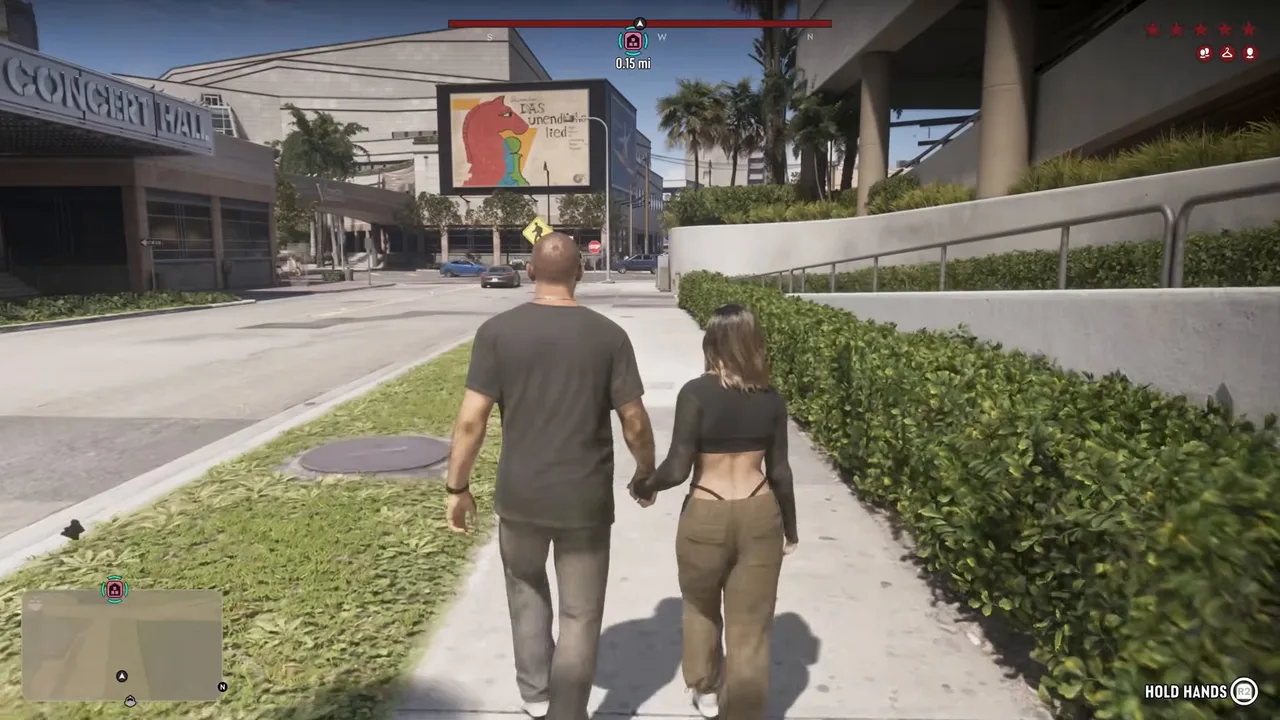 The walk to the storage building. Footage: Trophygamers.
Big House Storage is the same yellow-and-blue building from Bricked Up and Heavy Lifting. Go in and head for the lifts by the front desk.
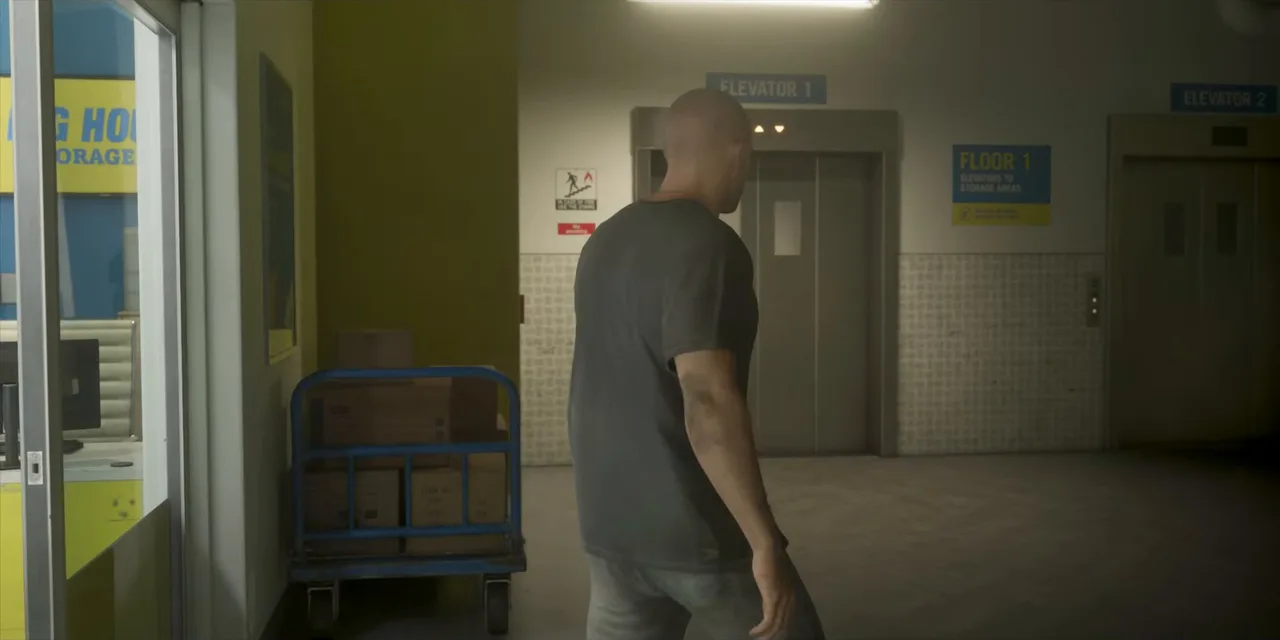 The lifts up to the locker. Footage: Trophygamers.
Step 6: Clear out the locker (cutscene)
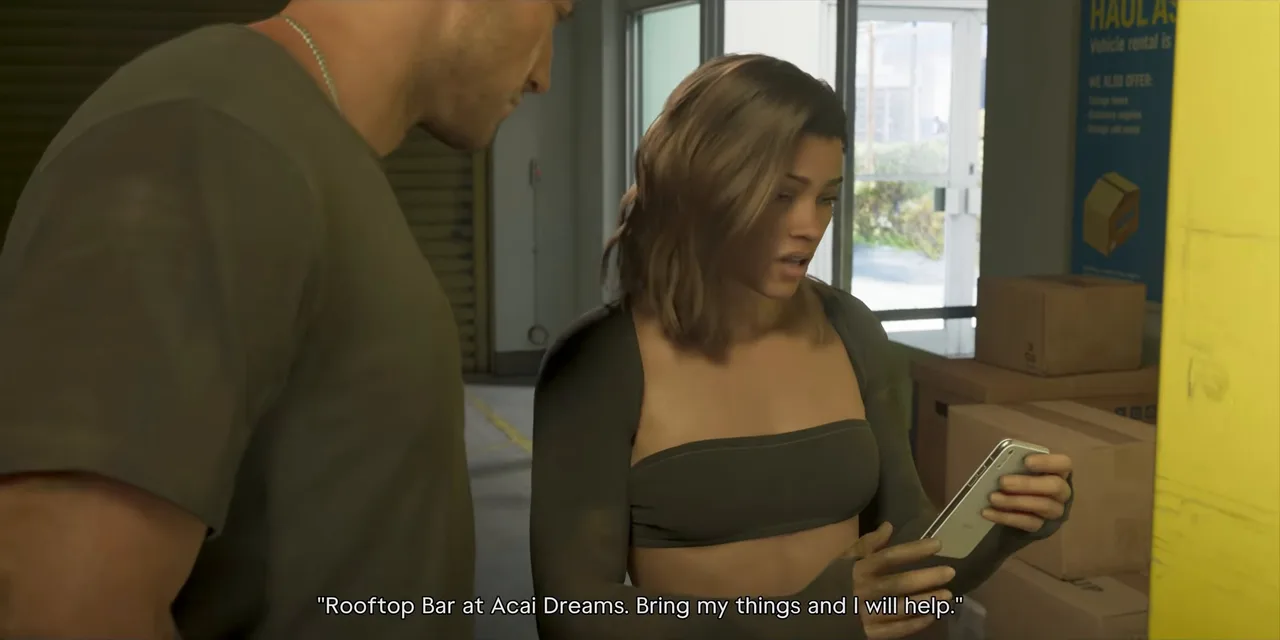
A cutscene takes over at the locker. The couple sort through what’s left, talk about what they could still do, and Lucia gets a text that names a meeting place: the rooftop bar at Acai Dreams, with a request to bring “my things”. They decide they have no better option.
The text that sets up the meeting. Footage: Trophygamers.
Lucia also points out that Jason smells of the barge, so they change at the locker. The scene then cuts to night outside the hotel, with both of them in dark tracksuits and Lucia carrying a hard case. They also agree on a plan: Lucia goes up alone while Jason waits below.
Step 7: Ride up to Acai Dreams (Lucia)
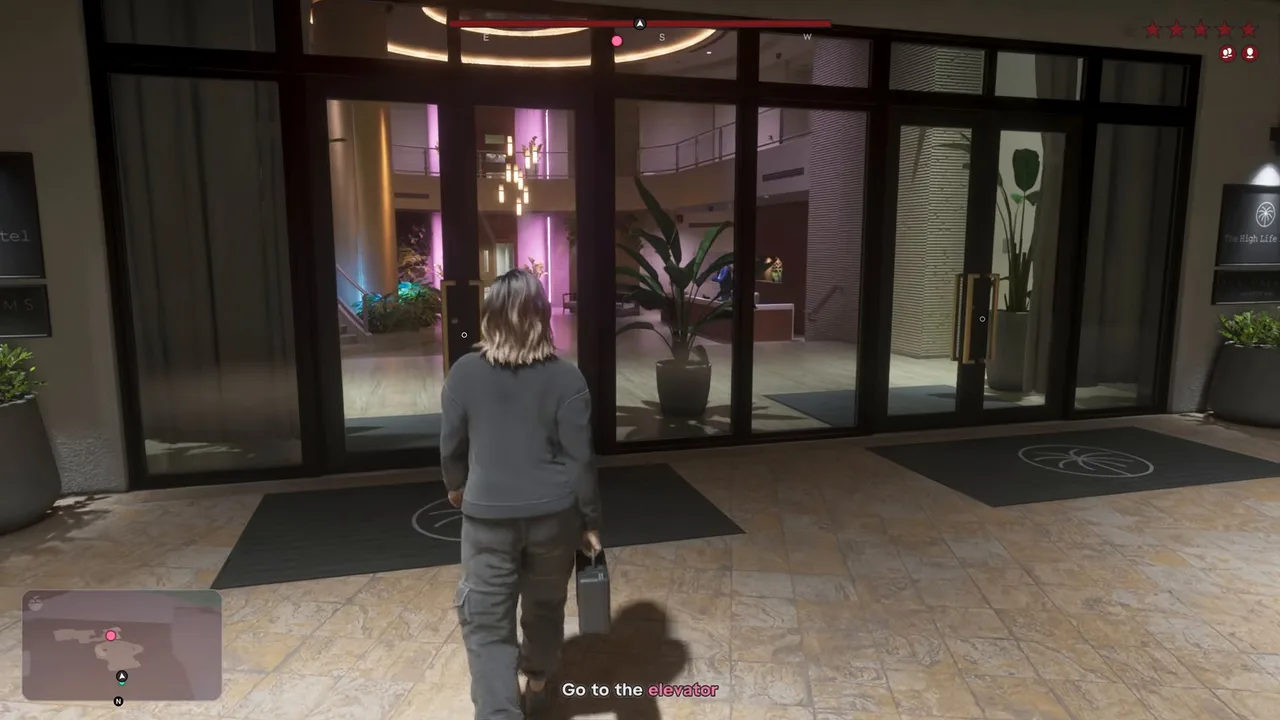
Acai Dreams is the bar on top of the High Life Hotel in Vice Beach (on the live map). The objective is Go to the elevator. Walk through the glass doors into the pink-lit lobby with Jason beside you.
The hotel entrance at night. Footage: Trophygamers.
At the lifts the objective becomes Take the elevator to the terrace. Jason stops here and tells her he’s right behind her if anything goes wrong. Call the lift and ride up alone.
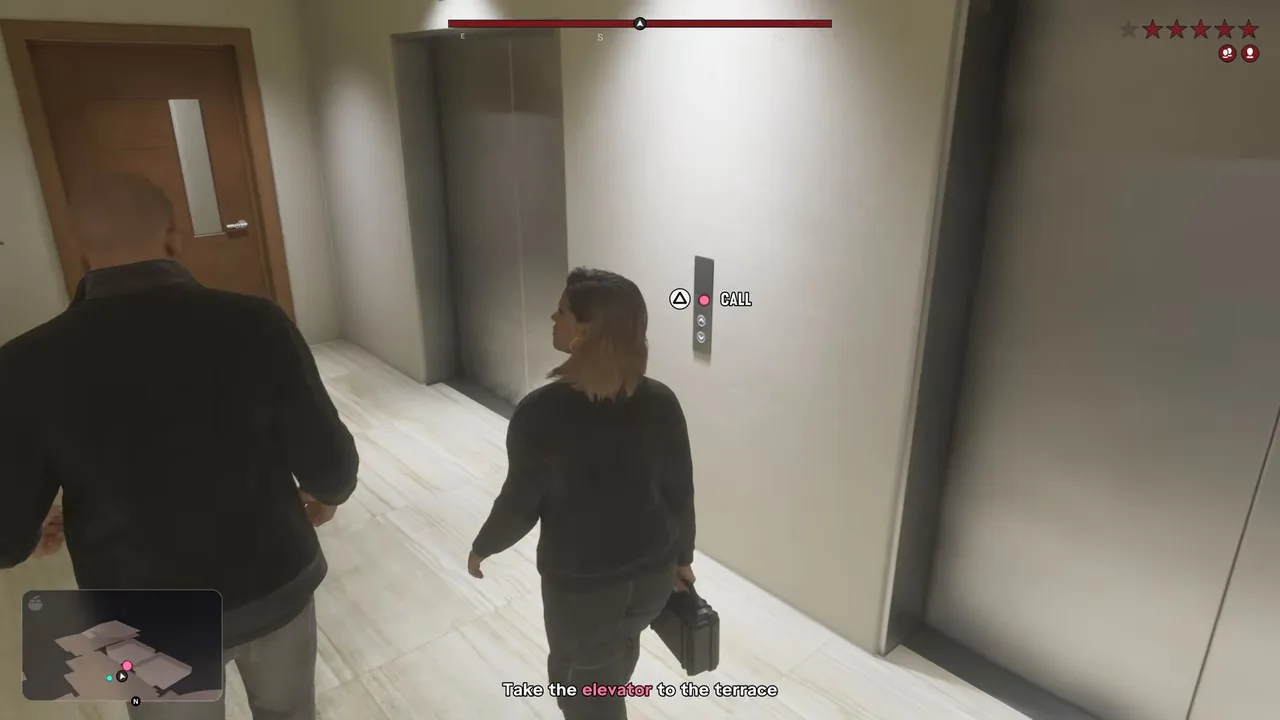 Jason waits below; Lucia goes up alone. Footage: Trophygamers.
Step 8: Find your contact on the terrace (Lucia)
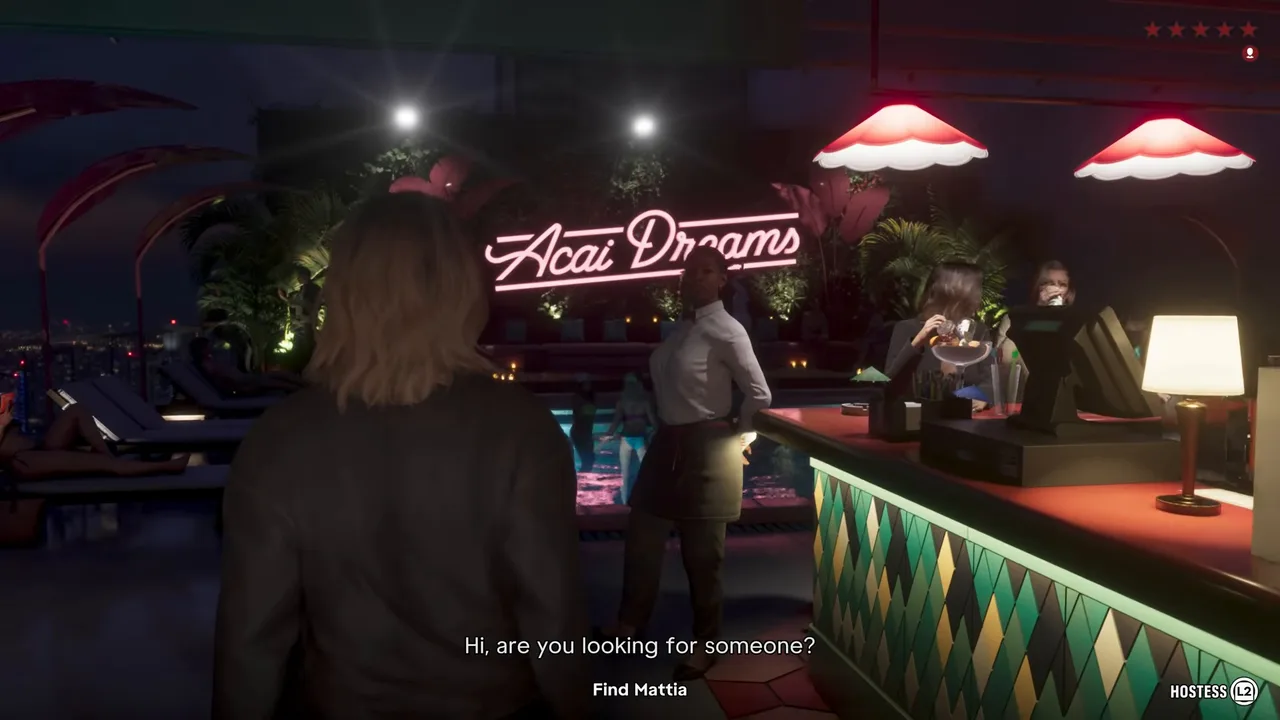
The lift opens onto the roof bar, all neon and plants, with a pool and a long bar under a pink Acai Dreams sign. The objective is Find Mattia. Talk to the hostess at the bar (there’s a prompt). She says the person you want is with a private party on the terrace and walks you over.
The hostess at Acai Dreams. Footage: Trophygamers.
Follow her along the terrace, past the fire pits and the glass balustrade with the city lights below, to a group of men in dark clothes at the far end. When you reach them, the mission’s longest cutscene begins, about six minutes in both runs. Put the controller down. What happens in it is in the fold after Step 9.
Step 9: Follow your host through the penthouse (Jason)
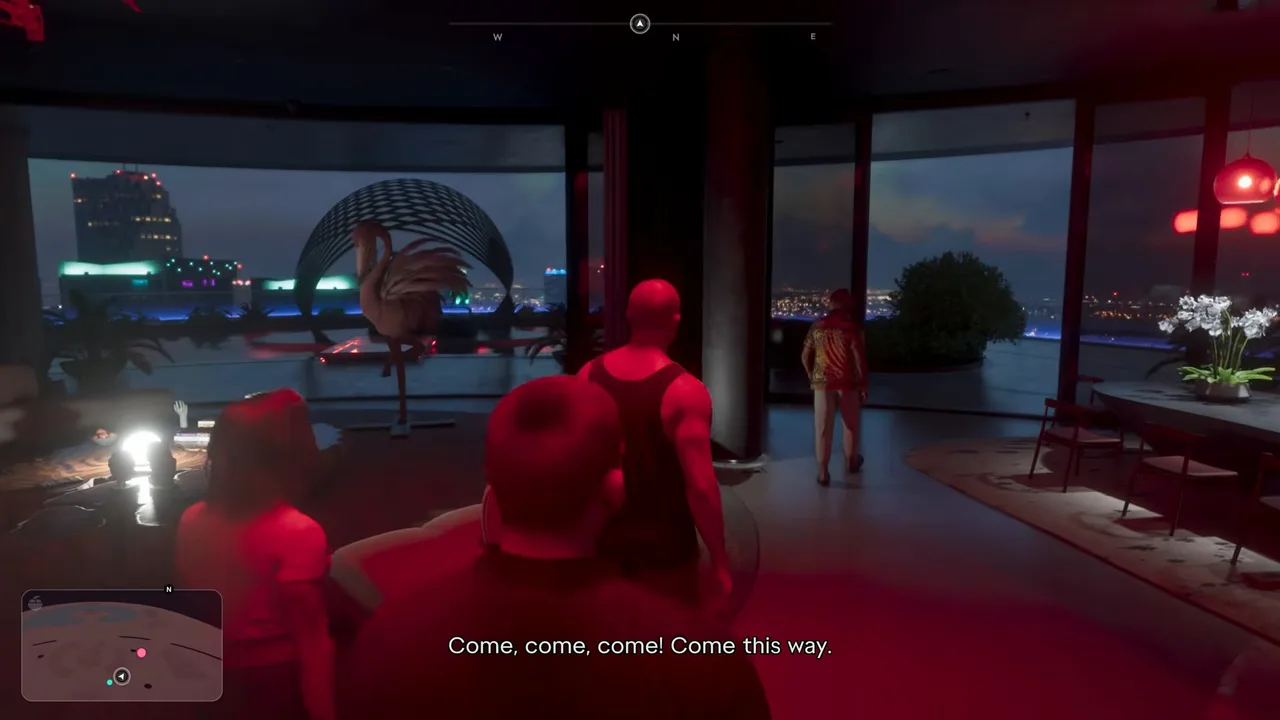
When you’re back in control you’re playing Jason, in a different place and in different clothes. The objective is Follow Giorgio. Walk behind him through a huge red-lit apartment, past a tall bird sculpture, a long dining table and a sculpted tree, and out to the terrace. Lucia walks with you.
Following your host through the penthouse. Footage: Trophygamers.
Another scene plays on the curved balcony, high above the city. When it ends you’re given a new escort and the objective Follow Dardan. He leads you back inside, along a corridor past the stairs and the car elevator, to a bedroom.
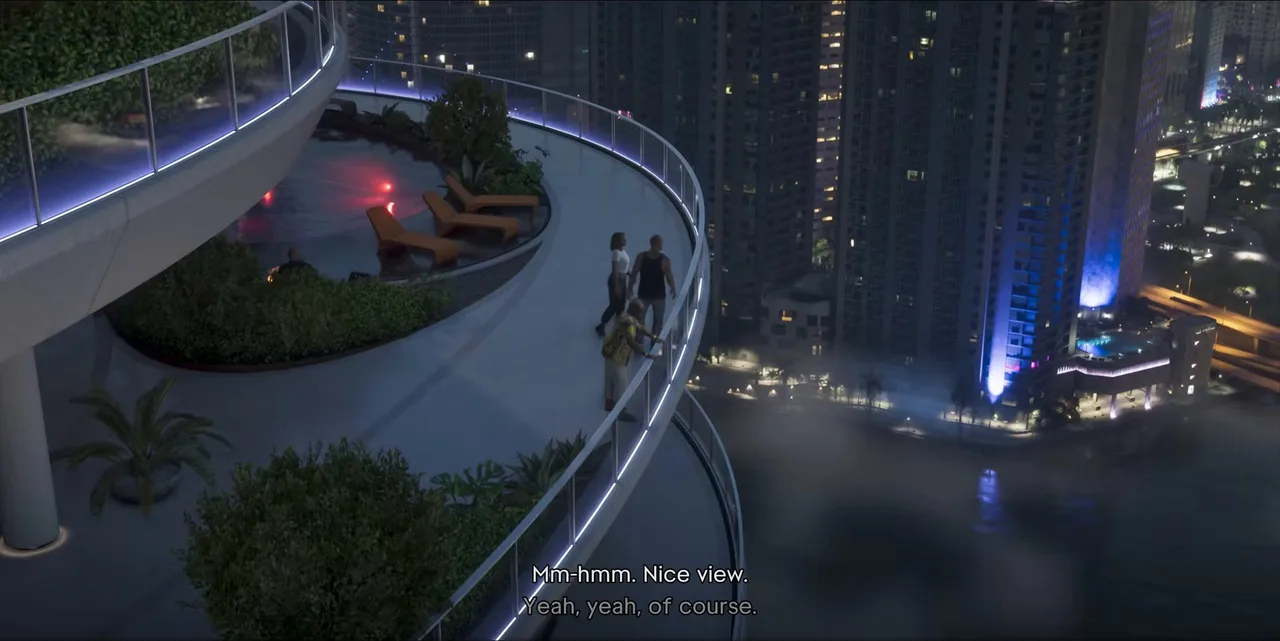 The balcony where the next scene plays. Footage: Trophygamers.
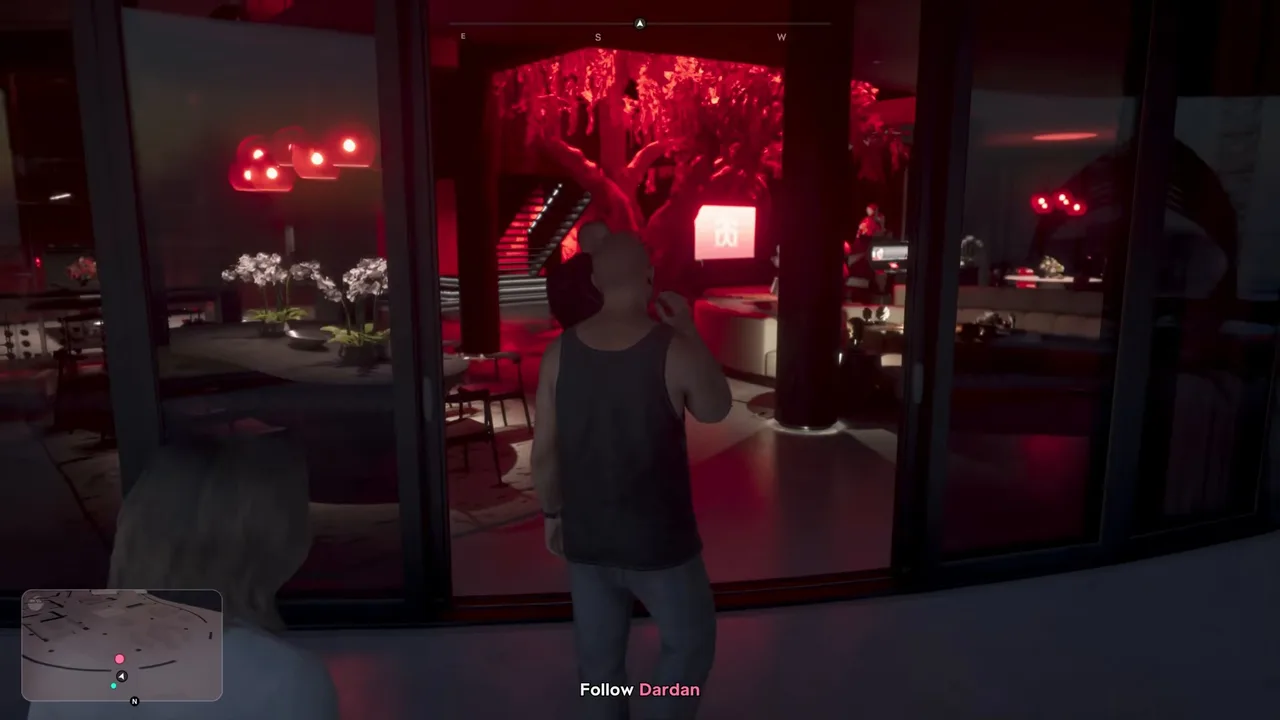 A new escort and a new objective. Footage: Trophygamers.
Walk into the room. The door shuts behind you and the last scene plays with the two of them alone. The screen fades to black, and the mission is over. Neither run shows a Mission Passed screen.
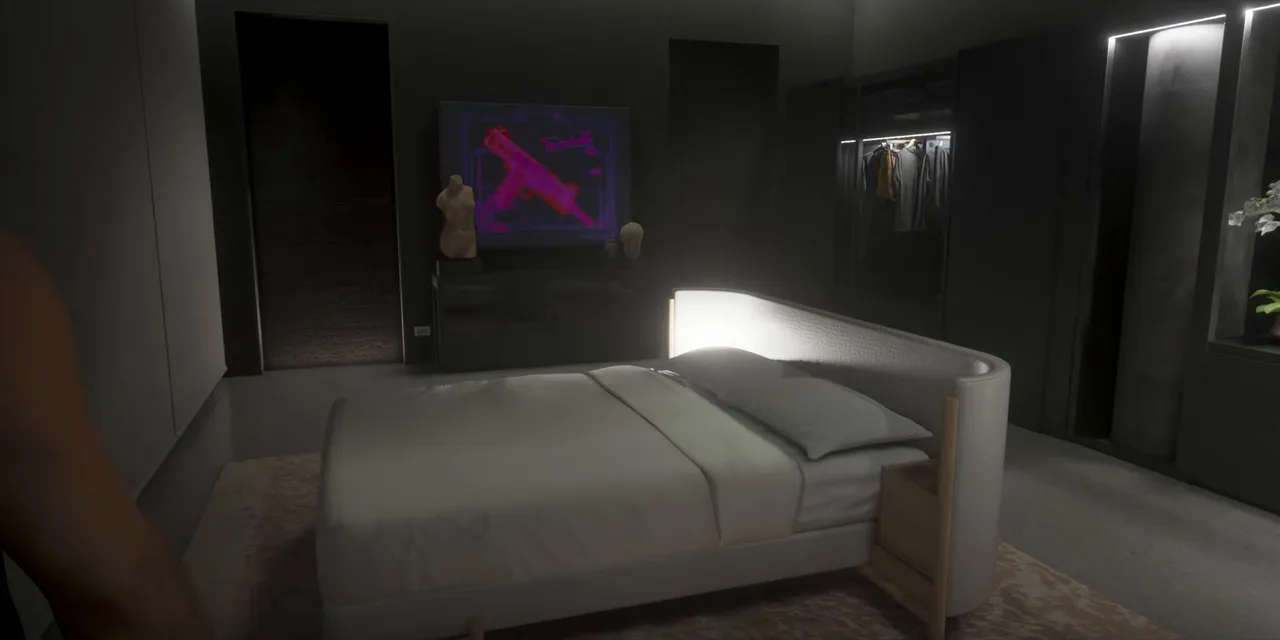 The room where Chapter 4 ends. Footage: Trophygamers.
How Chapter 4 ends What the couple learn, who is behind the meeting, where the hard drive goes and how Chapter 5 begins. Contains major spoilers.
- Starting from zero: when the phones reconnect, BuckMe reports that their checking account is frozen. The police have frozen everything, and the top right shows $0. Lucia says it all feels like it was for nothing, and Jason says they’ll keep rolling, stay together and get Lucia’s son Tommy back.
- Abe is out: their lawyer says the police raided his office, beat him and threatened him, his judge and his wife. He tells the “fugitives” he doesn’t know them and hangs up.
- Andrea and the drive: Andrea says Valentina sold everyone out and that everyone is dead. She hands over the hard drive, tells them to forget her and delete her number, and leaves. On the way the couple wonder why Raul’s sale through Valentina and Abe ended like this; Valentina seems to have got the best price for herself.
- The texts: Mattia, who set them up in Tourist Trap and whom they thought was dead, has been texting (“Been a long time…”). At the locker, the couple talk about pawning the bronze statue, driving to Mexico or taking a fast boat the 90 miles to Cuba, and coming back for Tommy. Mattia’s message asks them to bring “his” things to Acai Dreams. With only the statue and the drive left, they go.
- The rooftop: Mattia isn’t there. Giorgio Gallo, the shipping boss from Karim’s file in Heavy Lifting, is. The statue was his, and he says Lucia stole it. His men pin her to the railing, and she bluffs that her partner has the drive and will come after them. Giorgio takes her phone, snaps a picture for Jason and waits. Jason walks in, and both are hooded and flown off by helicopter.
- The meat locker: they wake up in a cold room in Giorgio’s apartment. Giorgio calls in Mattia, who admits he set them up, makes him beg, and hands Jason a gun to shoot him. It isn’t loaded. Giorgio laughs it off and sends Mattia to play DJ.
- The deal: on the balcony Giorgio points to his rusting Bilgeco ships, seized after the authorities caught Italian ships carrying Albanian cocaine. The drive holds dirt on a senator, which he plans to trade for his ships and to get the police off the couple’s backs. But his Albanian partners want the 20 tons of lost product back, and Giorgio points out a man in the room who wants the couple dead because Alexei and Burim were like brothers to him. When Lucia later asks Dardan who those two were, he says they’re the men who came to the Key Lento house in Home Sweet Home. Giorgio has a crew lined up and makes Jason and Lucia his “secret weapons”. They’re to stay with him until it’s done.
- The end of the chapter: the bedroom door is locked. Lucia asks if they’ll be okay; Jason says “just keep rolling”, and they try to sleep. The Chapter V card follows, then Top of the World, Ma, and the next morning Giorgio wakes them for “training” as Bird in the Hand begins. Our Taking Liberties guide picks up the story from there.
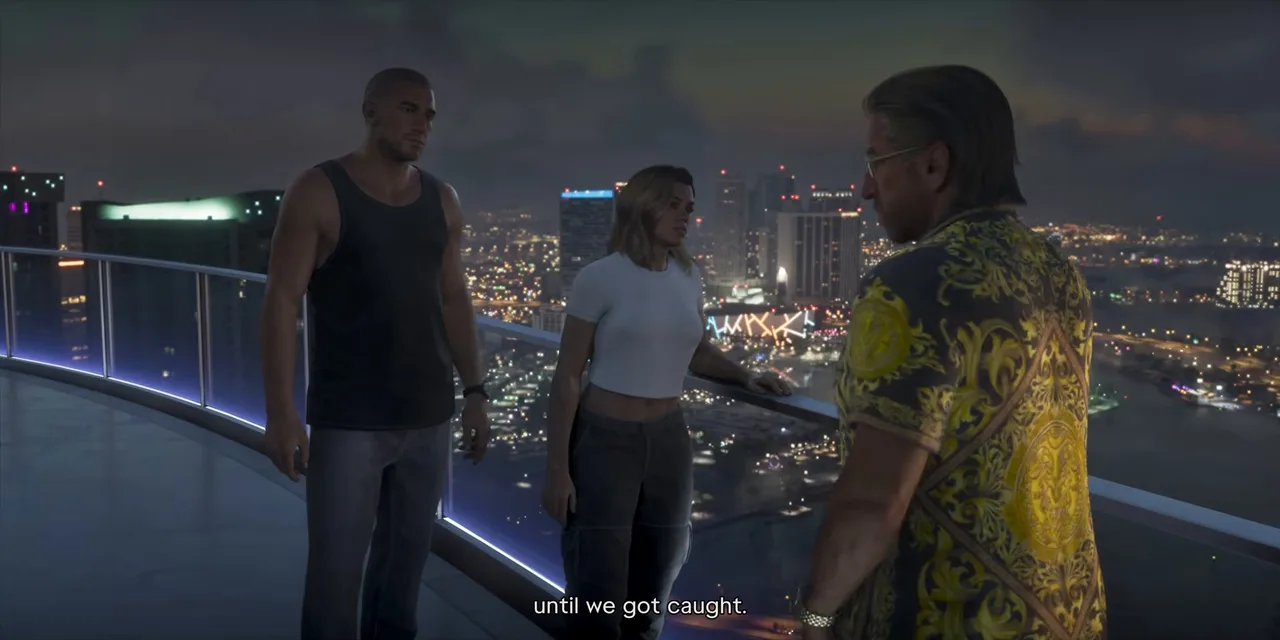 The balcony talk. Footage: Trophygamers.
Rewards
- Money: none. Neither run shows a payout or a Mission Passed screen.
- Trophy: finishing the mission completes Chapter 4, which unlocks the hidden Top Of The World, Ma trophy (Bronze in trophy lists). In Trophygamers’ video it popped at 28:03, a few seconds into the next mission, as he got control back in a sunny bedroom.
- What it unlocks: Chapter 5. The Chapter V card plays straight after the fade and Bird in the Hand (#113) starts at once, with the objective Get changed at the wardrobe.
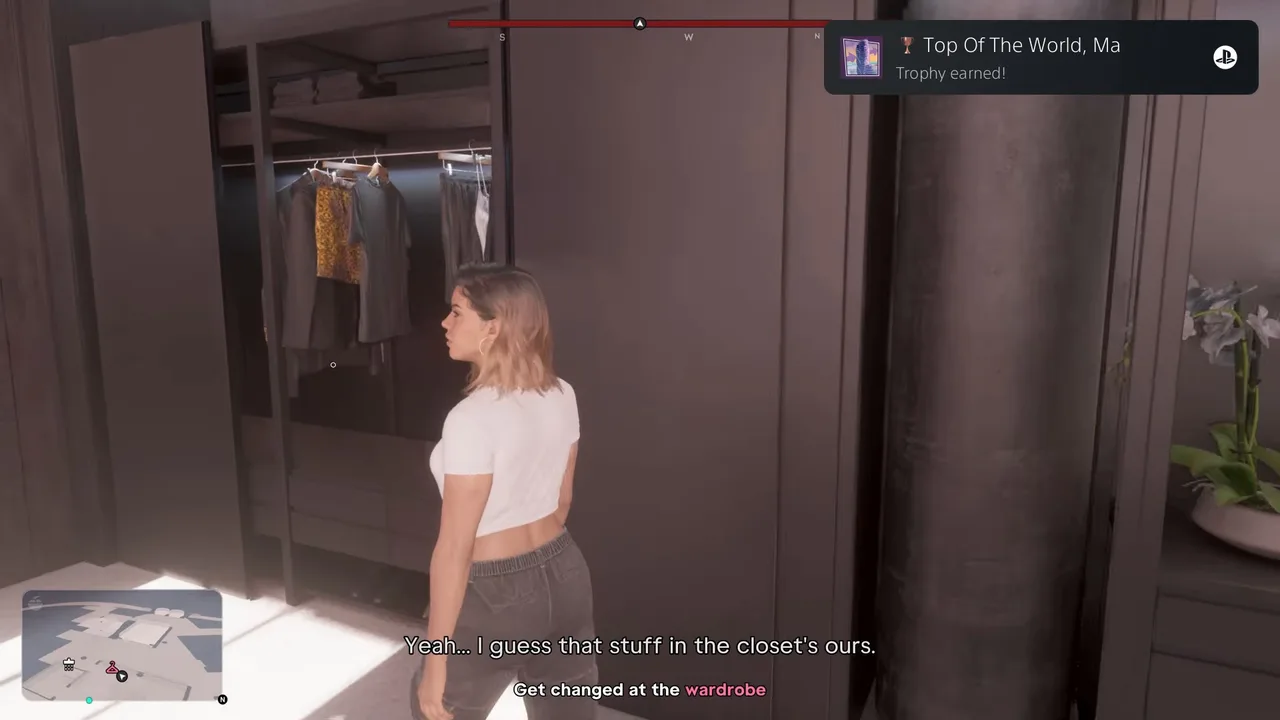 The Chapter 4 trophy pops as the next mission begins. Footage: Trophygamers.
Tips
- Drive like a local. The heat can’t be escaped, so don’t try. Keep to the speed limit, stop at lights and steer around the dark red heat zones on the pause map.
- Don’t linger at the stadium. After the talk at the railing, go straight back to the car. Sirloin drove off as the police arrived; Trophygamers was a moment later and lost the car.
- The water is the safe route. If you’re on foot, take the Seashark from the beach beside the stadium. There are no roadblocks on the bay.
- Don’t plan on spending. Your pocket shows $0 for the whole mission. You won’t need to buy anything: neither run fired a single shot.
- Let the long scene play. Once you reach the group on the terrace, about six minutes of cutscene follow. Nothing in it needs input.
Related guides
- Previous: Sunset (#111), the marina fight and the barge jump that lead straight into this mission. Before that: Tie Up Loose Ends (#109), the waiting step at the Y Hotel. Next: Bird in the Hand (#113), then Taking Liberties (#114). See all GTA 6 missions.
- Where the drive came from: Tourist Trap, Bricked Up (the storage locker) and Heavy Lifting. The airport job that set up the sale: VCIA Takedown.
- GTA 6 characters for who’s who, and GTA 6 map regions for Gloriana Key and Vice Beach.
- Interactive map: the Aqua Stadium, Big House Storage, the Acai Dreams rooftop bar and Andrea’s places.
Frequently Asked Questions
How do you start Starting From Zero in GTA 6?
You don't have to. It begins the moment Sunset ends: the Starting From Zero title appears over a morning sky and Jason and Lucia climb out where Sunset left them. There is no blip, call or Story-tab card to pick.
Where is the Aqua Stadium in Starting From Zero?
On Gloriana Key. It's an abandoned, graffiti-covered stadium on the water; the Go to the Aqua Stadium objective routes you there. Park by the gates and climb the ramps into the stands to find Andrea.
What do you do if the cops find your car at the Aqua Stadium?
Leave it. Walk along the shore beside the stadium, take the jet ski on the beach and ride across the bay toward Big House Storage. If you get back quickly, as Sirloin did, you can just drive off before the police reach the car.
Can you lose the cops in Starting From Zero?
Not completely. A notice warns that the heat area can't be escaped. The pause map shades the zones where police are actively searching, so route around them, drive at normal speed and stay out of sight of patrol cars.
Is there a trophy for Starting From Zero?
Finishing it completes Chapter 4, which unlocks the hidden Top Of The World, Ma trophy (Bronze). In Trophygamers' run it popped a few seconds into the next mission, once control came back.
Is Starting From Zero the last mission of Chapter 4?
Yes. It is story mission #112, mandatory and needed for 100%. The Chapter V card follows it straight away, and Bird in the Hand (#113) begins.
Sources & Credits
Researched from these videos and official material, among others. Screenshots credit the creator whose footage they come from.
- GTA 6 - Starting From Zero - Walkthrough Part 116 · Trophygamers
- GTA 6: Full Chapter 4 Ending (No Commentary) · Sirloin
- GTA 6 - Full Chapter 5 Walkthrough (No Commentary) 4K · Sirloin
- Starting From Zero (GTA 6 mission) · gtabase