Jump to your step
 1
Take over at the Y Hotel pool, two weeks later
 2
Read the Tie Up Loose Ends card in the Story tab
 3
Top up Family Savings (optional)
 4
Wait at Cafe Orquídea for the security van (optional)
 5
Tail the van to the bank without spooking it (optional)
 6
Clear the Jason-only, Lucia-only and solo jobs (optional)
 7
Pick up the message at the Y Hotel front desk · Jason
Tie Up Loose Ends: quick facts
| Mission | Tie Up Loose Ends, story mission #109 |
| Chapter | Chapter 4, right after the airport job |
| Type | A Story-tab tracker with a clock icon: Wait for a message. No title card, no blip, nothing to fail |
| You play as | Jason and Lucia; the optional jobs can be done as either |
| From | Raul (his initial is on the tracker icon) |
| Where it starts | Wherever you are: it shows up as you get control at the Y Hotel pool in Vice Beach |
| Unlocks after | VCIA Takedown (#108) |
| Unlocks next | Call Valentina Back (#110), then Sunset (#111) |
| Optional jobs on the card | Save for the Future, Wait at the Cafe; Jason only: Mentor Yago, Recover Pete’s Plane; Lucia only: Deliver Cellerica Products; solo only: Attend Eddie Acosta’s Party |
| Reward | None of its own |
| Trophy | None (the Hi-Jacked trophy that pops during the pool scene belongs to VCIA Takedown) |
| Required for 100% | Yes |
Mission briefing How the airport job turned out, what you are waiting for, how it starts and where. Contains spoilers for the end of VCIA Takedown.
What Tie Up Loose Ends is
This is a breather, not a mission. After the airport job the story pauses, and the game hands you a single tracker in the Story tab that says, in short, that Raul has gone quiet about selling the hard drive and you should use the time to settle your business and build a backup fund.
Why you’re waiting: the airport job ended in a mess. Raul’s swap at VCIA was found out, Karim was killed, and Kordell dragged Raul onto the plane he hijacked. Lucia got aboard, flew it herself and put it down in the bay, while Jason went after the cash. Afterwards, on the dock by Ocean Beach Marina, Raul lays out what comes next. The cash is not the real prize: the hard drive is. Valentina and their lawyer Abe will quietly auction it to whoever pays most, and Raul needs a couple of weeks to arrange things. When Lucia asks what they should do until then, he tells her to enjoy Vice City with money in her pocket.
Two weeks on, the couple are restless. Raul has already paid them 10% for the airport, with the rest of the bank job money still to come. A BuckMe notification confirms a $250,000 deposit. Raul’s last text said he was in the Bahamas with bad reception. They have their new passports and could leave, but that would mean walking away from the rest of the money, so they decide to wait and build some insurance money on the side. Yasmani has a lead on a bank vault, which is where the optional cafe job comes from.
How Tie Up Loose Ends starts
You don’t start it. Finish VCIA Takedown and the game cuts to a Two Weeks Later card at the Y Hotel. After the poolside talk you get control, and Tie Up Loose Ends is already at the top of the Story tab.
Where it starts
At the Y Vice City Hotel in Vice Beach, the couple’s base since Ocean Beach. There is no mission marker for the step itself, because there is nowhere to go. Raul’s usual spots are on the map under his name, but none of them is used here.
About this guide
No one has uploaded this step as a video of its own. It sits inside Sirloin’s full Chapter 4 run (from about 10:06 to 10:18). The Story-tab card names it plainly, and Trophygamers’ VCIA Takedown video ends on the same pool scene. Sirloin tried the cafe job, failed it and then cut ahead, so the exact moment the wait ends is not on camera. We say where that leaves a gap.
Step 1: Take over at the Y Hotel pool, two weeks later
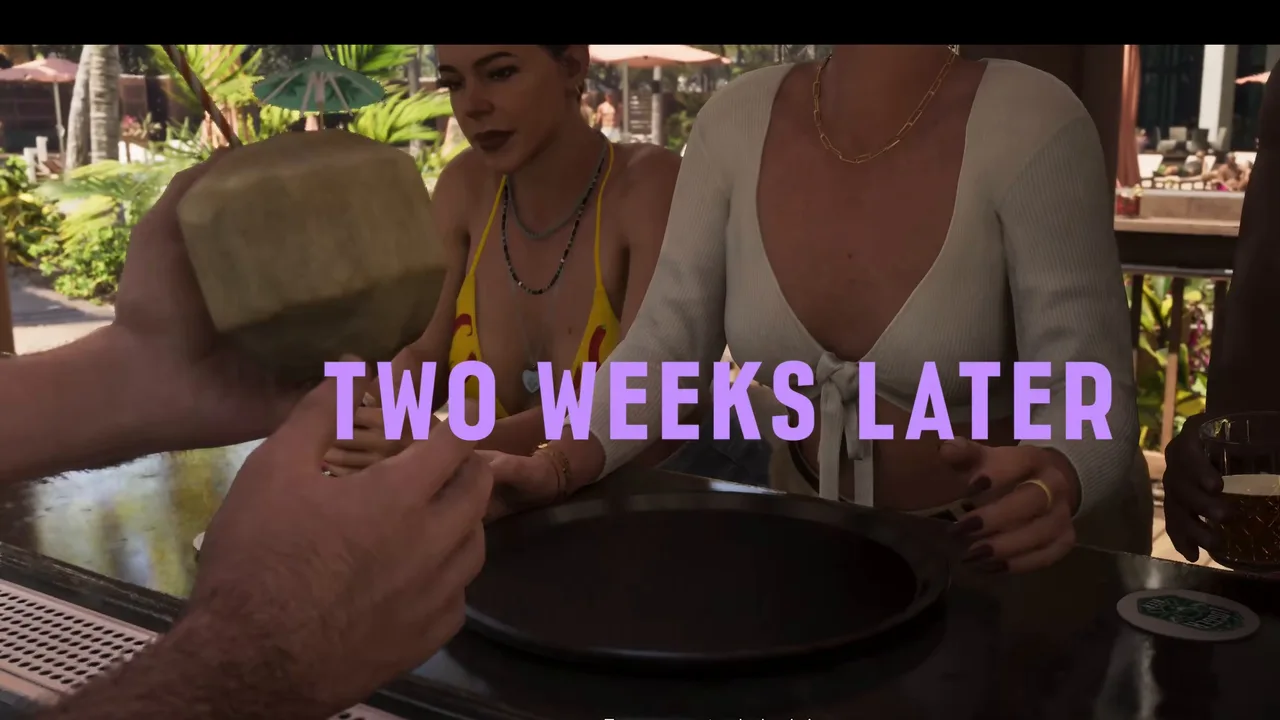
A Two Weeks Later card opens the scene: coconuts at the pool bar, a seagull after Jason’s fries, and the two of them on loungers wondering when the call will come. The Hi-Jacked trophy for the airport job pops at the end of this scene.
The time-skip card that opens the step. Footage: Sirloin.
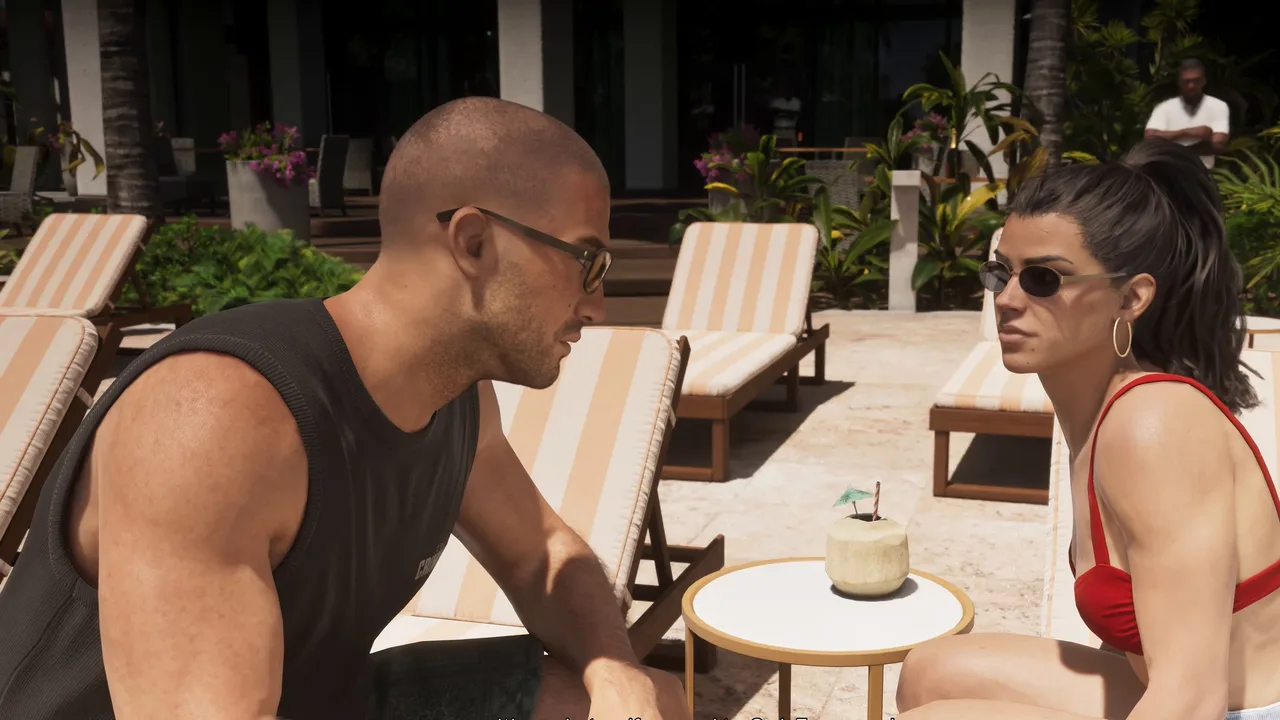 The poolside talk that sets up the wait. Footage: Sirloin.
When the talk ends you’re free, in duo mode, still on the pool deck. There’s no objective text on screen, which is the first sign this isn’t a normal mission.
Step 2: Read the Tie Up Loose Ends card in the Story tab
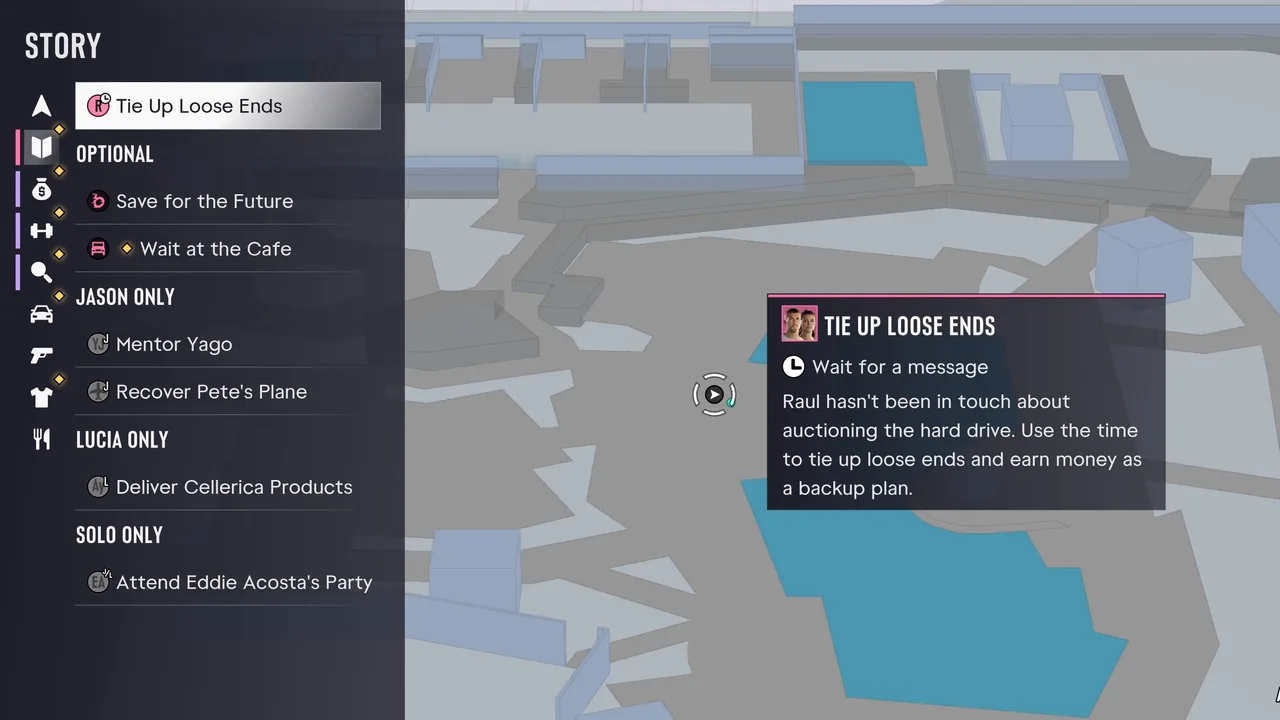
Open the pause map and go to the Story tab (the book icon). Tie Up Loose Ends is at the top with a clock on Raul’s icon. Its card has one line, Wait for a message, and tells you to use the time to settle things and make money as a fallback.
The tracker and everything the game suggests doing meanwhile. Footage: Sirloin.
Below it the game lists the work on offer: two Optional entries and four jobs locked to one character or to solo play. You can ignore them all and free-roam, but the cafe job is the one the story points at.
Step 3: Top up Family Savings (optional)
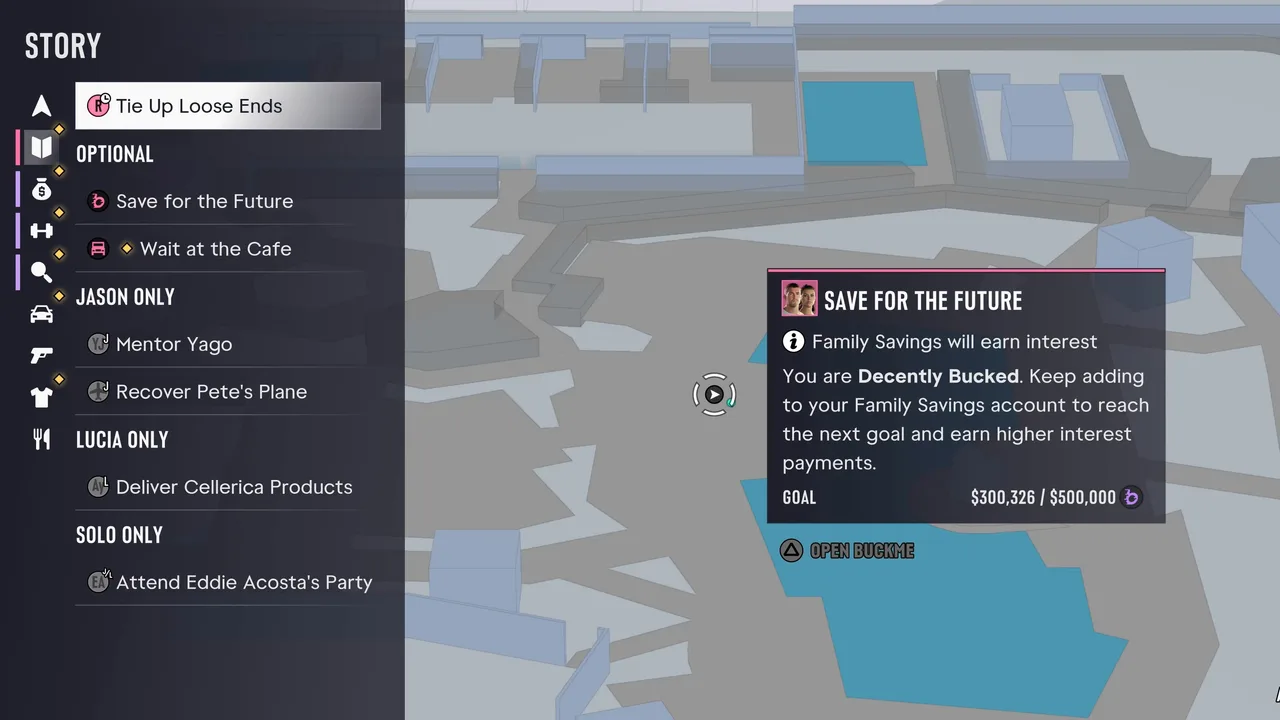
Save for the Future is the long-running BuckMe goal from Chapter 1, back with a new line: Family Savings now earns interest. The card ranks your saver status (Sirloin’s read Decently Bucked) and shows the next goal. His was $300,326 of $500,000, with about $366,000 sitting in checking.
Family Savings now pays interest, and higher goals pay more. Footage: Sirloin.
BuckMe pushes the idea too: a few minutes after the pool scene a notification spots a large recent deposit and reminds you that big, long-term savers earn better rates. Moving money in is one-way, so keep enough in checking for guns, armor and repairs. Our Deposit Cash Into BuckMe & Save for the Future guide covers how the goals and perks work.
Step 4: Wait at Cafe Orquídea for the security van (optional)
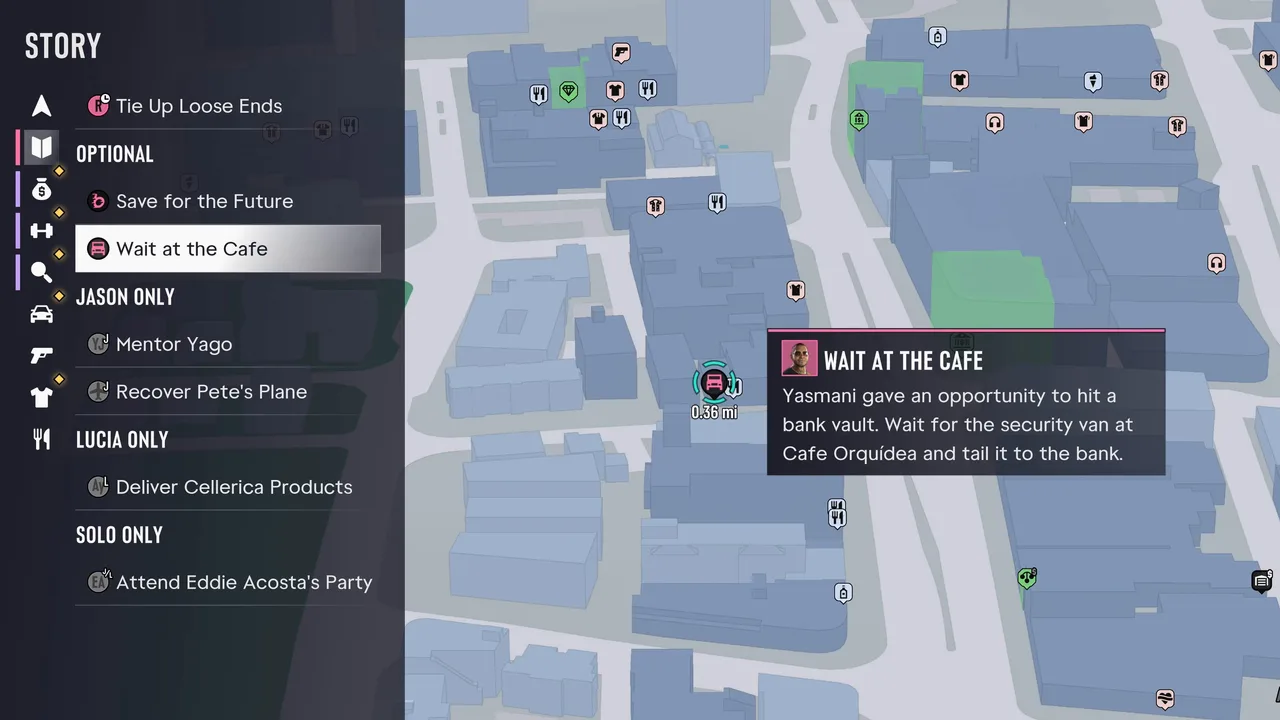
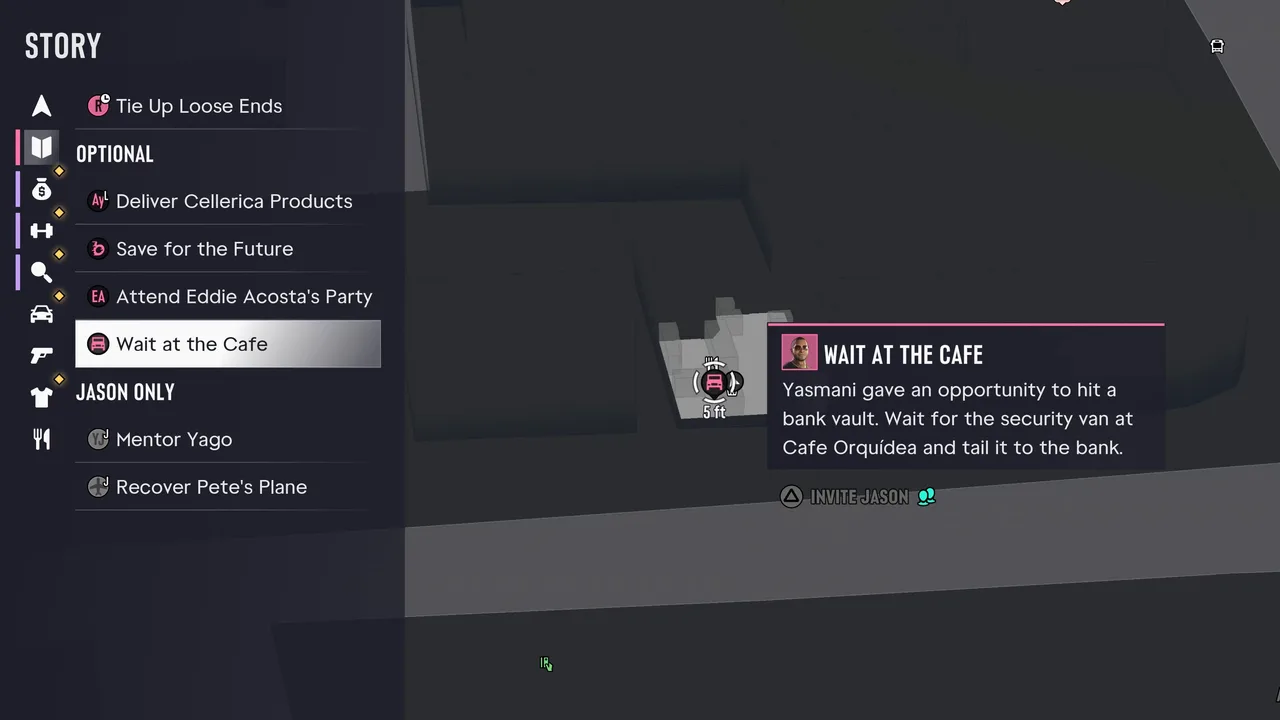
This is the job the couple talk about at the pool. The card Wait at the Cafe says Yasmani has put you on to a bank vault: wait at Cafe Orquídea for a security van and follow it to the bank. You can invite your partner from the card.
The cafe is about a third of a mile from where Sirloin stood. Footage: Sirloin.
Sirloin didn’t drive. Lucia called a car with the RydeMe app, and the ride offered Skip Journey ($100), Talk and Hurry Up ($5). It’s a cheap way to arrive without a car you might need to ditch later.
 Booking a RydeMe ride from outside the hotel. Footage: Sirloin.
Cafe Orquídea is a small Cuban cafe with tables out front. Walk in, sit by the window and watch the street.
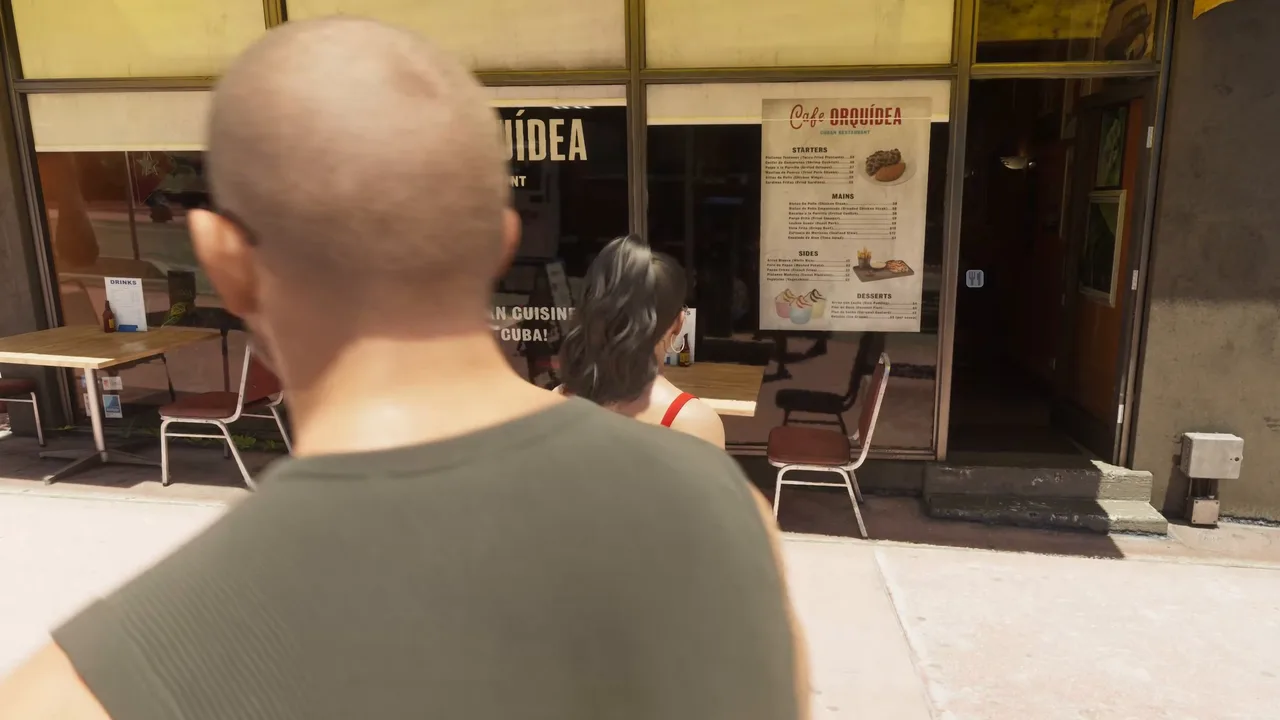 Cafe Orquídea, the stakeout spot. Footage: Sirloin.
The counter sells empanadas and sandwiches from about $5 if you want to pass the time. The van turns up after a minute or two of waiting. The pair agree while they wait: register robberies won’t make real money, but a vault will.
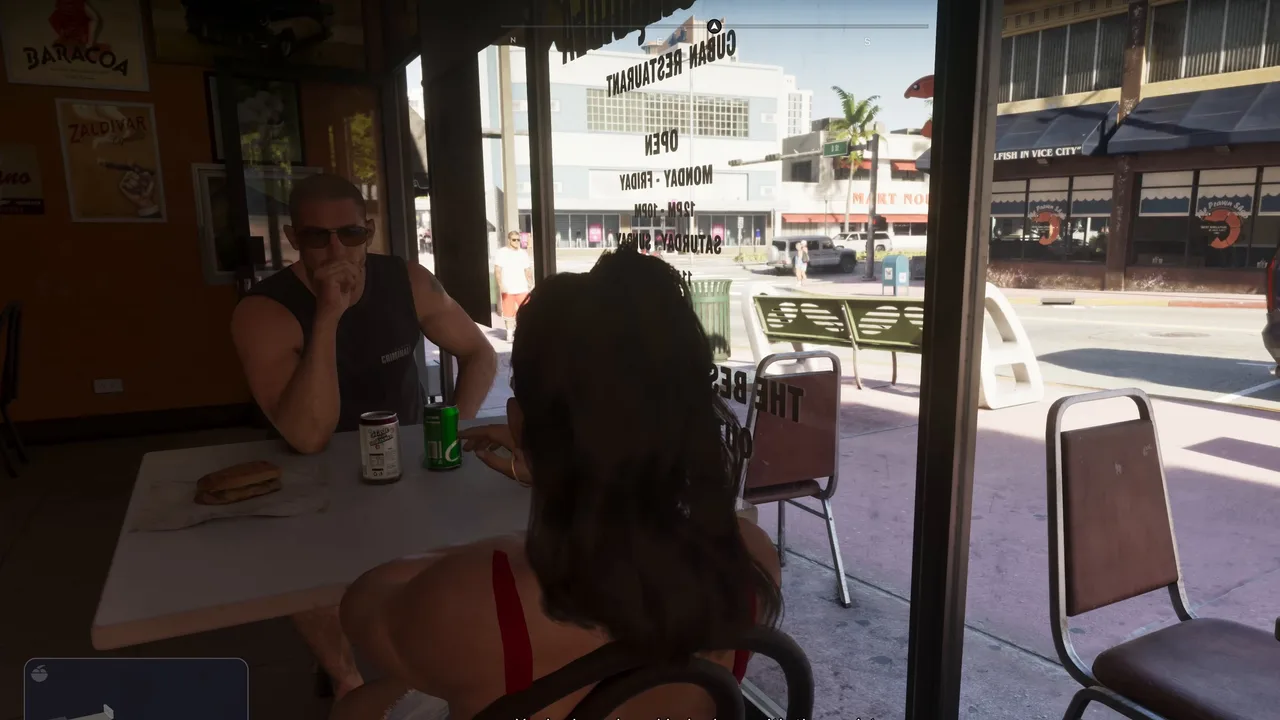 Waiting at the window for the armored van. Footage: Sirloin.
Step 5: Tail the van to the bank without spooking it (optional)
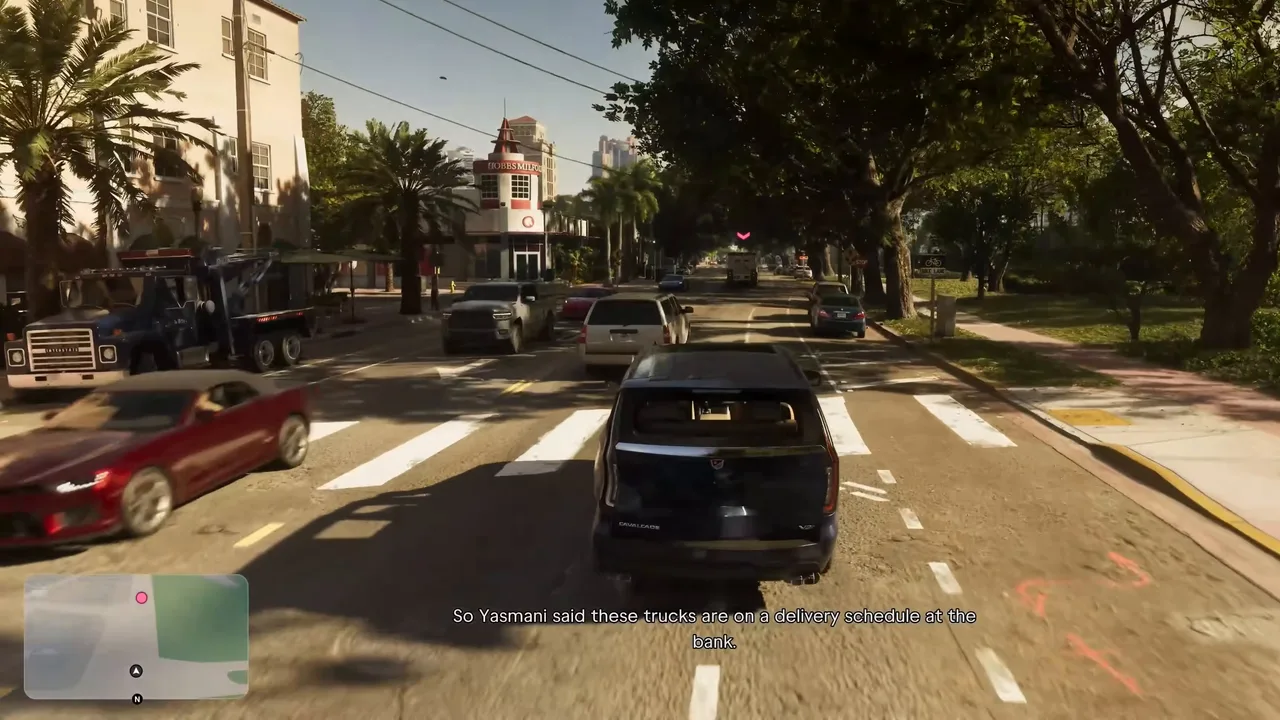
When the van passes, the objective becomes Tail the security van. On the drive the couple explain the plan: these trucks keep a fixed delivery schedule, the bank’s vault only opens while the van is unloading, so you follow the guard inside. They also warn that the drivers are twitchy and the police respond fast at the bank.
Keep the van’s marker in view from well back. Footage: Sirloin.
Distance is everything. Sirloin closed in and the job ended with FAILED: You alerted the security van. It’s an optional entry, so failing it doesn’t block the story.
 Get too close and the van drives off. Footage: Sirloin.
What happens inside the bank is not in this footage, because Sirloin moved on after the fail. Yasmani’s other jobs, including his security-van work, are in our Yasmani jobs guide.
Step 6: Clear the Jason-only, Lucia-only and solo jobs (optional)
The rest of the card is side content you may have left open earlier in Chapter 4. The list regroups depending on who you’re playing:
- Mentor Yago (Jason only).
- Recover Pete’s Plane (Jason only): see The Last Mile: Passing the Torch.
- Deliver Cellerica Products (Lucia only): Andy’s runs, in Climbing the Cellerichain.
- Attend Eddie Acosta’s Party (solo only): see Attend Eddie Acosta’s Party.
The same jobs listed under different headings after switching. Footage: Sirloin.
This is the last calm stretch for a while, so it’s a good time to finish these, bank cash and stock up on ammo and armor.
Step 7: Pick up the message at the Y Hotel front desk (Jason)
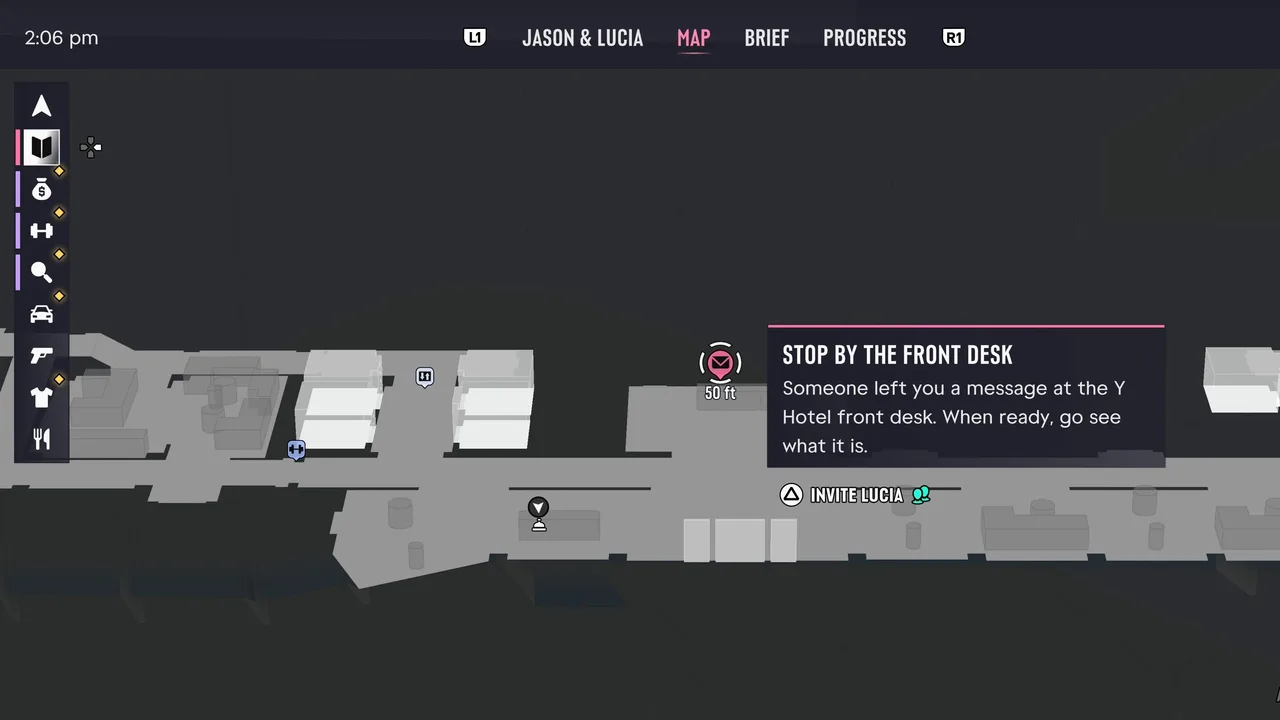
The wait ends with a new card: Stop by the Front Desk. Someone has left you a message at the Y Hotel desk, and you go when you’re ready. The card lets you invite Lucia.
The card that replaces the wait. Footage: Sirloin.
The gap in the footage: Sirloin’s run cuts straight from the failed van job to the drive back to the hotel, so we can’t say what triggers this card: time passing, a set number of jobs, or something else. Keep playing and check the Story tab now and then.
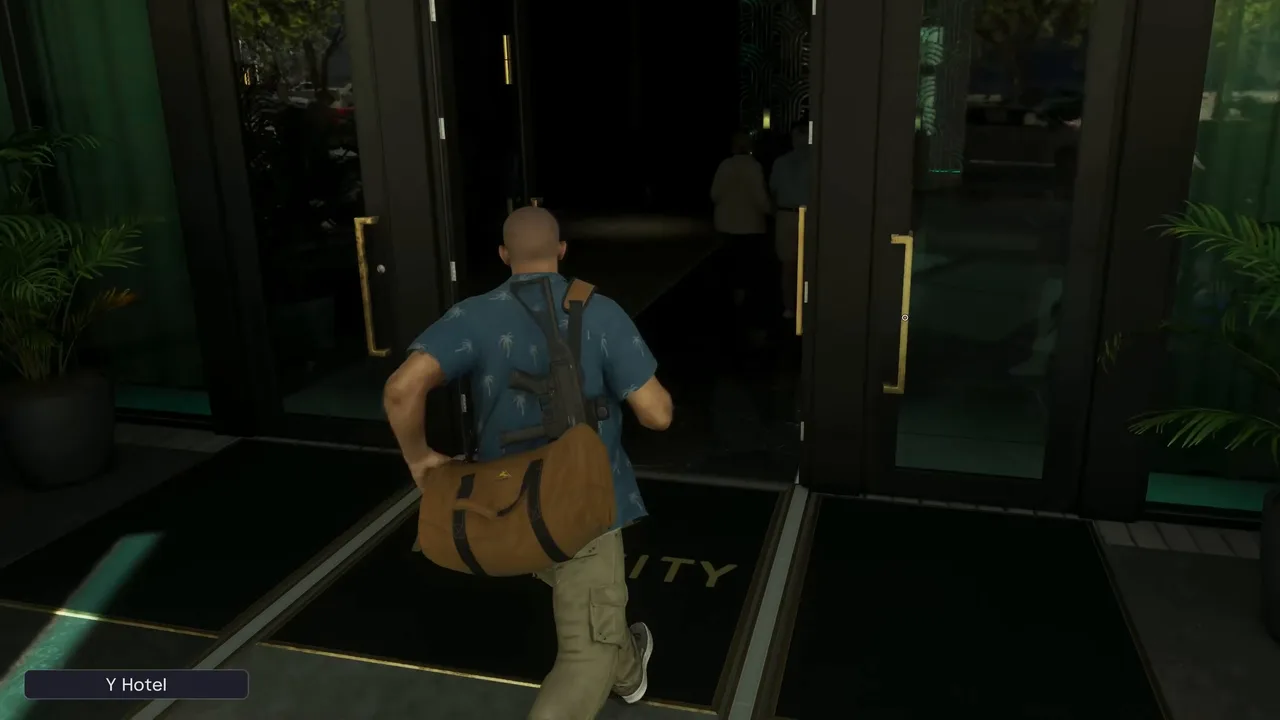 Back at the Y Hotel for the message. Footage: Sirloin.
Inside, the desk clerk Santino is tied up with another guest, and the hotel knows Jason by his cover name, Mr. Walker. Once Santino’s free, Jason texts Lucia that he’s in the lobby picking up the message, and the clerk at the main desk hands it over. That scene opens the next stretch of the story.
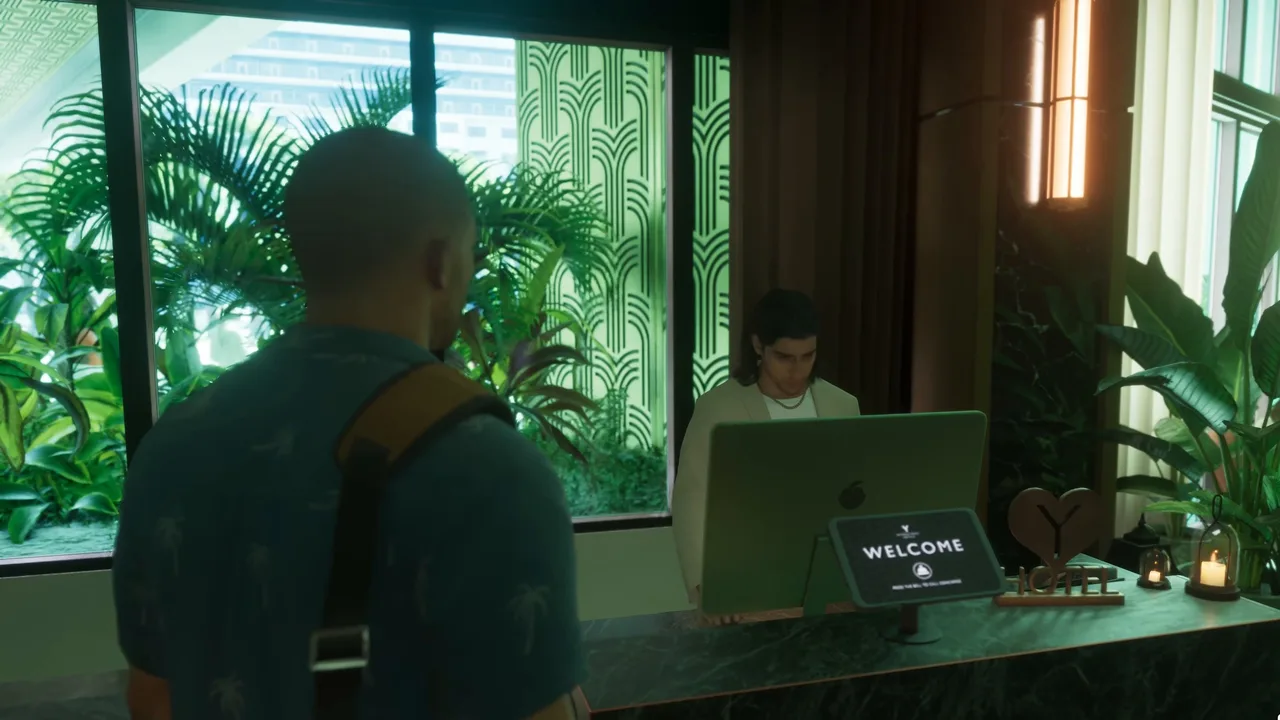 Santino at the concierge desk. Footage: Sirloin.
Rewards
- Money: none for the step itself. Whatever you make from the optional jobs is yours, and Family Savings now earns interest.
- Trophy: none. Hi-Jacked, which pops in the opening scene, is for VCIA Takedown.
- What comes next: the message at the Y Hotel front desk. Call Valentina Back (#110) and Sunset (#111) follow in the story list; Sirloin’s run cuts from the failed café job straight to the front desk, so we haven’t seen exactly what unlocks them.
Tips
- Don’t wait for a timer on screen. There isn’t one. Use the time for the optional jobs and check the Story tab for the front desk card.
- Hang back on the van. Tail from a block away with traffic between you. Getting close fails the cafe job with “You alerted the security van”.
- Take a RydeMe to the cafe if you don’t want your own car near a bank job. Skip Journey costs $100.
- Think before you save. Family Savings now pays interest, but money moved in can’t come back out.
- Clear the character-only jobs now. Pete’s plane, Andy’s deliveries and Eddie’s party all sit on this card, and this is a quiet moment to finish them.
Related guides
- Previous: VCIA Takedown (#108), the airport job. Next: Call Valentina Back (#110), then Sunset (#111). See all GTA 6 missions.
- Before the heist: Fully Catered (#106) and Team Building (#105). How the Story tab’s trackers work: Heist Planning.
- Jobs on the card: Yasmani’s jobs, Deposit Cash Into BuckMe & Save for the Future, The Last Mile: Passing the Torch, Climbing the Cellerichain, Attend Eddie Acosta’s Party.
- The hotel: Ocean Beach, where Jason and Lucia move into the Y. GTA 6 money guide for more ways to build the backup fund. GTA 6 characters.
- Interactive map: the Y Vice City Hotel.
Frequently Asked Questions
What do you do in Tie Up Loose Ends in GTA 6?
Mostly wait. It is a Story-tab tracker with one objective, Wait for a message, and the card tells you to earn backup money in the meantime. There is no title card, no blip and nothing to fail.
How do you start Tie Up Loose Ends?
It starts on its own straight after VCIA Takedown. A Two Weeks Later card plays, Jason and Lucia relax by the Y Hotel pool, and the Tie Up Loose Ends entry sits at the top of the Story tab when you get control.
How long do you have to wait in Tie Up Loose Ends?
The footage doesn't show an exact timer. Keep playing the optional jobs and free roam; when the wait is over, the next card asks you to stop by the Y Hotel front desk, where someone has left you a message.
Why did Wait at the Cafe fail with You alerted the security van?
You got too close while tailing the armored van from Cafe Orquídea. Hang well back, keep the van's marker in sight and let other cars sit between you; the drivers spook easily.
Is Tie Up Loose Ends required for 100%?
Yes. It is listed as a mandatory story entry, #109 in Chapter 4, and the story cannot move on to Call Valentina Back and Sunset until the wait ends.
Sources & Credits
Researched from these videos and official material, among others. Screenshots credit the creator whose footage they come from.
- GTA 6 - Full Chapter 4 Walkthrough (No Commentary) 4K · Sirloin
- GTA 6 - VCIA Takedown - Walkthrough Part 114 · Trophygamers
- GTA 6: Full Chapter 4 Ending (No Commentary) · Sirloin
- Tie Up Loose Ends (GTA 6 mission) · gtabase