Jump to your step
 1
Ride to the Crastenburg pool bar
 2
Follow Brian and get in his truck
 3
Pick up Cal at the liquor store
 4
Drive to Maroon Key and find Arnold
 5
Watch the meeting go wrong
 6
Chase Arnold’s SUV and fight off the bikers
 7
Chase Arnold on foot to the dock
 8
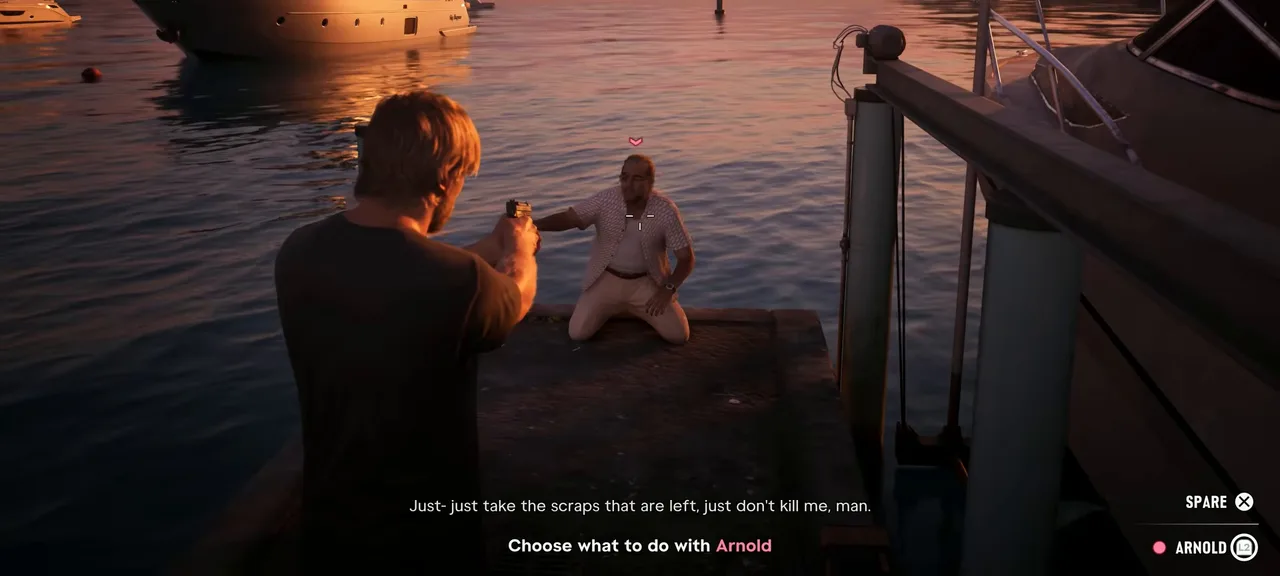
Spare Arnold or shoot him
 9
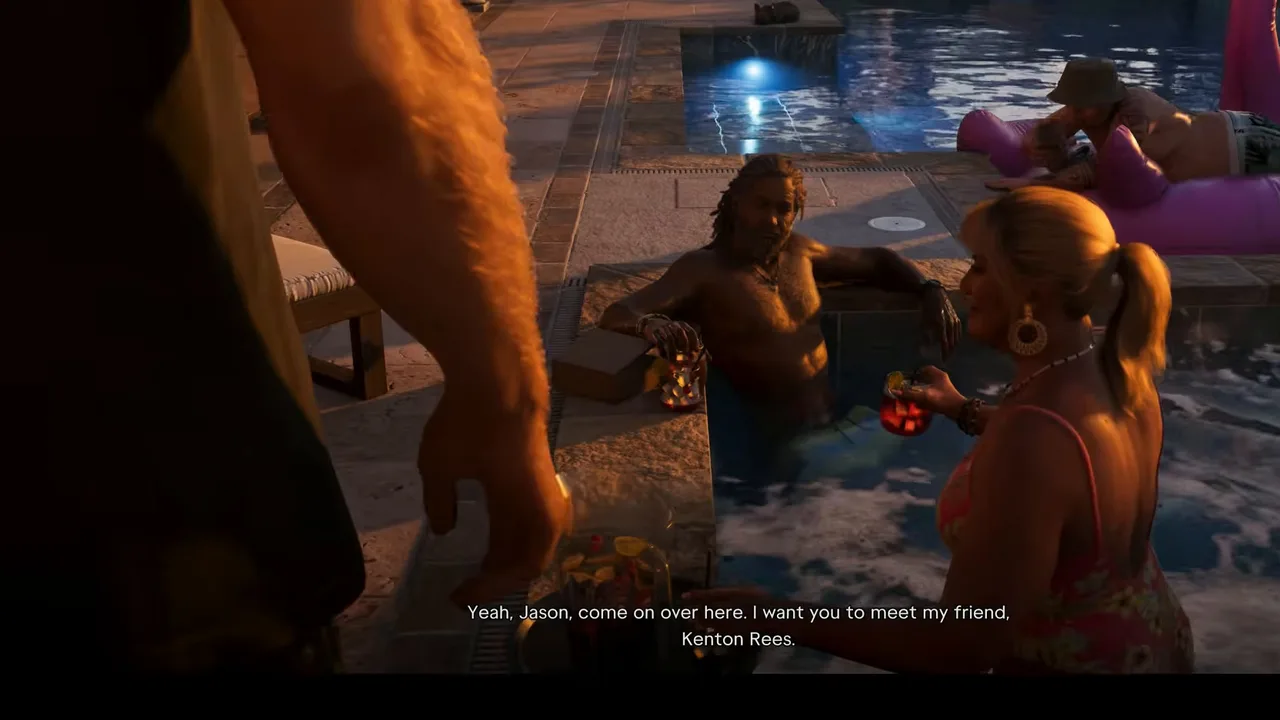
Report to Brian at his pool party
Hey Arnold!: quick facts
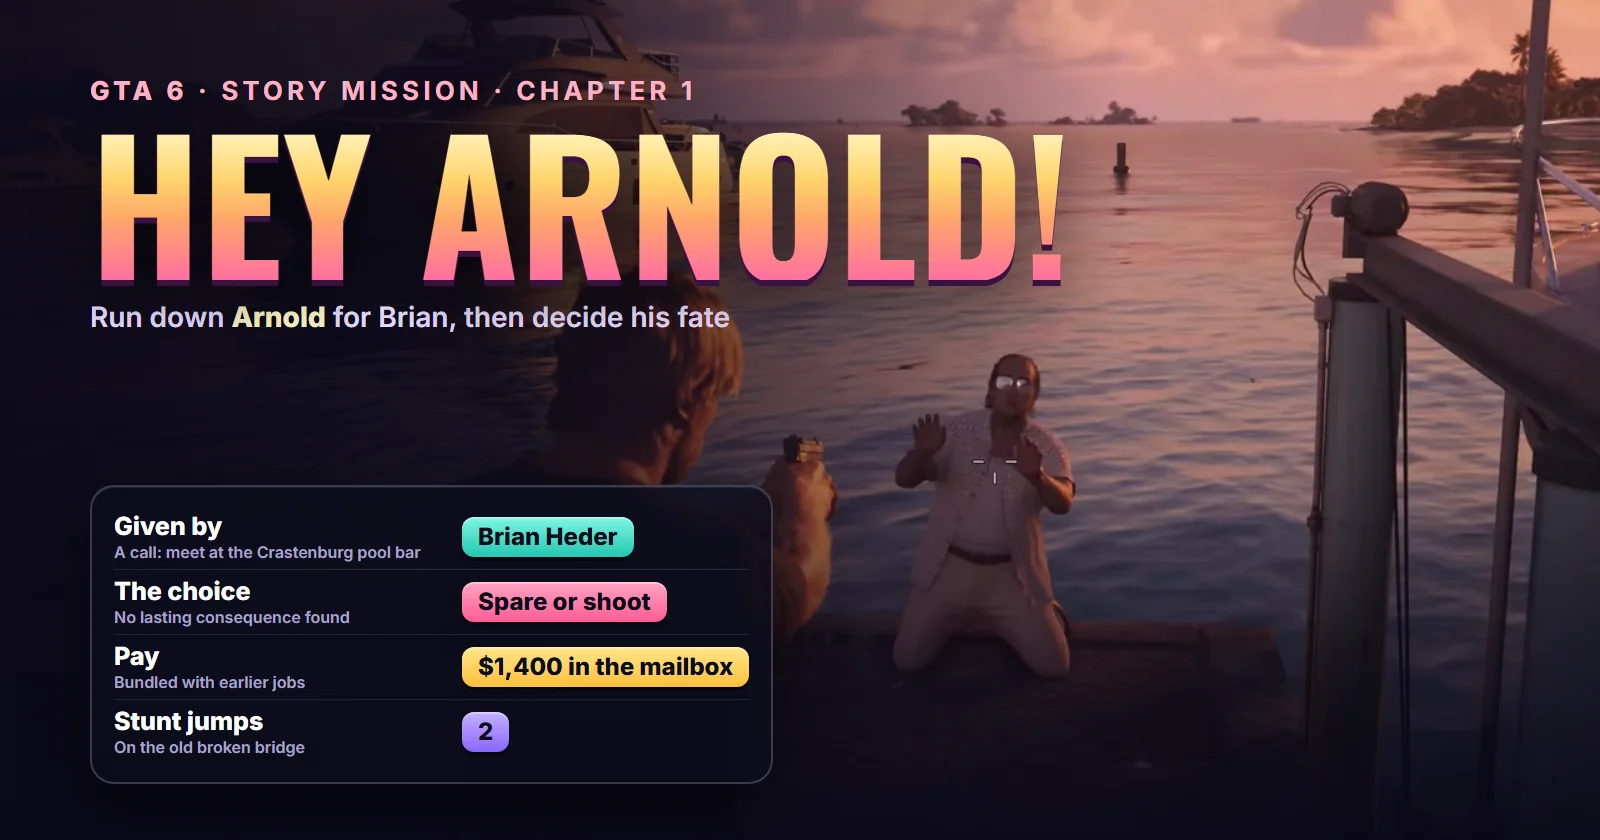
| Mission | Hey Arnold!, story mission #10 in the mission database (GTA Series Videos labels it #8) |
| Chapter | Chapter 1 |
| You play as | Jason Duval |
| Given by | Brian Heder, by phone |
| Where it starts | The Crastenburg pool bar, southern Key Lento (the B blip) |
| Unlocks after | The first Key Lento errands; in every run we watched, Brian called right after Unwanted Attention |
| Unlocks next | Island Dreams (Kenton’s treasure hunting) |
| Choice | Spare Arnold or shoot him |
| Reward | No payout on the spot; Brian leaves the pay in Jason’s mailbox ($1,400 in GameRiot’s run, bundled with earlier jobs) |
| Trophy | None |
| Required for 100% | Yes |
Mission briefing How it unlocks, where Brian waits, who Arnold is and how this guide was made. Contains spoilers.
How to unlock Hey Arnold!
There is no blip to hunt for. Once Jason has worked through the first round of jobs in Key Lento, Brian rings him. He is meeting Arnold, the broker behind Donnie’s runs and the deal with the Kingfishers that went sideways in Gone Fishing, and he wants Jason there in case it turns ugly. He also tells him to bring a gun.
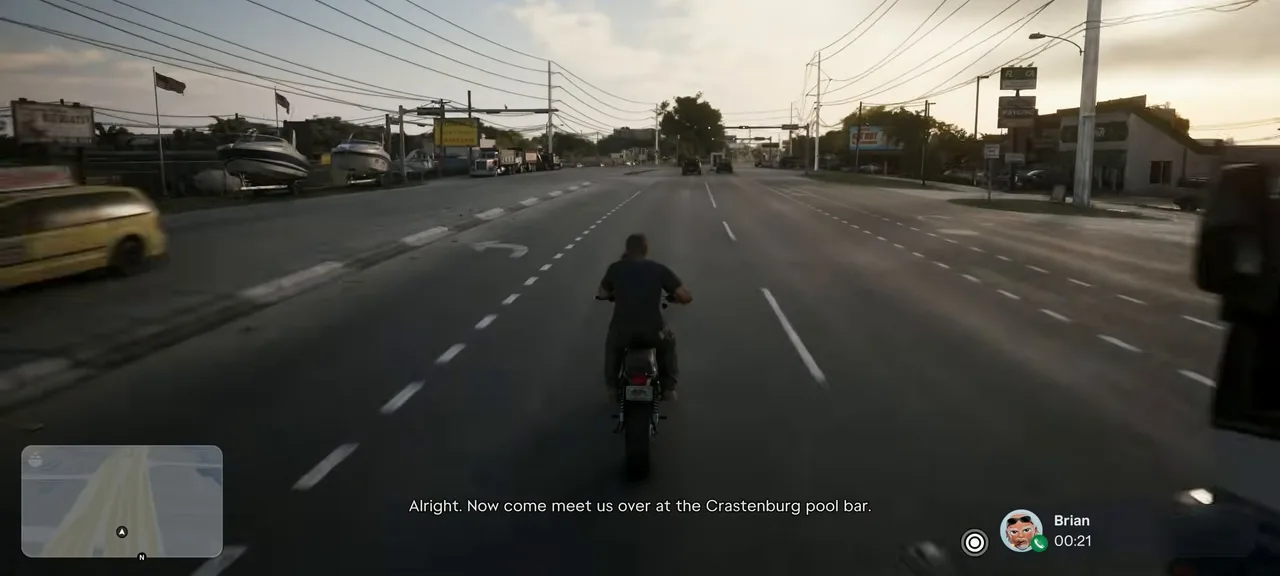 Brian’s call starts the mission: meet him at the Crastenburg pool bar. Footage: GTA Series Videos.
In both runs we followed, the call came right after Unwanted Attention. GameRiot was still in Hamlet when the phone rang; GTA Series Videos was riding through Key Lento. The mission database places Hey Arnold! after Just a Scratch and Shirley’s two optional favours, so expect it once Gear Up, Lab Fees, Pipework, Just a Scratch and Unwanted Attention are behind you.
Where Hey Arnold! starts
When the call ends, the map updates with a B blip at the Crastenburg pool bar, a terrace bar with white balustrades on the water at the southern end of Key Lento. From Hamlet it was a 1.8-mile drive in GameRiot’s run. Show where Hey Arnold! starts on the live map.
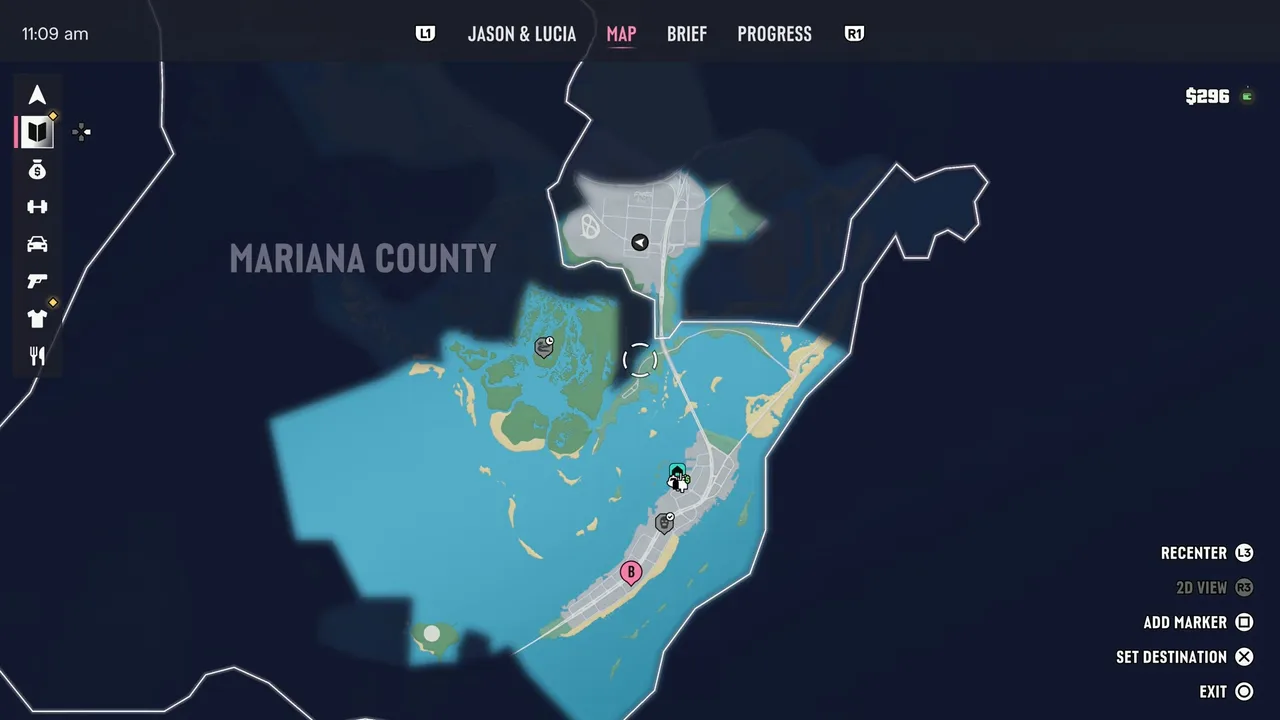 The B blip on the pause map, at the south end of Key Lento. Footage: GameRiot.
Who is Arnold?
Arnold has been Brian’s broker for about fifteen years: the man who tells him what is coming in, what is going out, and when. After the mess with the Kingfishers he has stopped answering Brian’s calls. Brian takes that as a sign that his old partner has cut him loose, and he wants to say so to his face. Cal, who loves a bit of phone snooping, has been put on the job of finding him. See our characters guide for more on Brian and Cal.
This walkthrough follows GTA Series Videos’ full run on PS5, checked against GameRiot’s run and the mission database entry.
Step 1: Ride to the Crastenburg pool bar
Brian’s tip about the gun matters: there is shooting later, and a firearm makes it much easier. The game flashes a reminder on the way that you can manage your loadout from your car’s trunk or at any Ammu-Nation, so if you skipped Gear Up, grab at least a pistol first.
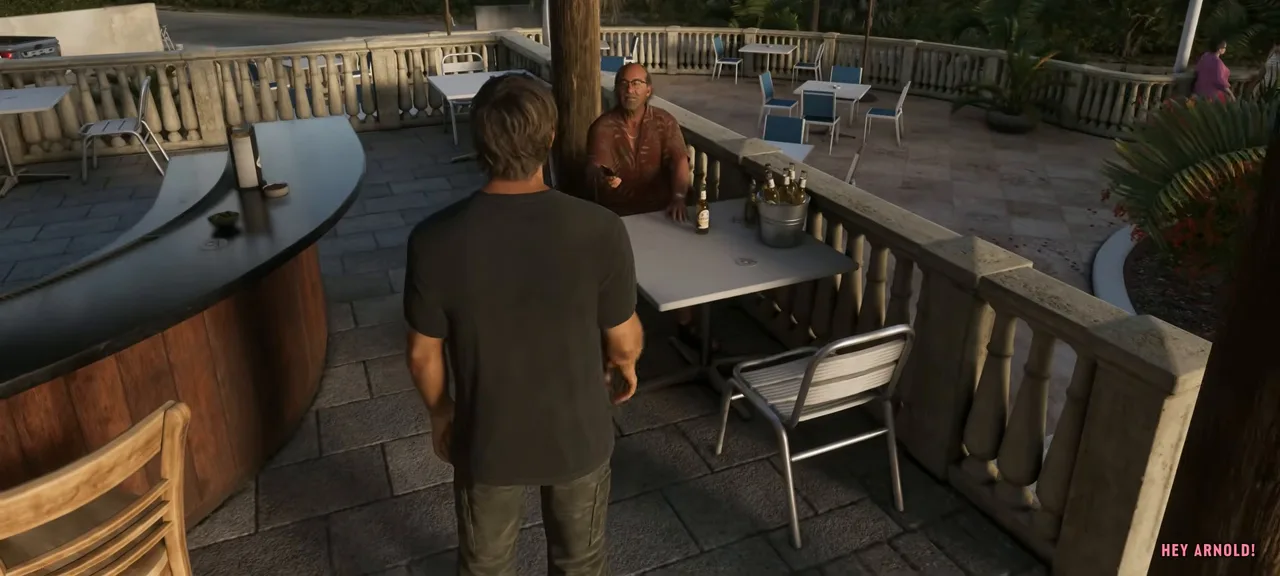
Follow the B blip and walk onto the terrace. The Hey Arnold! title appears as Jason reaches Brian, who is sitting alone at a table with a bucket of beers and an empty chair.
Brian waits on the terrace. The empty seat is Arnold’s. Footage: GTA Series Videos.
Step 2: Follow Brian and get in his truck
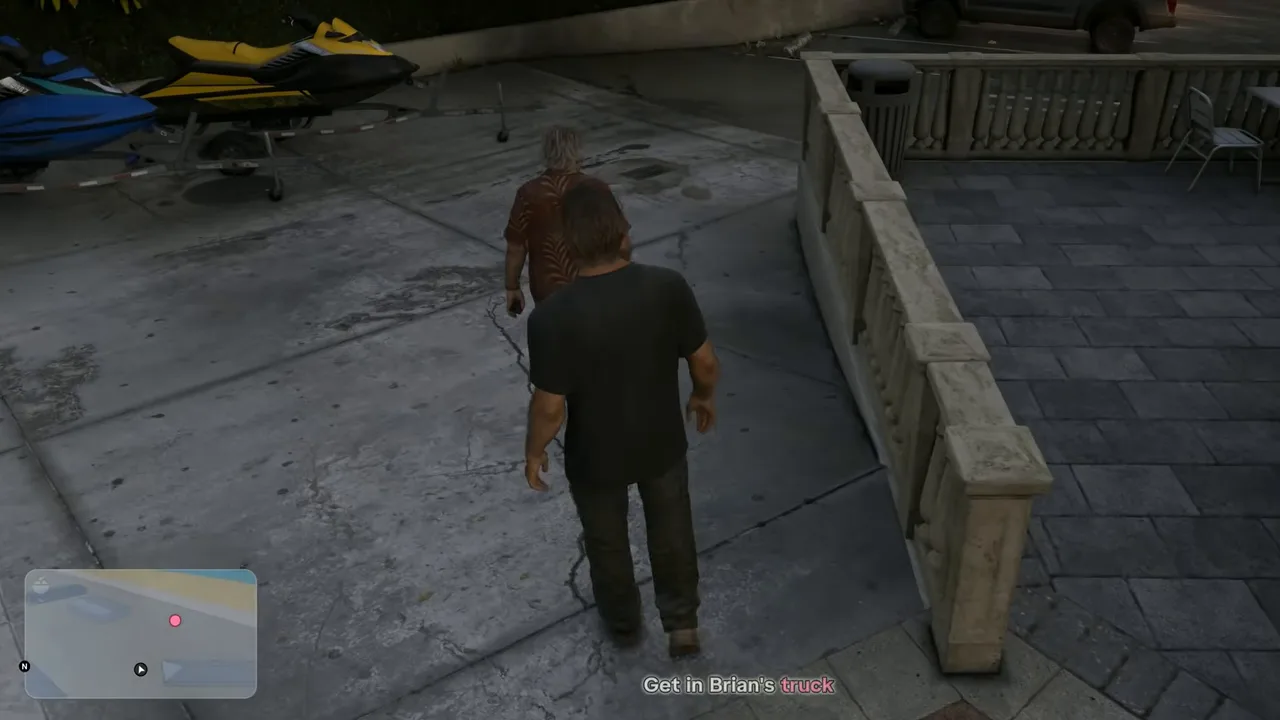
The scene plays out: Arnold is late, he isn’t picking up, and Brian is not used to being stood up. Cal has a lead, but first he needs collecting. The objective switches to Follow Brian, then Get in Brian’s truck, a grey Vapid Caracara 4x4 parked behind the bar next to some jet skis. Brian insists that Jason drives.
Brian’s Caracara is parked behind the bar. Footage: GTA Series Videos.
Step 3: Pick up Cal at the liquor store
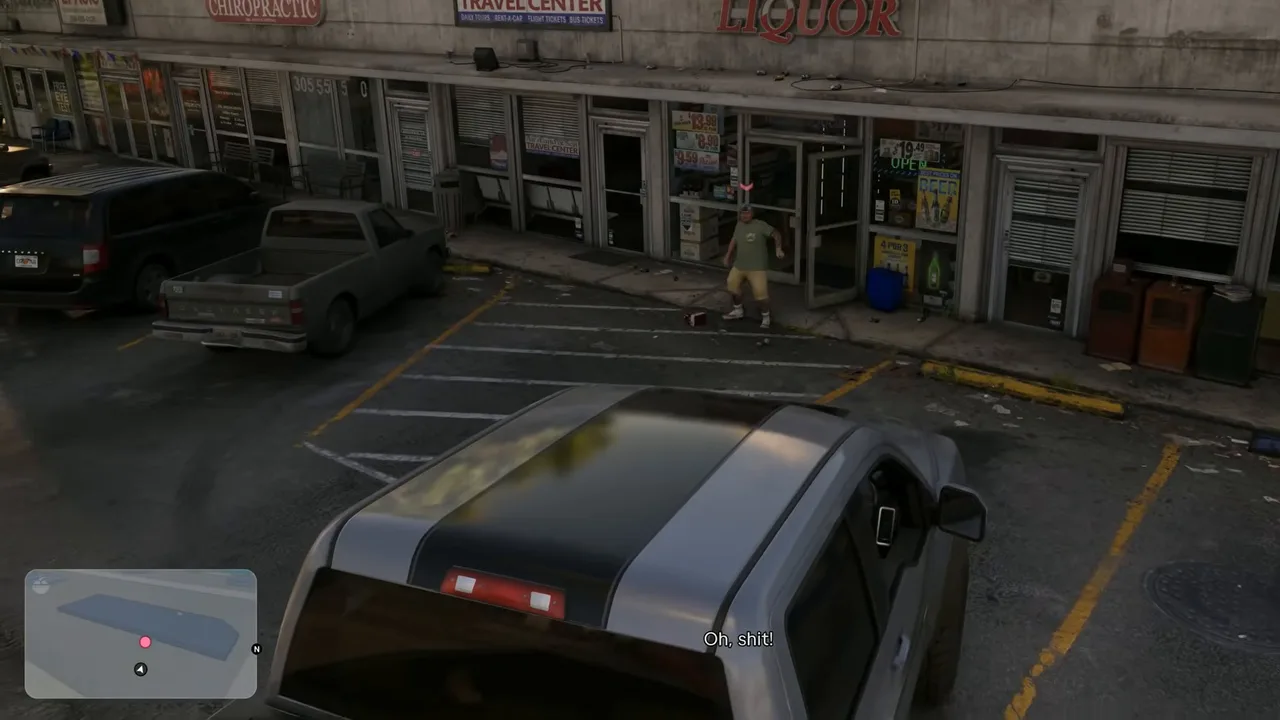
The next objective is Drive to the liquor store. Brian doesn’t need to say which one: Cal is waiting outside One Stop Liquor in a strip mall in Key Lento, next to a travel agency and a chiropractor. Show One Stop Liquor on the live map.
Pull up in front of the store. Cal is saying goodbye to someone and takes his time, until Brian loses patience and he scrambles in.
Cal comes out of One Stop Liquor. Footage: GTA Series Videos.
Step 4: Drive to Maroon Key and find Arnold
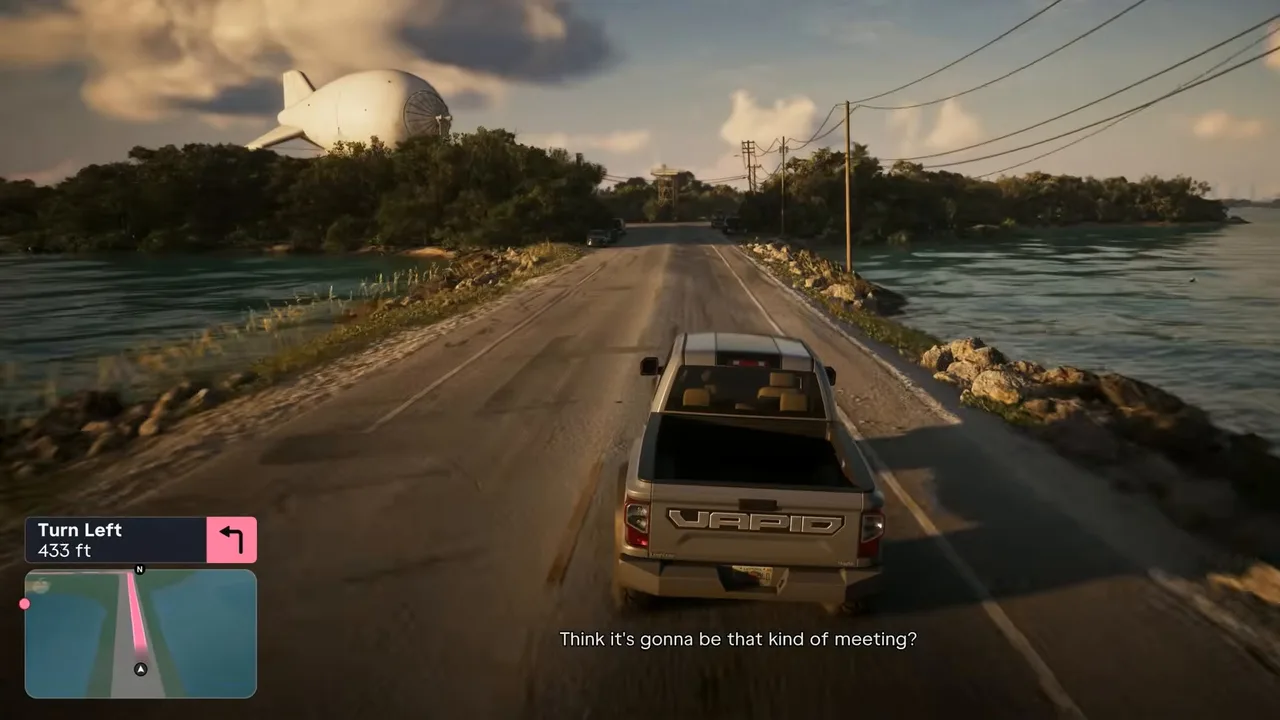
Cal has traced Arnold’s phone. He sends you south down the causeway to Maroon Key and points out the landmark to steer by: a huge white aerostat, a tethered radar blimp. Arnold should be somewhere near the radar station below it. A search area appears on the map and shrinks to an exact marker as you get closer.
On the way Brian checks that Jason is armed and warns that Arnold usually keeps one or two men around him. When the satnav says Turn Left, take the narrow road towards the blimp. Arnold is waiting at a small concrete building with a high-voltage sign, with two of his men.
Head for the aerostat. The turn-off is on the left just before it. Footage: GTA Series Videos.
Step 5: Watch the meeting go wrong
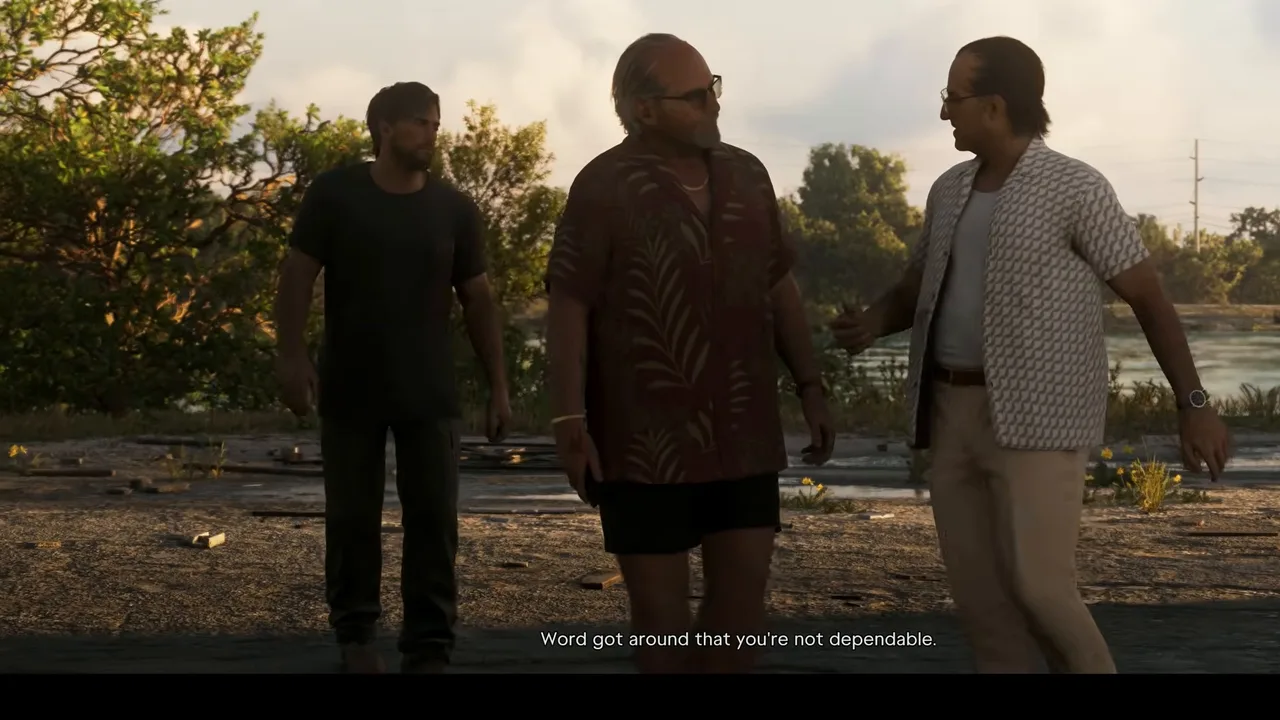
This part is a cutscene, so you don’t have to do anything. Arnold isn’t sorry. He blames Brian for starting a turf war with the Kingfishers, tells him he’s yesterday’s man next to the crews moving whole shiploads, and walks out. Jason steps in, Arnold promises to make sure nobody works with Brian again, and Brian decides they are done talking.
Brian makes his case to Arnold. It doesn’t go well. Footage: GTA Series Videos.
Step 6: Chase Arnold’s SUV and fight off the bikers
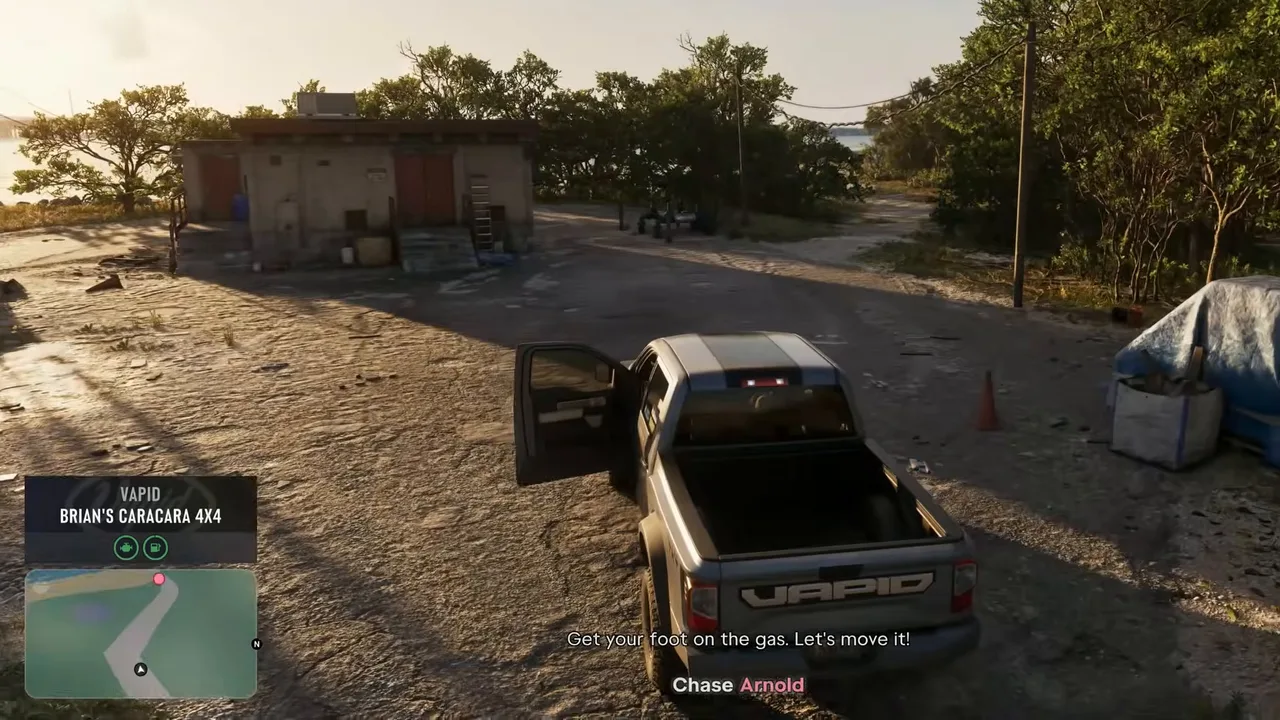
Control returns with the objective Chase Arnold. You are back behind the wheel of Brian’s Caracara. Arnold drives off in a white SUV while two of his men on motorbikes ride shotgun and open fire on you.
Back in Brian’s Caracara: Chase Arnold. Footage: GTA Series Videos.
Deal with the bikers first. You can draw a gun and shoot from the driver’s seat, or just run them off the road. A tip at the start explains that clicking both sticks (L3 + R3 on PlayStation) puts the camera on the vehicle you’re following, but only while your weapon is put away. That helps on the dirt tracks around the radar station.
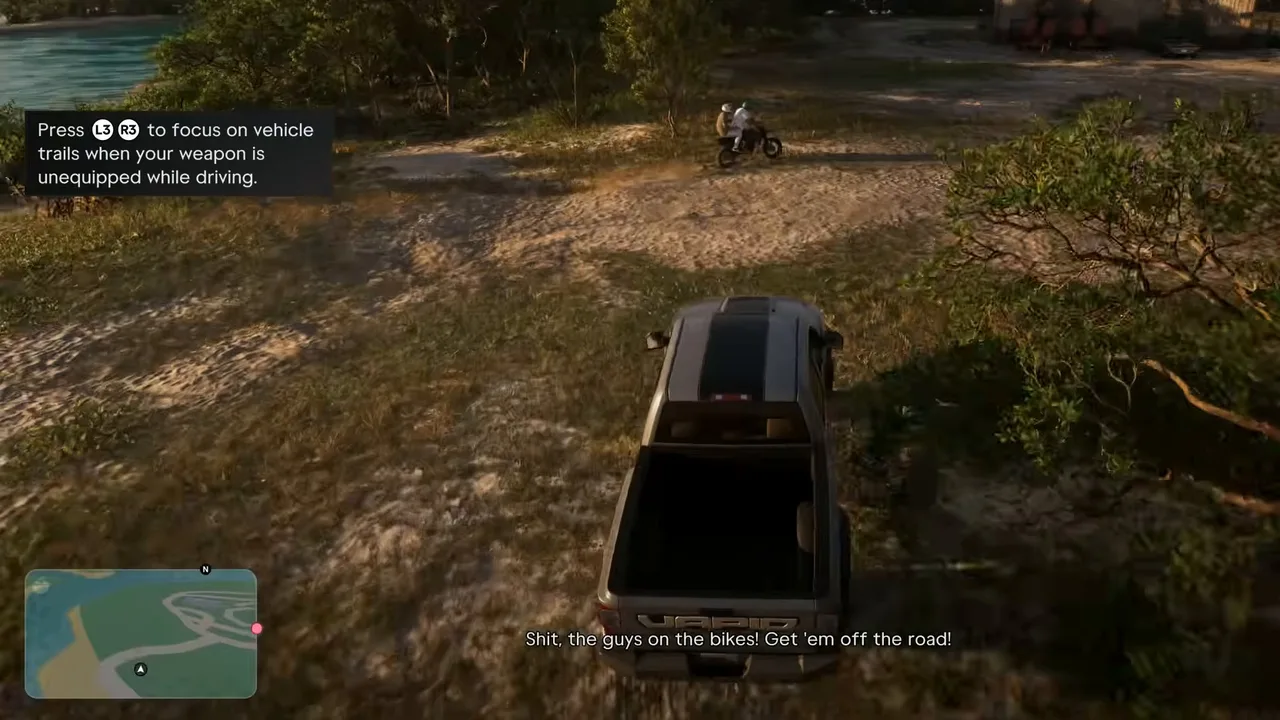 The bikers shoot at you first. Brian wants them off the road. Footage: GTA Series Videos.
Arnold then leads you onto the old broken bridge that runs next to the highway bridge. Its deck has gaps where spans are missing, and following him launches you over two stunt jumps. The mission database says these count as stunt jumps done, and they stay marked on the map afterwards. Keep the truck straight and hold the throttle: the old deck is narrow and has railings on both sides.
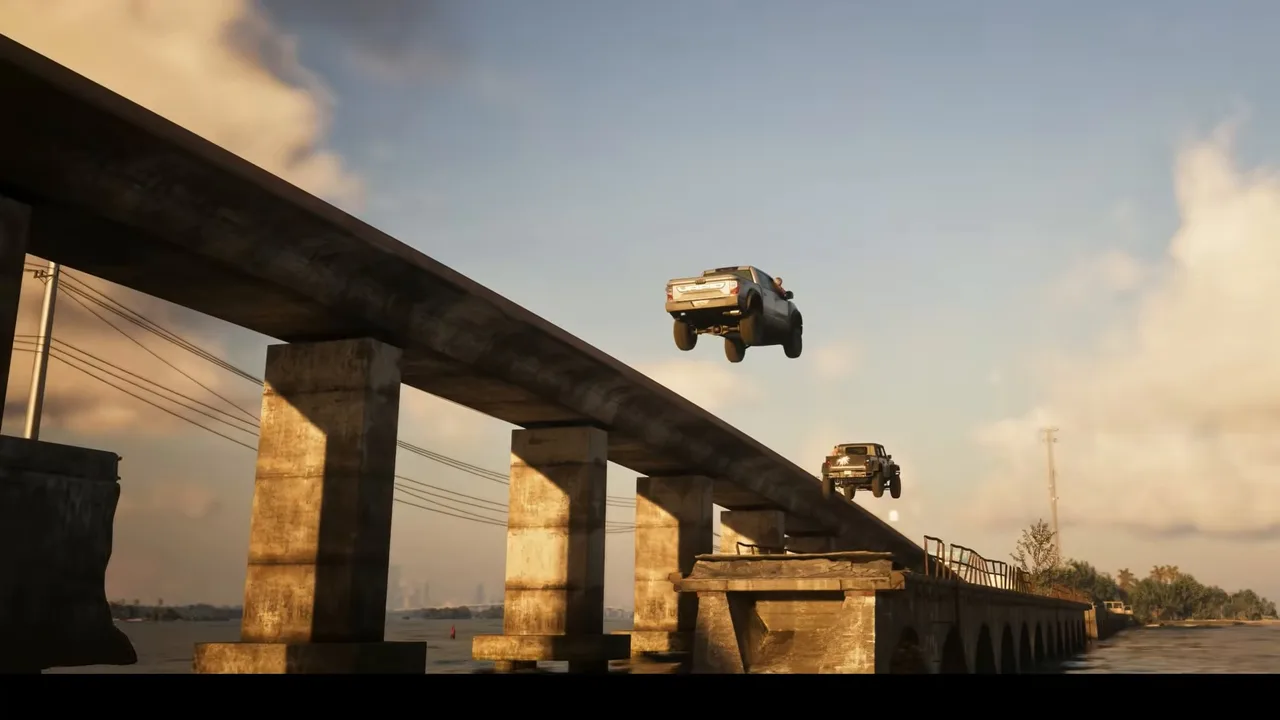 The gaps in the old bridge turn into two stunt jumps. Footage: GTA Series Videos.
The chase carries on through the next town and back towards Key Lento (the road signs read Key Lento Marina). Brian rants about Arnold the whole way. Just stay within sight of the SUV.
Step 7: Chase Arnold on foot to the dock
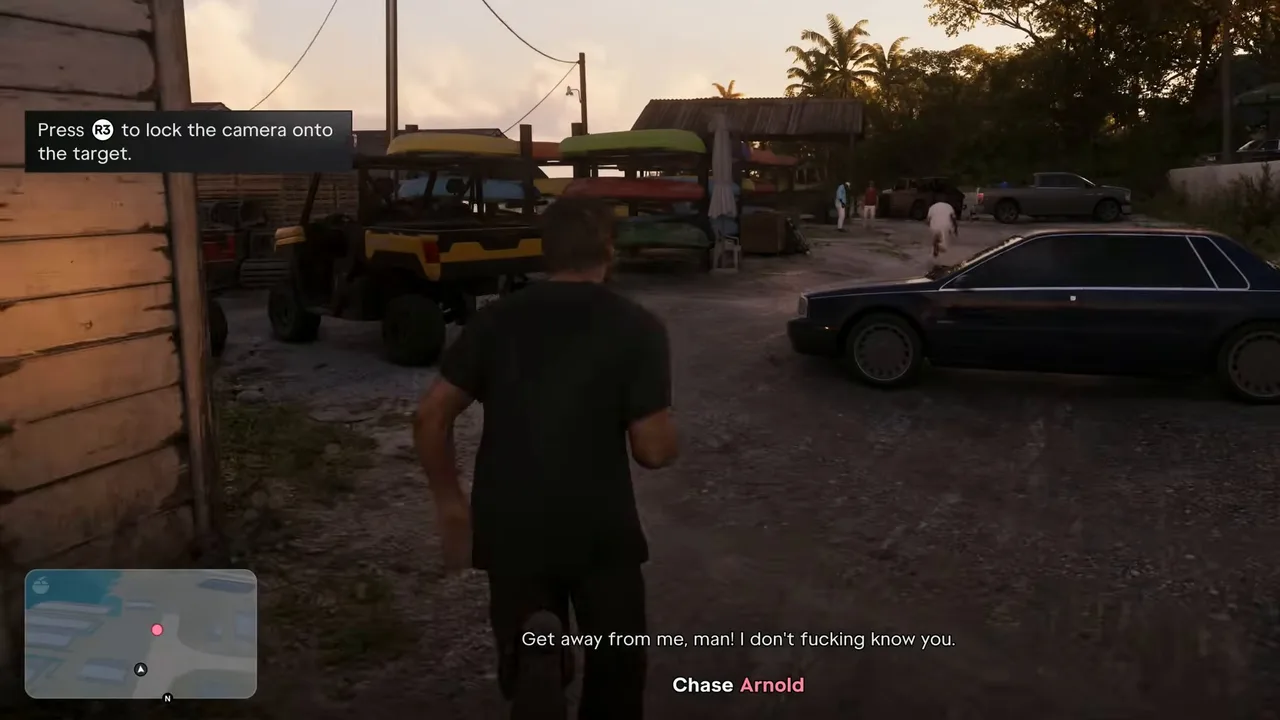
Arnold eventually crashes and runs. Brian tells Jason to shut him up, and Jason goes after him alone while the others stay with the truck. The objective stays Chase Arnold, now on foot. Arnold runs past a kayak rack and behind some sheds, shouting for help and telling bystanders he doesn’t know you.
On foot. R3 locks the camera onto Arnold. Footage: GTA Series Videos.
Sprint and use R3 to lock the camera onto him so you don’t lose him around corners. He’s not fast, and the chase ends when he runs out of ground at the end of a private dock with yachts moored behind it.
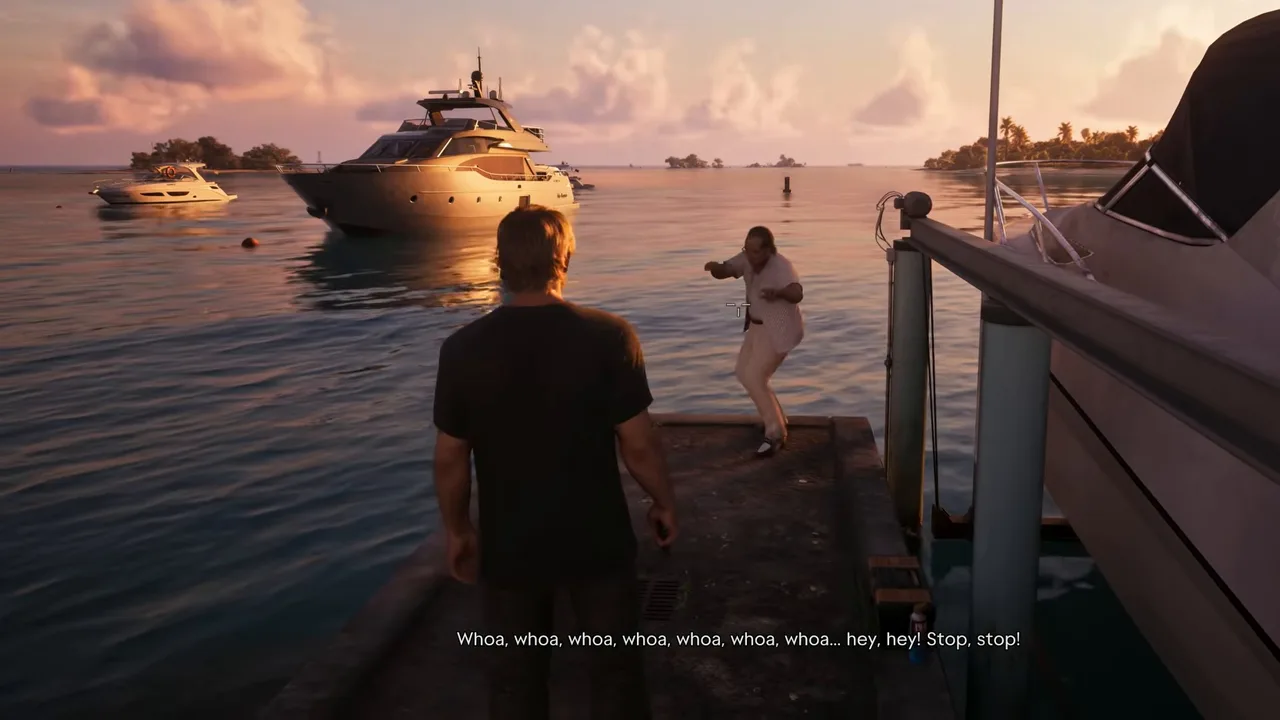 The end of the line: a private dock on the water. Footage: GTA Series Videos.
Step 8: Spare Arnold or shoot him
Jason orders Arnold onto his knees. Arnold pleads: the business has changed, the big players don’t care about small crews like Brian’s, and he just wants out. Then the prompt appears: Choose what to do with Arnold.
The choice: Spare (X on PlayStation) or aim at Arnold (L2) and fire. Footage: GTA Series Videos.
| Choice | How | What happens |
|---|---|---|
| Spare him | Press X (PlayStation) | Jason warns him that if he ever talks there won’t be a second chance. Arnold jumps in and swims away, and is never seen again |
| Shoot him | Aim at Arnold (L2) and fire | Jason kills him on the dock. The mission database lists no other effect |
Both GTA Series Videos and GameRiot spared him. GameRiot paused before deciding, then let him go. As far as the mission database knows, neither option changes the reward, Brian’s reaction or later missions. The only visible difference we saw: sparing him flashes a small Restrained note on screen, which looks like the game logging the choice in Jason’s criminal profile (see the beginner tips for how the profile works). We have not seen footage of the kill option.
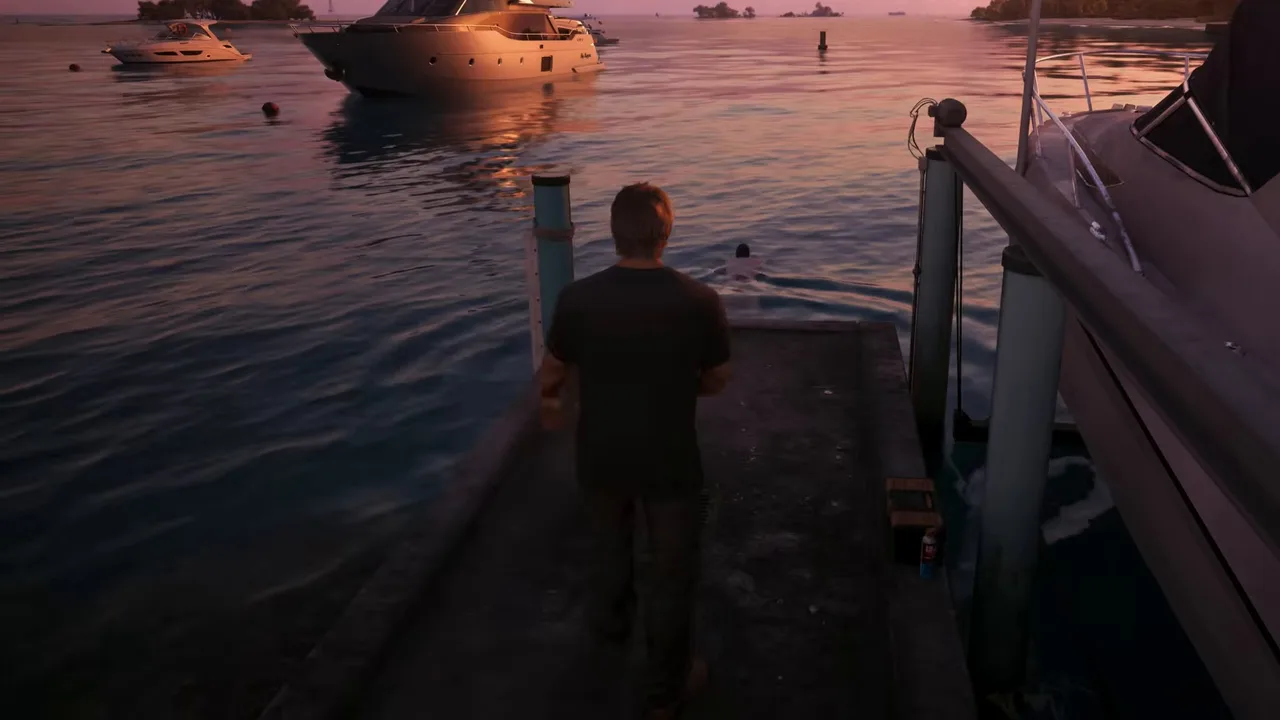 Spared: Arnold swims off. Footage: GTA Series Videos.
Step 9: Report to Brian at his pool party
The mission cuts straight to Brian’s villa. Lori offers Jason sangria, and Brian takes him aside to ask if it’s handled. Jason tells him Arnold won’t be talking, and that is good enough for Brian.
Then Brian introduces Kenton Rees, an old smuggling partner from the early days who got out in time and now hunts for sunken treasure, though he has lost his permit. Cal feeds Brian’s dog Dip something he shouldn’t, and Kenton asks whether Jason can dive. He invites Jason to drop by his shop, which sets up Island Dreams. Where to find Kenton on the live map.
Brian’s pool party, where Jason meets Kenton Rees. Footage: GTA Series Videos.
The scene fades out and Jason wakes up at home the next day. Neither run shows a mission-passed screen; the mission ends with the cutscene.
Rewards
- No cash on the spot. Hey Arnold! pays nothing when it ends, and the mission database lists no reward.
- Your pay arrives in the mailbox. Some time later Brian texts that he has left Jason’s pay for “those packages” and for the Mandy and Arnold jobs in his mailbox. In GameRiot’s run, the mailbox outside Jason’s house held $1,400: $1,200 from Brian and $200 from Cal. The game doesn’t break the total down. If “those packages” means the acid from Lab Fees ($600), then Pipework and this mission together paid the other $600, but that’s our reading, not something the game says.
- Two stunt jumps done along the way, on the broken bridge.
- Kenton as a new contact, which leads to Island Dreams and his treasure-hunting work.
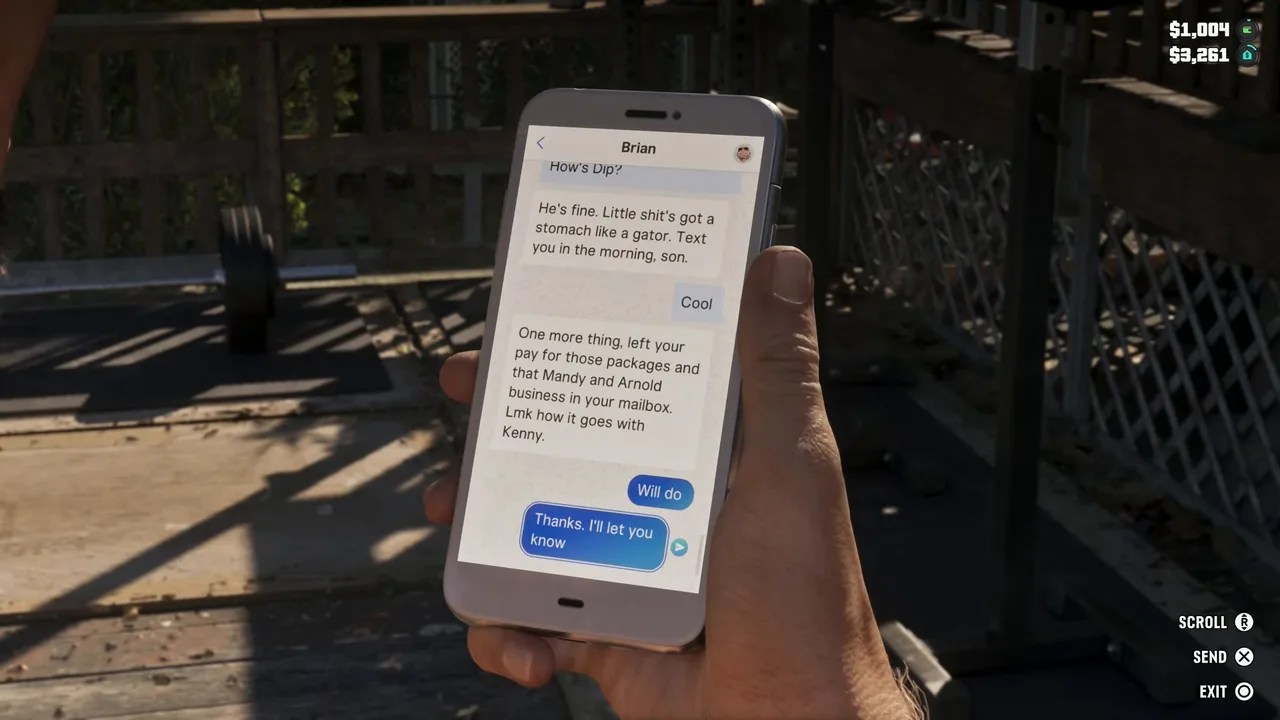 Brian’s follow-up text: the money is in the mailbox. Footage: GameRiot.
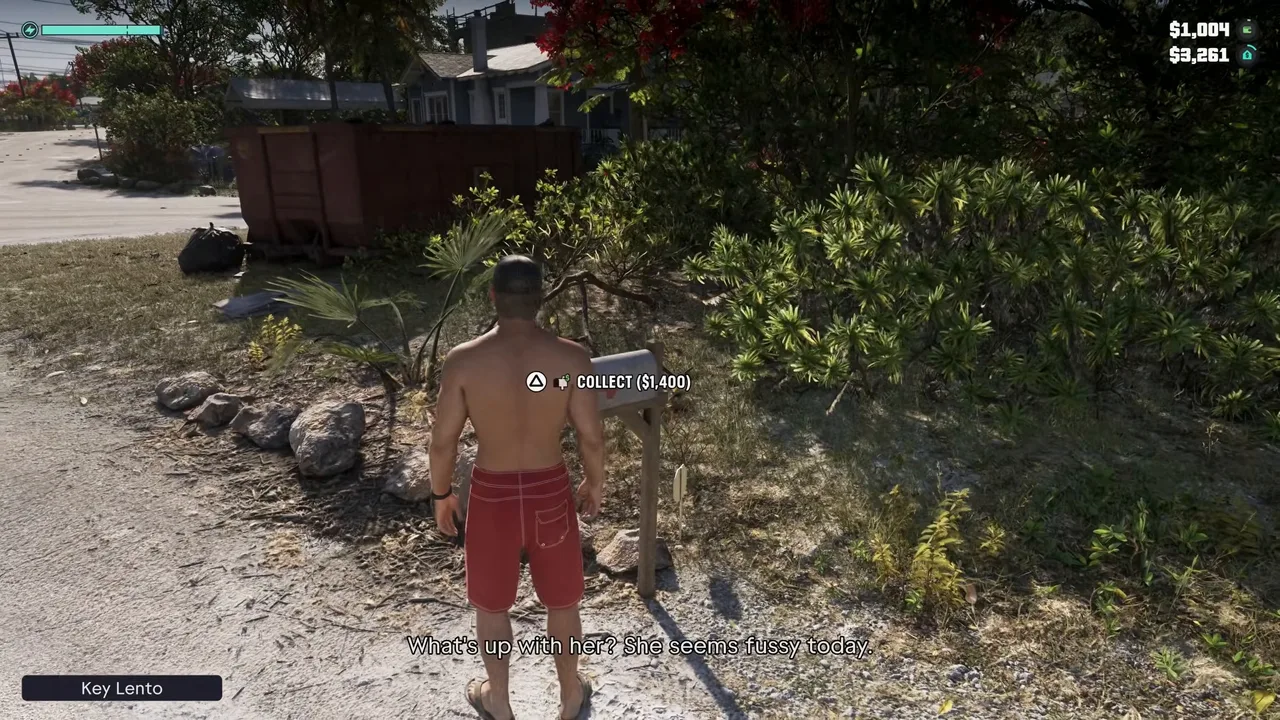 $1,400 waiting in the mailbox in GameRiot’s run. Footage: GameRiot.
Jason still has no bank account at this stage of Chapter 1, which is why payments go to the mailbox. Check it after jobs, and see the money guide for how mailbox payouts work.
Tips
- Bring a gun. Brian says so on the phone for a reason: the bikers shoot at you during the chase. Any sidearm works.
- Clear the bikers before you chase Arnold. You can’t lose Arnold while they’re still riding alongside and shooting into the cab.
- Line up on the old bridge. The two jumps are easy at full speed in a straight line and awkward if you clip a railing.
- Lock on during the foot chase. R3 keeps the camera on Arnold between the sheds.
- Don’t agonise over the choice. Nobody has found a consequence either way. Spare him if you care about your criminal profile.
Related guides
- Before it: Unwanted Attention, the impound job with Cal, and Just a Scratch, the Ganado’s repair. Next: Island Dreams, Kenton’s first treasure job. See all GTA 6 missions.
- Other Chapter 1 jobs: Gone Fishing, Gear Up, Lab Fees and Pipework.
- GTA 6 characters: Brian, Lori, Cal and Jason.
- GTA 6 money guide: mailbox payouts before you have a bank account.
- GTA 6 map regions: Key Lento and the islands south of it.
- Interactive map: Brian’s places, One Stop Liquor and Kenton’s shop.
Frequently Asked Questions
How do you start Hey Arnold! in GTA 6?
Brian phones Jason once the first Key Lento errands are done (in every run we watched, straight after Unwanted Attention) and asks him to come armed to the Crastenburg pool bar. Ride to the B blip in southern Key Lento and walk up to Brian's table.
Should you kill or spare Arnold in GTA 6?
It makes no difference to the story as far as anyone has found. Spare him and he swims off and Jason tells Brian he will keep quiet; shoot him and he is gone for good. Neither choice changes the reward or the next mission. Sparing him flashes a Restrained note on screen.
Where is Arnold in Hey Arnold!?
On Maroon Key, south of Key Lento down the causeway. Look for the white aerostat blimp: Arnold waits with two of his men by a small concrete building near the radar station, down a turning on the left.
How do you do the stunt jumps in Hey Arnold!?
You don't have to aim for them. Arnold drives along the old broken bridge beside the highway, and following him carries you over two gaps in it. Hold the throttle and keep the truck straight on the narrow deck.
What is the reward for Hey Arnold!?
Nothing is paid on the spot. Brian texts later that Jason's pay for the packages and for the Mandy and Arnold jobs is in his mailbox. In GameRiot's run the mailbox held $1,400: $1,200 from Brian and $200 from Cal.
Sources & Credits
Researched from these videos and official material, among others. Screenshots credit the creator whose footage they come from.