Jump to your step
 1
Meet Karim at the planning room · Lucia
 2
Tell Raul about the hard drive (cutscene)
 3
Drive the van downtown, gently
 4
Park in the garage and hear the plan
 5
Ask Jason for help or go solo
 6
Plant the first charge at Driscoll Tower
 7
Check in with Jason and Raul
 8
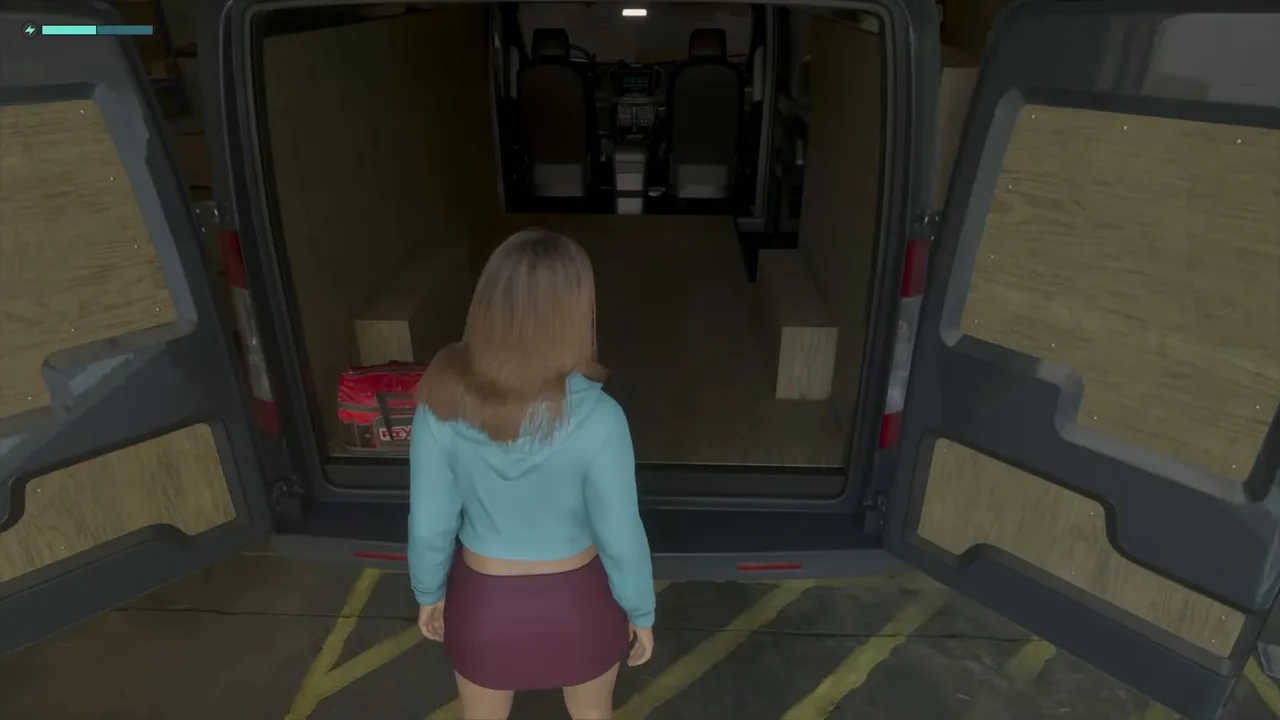
Collect the next charge from the van
 9
Plant the remaining charges and get out
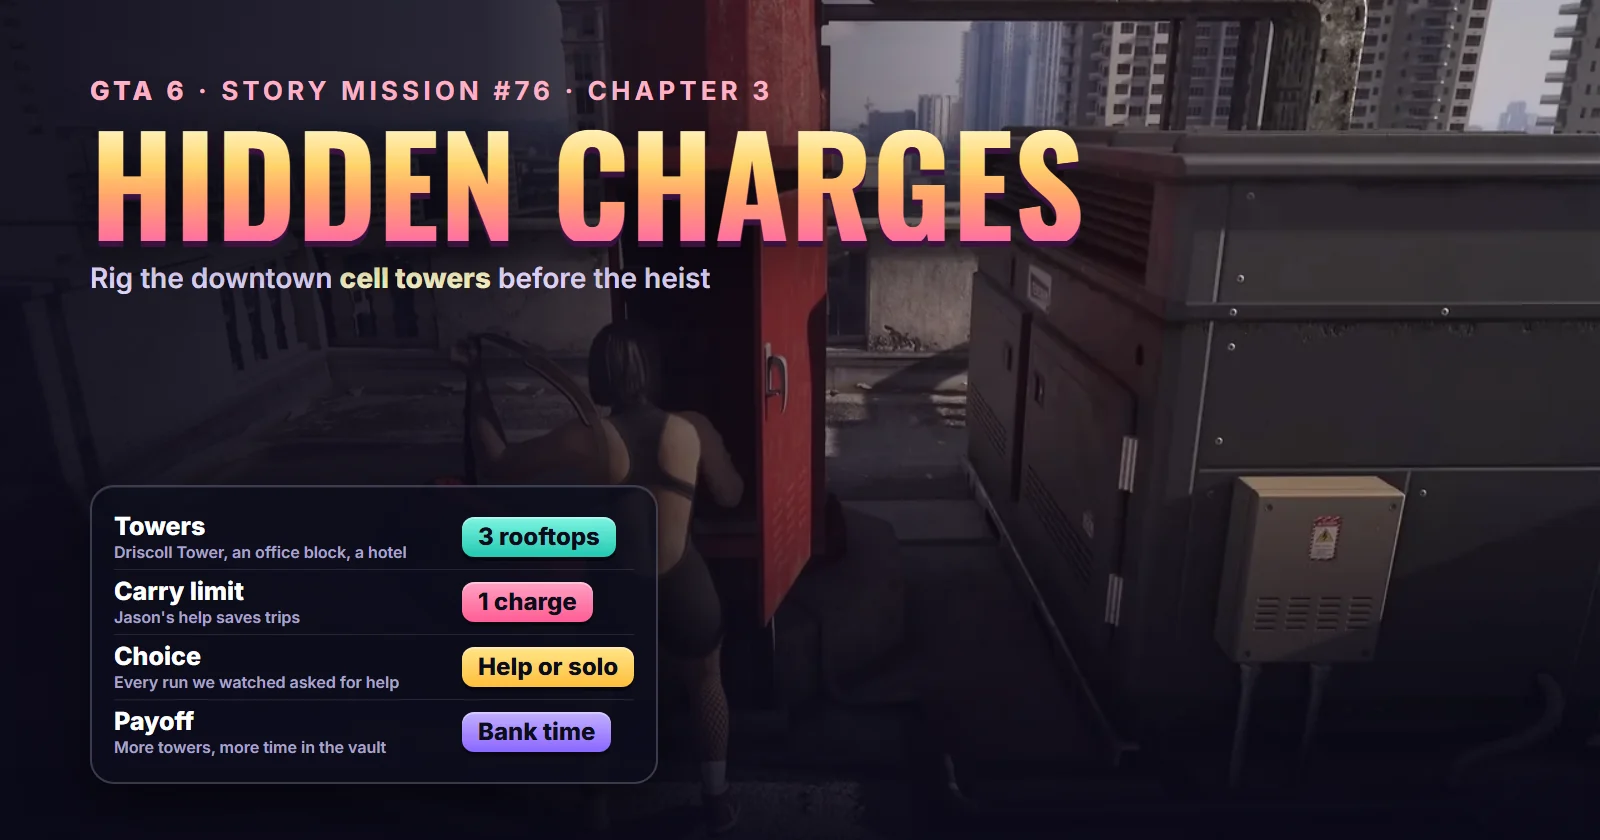
Hidden Charges: quick facts
| Mission | Hidden Charges, story mission #76 |
| Chapter | Chapter 3, the last preparation for Raul’s bank job |
| You play as | Lucia, with Jason helping (you can switch to him) |
| Set up by | Karim, who built the charges, with Raul’s blessing |
| Where it starts | Raul’s planning room, the crew’s base in Bayside, Vice City |
| Targets | Rooftop cell towers in downtown Vice City |
| Comes after | Bricked Up (#75) in the story list, though it can be played first |
| Next | The Cartel Heist (#77) |
| Length | About 10 to 15 minutes, cutscenes included |
| Reward | No cash or trophy shown; the towers are rigged for heist day |
| Required for 100% | Yes |
Mission briefing The story so far, how it unlocks, where it starts and what the charges are for. Contains spoilers for the end of Chapter 1 and the end of Chapter 2.
The story so far (spoilers for the end of Chapter 1 and Chapter 2)
Spoiler for the end of Chapter 1: the easy job in Tourist Trap was an ambush. Jason was shot, and the couple got away with a bag holding a bronze statue and an encrypted hard drive that nobody has managed to open.
Spoiler for the end of Chapter 2: the people chasing that bag found them at the Starlet Motel, so they left for Vice City in Checking Out.
In Chapter 3 they joined Raul Bautista’s crew, which is planning to rob the cartel’s vault at the Sinfrontera National Bank. Security Expert brought in Nicole, the woman who designed it, and in Company Property Jason and Lucia collected a truckload of military hardware from Brian’s pilot friend Pete. Felipe took the crates at the base and promised that Karim would turn them into charges and get back to them. This mission is that call. Boobie’s job in Bricked Up runs alongside it.
How Hidden Charges unlocks
It sits at #76 in the story list, right before the heist itself. The list puts Bricked Up (#75) first, but the runs we watched show the two can be done either way round. Aquish GTA played Bricked Up first. In Trophygamers’ and Sirloin’s runs, Boobie’s text saying he is coming round to the apartment, which starts Bricked Up, only arrives at the end of this mission.
In Sirloin’s full Chapter 3 run the couple talk it over on the phone as Lucia arrives to meet Karim: if Raul is there, it’s time to tell him about the hard drive, and to ask about an exit plan for the two of them.
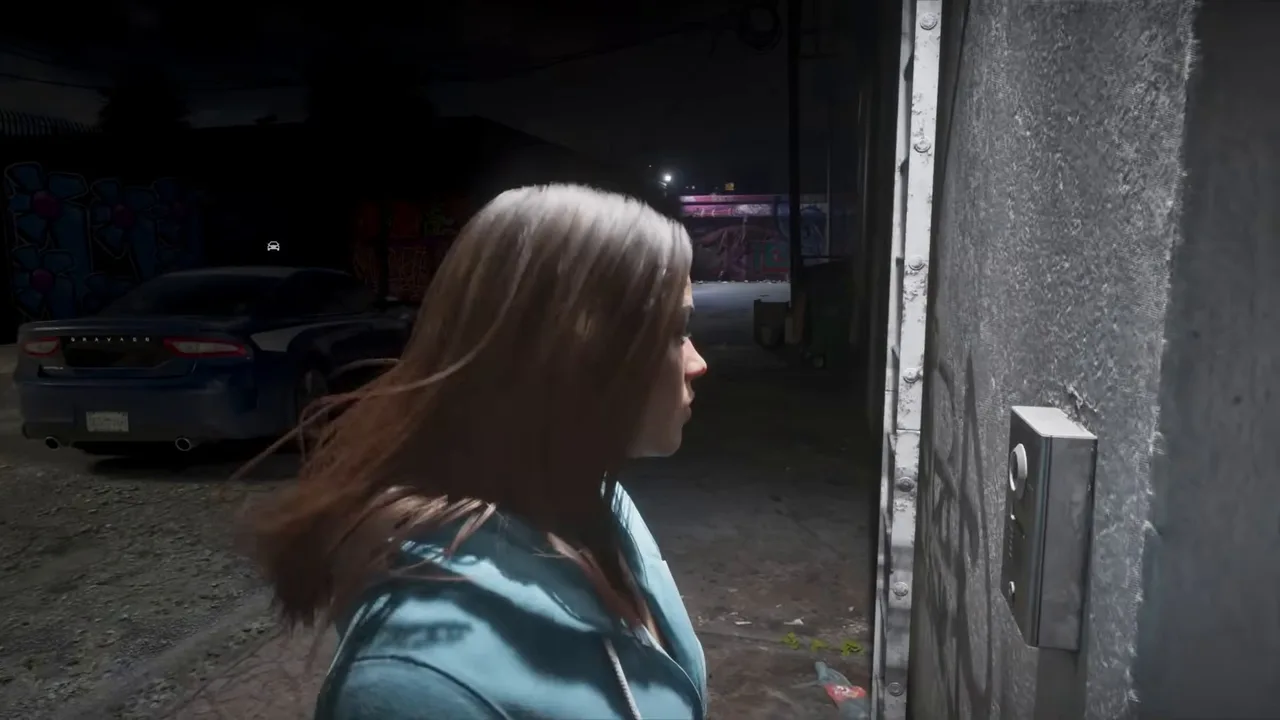 Lucia buzzes at the back door to start the mission. Footage: Trophygamers.
Where it starts: the back door of Raul’s planning room, the converted warehouse in Bayside that serves as the crew’s base. The game labels it “Raul’s Planning Room” as Lucia walks in. See the Hidden Charges start on the live map. Raul’s main pin is the same base (Raul’s places), and Karim’s own pin sits in the same building (Karim on the map).
What the charges are for
Raul’s crew has to keep the police away from downtown long enough to empty the vault. Karim’s idea is to knock out a cluster of cell towers: with no phone service the police are slower to respond, and nobody inside the bank can call for help. On heist day you set the charges off by calling a phone contact, the opening move of The Cartel Heist. Each charge is a block of explosive with a mobile phone strapped to it as the receiver.
This walkthrough follows Aquish GTA’s run, checked against Trophygamers’ longer run (which includes a death and a different route) and Sirloin’s chapter video, which shows Jason’s side.
Step 1: Meet Karim at the planning room (Lucia)
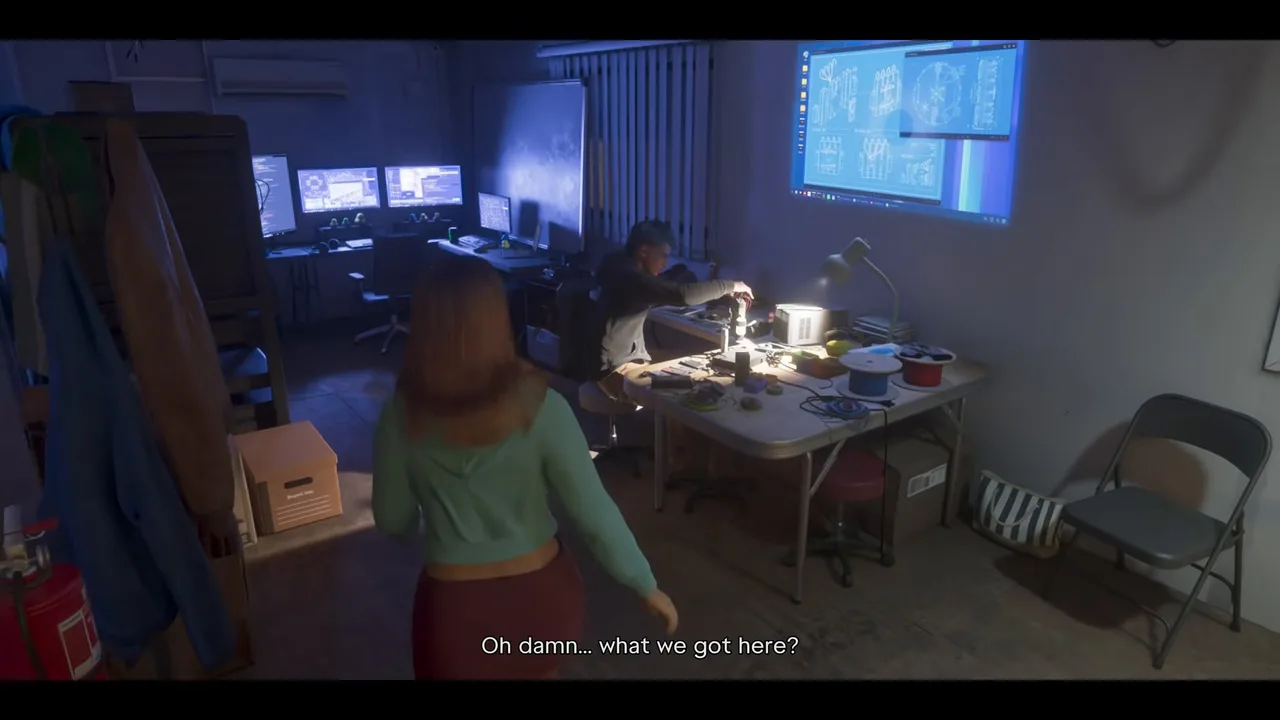
Arrive as Lucia at the back door and buzz to be let in. Karim is at his workbench under a projector screen of plans, wiring up the charges by hand. Lucia is surprised to see him doing it right there; he points out that the receiver is switched off, so it’s safe.
Karim at his bench as the mission title comes up. Footage: Trophygamers.
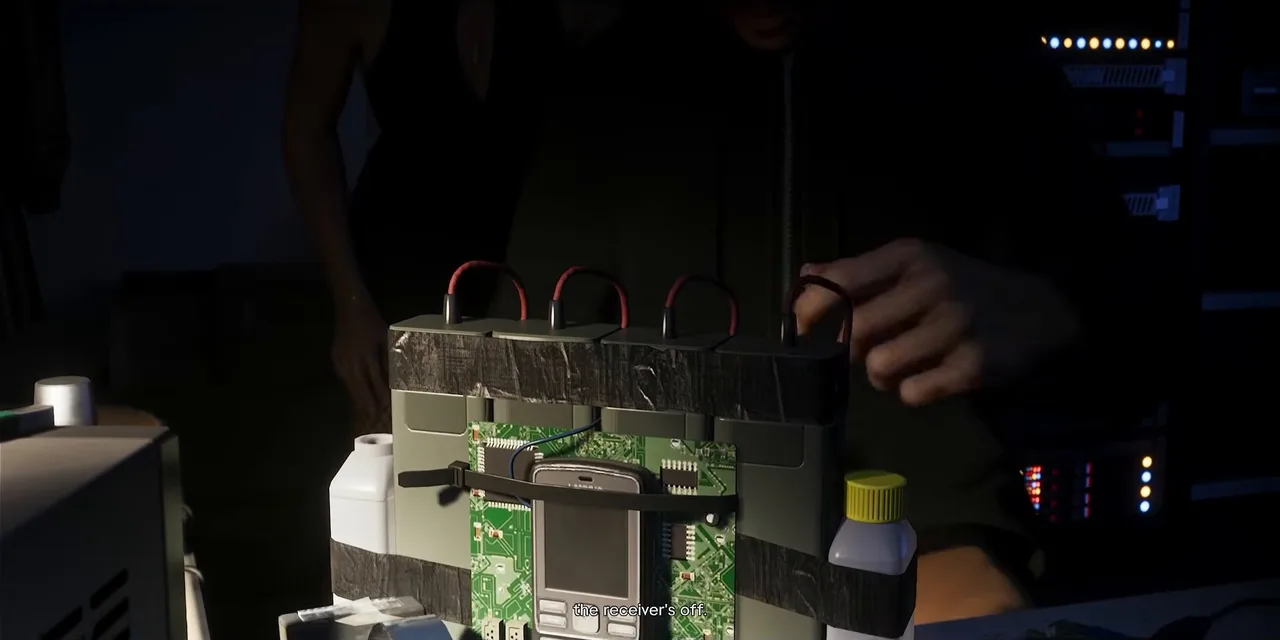 One of the charges. The phone is the receiver for heist day. Footage: Aquish GTA.
Karim takes a phone call and says he’ll meet you at the car. Jason turns up and suggests going to see Raul about “the thing”, and the scene moves to Raul’s office.
Step 2: Tell Raul about the hard drive (cutscene)
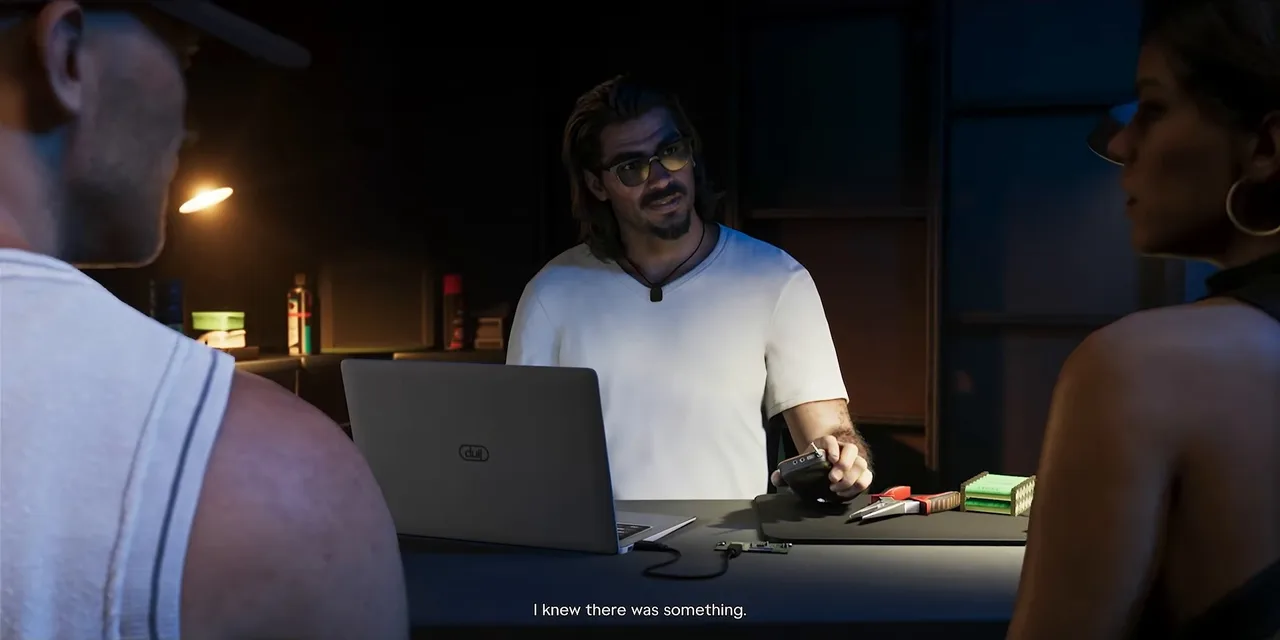
This part plays itself. Jason and Lucia finally come clean: they have a hard drive that’s worth a lot, it’s locked away somewhere safe, and Cal could only tell them that its files are encrypted to military grade. Raul isn’t impressed until they explain that police officers shot other police officers to get it back.
Raul hears about the hard drive. Footage: Aquish GTA.
He agrees to look into it if they bring him names, dates, the story of how they got it and ideally the drive itself, but the bank comes first. Then the couple ask for something bigger: once they’re paid, they want out, with new lives and new identities. Raul says anything can be bought in Vice City with the right money and the right people, and that this side of things is Valentina’s department: lawyers, accountants and politicians when needed. The job first, then that.
Step 3: Drive the van downtown, gently
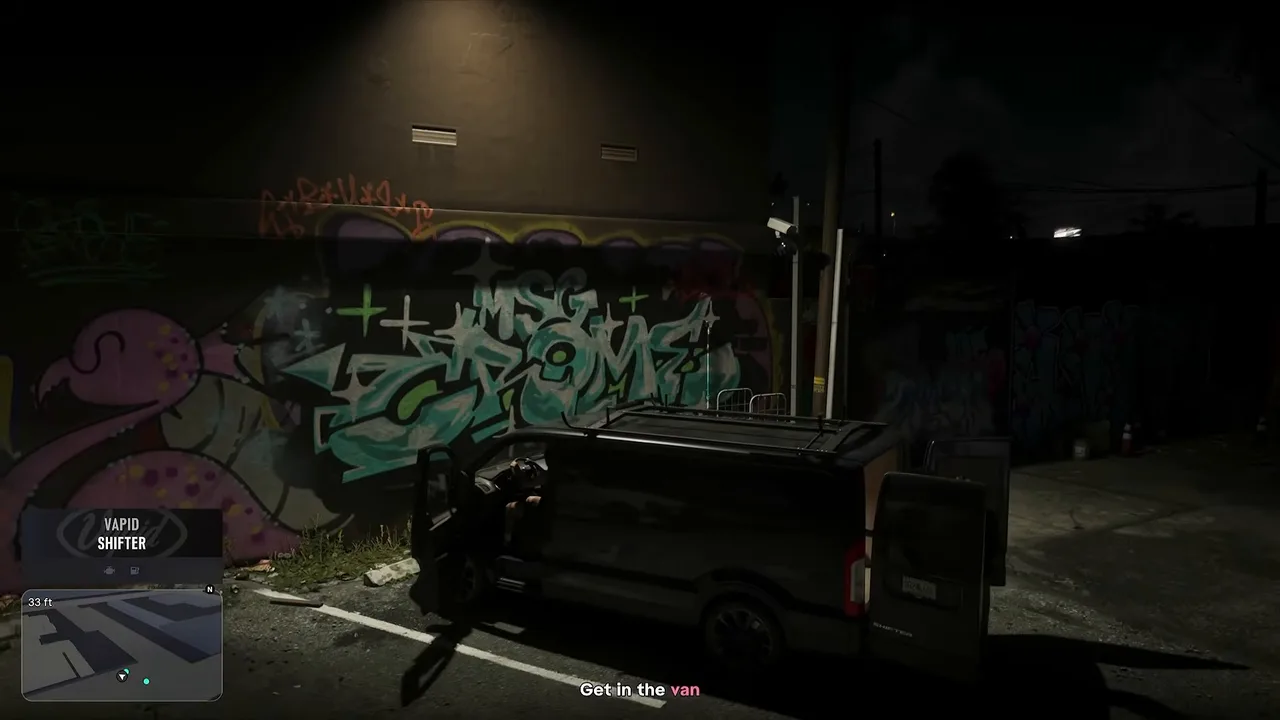
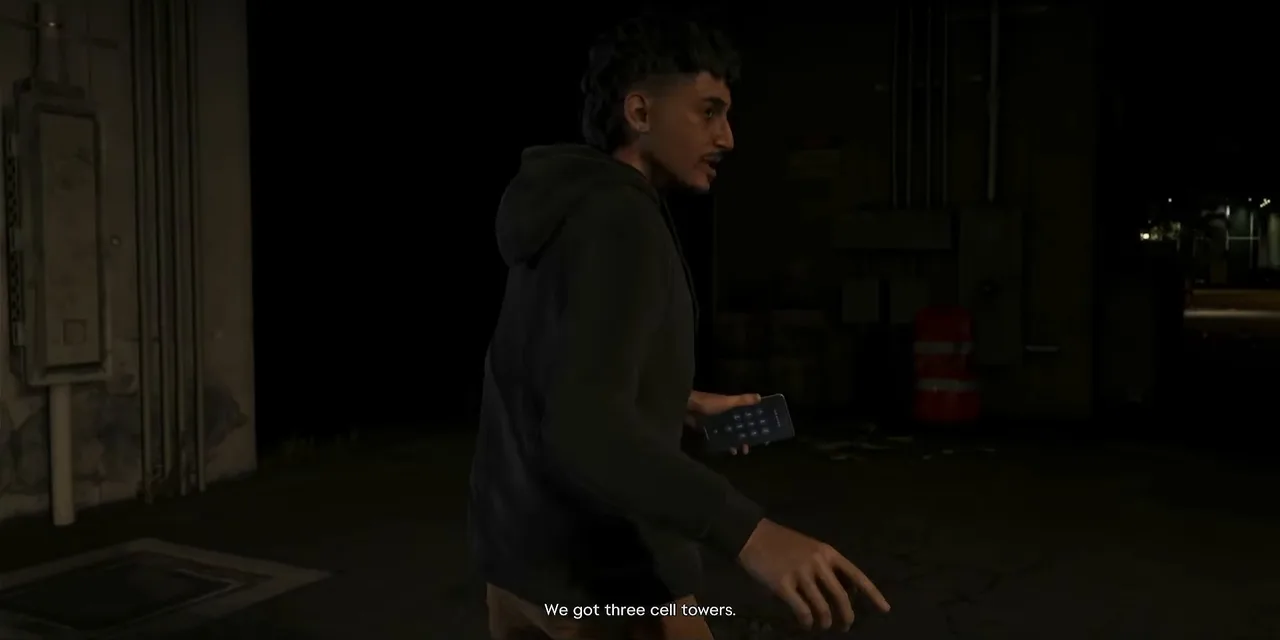
Outside, Karim has the bags loaded into a black Vapid Shifter van, and he wants you to drive. The objective is Get in the van, then Drive to the garage, about 1.2 miles into downtown Vice City.
Karim’s van behind the base. Footage: Aquish GTA.
The load is volatile and Karim reminds you more than once: no bumps. Take corners slowly, keep off kerbs and give other cars plenty of room. Both Aquish GTA and Trophygamers clipped things on the way and got an earful (“bumper cars”), but nothing went off.
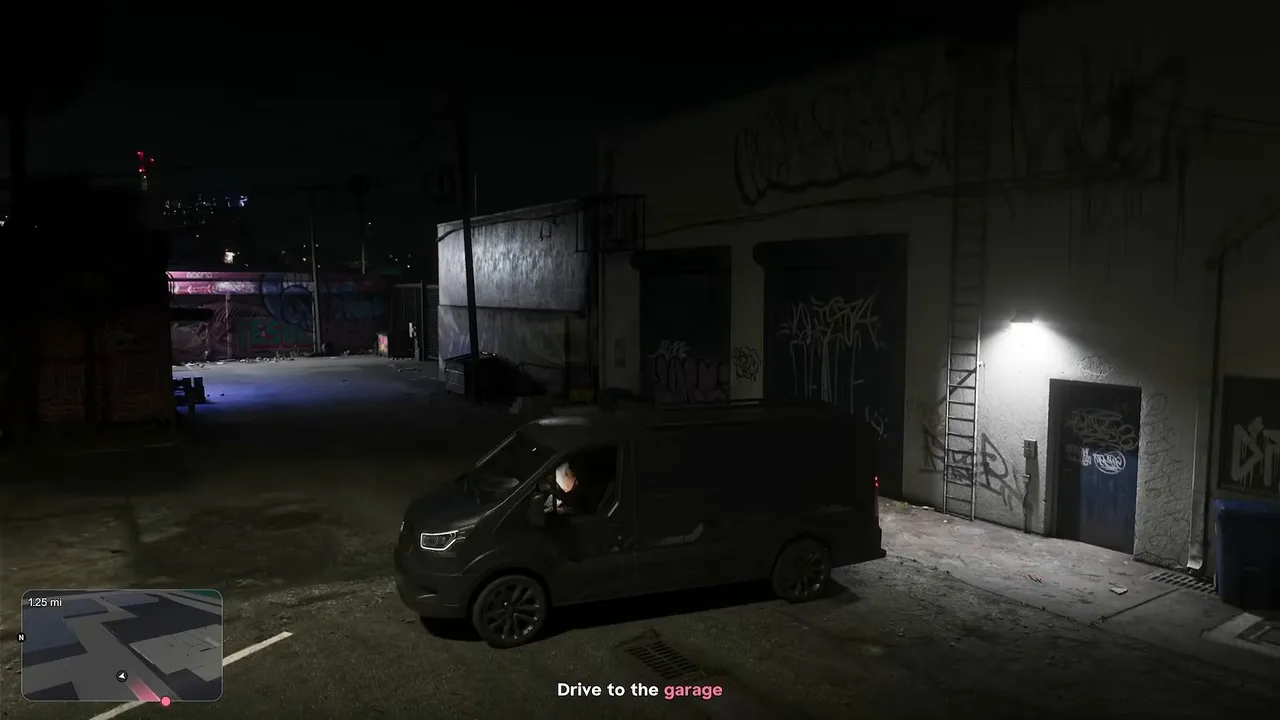 Drive to the garage. The route on the minimap leads downtown. Footage: Aquish GTA.
On the way, Karim asks about a private matter of theirs and makes it clear he has looked into the couple more closely than they’d like, down to the last digits of a social security number. The couple call it creepy; Karim calls it his job. He also explains the plan: when the cell towers go, the whole city loses phone service.
Step 4: Park in the garage and hear the plan
Pull the van into the garage Karim points out (Park in the garage), a loading bay off a back alley. Karim walks you out into the alley and points at three cell towers on the rooftops around you: there, there and up there. Each has a little red call box at the foot of the mast. Slip one bag into each box, close it, and get it done before Raul gives the go.
Karim’s briefing in the alley. Footage: Aquish GTA.
In Aquish GTA’s run Karim adds that they only had enough for two and tells you to choose which tower is coming down. Trophygamers’ run has no such line. The difference shows later: Aquish GTA’s Lucia planted two charges before the mission ended, while Trophygamers’ Lucia planted three. We couldn’t tell what decides it. Aquish’s van took a couple of knocks on the drive, but so did Trophygamers’, so treat any link to your driving as a guess.
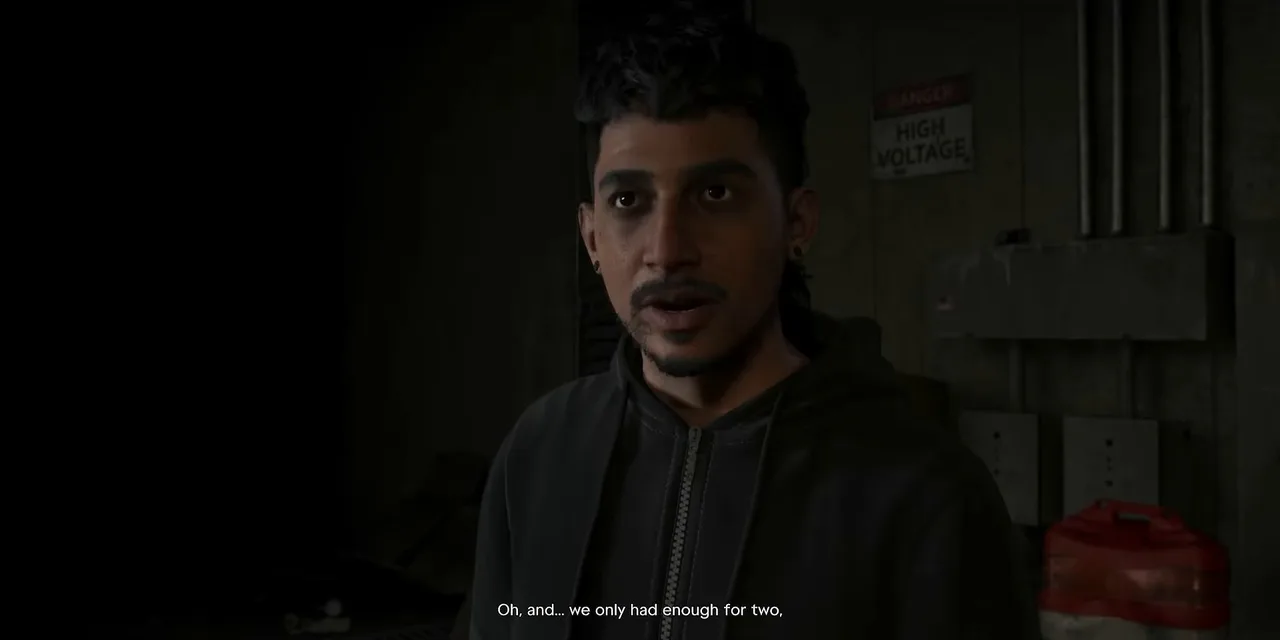 The line that only appears in some runs. Footage: Aquish GTA.
Why every tower counts: in Sirloin’s run Karim follows up by text: the more towers you take out, the more time the crew gets inside the bank, but you need at least one. That time is the police countdown in The Cartel Heist, so rig every tower you have a charge for.
His last word as he leaves: don’t get seen.
Step 5: Ask Jason for help or go solo
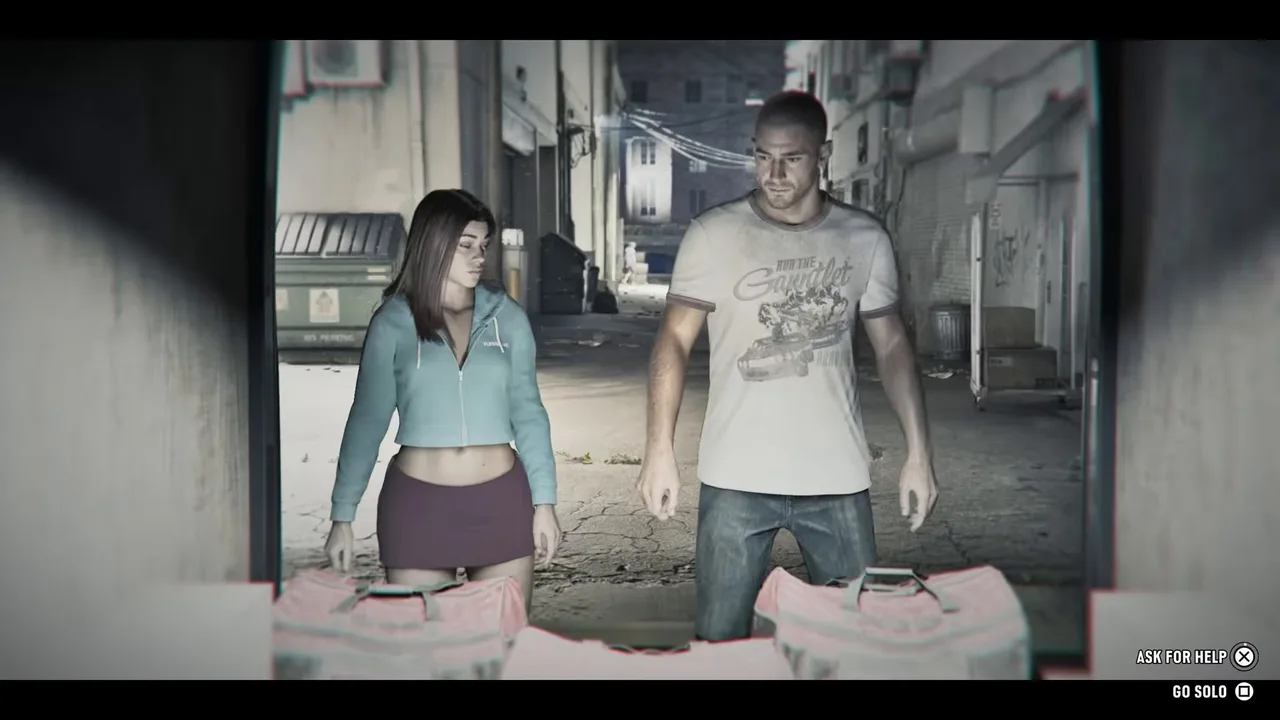
The two red duffel bags sit in the back of the van, and Jason asks if Lucia wants a hand. The game freezes on a choice: Ask for help or Go solo.
The choice. Every run we watched asked for help. Footage: Trophygamers.
Ask for help. Jason grabs the second bag, and as Karim texts you straight after, you can only carry one charge at a time. Trying to carry more would be, in his words, stupid. With Jason on the job you have fewer trips back to the van. All three runs we watched took the help, so we can’t tell you exactly how the solo version plays out.
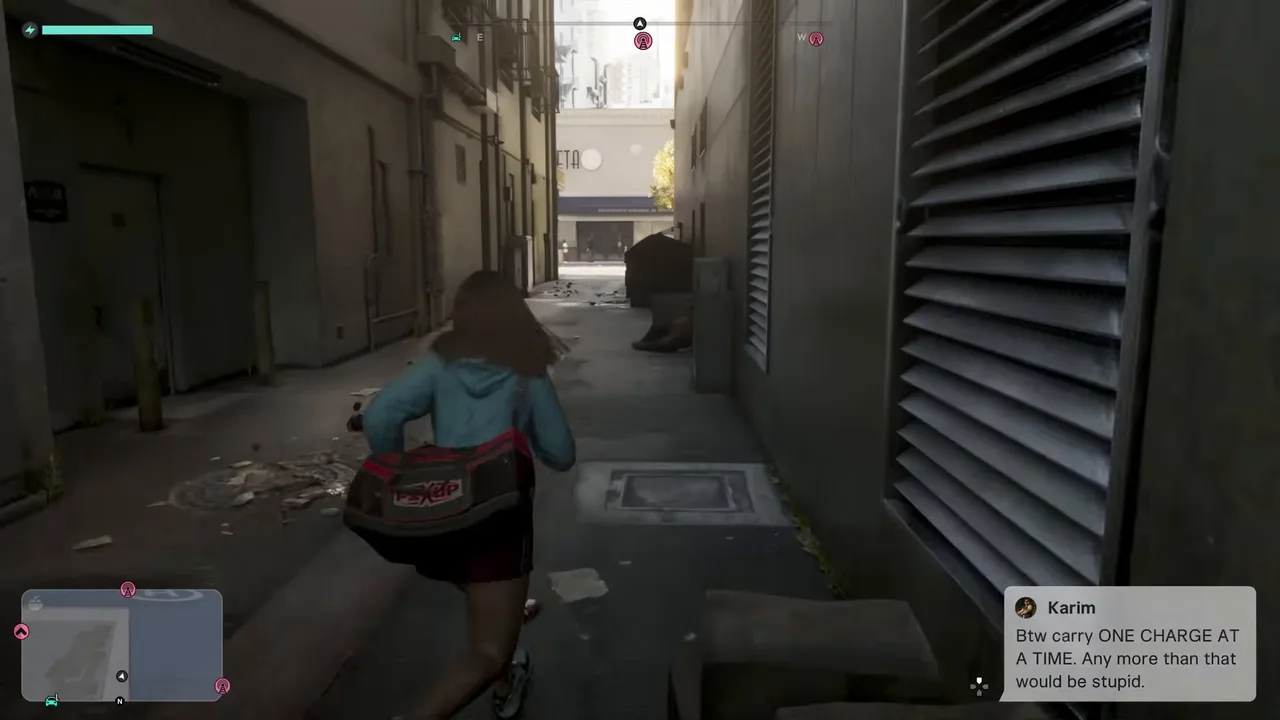 Karim’s reminder: one charge at a time. Footage: Trophygamers.
In Aquish GTA’s and Trophygamers’ runs the game then jumped from night to broad daylight; Sirloin’s stayed dark. The objective is now Plant the charge at one of the cell towers, and the towers appear as markers on the minimap. You choose the order. The three towers we saw used:
| Tower | How to get up | Seen in |
|---|---|---|
| Driscoll Tower | Lobby, lift, back stairs and plant room to the roof | Aquish GTA, Trophygamers |
| The office block beside the bullseye sign (our map’s CBA Independent, we think) | Through the building site entrance and lift, then ladders; or across the roofs from the car park next door | Aquish GTA, Trophygamers |
| Banner Hotel & Spa | Lift to the pool terrace, then up to the roof | Trophygamers, Sirloin (as Jason) |
Step 6: Plant the first charge at Driscoll Tower
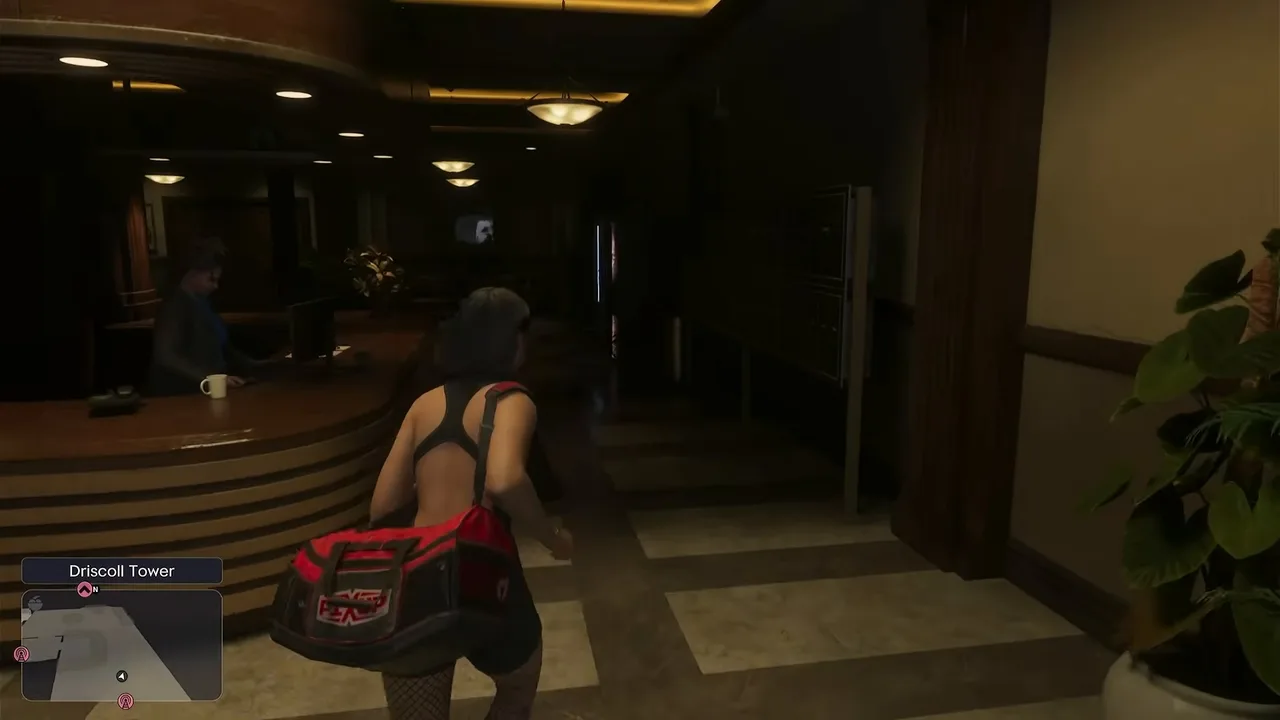
Both Lucia runs started with Driscoll Tower, a short walk from the garage. Go in through the front, past the reception desk, and take the lift.
The Driscoll Tower lobby. Nobody stopped Lucia on the way through. Footage: Aquish GTA.
The lift doesn’t go all the way. Climb the stairwell from the top floor, cut through the plant room and come out on the roof. The red mast with its call box is at the edge, next to a big air conditioning unit. Walk up, use the Plant explosive prompt, and Lucia opens the box and stuffs the bag inside.
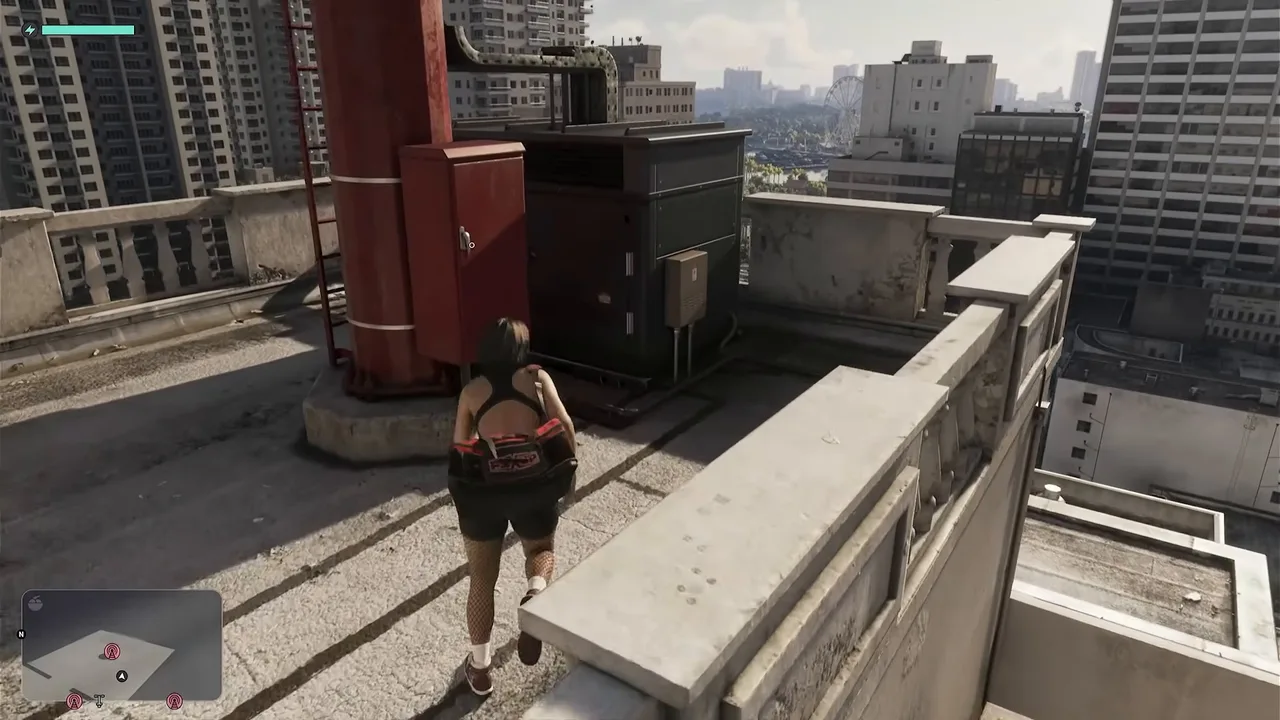 The Driscoll Tower call box. Footage: Aquish GTA.
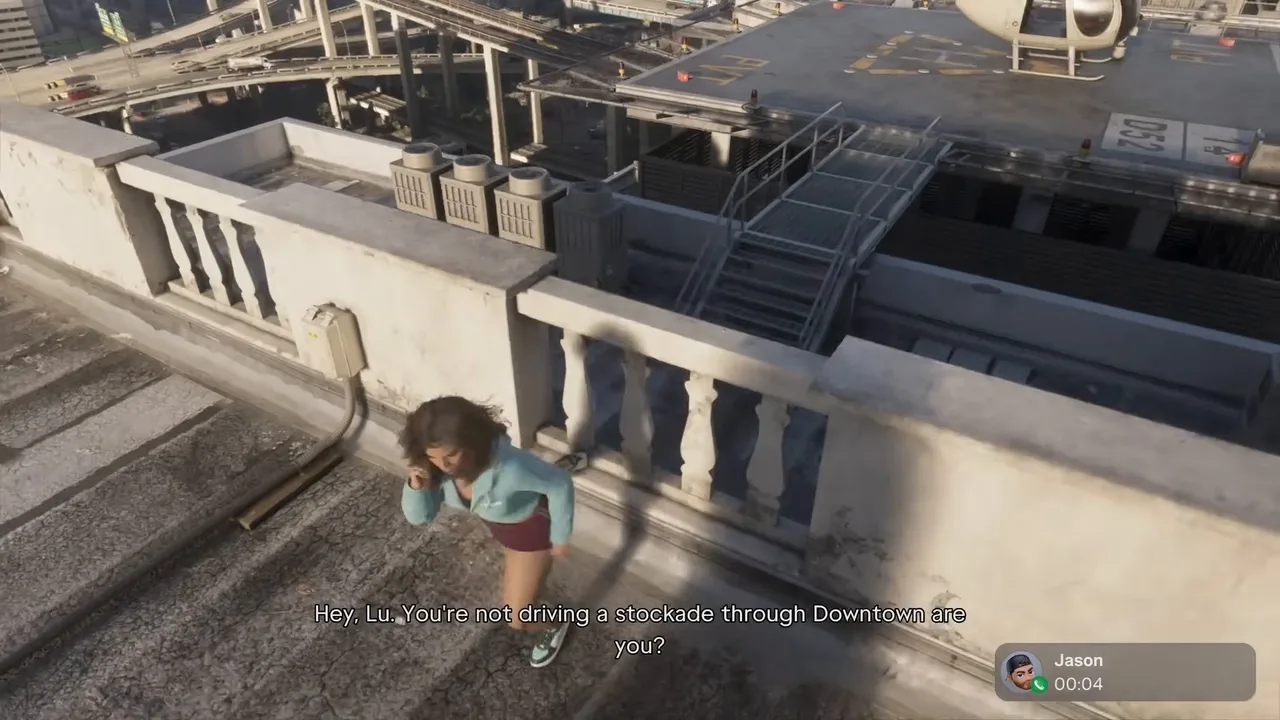
From the roof edge you can see a fireball in the street below: an armoured truck tearing through downtown. It isn’t you, and it isn’t the crew. Jason calls to ask whether Lucia is the one driving a Stockade through downtown, she says no, and tells him her tower is done. Leave it alone.
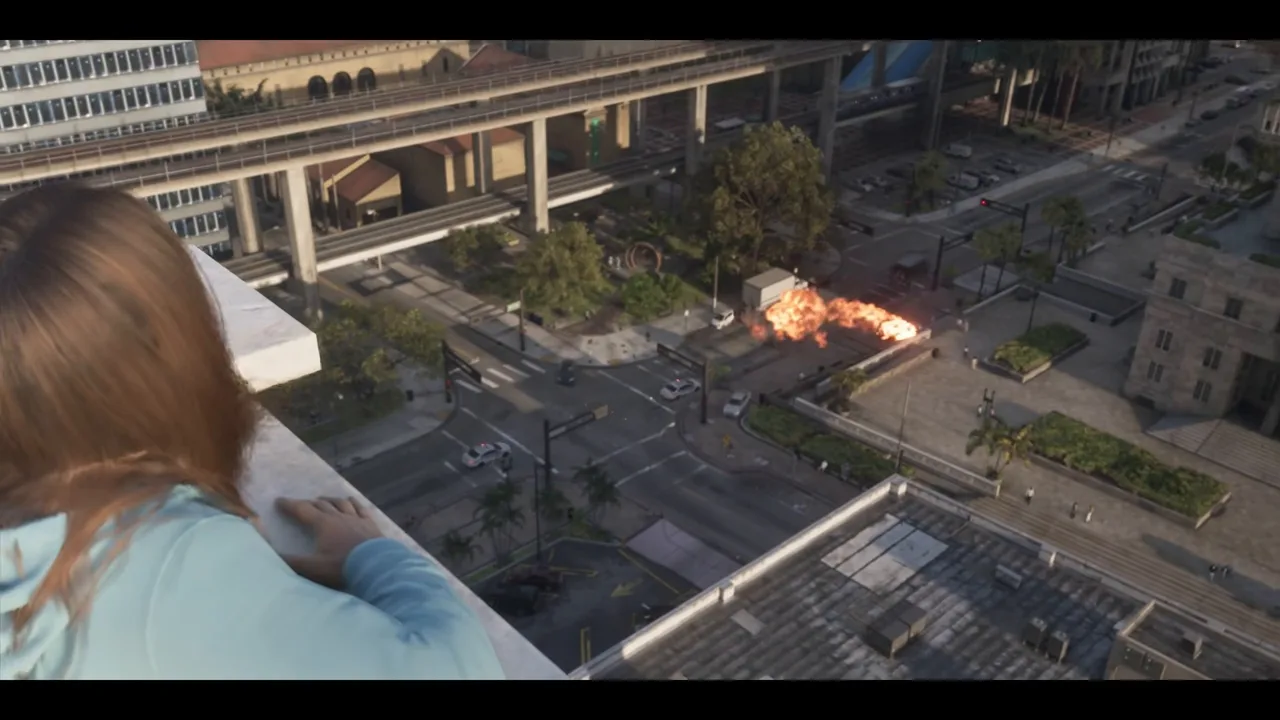 Somebody else’s bad day, seen from the roof. Footage: Trophygamers.
There’s a helicopter on a helipad next to the Driscoll Tower roof. Don’t take it: Trophygamers did, got a two-star wanted level and crashed, and after respawning still had two more charges to plant.
Step 7: Check in with Jason and Raul
While you work, the phone stays busy. Jason checks in on Lucia, and Raul calls with Karim on the line to make sure the police aren’t giving you trouble. Karim reports a lot of police radio chatter and expects even more officers on the streets after this. None of it needs an answer: keep moving.
Jason’s call about the armoured truck. Footage: Trophygamers.
You don’t have to stay as Lucia. Sirloin, whose run stayed at night throughout, played part of it as Jason, who had carried his bag to the Banner Hotel & Spa, and a prompt noted that you can switch back to Lucia at any time. Over the phone the two compare progress (one has planted, the other is still working out how to get up) and then race each other back to the van for the last bag.
Step 8: Collect the next charge from the van
Head back down to the garage. Karim’s van has the rear doors open, and the remaining bag sits inside. Pick it up and choose your next tower. Aquish GTA picked up an electric scooter in the alley to save time on the way back out.
The last charge in the van. Footage: Trophygamers.
Step 9: Plant the remaining charges and get out
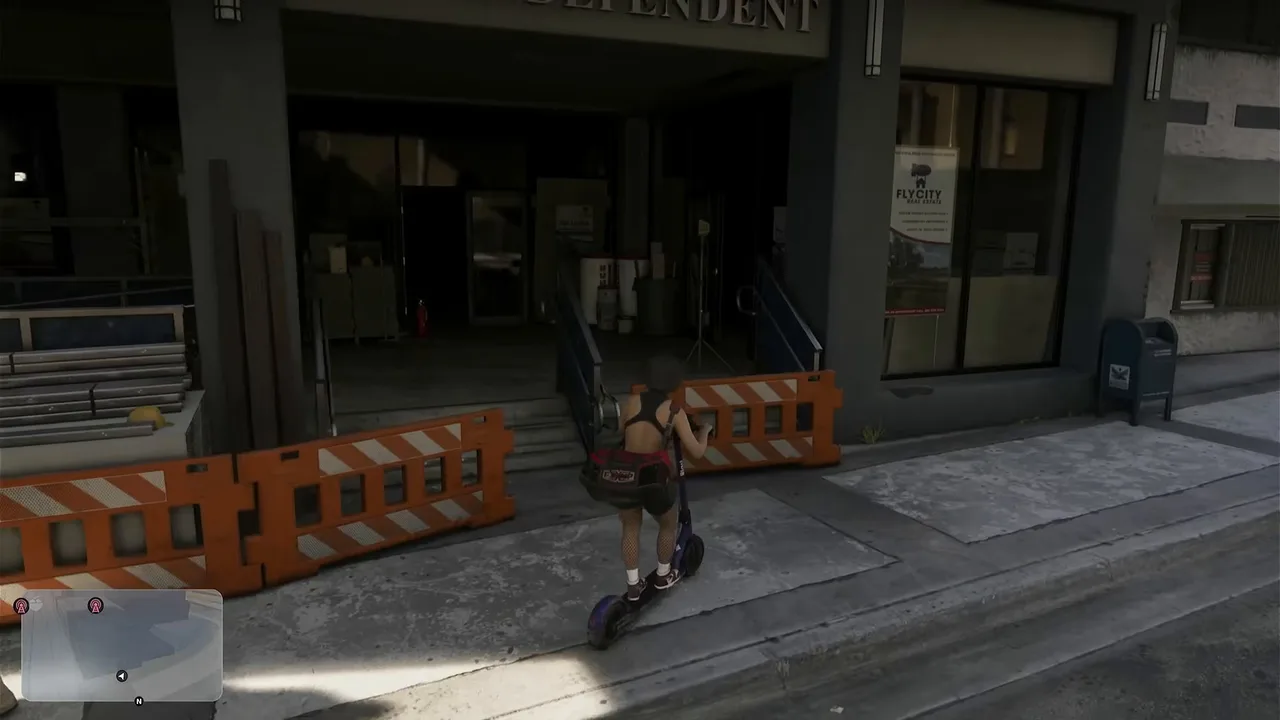
The bullseye block. Aquish GTA’s second tower is on an office block behind a building site. Go in past the orange barriers, take the lift to the top, cross the unfinished floor and climb the ladders to the roof. Trophygamers reached the same roof another way, from the top of the car park next door, climbing ladders and crossing the rooftops. The call box is right beside a huge red-and-white bullseye sign on the neighbouring building.
The way in to the second tower. Footage: Aquish GTA.
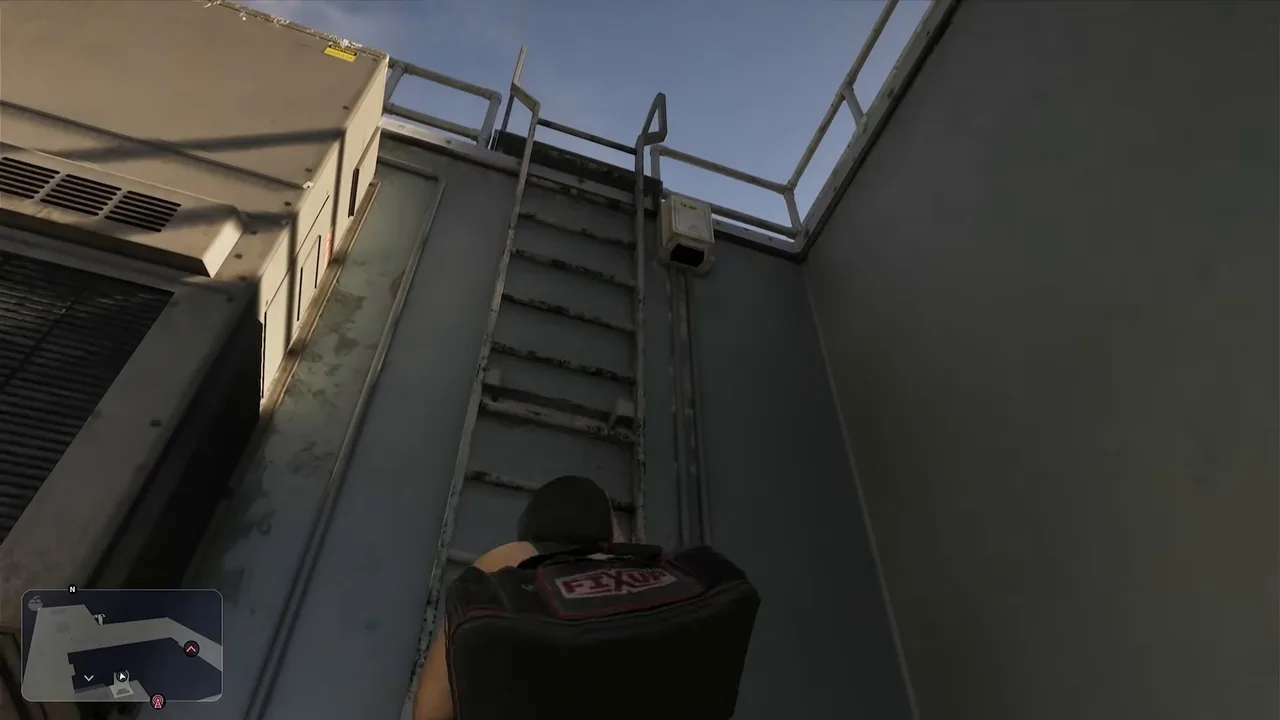 Ladders do the rest. Footage: Aquish GTA.
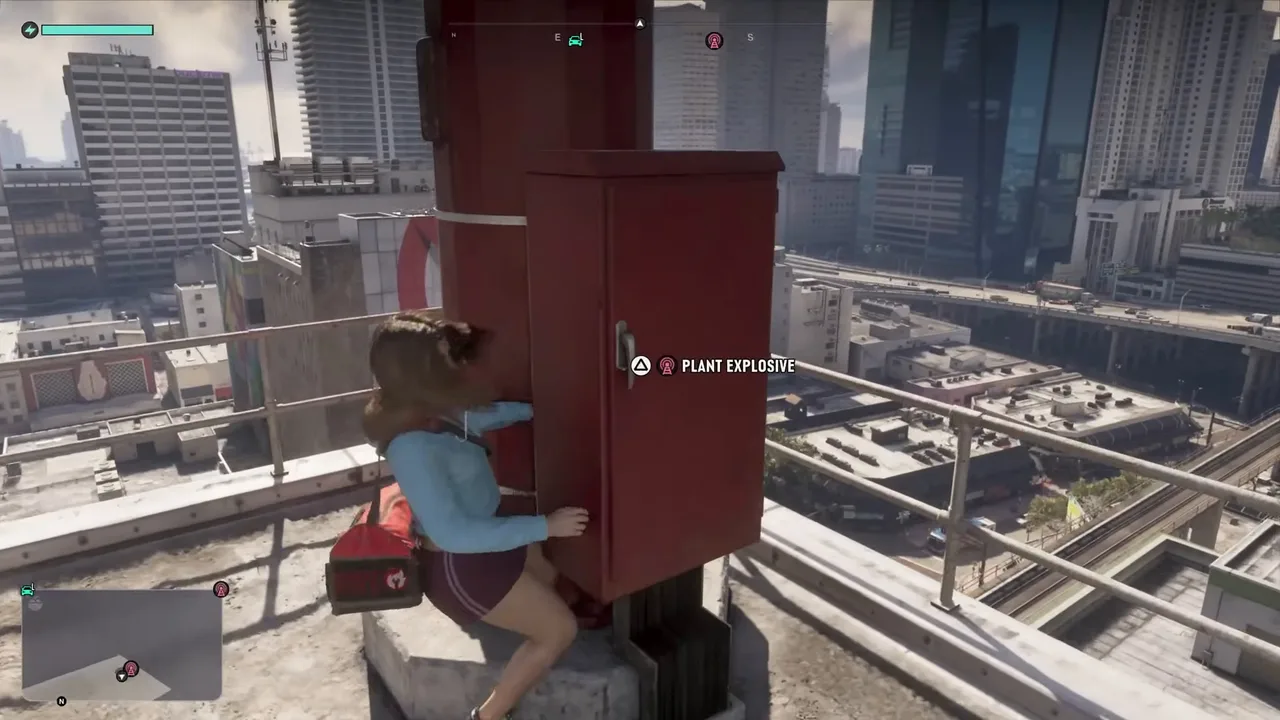 The bullseye roof. Look for the Plant explosive prompt. Footage: Trophygamers.
In Aquish GTA’s run this was the last charge: with only two to plant, the mission wrapped up as soon as the bag went in.
The Banner Hotel & Spa. Trophygamers’ third tower is on the Banner Hotel & Spa. Take the lift to the pool terrace, walk past the sunbathers, then take the next lift and stairs to the roof, where the red mast stands among the air conditioning units.
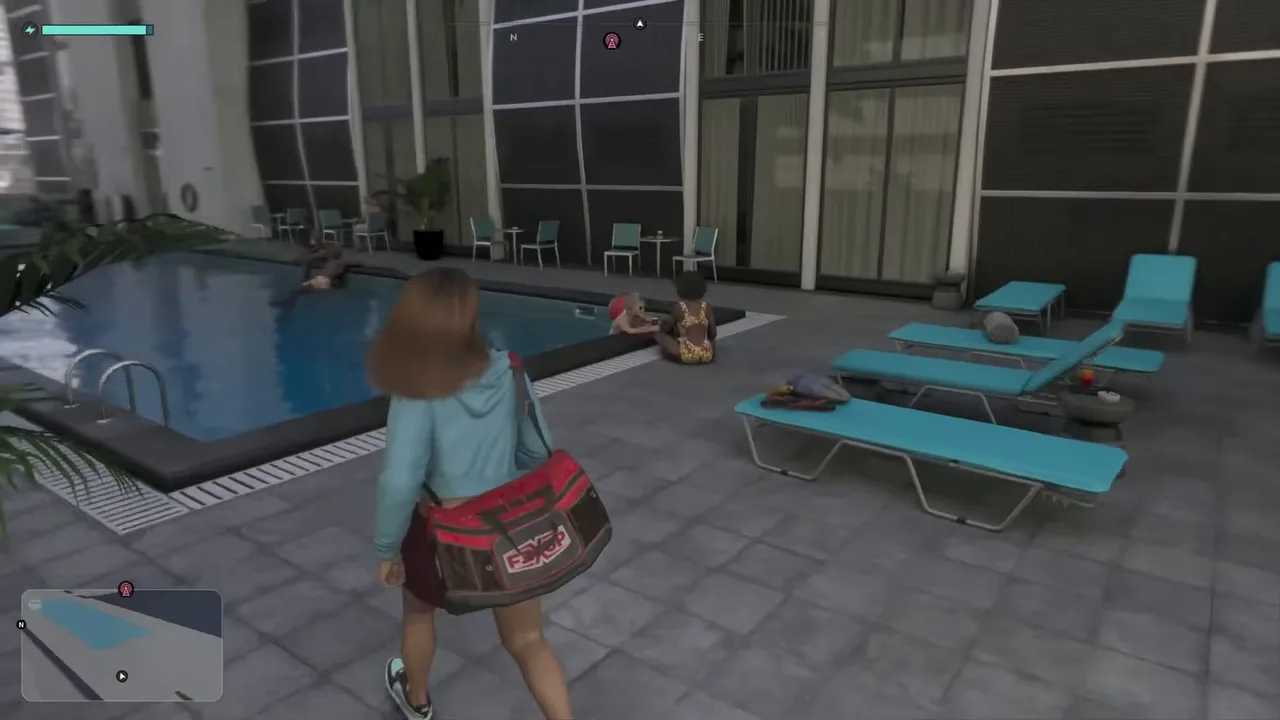 The Banner Hotel & Spa pool terrace on the way up. Footage: Trophygamers.
When the last charge is in, Lucia texts the crew’s Sinfrontera group: Cell towers rigged. Raul’s reply tells you to get out of there, and on the way down he sends one more: he has a few more things to finalise, so stay ready. The map updates and the mission is over.
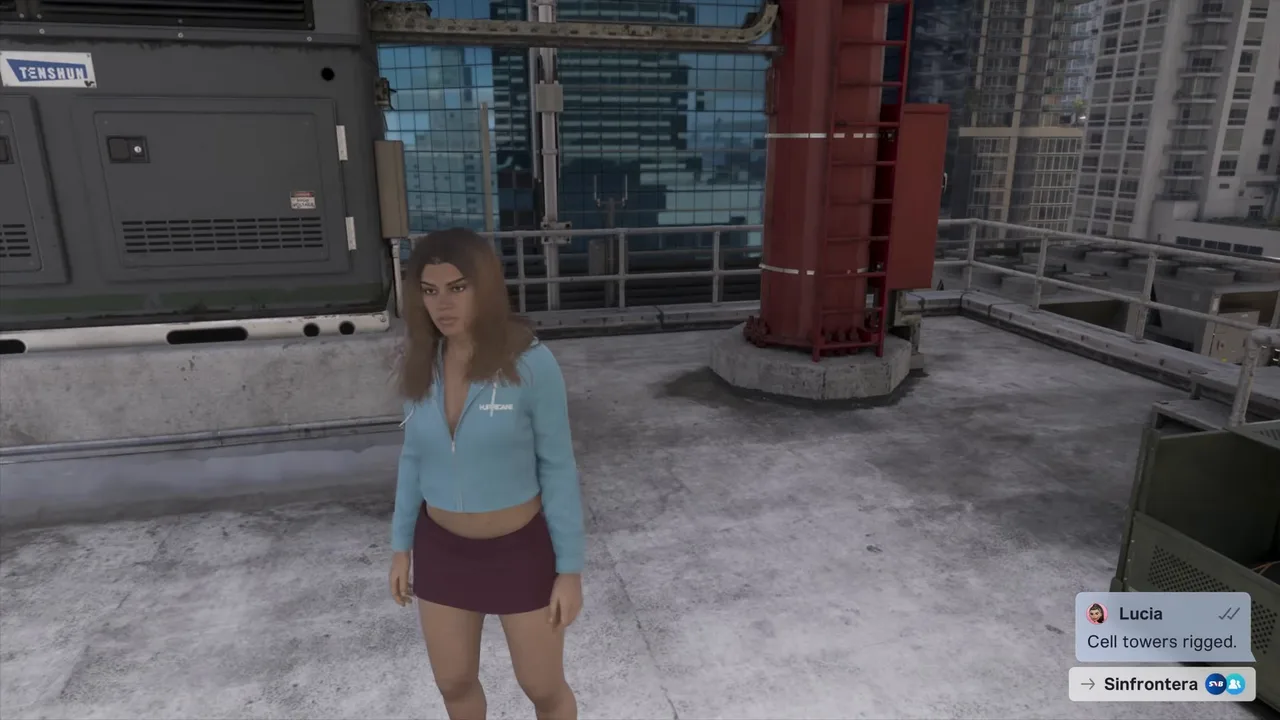 Job done. Footage: Trophygamers.
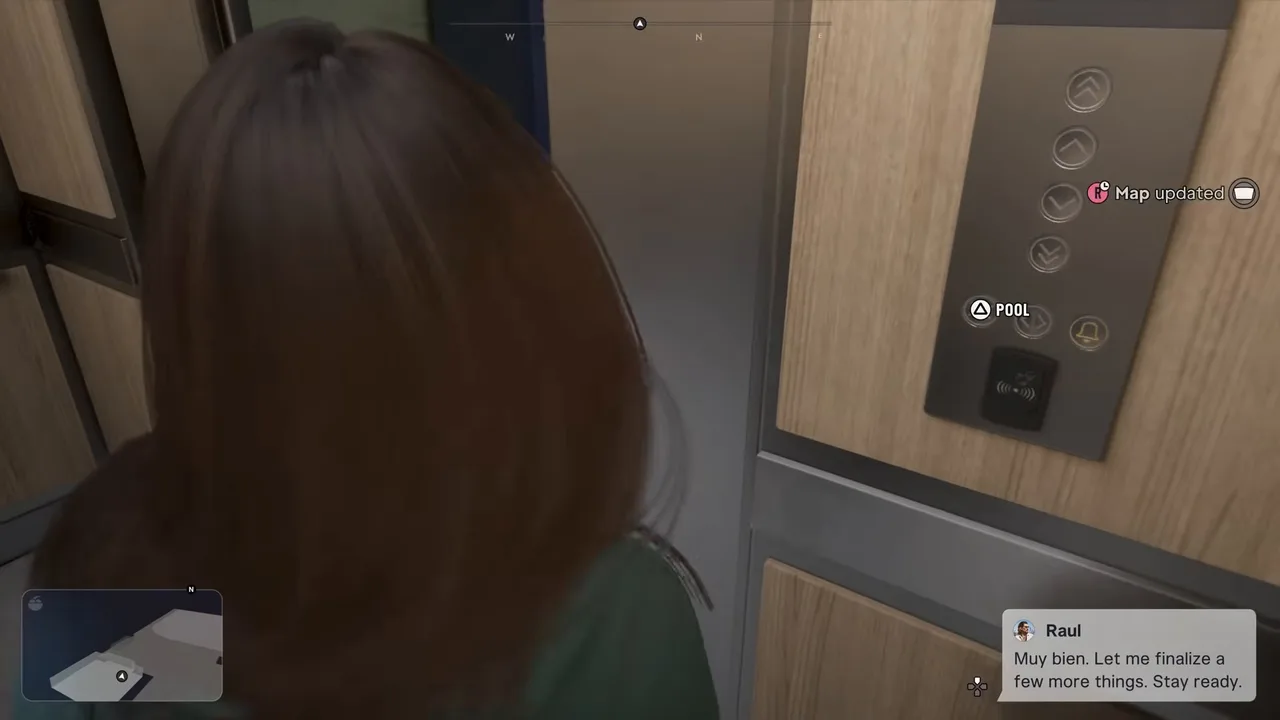 Raul’s last message, and the map update that comes with it. Footage: Trophygamers.
Rewards
- Money: none on screen in the runs we watched, and no mission-passed card.
- Trophy: none tied to this mission.
- Story: the towers are ready for The Cartel Heist. There, you call the contact named Detonate from a car near the towers, and the countdown to the police arriving starts.
- Raul’s promise: once the bank is done, he’ll help with the hard drive and with new identities through Valentina.
Tips
- Drive like the van is full of explosives, because it is. Brake early, avoid kerbs and keep away from traffic.
- Ask for help. Jason takes a bag of his own, and you can only carry one at a time.
- Look up when you arrive. The call box is always at the foot of a red mast on the roof, and the routes up use lifts, stairwells and ladders.
- Ignore the burning armoured truck and the helicopter on the Driscoll Tower helipad. Neither is part of the job, and a wanted level or a crash only costs you time.
- Rig as many towers as you can. Karim says each extra tower buys the crew more time in the bank. When he said there was only enough for two, the mission wrapped up after Lucia’s second tower; otherwise expect a third trip.
Related guides
- Previous in the story list: Bricked Up (#75), Boobie’s pickup at Venture Apartments. Next: The Cartel Heist (#77), the bank job these towers are for. See all GTA 6 missions.
- Raul’s heist thread: Sinfrontera National Bank (#67), Security Expert (#68) and Company Property (#71), where the explosives come from.
- GTA 6 characters: Raul, Karim and the rest of the crew.
- GTA 6 map regions and the interactive map: downtown Vice City and Bayside.
Frequently Asked Questions
How do you start Hidden Charges in GTA 6?
Go to Raul's planning room, the crew's base in Bayside, Vice City, as Lucia once Karim has the charges ready. Walking in through the back door starts the mission with Karim at his workbench.
Where are the cell towers in Hidden Charges?
On three rooftops in downtown Vice City: Driscoll Tower, an office block next to a big red-and-white bullseye sign, and the Banner Hotel & Spa. Each tower has a red call box at the foot of its mast, and the charge goes inside.
Should you ask Jason for help or go solo in Hidden Charges?
Ask for help. Jason takes the second bag, and Karim's text makes it clear you can only carry one charge at a time, so a helper saves you trips back to the van. Every run we watched chose help; we have not seen a solo run.
Can you choose which cell tower to blow up?
Yes, you pick which towers to go for and in what order. In Aquish GTA's run Karim says they only had enough for two and to choose which tower comes down, and Lucia planted two charges. In Trophygamers' run he didn't say it, and Lucia planted three.
Does it matter how many cell towers you blow up?
It seems to. Karim texts that the more towers you take out, the more time the crew has inside the bank, and that you need at least one. That time is the police countdown in The Cartel Heist, so plant every charge you have.
What do you get for Hidden Charges?
No cash and no trophy show up. The reward is the setup for The Cartel Heist: the rigged towers are what you set off by phone at the start of the bank job to cut the city's cell service.
Sources & Credits
Researched from these videos and official material, among others. Screenshots credit the creator whose footage they come from.