Jump to your step
 1
Hear the plan from Nicole and Raul · Lucia
 2
Take the Bison to Peacock Estates · Lucia
 3
Talk your way past the gatehouse · Lucia
 4
Sneak into the mansion · Jason
 5
Find the remote in Gil’s office · Jason
 6
Open the window and attach the winch · Jason
 7
Tear the safe out of the wall · Lucia
 8
Escape with the safe and deliver it to Felipe · Lucia
 9
Drill through the safe door · Lucia
 10
Hook the failsafe with the borescope · Lucia
 11
Hold the failsafe and open the safe · Lucia
Safe Word: quick facts
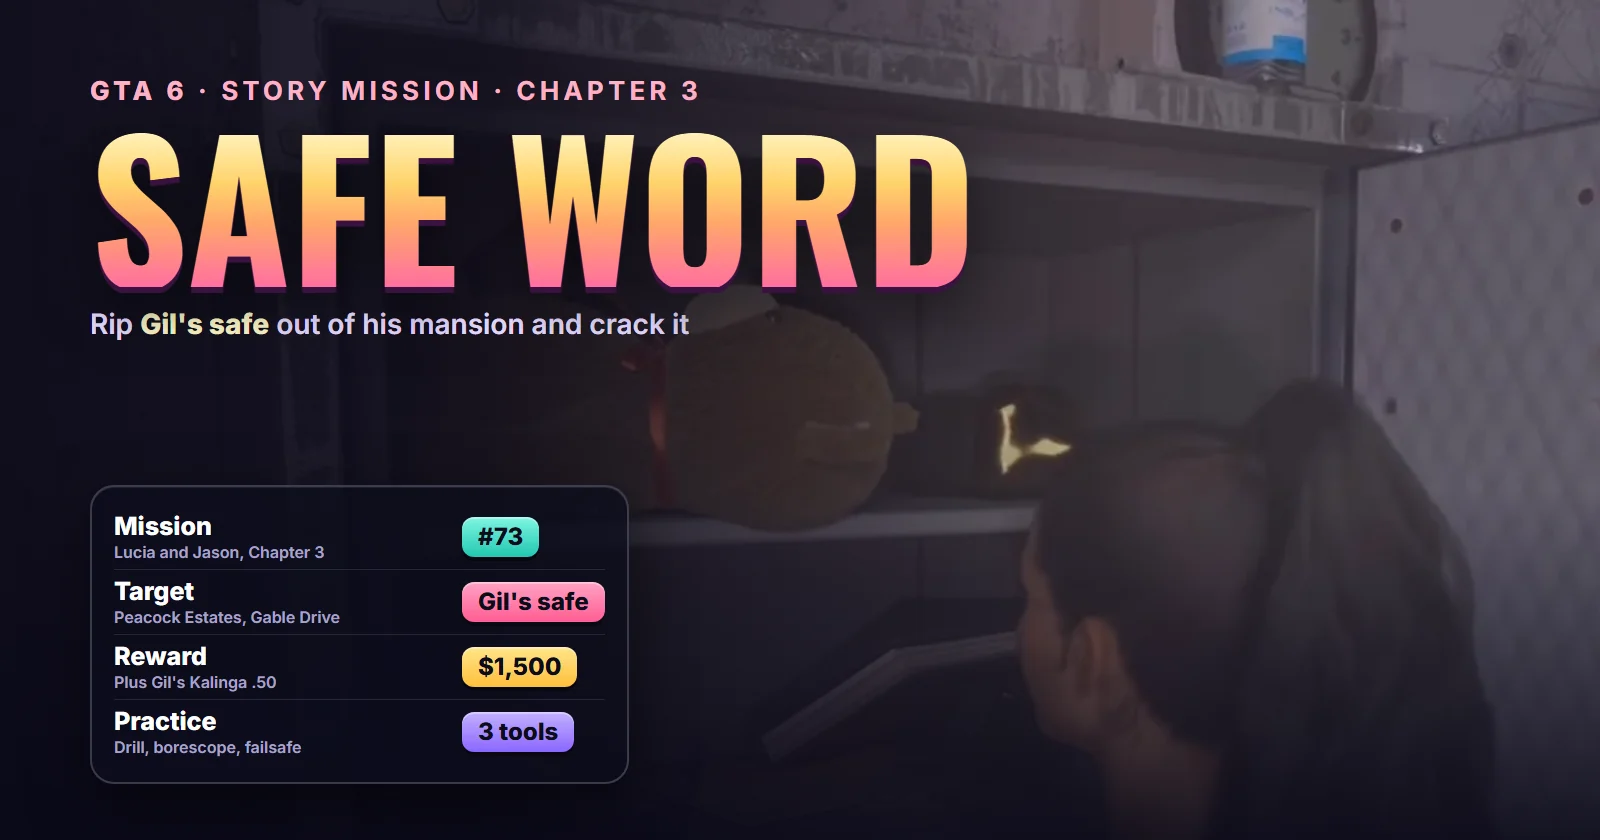
| Mission | Safe Word, story mission #73 (How To Gaming counts it as the 22nd mission of Chapter 3) |
| Chapter | Chapter 3, preparation for Raul’s bank job |
| You play as | Lucia at the base and behind the wheel, Jason for the break-in, Lucia again for the safe-cracking |
| Given by | Nicole Park, with Raul |
| Where it starts | The back door of Raul’s planning room, the crew’s base in Vice City |
| Target | Gil Reynolds’ mansion, Gable Drive, Peacock Estates |
| Unlocks after | The Missing Link (#72) in the story list; Raul calls about it after Company Property |
| Next in the story list | Cooties (#74) |
| Length | About 20 minutes, cutscenes included |
| Wanted level | Three stars during the escape |
| Reward | $1,500, Gil’s Kalinga .50, a Booty Bang decal |
| Trophy | None |
| Required for 100% | Yes |
Mission briefing The story so far, how it unlocks, where it starts and why Nicole wants a safe. Contains spoilers for Chapter 3.
The story so far
In Chapter 3, Jason and Lucia joined Raul Bautista’s crew, which is planning to rob the cartel’s vault at the Sinfrontera National Bank. In Security Expert they brought in Nicole Park, the woman who designed that vault, and in Company Property Brian’s old pilot friend flew in the explosives for it.
The explosives are the plan B. The plan A is for Lucia to open the vault by hand, and nobody can learn that on the real thing. So Nicole wants a copy to train on.
How Safe Word unlocks
In Sirloin’s full Chapter 3 run, Lucia rings Raul soon after Company Property and he tells her to bring Jason back to base: Nicole needs someone to steal a safe for practice. The same call is where Raul talks numbers. He puts the take at five to eight and a half million and offers the couple 15% between them, and Lucia isn’t pleased.
The story list puts The Missing Link (#72), Lucia’s introduction to Andrea, just before Safe Word. Both sit in the stretch of heist prep you can take in your own order, so don’t worry if yours came up differently.
Where it starts: the back door of Raul’s planning room, the converted warehouse the crew uses as a base, in Stockyard on the Bayside border. As Lucia, walk up to the intercom in the alley and say it’s you; Nicole buzzes you in, and the SAFE WORD title appears in her room. See the Safe Word start on the live map, or Nicole’s other places.
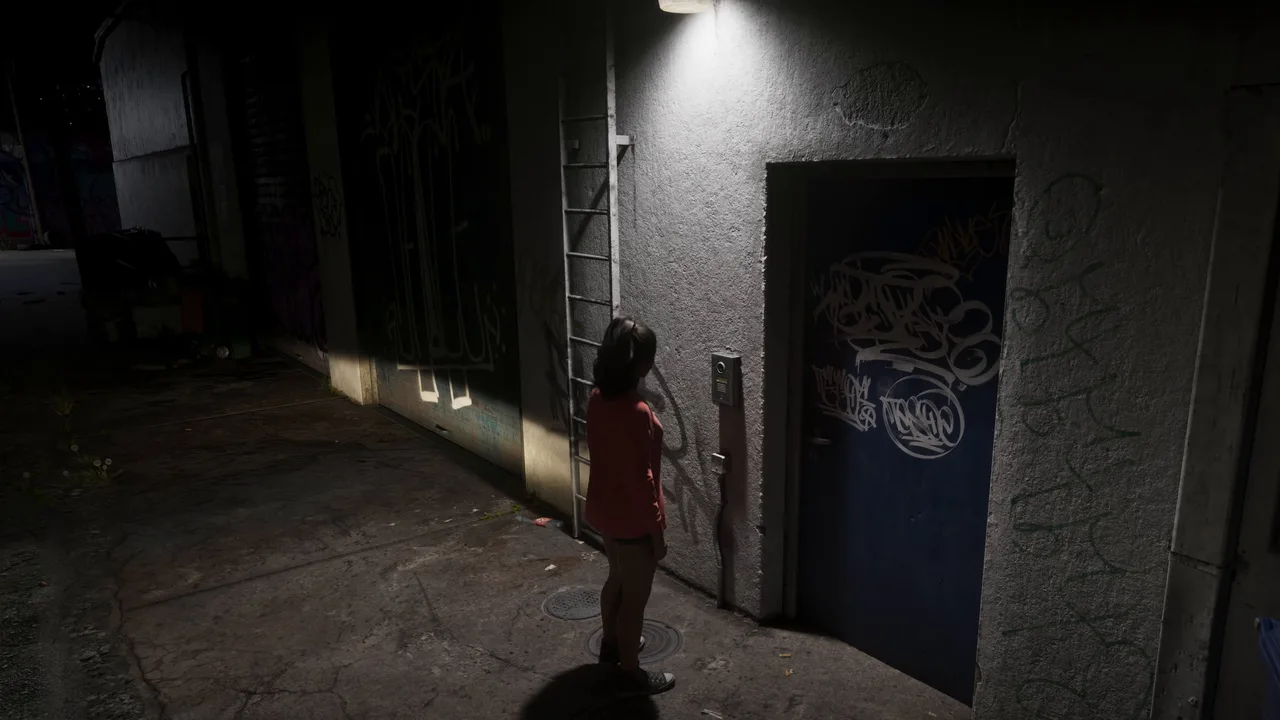 Buzzing the back door of the crew’s base. Footage: Sirloin.
Step 1: Hear the plan from Nicole and Raul (Lucia)
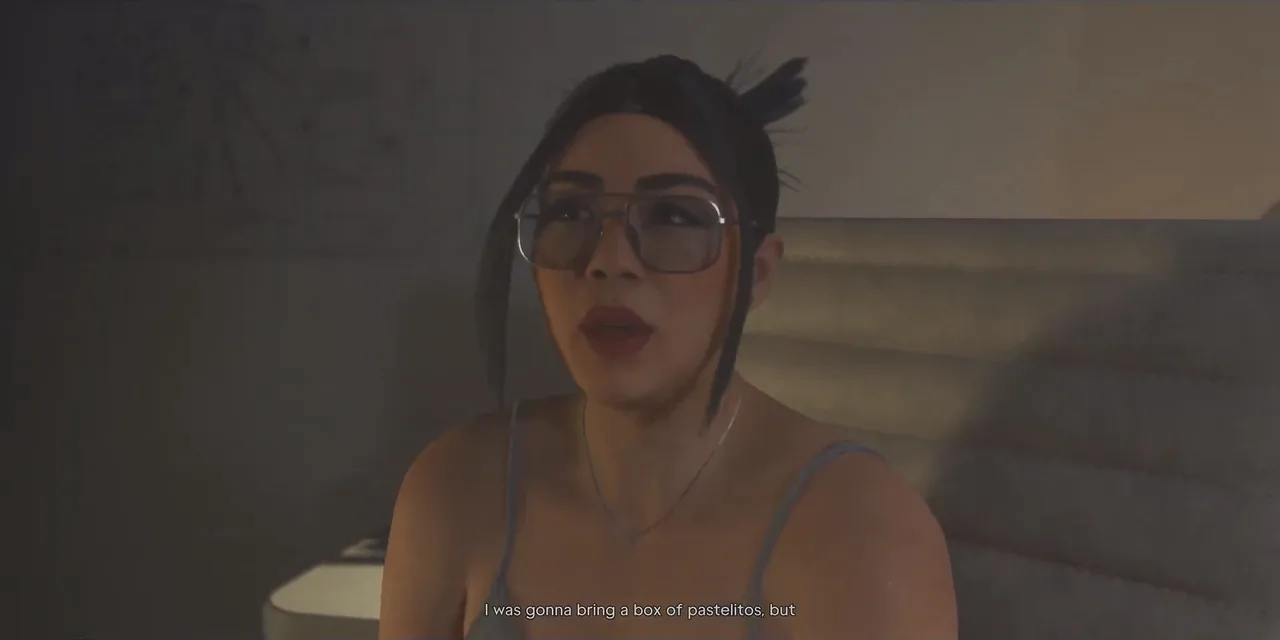
Nicole has settled into a room at the base, glasses on and a gun-shop habit already. The safe she wants belongs to Gil, the man behind Booty Bang Entertainment, an adult website. He’s paranoid about the feds and the mob, so he had Nicole install a home version of the bank’s vault setup: much smaller, but still a couple of tons of steel. Bring it back here, she says, and she’ll show Lucia what to do with it.
Nicole explains whose safe she wants. Footage: How To Gaming.
Raul fills in the rest. Nicole has shown him the plans of Gil’s house: the safe is on the first floor with no security walls around it. There’s a truck outside, so the idea is to go in, hook up the rig and pull the safe straight out of the wall. He’ll meet you when you have it.
Step 2: Take the Bison to Peacock Estates (Lucia)
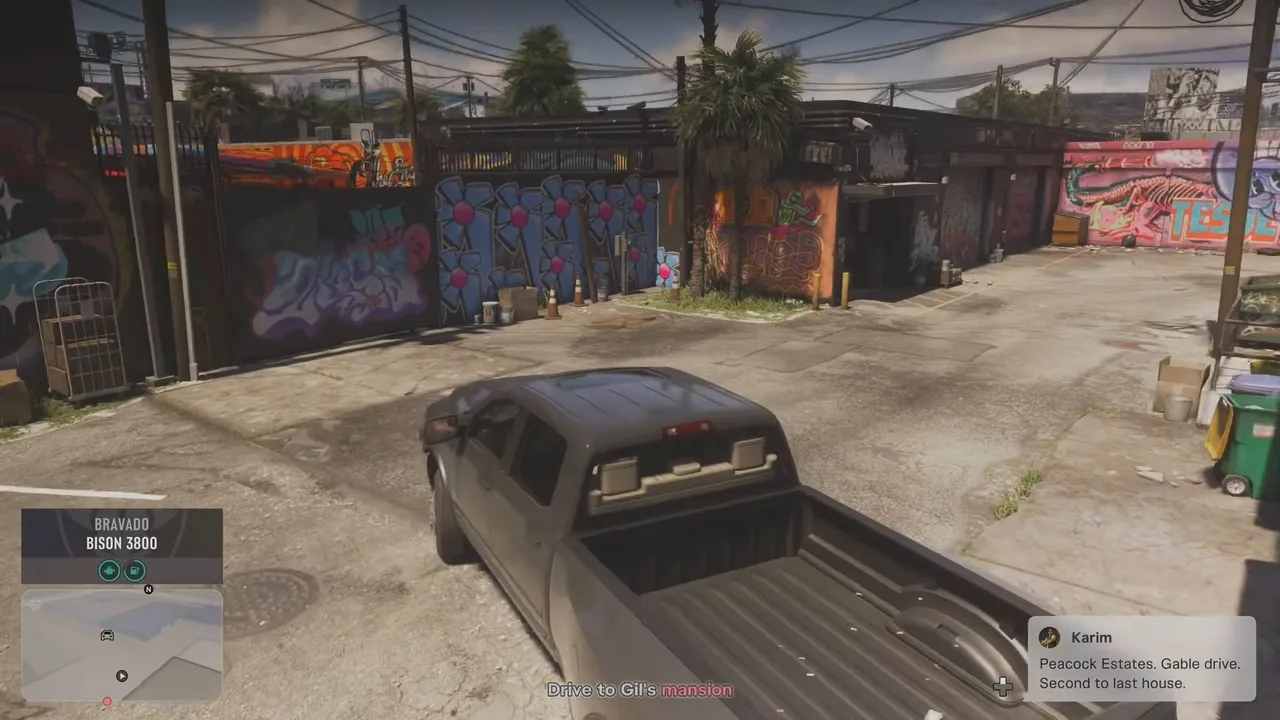
Jason is waiting at the back. Walk out to the alley, where a Bravado Bison 3800 pickup with a winch on the back bumper is parked against the graffiti wall, and get in. The objective is Drive to Gil’s mansion, and Karim texts the address: Peacock Estates, Gable Drive, the second-to-last house, about 3.2 miles away.
The Bison and Karim’s directions. Footage: How To Gaming.
On the way, Nicole texts that the safe is in Gil’s office behind a security cover, and that you’ll need the remote to open it. Then Karim calls with bad news: the neighbourhood security is tighter than they planned for. Go in quietly, don’t start anything until you have eyes on the safe, then winch it onto the truck and get out fast. Felipe will be waiting at a warehouse to swap trucks. His last tip: at the gate, say you’re there for pool maintenance.
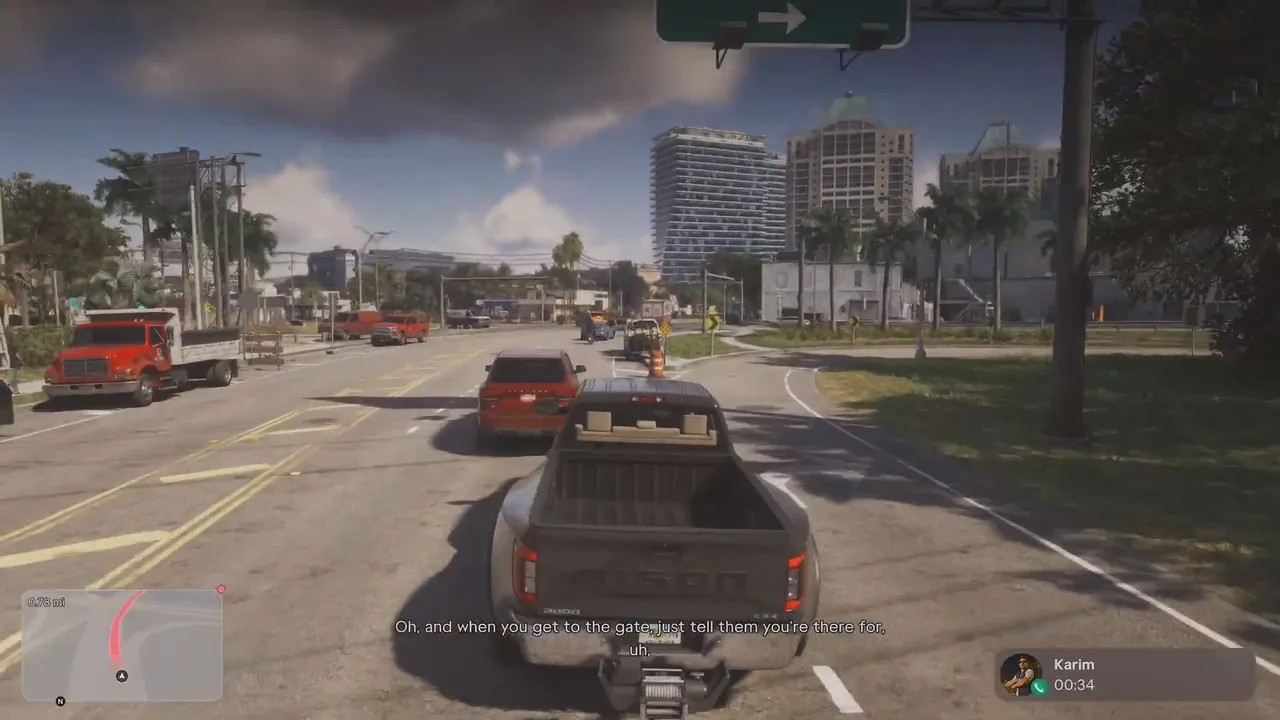 Karim’s call on the drive: go in quiet, and use the pool-maintenance line at the gate. Footage: How To Gaming.
Step 3: Talk your way past the gatehouse (Lucia)
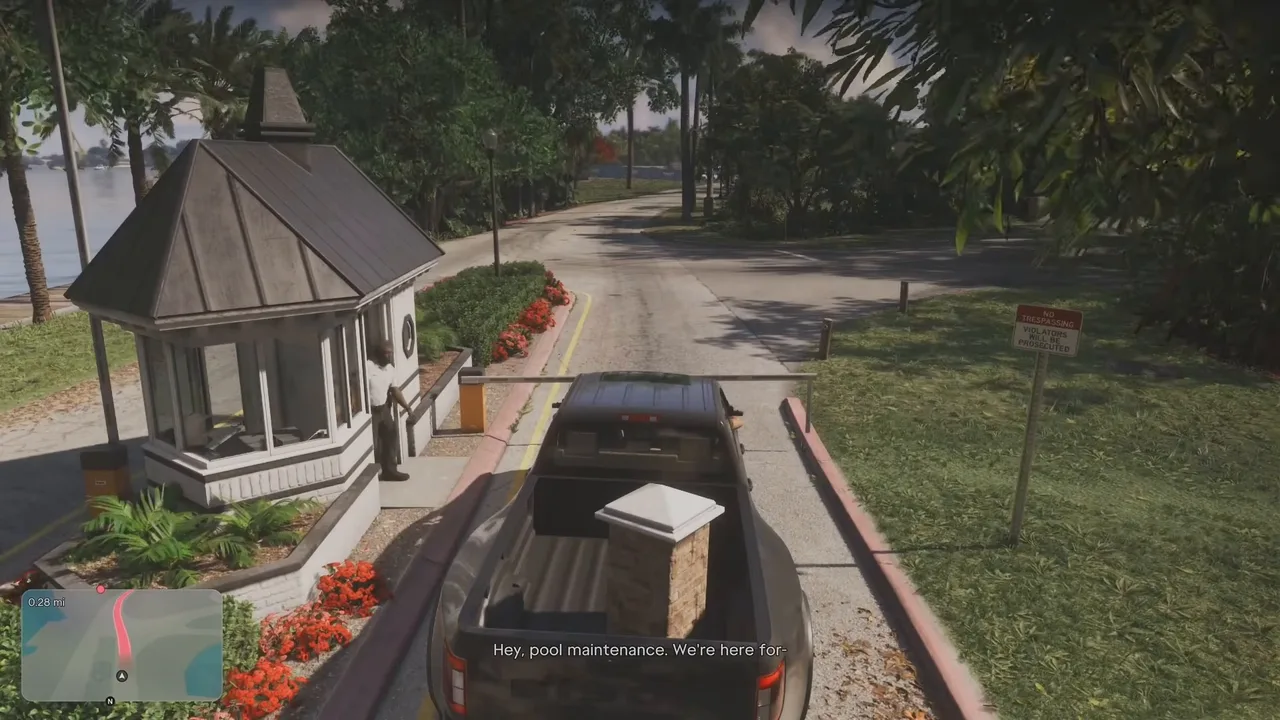
Peacock Estates is a gated island community. Pull up at the gatehouse and the cutscene handles the talking: you’re the pool people, here for Gil Reynolds. The guard waves you through.
The pool-maintenance cover gets you through the gate. Footage: How To Gaming.
Lucia offers to go in herself, but Jason wants to be the one inside: he’d like to tell Cal he’s been in this house. Park on the side of the street near the second-to-last house, and the game switches to him.
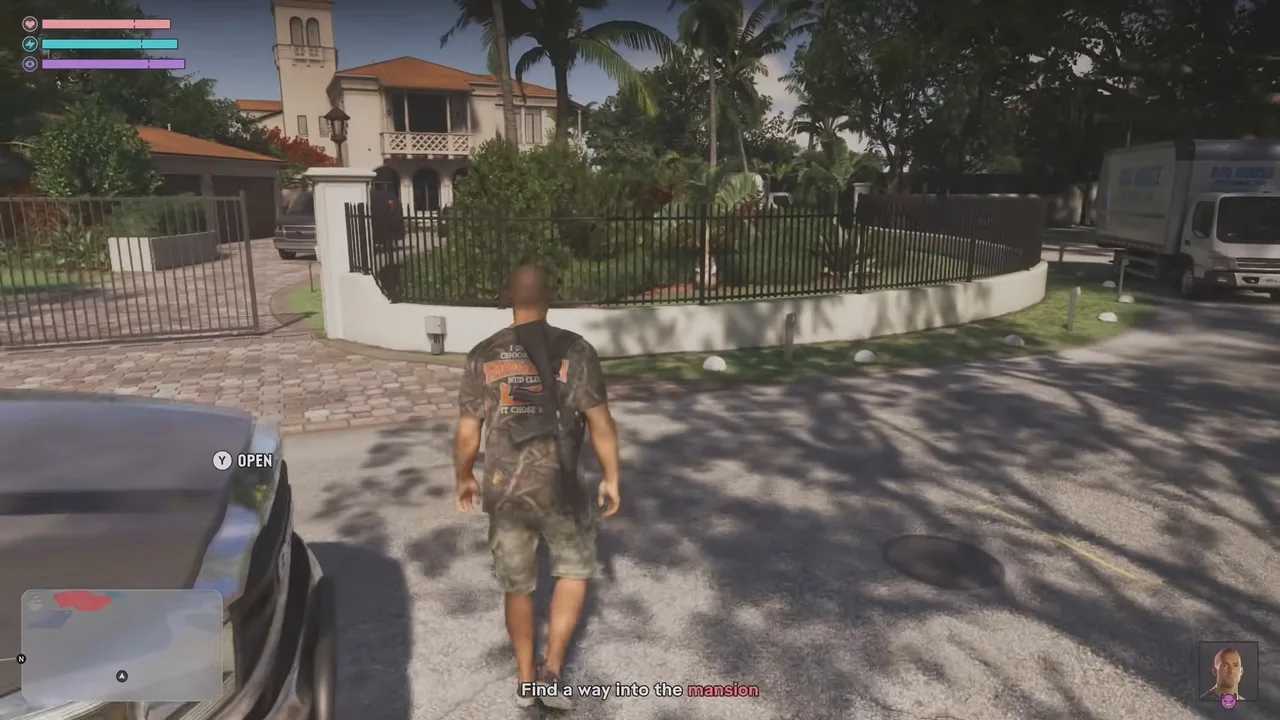
Step 4: Sneak into the mansion (Jason)
The objective is Find a way into the mansion. Gil’s staff are hanging around the front, watching last night’s sports highlights in the open garage and pottering about by a golf cart. The red patches on your minimap show where they’re looking.
Walk up to Gil’s house. Footage: How To Gaming.
Keep to the garage wall and slip past while they’re busy with the screen, then follow the path along the side of the house towards the pool. A side door gets you in.
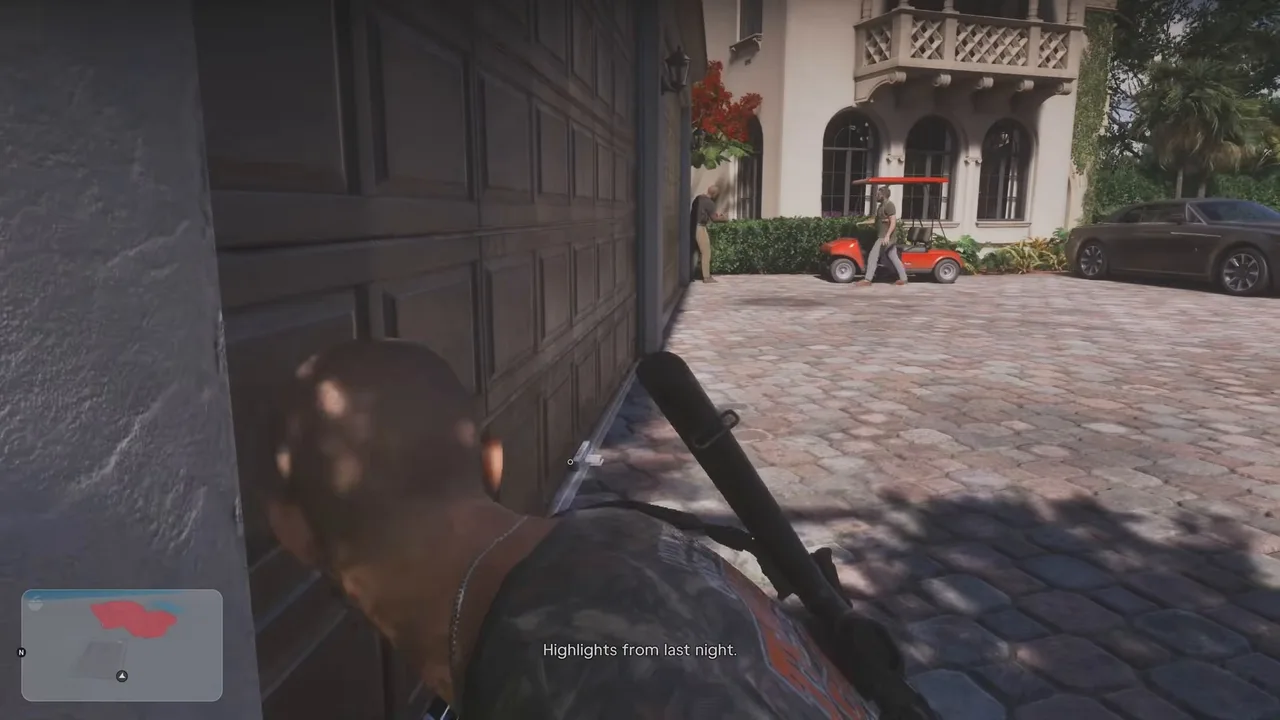 Keep to the garage wall while the staff watch the highlights. Footage: How To Gaming.
Step 5: Find the remote in Gil’s office (Jason)
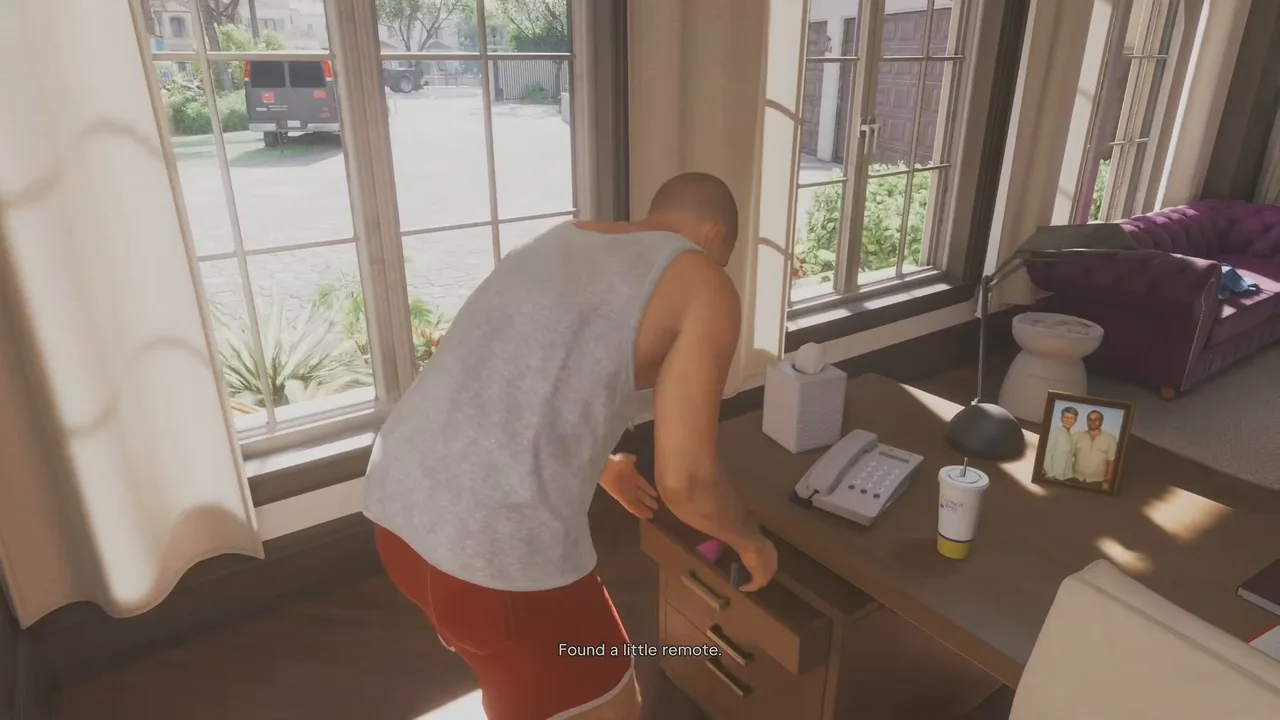
Next is Enter Gil’s office. Once you’re in, Jason locks the door behind him, and the objective becomes Search Gil’s office. It’s a big sunny room with a purple chesterfield, a tripod and a projector screen, which tells you something about how Gil works.
The remote is in a drawer of the desk by the window. Press it and you get the joke: it fires up Gil’s projector at full volume and won’t turn off. It also slides back the wall panelling to reveal the safe, set between two huge speakers.
The remote is in the desk drawer. Footage: How To Gaming.
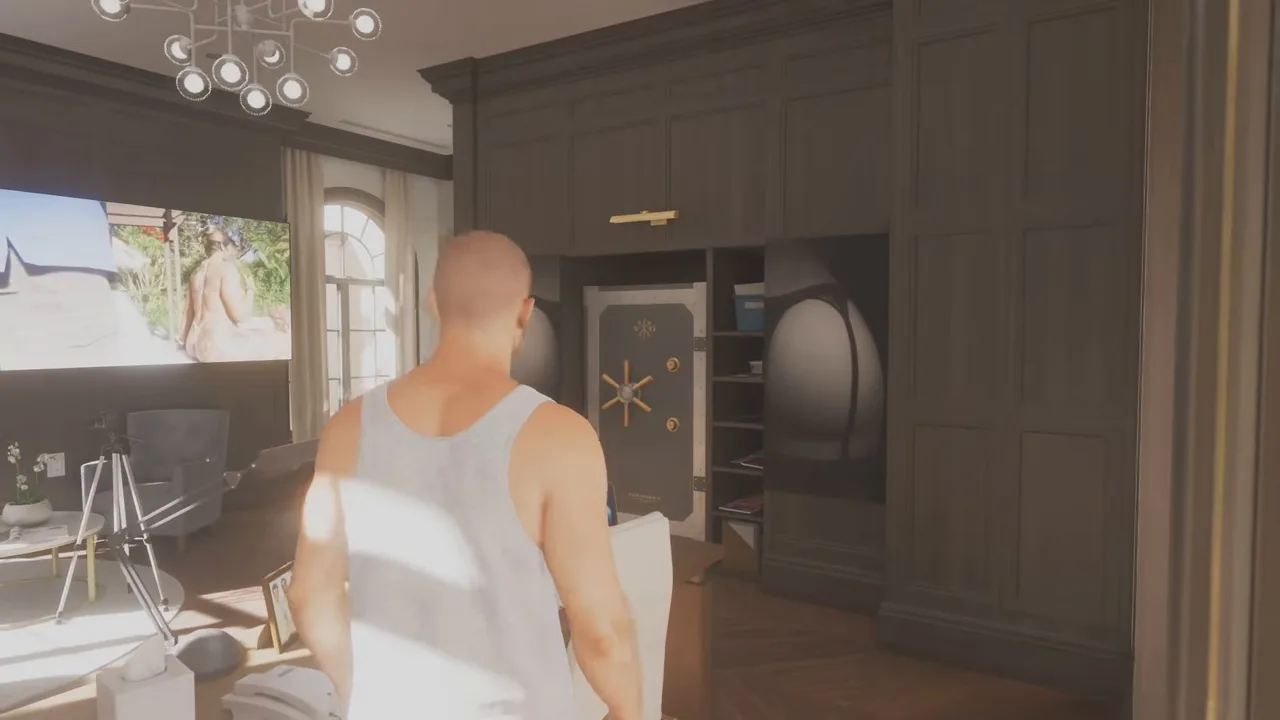 The panelling slides back and there’s the safe. Footage: How To Gaming.
Step 6: Open the window and attach the winch (Jason)
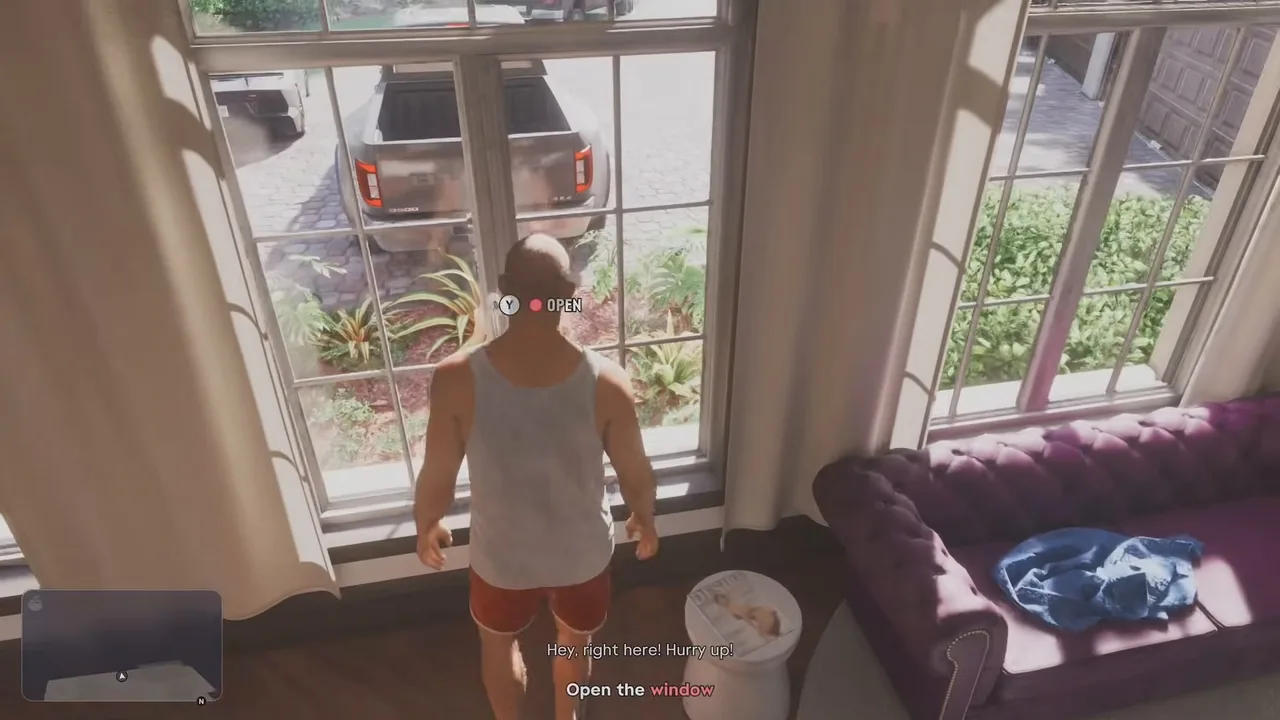
Jason tells Lucia to pull the truck round the back. The objective is Open the window: go to the tall window that looks onto the side of the house, where Lucia has backed the Bison up into the flowerbed, and press the prompt to open it.
Lucia backs the Bison up to the office window. Footage: How To Gaming.
Take the winch cable and Attach the winch to the safe. All that noise has drawn the staff, and someone starts banging on the locked office door. It doesn’t matter: once the hook is on, Jason runs for the truck.
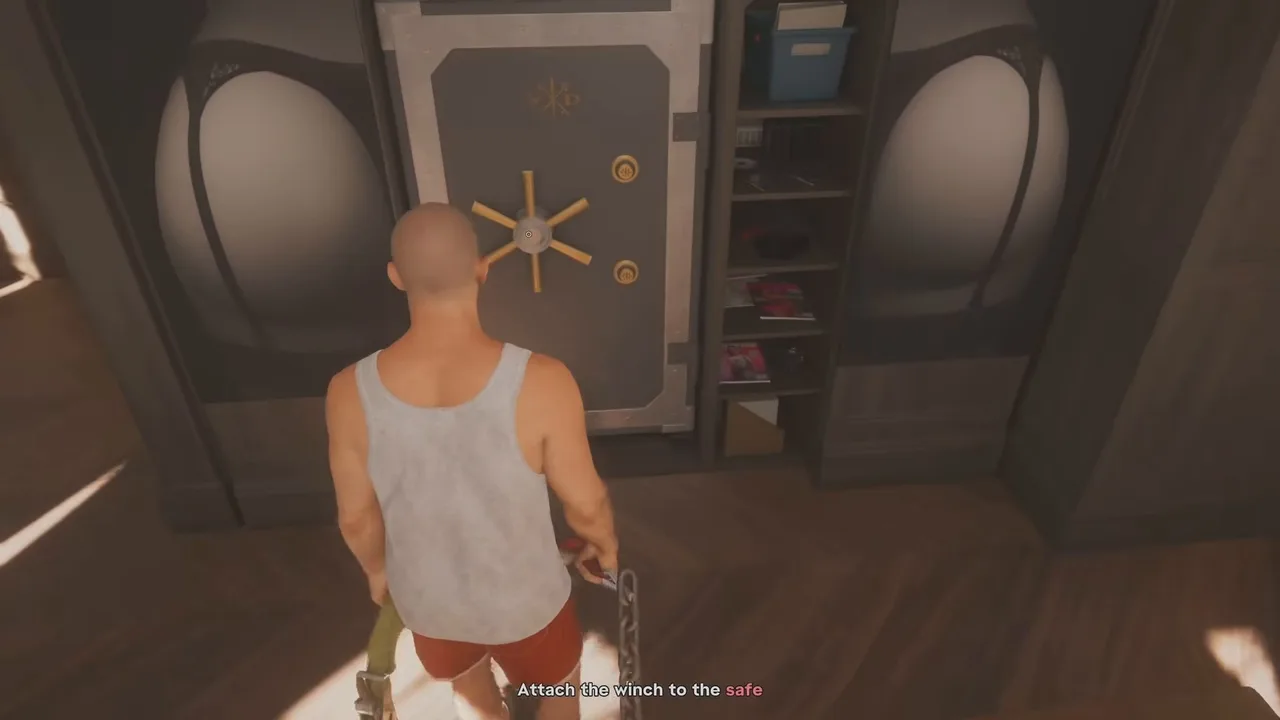 Carry the hook to the safe. Footage: How To Gaming.
Step 7: Tear the safe out of the wall (Lucia)
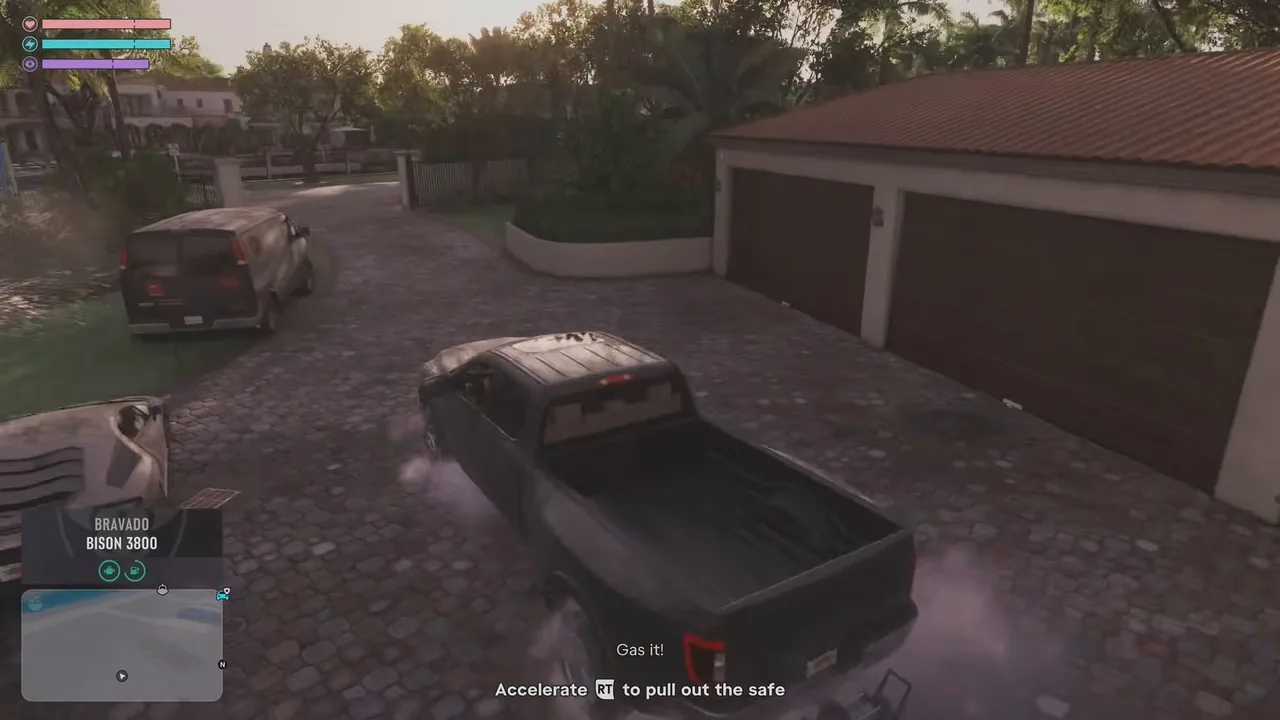
Back to Lucia at the wheel. The prompt is Accelerate to pull out the safe (RT on Xbox, R2 on PlayStation). Hold it down. The safe doesn’t move at first and Jason yells at you not to let up, so keep the throttle pinned until the wall gives and the safe crashes out onto the lawn.
Keep the throttle down until the wall gives. Footage: How To Gaming.
Step 8: Escape with the safe and deliver it to Felipe (Lucia)
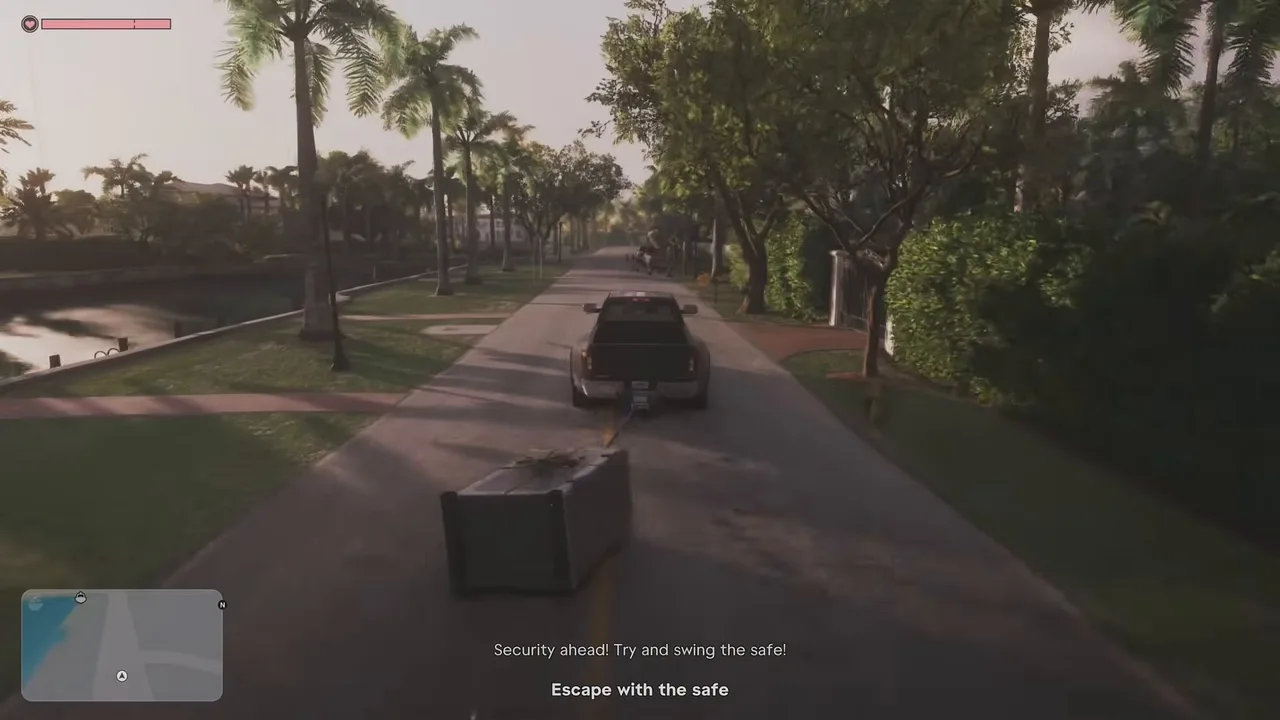
Now the objective is Escape with the safe, with two tons of steel bouncing behind you on the cable. Estate security comes at you straight away, and Jason’s advice is to swing the safe into them: a quick flick of the steering whips the safe sideways on its cable and can knock their cars out of the way.
Swing the safe into the security cars. Footage: How To Gaming.
Get off the island, and Jason puts Felipe’s warehouse in the GPS: Deliver the safe to Felipe. More security blocks the main road, so take the turn Jason calls instead of getting stuck in the jam. Then the police join in with three stars. Jason sends you through a cemetery to lose them, and later straight through a fence.
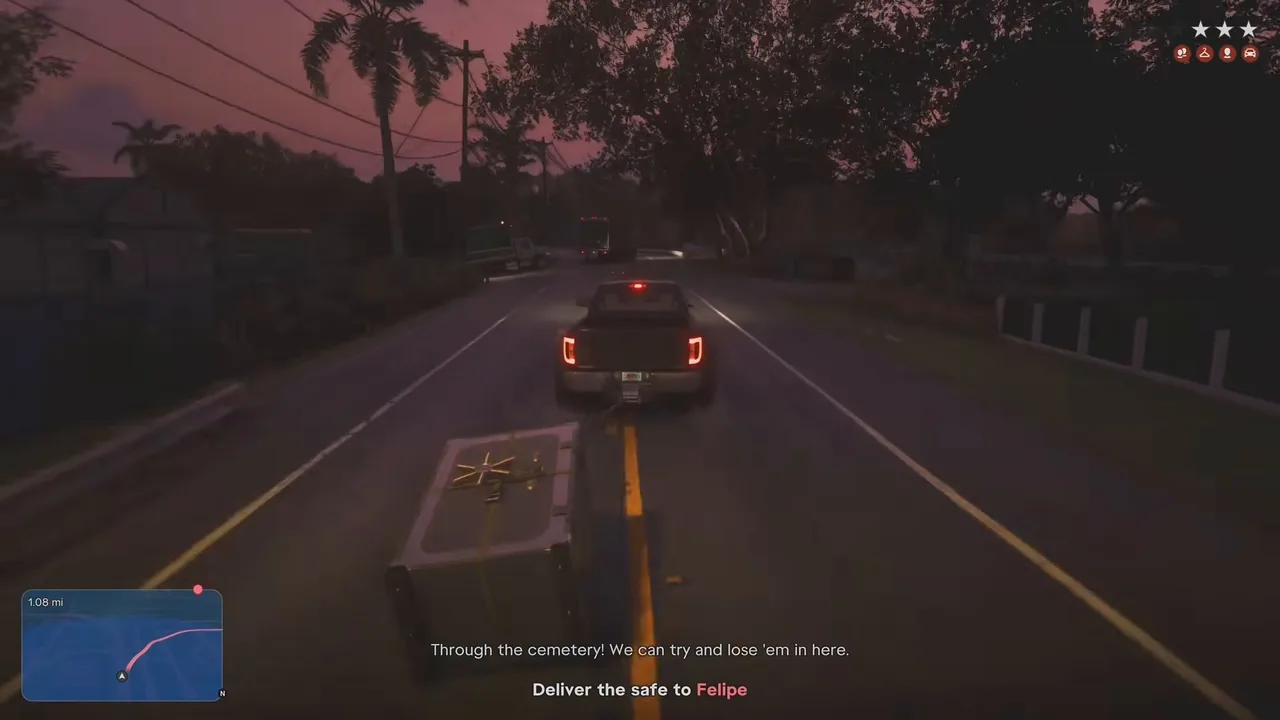 Three stars and a shortcut through the cemetery. Footage: How To Gaming.
Driving with a safe on a cable takes some getting used to. Slow down before turns: the safe swings wide on its cable and can snag on lamp posts and parked cars. At the warehouse, Felipe points you to a pallet trolley and leaves Jason to do the loading. Karim’s plan is to swap trucks here, so the Bison stays behind and the safe goes on to the base.
Step 9: Drill through the safe door (Lucia)
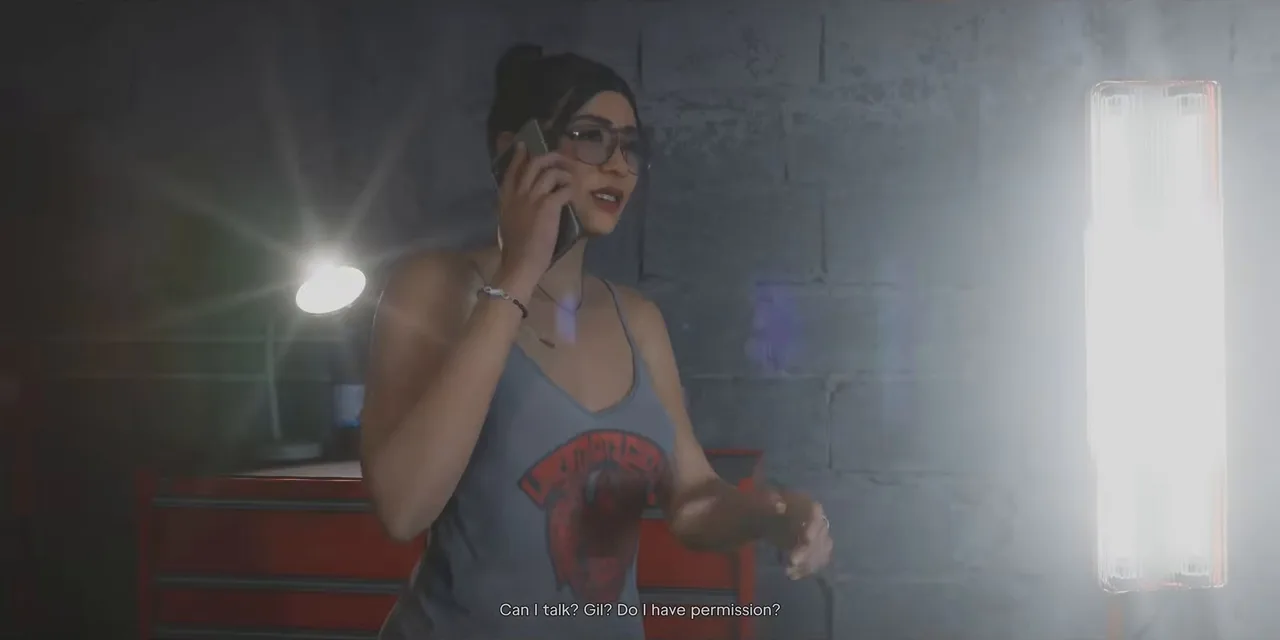
Back at the base, Nicole is on the phone with Gil, who of course called the woman who installed his safe. She tells him a wall coming down is an architecture problem, not a security problem, and that nobody has got into the safe. Then she hangs up and wonders aloud whether she’s going to get killed.
Nicole fobs off Gil. Footage: How To Gaming.
Then the lesson. Nicole sets a failsafe so one mistake doesn’t lock the safe forever, and explains how it works. Behind the steel door is a sheet of glass, and behind that are the combination dials. If she can see the dials she can open it, but if the glass breaks, a hard lock kicks in and you’re back to explosives.
The first job is the drill. The prompt says to lightly hold LT and RT and stay within the indicated drill levels (L2 and R2 on PlayStation). A timer starts at about a minute.
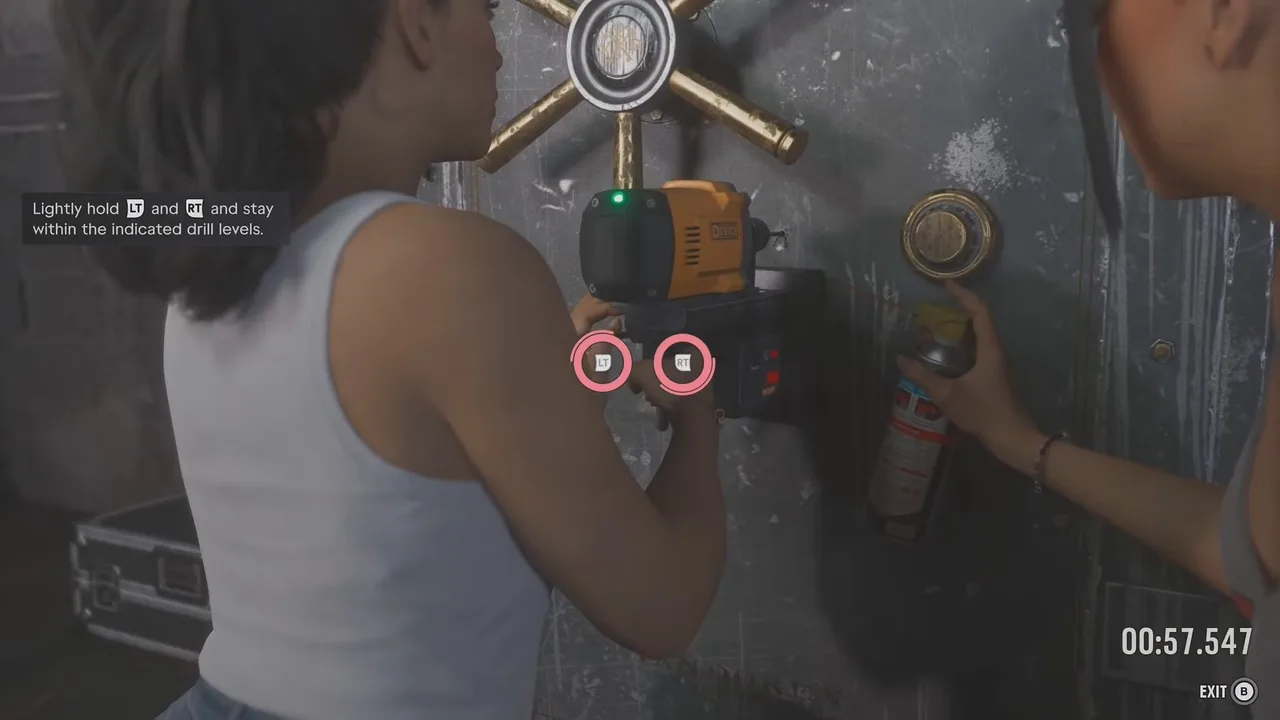 The drill stage: two ring gauges and a countdown. Footage: How To Gaming.
Nicole’s advice, from Sirloin’s run, is the best summary: push hard for the first few inches, then switch to a lighter touch so you don’t punch through and crack the glass. Watch the light on the drill. Green is good, yellow means slow down, and red means it has overheated and you have to wait for it to cool, which eats into the timer.
Step 10: Hook the failsafe with the borescope (Lucia)
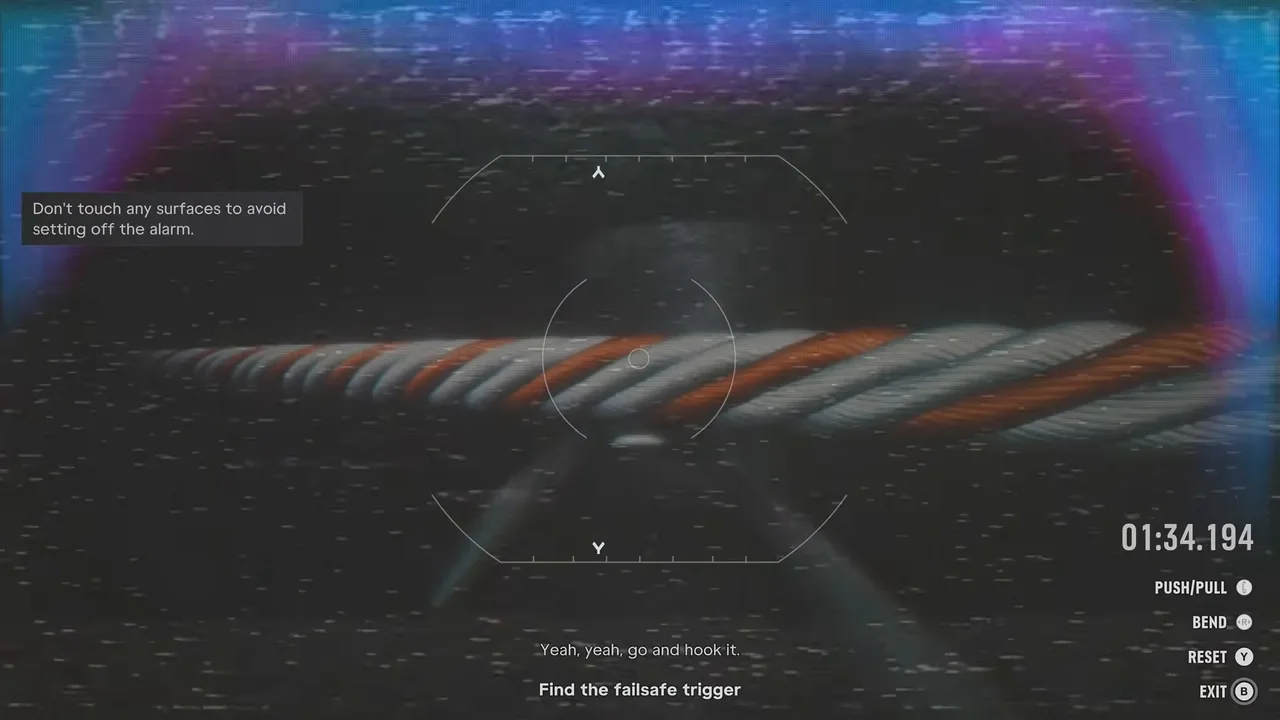
Nicole hands Lucia a camera on a flexible cable, a borescope with a hook on the end. You feed it up inside the wall of the safe, find the cable that triggers the locking mechanism, and hook it. The objective is Find the failsafe trigger.
The red-and-white cable leads to the failsafe. Footage: How To Gaming.
The controls, as shown on Xbox: the left stick moves the camera in and out (push/pull), the right stick bends and turns it, Y resets and B exits. Don’t touch any surface: Nicole has packed the inside with sensors, and a bump can set it off. Find the braided red-and-white cable, then follow it to where it’s tied off: a round eye bolt. Line the reticle up with the bolt and press RT (R2) to hook on to the failsafe trigger.
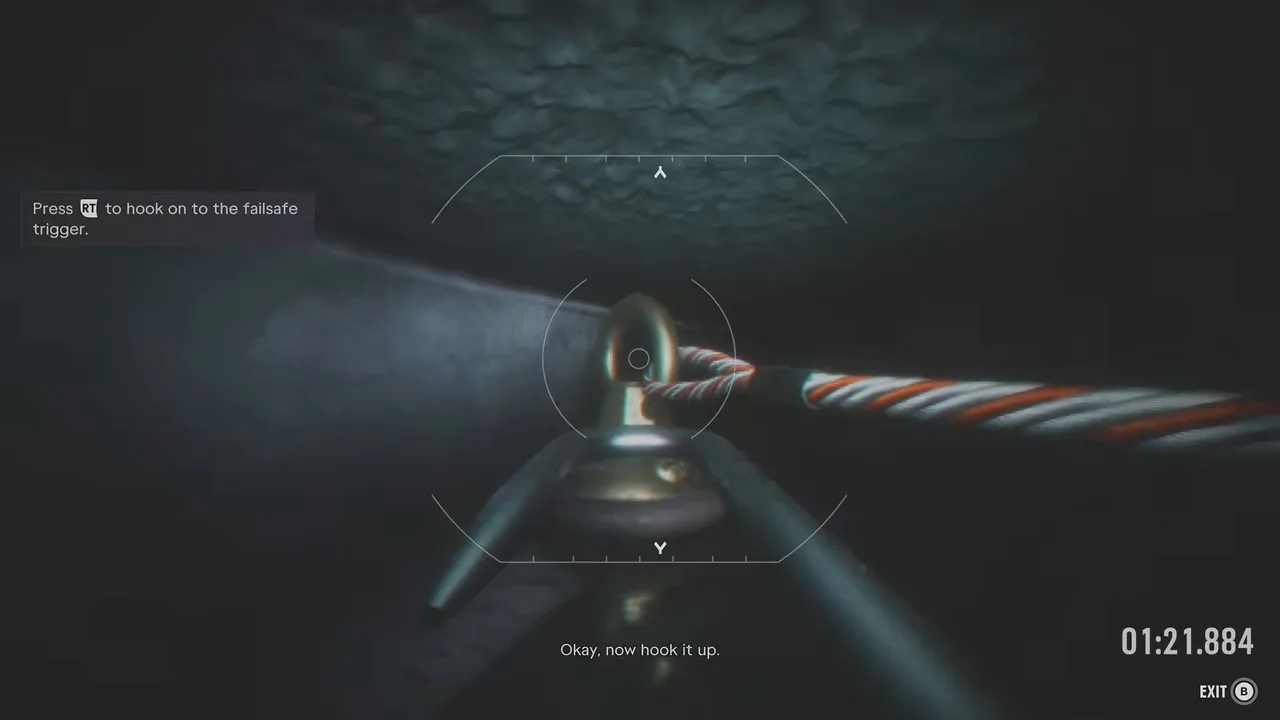 The eye bolt where the cable is tied off. Hook it with RT. Footage: How To Gaming.
This stage has its own timer of a little over a minute and a half. In How To Gaming’s run, scraping the walls and running low on time got the safe locked out more than once, and Nicole simply reset it. She also warns that you won’t get a reset on the day, so take your time learning the route here.
Step 11: Hold the failsafe and open the safe (Lucia)
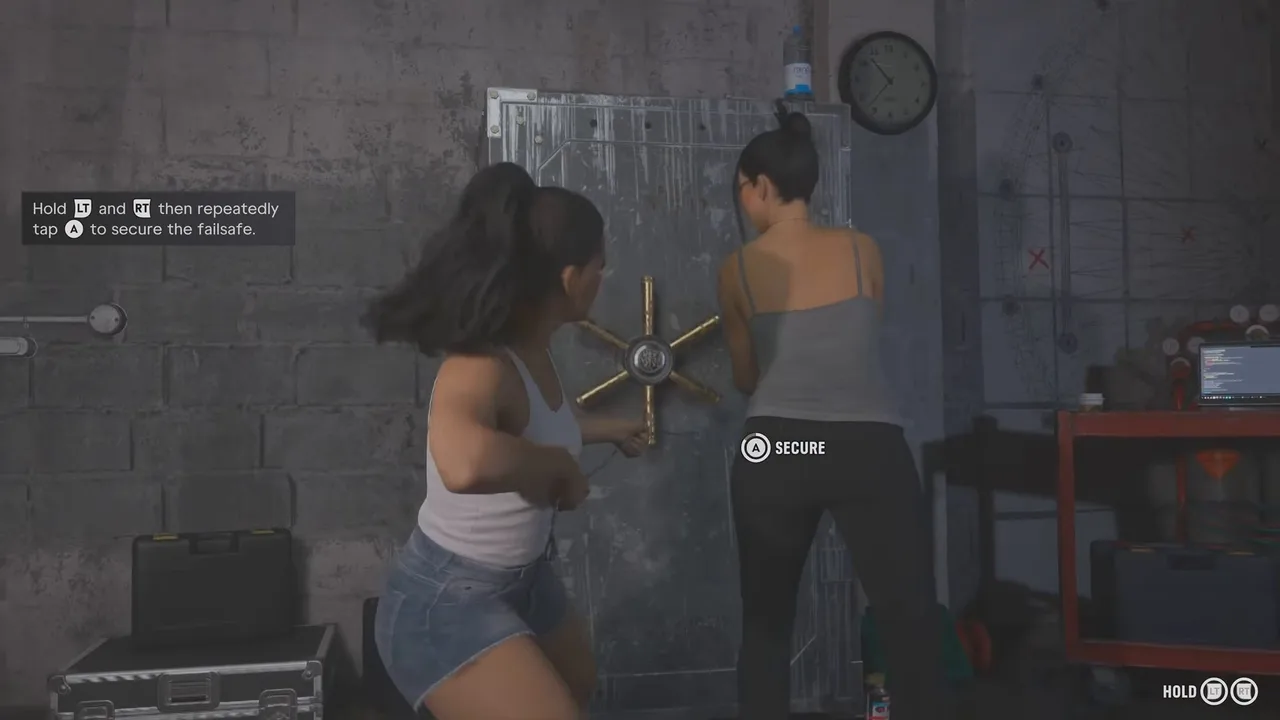
Once you’ve hooked it, Lucia has to keep the cable taut while Nicole breaks the glass. Its weight was holding back a spring lock, so now Lucia is. The prompt is to hold LT and RT, then repeatedly tap A (Cross on PlayStation) to secure the failsafe. Don’t let go until Nicole has used the borescope to read the combination and dialled it in.
Hold both triggers and tap to keep the cable tight. Footage: How To Gaming.
The door swings open on, as Lucia puts it, standard rich-guy stuff. You get to choose what to take: there are prompts for the cash, a teddy bear and Leave. The cash is $1,500, Gil’s Kalinga .50 pistol goes into your weapons, and Lucia pockets a Booty Bang custom decal. Nicole looks at the teddy and suggests you don’t touch it.
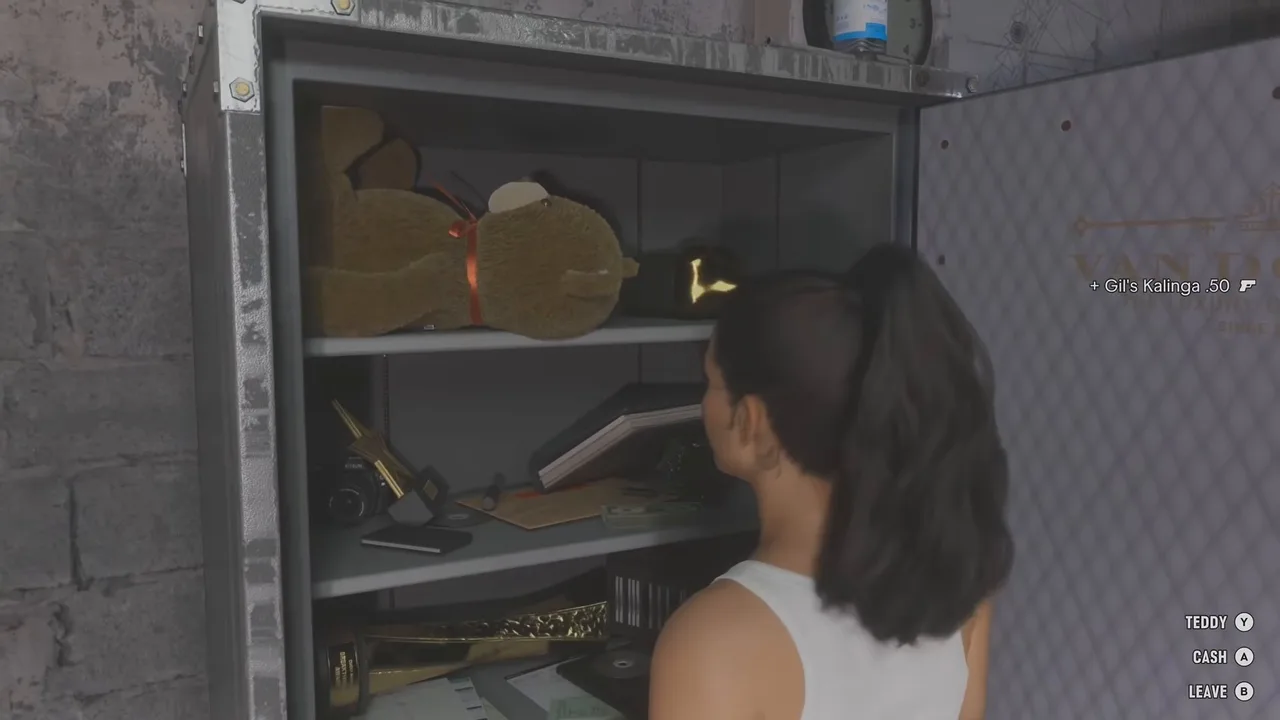 Gil’s safe: cash, a .50 pistol, a decal and a teddy bear. Footage: How To Gaming.
Nicole then offers another run in case the first was beginner’s luck. You can turn it down, as How To Gaming did, and Nicole lets Lucia go. Or you can go again, as Sirloin did. His second run was timed from the start, and Nicole called it a perfect run. Along the way she mentions that the real vault at Sinfrontera has far more sensors than this one. The mission ends with Lucia walking back out into the alley; no mission-passed card showed in either run.
Rewards
- $1,500 cash from the safe. The game reminds you that cash is safer once you’ve deposited it at an ATM.
- Gil’s Kalinga .50, a .50-calibre sidearm. As the Fairview Kalinga .50 it’s one of the strongest pistols in our weapons guide, with a damage rating of 7.0. GamingBolt’s tips video shows it in the weapon wheel under Gil’s name.
- A Booty Bang custom decal, which Lucia keeps.
- Practice for the heist. The safe stays at the base, and Nicole wants a perfect run before the real job. On heist day you drill the vault and hook the cable the same way, with no resets. See The Cartel Heist.
- No trophy. None is tied to this mission.
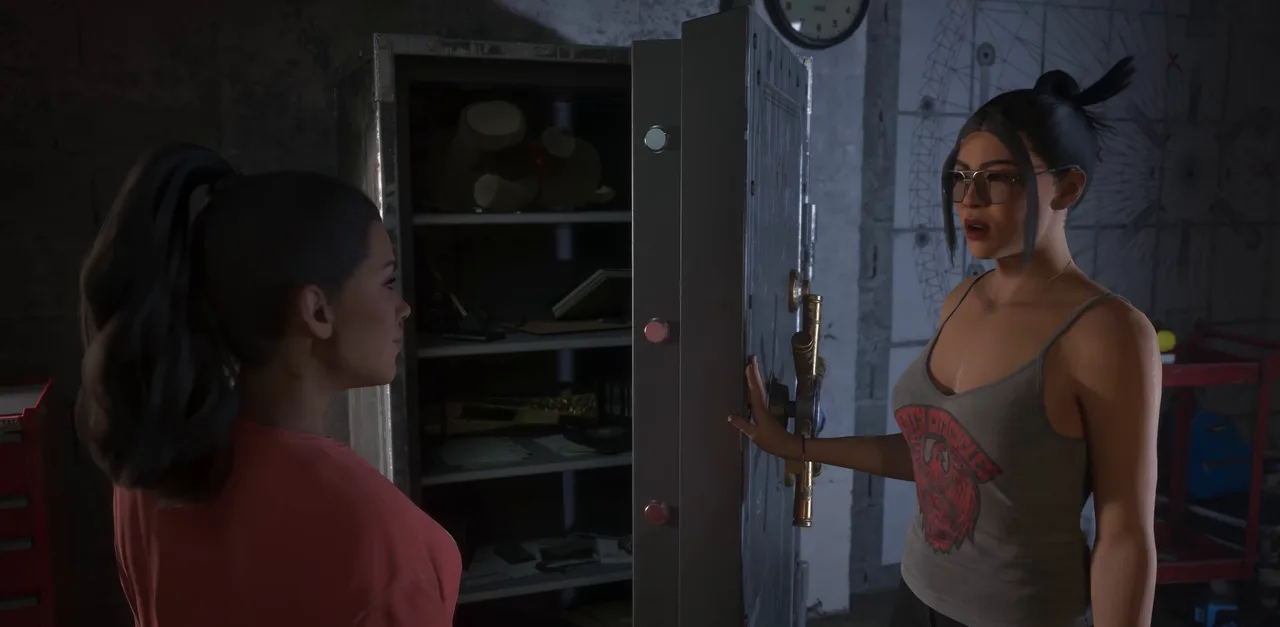 After a second, perfect run in Sirloin’s playthrough. Footage: Sirloin.
Tips
- Ease off the drill before yellow. An overheated drill costs more time than a slow one.
- Learn the borescope route now. Find the cable first, then follow it with small stick movements. Touching the sides is what fails it, not speed.
- Swing the safe on purpose. A quick flick of the steering turns two tons of steel into a battering ram against the security cars.
- Slow down for corners. The safe swings wide on turns and can catch on lamp posts.
- Take the second practice run. Nicole is clear that you get one chance at the real vault, and the timed rerun is the closest thing to it.
Related guides
- Previous in the story list: The Missing Link (#72), Lucia’s introduction to Andrea. Next: Cooties (#74). See all GTA 6 missions.
- Raul’s heist thread: Sinfrontera National Bank (#67), Security Expert (#68), Company Property (#71), Hidden Charges (#76) and The Cartel Heist (#77). Boobie’s job Bricked Up (#75) falls in between.
- GTA 6 weapons guide: the Kalinga .50 and every other pistol
- GTA 6 money guide: more safes worth cracking
- GTA 6 characters: Raul, Nicole and the crew
- Interactive map: where Safe Word starts at the crew’s base, and Nicole’s places
Frequently Asked Questions
How do you start Safe Word in GTA 6?
Keep going with Raul's heist prep. After Company Property, Raul tells Lucia that Nicole wants a safe to practise on, so head to the crew's base and buzz the back door as Lucia. The mission title appears inside, where Nicole has set up her room.
Where is Gil's mansion in Safe Word?
In Peacock Estates, a gated community on a small island. Karim's text gives the address as Gable Drive, the second-to-last house, a little over three miles from the base. Tell the guard at the gatehouse you're there for pool maintenance.
How do you drill the safe in Safe Word?
Hold both triggers (LT and RT on Xbox, L2 and R2 on PlayStation) and keep the drill inside the marked levels. Push hard for the first stretch, then ease off: green is fine, yellow means slow down, and red overheats the drill and costs you time.
How do you find the failsafe trigger in Safe Word?
Steer the borescope camera through the safe wall without touching anything. Find the red-and-white cable, follow it to the round eye bolt it's tied to, then press RT (R2) to hook it. Hold the cable tight while Nicole breaks the glass and reads the combination.
What happens if you hit the sensors or run out of time?
In practice, nothing bad: the safe locks you out and Nicole resets it for another try. How To Gaming needed several attempts. Nicole stresses that you won't get a reset on the day of the real job, so use this run to learn the controls.
What's in Gil's safe in GTA 6?
$1,500 in cash, Gil's Kalinga .50 pistol, a Booty Bang custom decal that Lucia keeps, and a teddy bear Nicole advises you not to touch. The safe stays at the base so you can practise on it again.
Sources & Credits
Researched from these videos and official material, among others. Screenshots credit the creator whose footage they come from.