Beginner Guide
WARDOGS Beginner's Guide: How to Play, Win & Make Money in Your First Match
Dropping into WARDOGS for the first time can be overwhelming: three factions, a persistent cash economy, tower codes, and a map that punishes every death with a long trip back. This guide covers everything you actually need to know before your first match - and nothing you don't.
WARDOGS is easy to understand once you've played a few rounds, but there's a lot going on when you first load in. You spawn with $10,000, a vendor full of gear you haven't unlocked, and a Control Zone that's a long drive away. Spend badly and die a few times, and you'll burn through your bankroll before you've learned the map. This beginner's guide walks through the objective, your first loadout, the class system, vehicles, dying, and the money game - so your first matches are profitable instead of painful.
What Is WARDOGS?
WARDOGS is a large-scale tactical FPS from UK studio BULKHEAD that drops up to 100 players across three factions into a massive open map, all fighting over one huge King of the Hill-style objective. It sits somewhere between a mil-sim and an arcade shooter: gunplay has real weight, ammo management matters, and deaths have consequences - but you won't be filling out paperwork to fire your rifle.
The game launches into Steam Early Access on September 10, 2026 at $39.99, with beta weekends running before launch. Two things make WARDOGS stand out from other large-scale shooters:
- A persistent cash economy. Everything you take into battle is bought with cash, and your bankroll carries over between matches. Every life is a small risk-versus-reward calculation.
- Three-team warfare. Every fight over the objective is a three-way scrap, which keeps the front lines moving and makes third-partying a core part of the game.
How to Win: Control Zone & Hot Zone Scoring
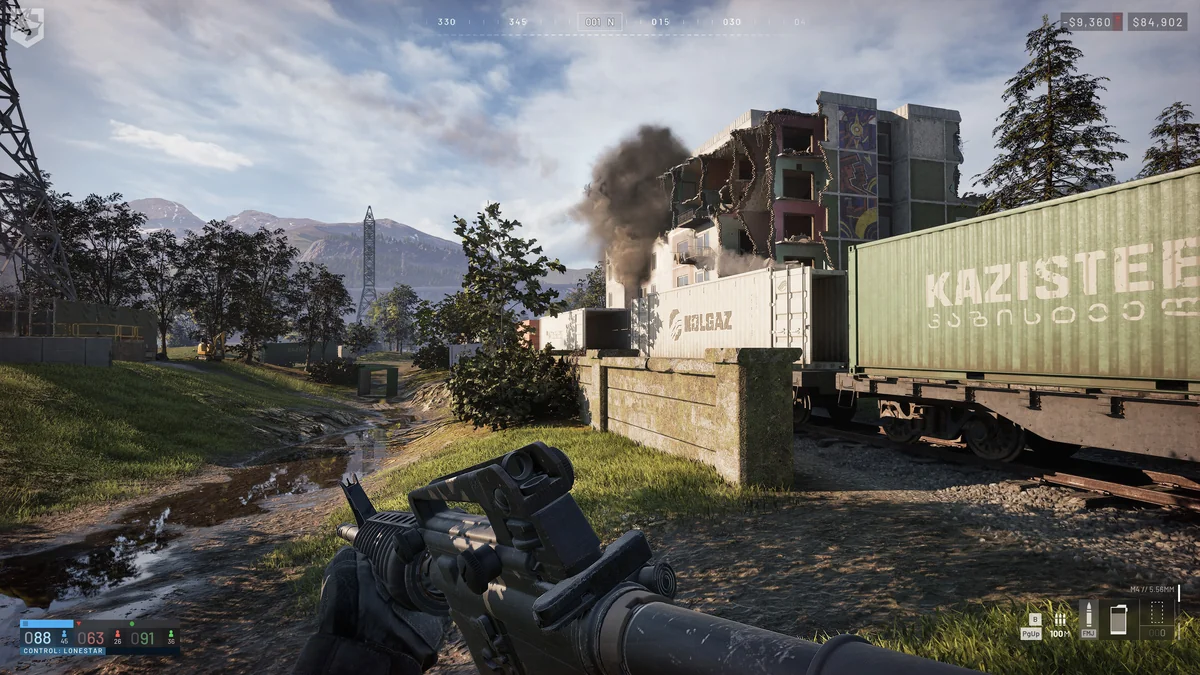
The main objective is simple: three teams fight for control of the Control Zone - the big circle in the middle of the map - and the first team to reach 100 points wins.
Here's how scoring works:
- There's a score tick bar under your minimap. It fills continuously throughout the match.
- Every time the bar fills, one point goes to whichever team has the most players inside the Control Zone at that moment.
- Each player inside the zone counts as one toward their team's total.
The Hot Zone: Count Double, Earn Double
Inside the Control Zone there's a smaller, constantly moving Hot Zone. Standing inside it makes you count as two players toward your team's total - and you earn double the passive cash for being there. Ten players in the Hot Zone count as twenty on the scoreboard, which is often enough to swing control of the entire zone.
Because the Hot Zone drifts around inside the Control Zone during the match, all three teams are constantly rotating to chase it. Cover that was great five minutes ago may be useless now - keep moving with the zone.
💡 Pro Tip
If you're low on cash, going in light - a pistol, some ammo, bandages - and simply anchoring the Hot Zone is a legitimate strategy. You count double for your team and earn double cash per tick while risking almost nothing.
Towers and the Code Mechanic
Within the Control Zone you'll find three to five towers. These are the game's most misunderstood mechanic, and learning them early puts you ahead of most beginners:
- Each tower can be captured (hacked) by holding the interact button on the control panel, usually found on the tower's second floor.
- Every tower your team hacks reveals one digit of a code. The code has as many digits as there are towers on the map.
- Entering the full code at a tower drags the Hot Zone to that tower and holds it there for a short time. Combine that with a fortified position and you can farm points and cash in relative safety.
- Once a code is entered, all digits reset and every team starts hacking again.
The Brute-Force Trick
You don't actually need every tower. If your team knows all but one digit - say the code is 5-7-? - you can retreat to your best-defended tower and simply try 5-7-1, 5-7-2, 5-7-3, and so on. There's a short cooldown between inputs, but it's far faster than assaulting a fortified tower, especially on five-tower maps.
💡 Pro Tip
Communicate digits in team chat. If tower three gave you the third digit "5", type XX5 in chat. As teammates learn more digits, update it (1X5, etc.) so anyone can brute-force the rest.
Choosing a Faction
When you join a match, you pick one of three mercenary factions. The choice isn't permanent - you choose again every round - and factions currently play identically, so this is mostly about which team you fight for (and which free starter rifle you get):
- Lonestar - the blue team, hard-edged private contractors.
- Manticore - the green team, a shadowy "deniable operations" outfit.
- Valkyra - the red team, Soviet-faithful restorationists.
⚠️ Important
If you're playing with friends, make sure everyone picks the same faction before deploying - there's no team-balancing mercy for a squad split across three armies.
Your First Loadout: Spending Your $10,000
You start WARDOGS with $10,000, shown in the top-right corner of your screen. That's enough for a solid kit - but since your cash persists between matches, the goal of your first loadout is to be cheap, functional, and profitable, not impressive. New players also get a 50% vendor discount until around WARDOGS level 10, so gear is half price while you learn.
Step 1: Buy a Backpack
Before anything else, grab a backpack so you have space to store what you buy. The free Pouch works for your first game. Backpack space is measured in grid squares (a 30-round magazine is 2×1, for example), so bigger bags mean more ammo, meds, and equipment.
Step 2: Pick a Primary Weapon
You'll have five realistic starter options:
| Weapon | Type | Cost | Why (or Why Not) |
|---|---|---|---|
| Bushmaster M17S / A-91 / KH-2002 | Assault Rifle | Free | Your faction's free starter rifle. Semi-auto and burst only, but deals the same 28 damage per 5.56 round as rifles costing thousands. Unbeatable value for game one. |
| T-21 | Assault Rifle | ~$600 | The best cheap upgrade in the game: full auto, faster fire rate, much better accuracy and muzzle velocity than the free rifles. Also earns Assault XP. |
| AMP-9 | SMG | ~$900 | The medic's choice - SMG kills feed Medic XP. Solid up close, but 9mm needs five shots to kill versus 5.56's four. |
| MP43 | Double-Barrel Shotgun | ~$400 | Surprisingly good with real range for a shotgun. Pairs well with a Support playstyle (building, rockets, repairs). |
| Scout Rifle TD | Sniper Rifle | ~$1,100 | Avoid it. It chambers the same 5.56 as the free rifles - four hits to kill at a single shot per reload. Save up for a real marksman rifle instead. |
For your very first game, the free rifle is genuinely fine. Weapon price in WARDOGS buys handling, accuracy, and fire modes - not damage, which is set by the ammo caliber. A free rifle kills an unarmored target in exactly as many shots as a $2,800 one.
Step 3: Magazines and Loose Ammo
After picking your gun, click the magazine you want (you'll only have the default unlocked), select your ammo type, then click the ready mag to load it. Buy two more magazines for three total - then stop. Instead of stacking more mags, head to the Loose Ammo tab and buy a box or two of your weapon's caliber:
- 5.56×45mm (green box) - assault rifles and the Scout Rifle TD
- 9×19mm (orange box) - the AMP-9 and other SMGs
- Buckshot (red box) - shotguns like the MP43
Loose ammo is far more space- and cost-efficient than extra magazines - you refill your mags from it during downtime (more on that below).
Step 4: Medical Supplies
- Free Resuscitator - take it every time; you get one free per spawn. It revives teammates about five times faster than bare hands, and if you go down, allies can pull it from your bag and use it on you.
- Bandages - your only self-heal in the field. Each heals 35 of your 100 HP and costs about $200. Take three to five.
Step 5: Optional Extras
- Tactical vest - more hotbar slots for meds and grenades, plus slightly faster equip and reload speeds.
- Binoculars - spotting enemies for your team pays surprisingly well in cash and Recon XP.
- Cheap parachute - only if you plan to jump from helicopters or rooftops. It's single-use and heavy, so skip it otherwise.
- Small hammer + FOB - if you want to try building and earning Support XP (see the building section below).
Ammo Types, Magazines & Reloading
WARDOGS handles ammunition more like Escape from Tarkov than Battlefield, and it catches almost every new player out.
Ammo Types
There are three ammo types, and the vendor only shows you ammo compatible with the weapon you're buying:
- FMJ - the default. Decent against everything.
- Hollow Point - better against unarmored targets, weak against armor.
- Armor Piercing - better against armored targets.
Reloading Doesn't Refill Your Mags
When you reload, ammo is not magically redistributed into your empty magazines. Each mag holds whatever you loaded into it, and once it's empty it stays empty until you refill it. Many first-timers find themselves confidently reloading an empty magazine mid-fight. Watch the ammo UI - it shows which magazine loads next. For the full loop with screenshots - buying mags, loose ammo, and refilling mid-match - see our how to reload in WARDOGS guide.
💡 Pro Tip
During downtime, open your inventory and press C (default) to combine ammo - it automatically refills all your magazines from loose ammo and stacks your inventory. Make it a habit after every fight.
Watch Your Weight
Armor, ammo, and equipment all add weight, and the heavier you are the worse your stats get: slower max speed, more weapon sway, slower aim-down-sights. Loading up with heavy armor and 300 rounds might feel safe, but you'll move like a vending machine. Every item is a trade-off - carry what you'll actually use.
Classes & Progression Tracks
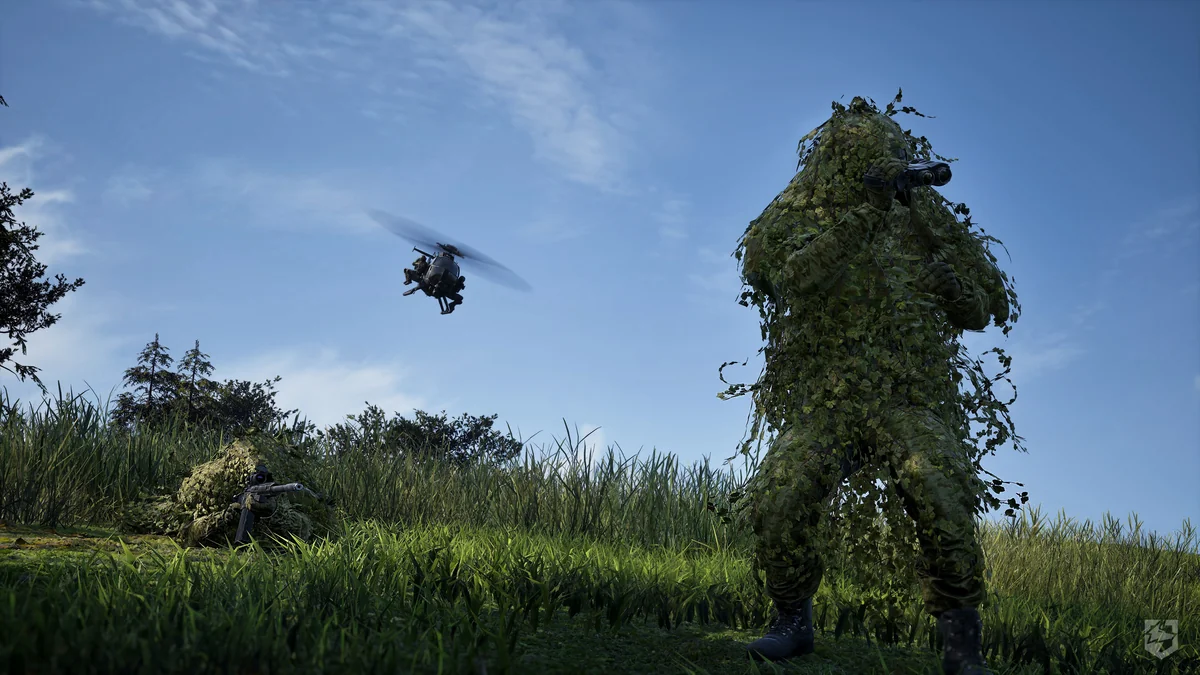
WARDOGS has no locked classes. You build your kit from whatever you've unlocked, but progression is split across six tracks, each fed by related actions:
| Track | How You Earn XP | What It Unlocks |
|---|---|---|
| Assault | Kills with assault rifles and Assault-tagged items | Better ARs, grenades, attachments |
| Medic | SMG kills, bandaging, reviving with medical gear | Defibs, advanced medical equipment, SMGs |
| Support | Building in FOBs, destroying vehicles, breaching (IEDs, Halligan bar) | Rocket launchers, better hammers, AA systems |
| Recon | Sniper/DMR kills, spotting with binoculars or rangefinders | Real sniper rifles, ghillie suit, spotting tools — see the Recon & Sniper guide |
| Driver | Transporting teammates and supplies, operating the spawn vehicle | Faster vehicles, Humvees, tanks, anti-air, artillery |
| Pilot | Flying teammates and supplies to the zone, air combat assists | Armed little birds, and eventually the Havoc attack helicopter |
Your class levels also add up to your overall WARDOGS level, which unlocks account-wide gear like helmets, armor, and bigger backpacks.
💡 Pro Tip
Not sure which track an item feeds? Hover over it in the vendor - the role it contributes to is shown in orange. Building with the hammer earns Support XP, spotting with binoculars earns Recon XP, and so on.
Unlocking works in two steps: first earn enough XP in the track to reveal the item, then spend cash once to permanently unlock it - after which you can buy it for any loadout.
Getting to the Fight: Vehicles & the Spawn APC
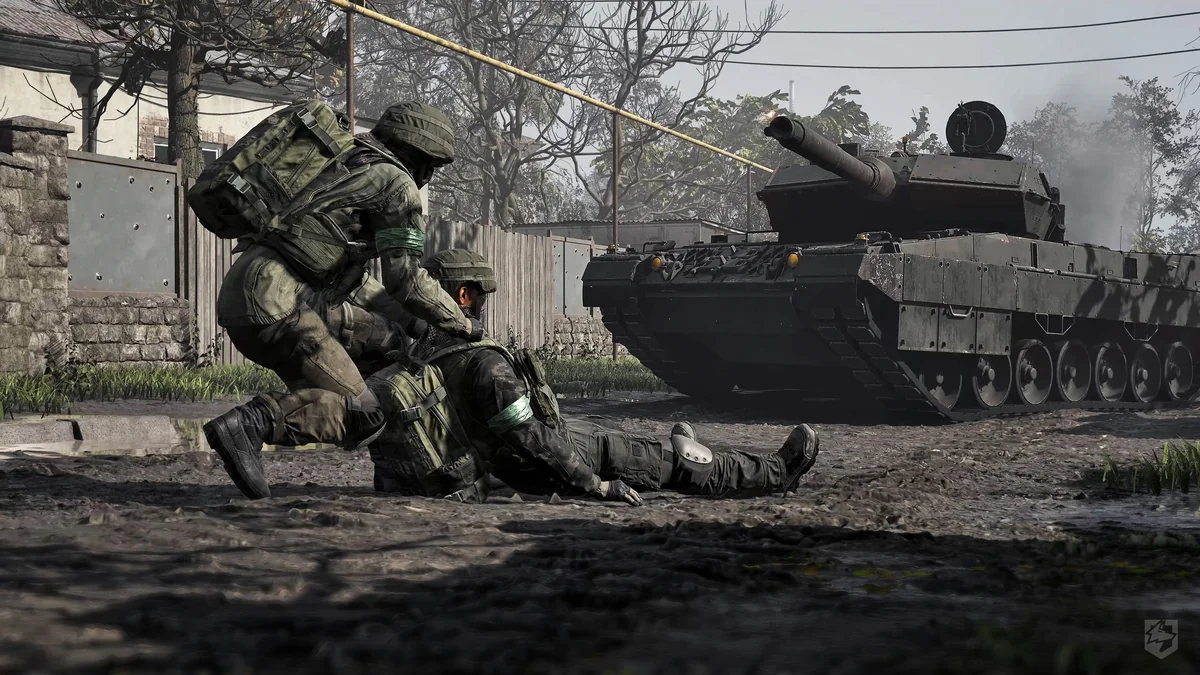
You spawn (and respawn) at your faction's base, which is a long way from the Control Zone. Don't walk. Your options:
Drive or Fly Yourself
- Buy a vehicle from the vehicle vendor. Skip the ATV if you can afford a Kodiak pickup - the ATV is capped around 70 km/h while the Kodiak is literally twice as fast.
- There's also a free Kodiak that spawns at base, unlocked for anyone to use. First come, first served.
- Better yet, fill your vehicle with teammates - drivers and pilots earn cash and XP for every player they deliver to the zone alive.
⚠️ Helicopter Warning
Helicopters are genuinely hard to fly. Practice in the firing range before risking a bird full of teammates - and only ride with pilots you trust. Losing your whole loadout on takeoff is a rite of passage you can skip.
The Spawn Vehicle (APC)
Once your team reaches 20 points, the spawn vehicle unlocks. Someone has to drive it from base into the Control Zone, and while it's parked and stationary, teammates can use the deployment computer near the vendor to spawn directly onto it. When it's up, this is by far the fastest way back into the fight.
- If nobody has moved it yet, it's parked at your base - drive it in yourself for easy Driver XP.
- Enemies love camping exposed spawn vehicles. If you spawn into an ambush, hop into the driver's seat and relocate it somewhere safer, ideally behind a fortified FOB.
- High-risk option: drive it near the Hot Zone, stopping periodically to let teammates spawn. Huge tempo gain, but the enemy will hunt it.
Making Money in WARDOGS
Your cash is persistent between matches, so think of every round as building a bankroll. The top-right of your screen shows your profit/loss for the match and your total cash. Kills pay, but some of the best money in the game has nothing to do with shooting:
- Holding the zone - passive income every tick just for being alive inside the Control Zone (double in the Hot Zone).
- Kills, assists, and destroying vehicles.
- Reviving teammates.
- Transport - running players from base to the zone as a driver or pilot pays extremely well right now, with bonuses if they survive.
- Logistics - hauling supply boxes to FOBs and keeping them stocked.
- Building - constructing and upgrading FOB structures.
- Spotting - tagging enemies with binoculars pays cash when teammates convert your intel into kills.
- Hacking towers.
And if your bankroll takes a hit? Go in cheap and loot the dead. Dead players drop their gear, and a "zero to hero" run - deploying with almost nothing and upgrading off the battlefield - is one of the most fun ways to play a rebuilding round.
Ready to go deeper? Our full WARDOGS money guide - how to make money fast covers every payout in detail: helicopter passenger runs, $4,300 logistics pallets, the spawn vehicle, recon spotting, and medic income.
Downs, Revives & Dying
Death in WARDOGS works differently from most shooters, and understanding it protects both your gear and your wallet:
- When you're shot down, you're not dead. You only respawn if you give up or your (very long) down timer runs out.
- Don't instantly give up. If teammates are nearby, wait - give them a chance to clear the area and pick you up. A revive costs your team nothing; a respawn costs you your entire loadout.
- If you do give up, everything you bought is gone and you're buying a fresh kit. The Buy Again button at the vendor re-purchases your previous loadout in one click.
- This is also why you should stick with your team. Go down alone on a flank and nobody's coming for you.
Building Basics: FOBs & Hammers
Building is one of WARDOGS' most satisfying support loops - slower-paced, great money, and genuinely helpful to your team.
- Buy a hammer and a FOB (Forward Operating Base) from the vendor. The FOB takes six backpack slots and comes bundled with a medium hammer and starting supplies.
- Place the FOB by selecting it on your hotbar and holding left click. It designates a buildable area for your team.
- Equip your hammer and right-click to open the radial build menu, pick a structure, and place it.
- Placing doesn't build it - hit the structure with your hammer. Aim for the yellow crosses that appear: hitting them progresses construction dramatically faster.
- Building consumes supplies stored in the FOB. The starter stock runs out fast - someone needs to run supply boxes from base to keep expanding or repairing.
⚠️ Friendly Fire Warning
Hammers can team-kill. Watch your swing around teammates unless you enjoy apologizing over VOIP.
Quick Tips Recap
- Check your zeroing. Most weapons default to 100m; adjust with Page Up / Page Down for long sightlines.
- Use VOIP. It's one of the game's best features - for coordination, hitchhiking, and everything in between.
- Don't play it like Call of Duty. Sprinting into every fight ends badly. Hold angles, move with teammates, take your time.
- Press C after every fight to refill magazines from loose ammo.
- Stay near teammates - a revive keeps your loadout, a respawn costs it.
- Bank a surplus early. Cash carries over; the vest and gun you actually want are only a couple of profitable matches away.
FAQ
How do you win a match in WARDOGS?
Be the first team to reach 100 points. Every time the score tick under the minimap fills, the team with the most players inside the Control Zone gets a point - and players inside the smaller Hot Zone count as two.
What should I buy with my starting $10,000?
Keep it cheap: the free starter rifle (or a T-21 if you want full auto), a backpack, two spare magazines, a box of loose ammo, three to five bandages, and the free resuscitator. Bank the rest - your cash carries over between matches.
Do you lose your gear when you die?
Only if you give up and respawn. Getting revived keeps your entire loadout, which is why waiting for teammates is almost always worth it. After a respawn, use the vendor's Buy Again button to re-purchase your previous kit instantly.
Does money carry over between matches?
Yes - whatever you end a match with is your starting cash next match. That's why cheap, profitable loadouts beat expensive ones while you're learning.
Are there classes in WARDOGS?
No locked classes. There are six progression tracks - Assault, Medic, Support, Recon, Driver, and Pilot - that unlock gear as you earn XP with related actions, but you can mix equipment from any track in one loadout.
When does WARDOGS release?
WARDOGS enters Steam Early Access on September 10, 2026 at $39.99, developed by BULKHEAD. Closed beta weekends run before launch, with beta access included in pre-orders.
Ready to Deploy
That's everything you need for your first matches of WARDOGS: hold the zone, chase the Hot Zone, learn the towers, spend smart, and don't give up on the ground when a teammate is thirty seconds away. The economy rewards patience - play a few cheap, profitable rounds and you'll out-gear the players who went broke buying M4s on day one.
Check the Clutchbase WARDOGS hub for upcoming weapon tier lists, loadout builds, interactive maps, and calculators as the game heads into Early Access.